So fresh spring nail arts!
The first rays of sunshine, the softness of the air, the blossoming trees... it makes you want fun patterns, pastel shades, and pretty graphic effects. Here are some spring nail art inspirations, for short or long nails, to try without delay.
Dots & Fancy Confetti
Dots are the super easy nail art within everyone’s reach! While they let you play with colors, they also have the advantage of giving the impression of a very elaborate and ultra-trendy manicure in no time.
Bring spring to life on your nails with this playful and energetic Pétula dots nail art. On a slightly pinkish white base achieved with Gloss, create dots using a dotting tool with the pink polish Pétula. Repeat the look on all your nails or alternate nails with Pétula all over and the polka dot nail arts.
For Easter nails with simple little patterns, go for multicolored dots that will surely remind you of the decorated eggs hidden in the garden. To create this easy nail art: start with a light or nude base, then alternate colored dots. Pop, Bubble, Pistachio... have fun with original colors. Thanks to the dotting tool, you can draw regular dots and you’re done.

To add a festive touch to your manicure, cover your nails with a multitude of confetti. The principle is the same as for multicolored dots: a white or nude base on which you draw small colored strokes instead of dots. Preferably use a liner brush, which is more precise and delicate.

French mani madness!
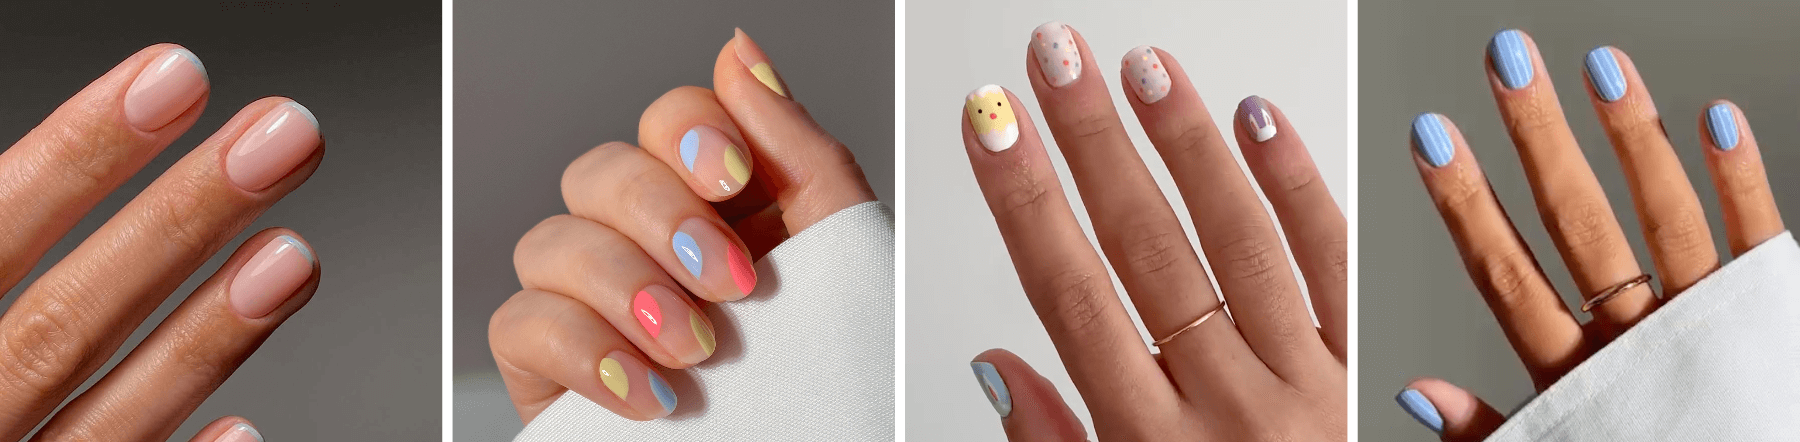
With French manicures, a whole range of nail arts opens up to you. Mini French, reverse French, double French, gradient French... For a seasonal French, opt for a play of soft colors full of finesse and subtlety.
For those seeking good vibes and freshness, a pastel mini French is the perfect manicure. This essential yet subtle nail art takes the nude color base of a classic French manicure and twists it by replacing the white polish with a pastel stroke. You can choose to keep a single shade or use several polish colors. The best part of this adorable nail art: it’s ideal for short nails.
For even more fun, go for an offbeat version with pop and vibrant colored polishes applied along the nail edge but also on the lunula. And don’t hesitate to mix colors on the same nail.
Flower power
Enjoy floral bouquets right on your nails to celebrate the arrival of this beautiful season. Among the best nail art trends right now, floral patterns are a must-have. Between playing with colors and shapes, the key is to have fun and dare to try floral nail art for a spring-colored manicure.
Like a pointillist painter, arm yourself with a dotting tool and make countless colorful petals bloom on your nails for a super trendy floral nail art. Place small touches of polish Porcelaine, Candy, and Brazil along the edge of the nail and in solid areas to create the illusion of a field of small flowers.
Here are beautiful daisies that have everything to please with their white petals Snow and their glittery center Rose Gold. This duo of bright shades pairs perfectly with sky blue Lilas for a spring vibe as soft as it is joyful. A floral nail art to adopt without hesitation for trendy nails!
Graphic pastel
Spring is the season when pastel colors fully express themselves. Soft and bright, they gain strength and style when paired with graphic shapes.
Bringing sunshine into your life has never been easier than with this Spring Waves manicure which uses a pretty yellow Mimosa as base coat and some pink Candy waves drawn with a fine brush, perfect for stunning nails.
To give an aquatic touch to your spring nail art, apply a base coat of Lilas blue then draw fine vertical white Snow lines using a liner brush.
Finally, for those who prefer more abstract manicure styles, we recommend a Bubble nail art. Apply pastel color blocks on your nude nails like delicate and poetic soap bubbles.

Ready for the egg hunt?
Celebrate Easter with Petite Manucurist
Children also deserve pretty nails for the Easter egg hunt! Luckily, there is Petite Manucurist, a collection of polishes for children formulated with water and biosourced ingredients. With these clean & safe polishes, children can color their nails as much as they want, just like adults! The pocket-sized bottles and brushes have been specifically designed for little hands, from age 3, and the polishes wash off easily with soapy water. Glittery or iridescent, pastel or bright shades, the Petite Manucurist palette offers more than twenty colors. Plenty of ideas for multicolored nails and cute designs.

Easy nail art ideas to create
With the different colors of Petite Manucurist polish and a fine brush, you can easily create simple designs that will delight little fingers.
-
An adorable chick nail art: apply a layer of glittery yellow polish Pia l'Abeille then with a fine brush, make two small dots for the eyes with the silver polish Barbouille and an orange dot for the beak with the orange polish Barbotine.
-
A cute bunny nail art with big ears: on a layer of violet polish Lily la Licorne, draw a half-circle topped with 2 ears using the Light Blue Pomme la Poissonne. Make a pink line in the center of each ear with the Candy polish Barbapapa.
-
An Easter egg nail art: call on the whole family of Barbapapa polishes for the occasion and apply a shower of multicolored dots like Easter eggs on the little nails using a dotting tool.
The right habits to succeed in your nail art
A nail art done by the book relies on good preparation and proper techniques. Here are the key nail art tips:
Nail preparation
-
File your nails with a natural nail file to give them the desired shape.
-
Take care of your cuticles by softening them with a few drops of Effective Emollient then gently push them back using a cuticle pusher or a boxwood stick.
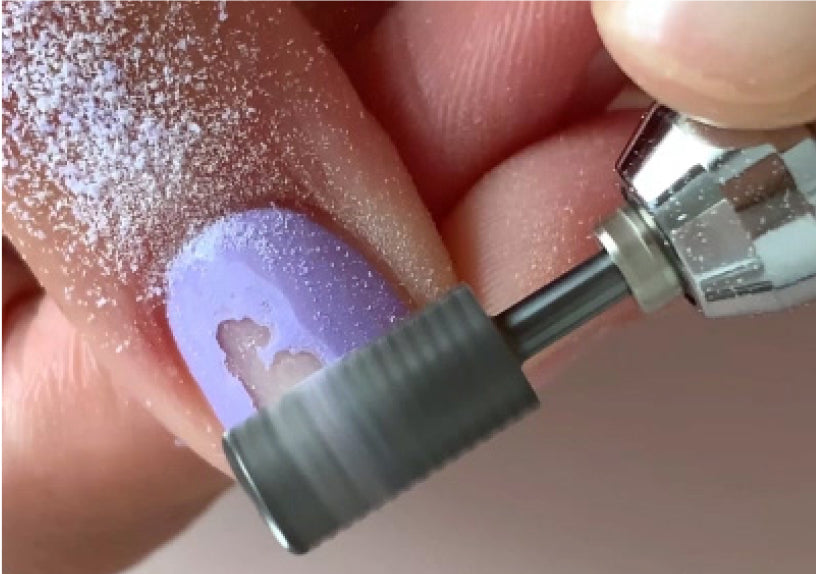
-
Gently polish the nail surface with a preparatory file for better polish adhesion and remove residue with a degreaser or a gentle remover.

The right accessories
Some tools are essential to create your best nail art inspirations:
-
The dotting tool, with double tips, is ideal for perfectly making dots, hearts, or floral patterns.
-
The liner brush allows for more precision for finer dots or lines.
-
The nail art brush makes creating detailed designs easier.
Used together or separately, they offer professional-level results.

The right techniques
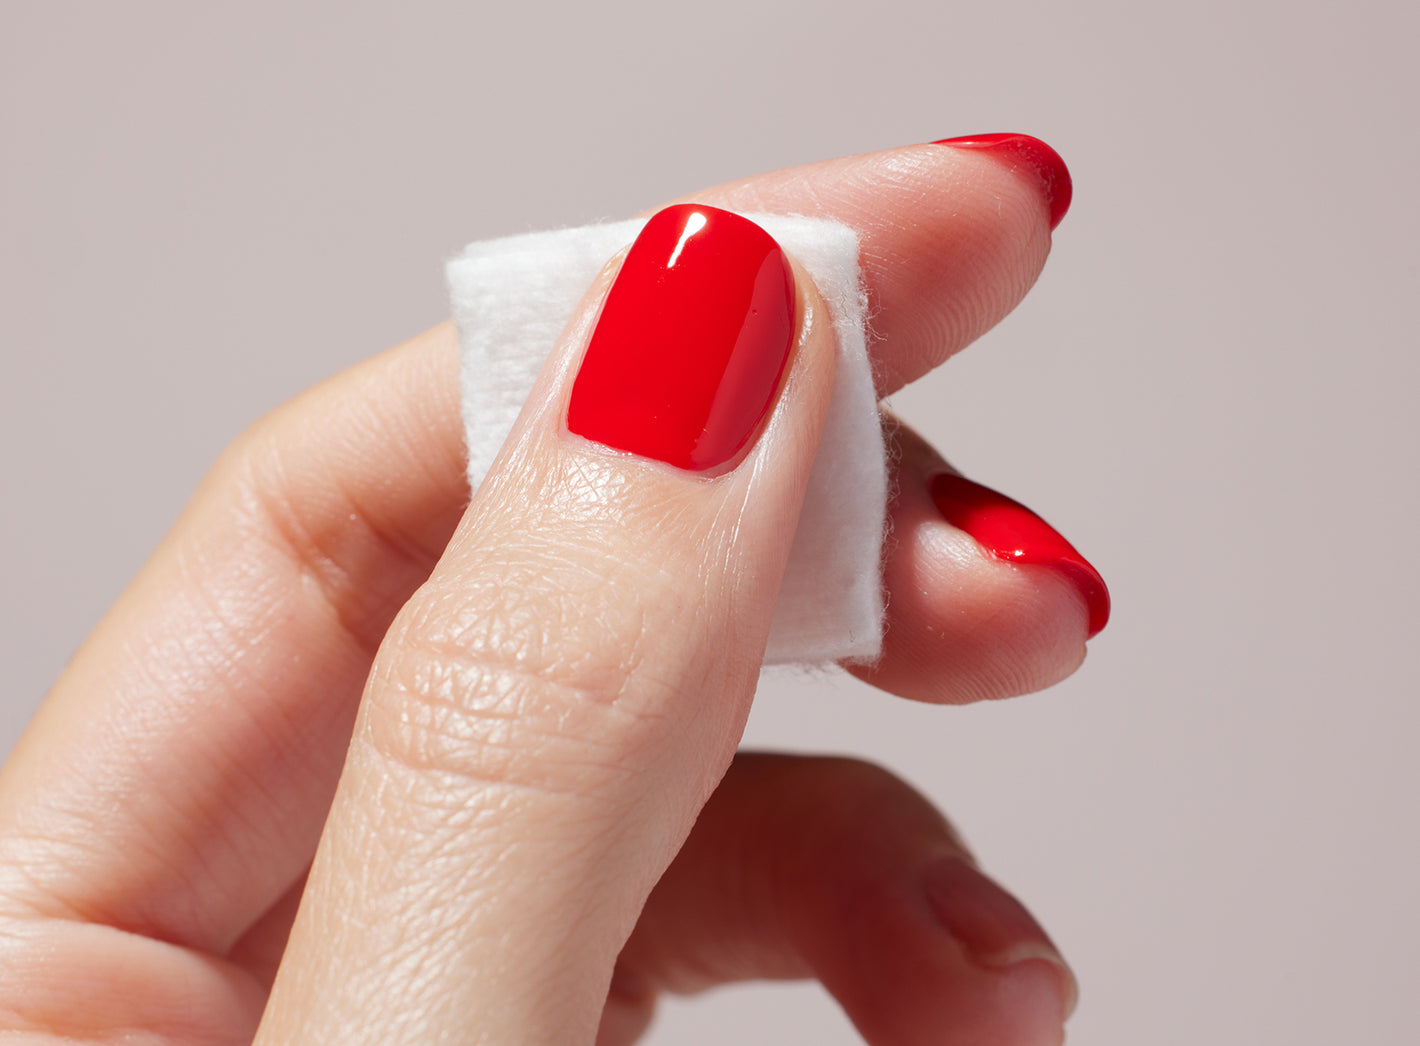
Following a methodical application ensures good tenue of your nail art over time and perfect nails. To do this, you need to go through these three essential steps:
#1 A layer of base coat to protect the nail.
#2 A layer of Green™ or Green Flash™ color on which, after drying, you create your nail art.
#3 Seal everything with a top coat for a long-lasting manicure. The drying drops can also help if you use Green™ polish.
⚠️ The most important thing is to let each layer dry well to prevent colors from smudging. If you use Green Flash™ semi-permanent polishes, curing under a UV lamp between each step is necessary.
Hydration and post-manicure care
Taking care of your nails before and after the manicure is the essential step to have healthy nails, whether bare or with polish.
-
The Green Oil is perfect for soothing the nail area and nourishing dry cuticles.
-
Enriched with castor oil, vitamin E, and pistachio extracts, our Perfecting Concentrate will nourish and strengthen nails and cuticles. Its handy size makes it easy to slip into a handbag for on-the-go care!

Get ready for beautiful nails to welcome this spring season. We can't wait to see what your next manicure will be to celebrate the arrival of sunny days 😎