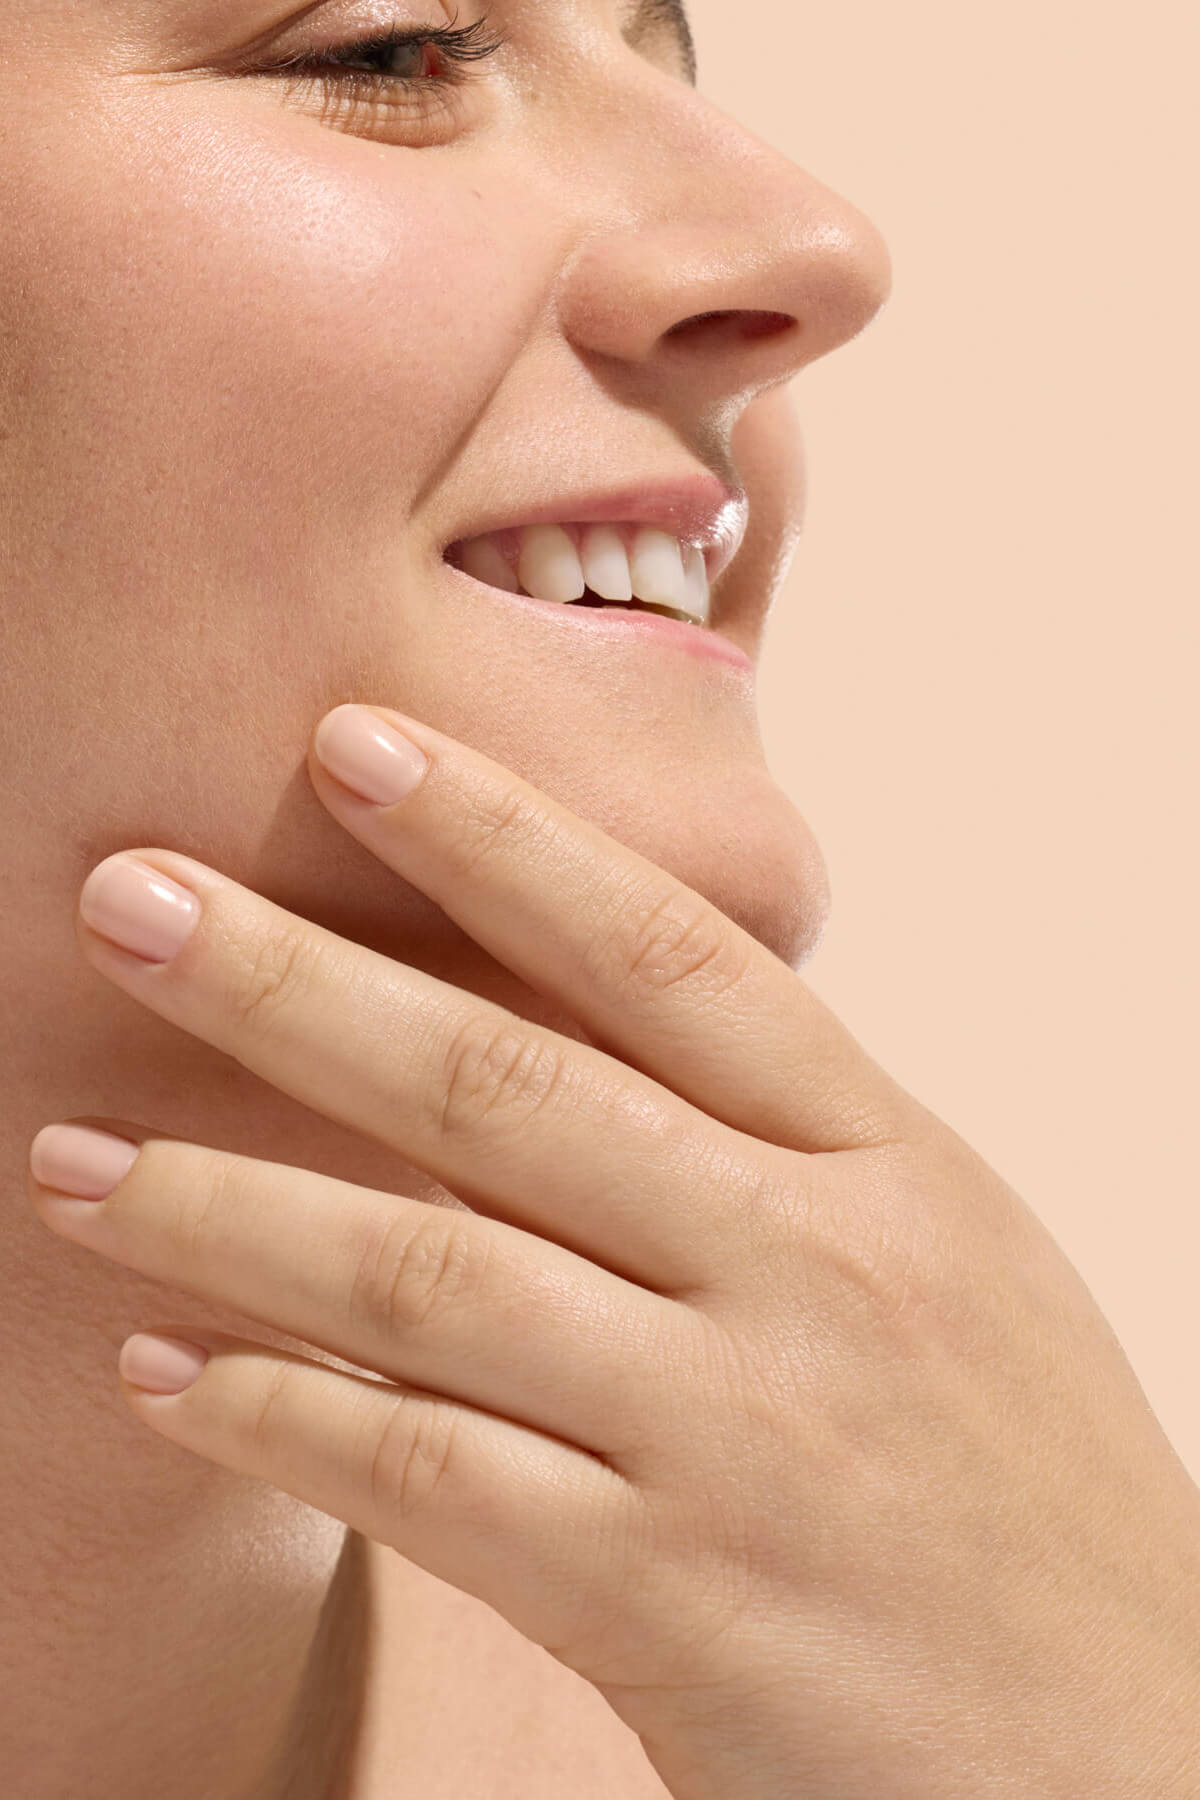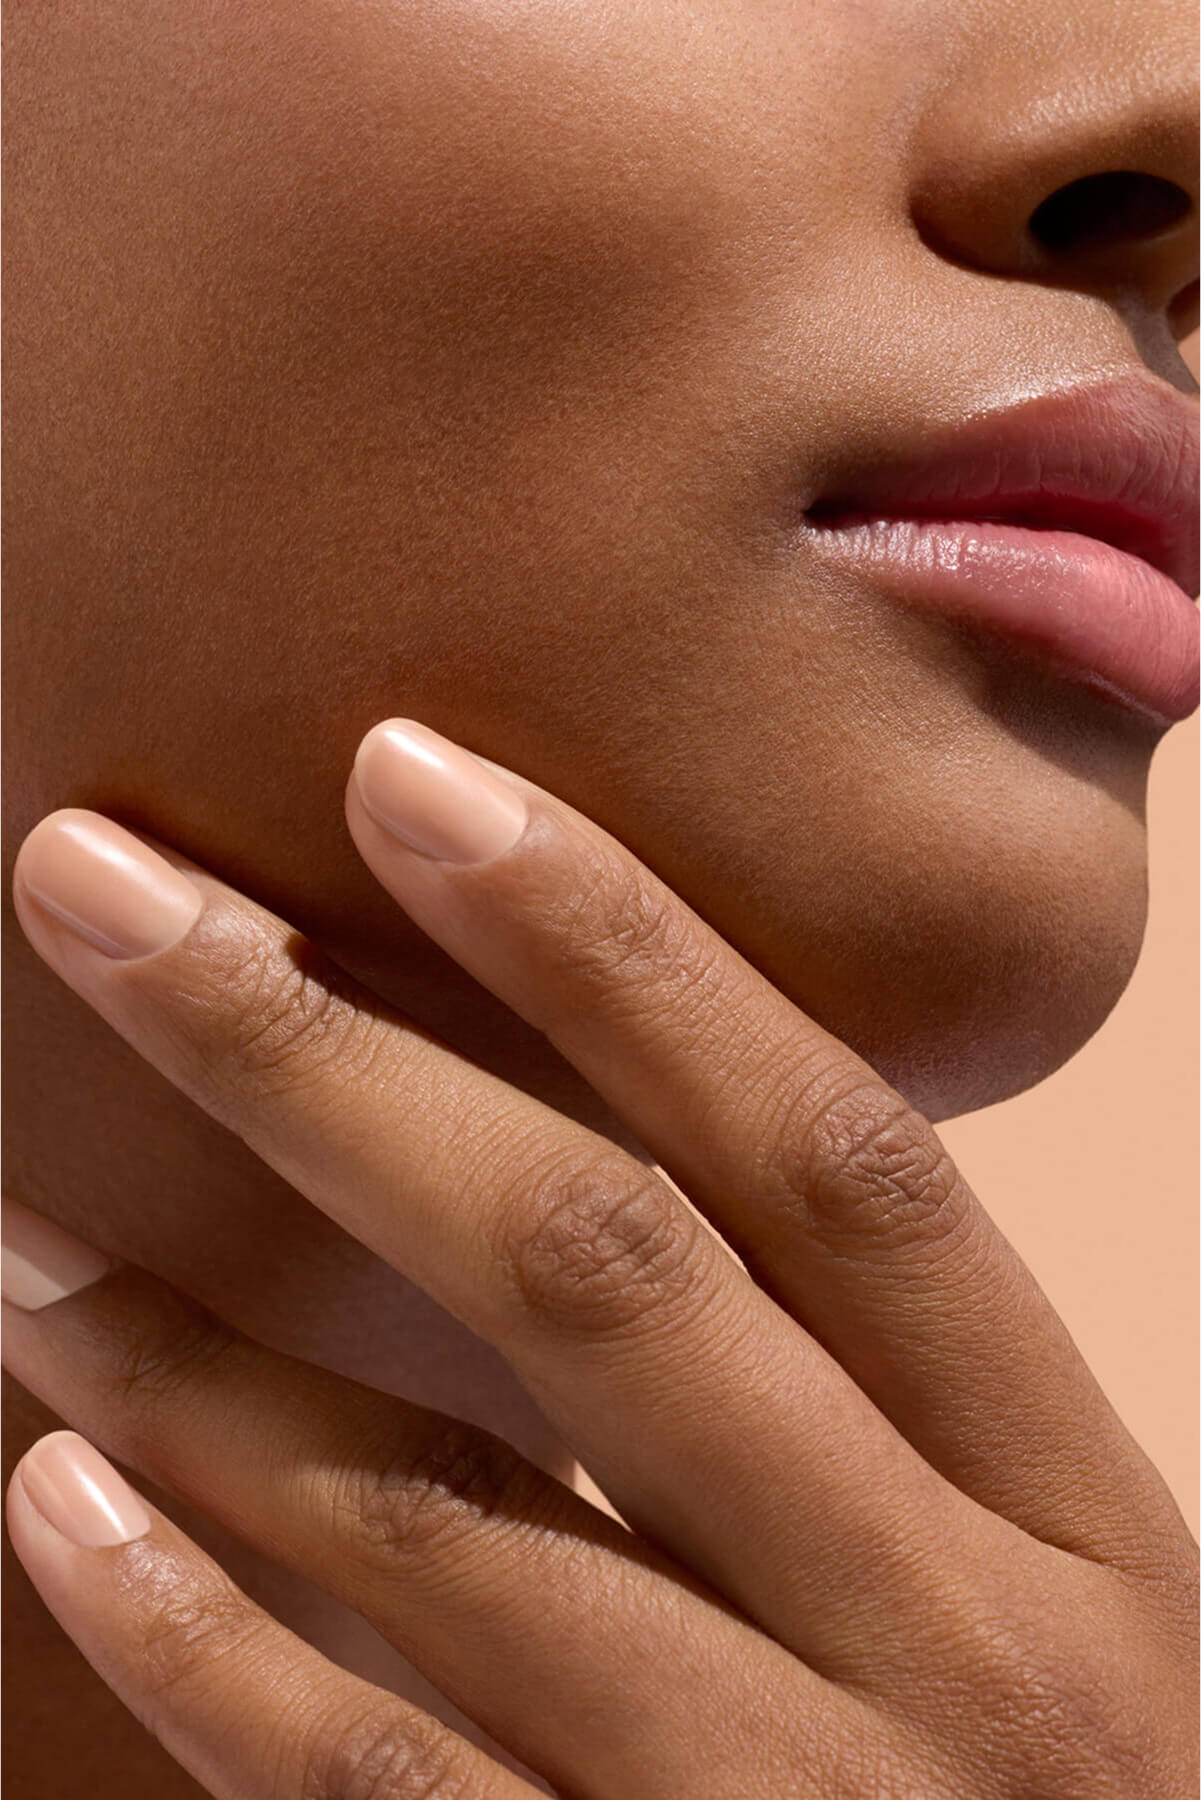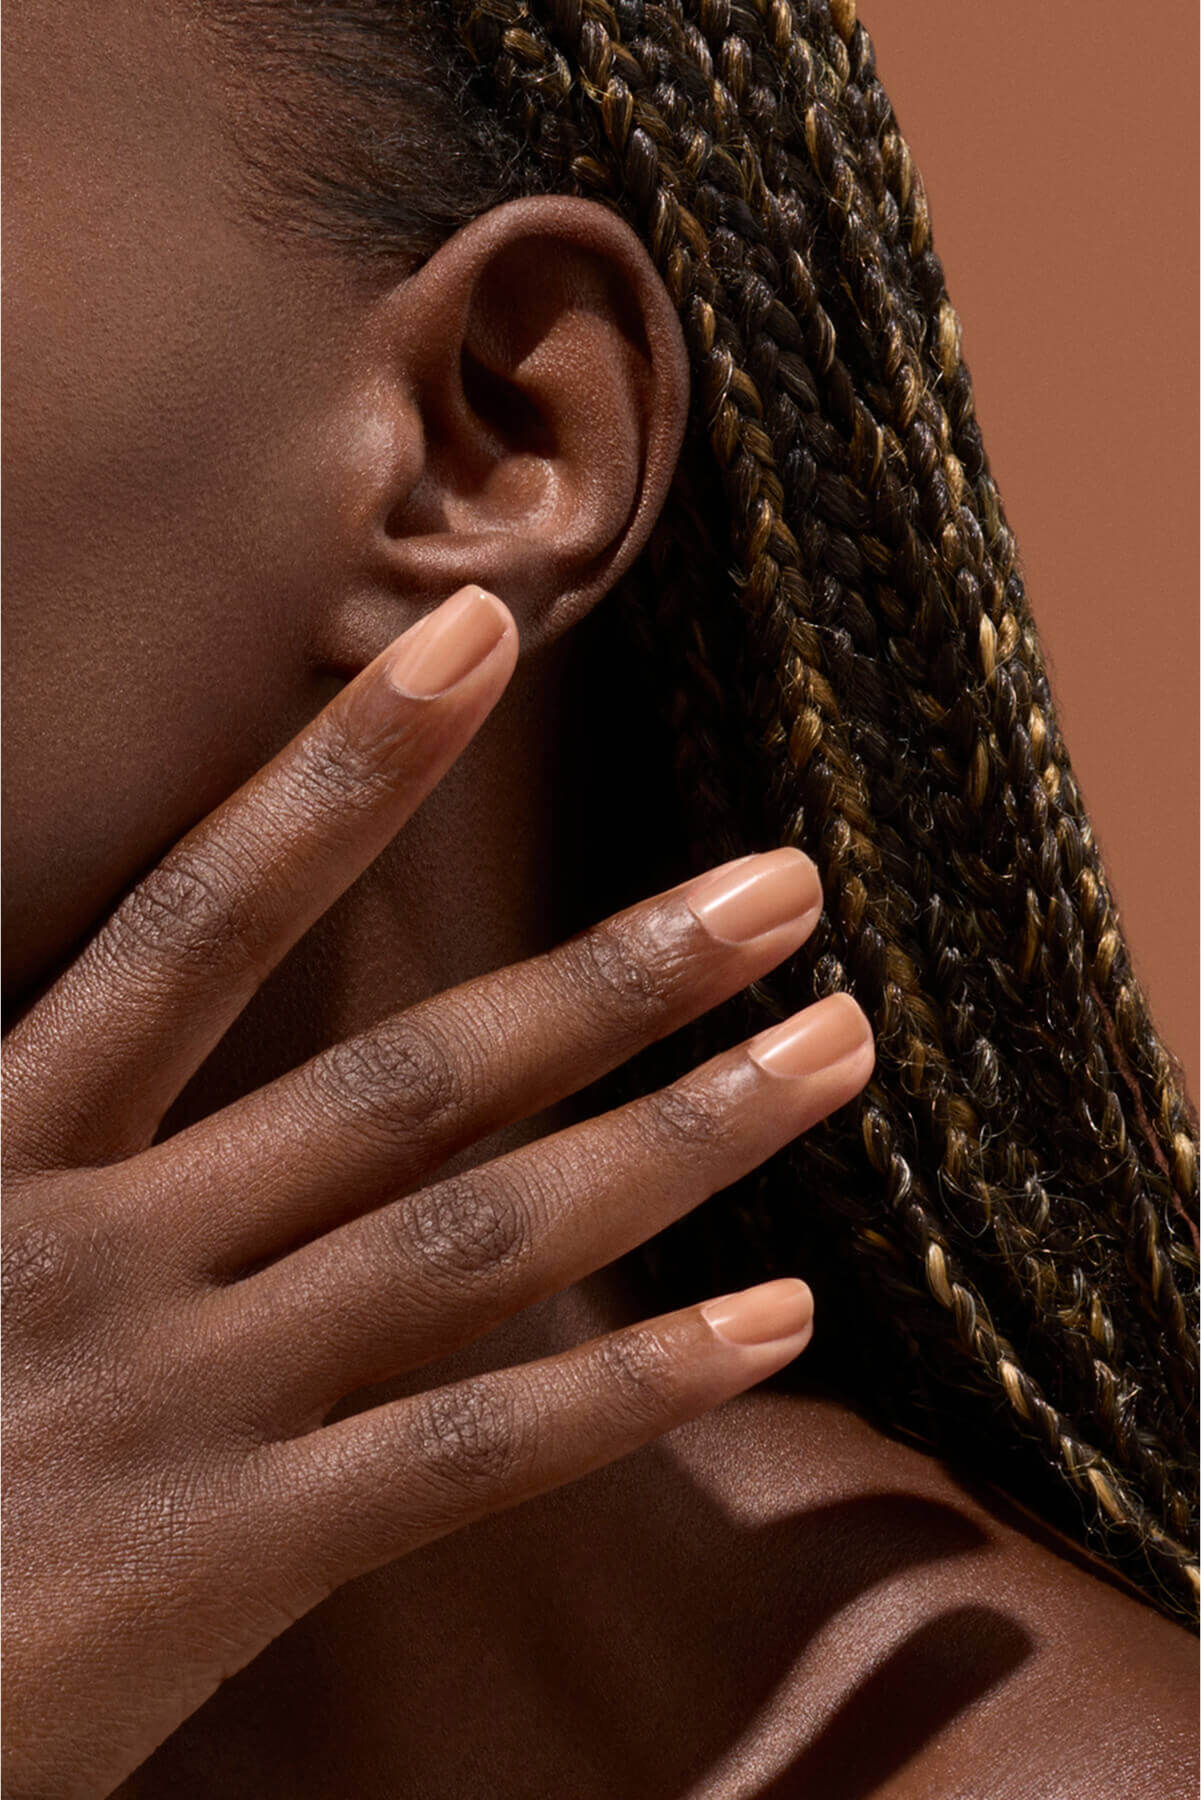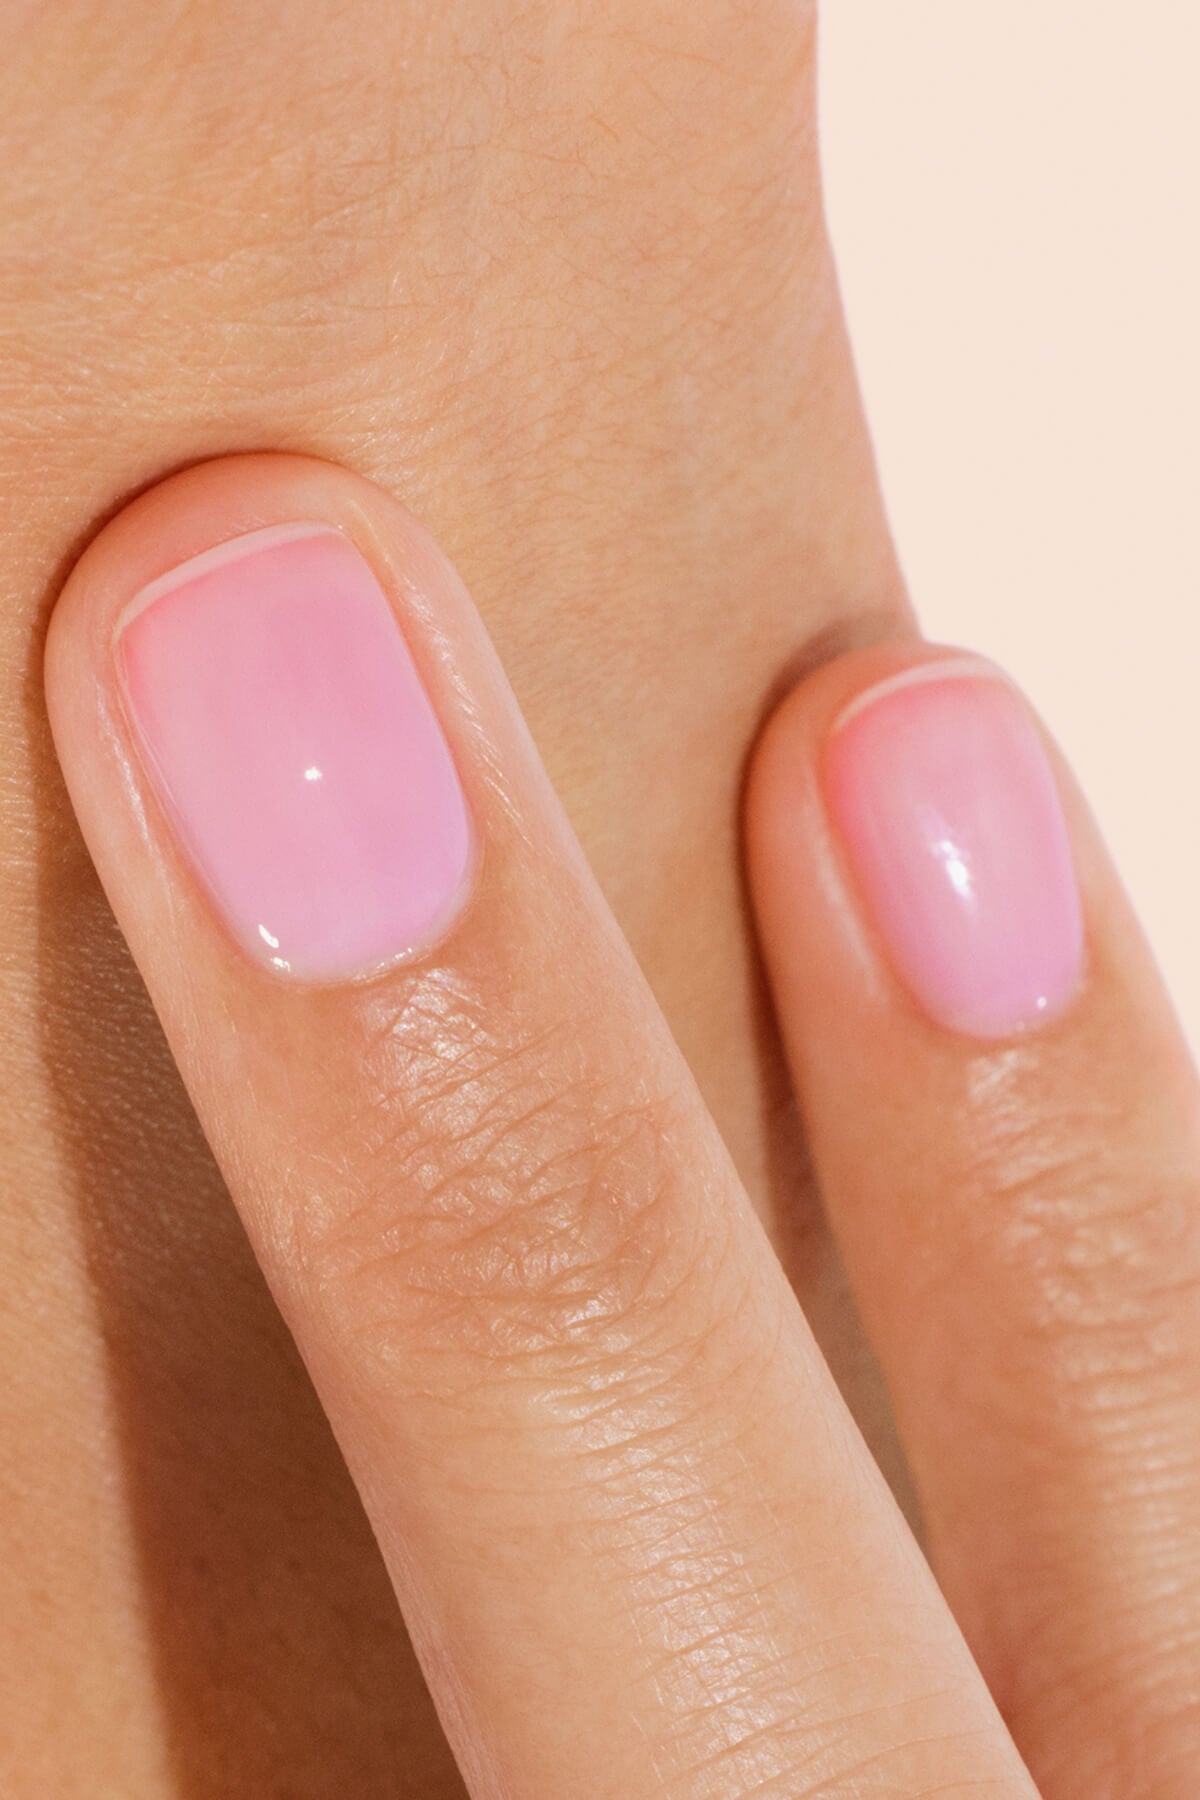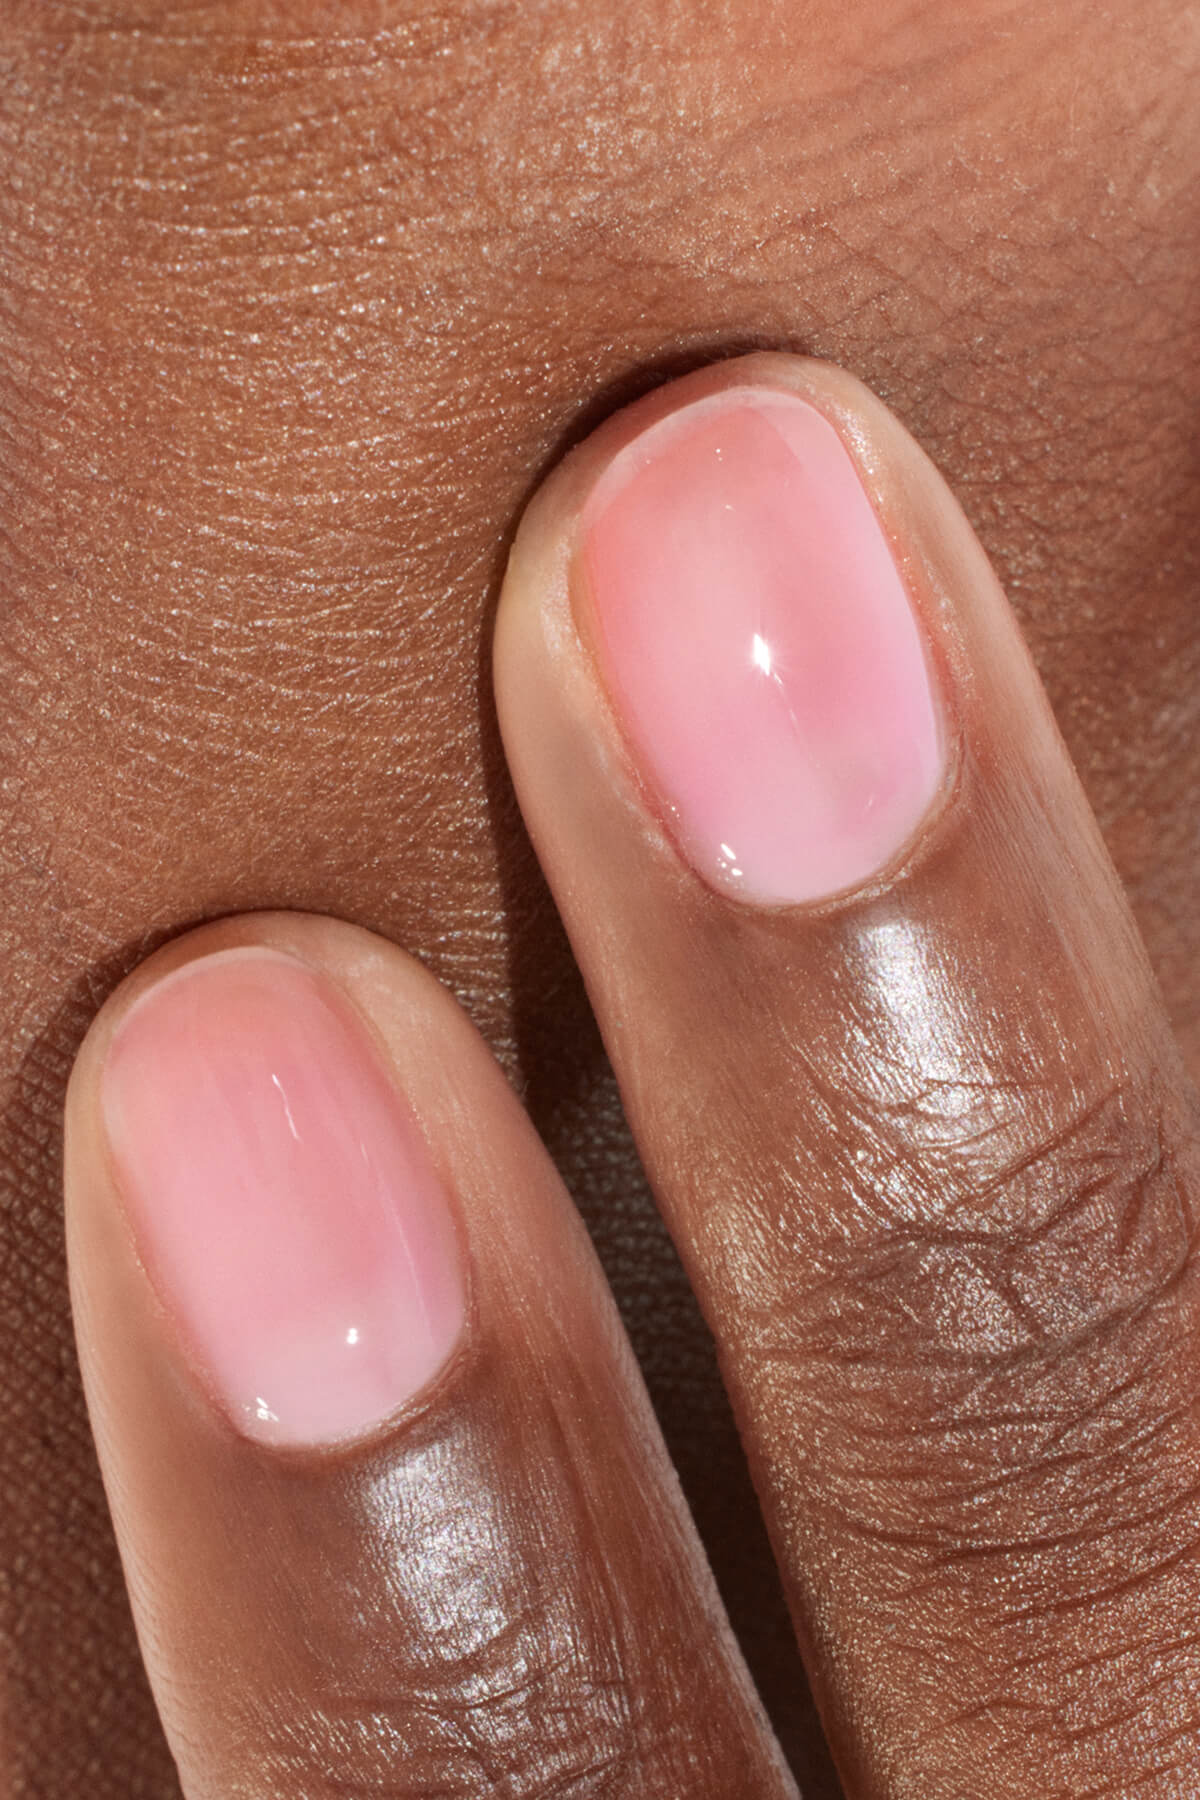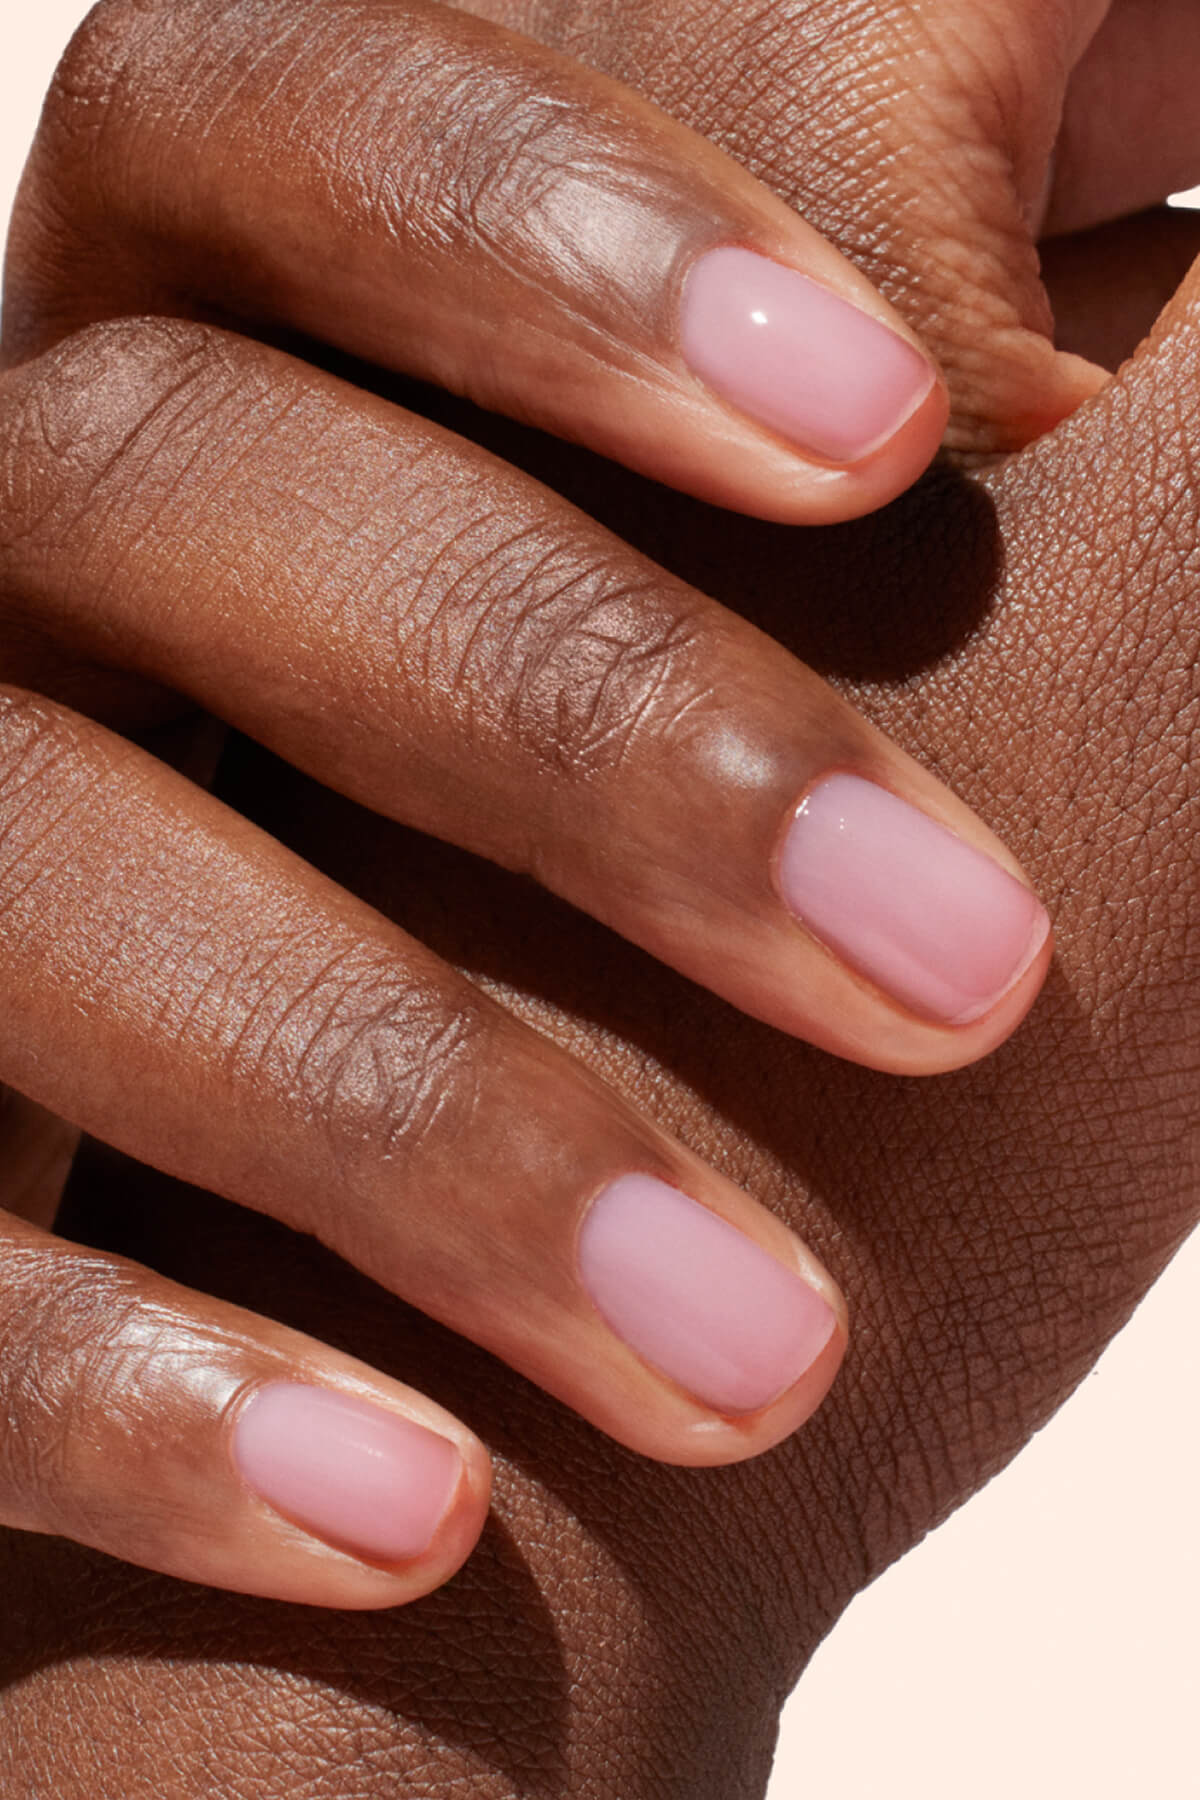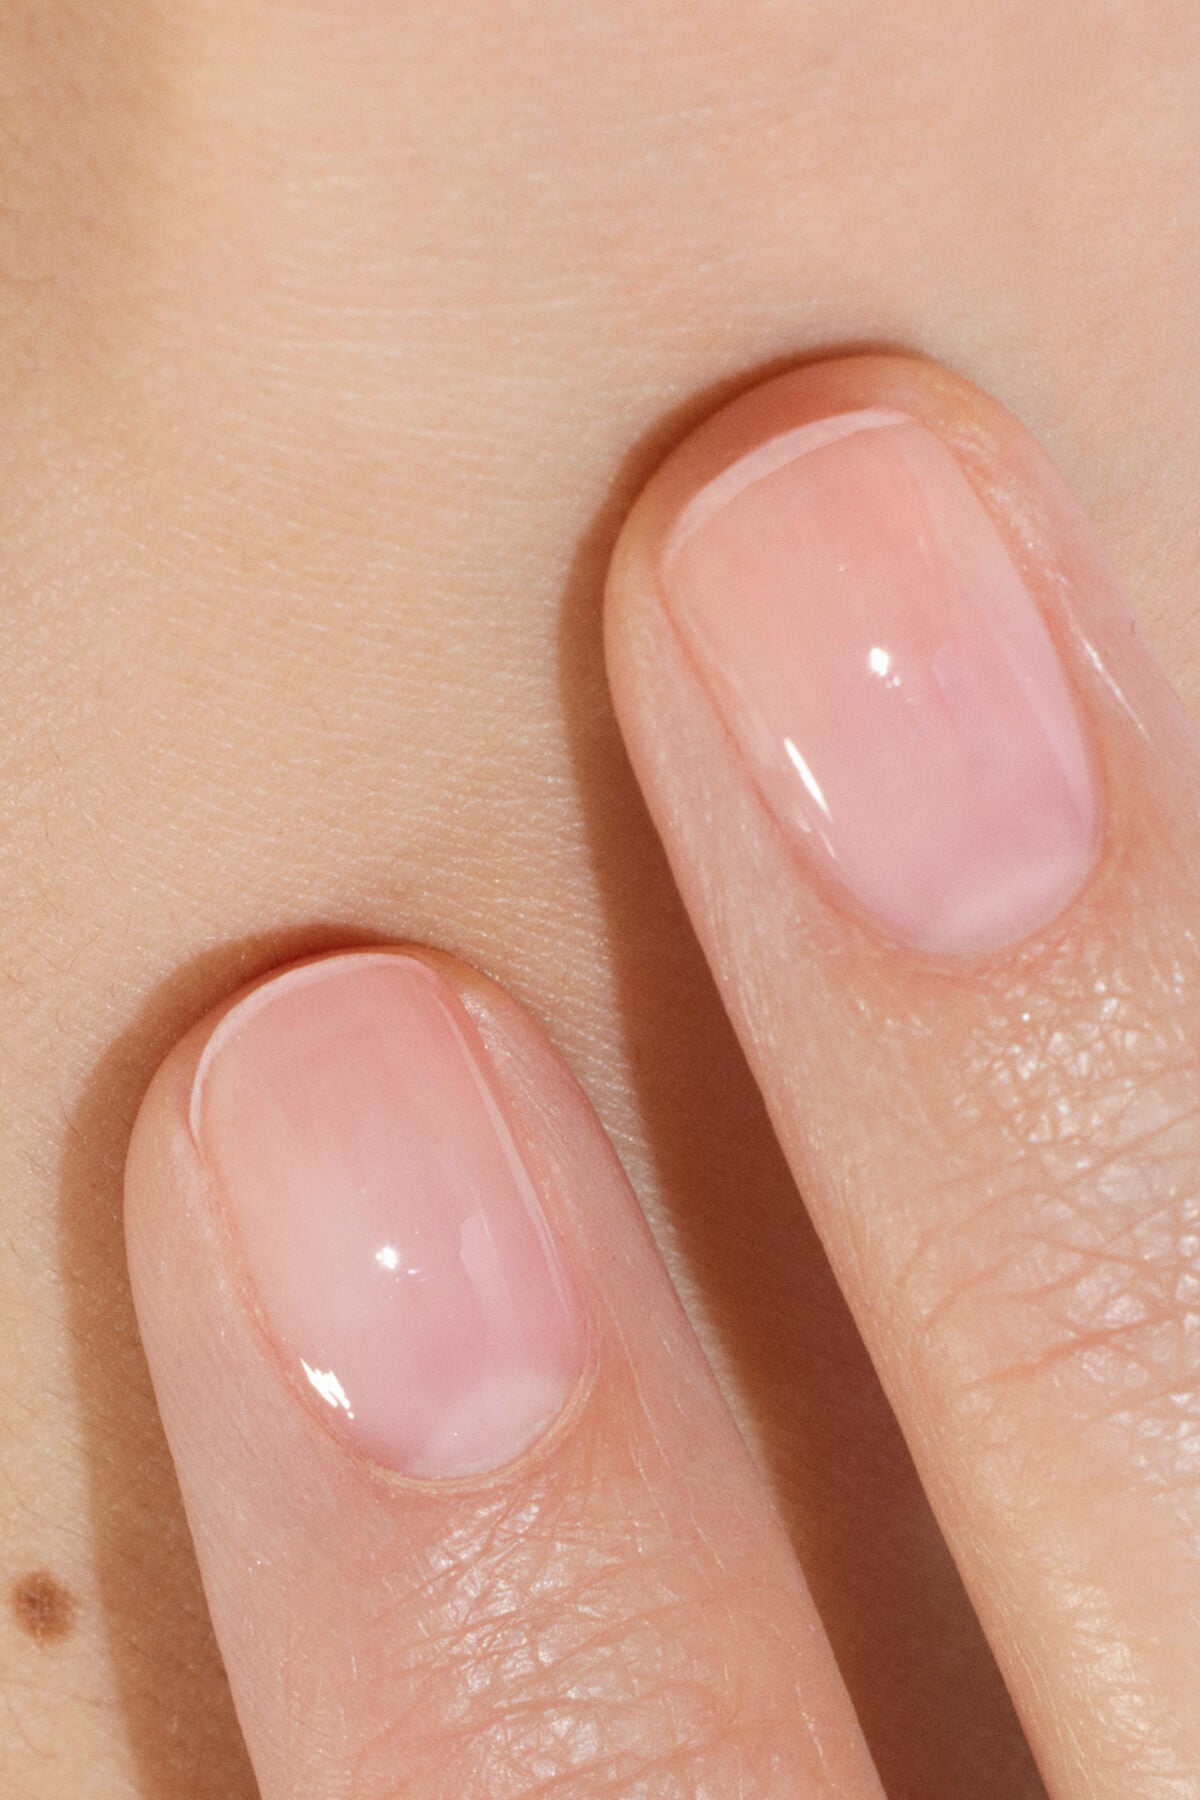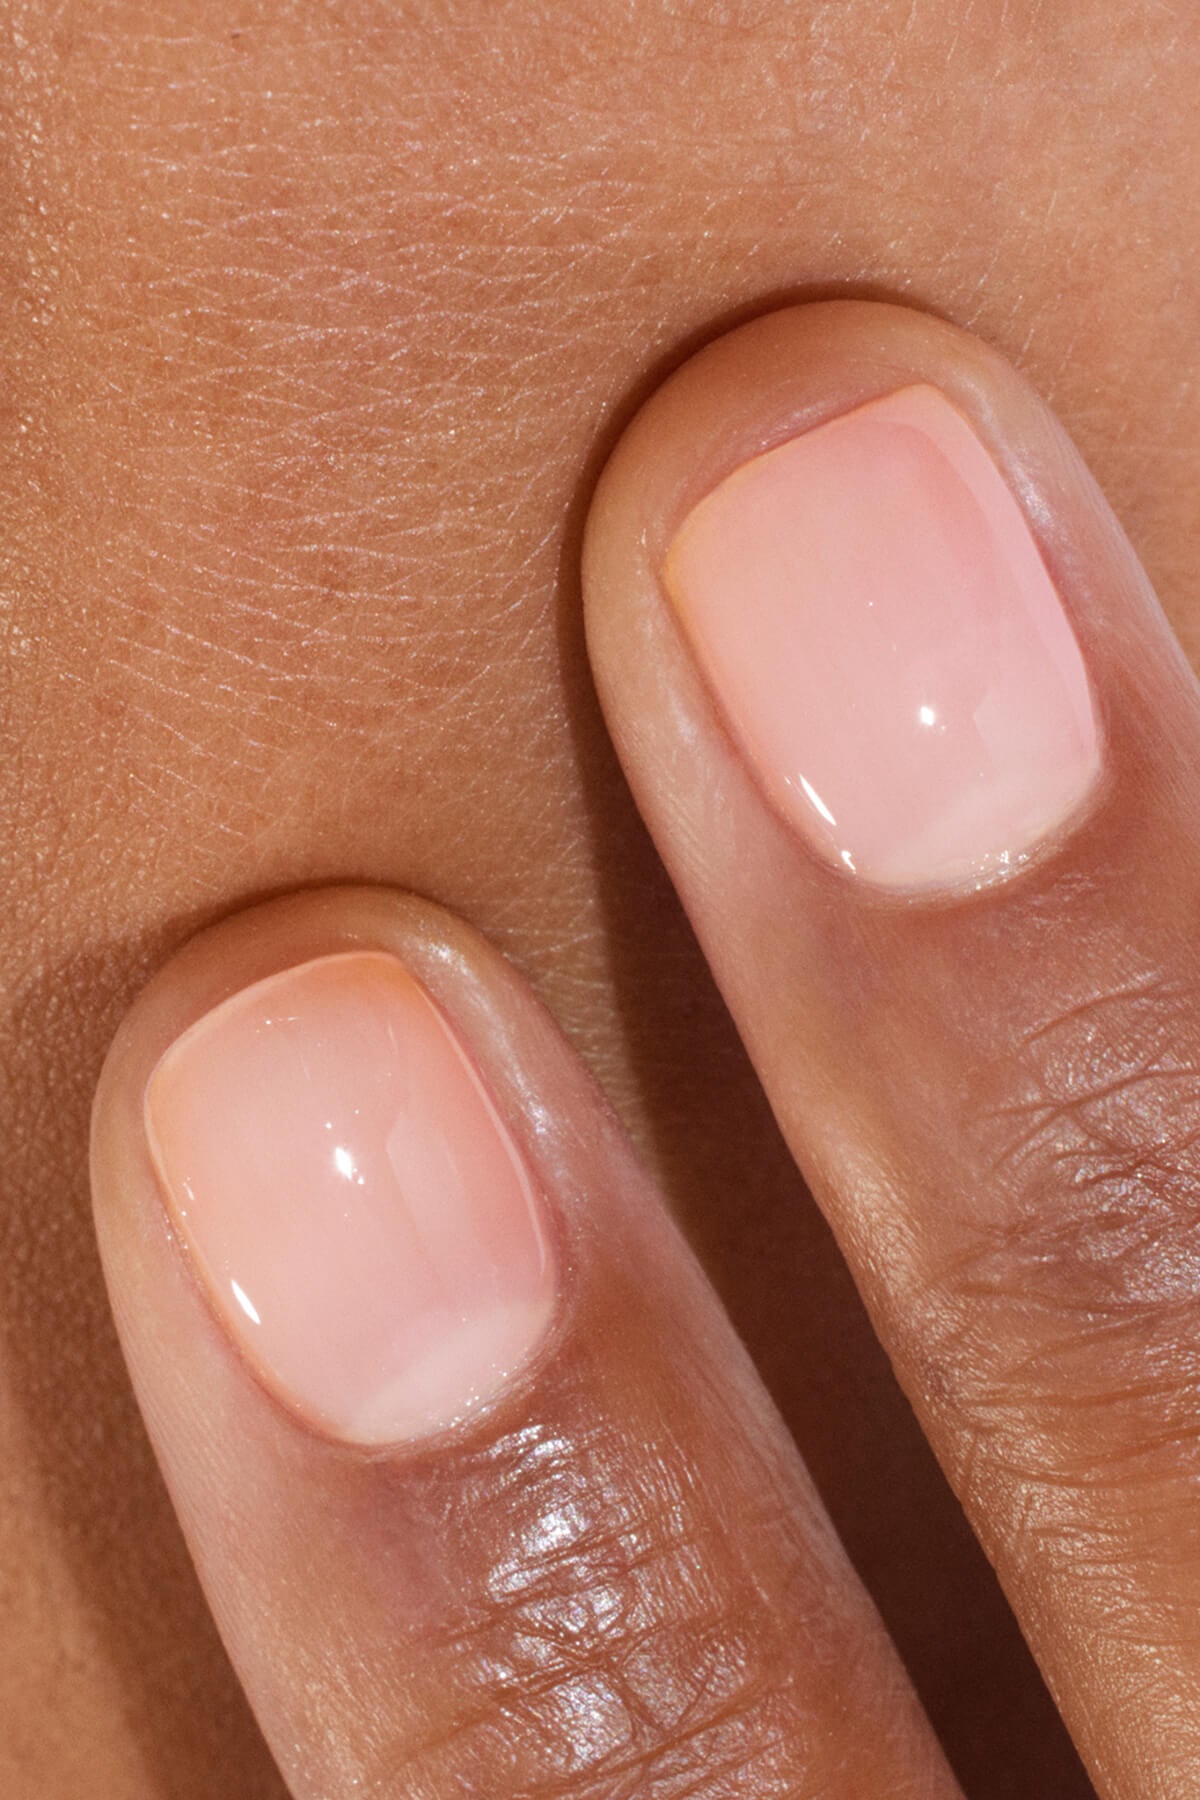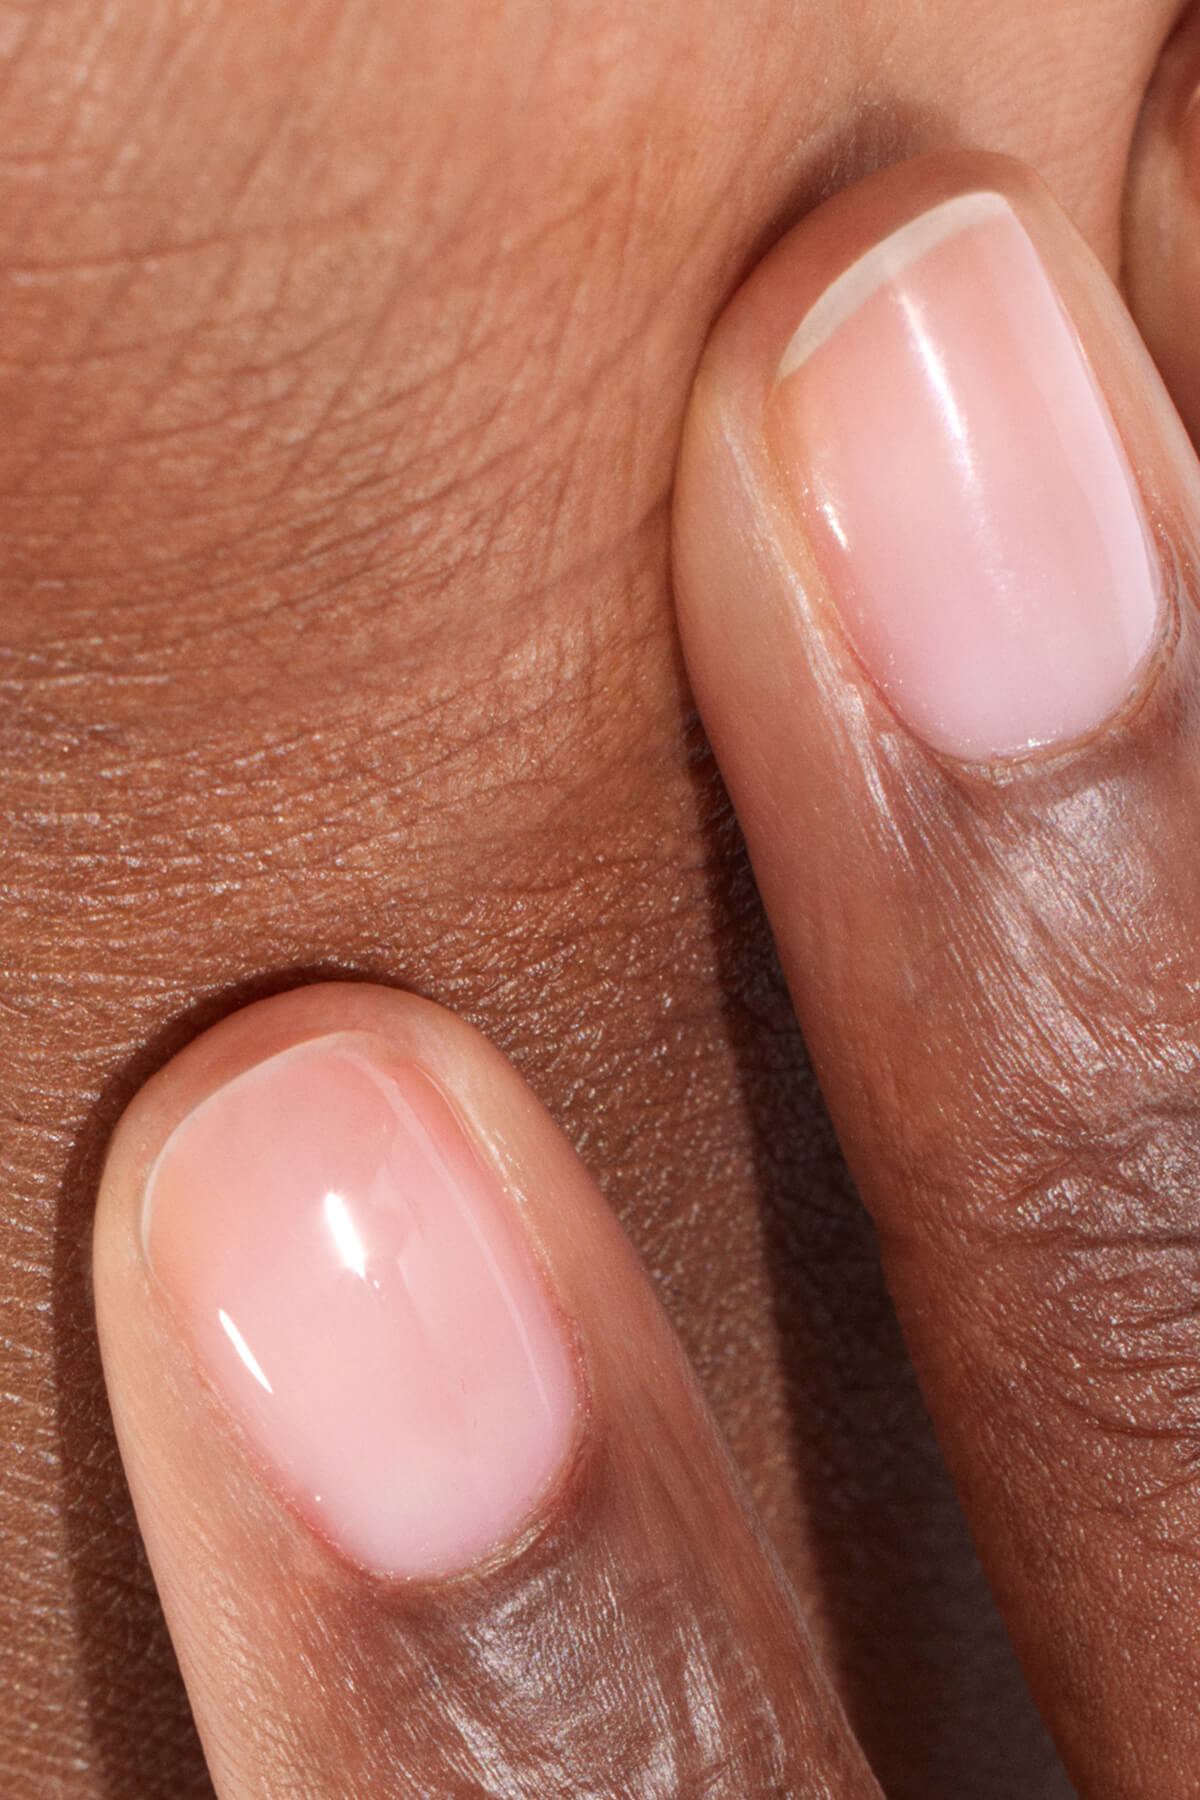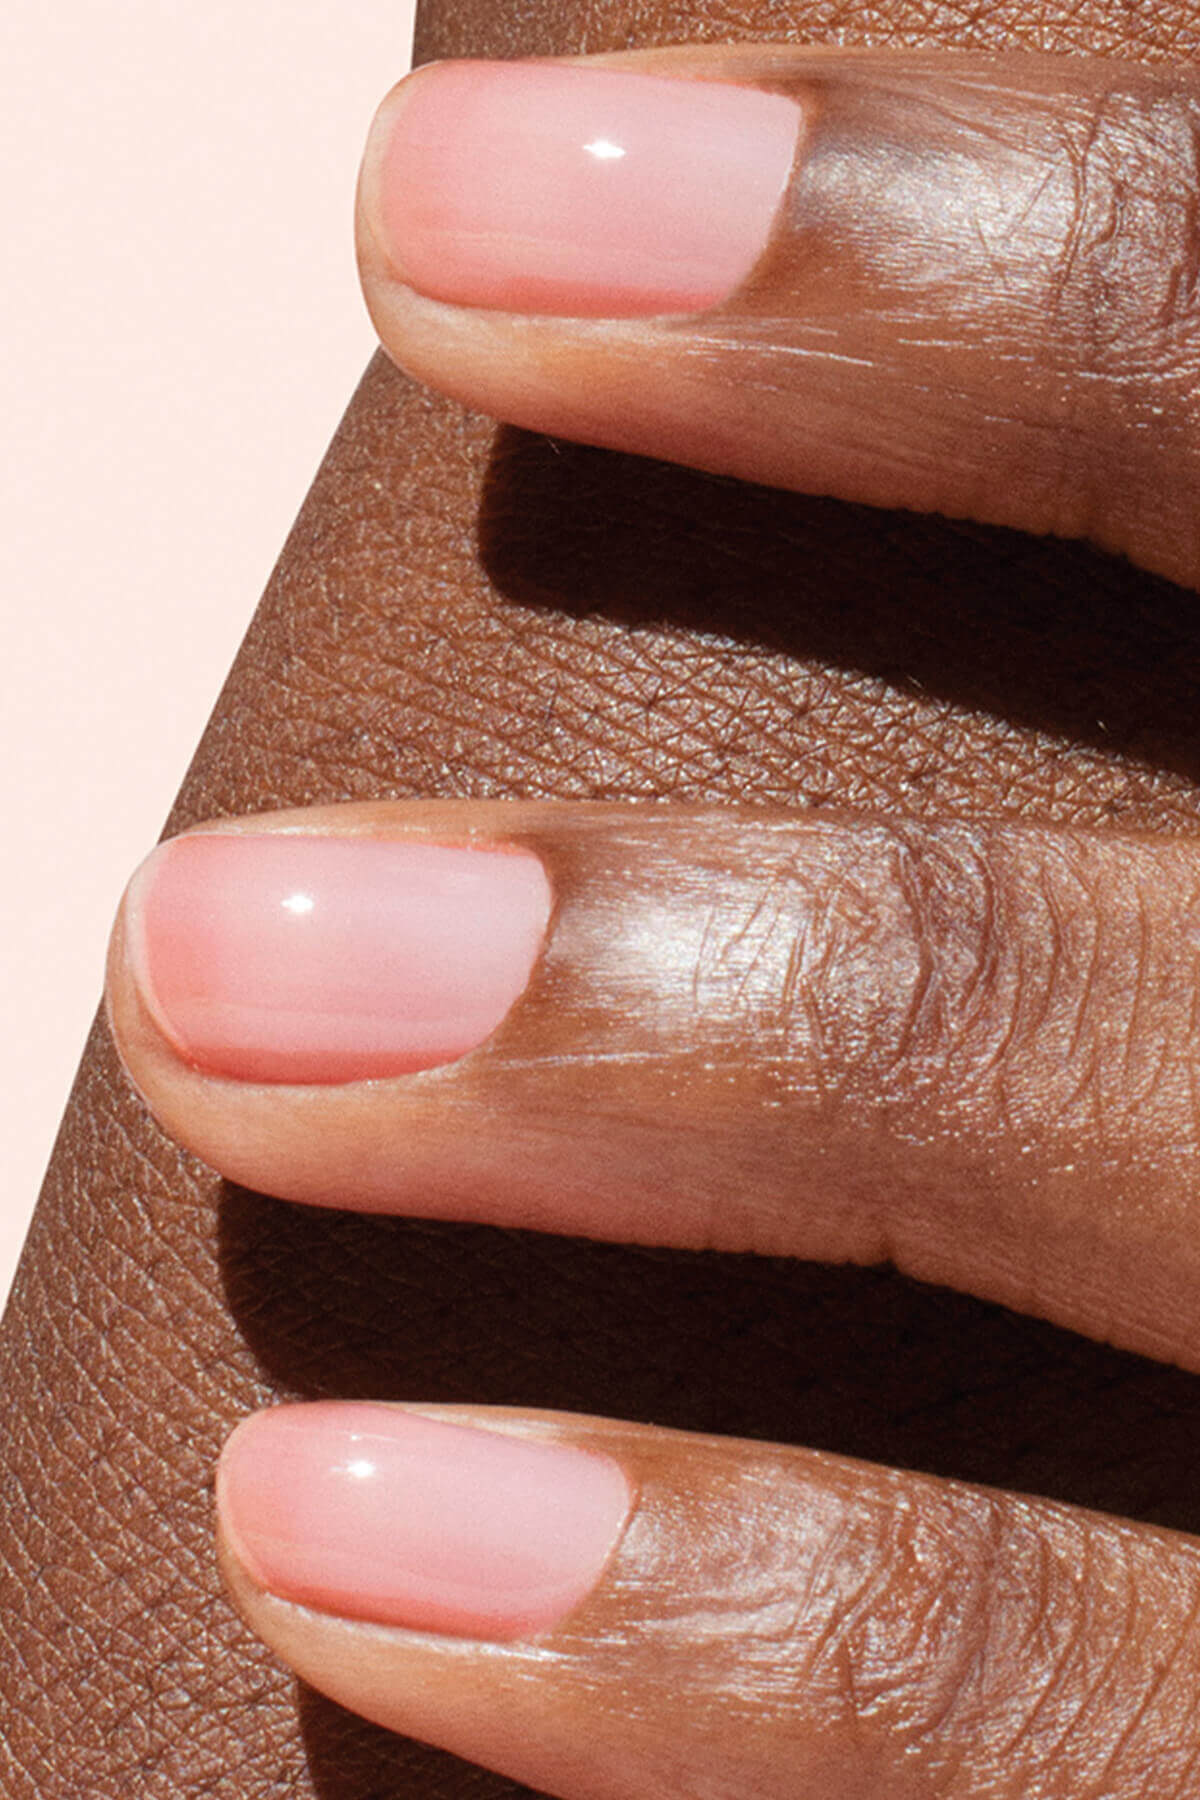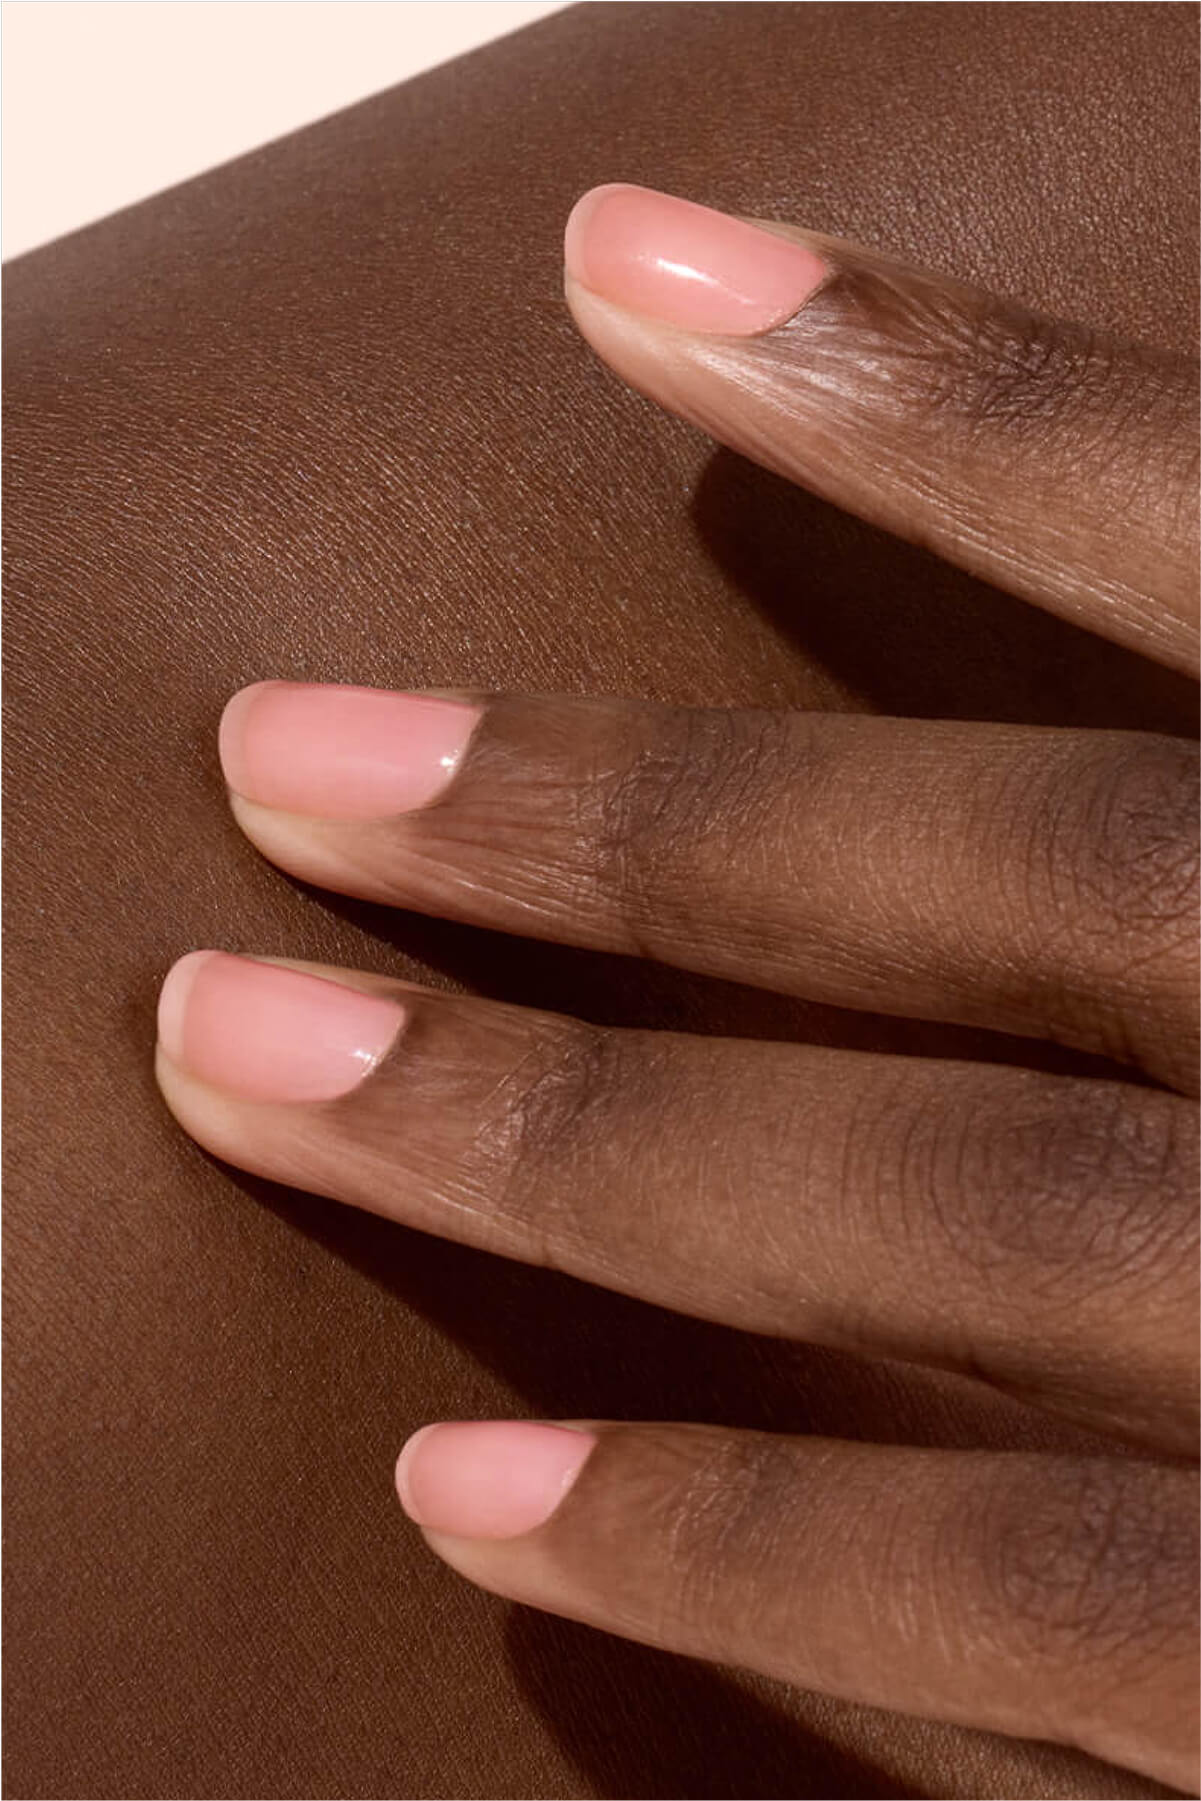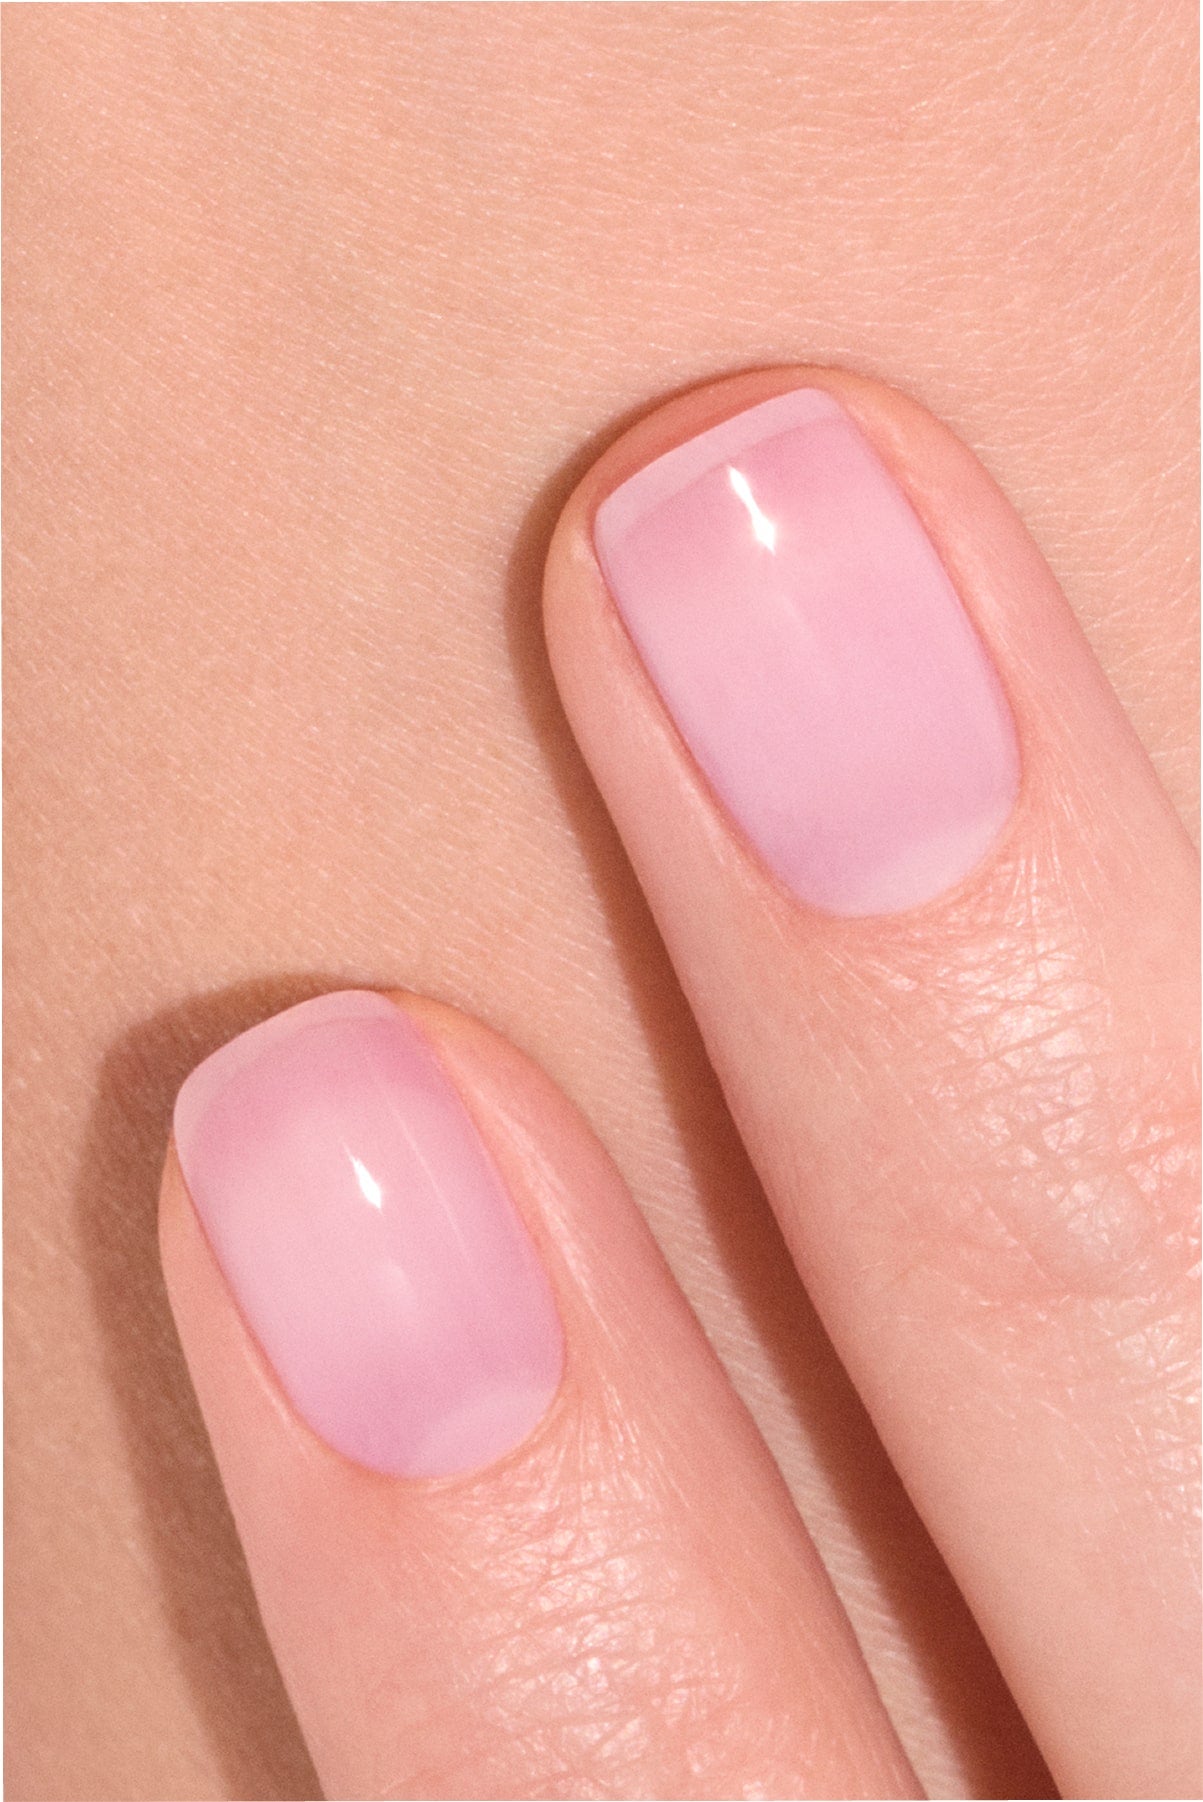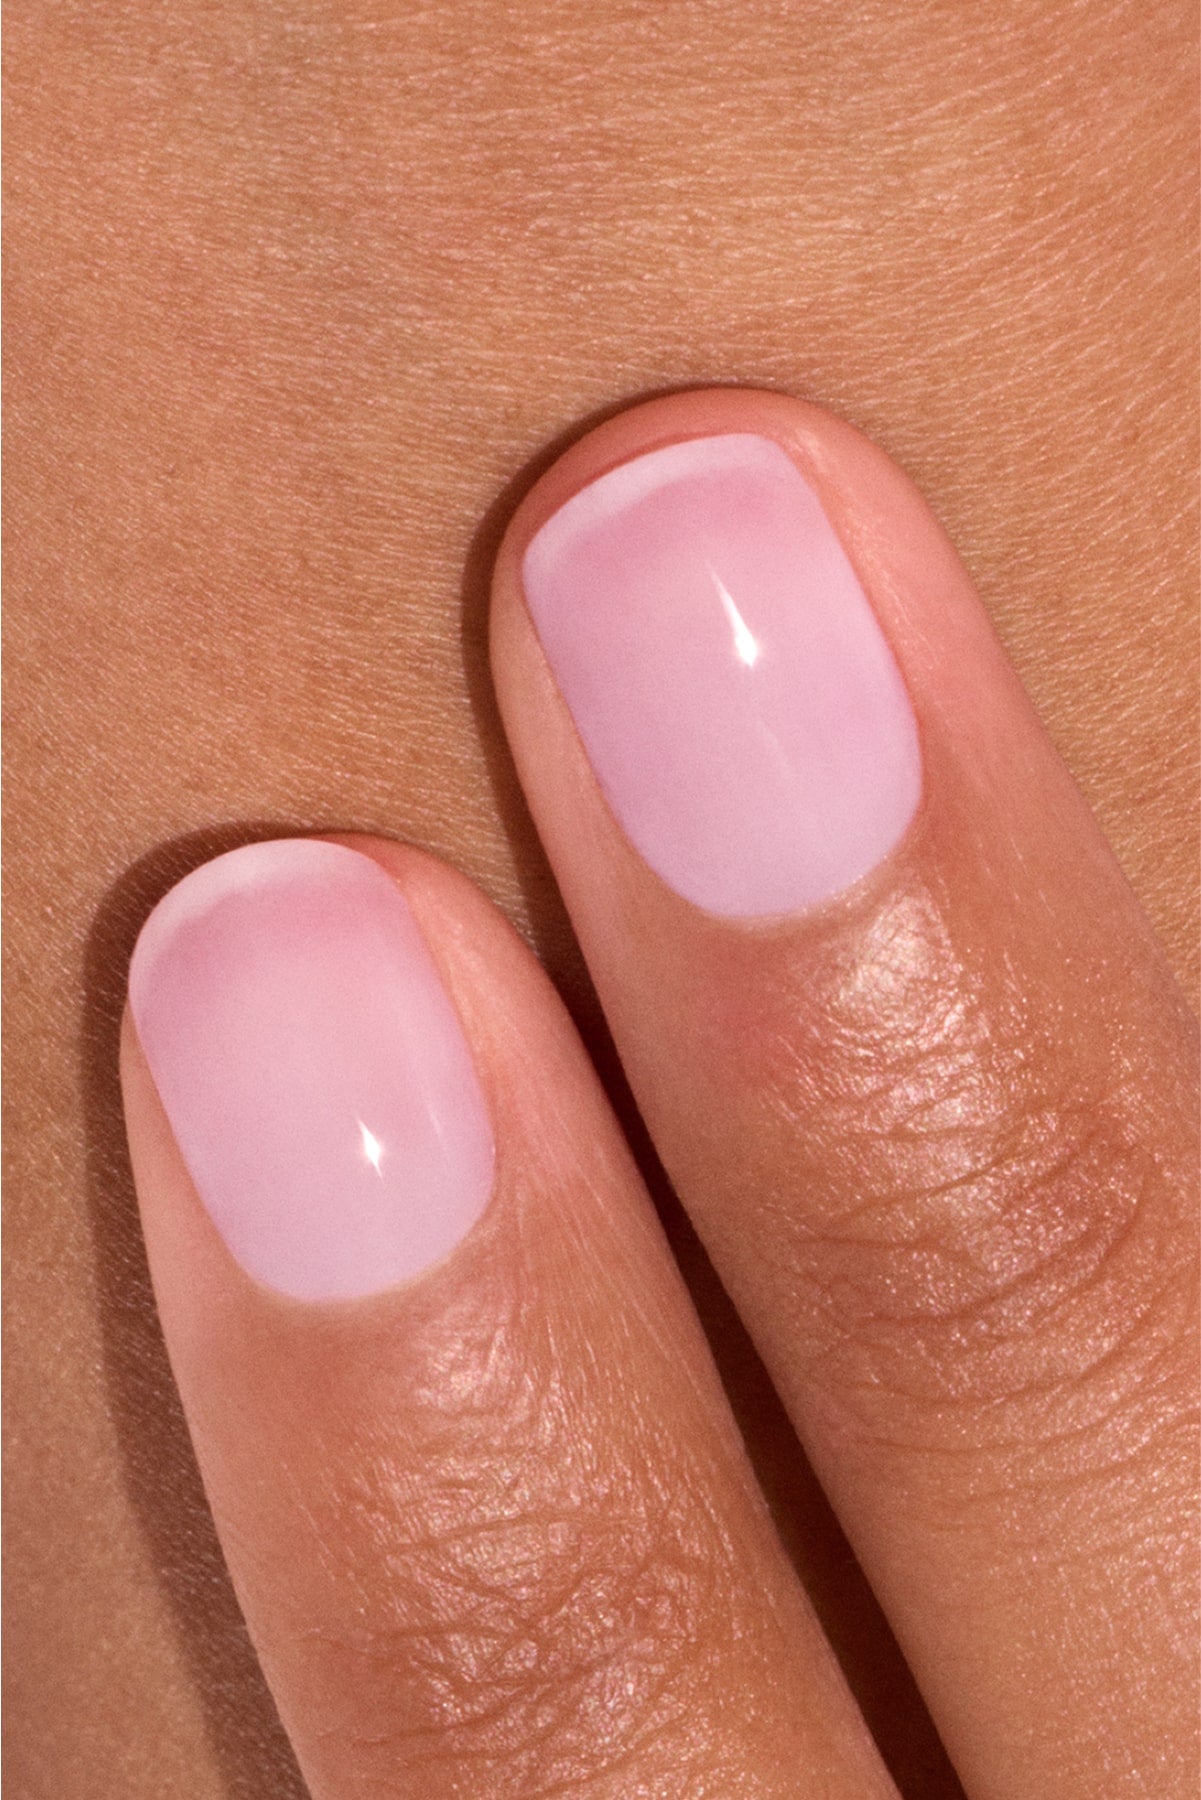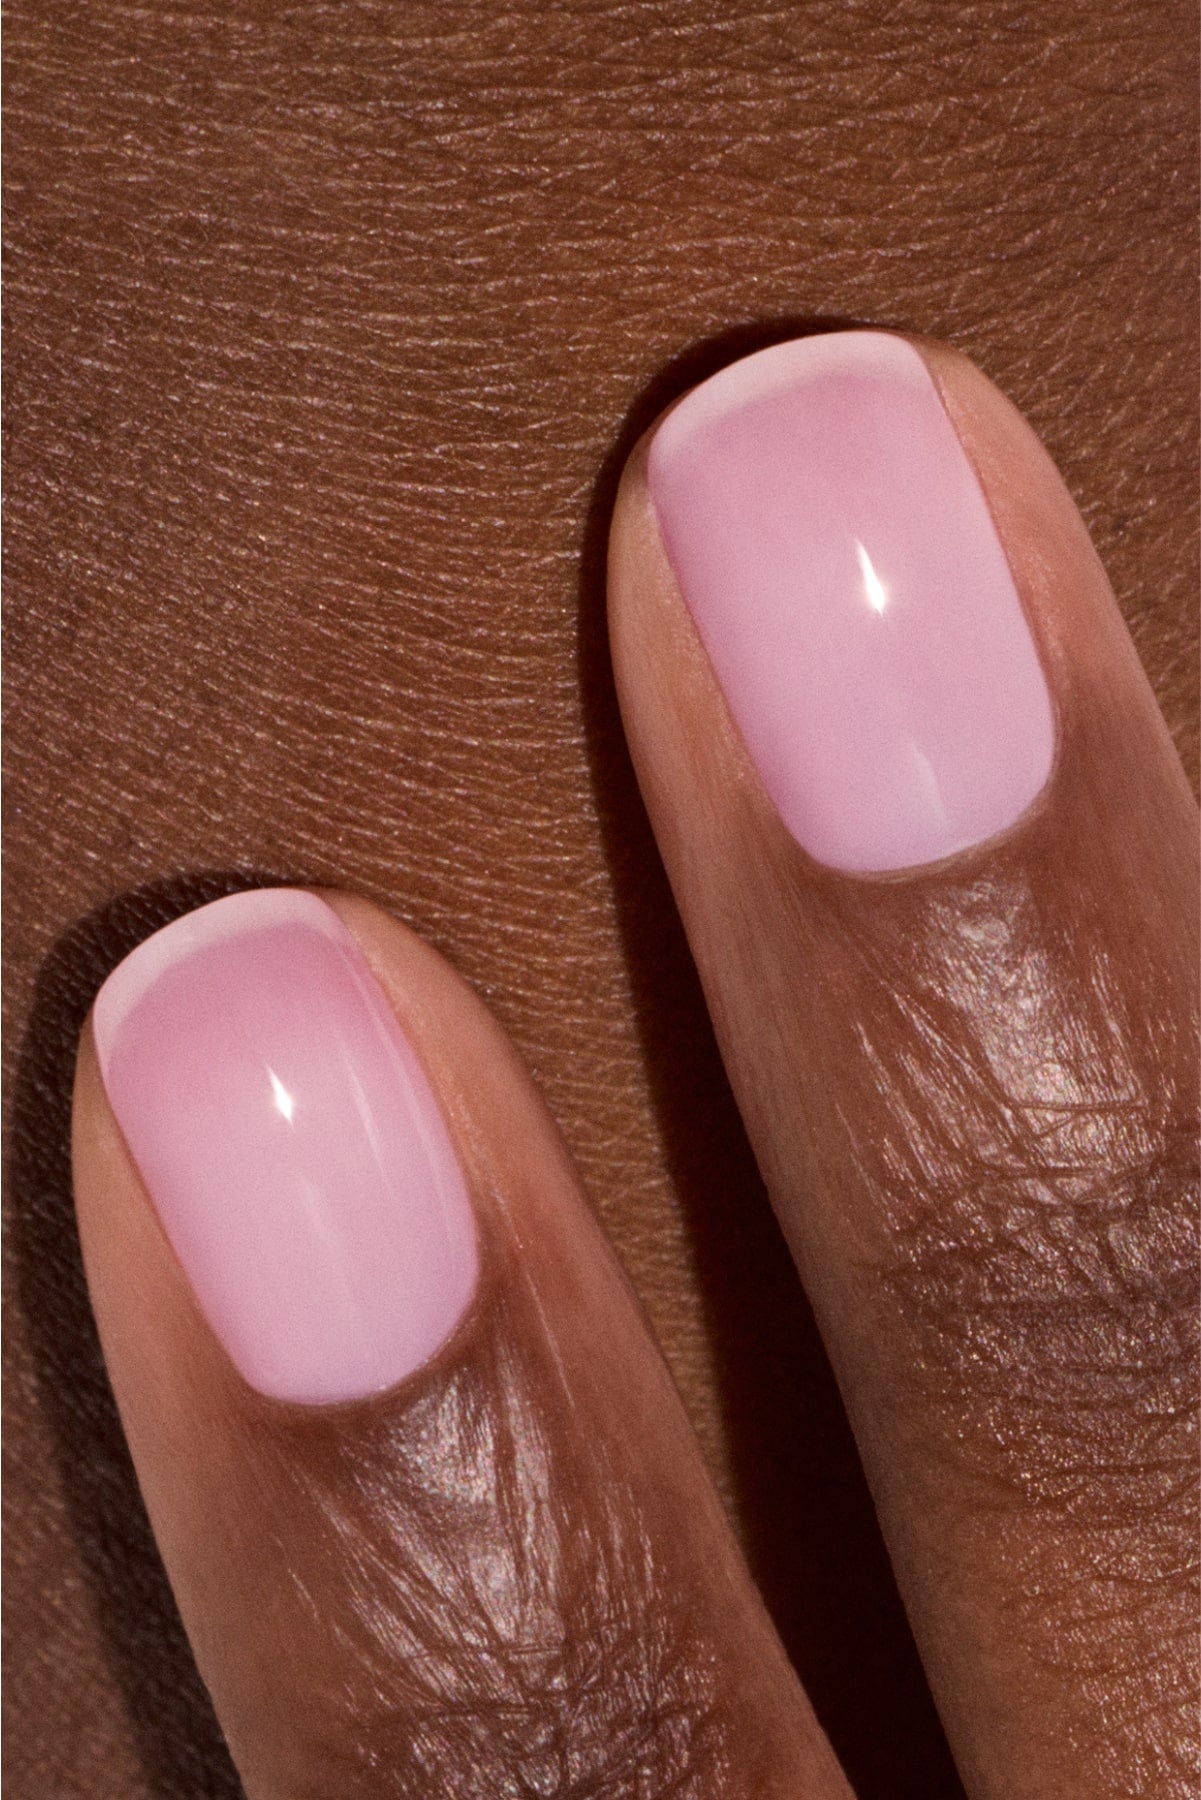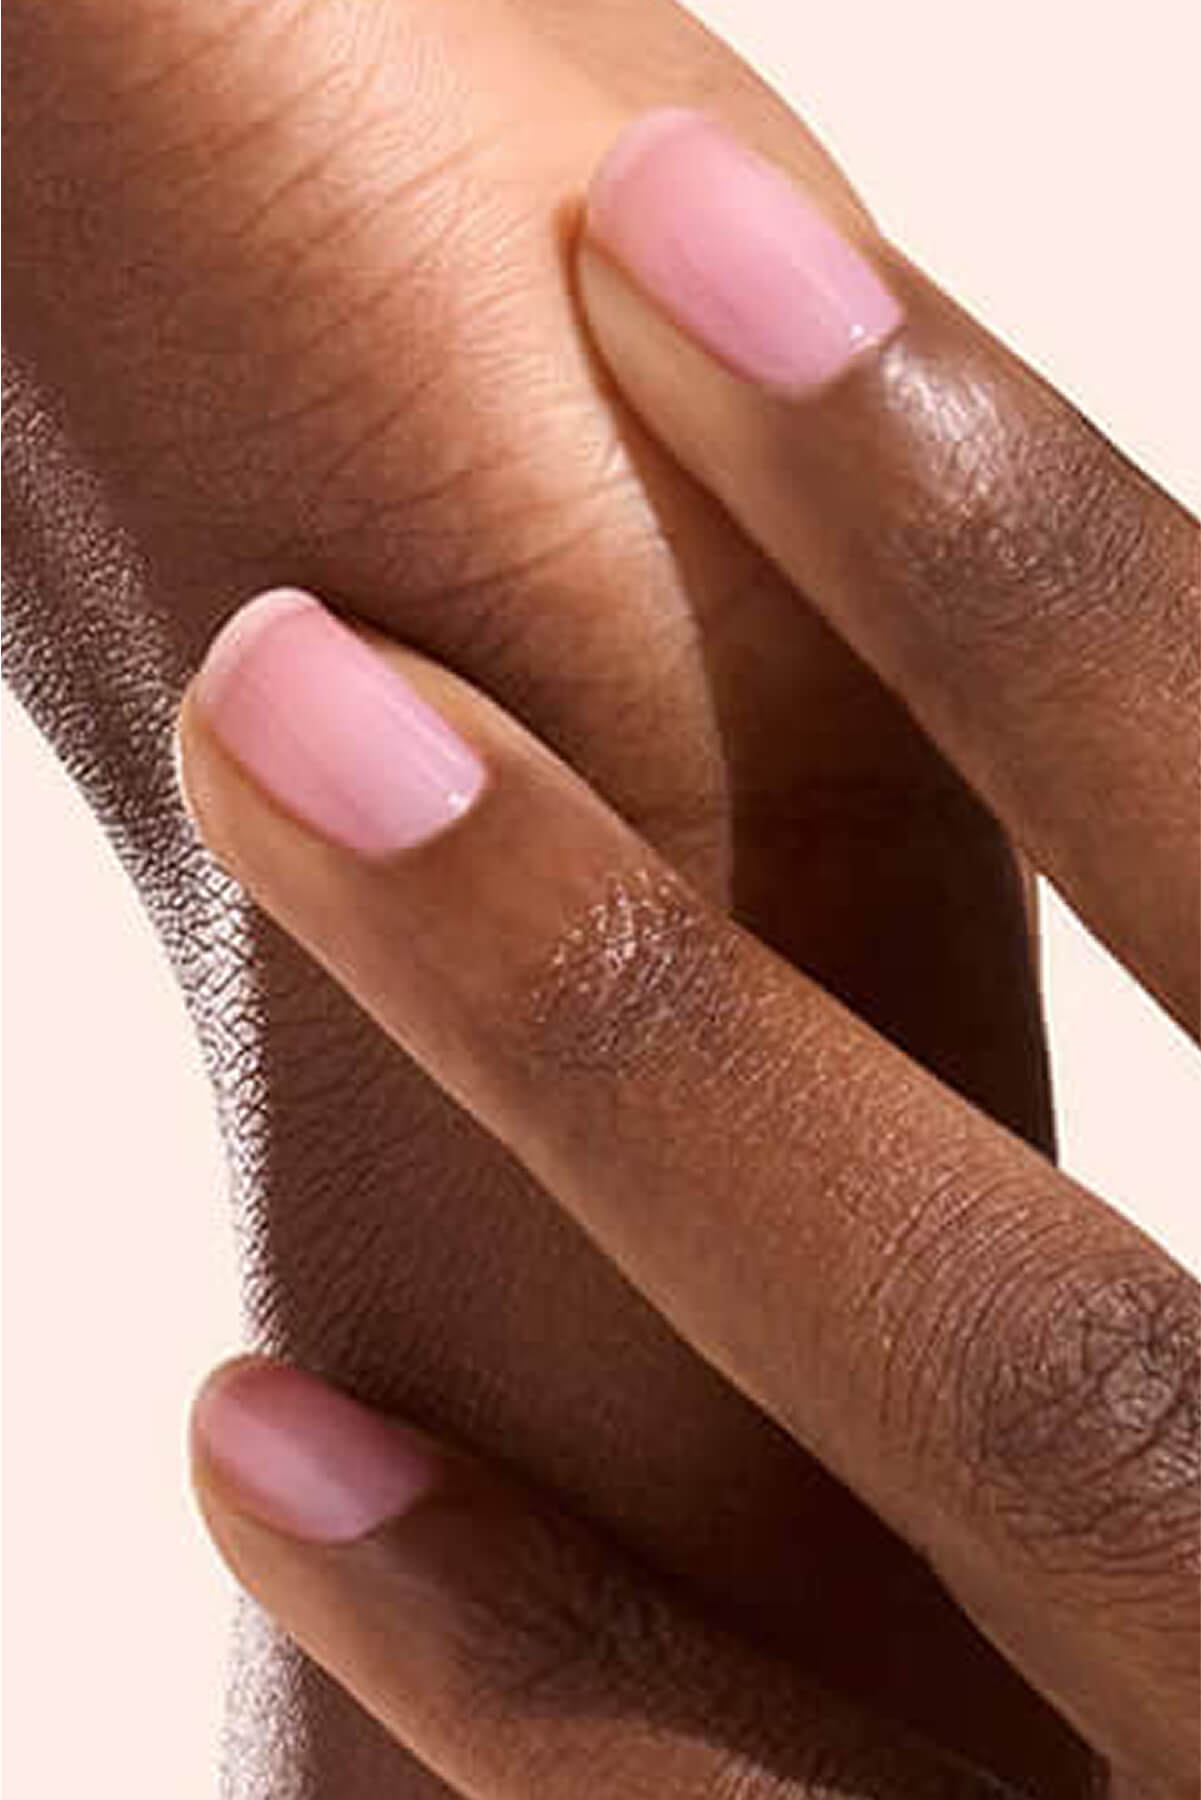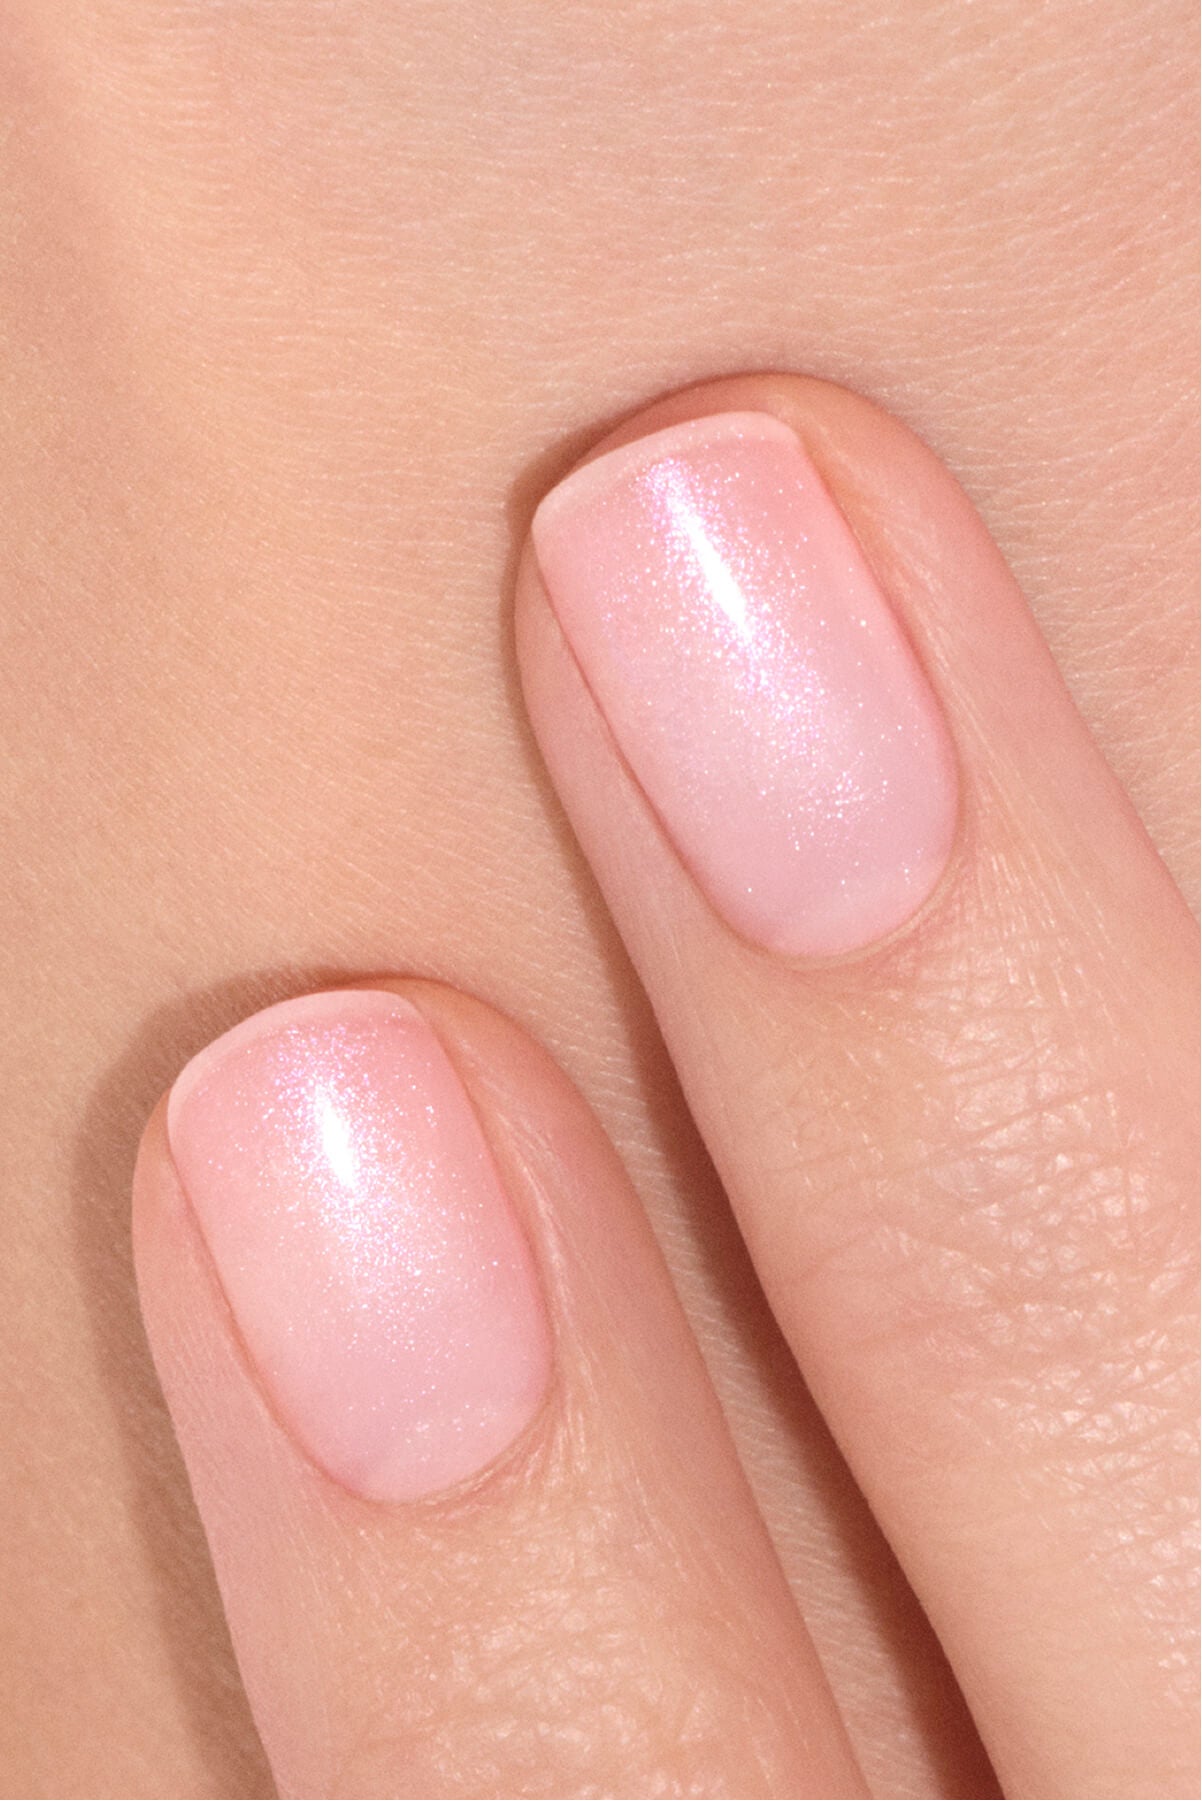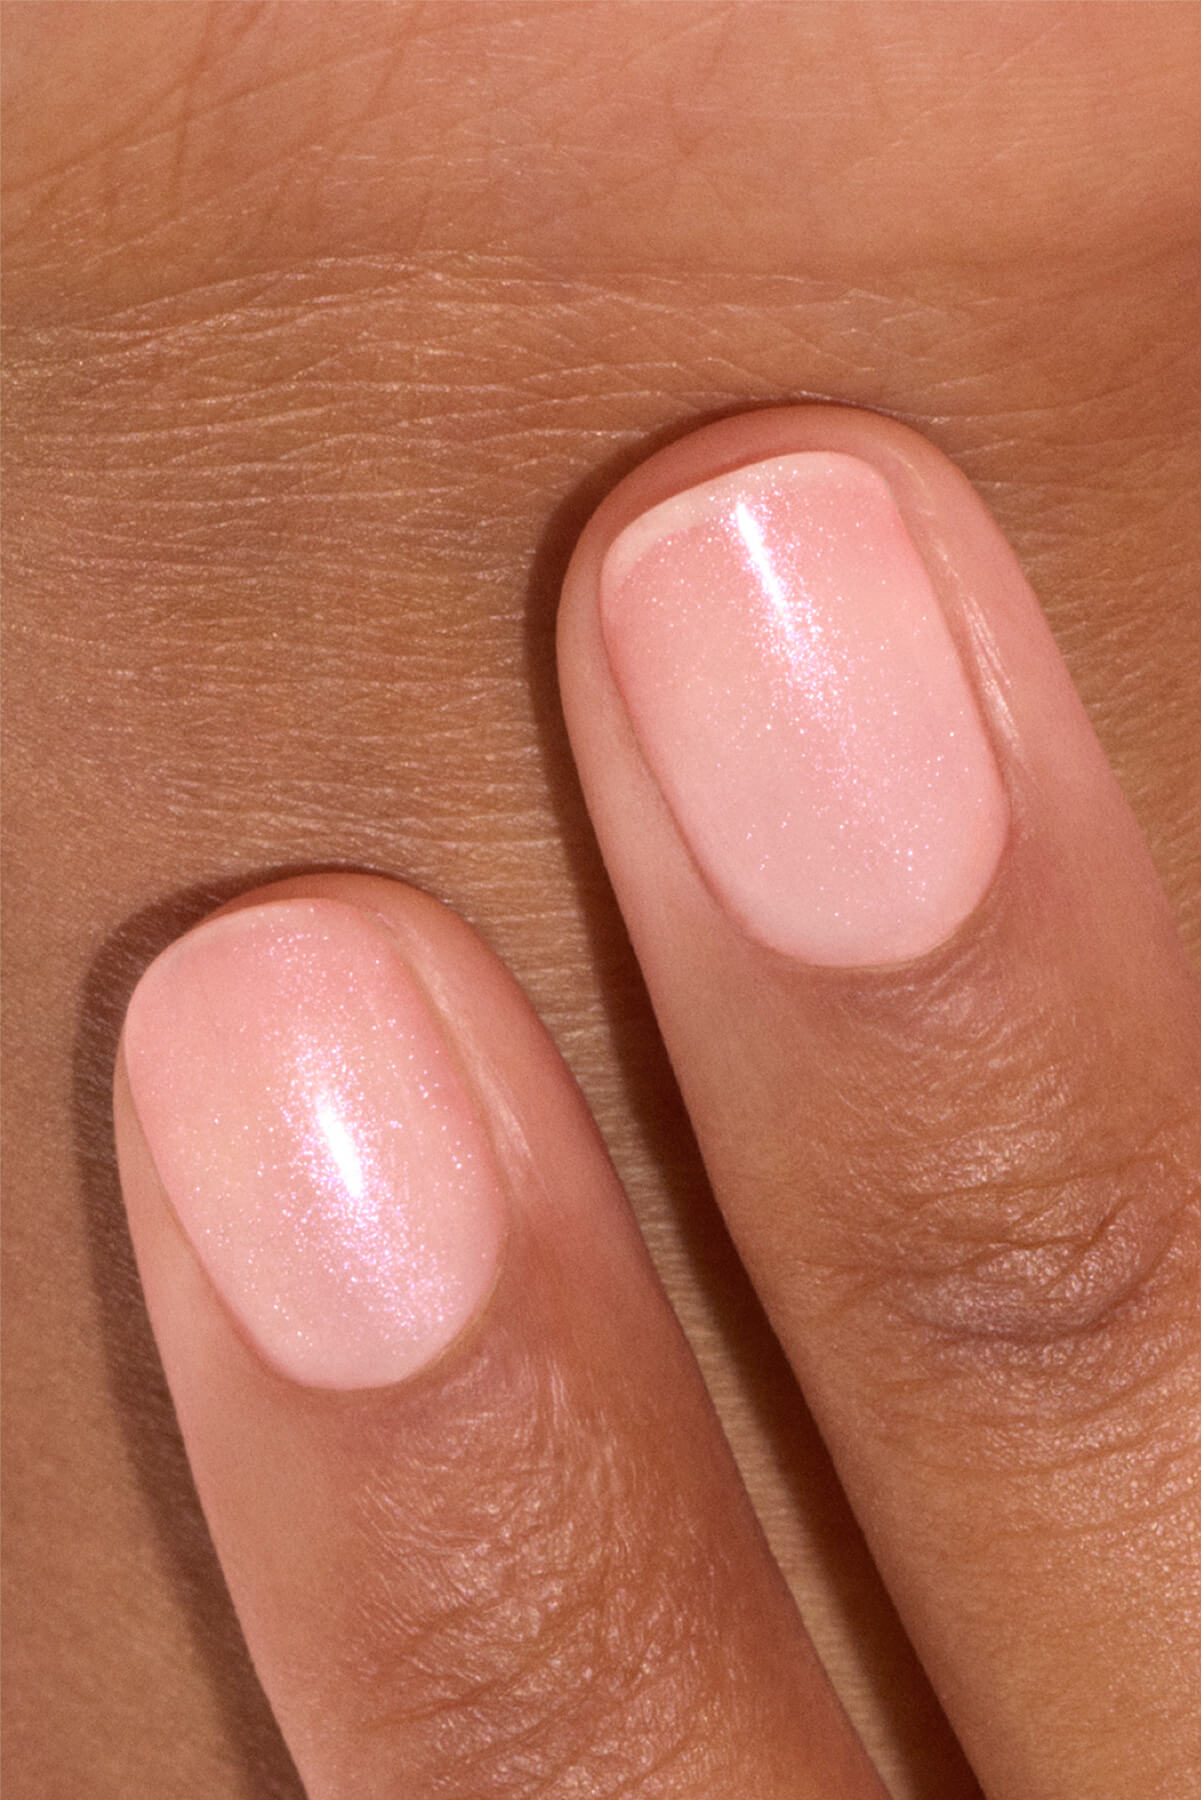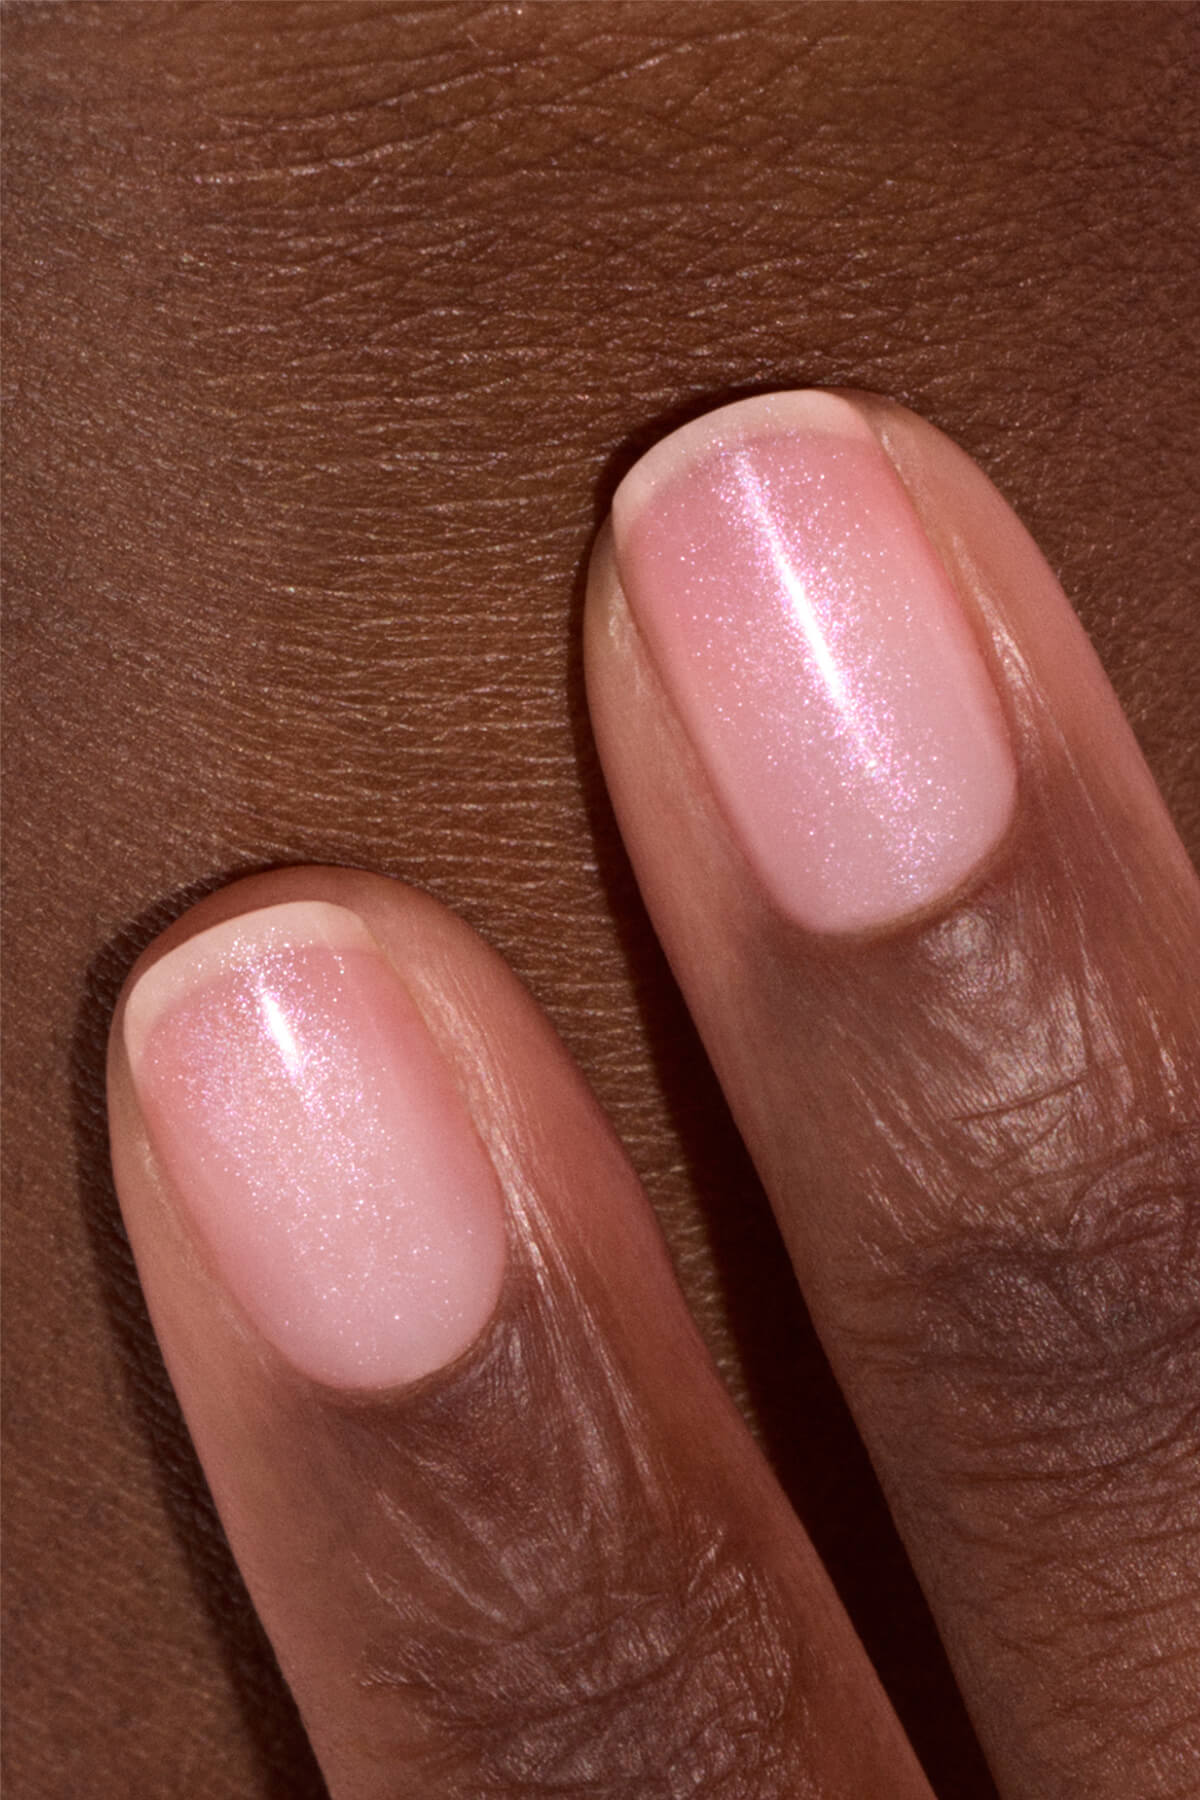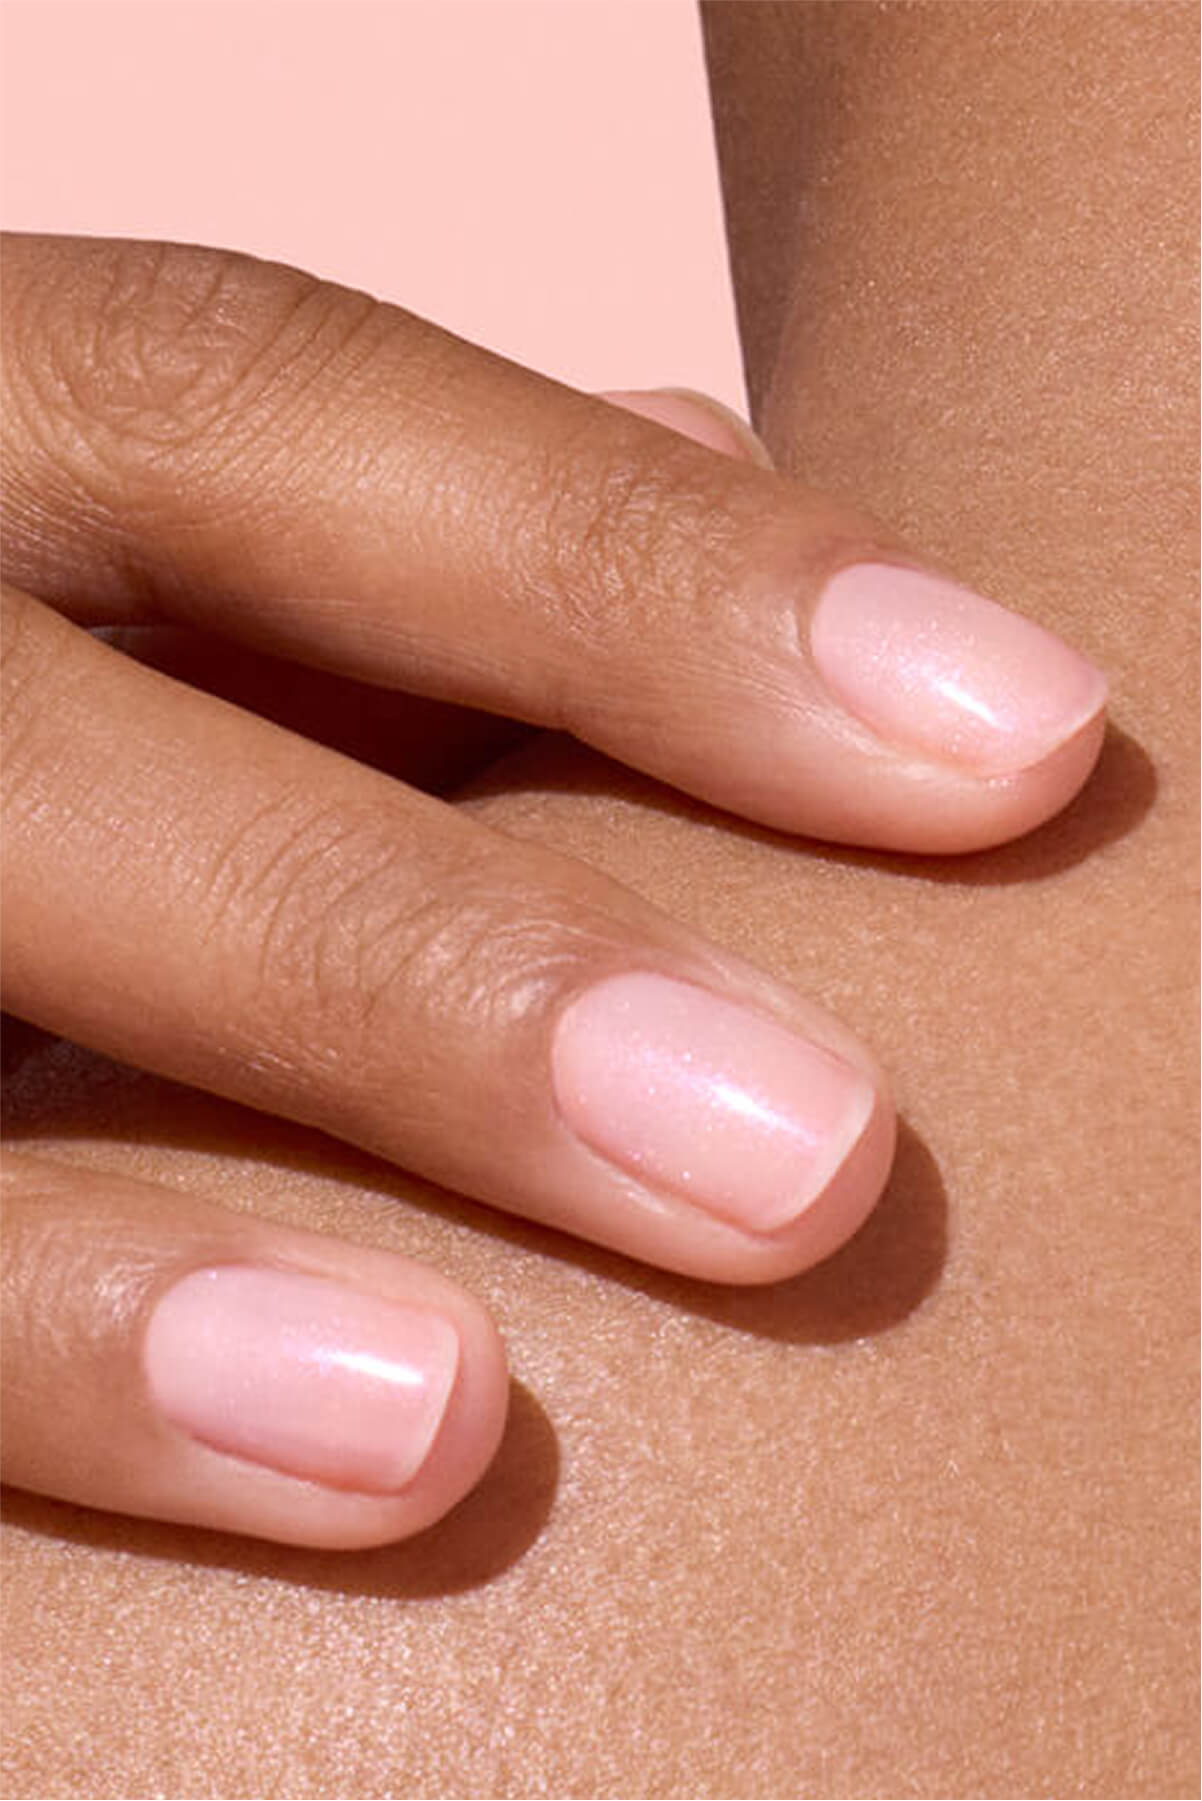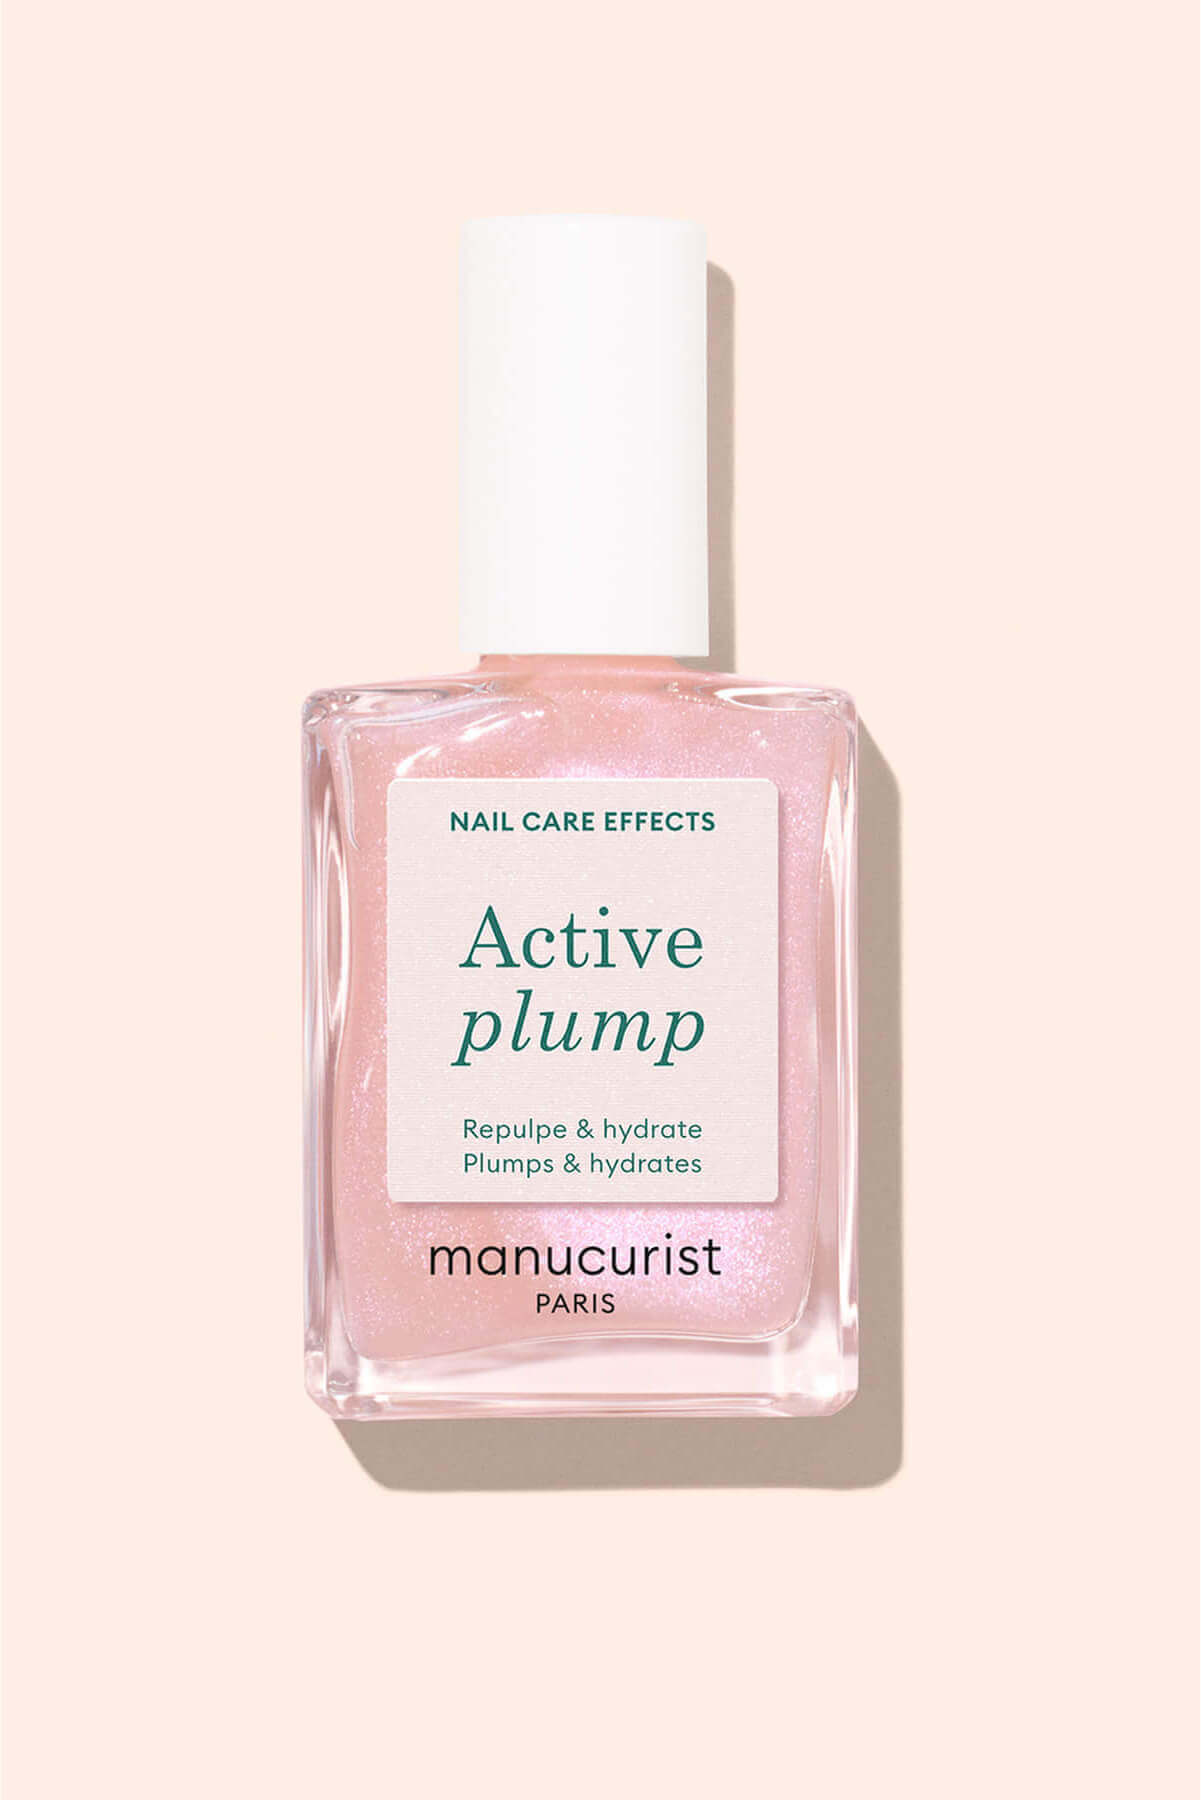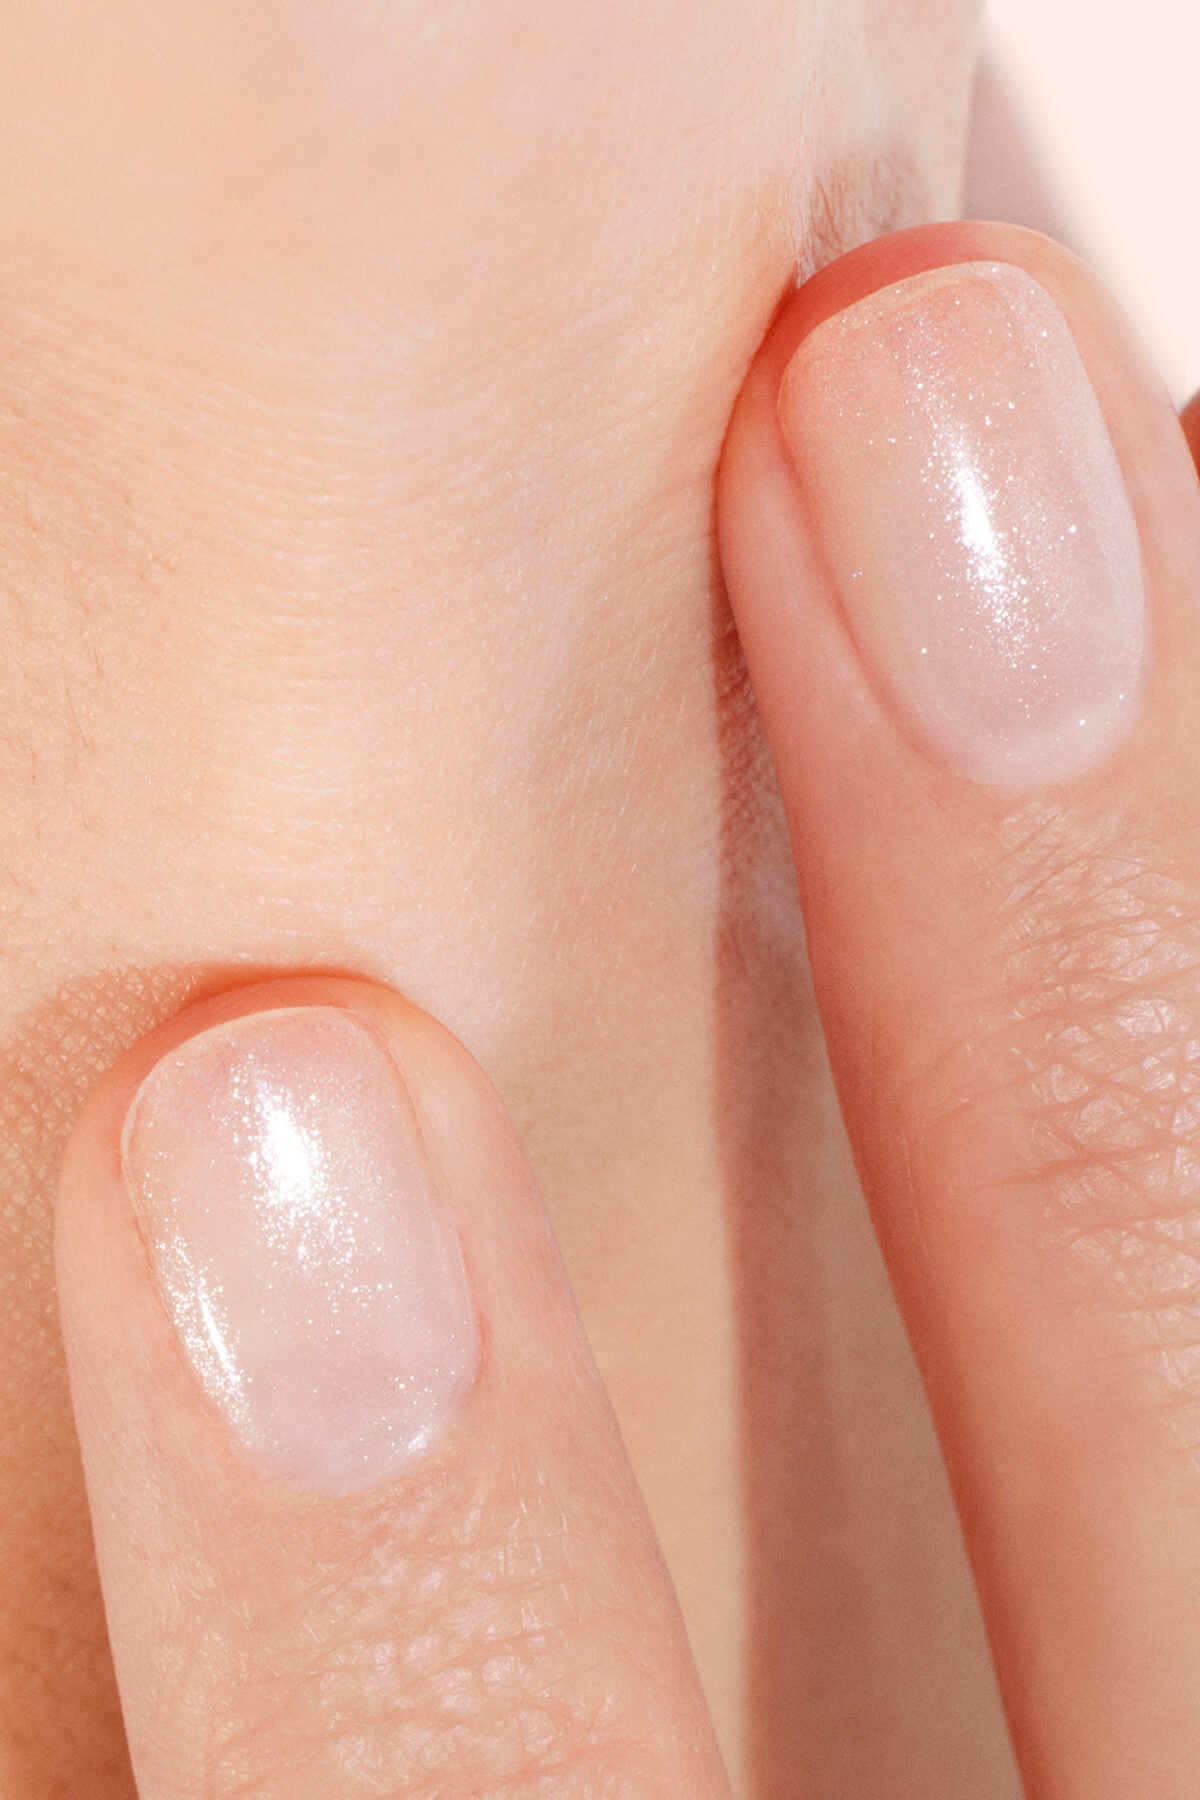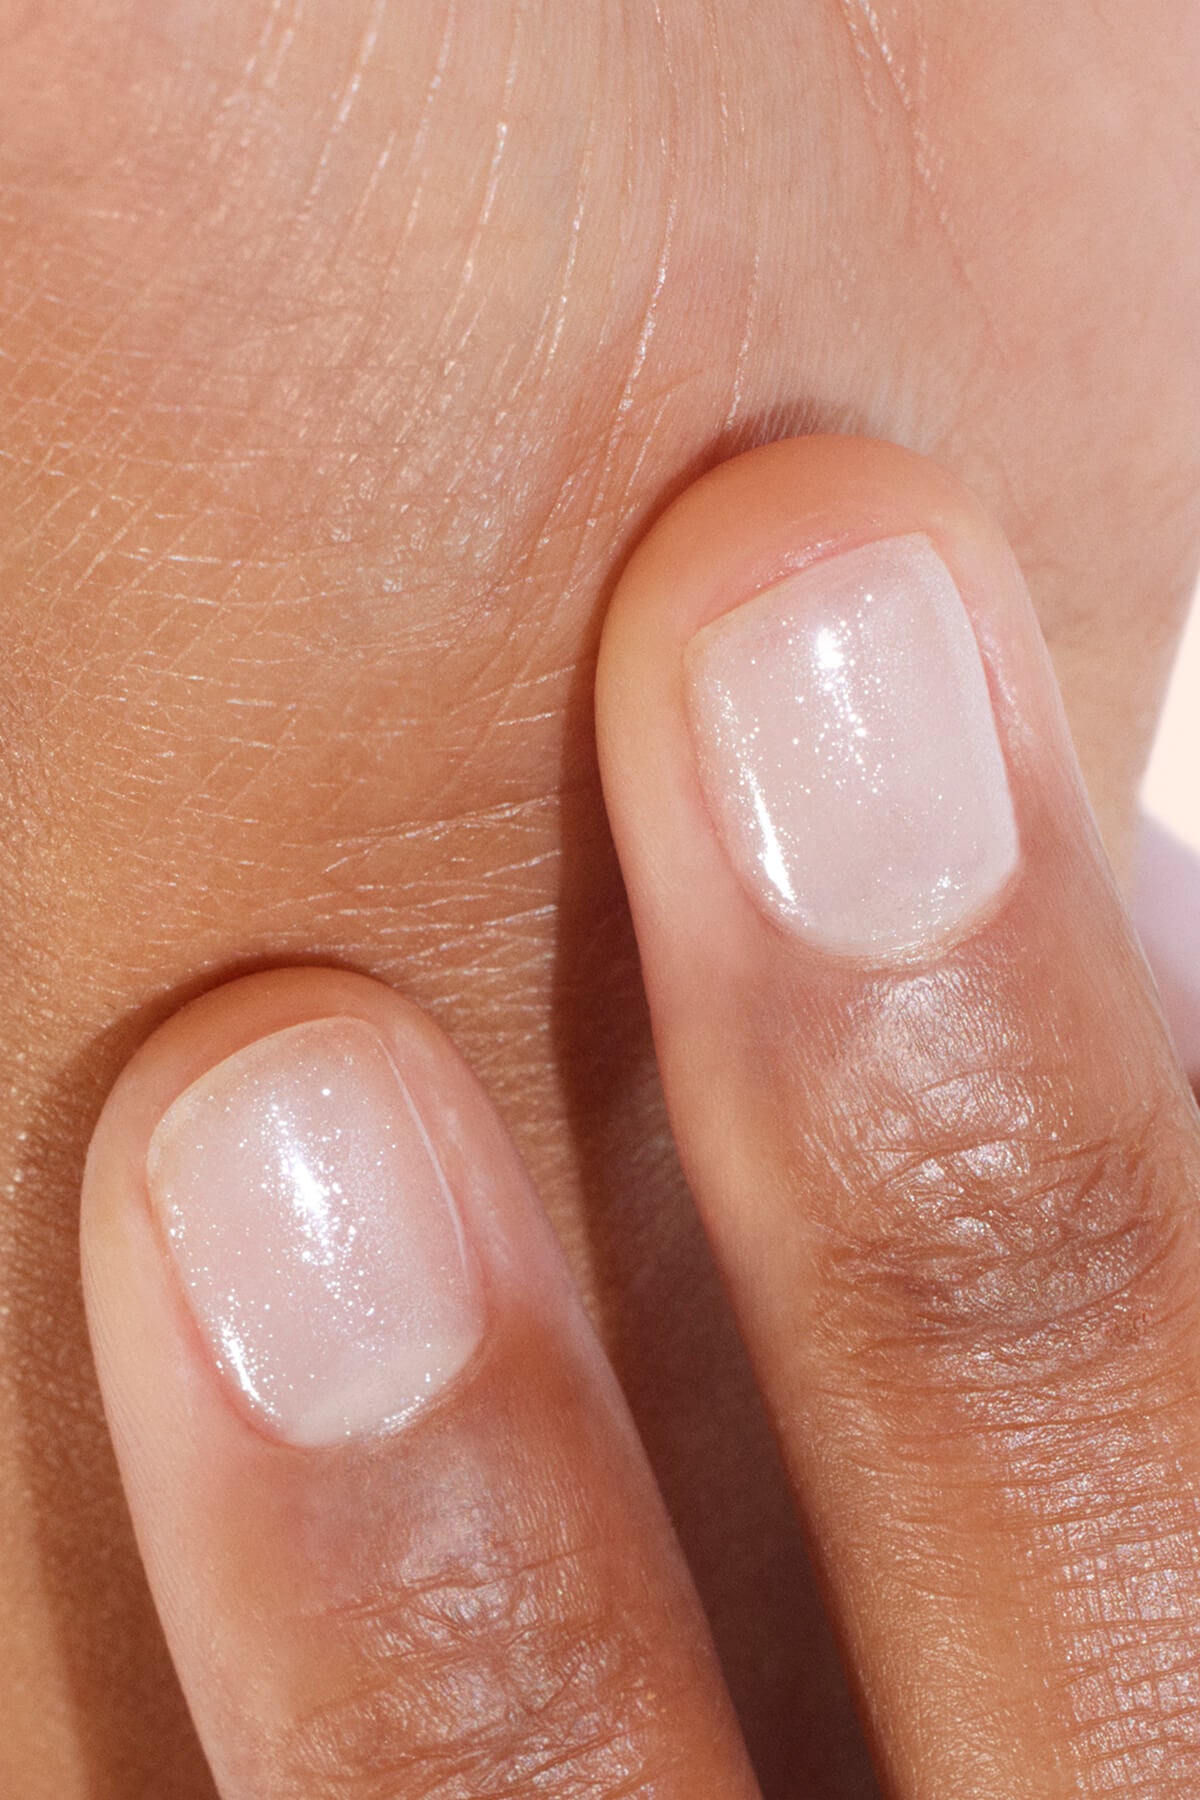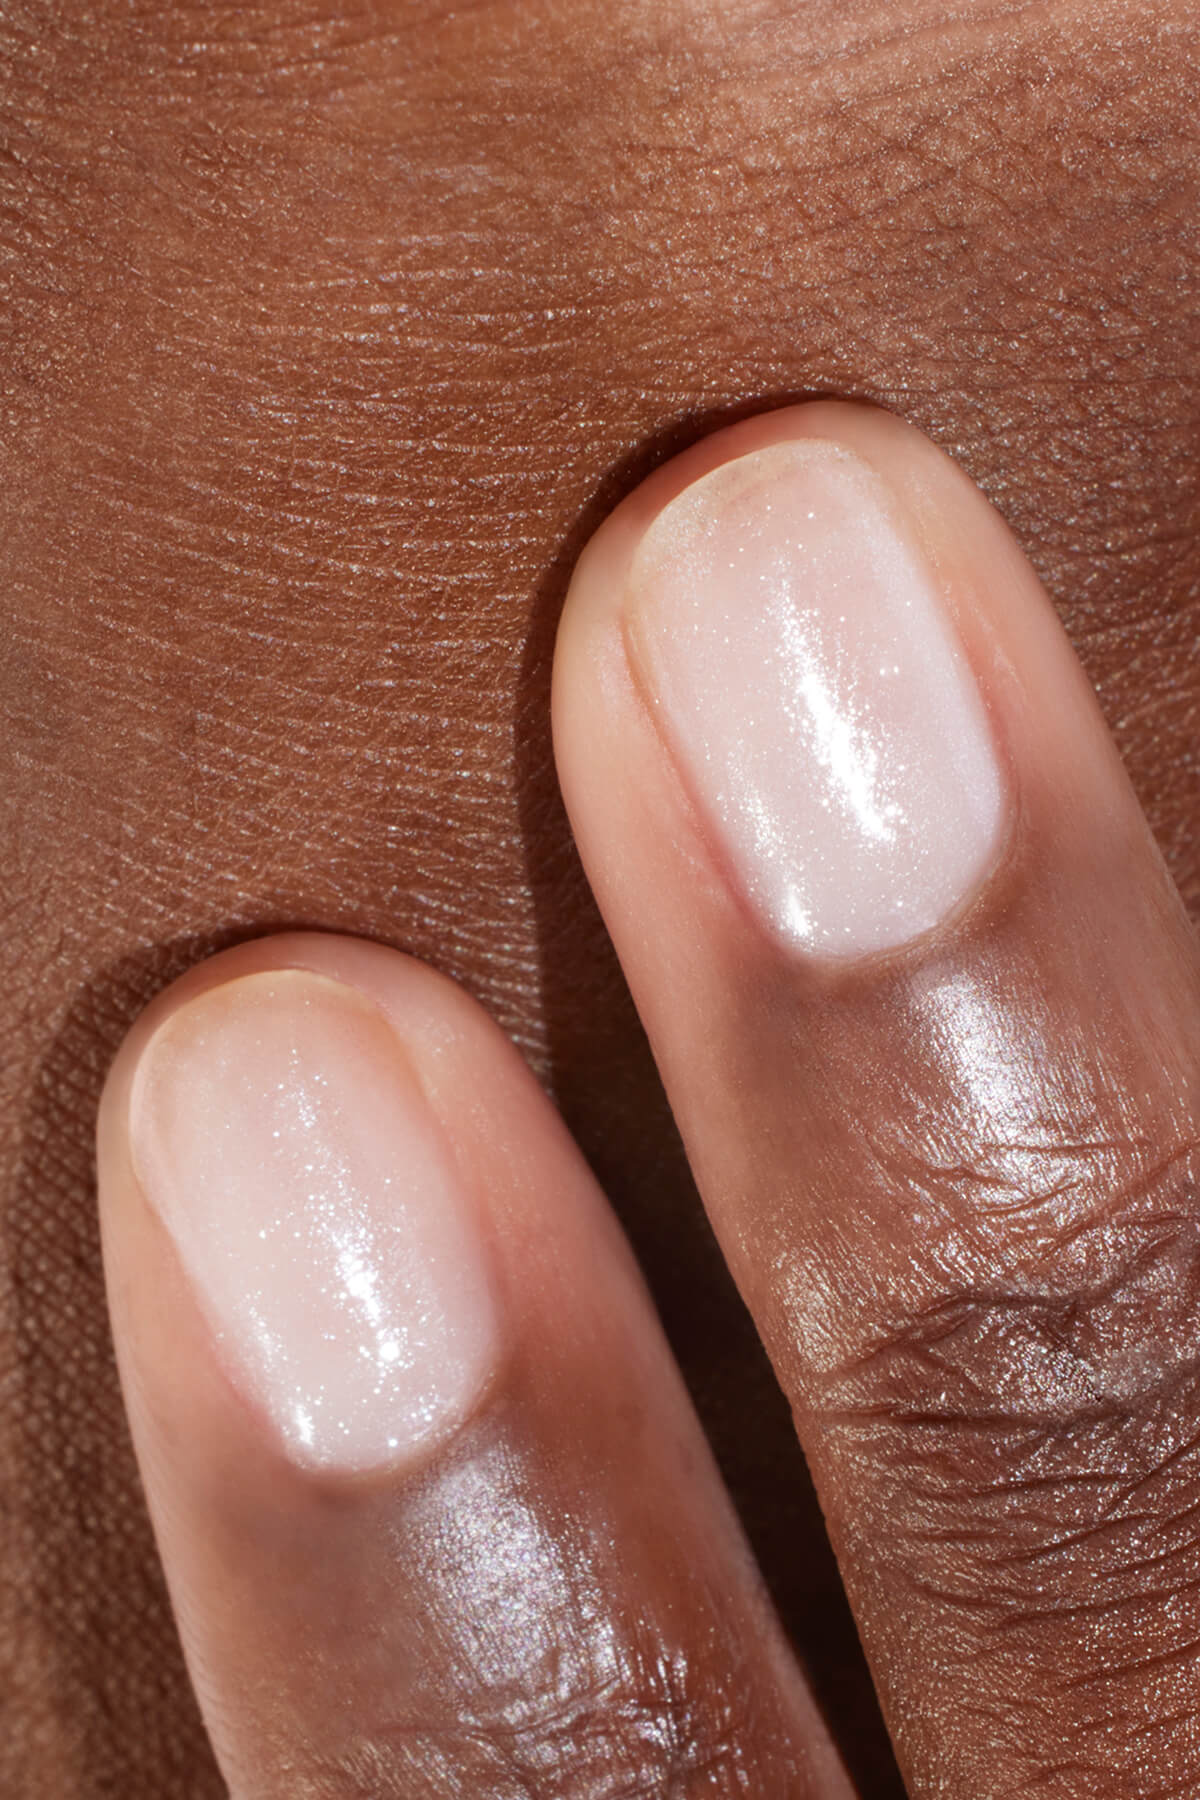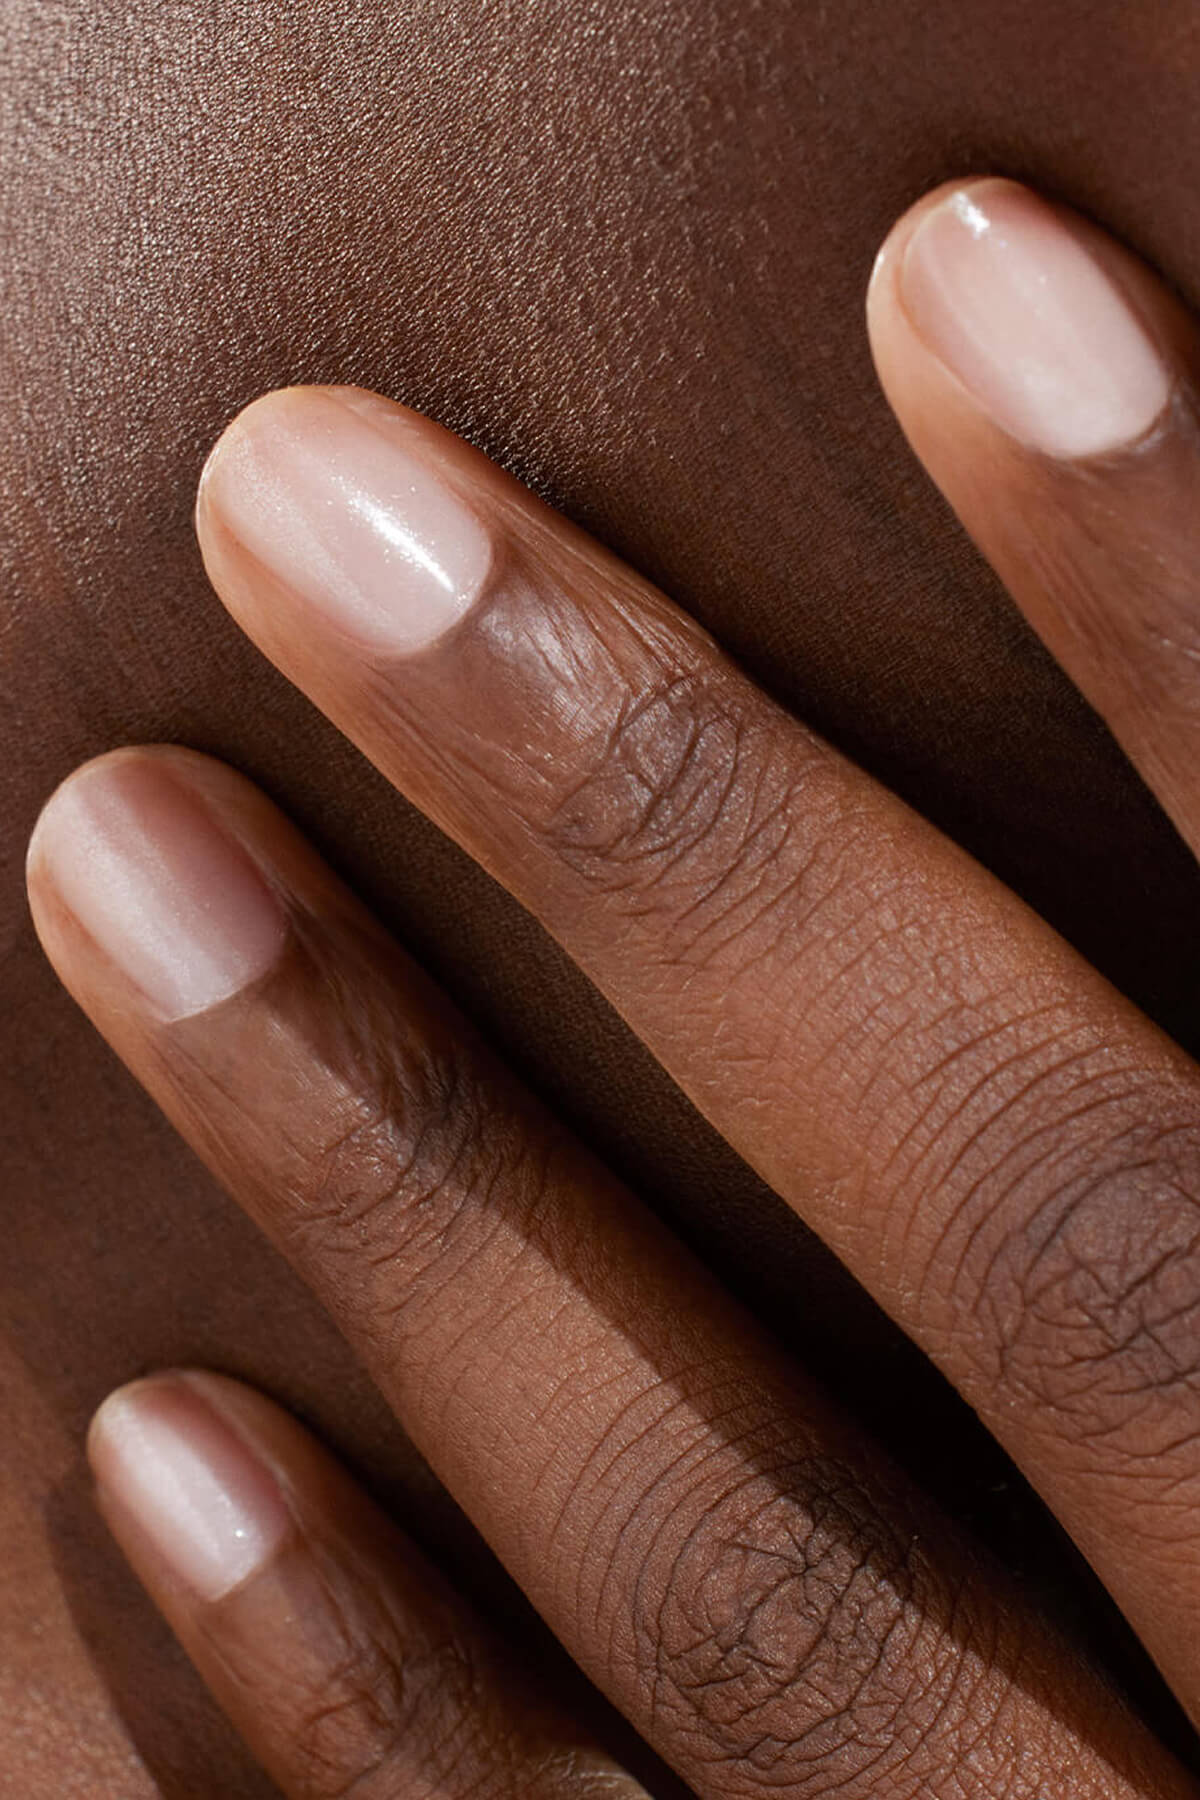


Chic, minimalist, always on trend: the French manicure hasn’t had its last word. A star of the 70s, the French manicure has had quite the revival. Modernised, revisited, twisted, it comes in endless variations. We’re sharing the secrets of this nail art classic and our tips for mastering it at home, like a pro!
What is a French manicure?
An invention made in the USA, a "so French" style
Contrary to what you might think, the French manicure doesn’t come from Paris but from… Los Angeles! It was reportedly created in the 1970s by Jeff Pink, founder of the Orly brand, to meet the needs of Hollywood studios: ensuring actresses didn’t have to change nail polish with every outfit change. The result: hands with a neutral, refined style… and perfectly photogenic on the red carpet. Named “French Manicure”, it simply refers to the legendary chic associated with French women. It’s this understated, versatile elegance that made the French a global success.
One technique, endless variations
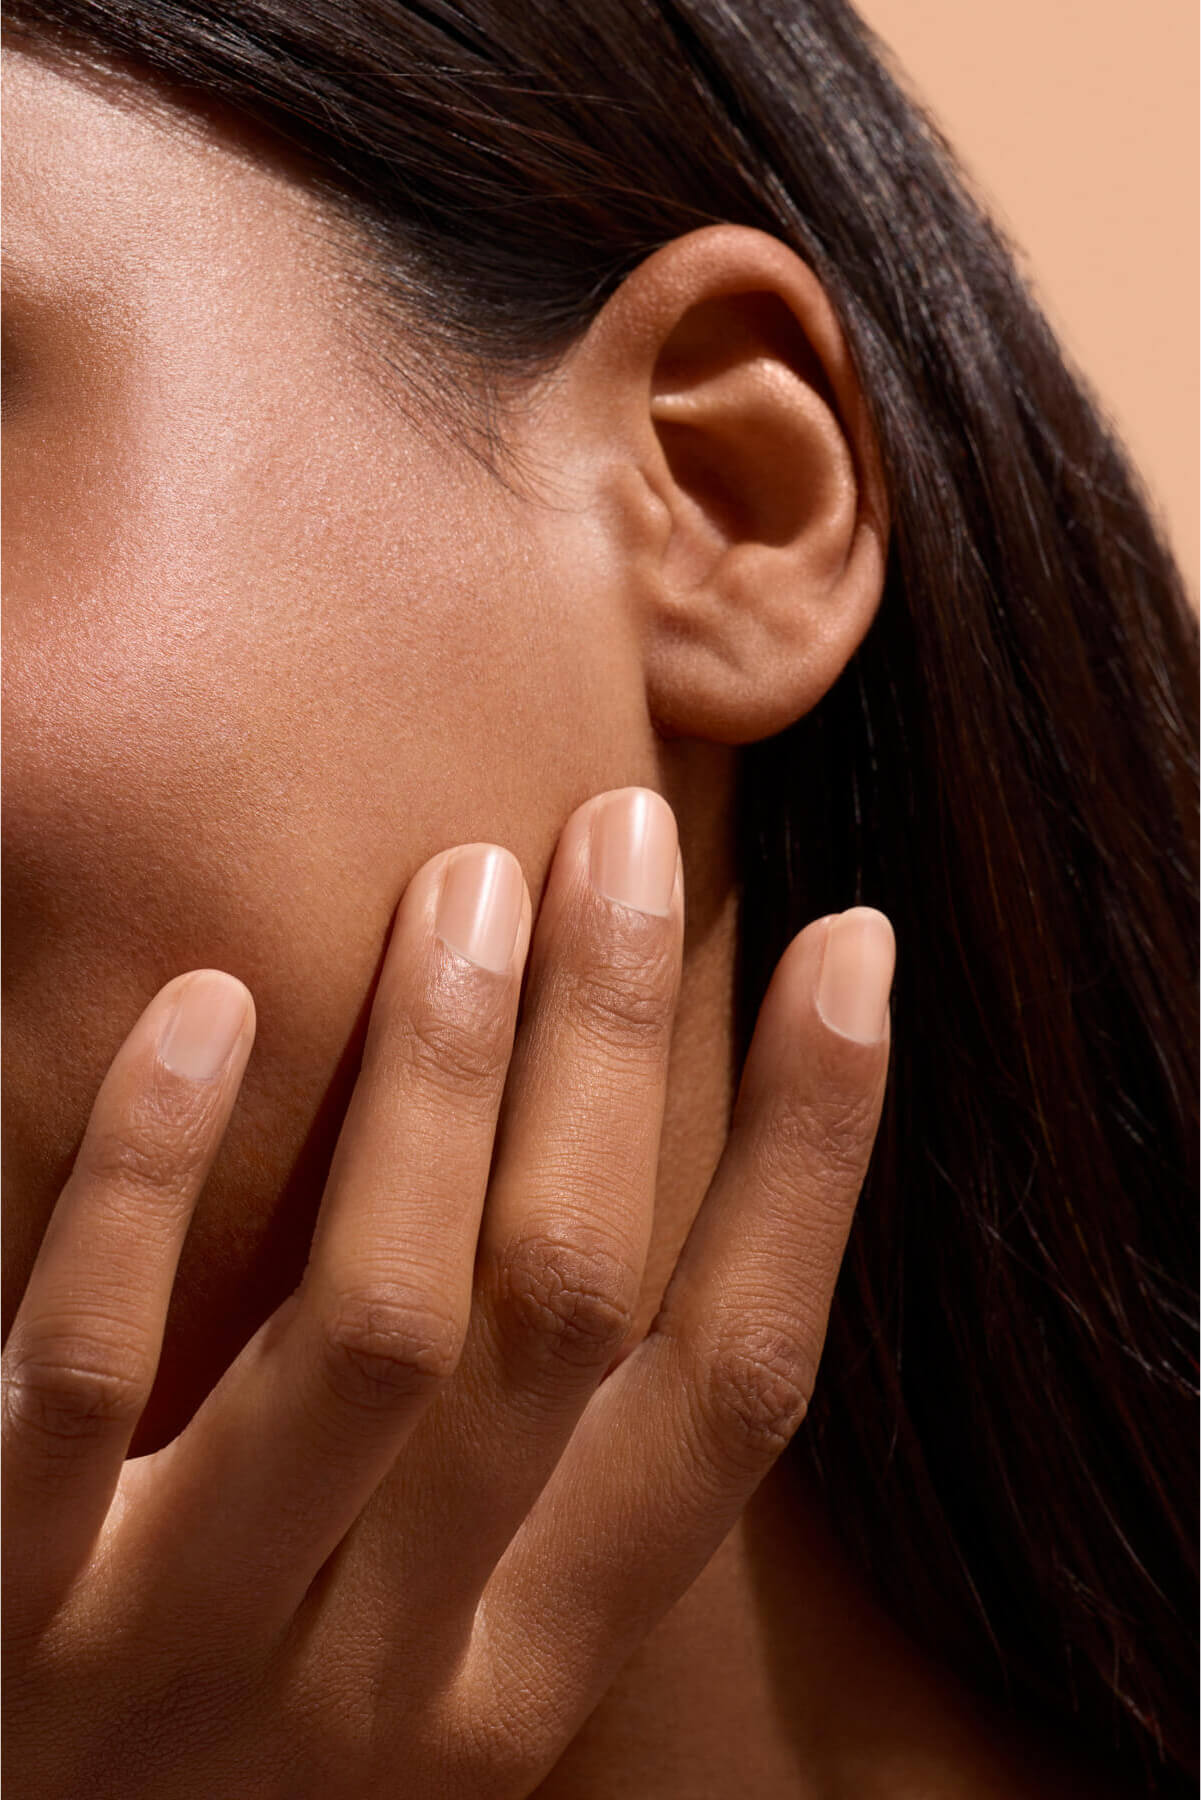
The French manicure recipe: a nude, white or slightly pink base topped with an ultra-fine white edge. The perfect way to enhance nails with a clean, polished and subtle effect… As a bonus, the French manicure flatters every nail shape: short, long, rounded, square or almond-shaped, making it just as suitable for special occasions (hello, brides!) as for everyday wear. With classic Green™ nail polish or Green Flash™ gel polish, it is always a safe bet.
Today, the French Manicure is making a highly noticeable comeback in nail art trends. Reimagined in a reverse French version (or "reverse French"), ombré, glittery, glazed or ultra-colourful, it is modernised without ever losing its chic DNA.

Classic, colourful or reverse: the French revisited by Selena, Gigi and Hailey.
(@tombachik, @nailsbymei, @nailsbyzola)
French manicure variations
The classic French manicure
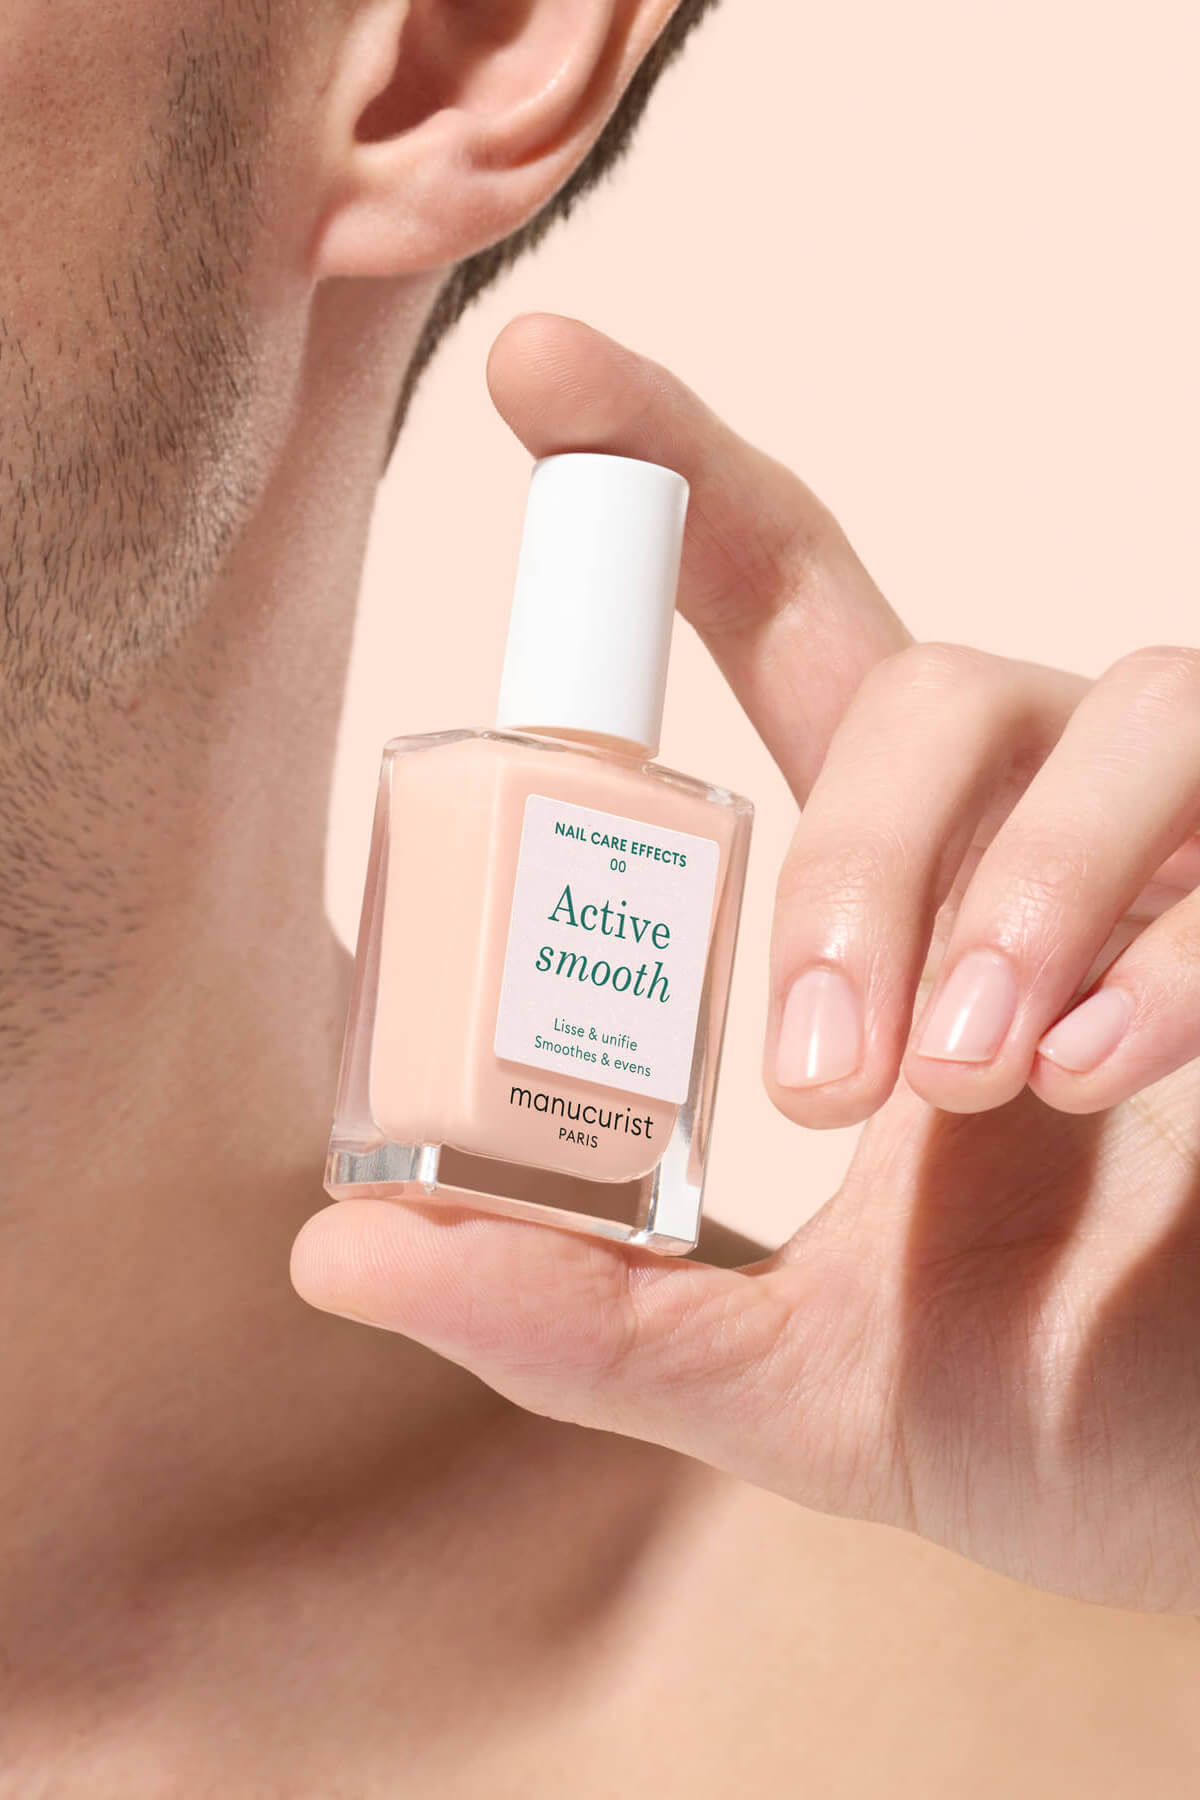
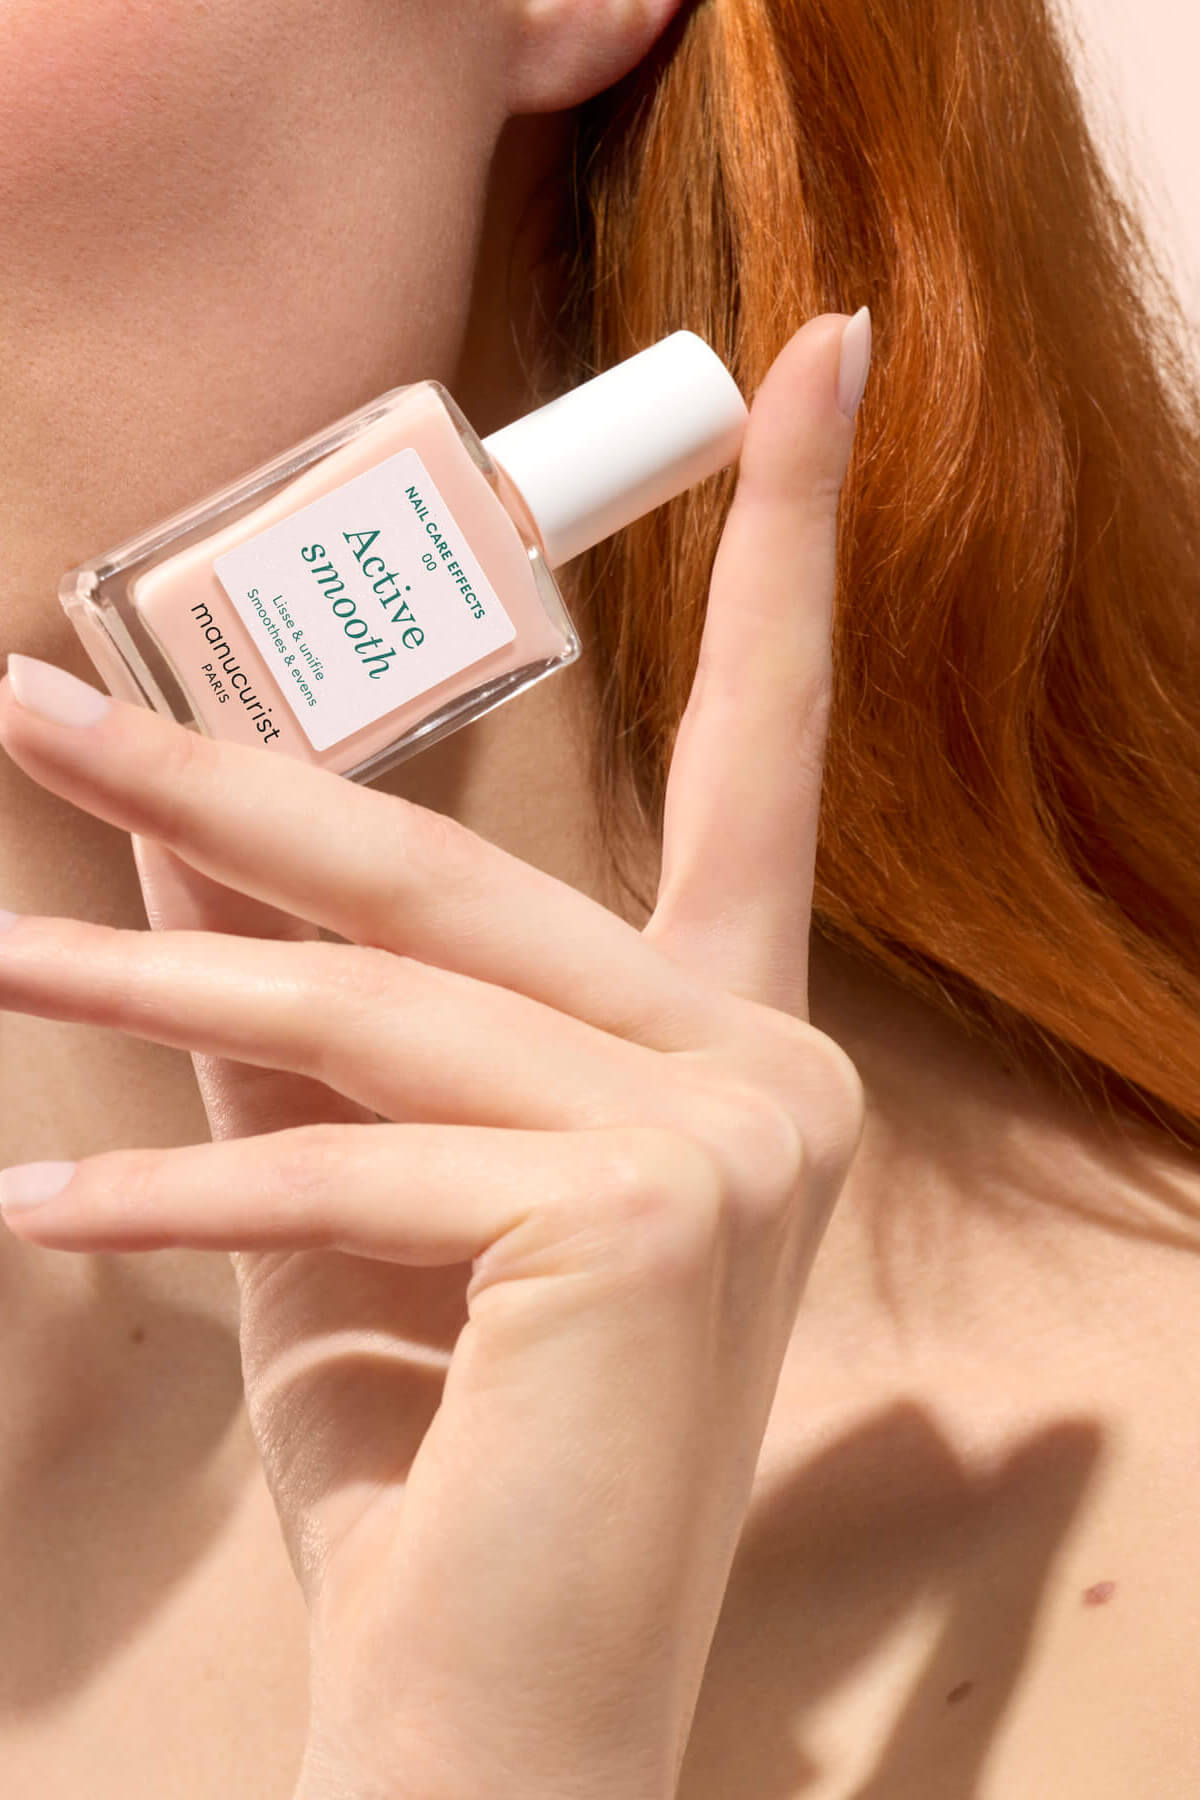
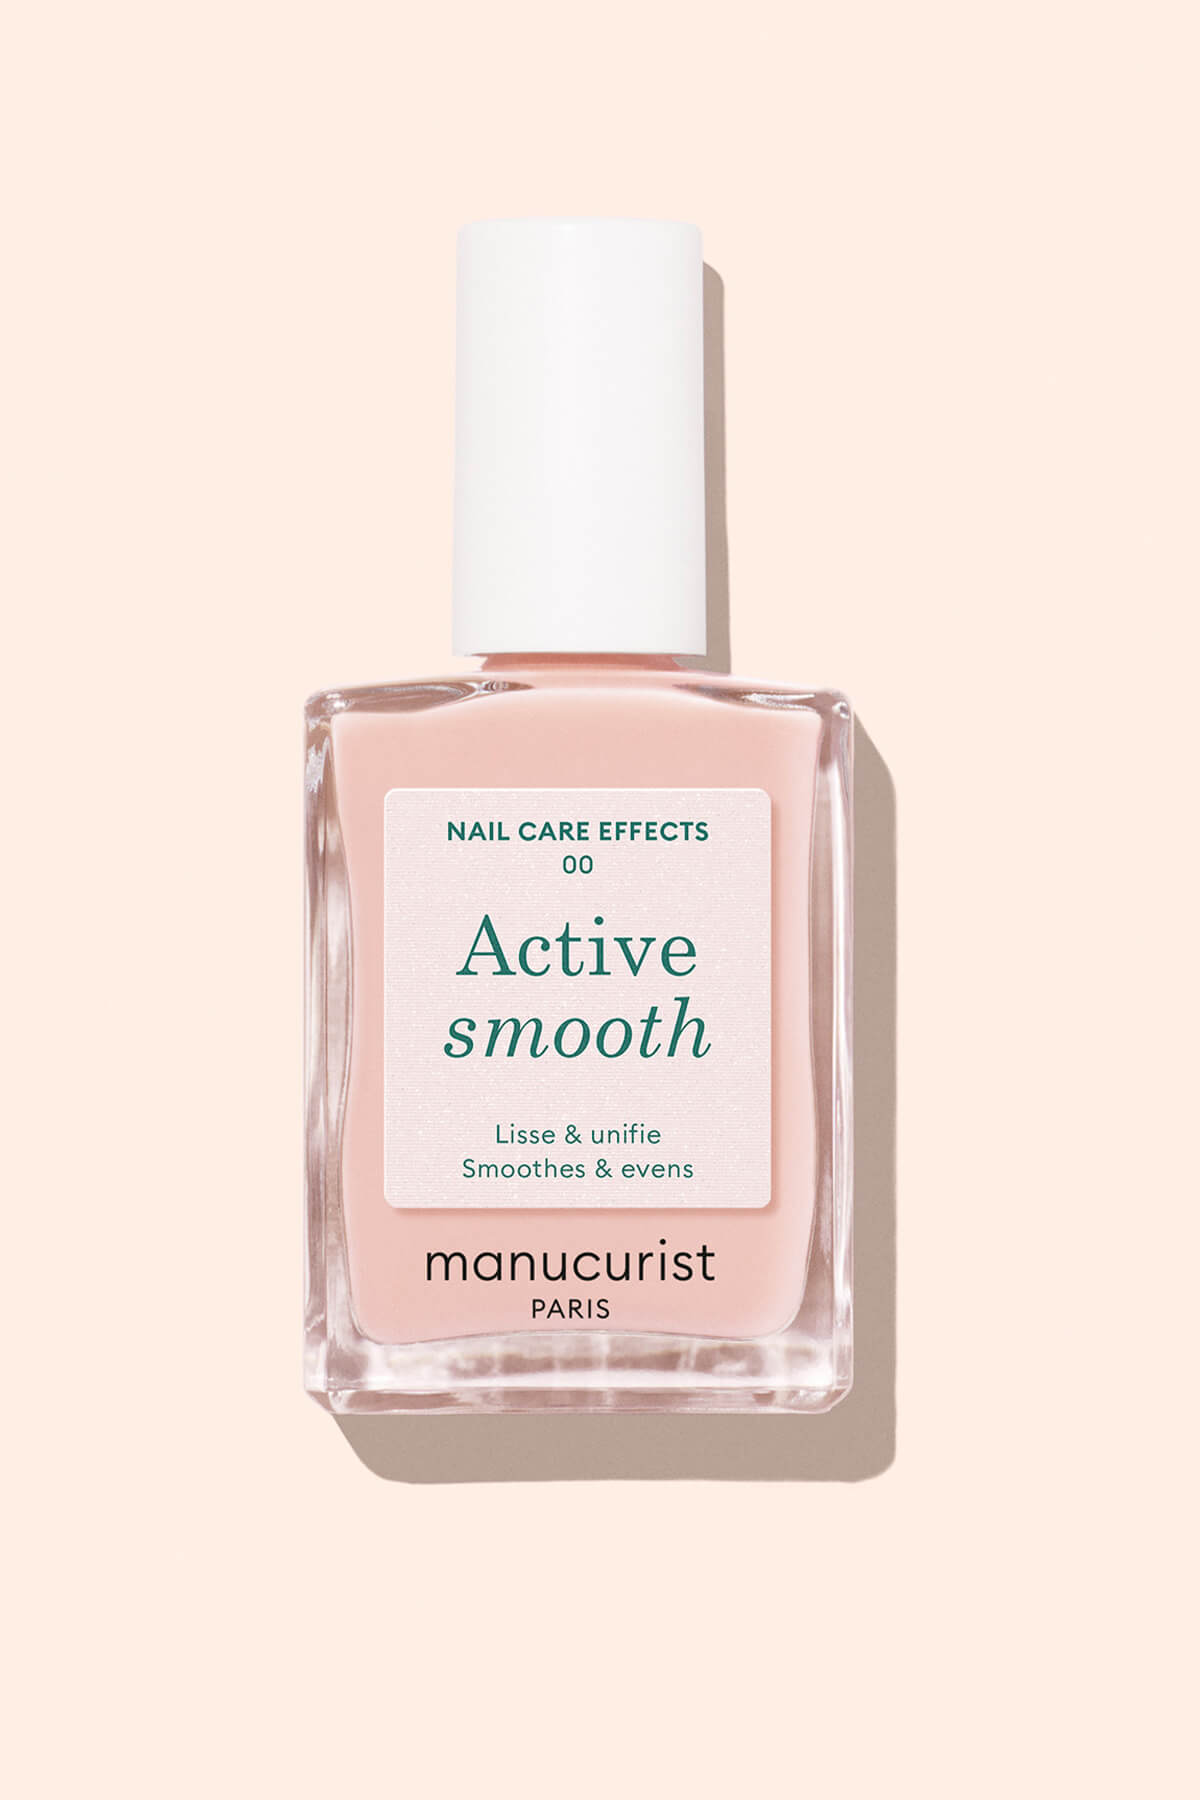
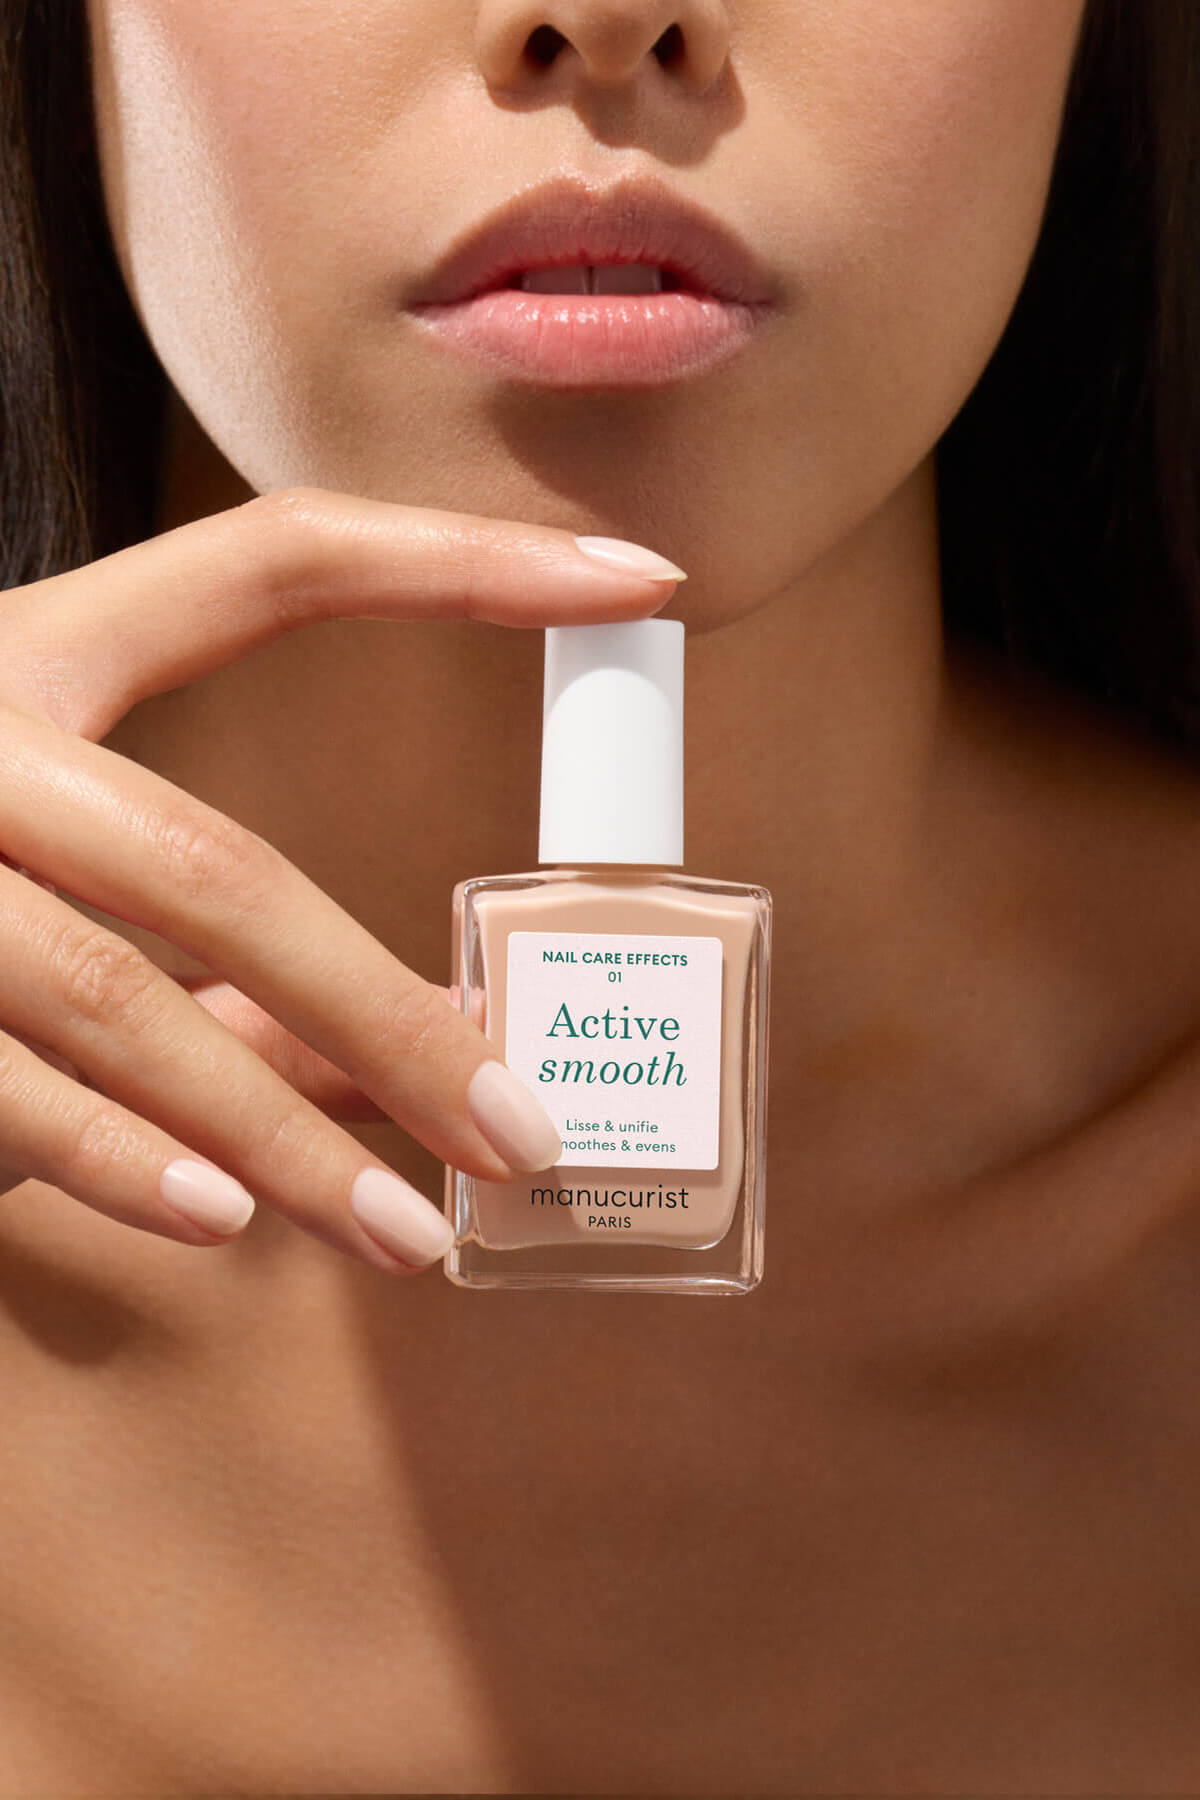
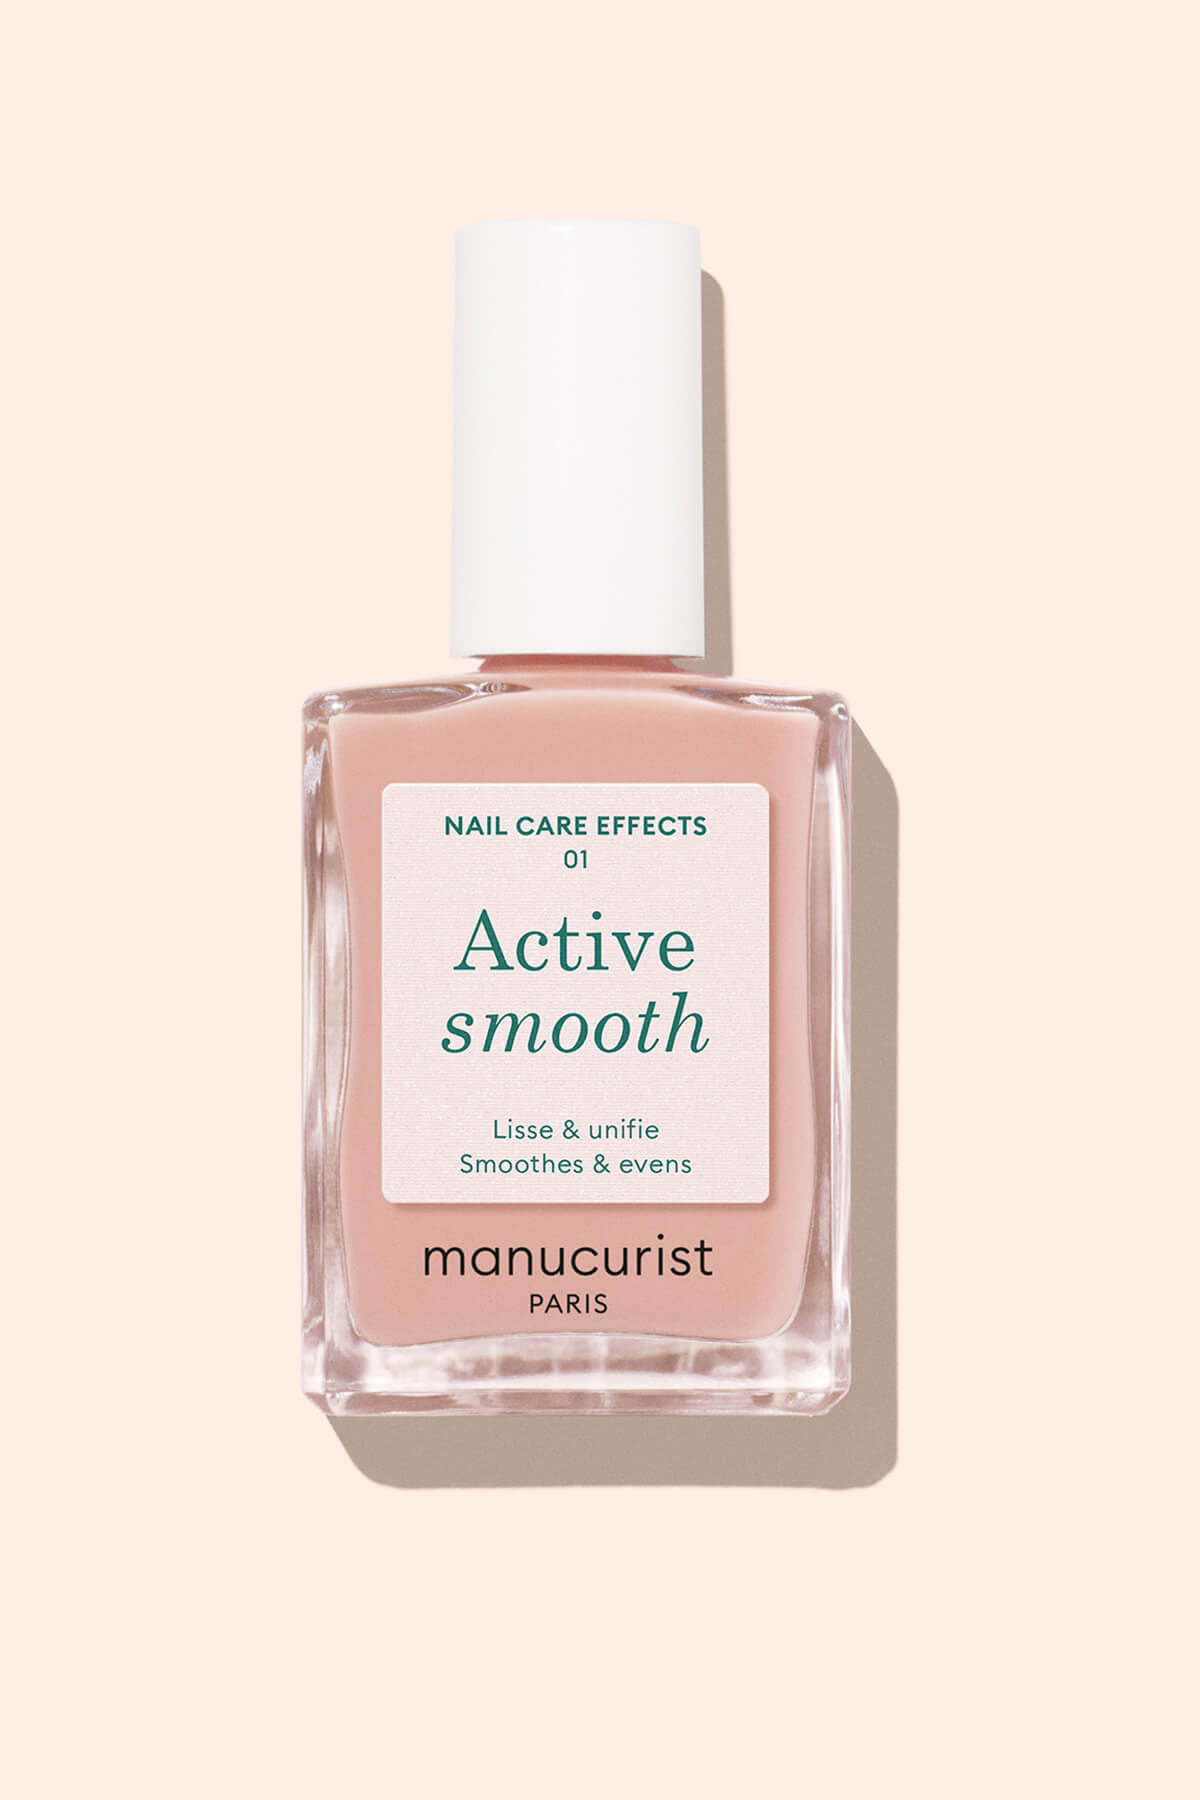
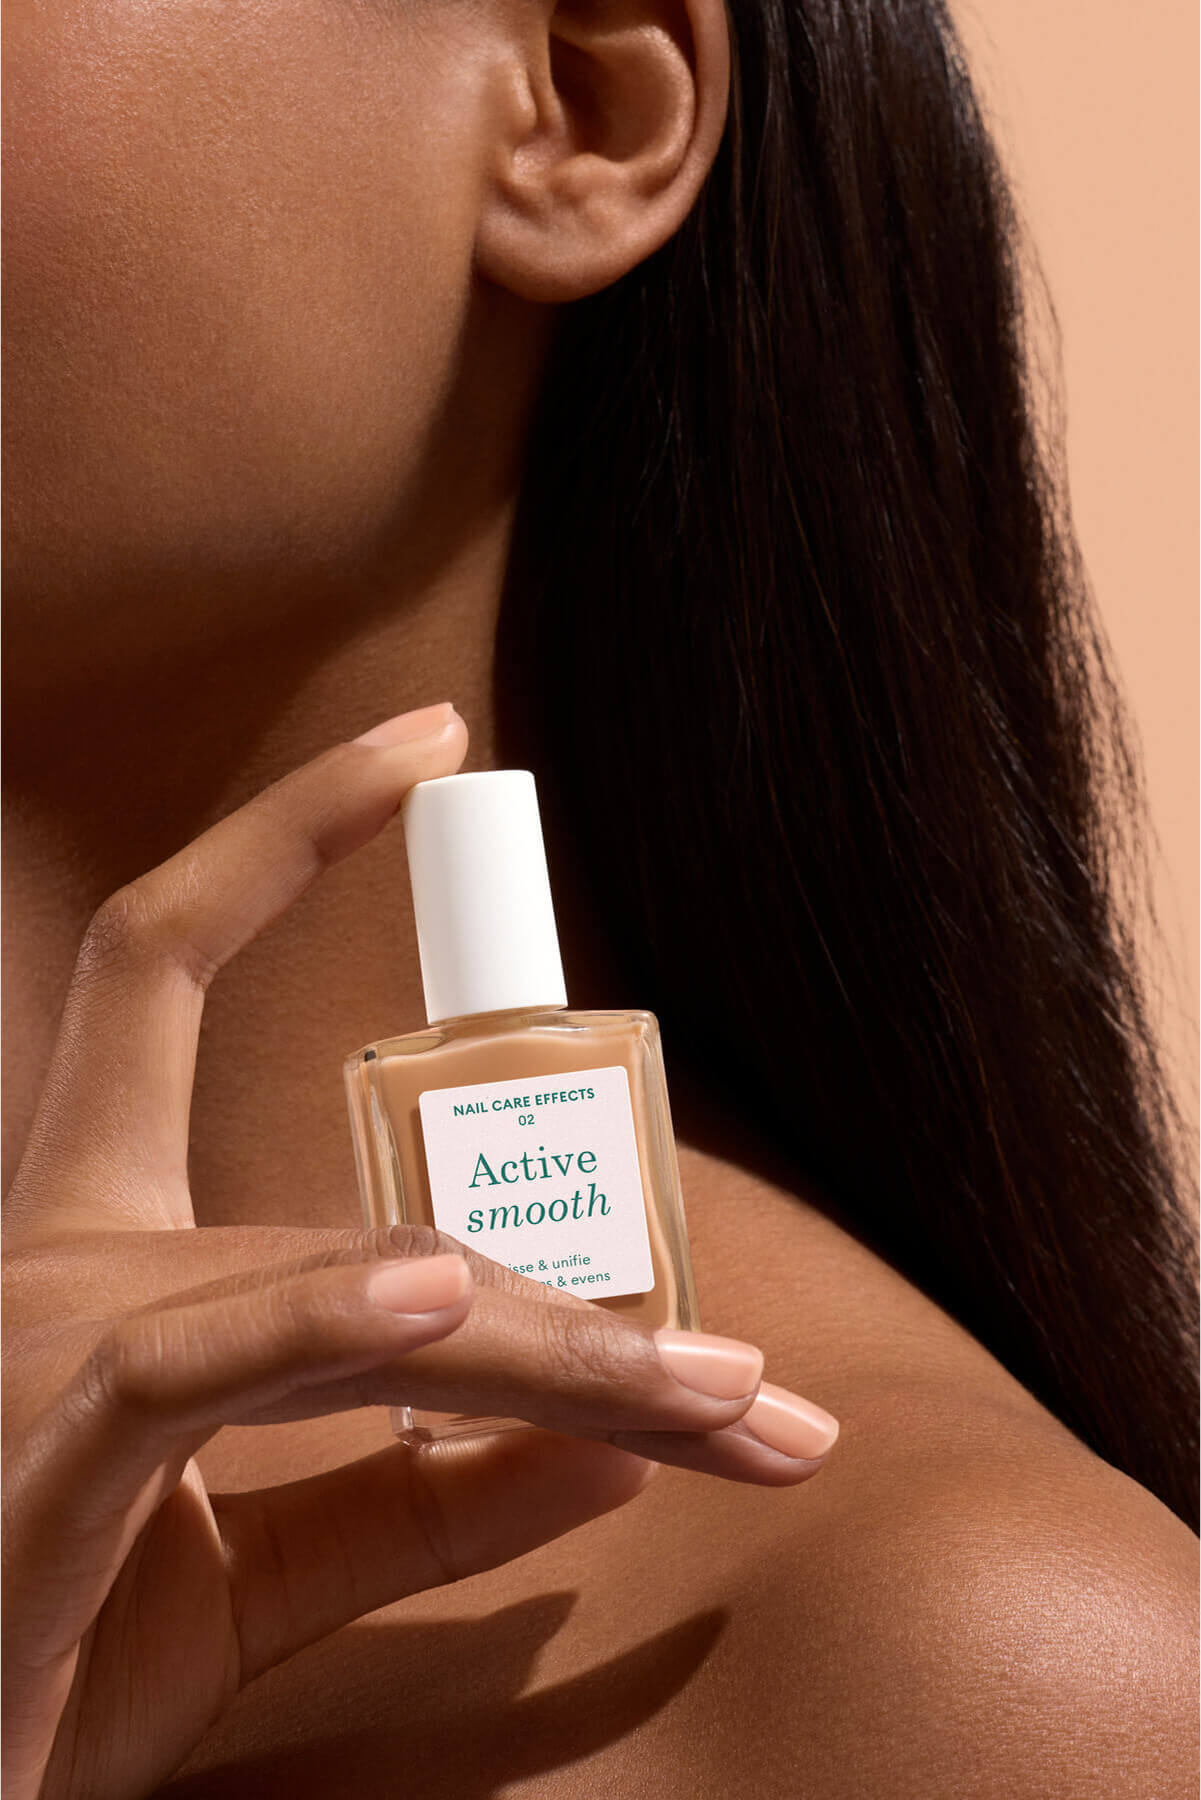
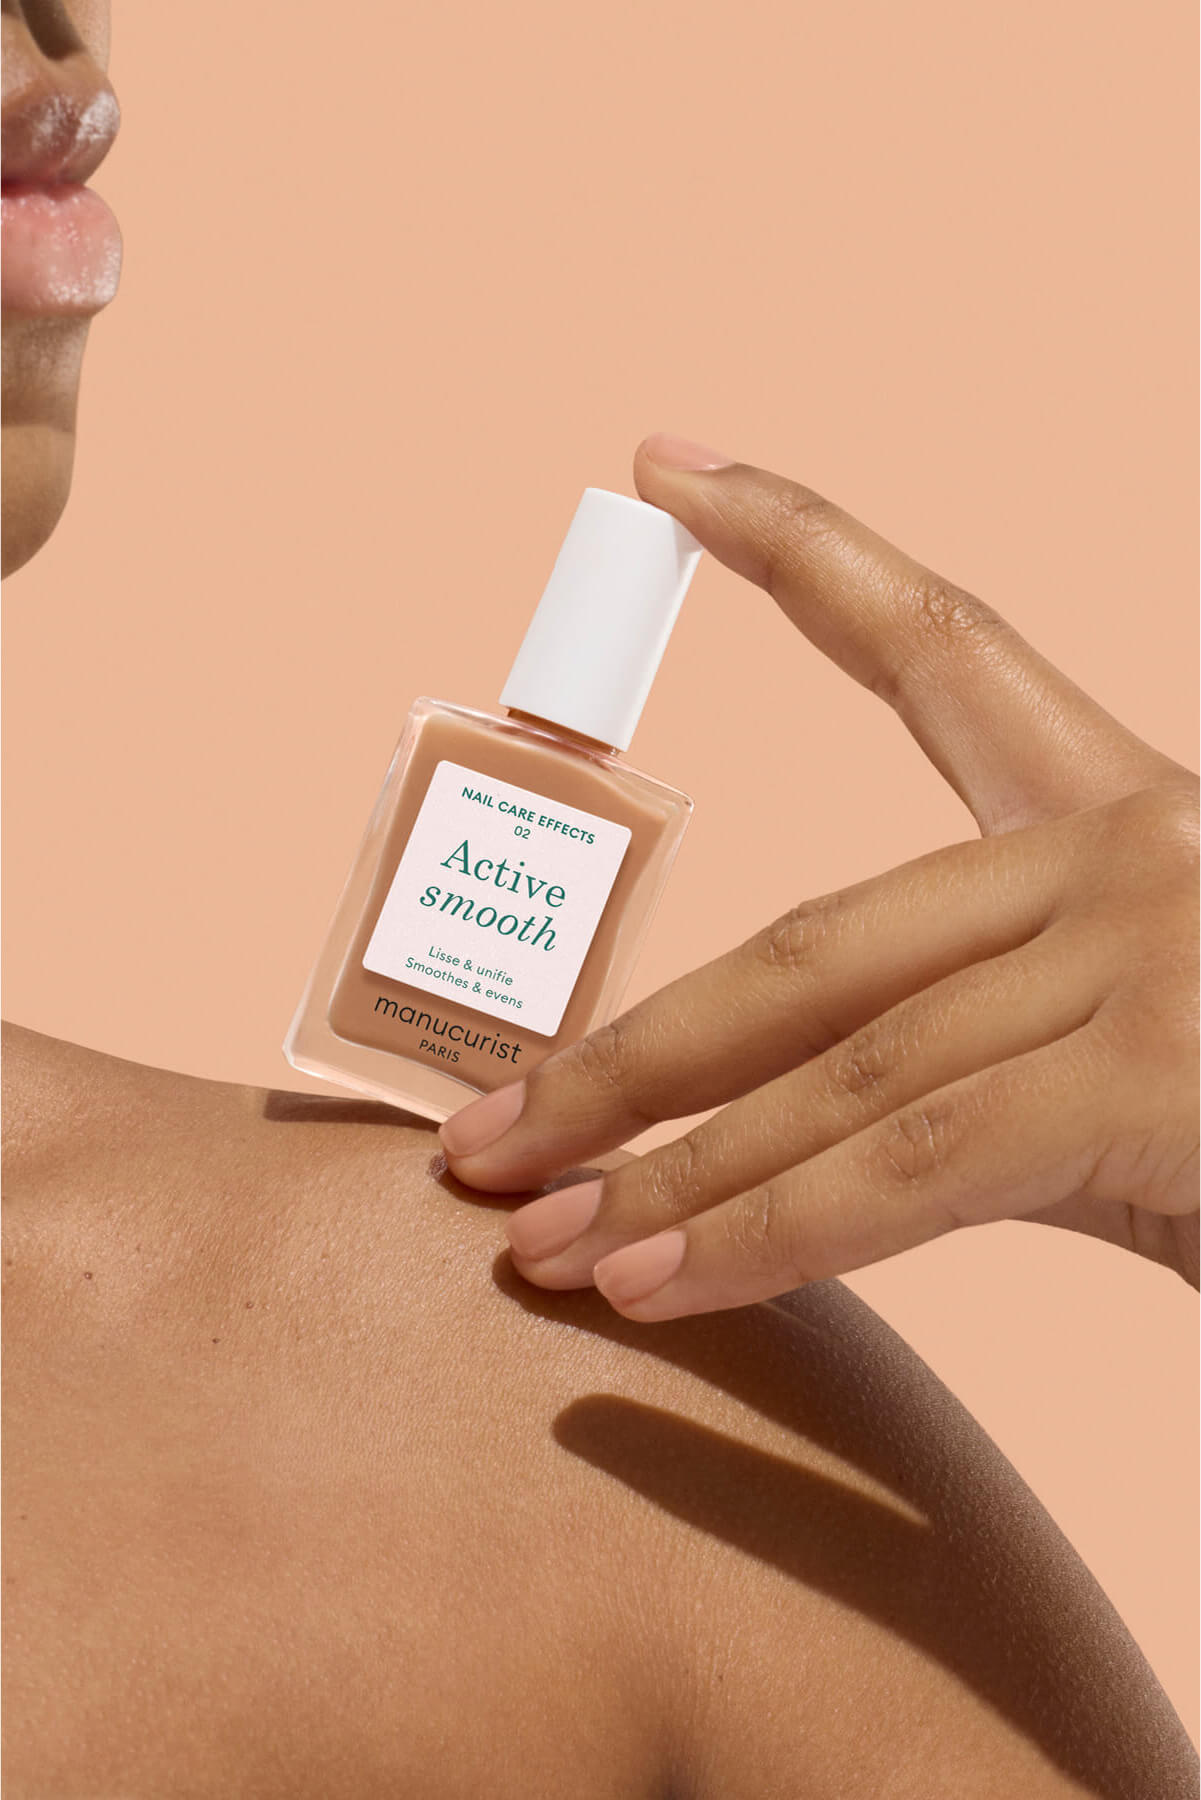
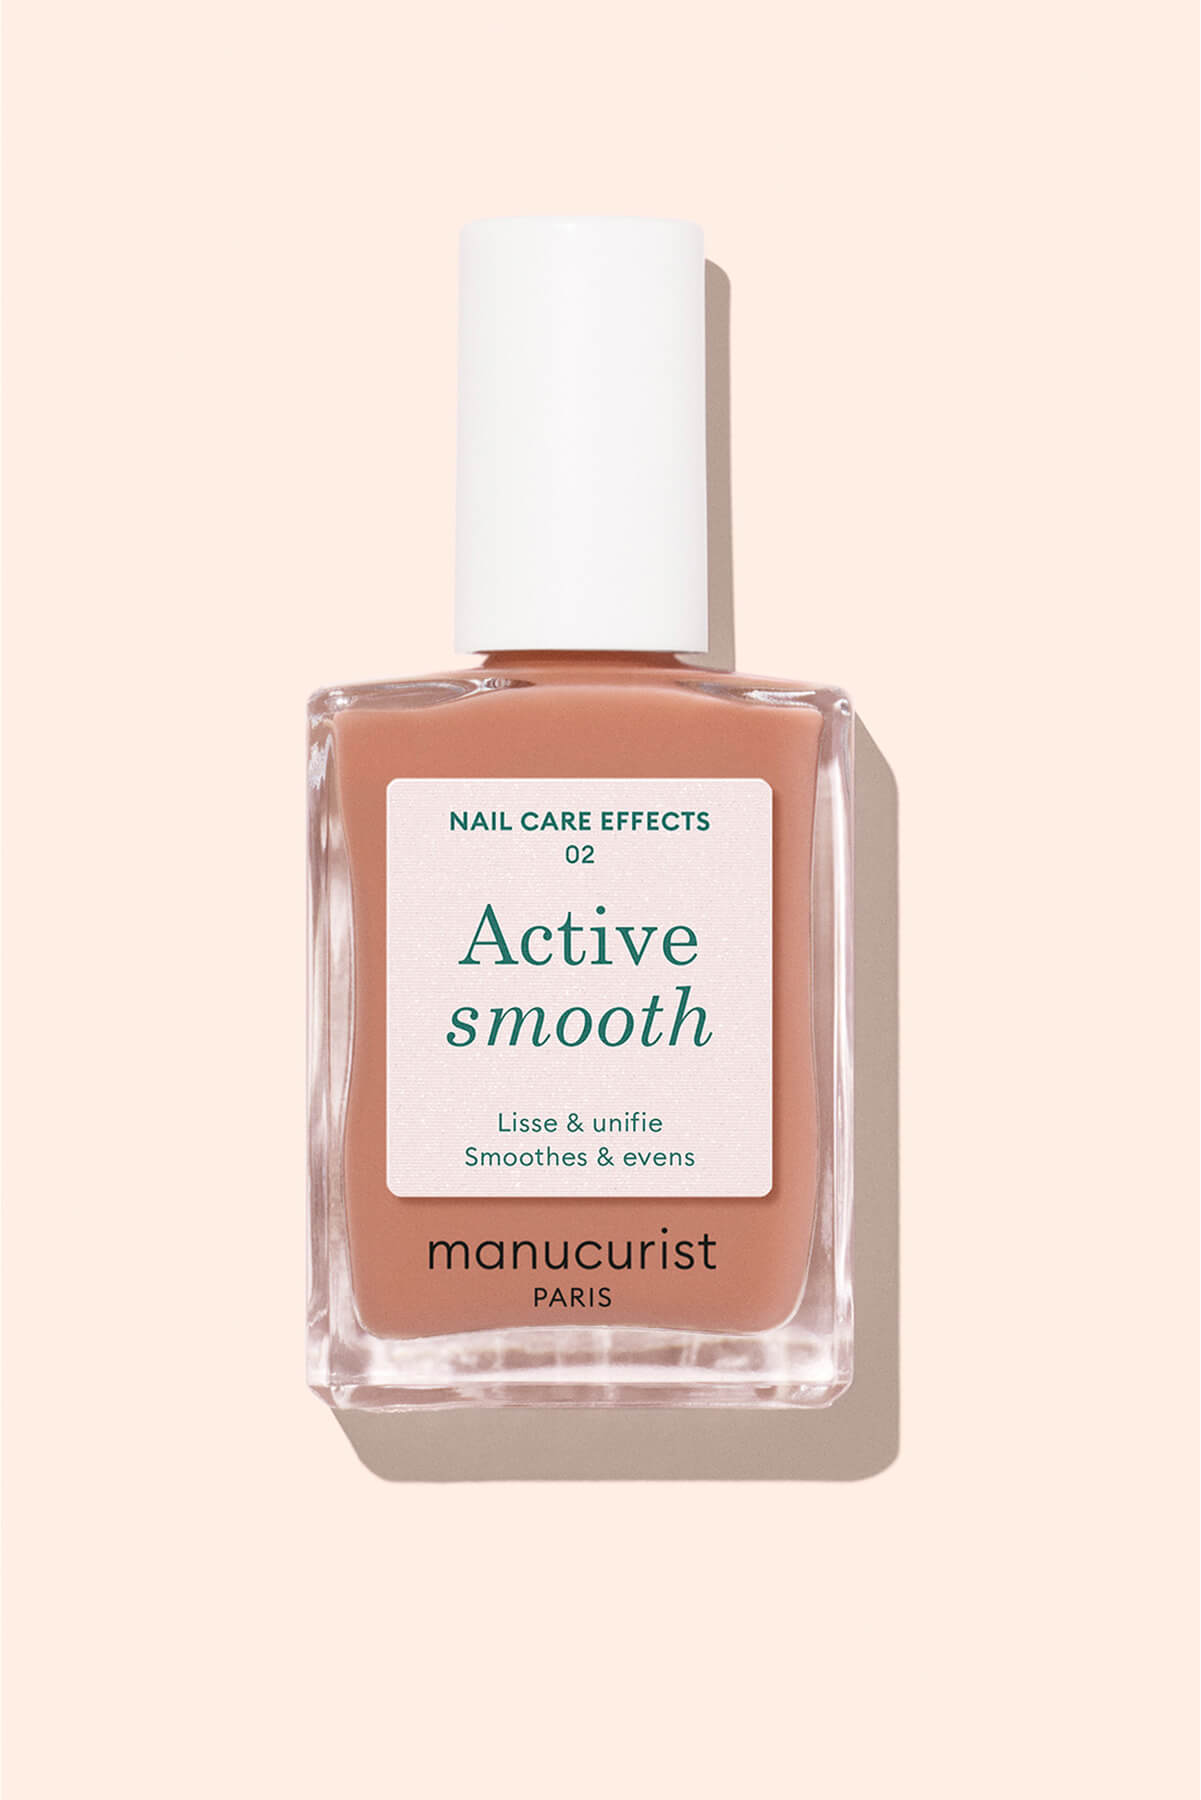
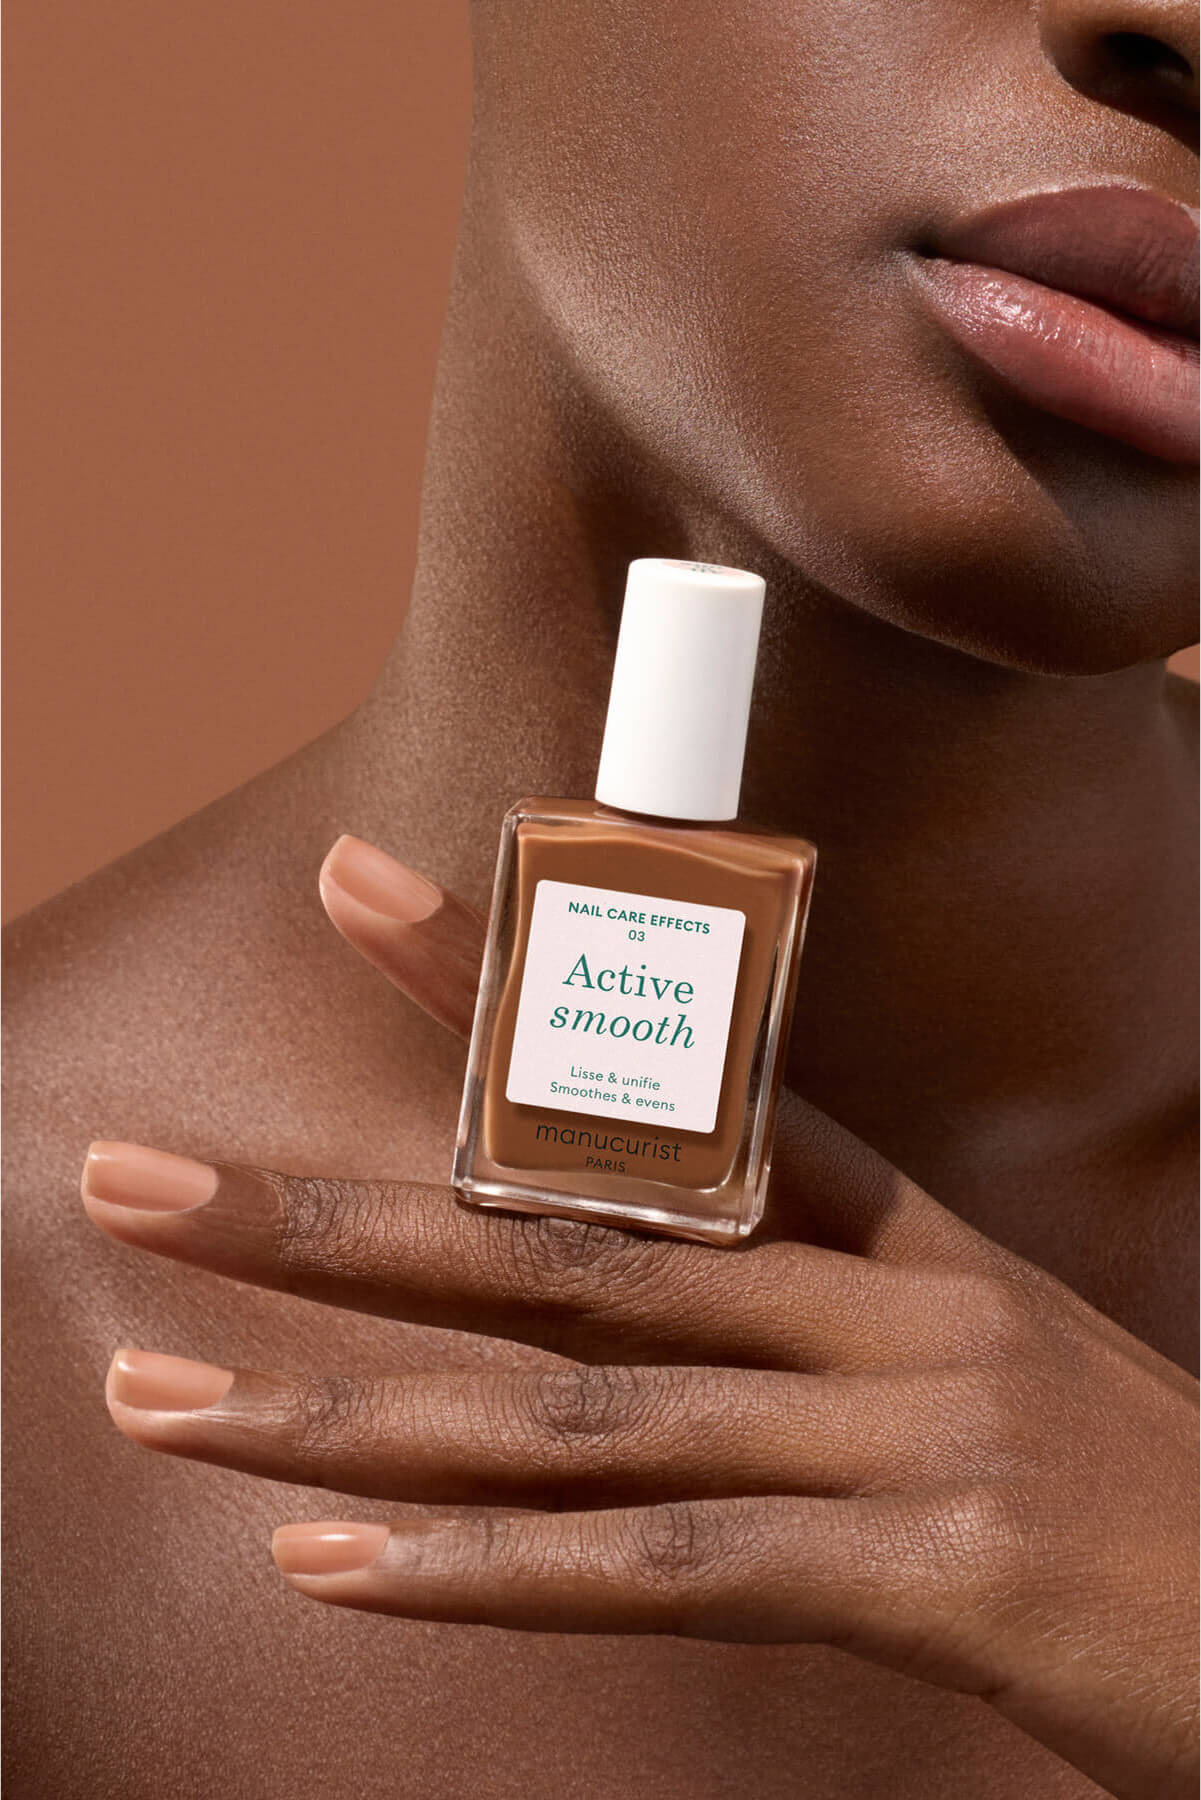
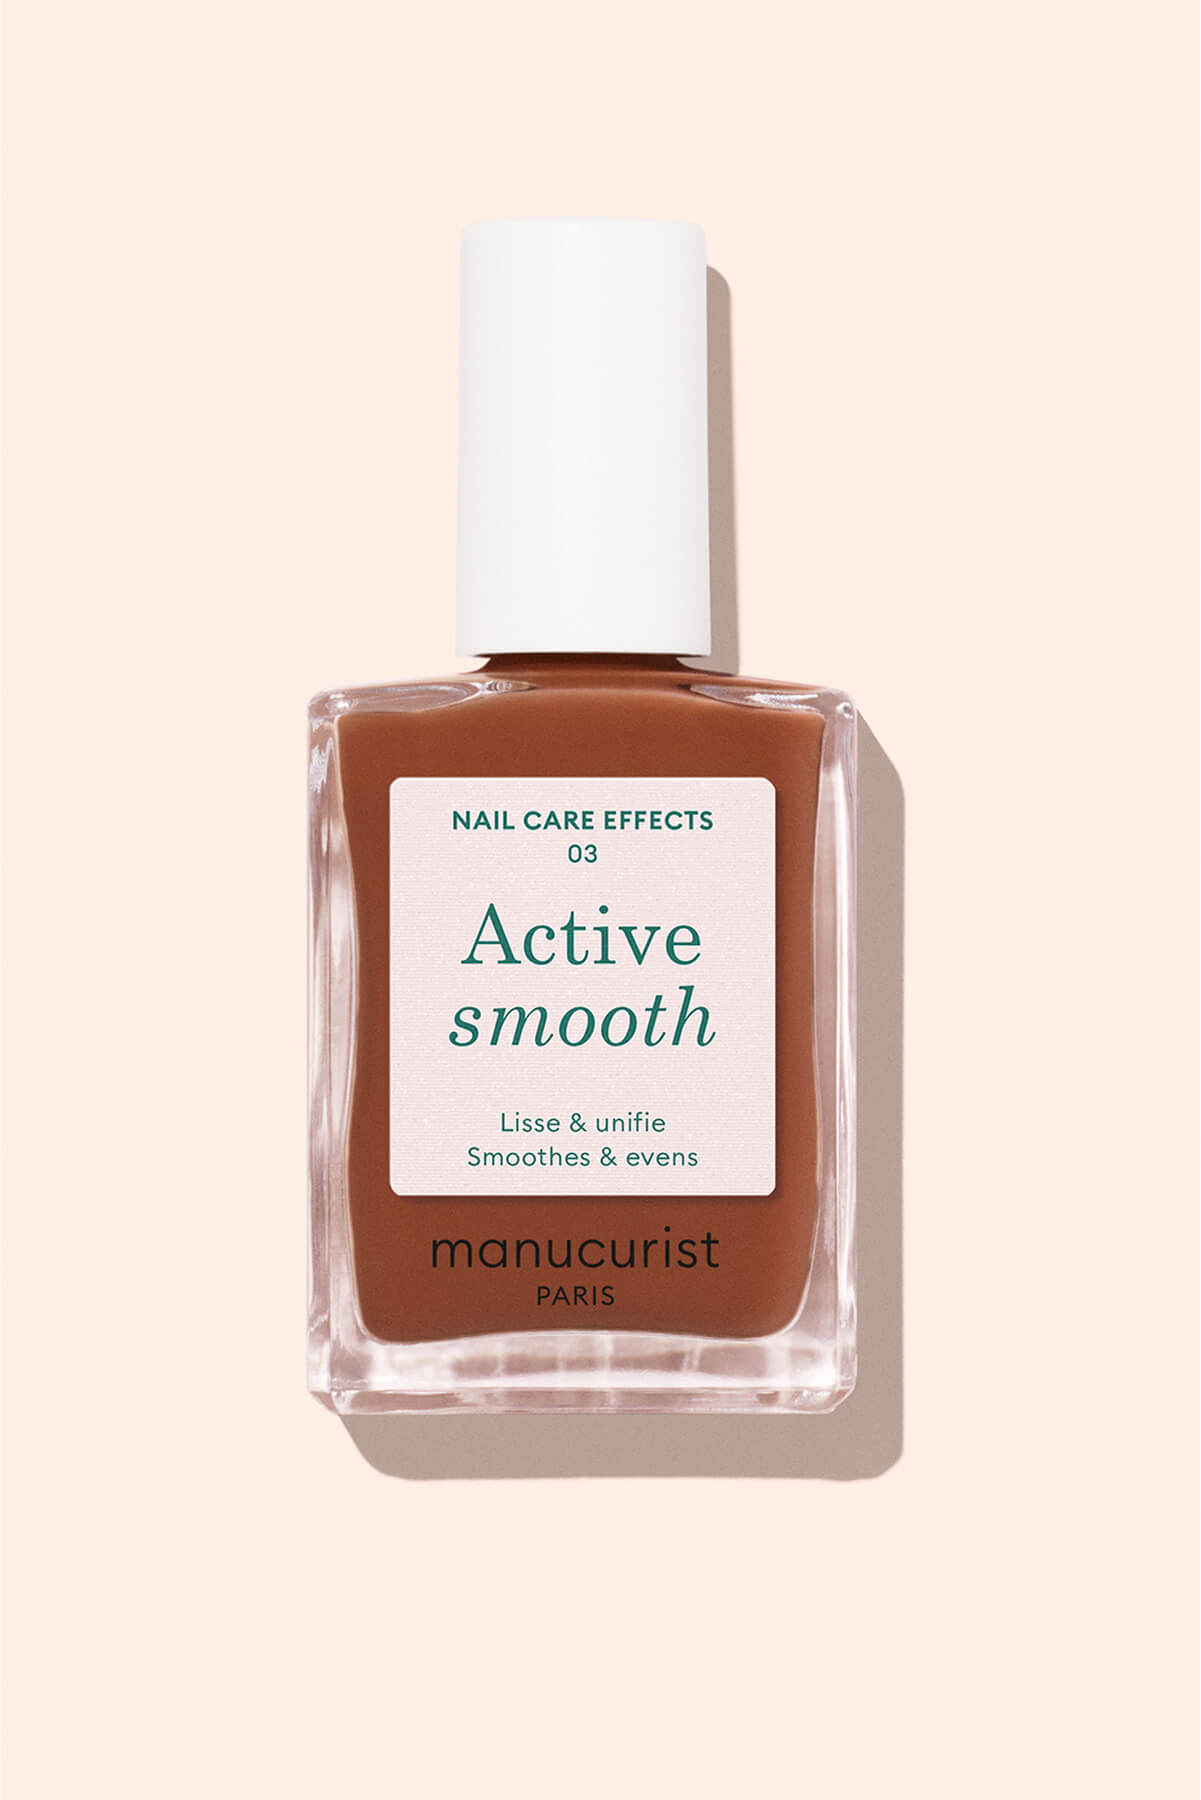
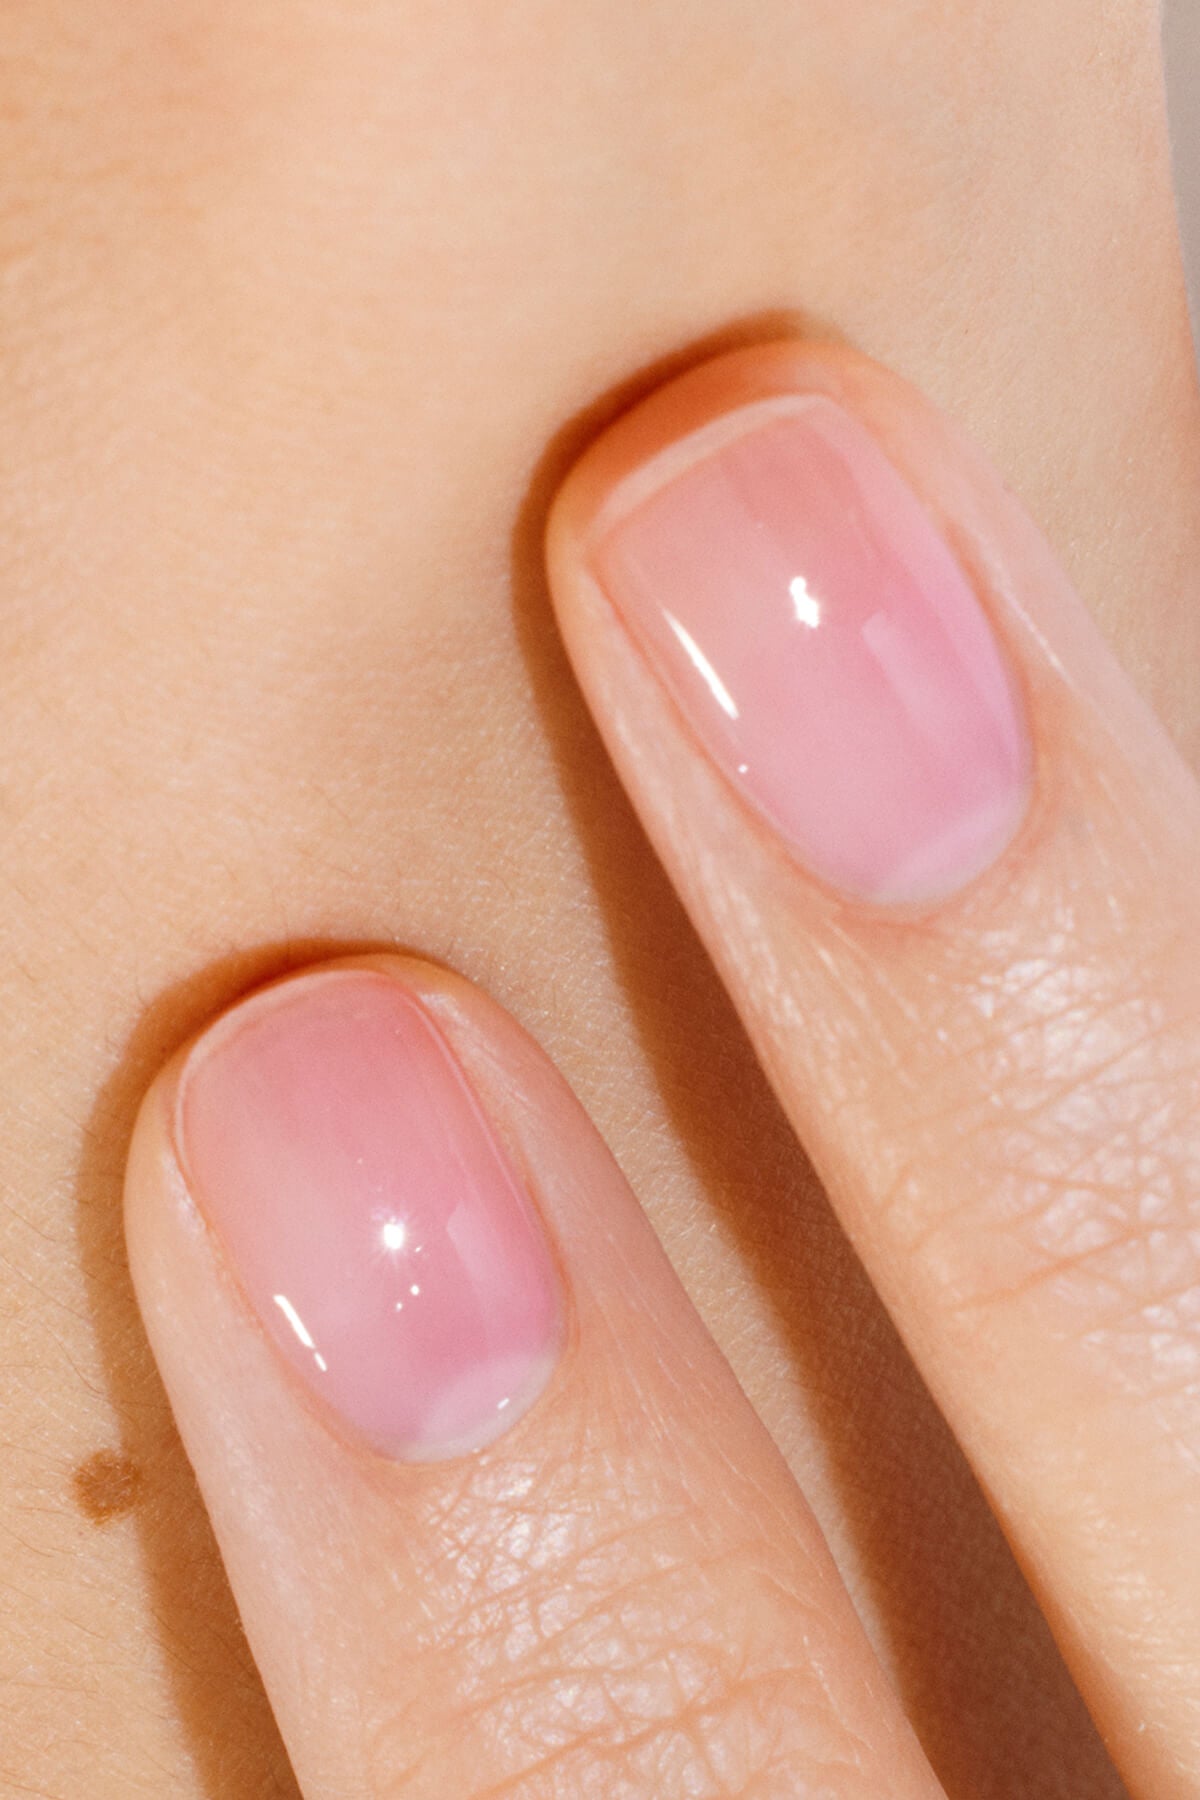
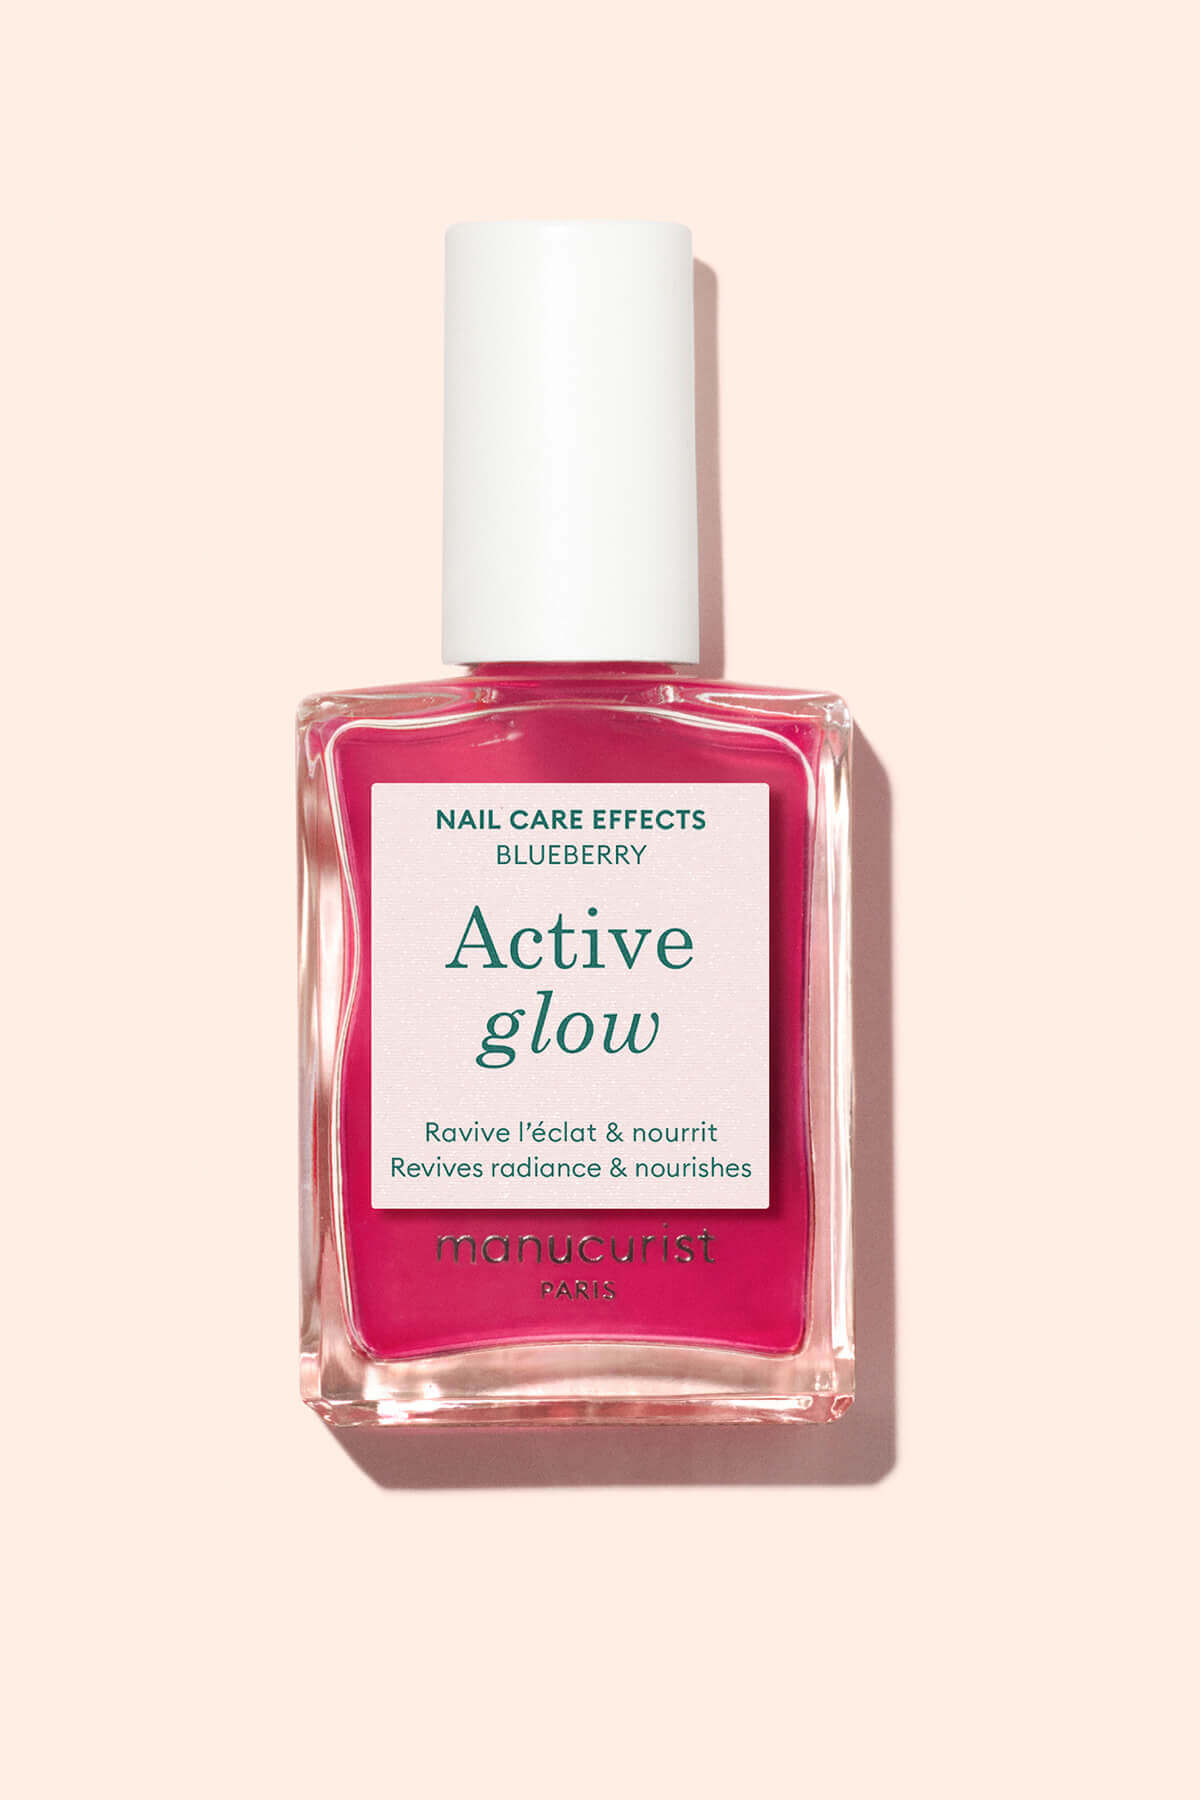
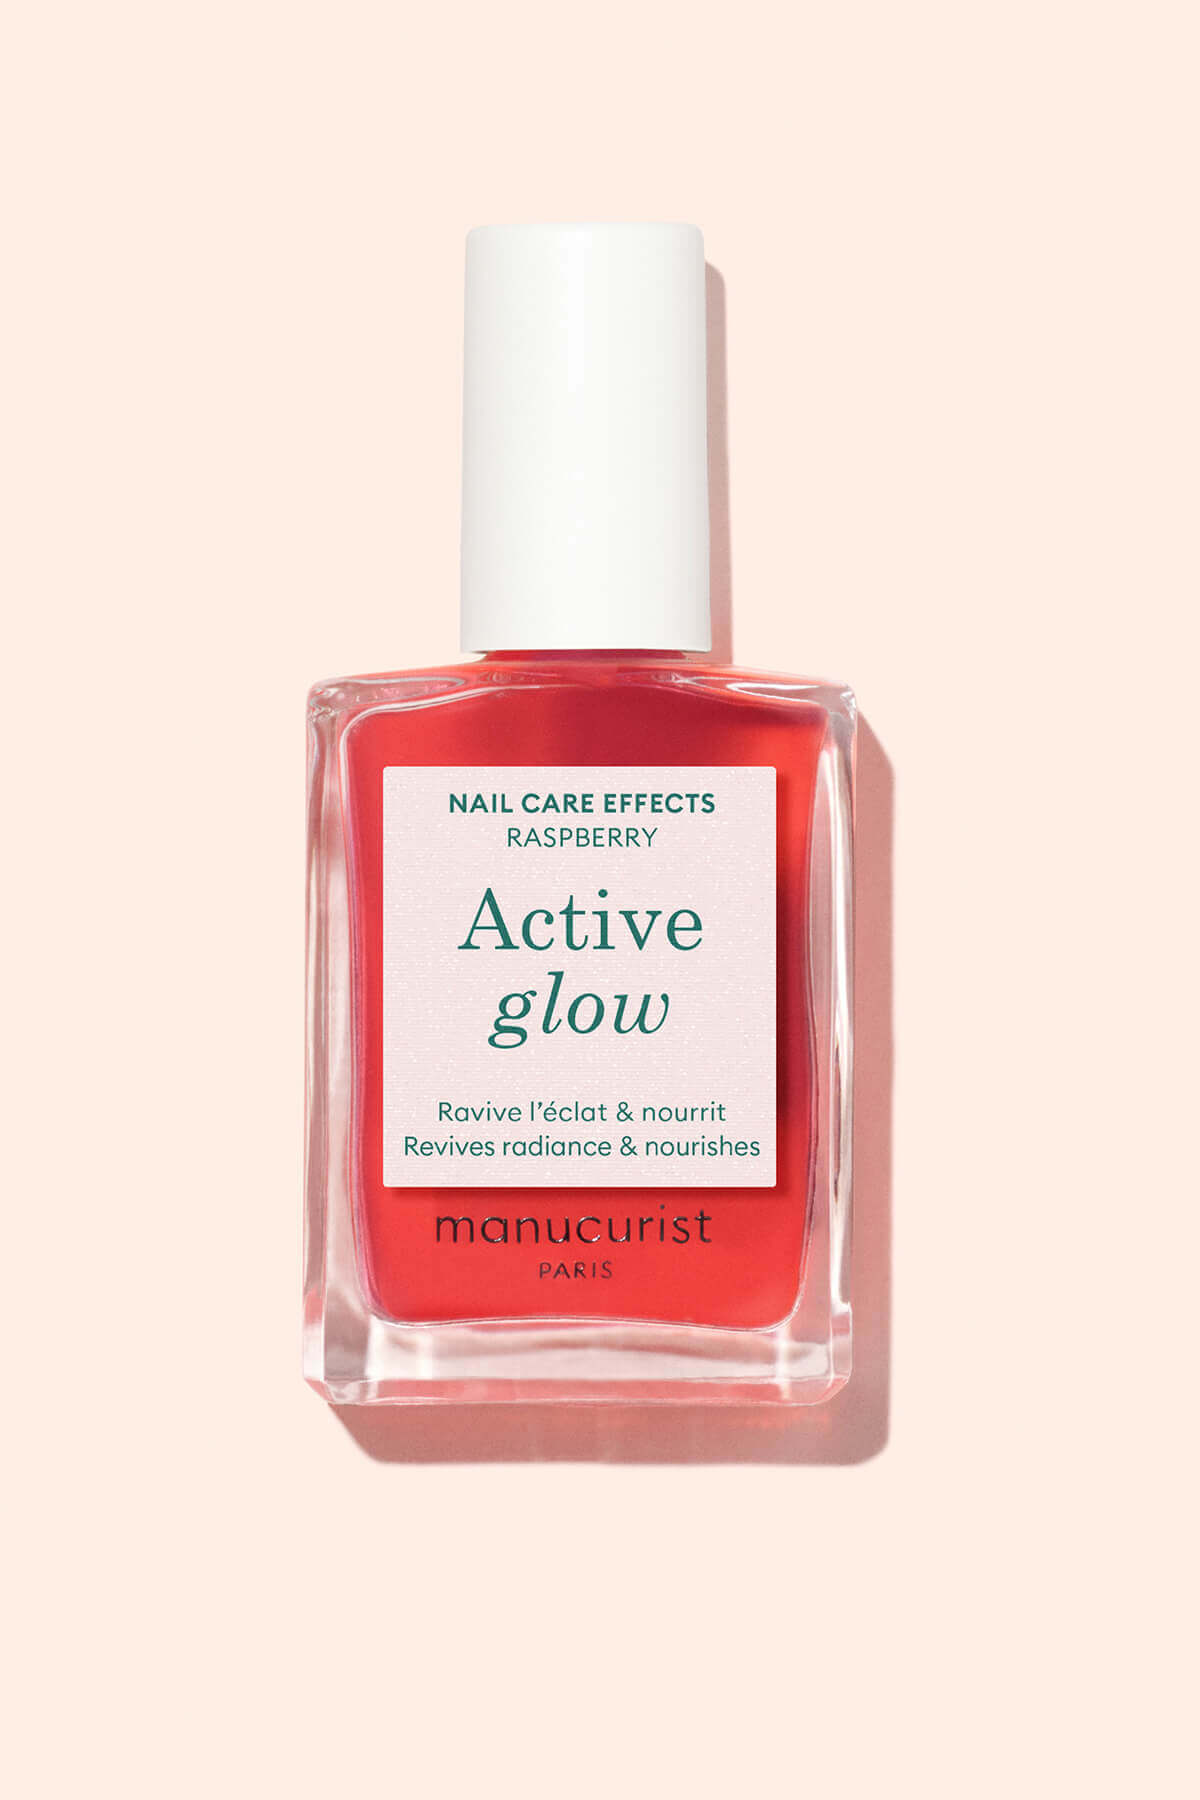
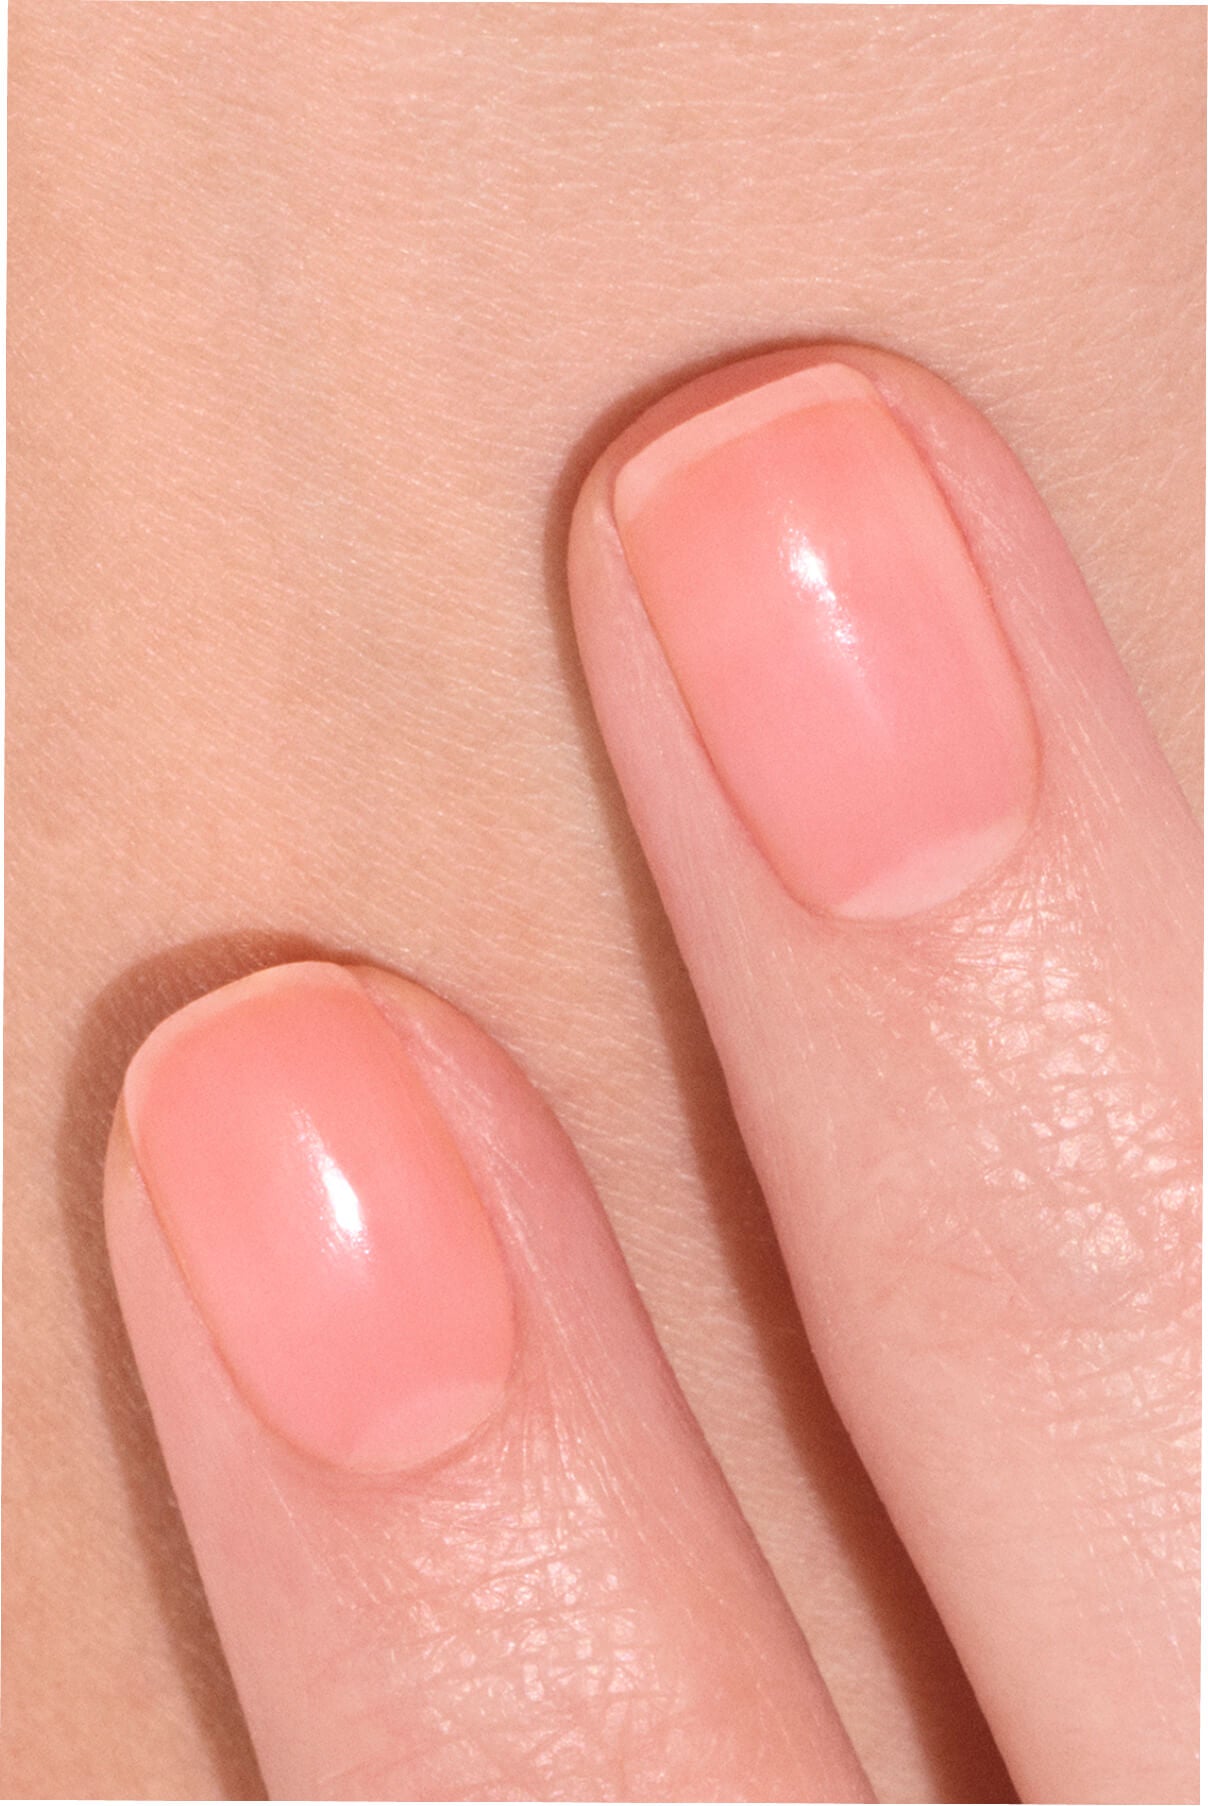
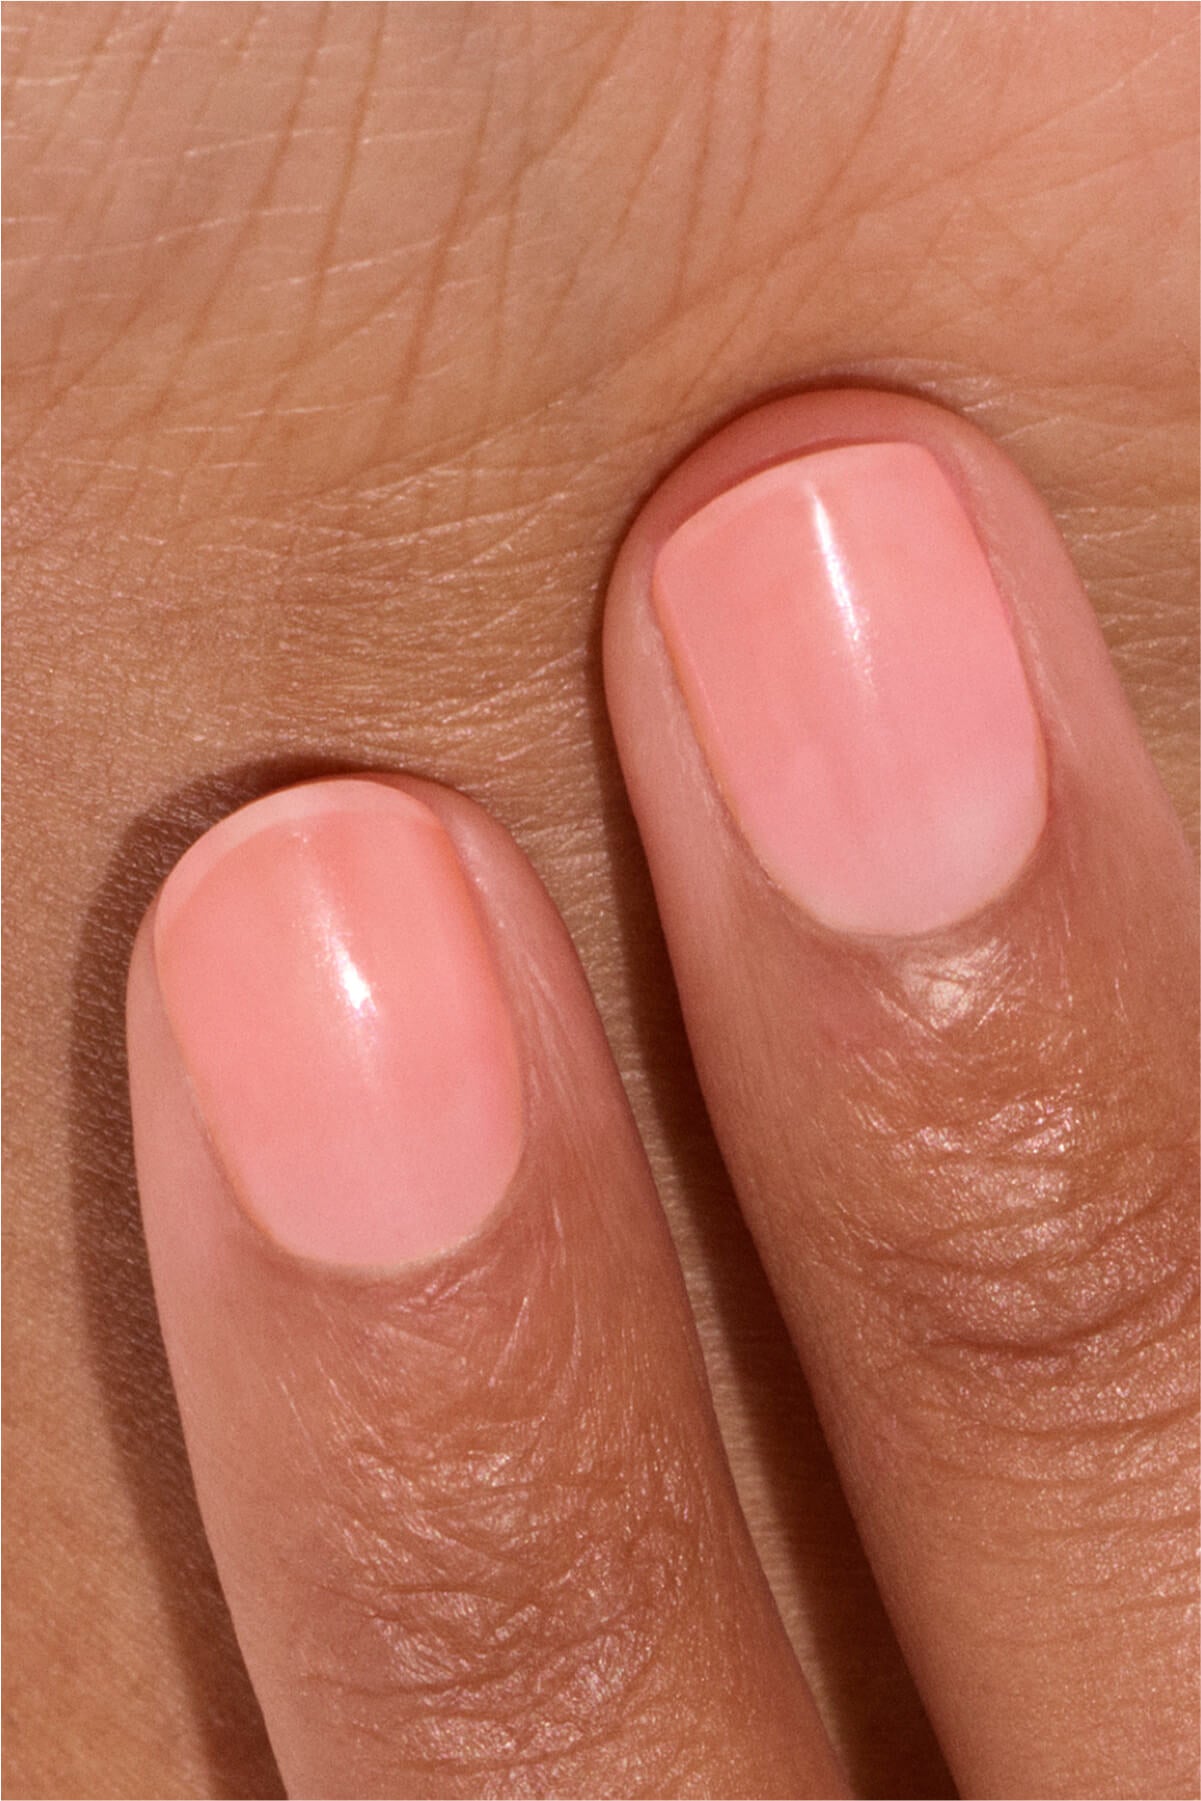
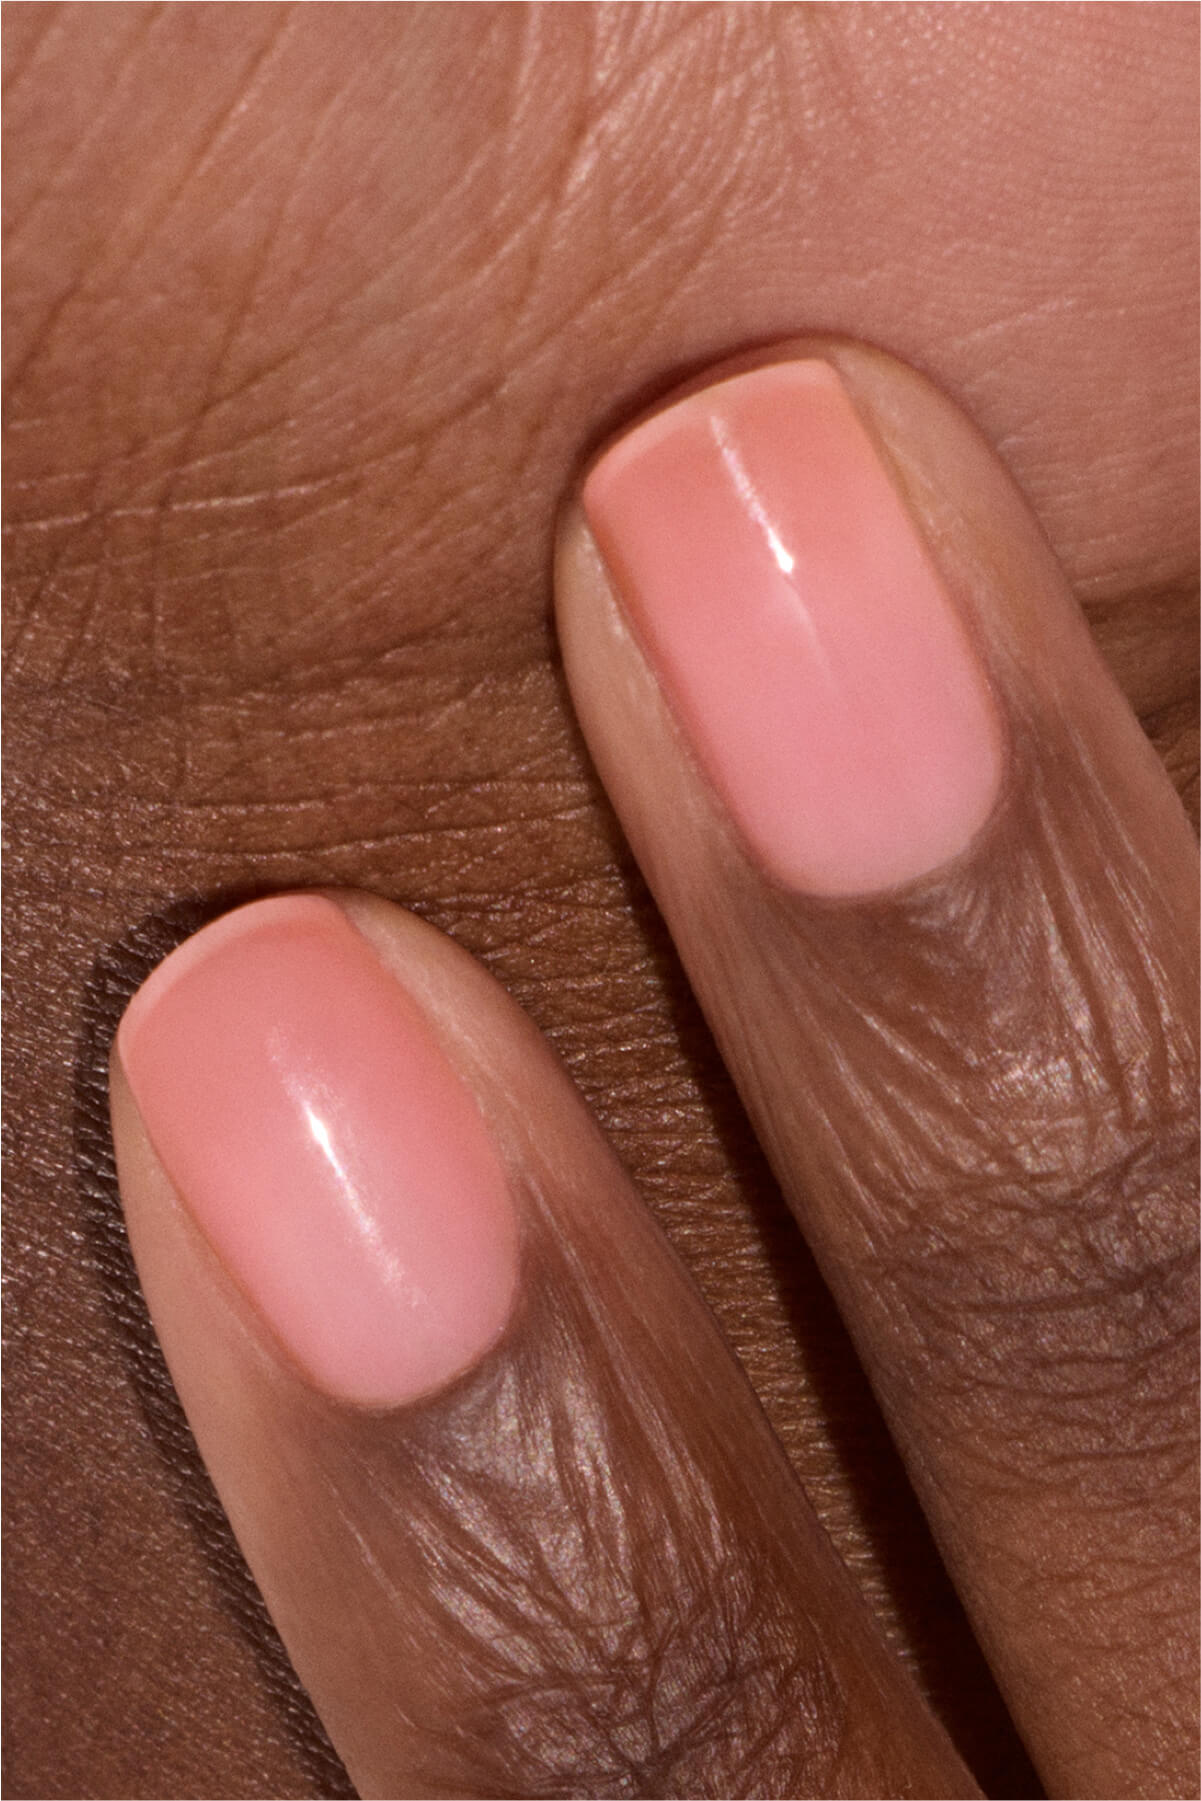
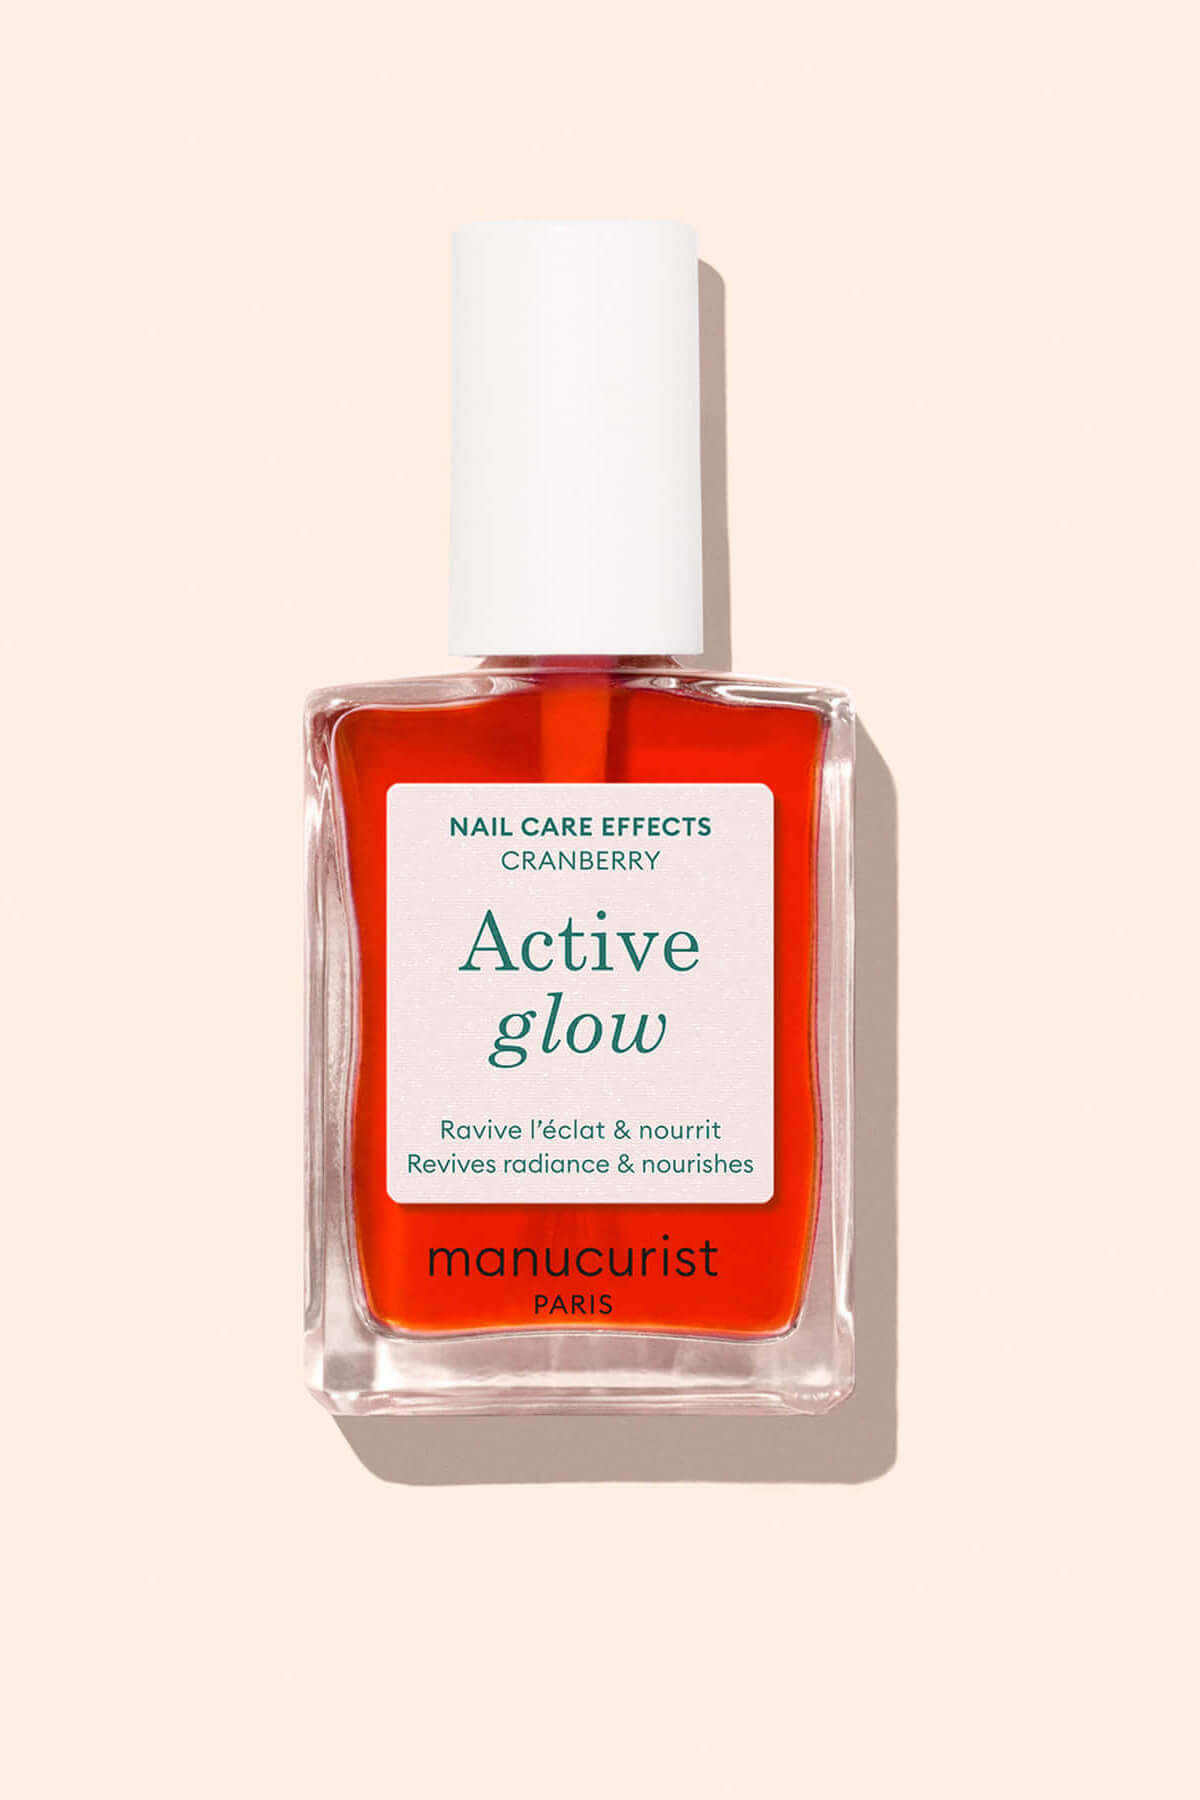
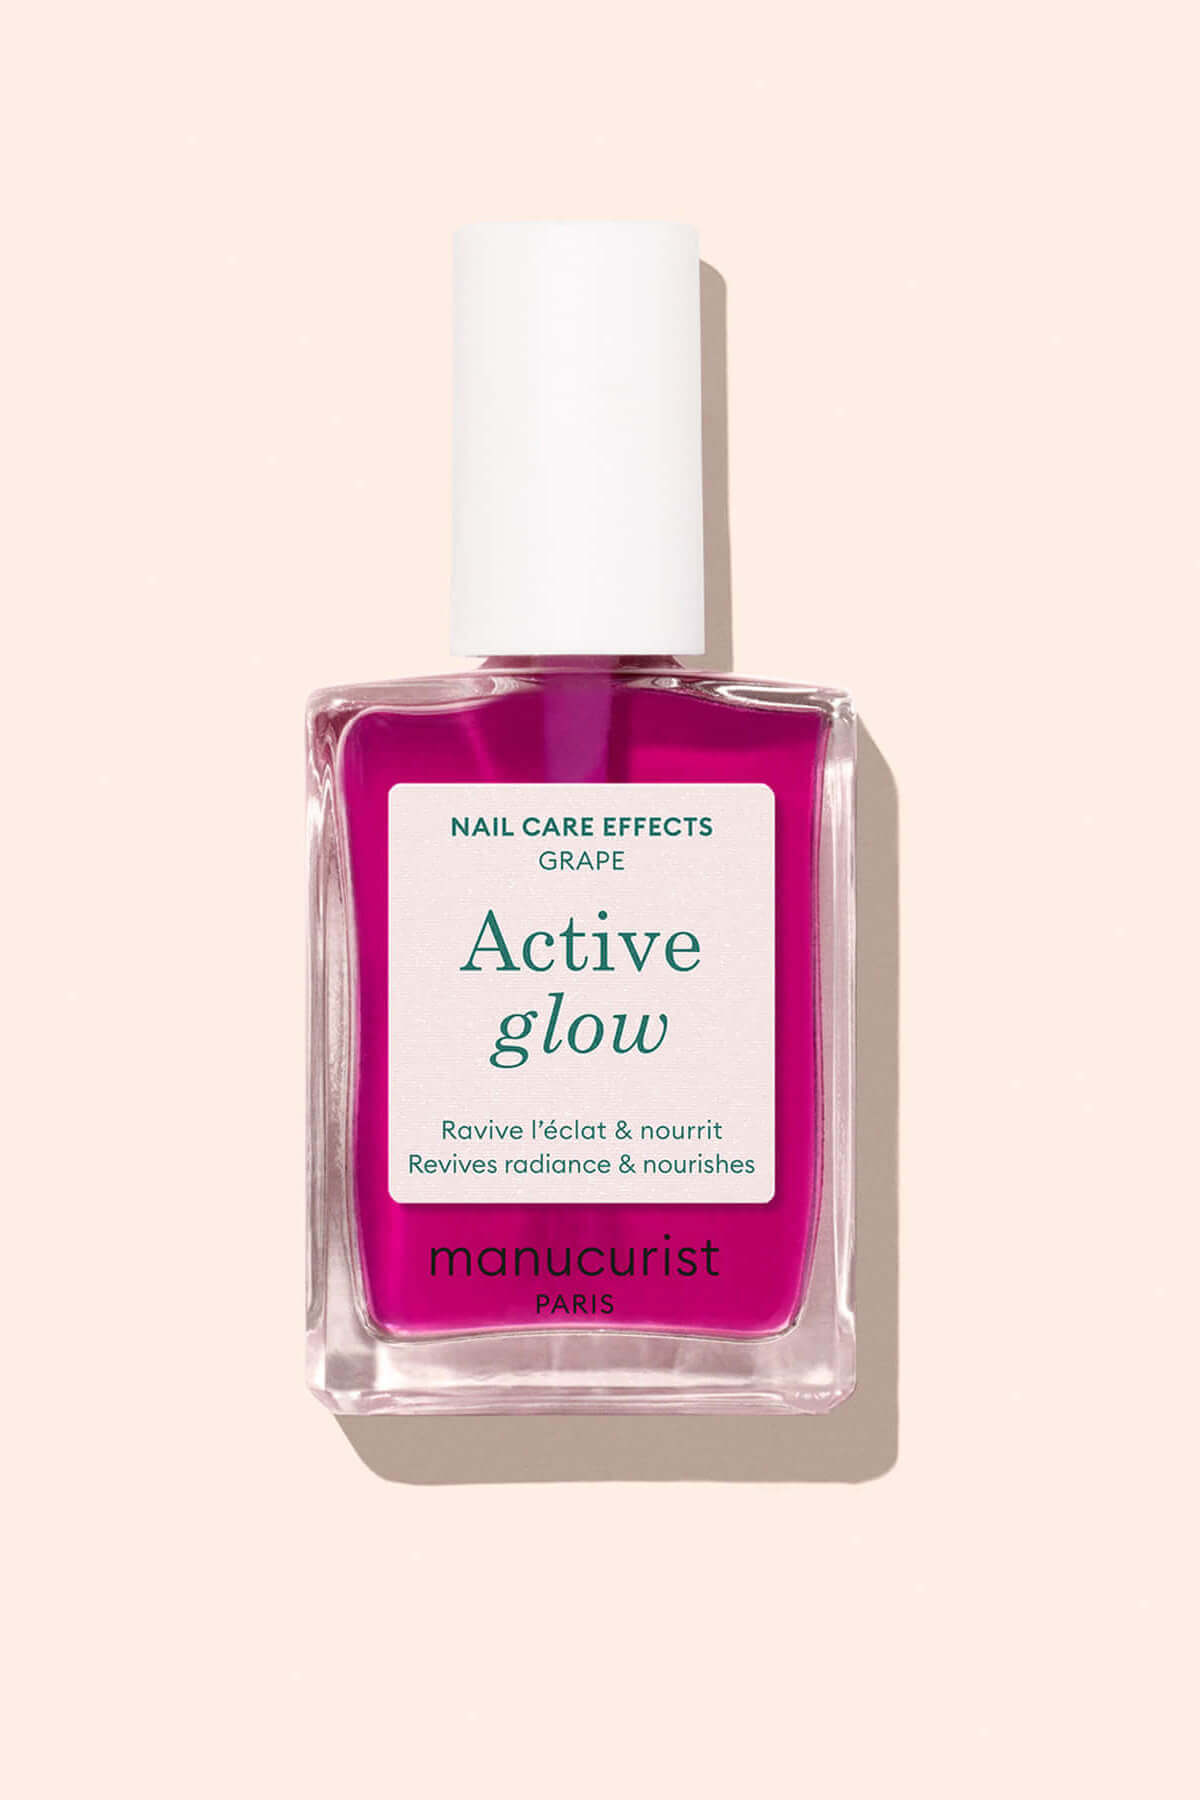
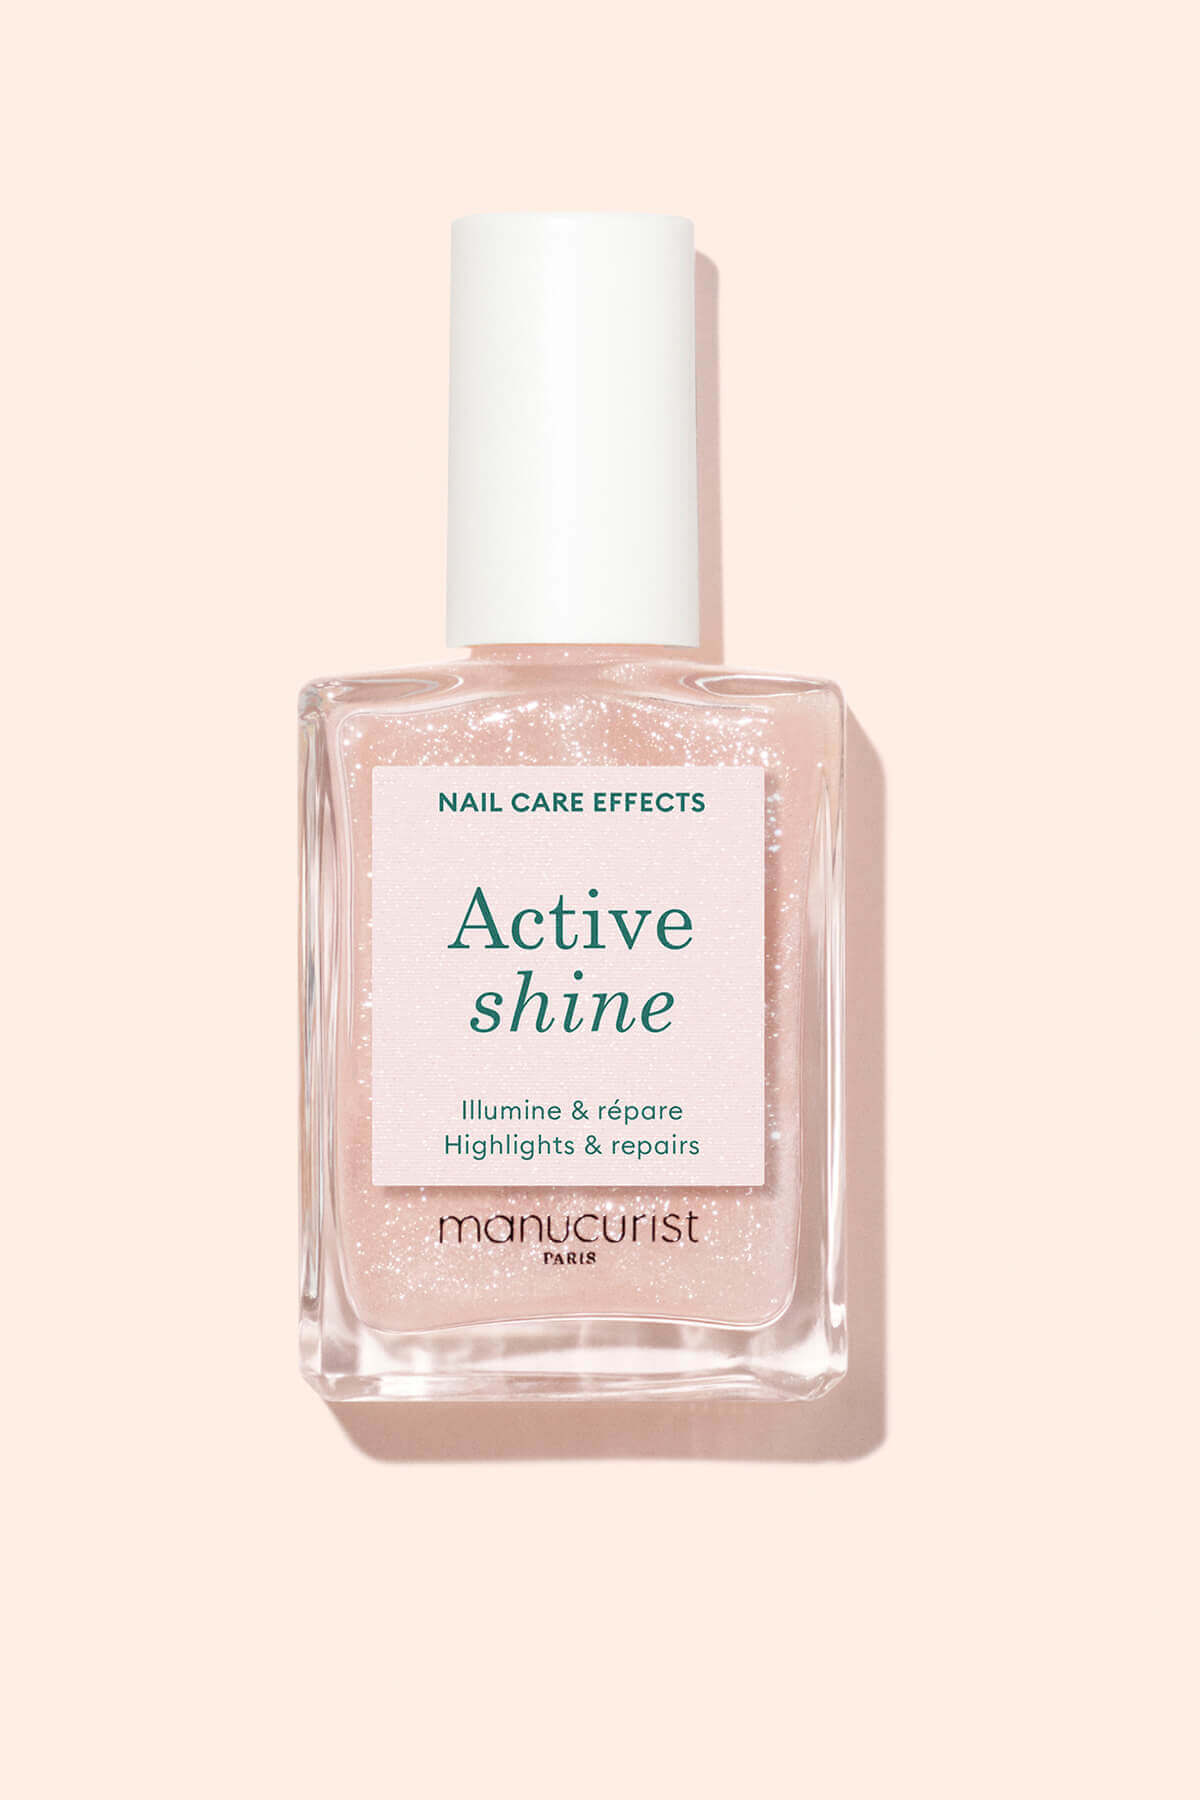
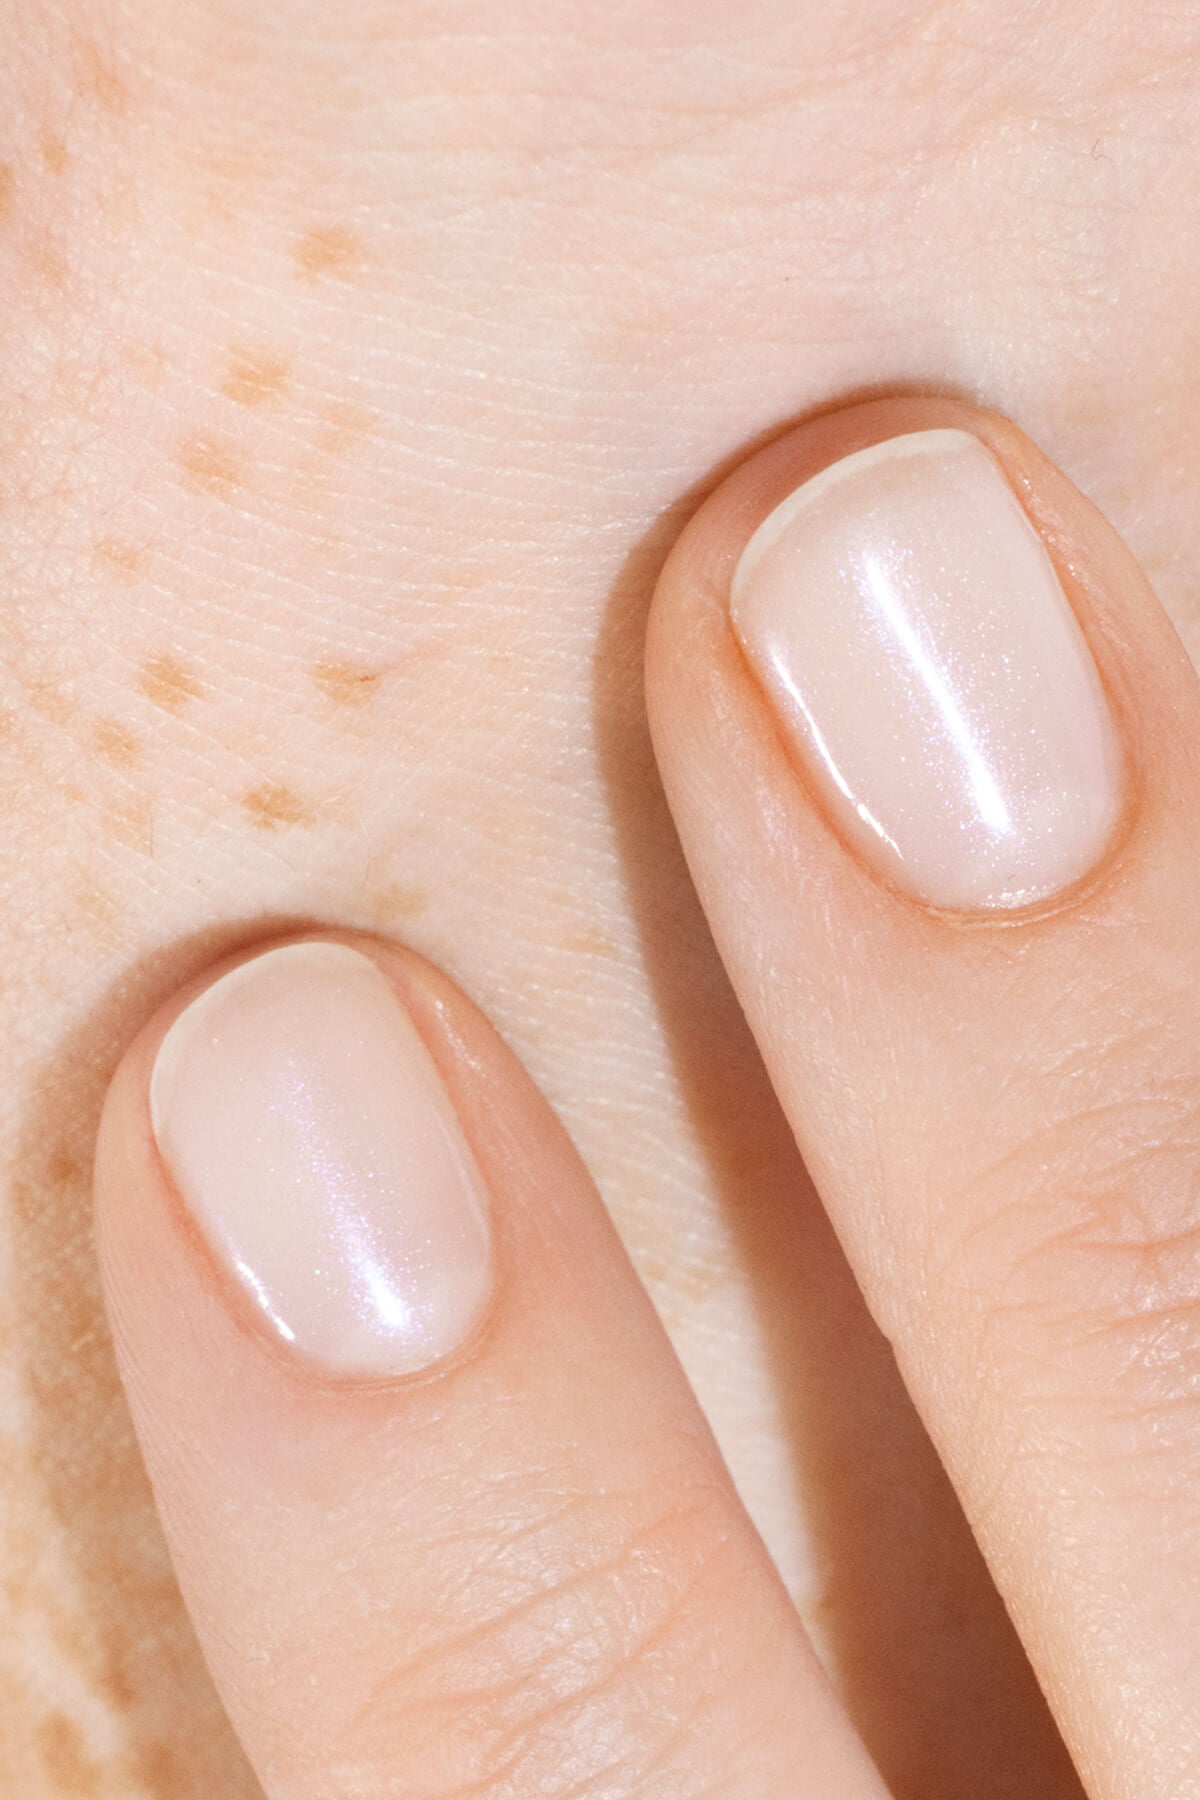
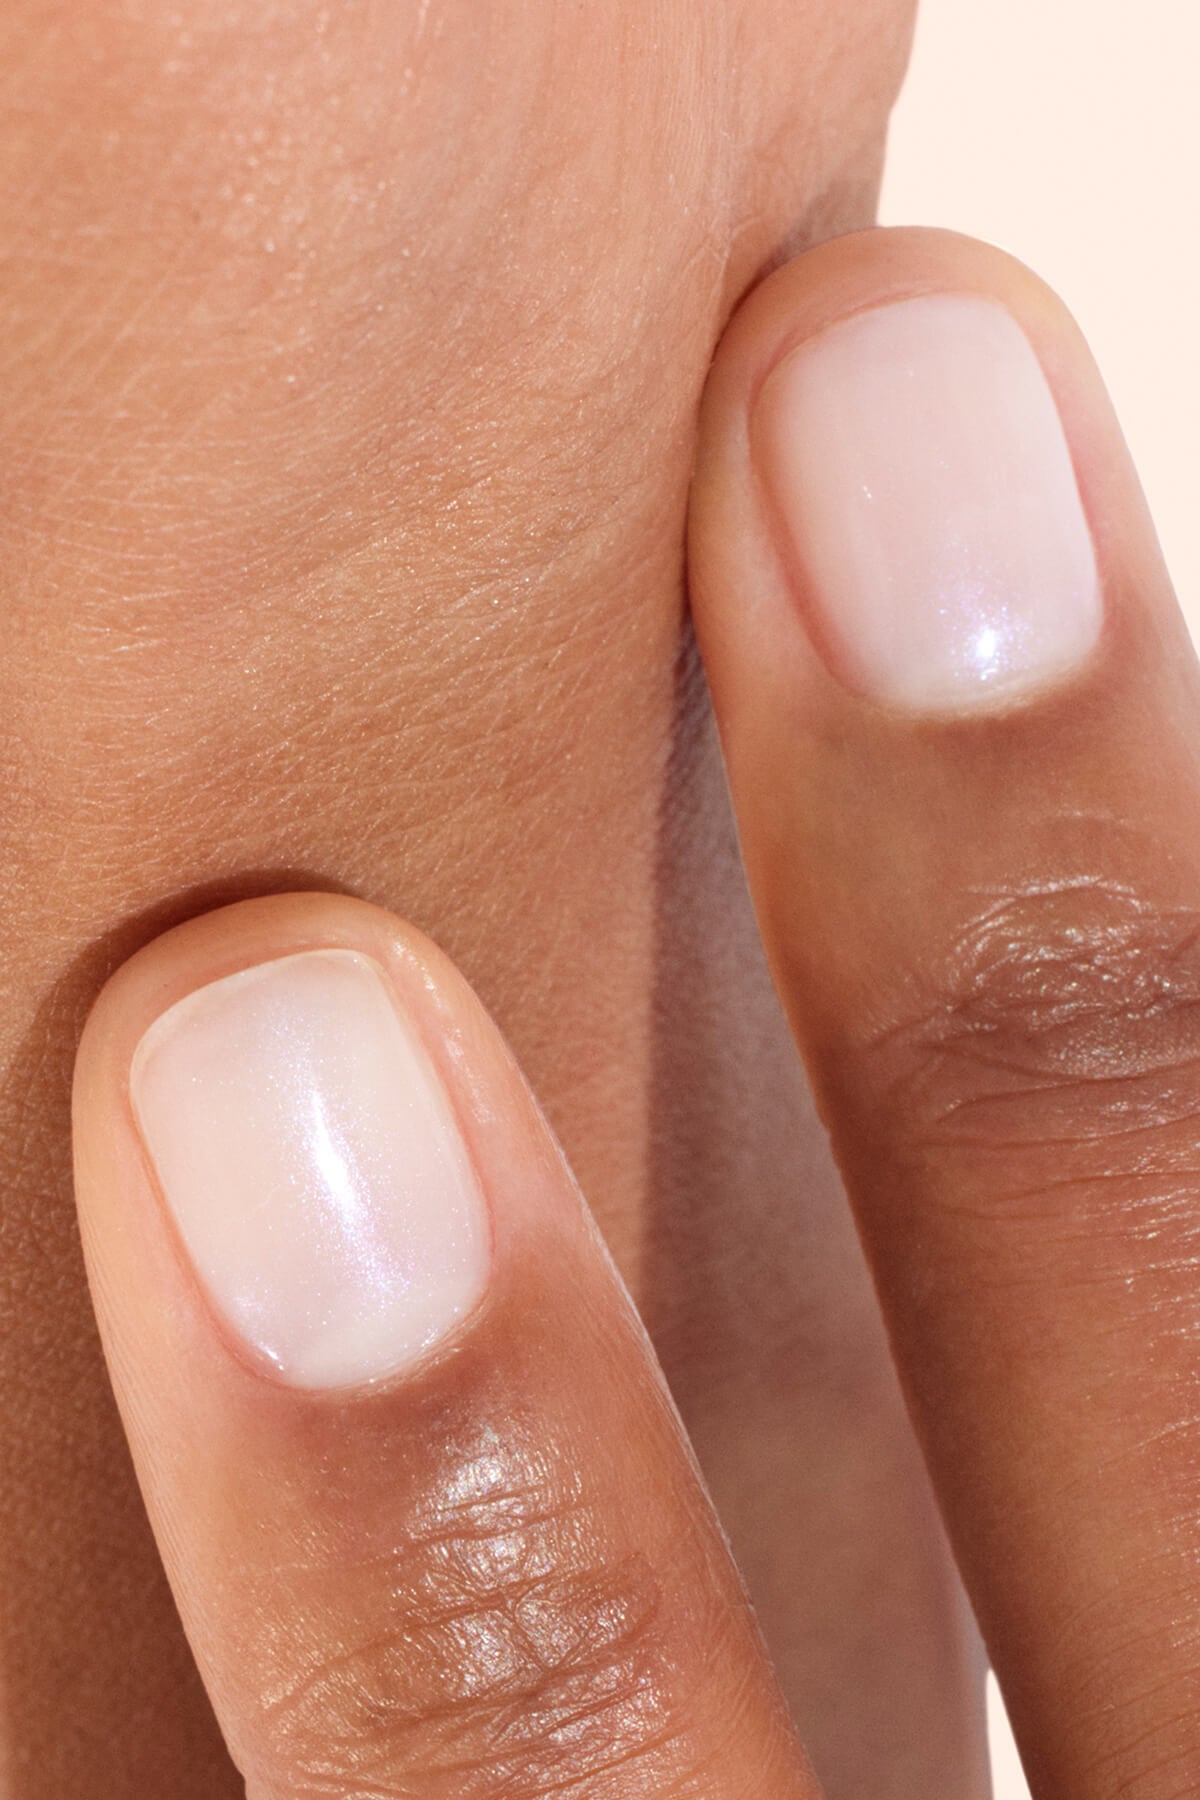
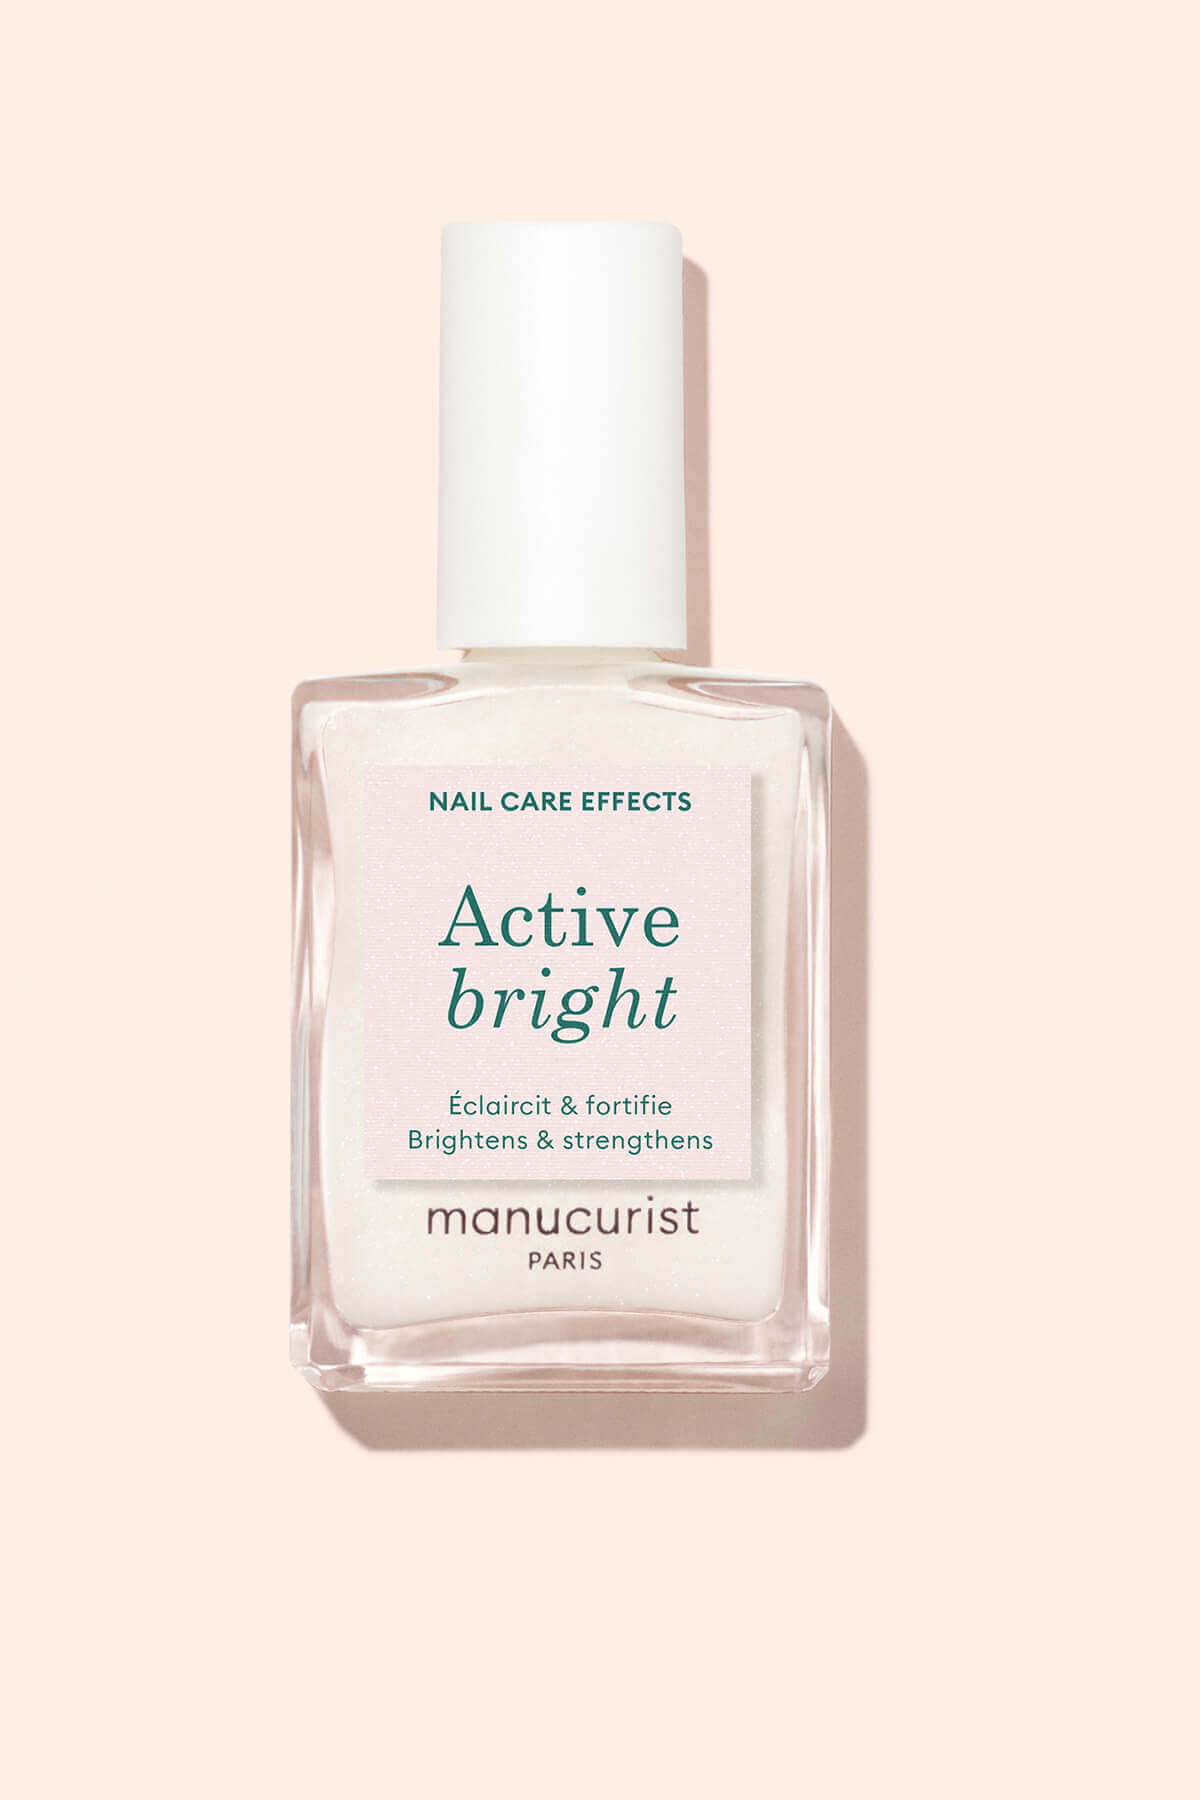
This timeless nail art starts with a nude or translucent base. Choose between a semi-sheer nail polish such as Milky White, Hortencia or Pale Rose. Our Active™ care polishes also make excellent French manicure bases: Active Glow™ for a lightly tinted glossy effect or Active™ Smooth to smooth imperfections and ensure a flawless finish.
For the white line along the free edge of the nail, an opaque white polish like Snow or Crème is ideal.
💡 Tip : find all the essentials for a flawless classic French manicure with the Kit French Active.

Classic French: nude or sheer base + crisp white line = the timeless combo.
(@matejanova, @look8thenails)
The reverse French manicure
Want to see the French manicure from a different perspective? Instead of highlighting the free edge of the nail, use a fine brush to draw the smile line of your French manicure on the opposite side, at the base of the nail. On short nails, the reverse French manicure visually elongates the nail. On long or almond-shaped nails, it enhances the delicacy of the hands. In short, we love it!
On a nude base, try the reverse French manicure in a pastel version with a light blue Bubble polish, or a chrome version with a glittery brown polish such as Bronzé. It also lets you play with colour combinations. For example, dare to pair a Candy base with Ultramarine, or a Khaki base adorned with a golden bronze Shimmer outline.

Reverse French: on a nude or coloured base, guaranteed wow effect!
(@look8thenails, @ellzabethm)
The colourful French
The French manicure isn’t limited to nude & white; it can also be reinvented in colour. Fresh pastel shades, bright colours or sun-kissed hues: here are our favourite combinations:
The frosted lemon French manicure with Lime, a refreshing yellow-green applied to the free edge of the nail over a nude base (such as Hortencia). Wonderful on short or rounded nails for a subtle pop effect!
The chic, sun-kissed French with the Hortencia duo for a rosy nude effect that flatters every skin tone, and Riviera, a vibrant azure blue polish, applied along the edge in a very fine line. A contrast that works wonders on tanned or lightly sun-kissed skin. Perfect for summer!
The fruity French with Active Glow™ Cranberry, a sheer care polish with pink-orange shimmer in one or two coats depending on the desired intensity, paired with Coral Reef, a vibrant coral for a fruity, energising effect. A stunning combo on medium to deep skin tones.
💡 Tip : With the Coloured French Kit, create your custom French manicure by selecting the Active Smooth base suited to your skin tone, along with the colour that will frame your beautiful nails.

Fresh, pop or sun-kissed combos to give your French a boost.
(@matejanova)
The twisted French: glazed, dots, double French & Co
Icy effects, double lines, geometric patterns or tonal colour combinations: the French becomes a true playground for style experimentation. Here are our favourite inspirations for embracing the new-generation French.
French Glazed: in 2026, the Glazed trend brings an icy touch to the French manicure, giving it even more charm and style. On a classic French manicure, White Glazed powder leaves a slightly pearlescent white veil, ideal for a wedding manicure.
French & Dots: when the French manicure goes off on a tangent and dresses up in polka dots, you discover it from a new angle. On a Pale Rose base, dress the tips of your nails in 4 different colours (here Sauge, Tuileries, Poppy Red, Snow), like an XXL French manicure extending down the side. Add small Snow and Licorice polka dots using a dotting tool. An ultra-stylish result guaranteed!
Vibrant double mini French: an unexpected duo with an ultra-graphic finish: on a Hortencia base, pair a first pearlescent French line with Groove, enhanced with a delicate stroke of Queen of Night applied using the Mani Stamper. The result: a two-tone edge that is both sophisticated and festive.

Revisit the French manicure with an arty twist: think glazed effects, double mini French tips and edgy dots.
(@look8thenails, @irasnailroom)
How to do a French manicure at home? Step-by-step tutorial
Creating a salon-worthy French manicure without leaving your sofa is possible, as long as you have the right techniques… and the right products. Nail preparation, a fine and precise application of the white or coloured edge, a glossy finish: every step counts for a clean, long-lasting result. We’ll guide you step by step to achieve your French manicure at home, without stress or mishaps.
Prepare your nails
The sine qua non for a successful French manicure: flawless nails. Preparation is therefore an essential step that includes 4 key actions:
- Start by filing your nails with a gentle nail file, shaping them as desired: square, rounded, oval, almond…
- Then soften your cuticles with the Effective Cuticle Softener before gently pushing them back with a cuticle pusher.
- Then, mattify the surface with a preparation file to smooth it and ensure your polish lasts well.
- Finally, degrease your nails to remove dust and oily residue.


Apply the protective base coat
Before applying the base colour for your French manicure, don't forget to apply a protective base coat.
If you’ve chosen a Green™ polish, you can apply the Green™ Vitamin-Enriched Base Coat, the new version of the Green™ Base Coat, now featuring KeraHCE+ technology that strengthens the nail beneath the colour. If you prefer Green Flash™ polish, apply the Green Flash™ Vitamin-Enriched Base Coat.
Allow the Green™ Vitamin-Enriched Base Coat to air-dry thoroughly, cure the Green Flash™ Vitamin-Enriched Base Coat under an LED lamp, then apply your colour base coat.


Apply the base colour
As with your usual nail polish application, apply your chosen base colour in one or two coats depending on the desired finish. Let each coat dry in the open air or under an LED lamp, depending on the type of polish chosen.
💡 Tips : apply the polish in a thin coat. To do this, wipe the brush along the edge of the bottle so you have just enough product to cover the nail evenly.
Draw the French manicure smile line
If you’re a nail art addict, you’ll have no trouble drawing the smile line of your French manicure with a liner brush, the ideal tool for mini French tips in particular.
If you're new to the art of French manicures, you'll love our Mani Stamper. It lets you apply the white (or coloured) line without shaking and create your French manicure in just a few seconds.
How does it work? Apply a line of polish to the silicone pad of the Mani Stamper. Gently apply it to the edge of the nail: the silicone pad adapts perfectly to the shape and curve of the nail. However, make sure not to place the nail vertically on the Mani Stamper, but at an angle, as the pad is delicate.
Let it dry, then correct any polish on the skin with a correction pen or a cotton bud soaked in gentle nail polish remover. For perfectionists: refine the curve with a fine-tipped brush.


Seal with a top coat
Finish with a layer of top coat to set and protect your nail art and add shine. Over Green™ polish, apply a thin layer of Top Coat Sunshine. Over Green Flash™ polish, choose between a layer of Top Coat Green Flash™ (wears up to 12 days) or Xtrem Flash™ (wears up to 21 days). Air-dry or cure under an LED lamp depending on the type of polish chosen.
And to finish this French manicure in style, hydrate your nails and cuticles with a drop of Green Oil, massaged into the nails and surrounding skin.


Classic or twisted, minimalist or chrome, the French manicure continues to prove its incredible ability to adapt to every nail shape and style. A true nail art chameleon, it hasn’t lost any of its charm—and has even had a little modern makeover. Whether you’re team nude polish or bold colour pop, all that’s left is to choose your favourite shades, grab your Mani Stamper and let your creativity shine. Sometimes, one line is all it takes to make all the difference 😉