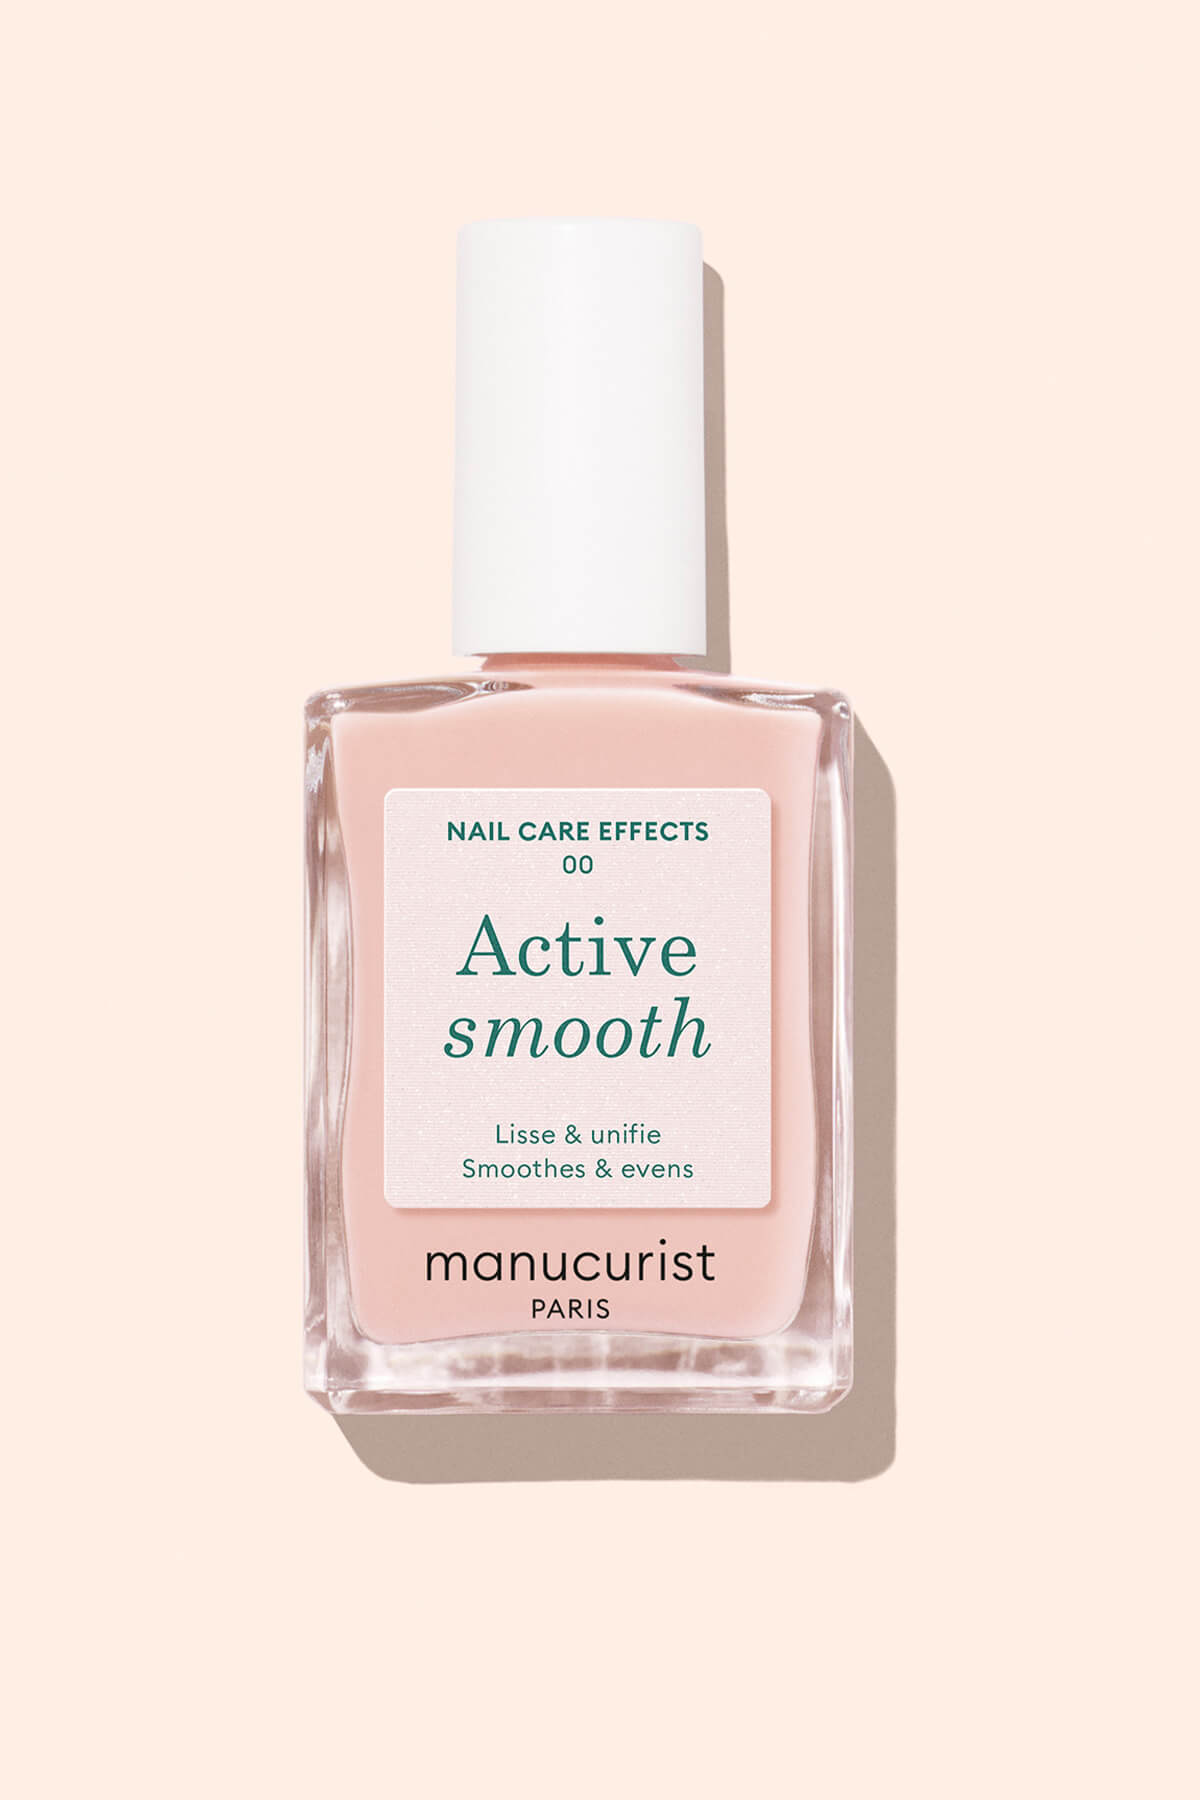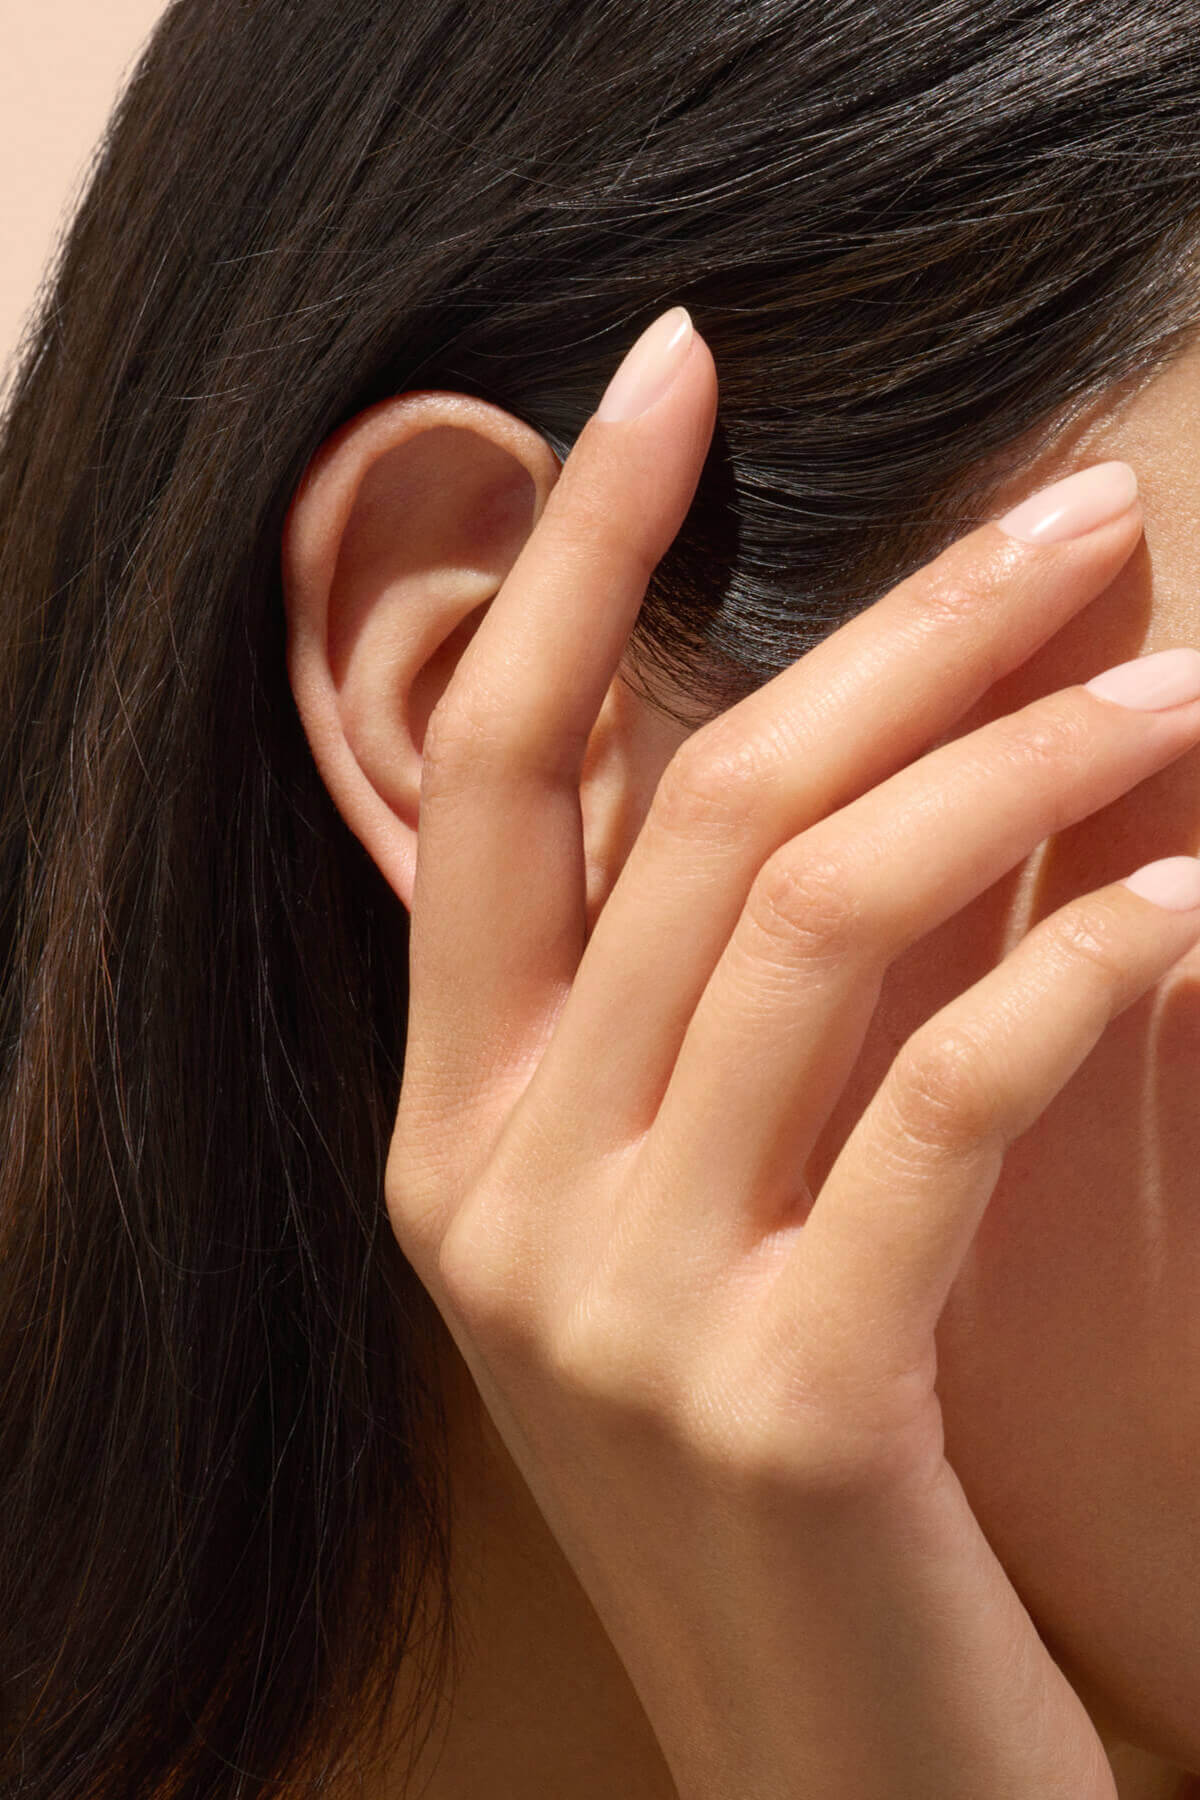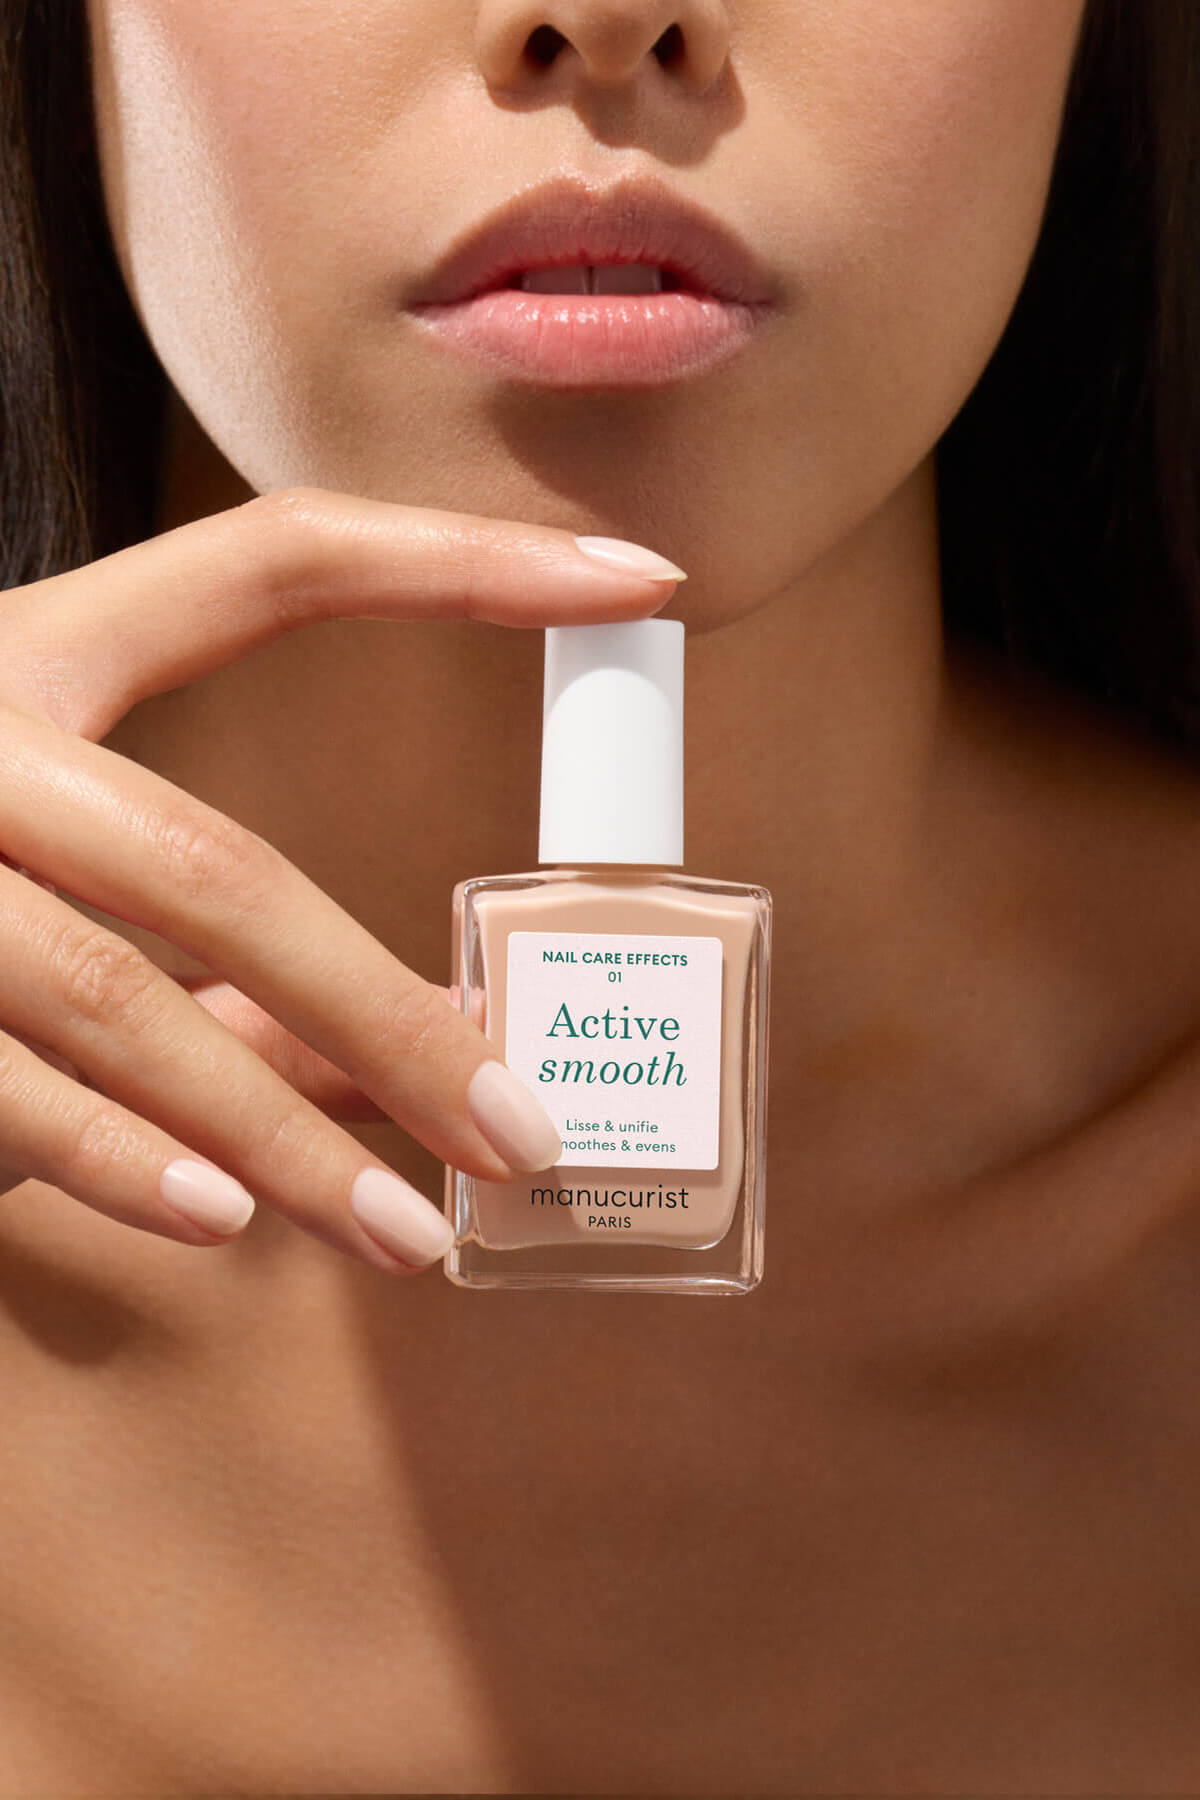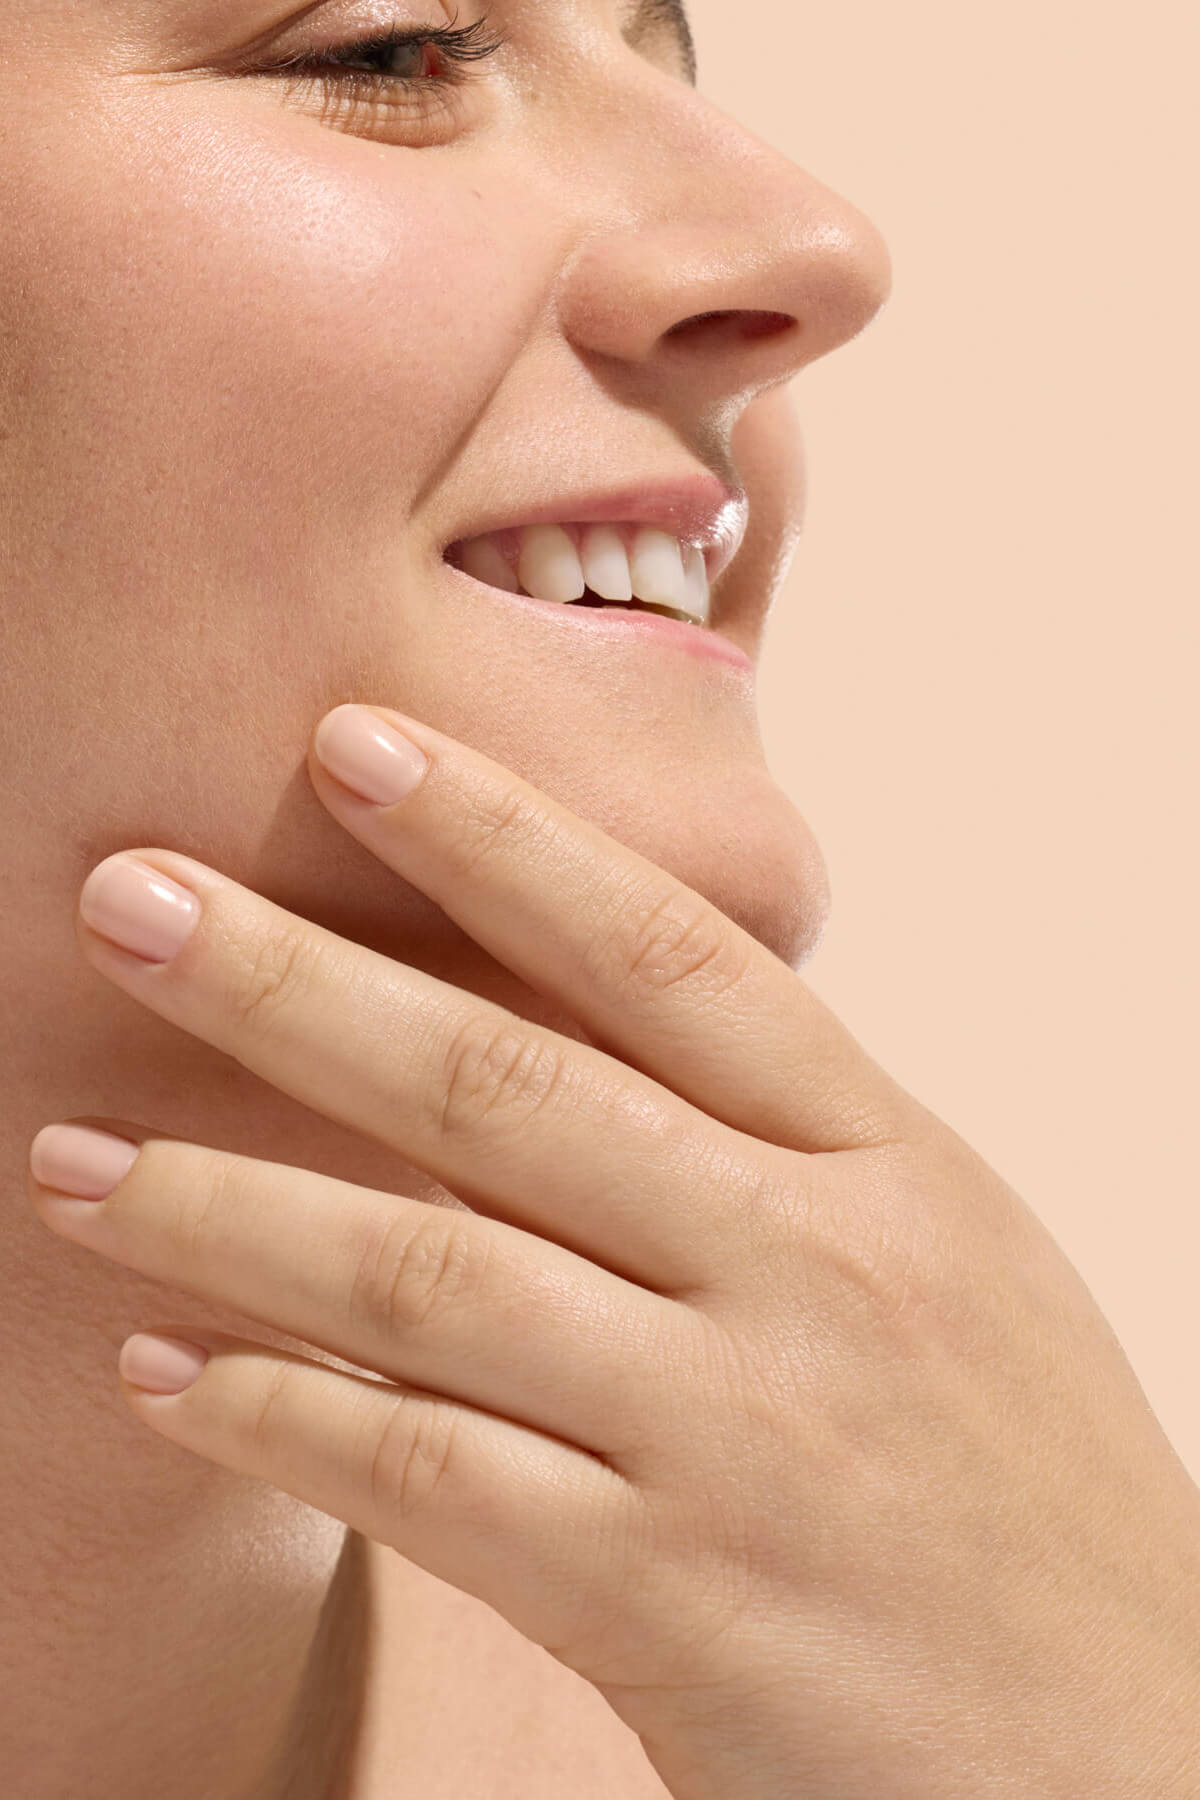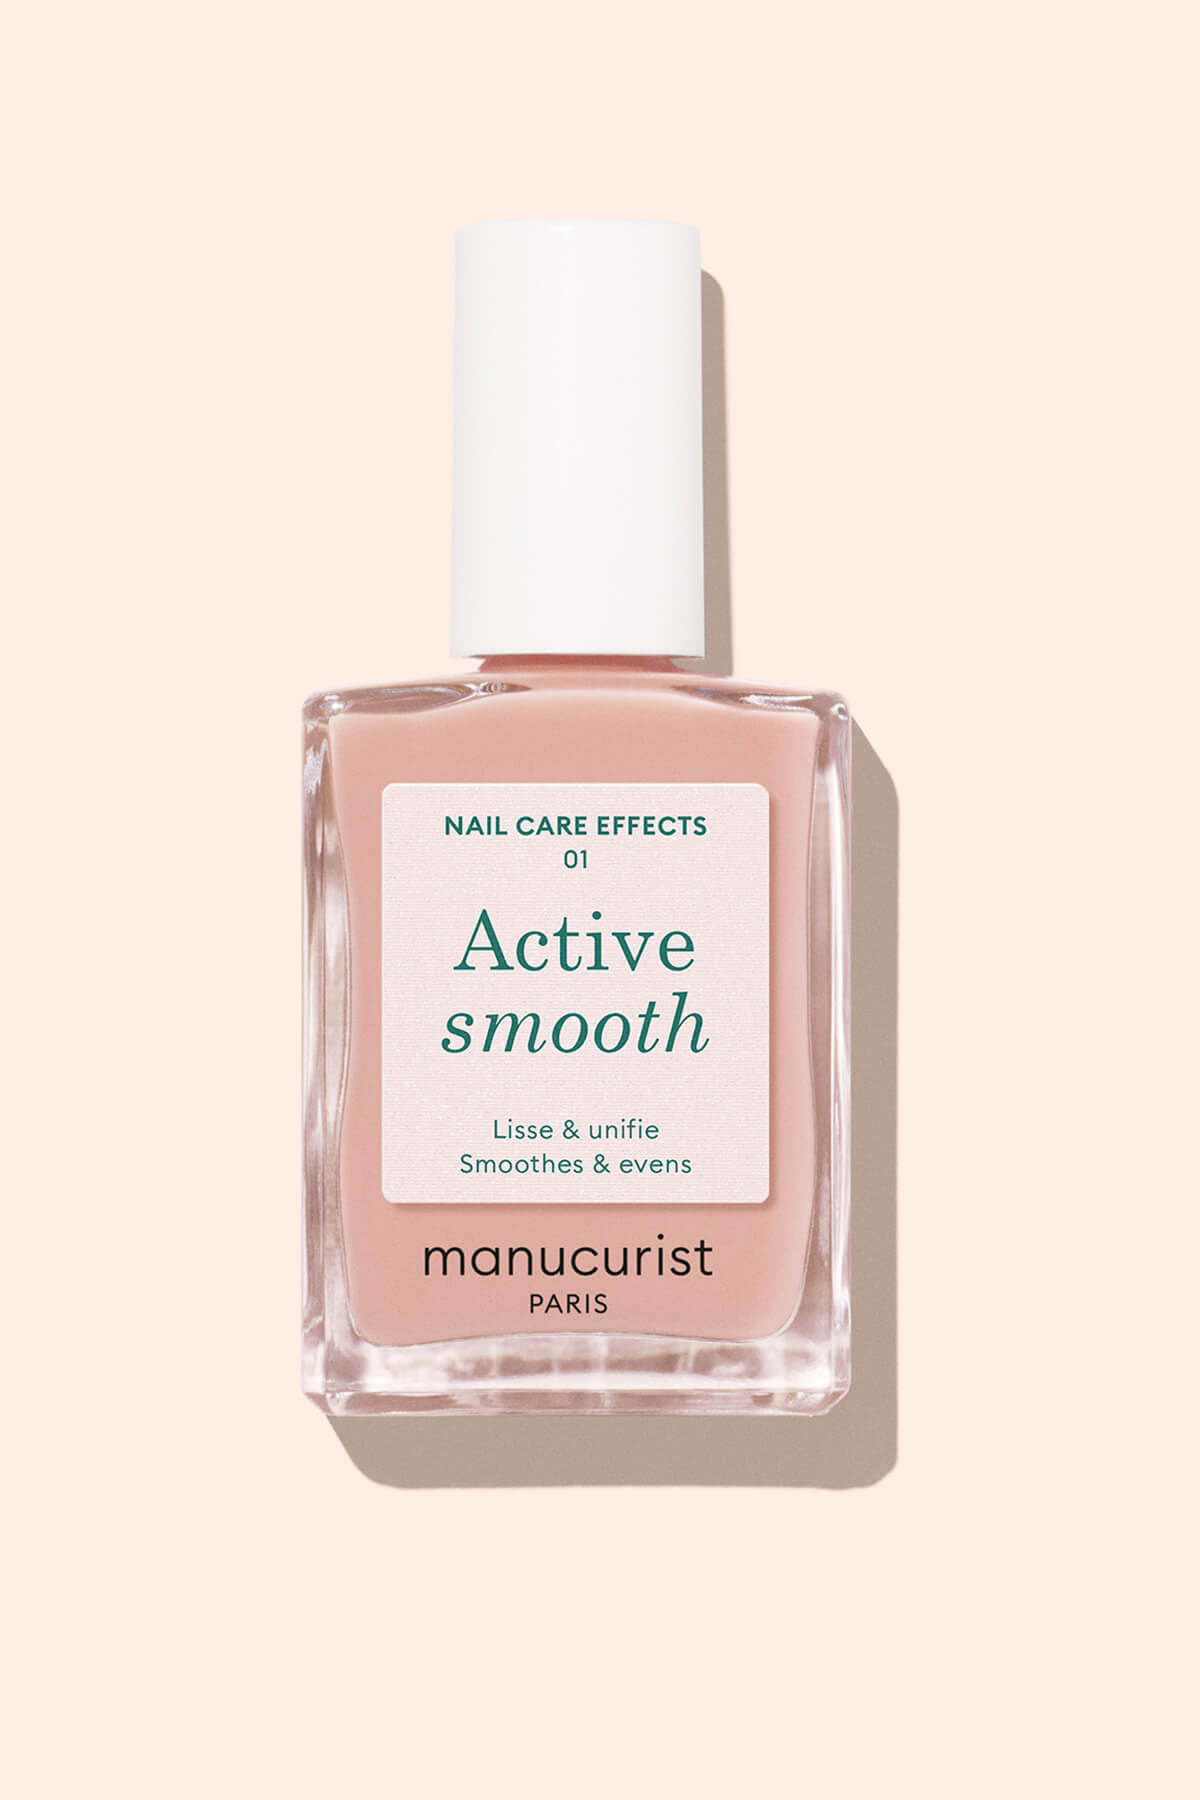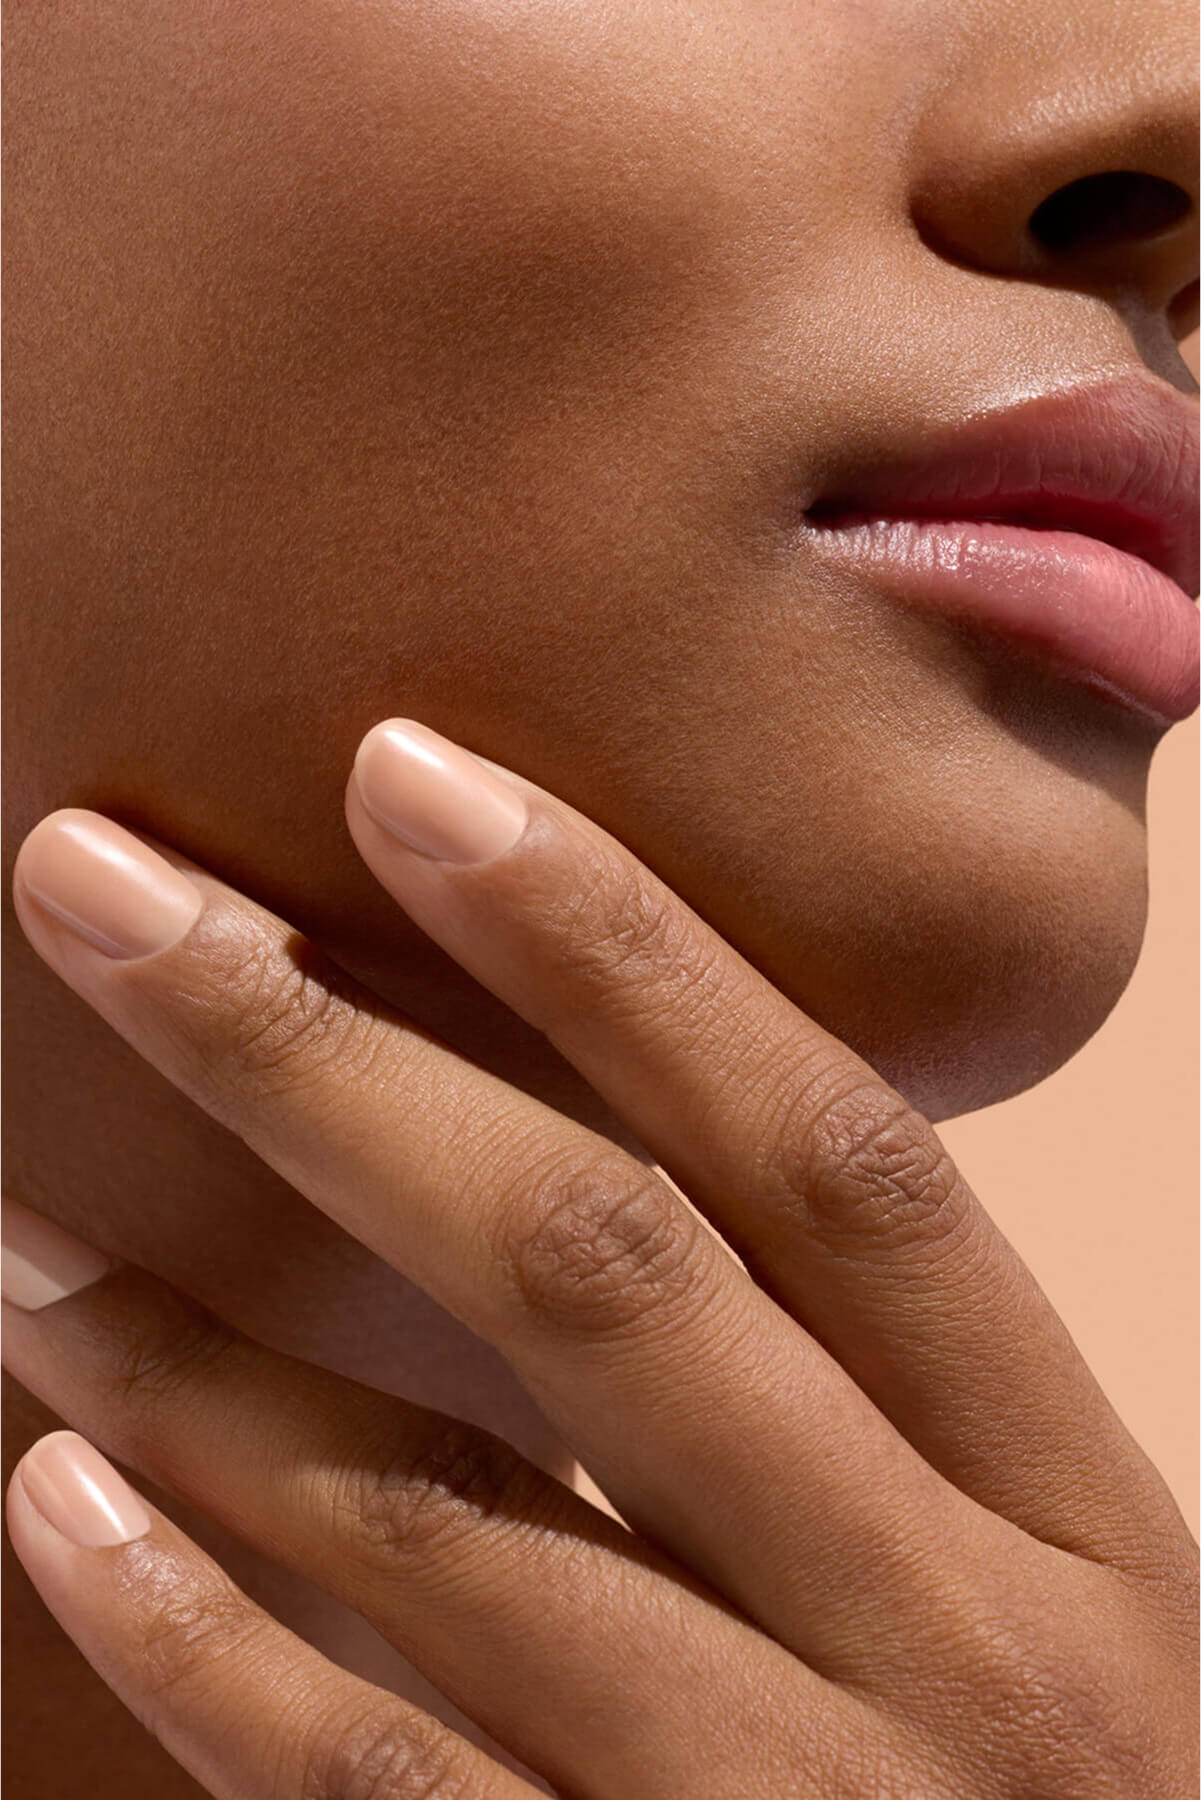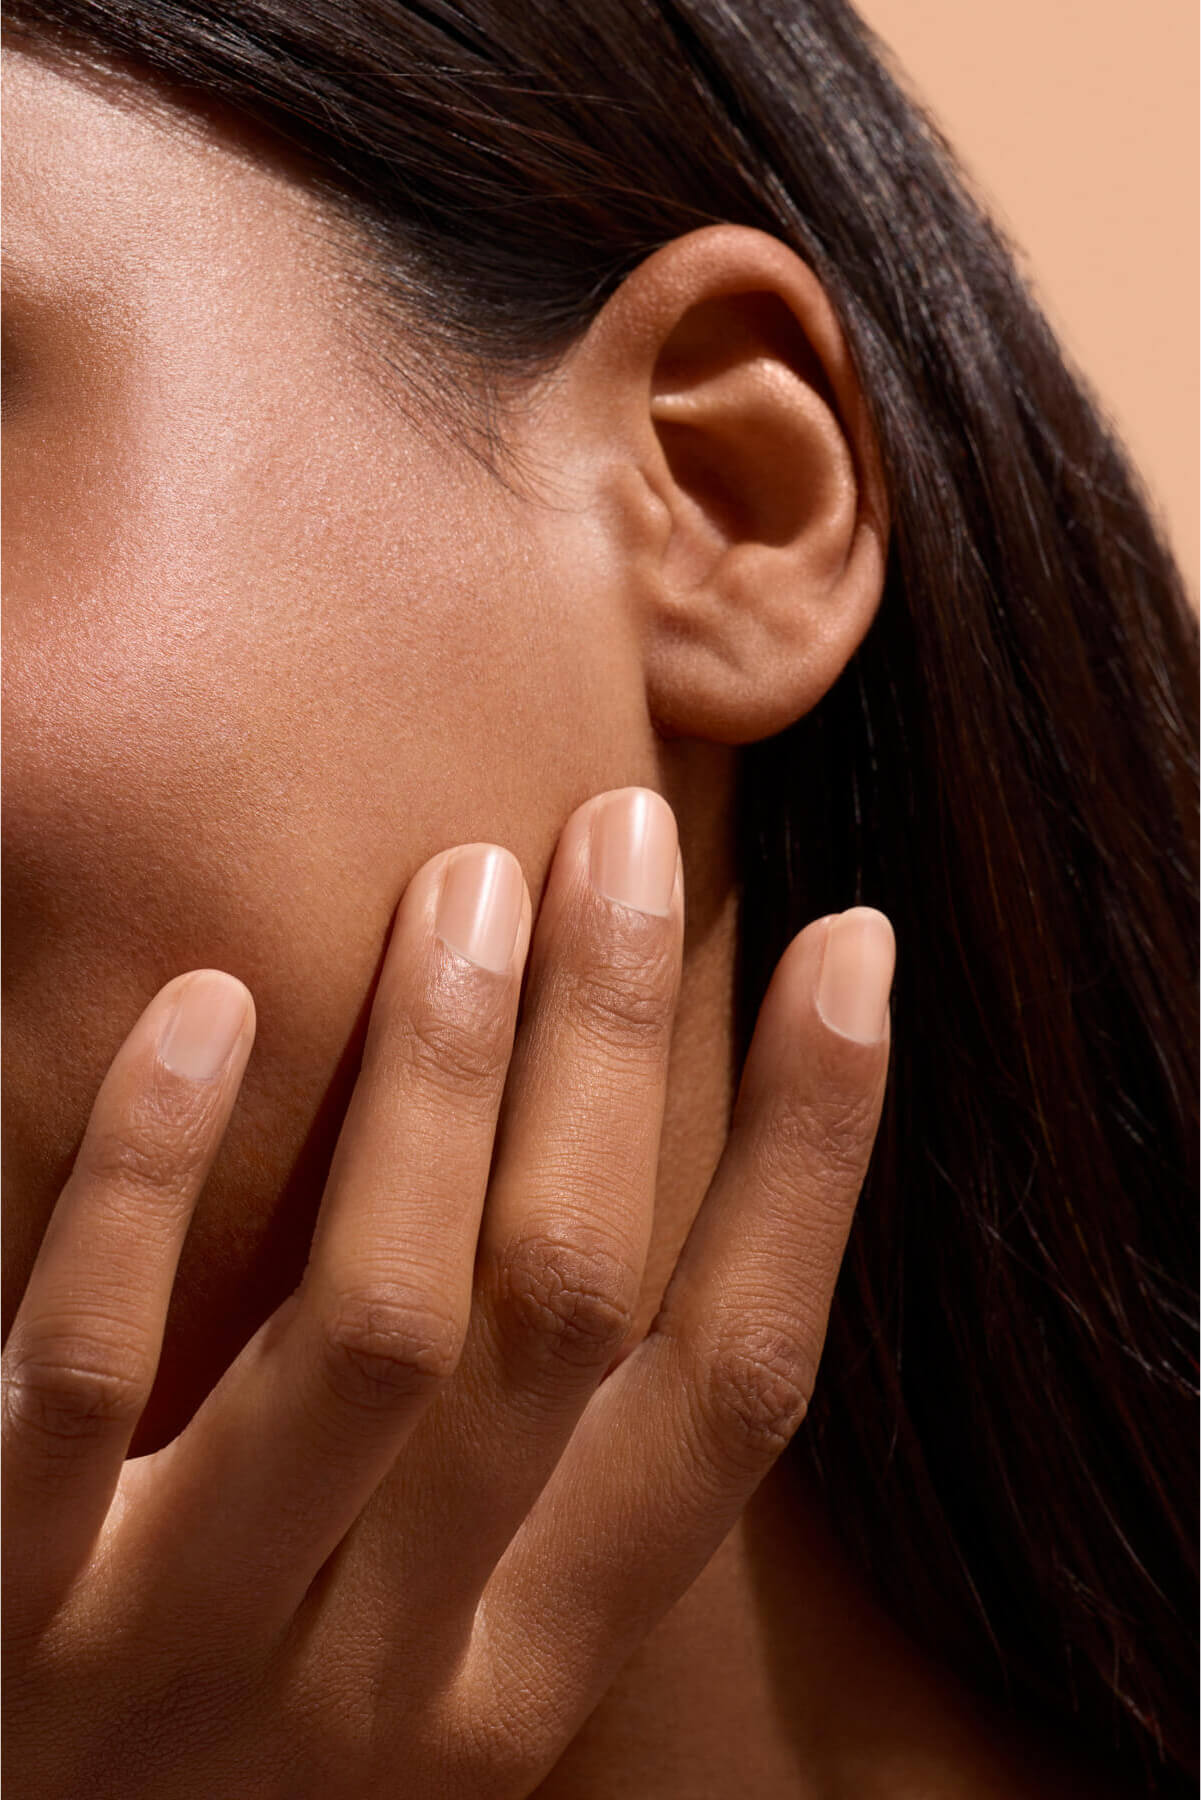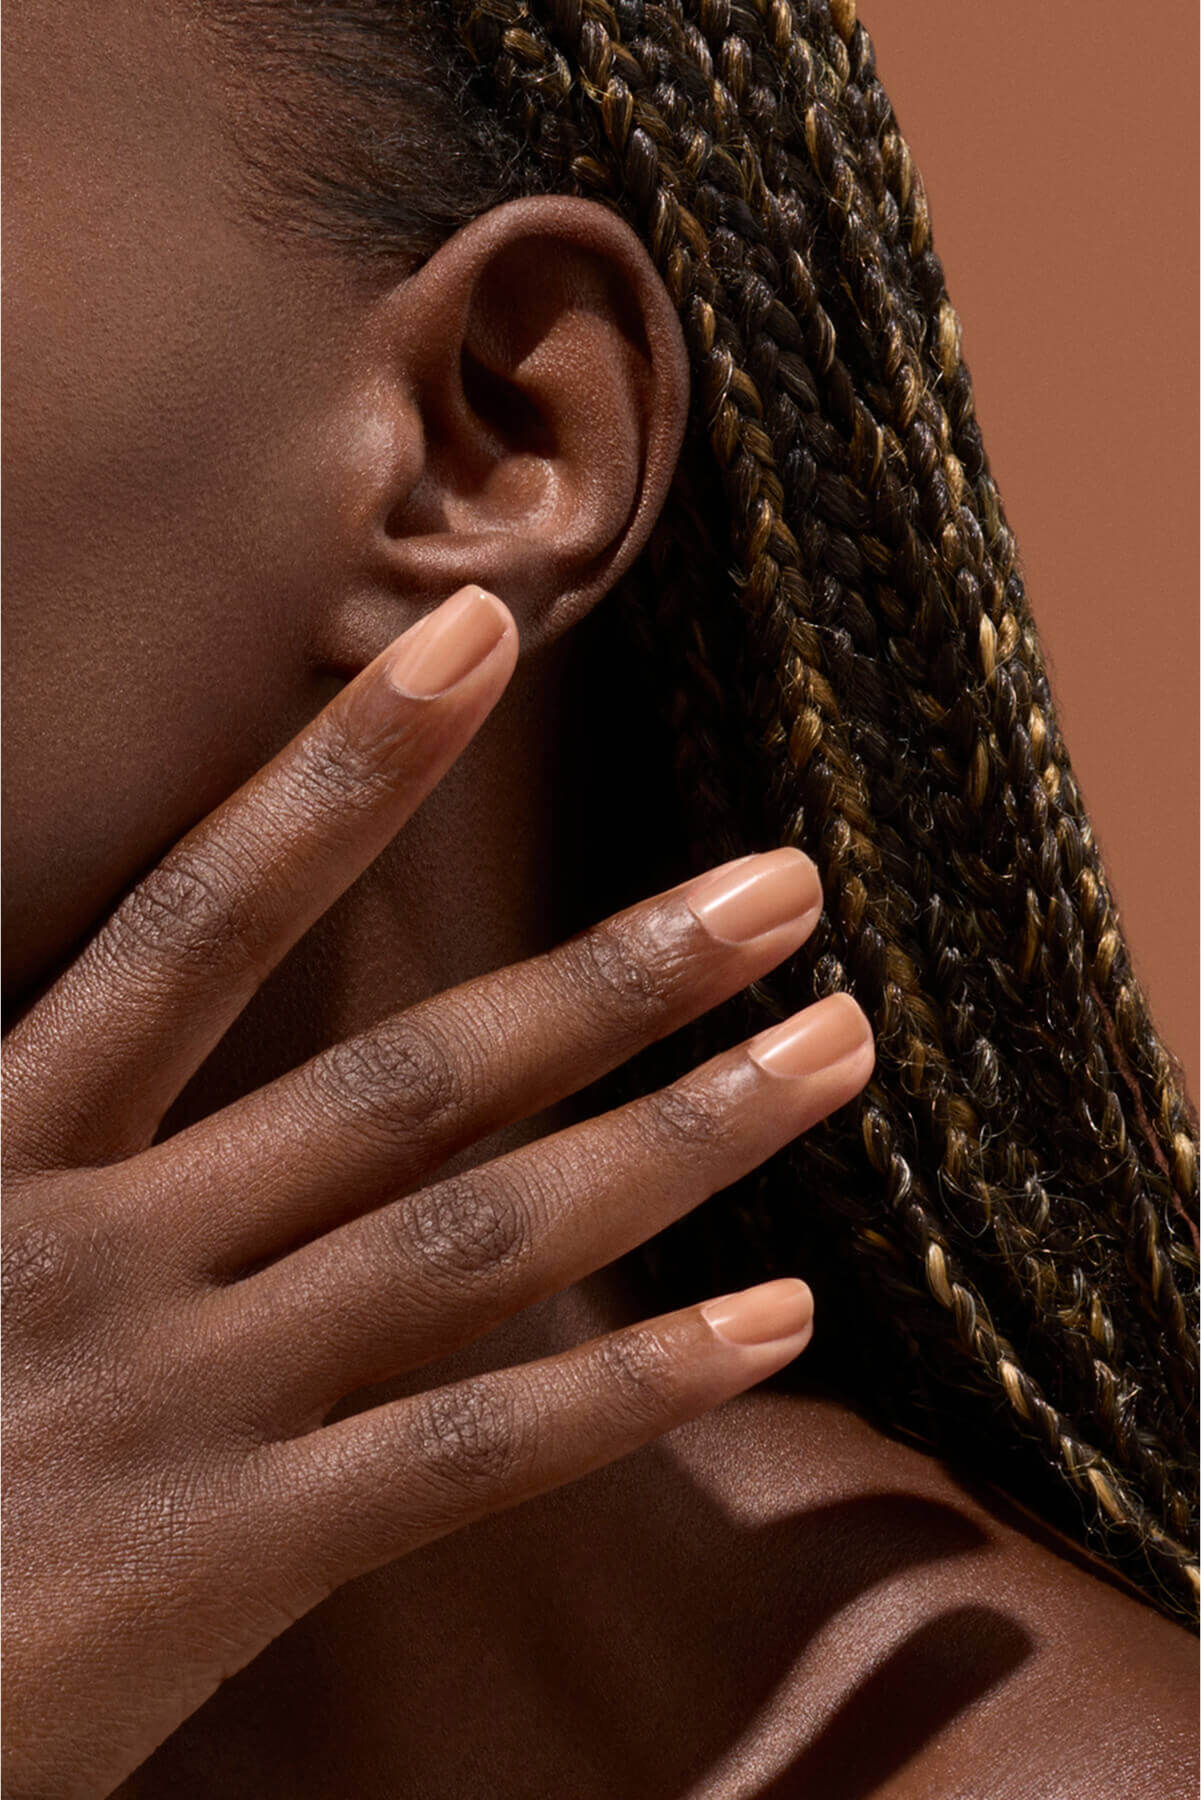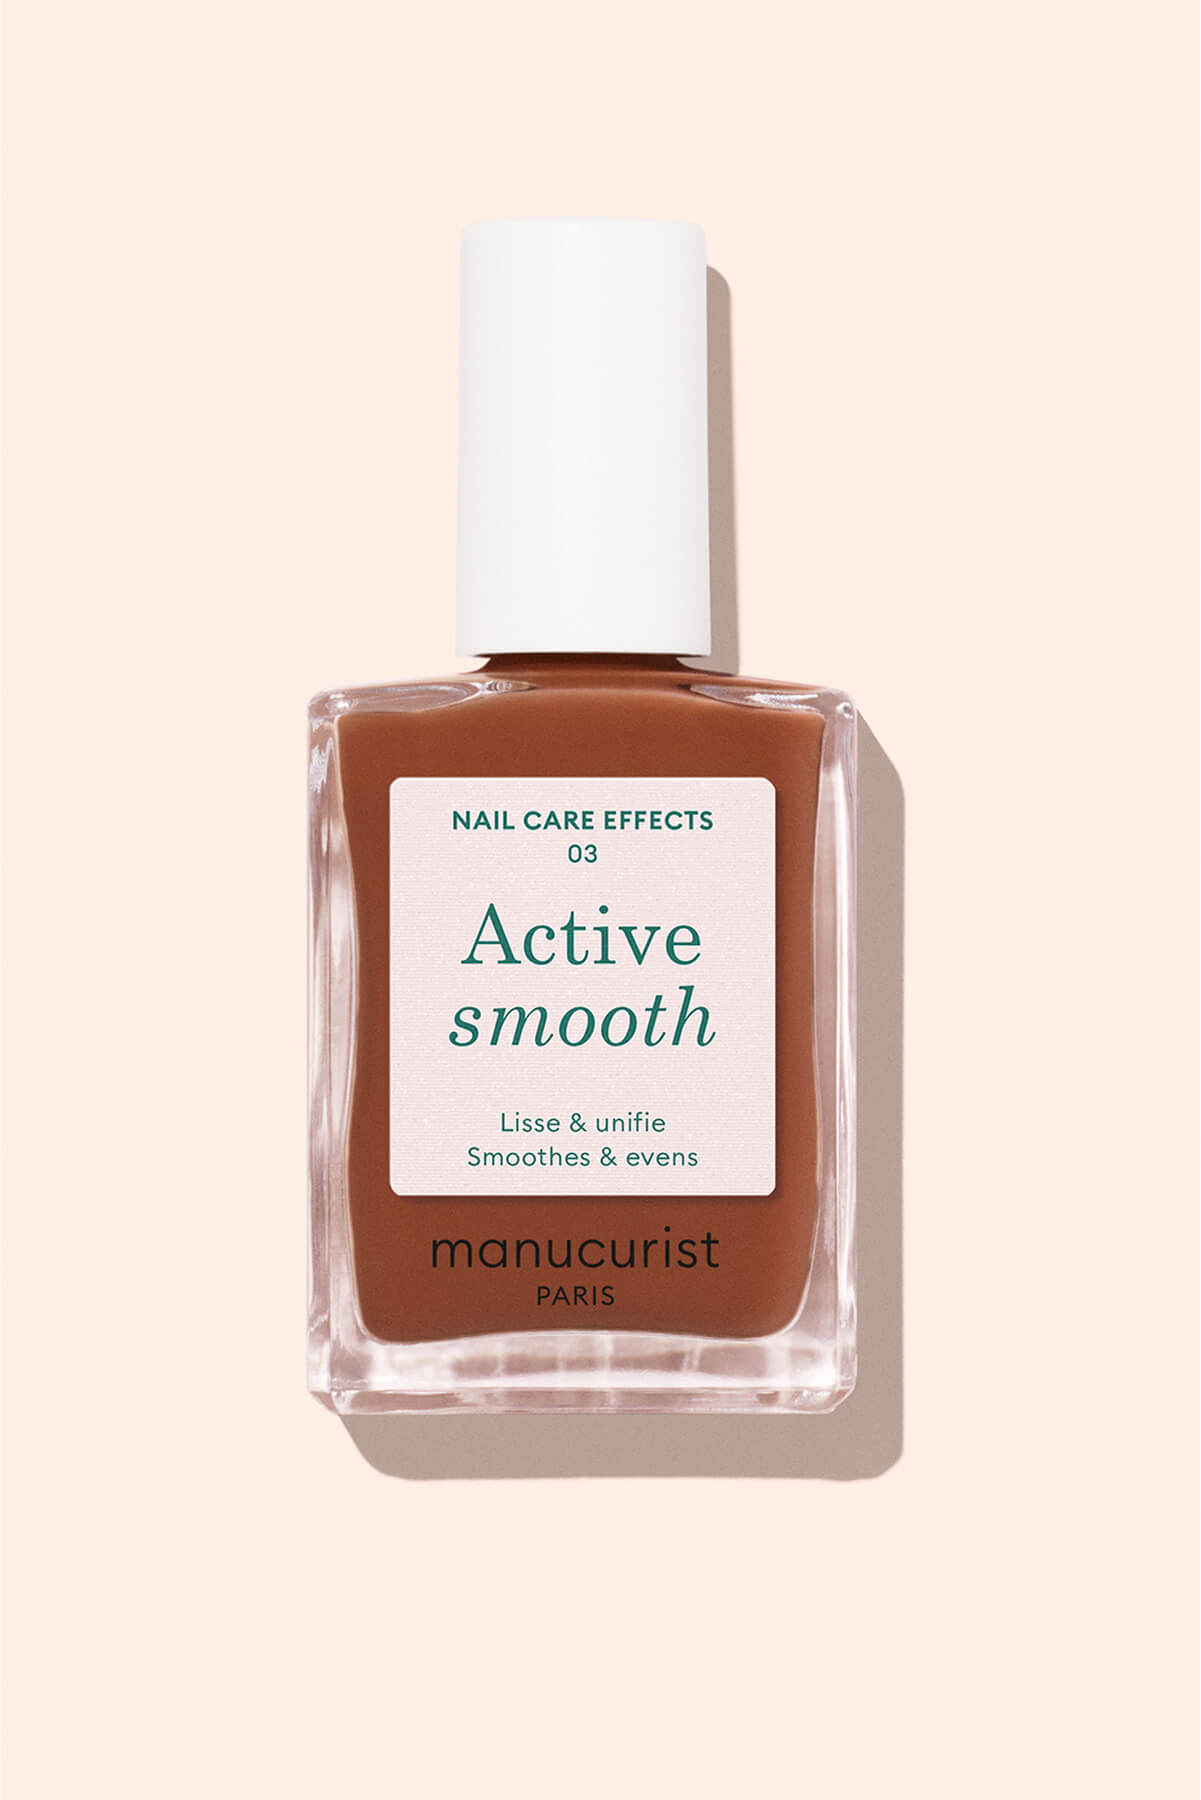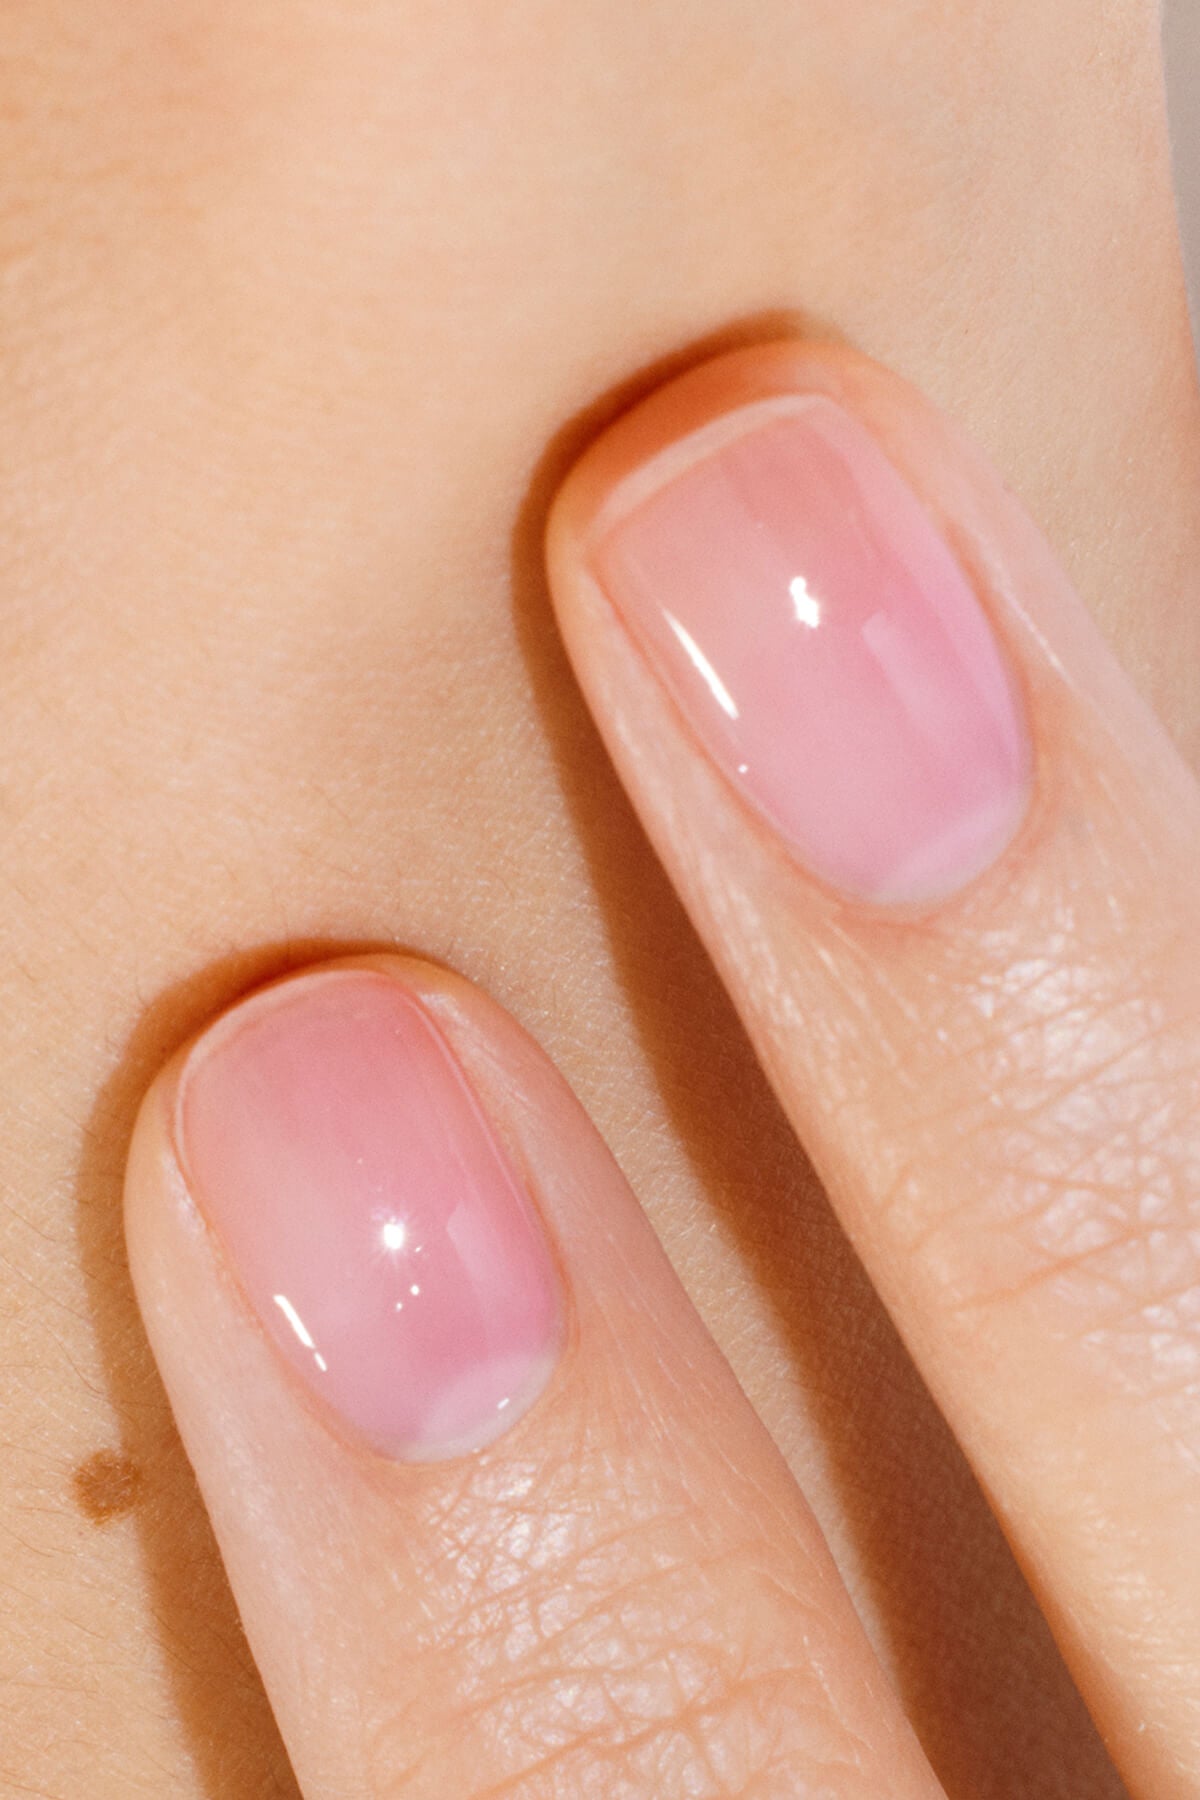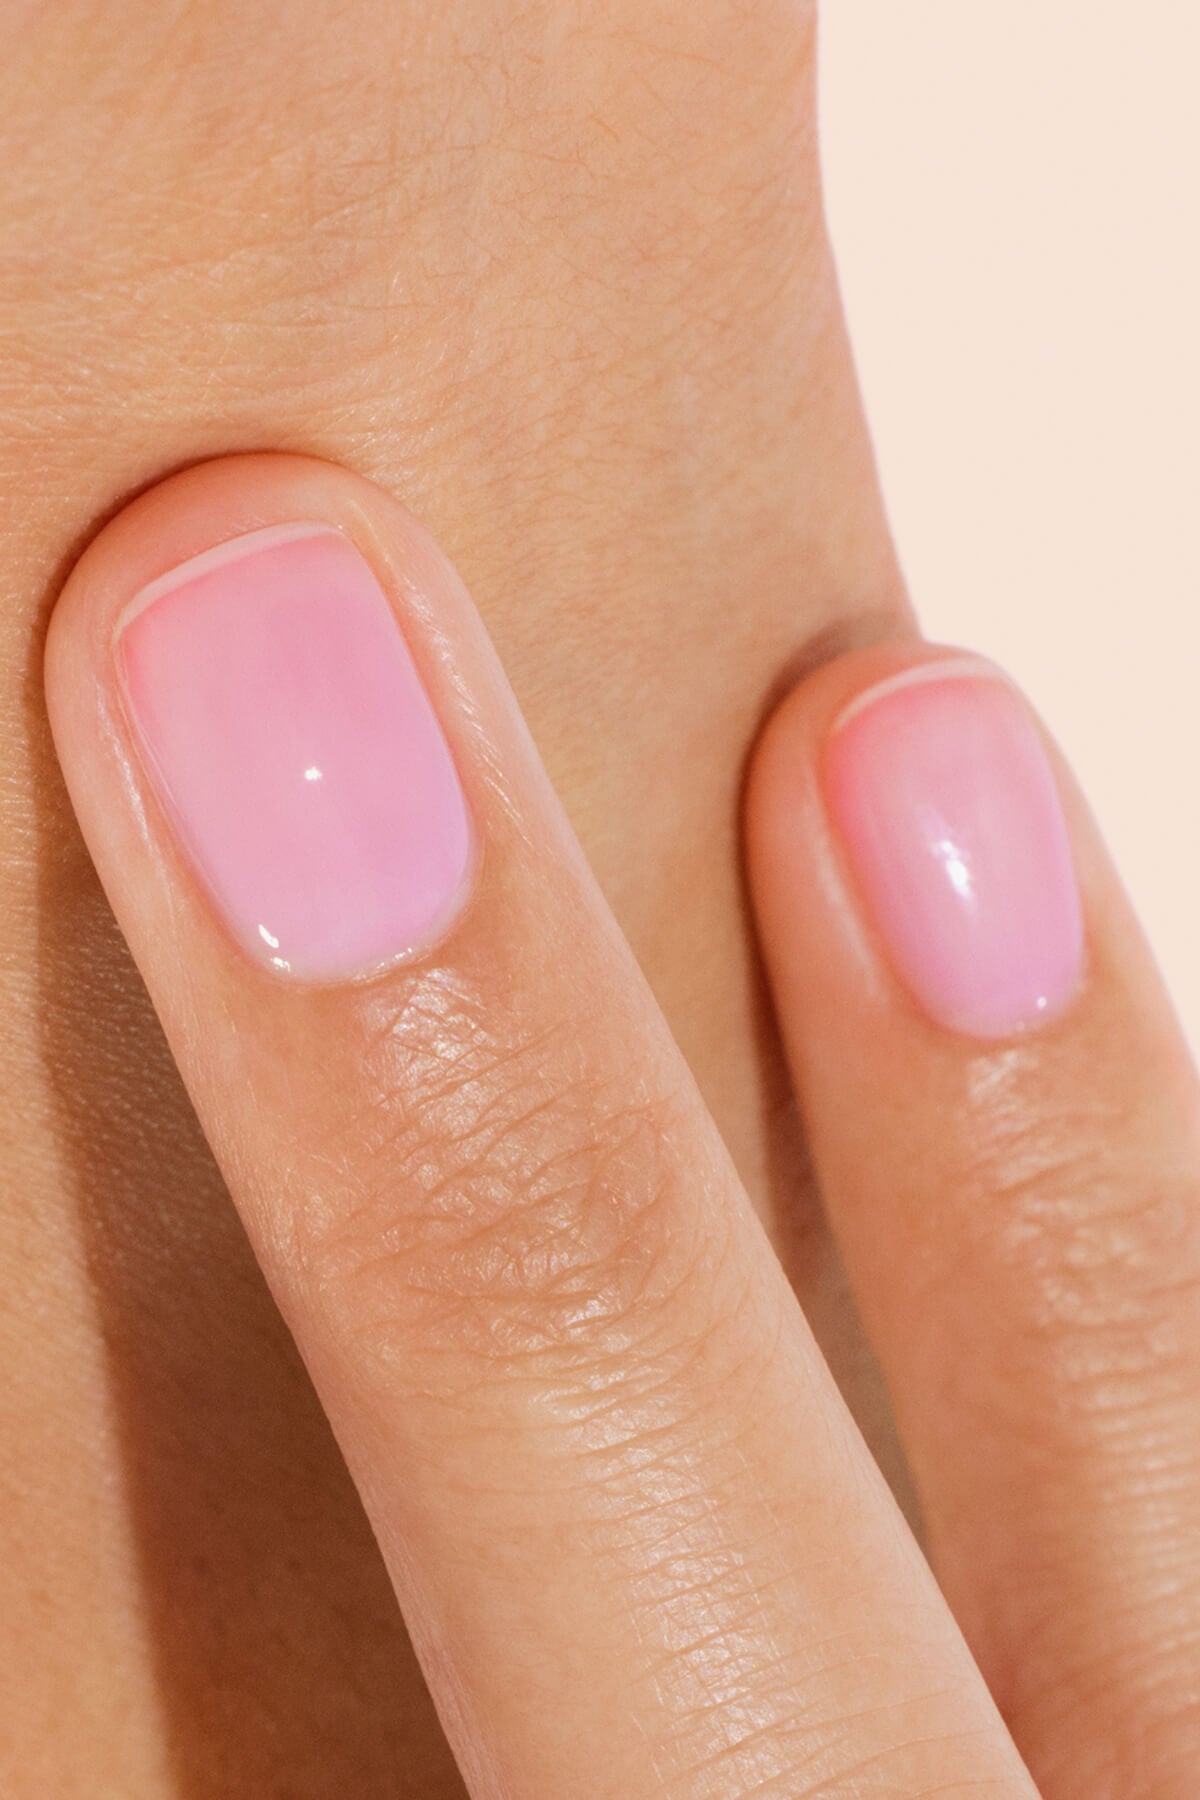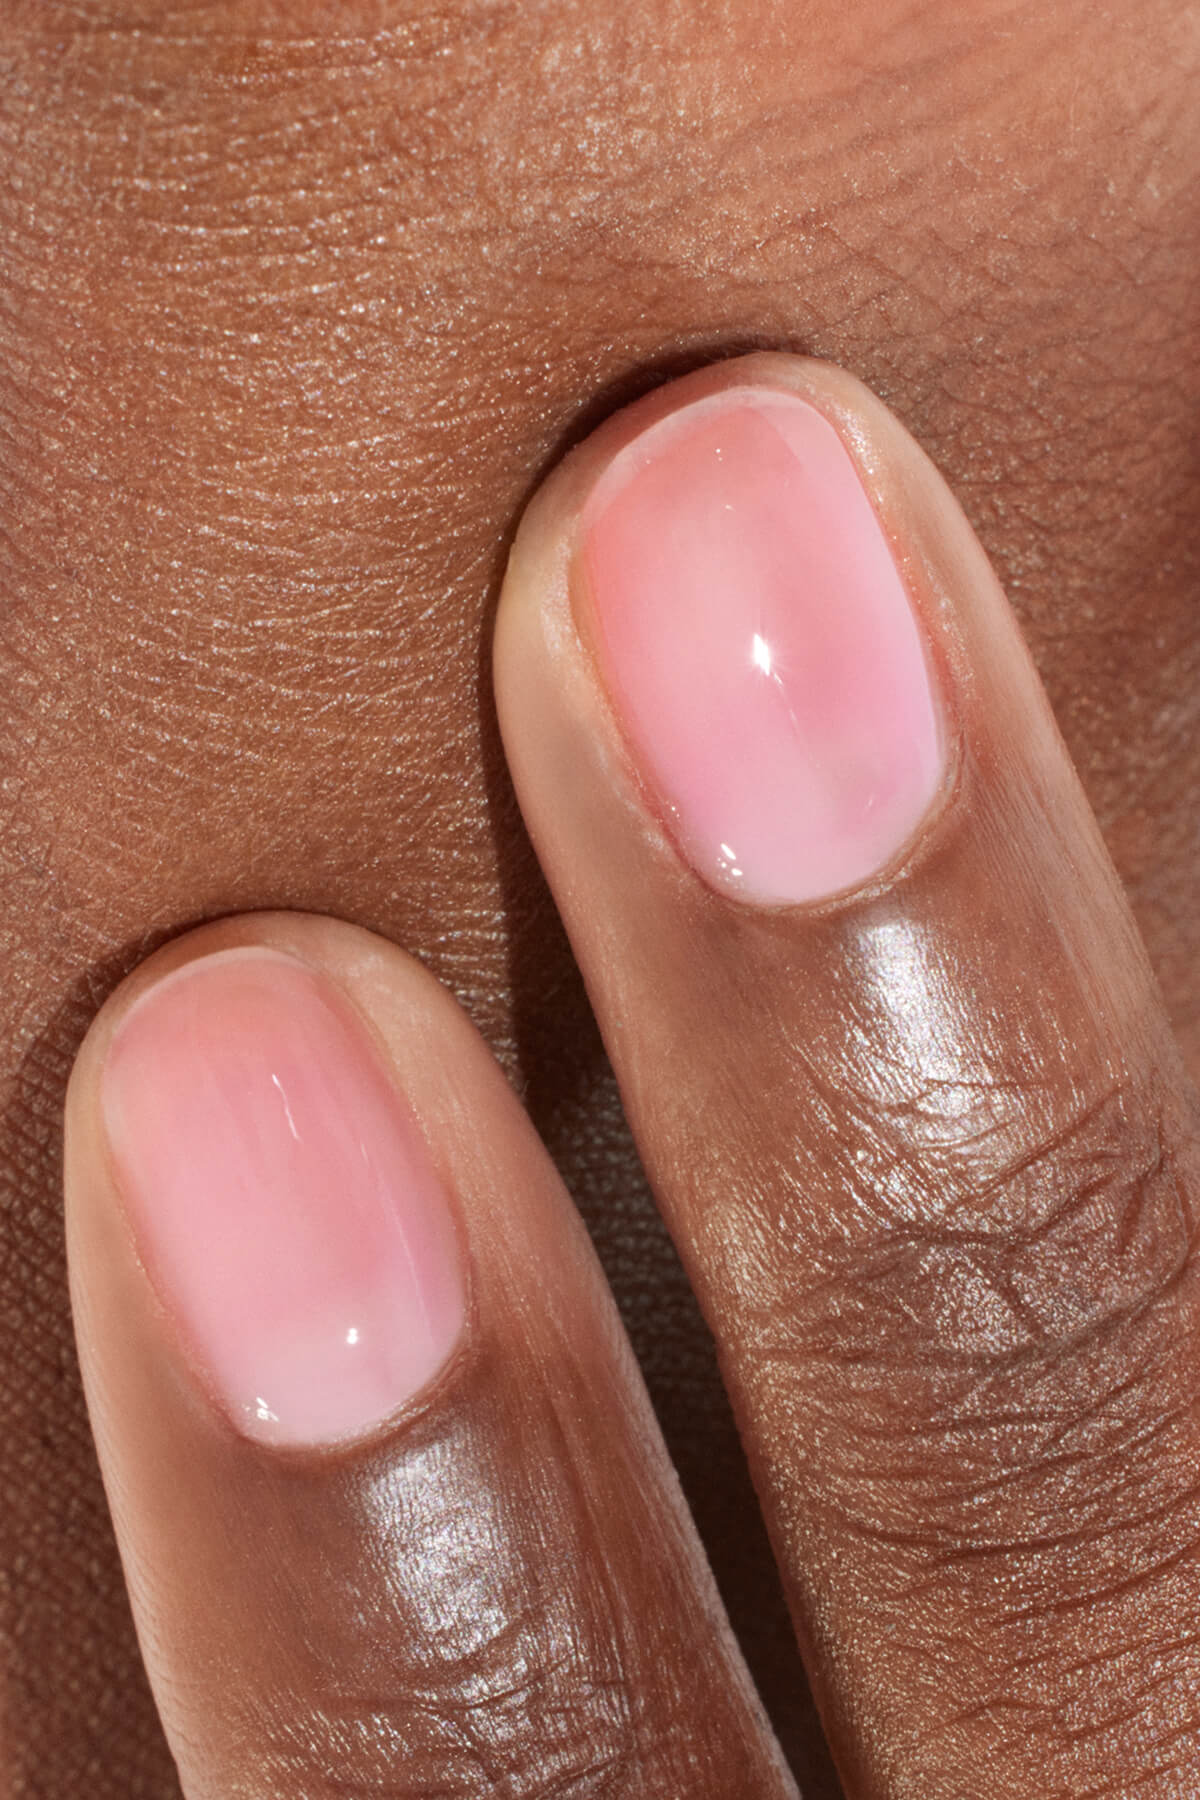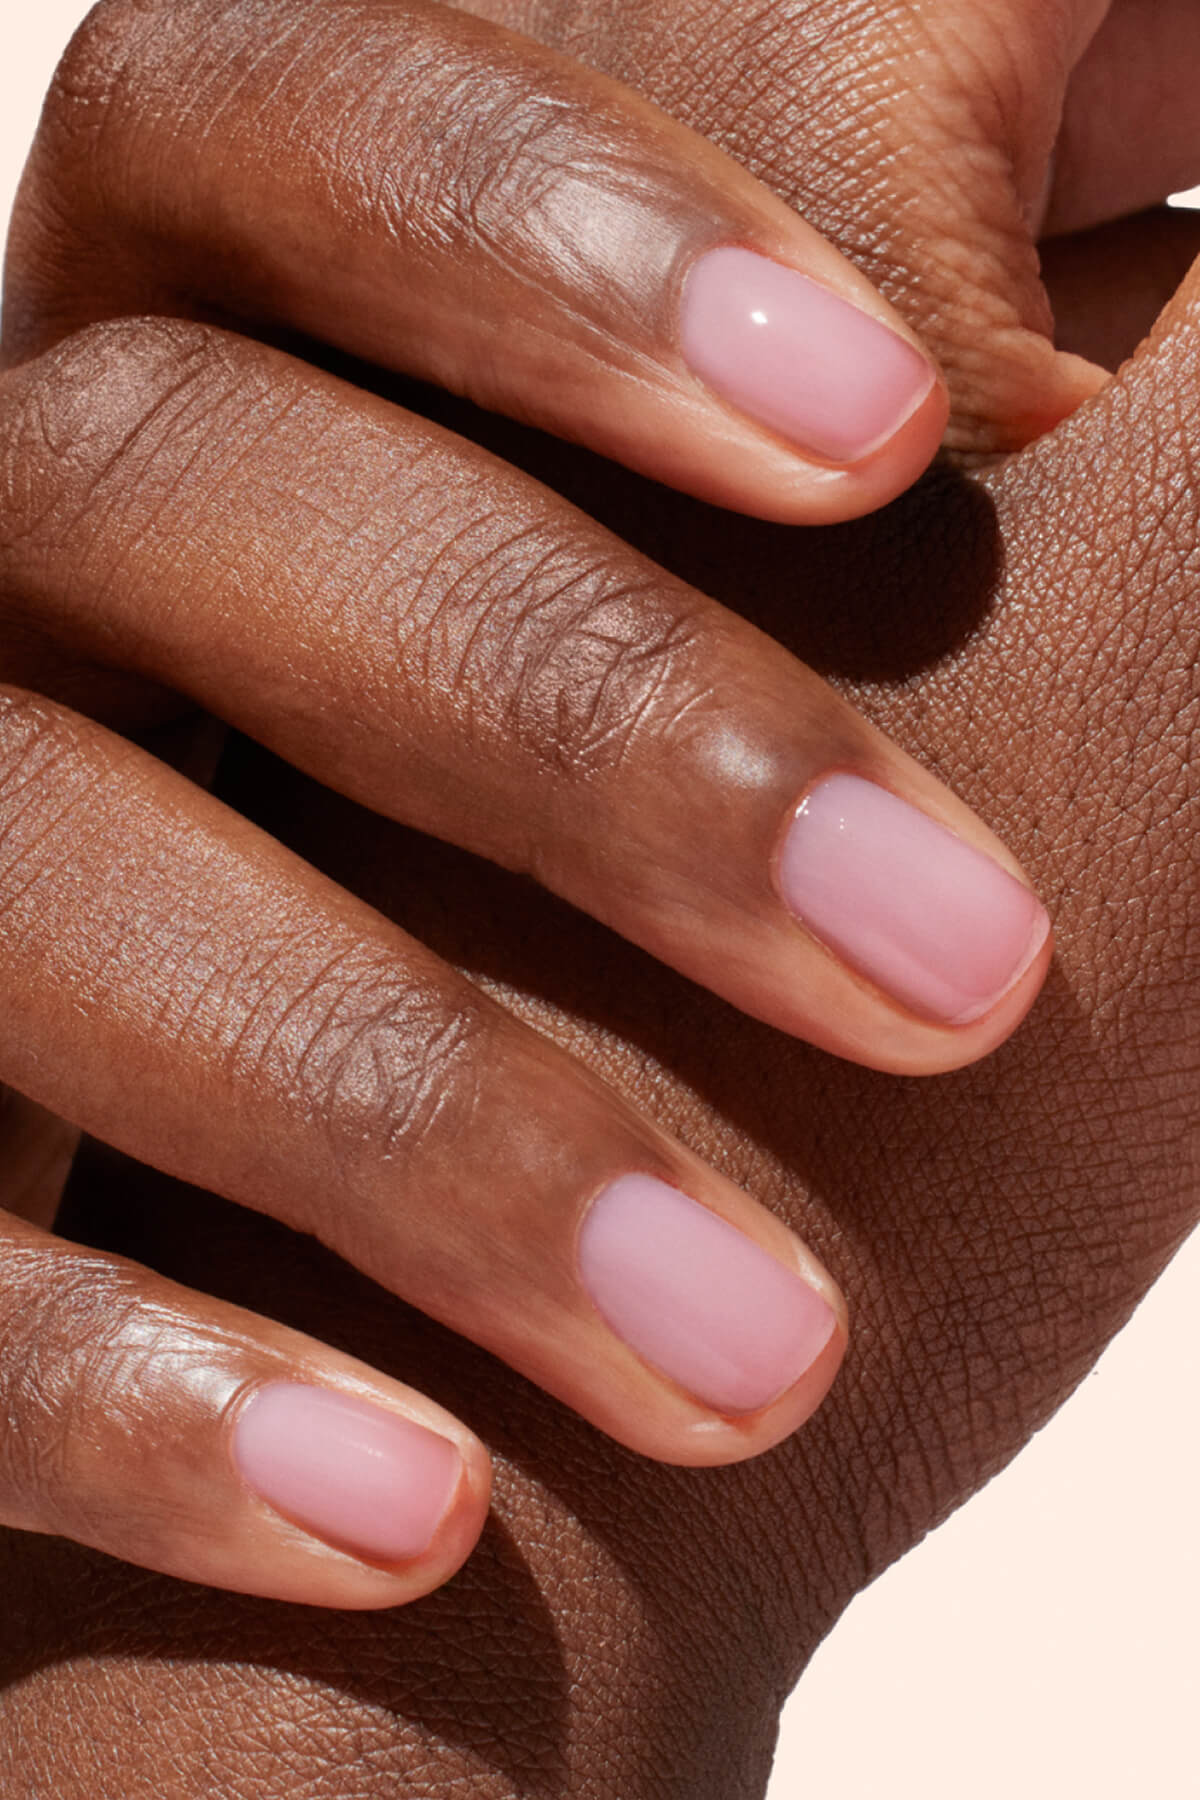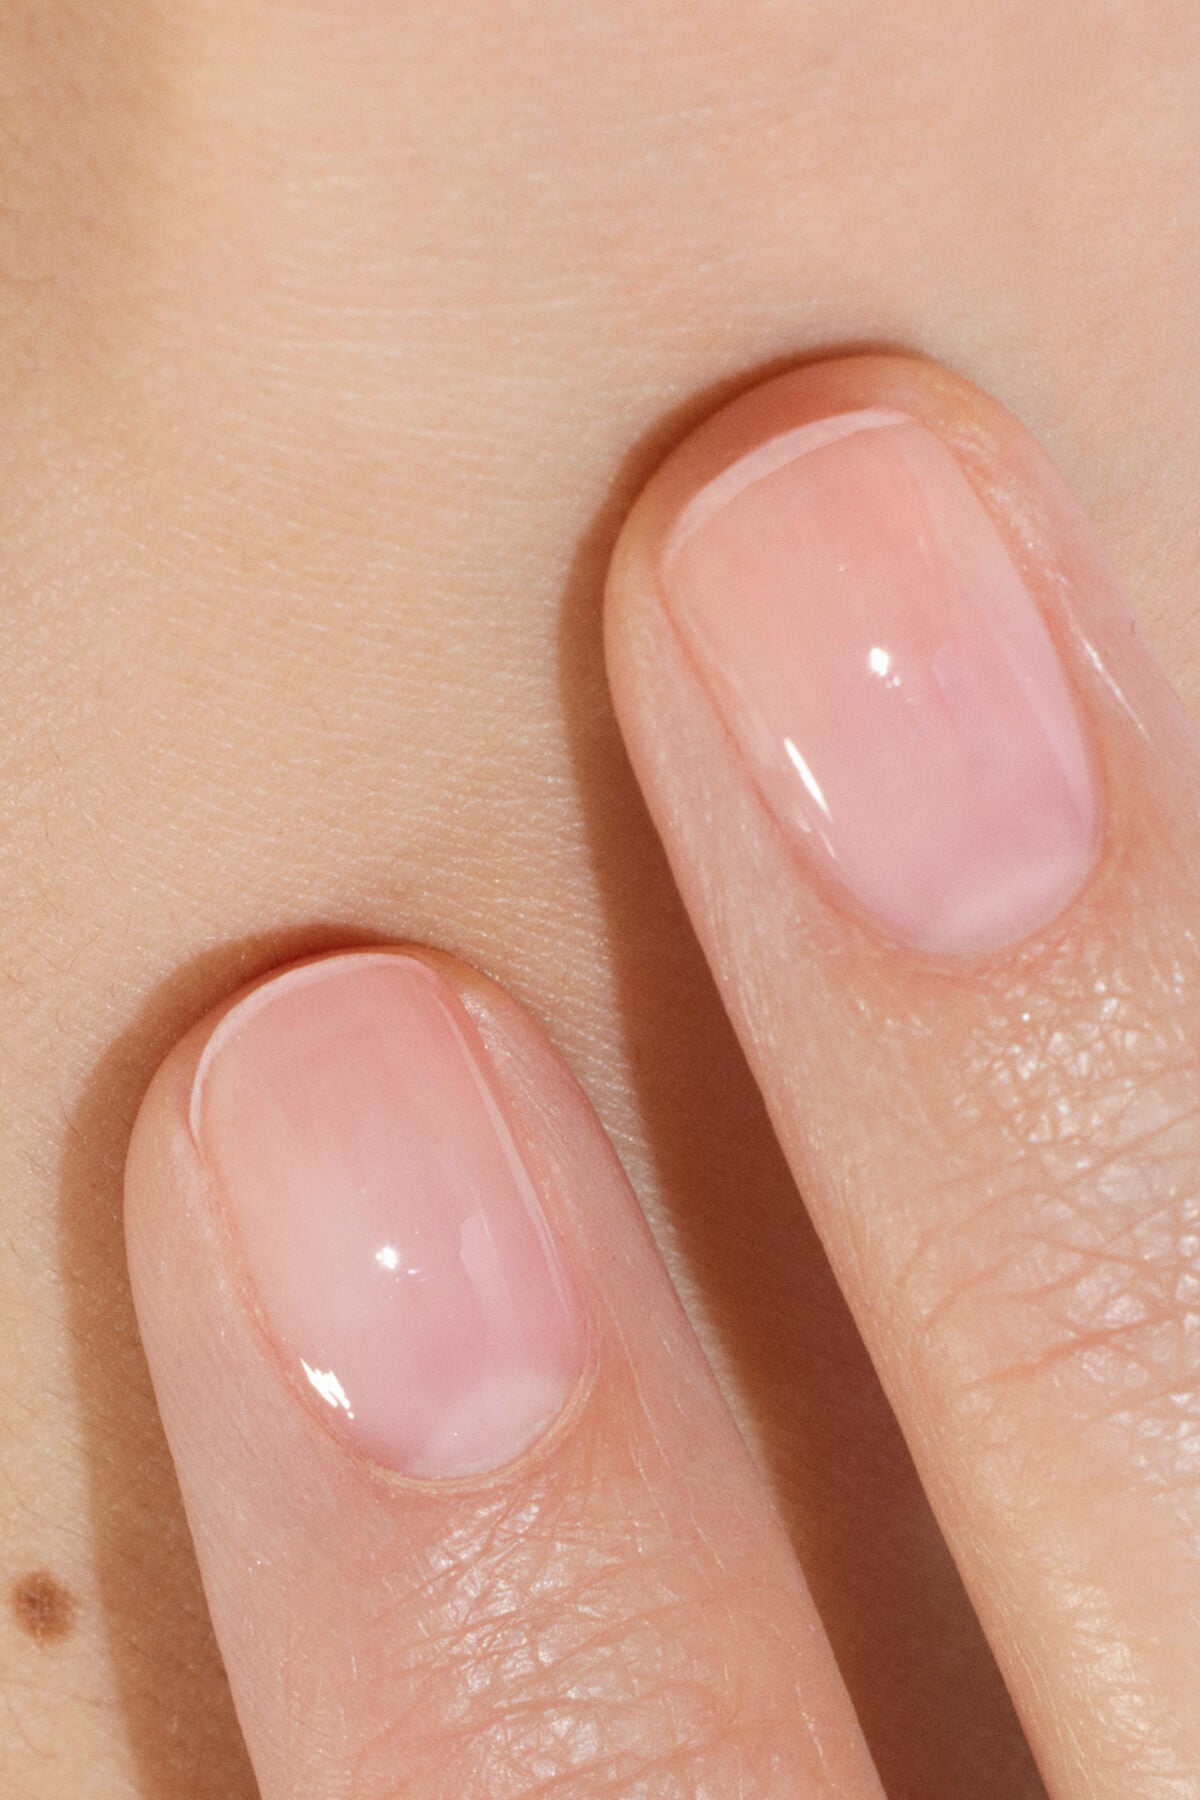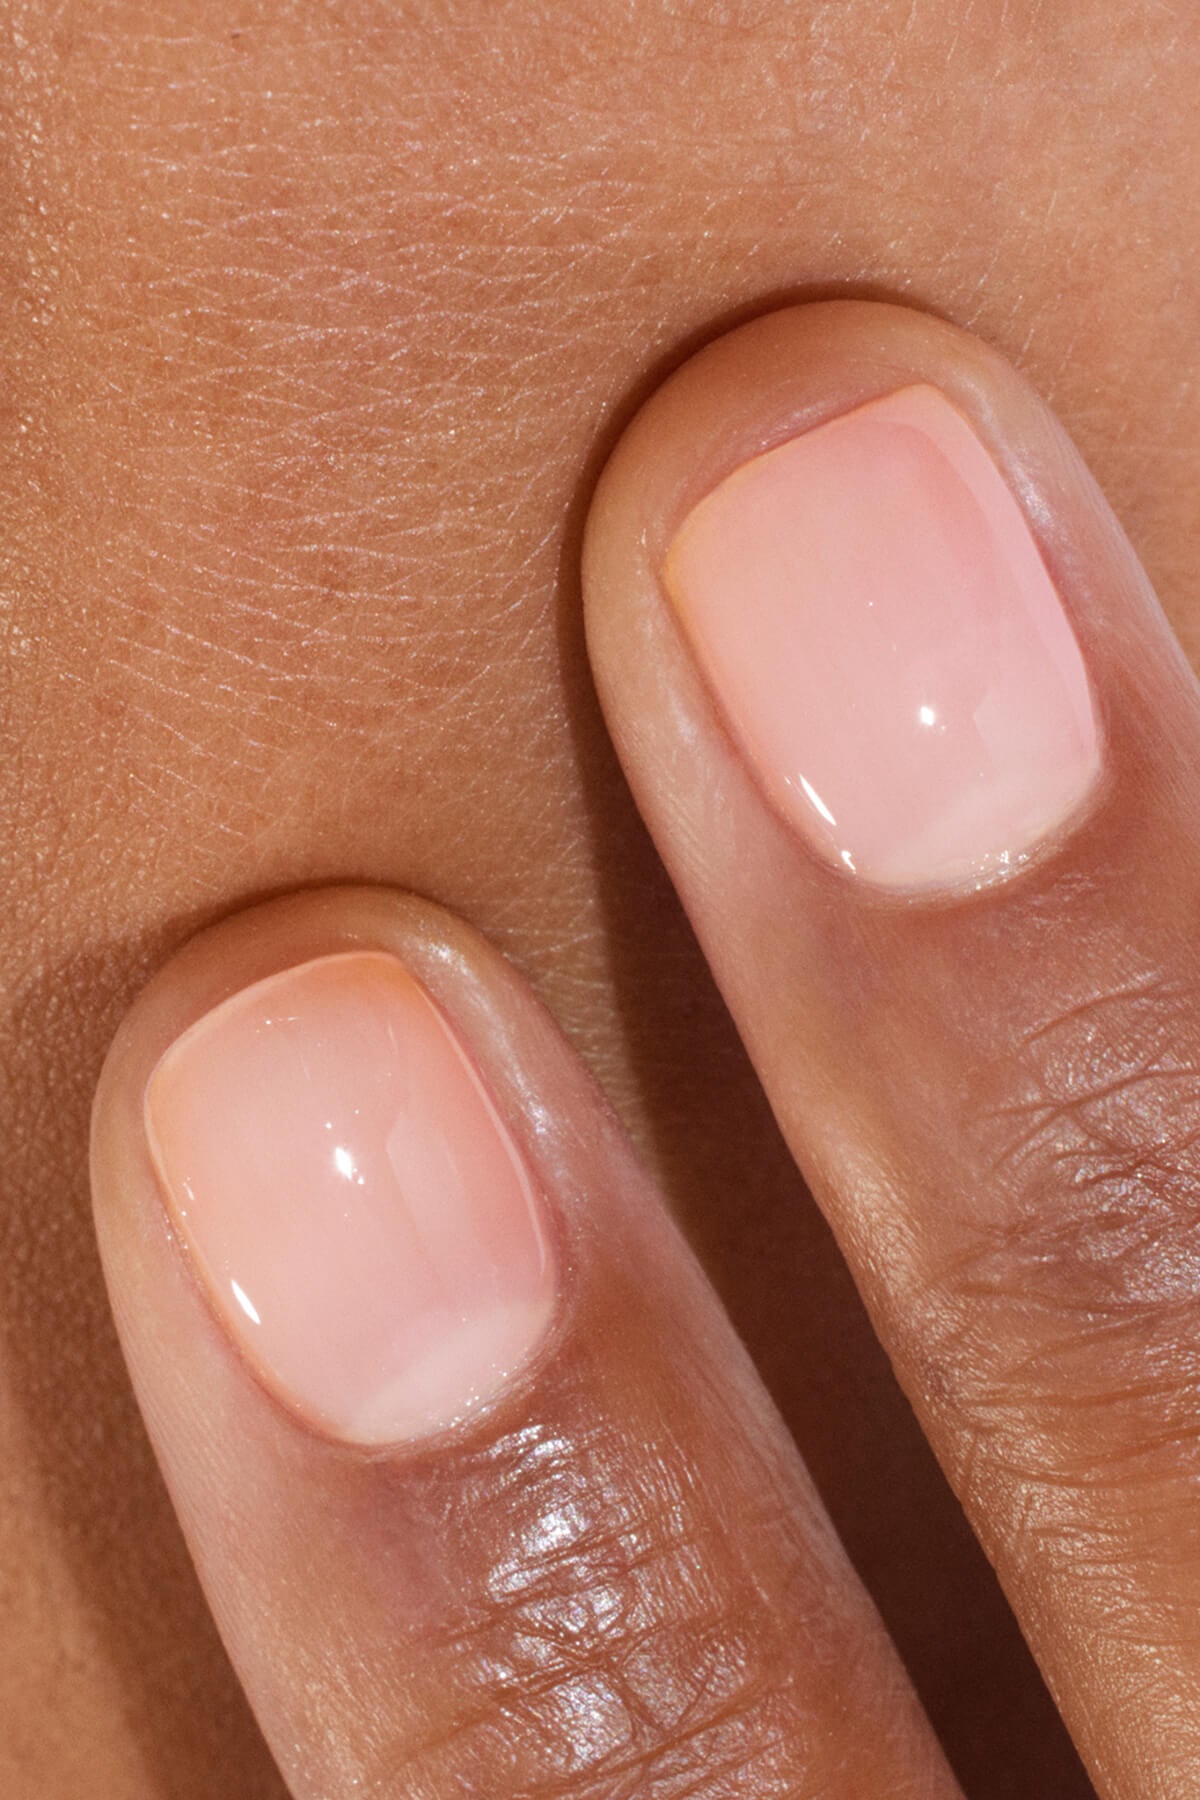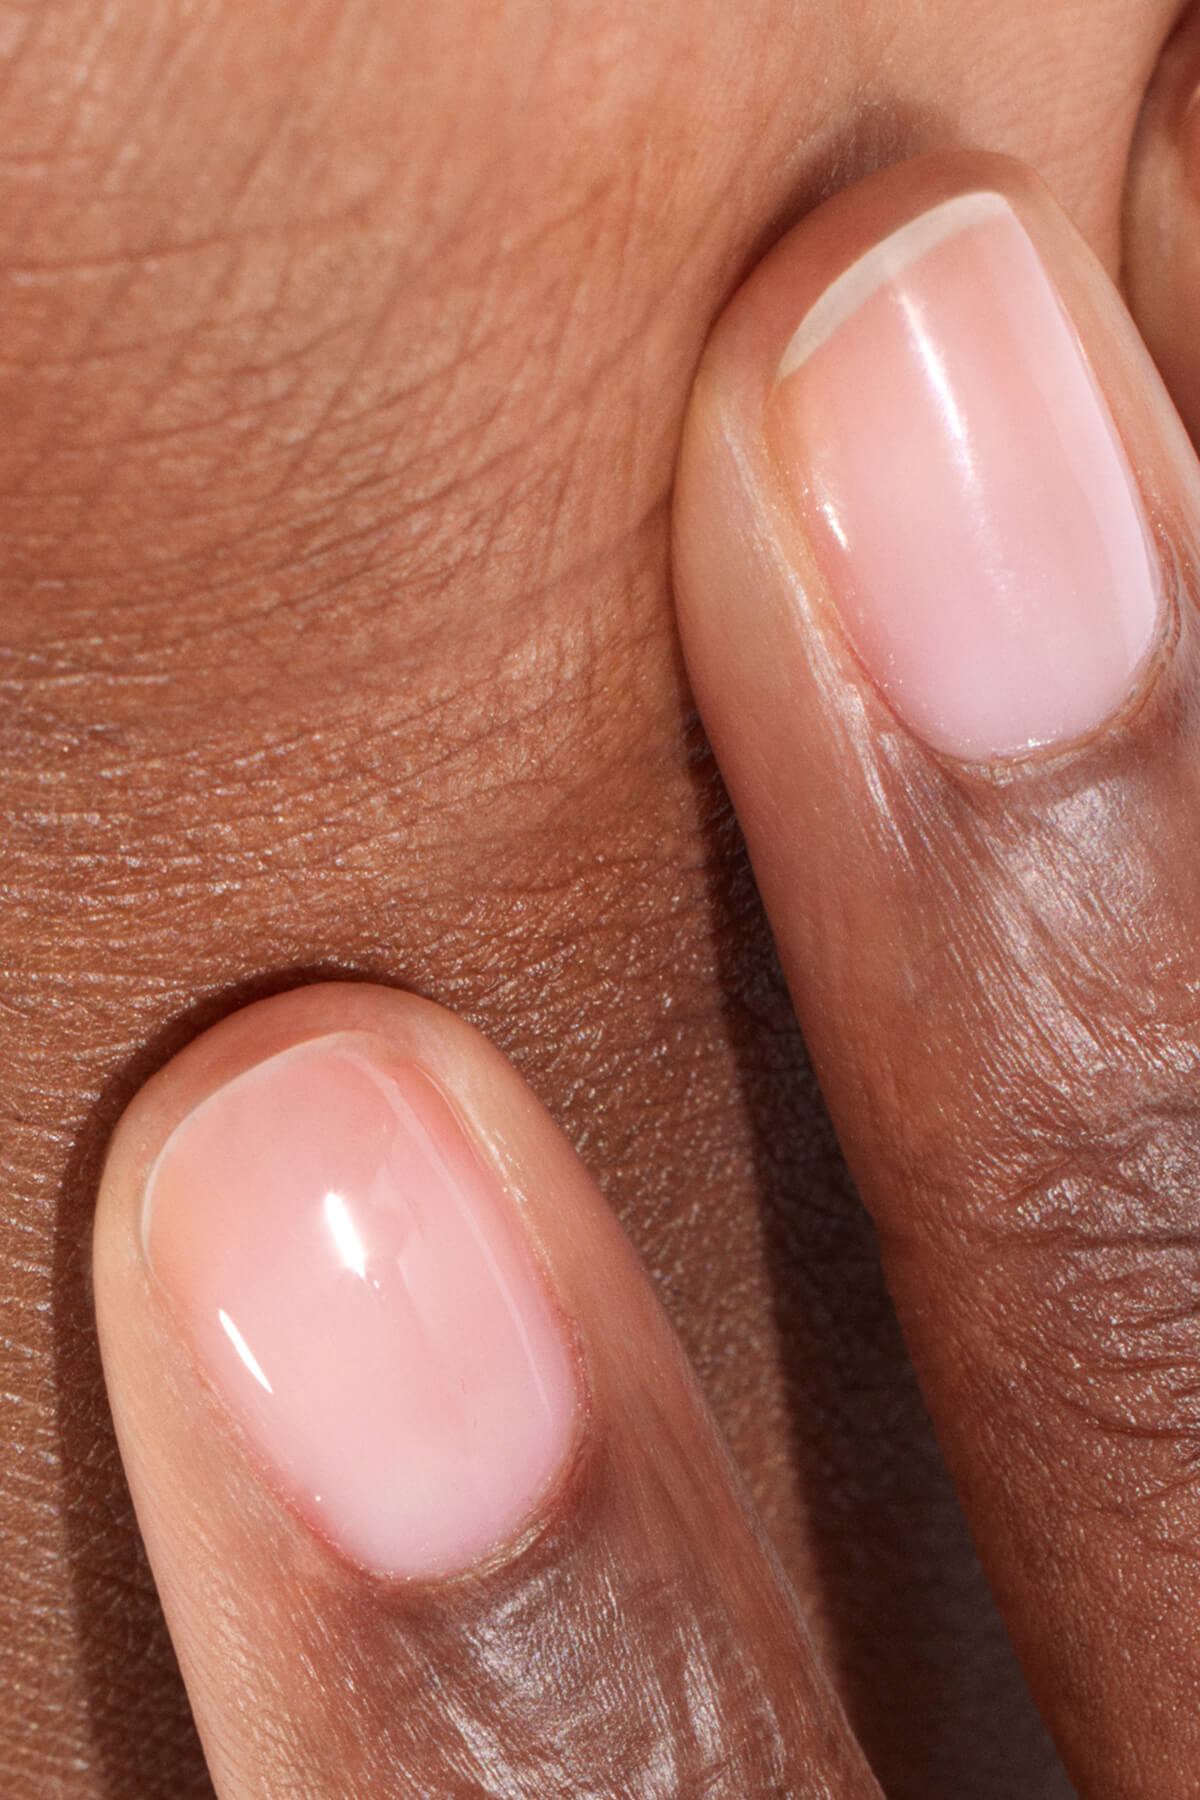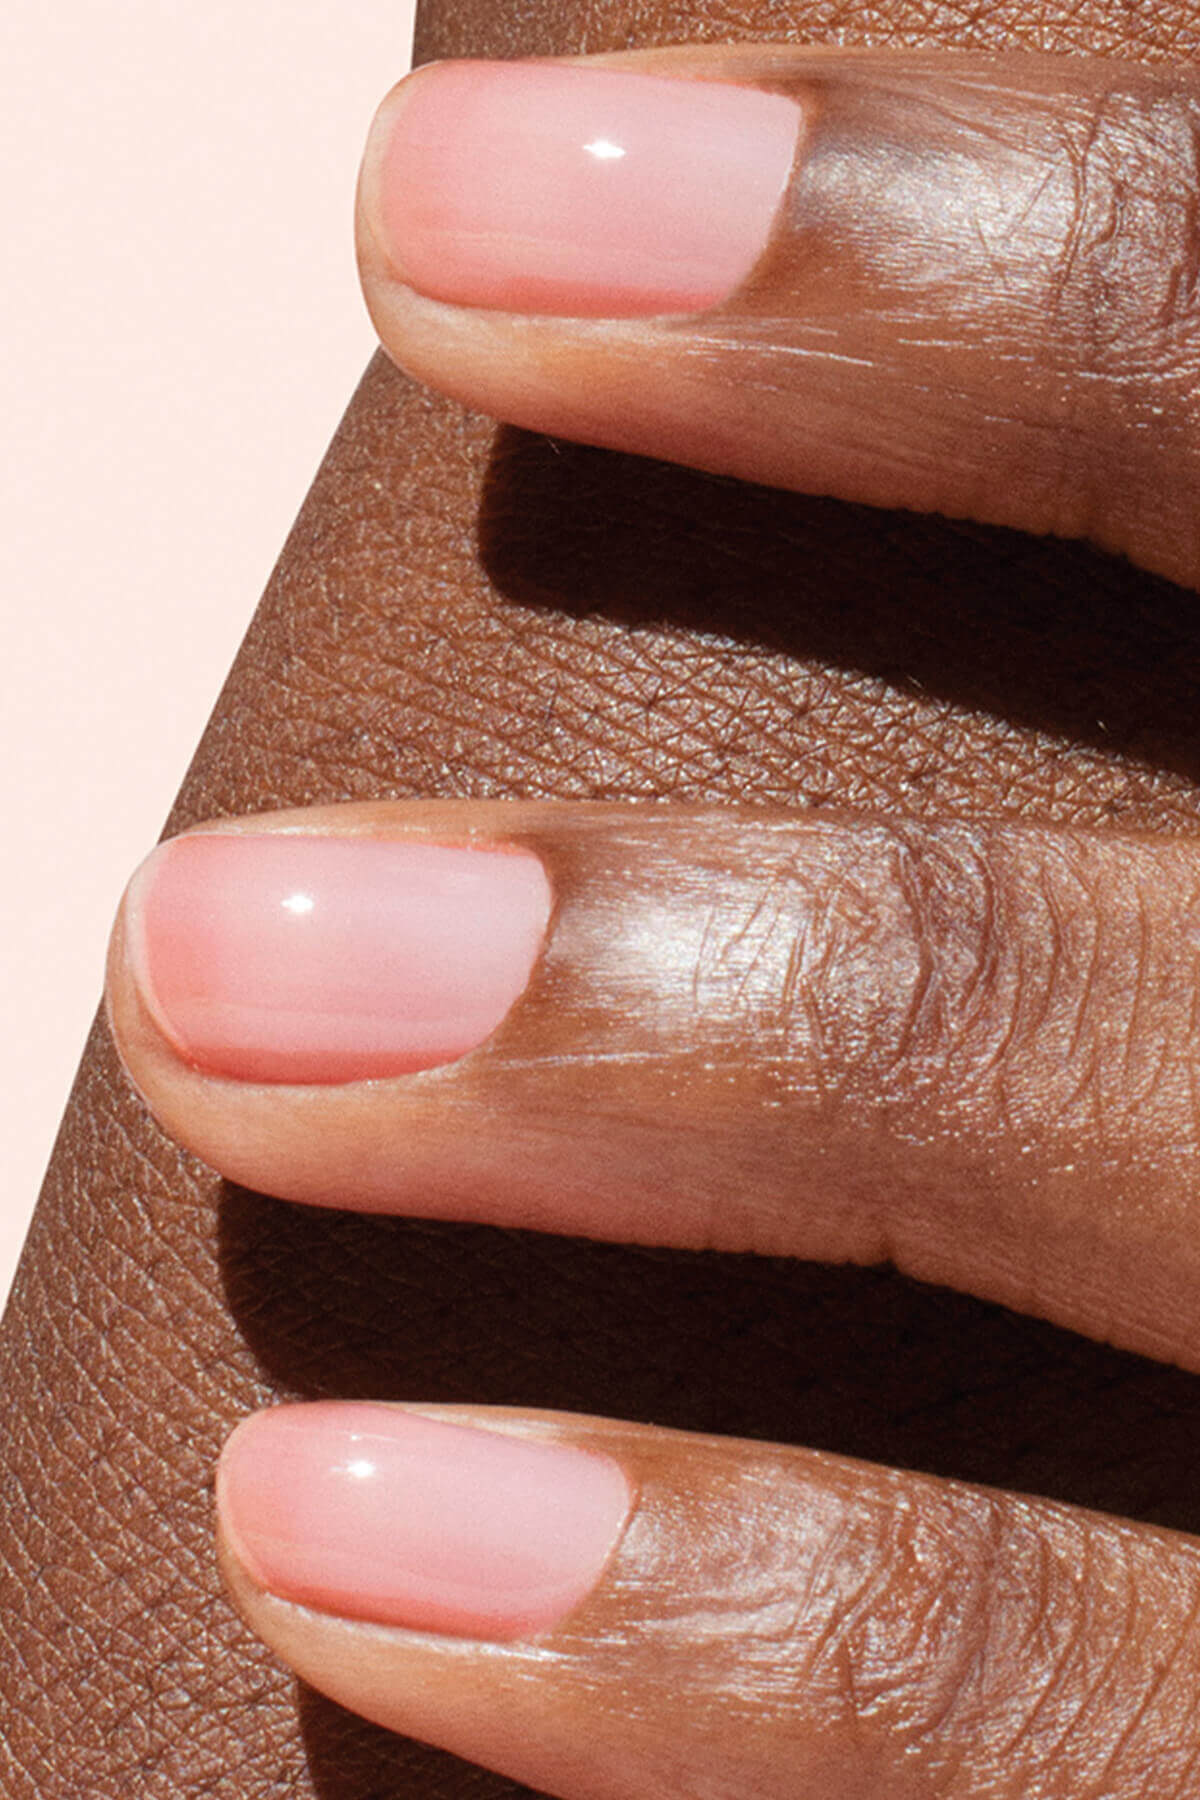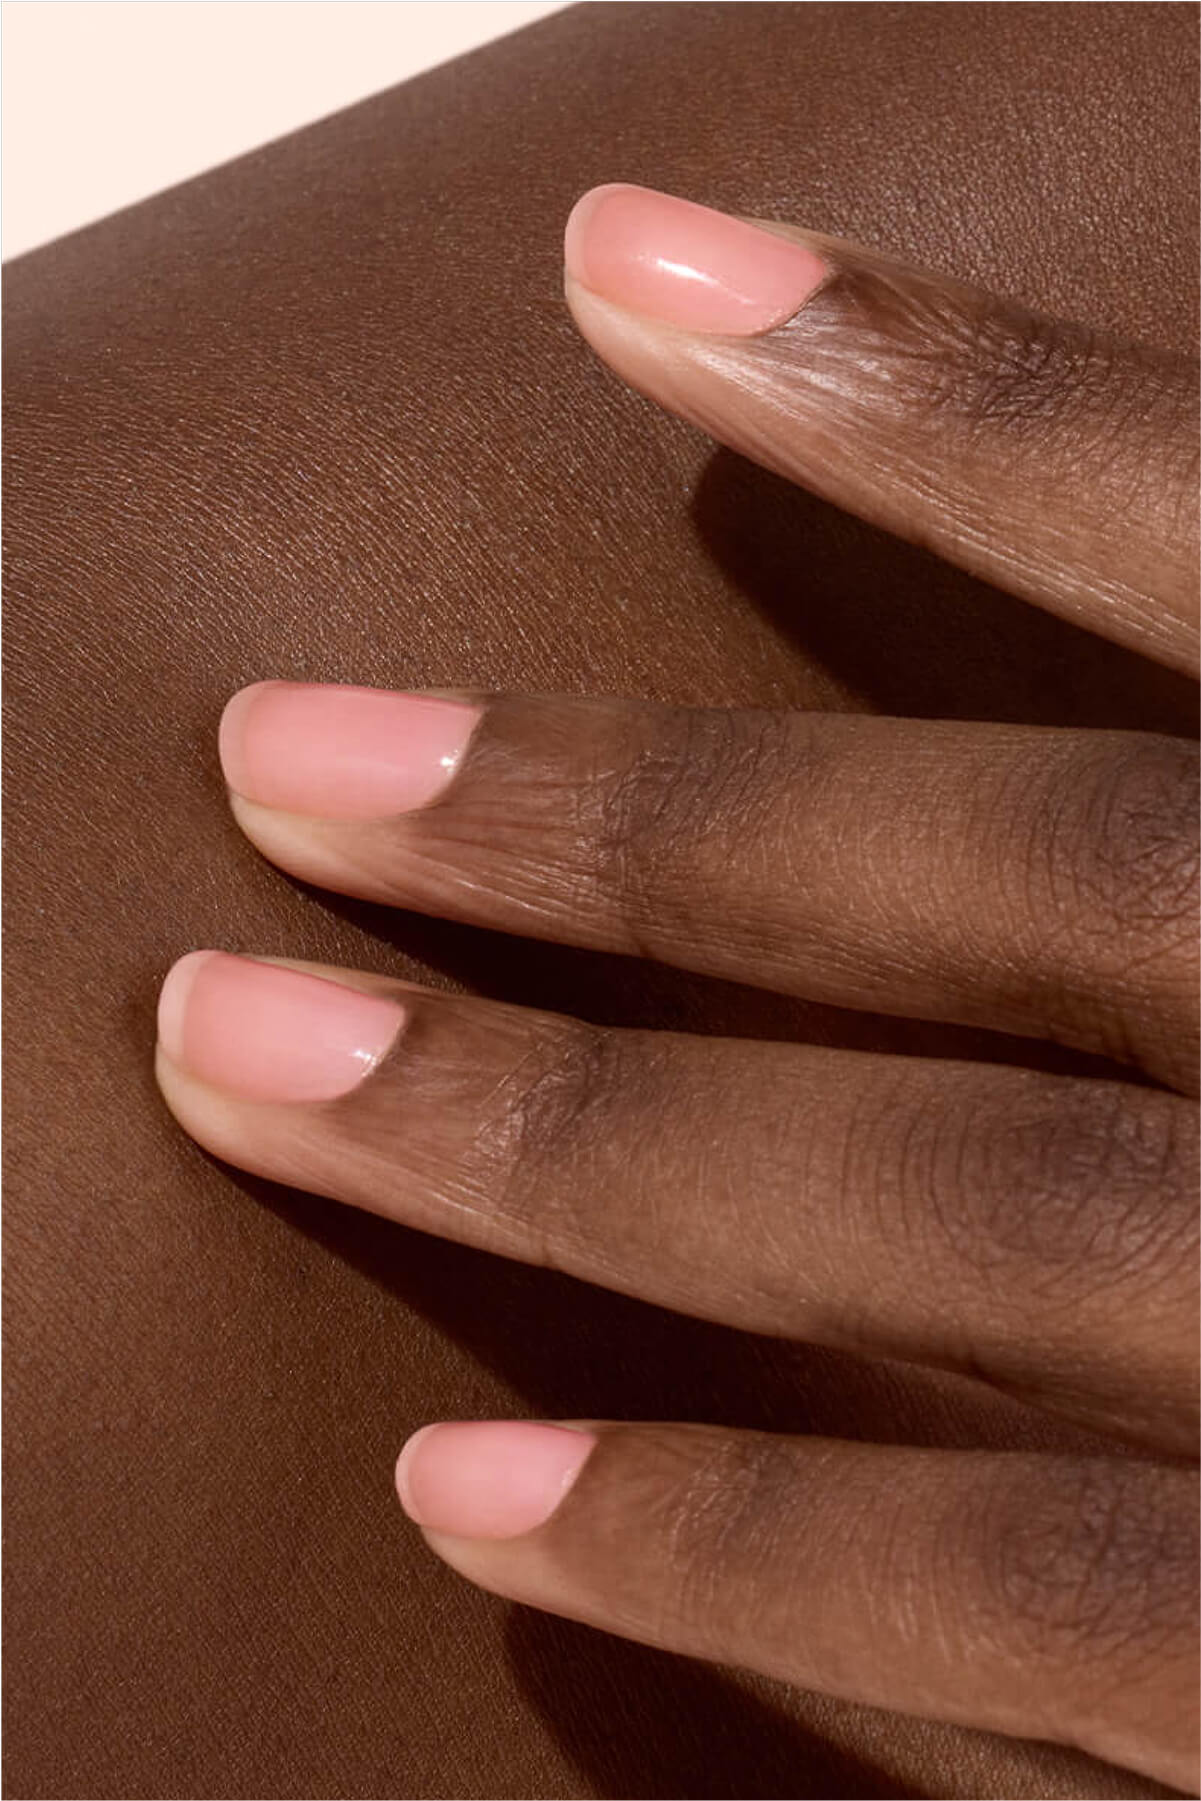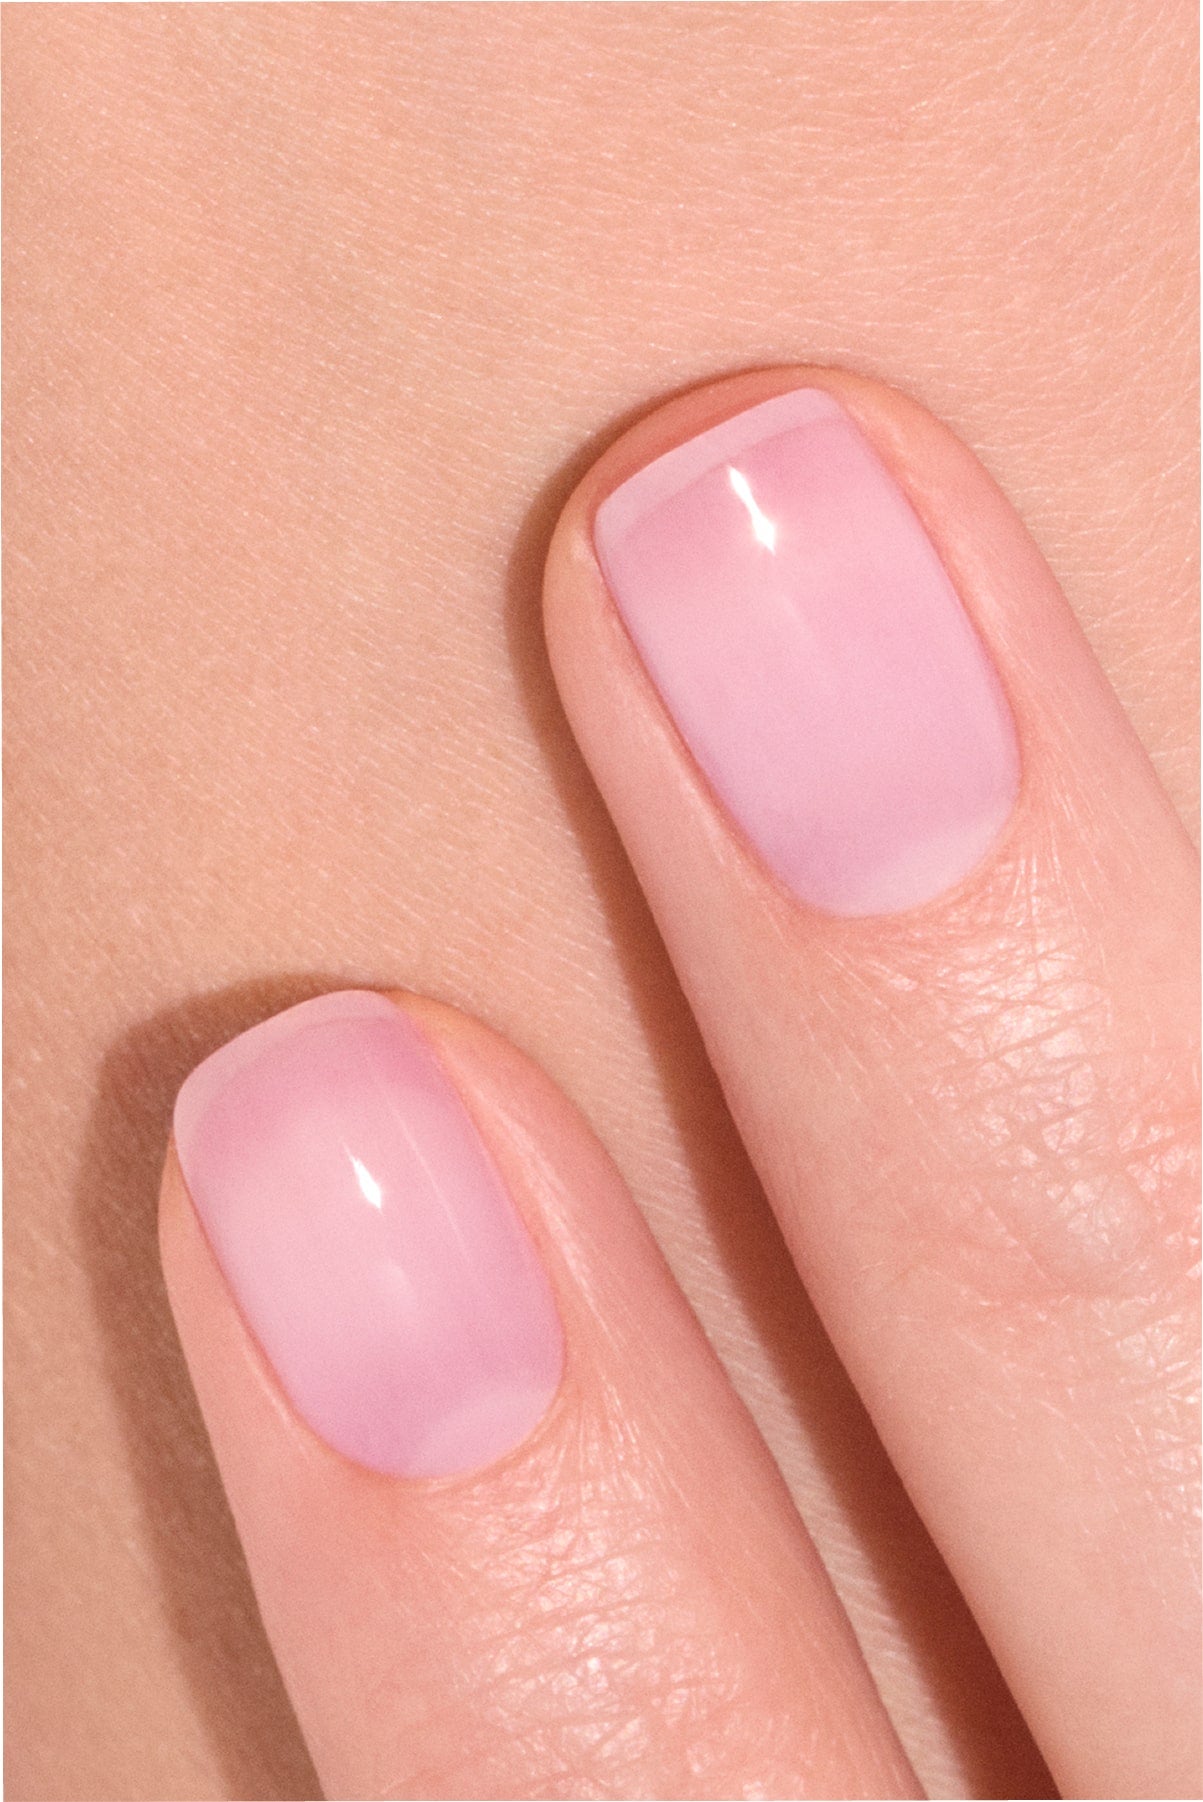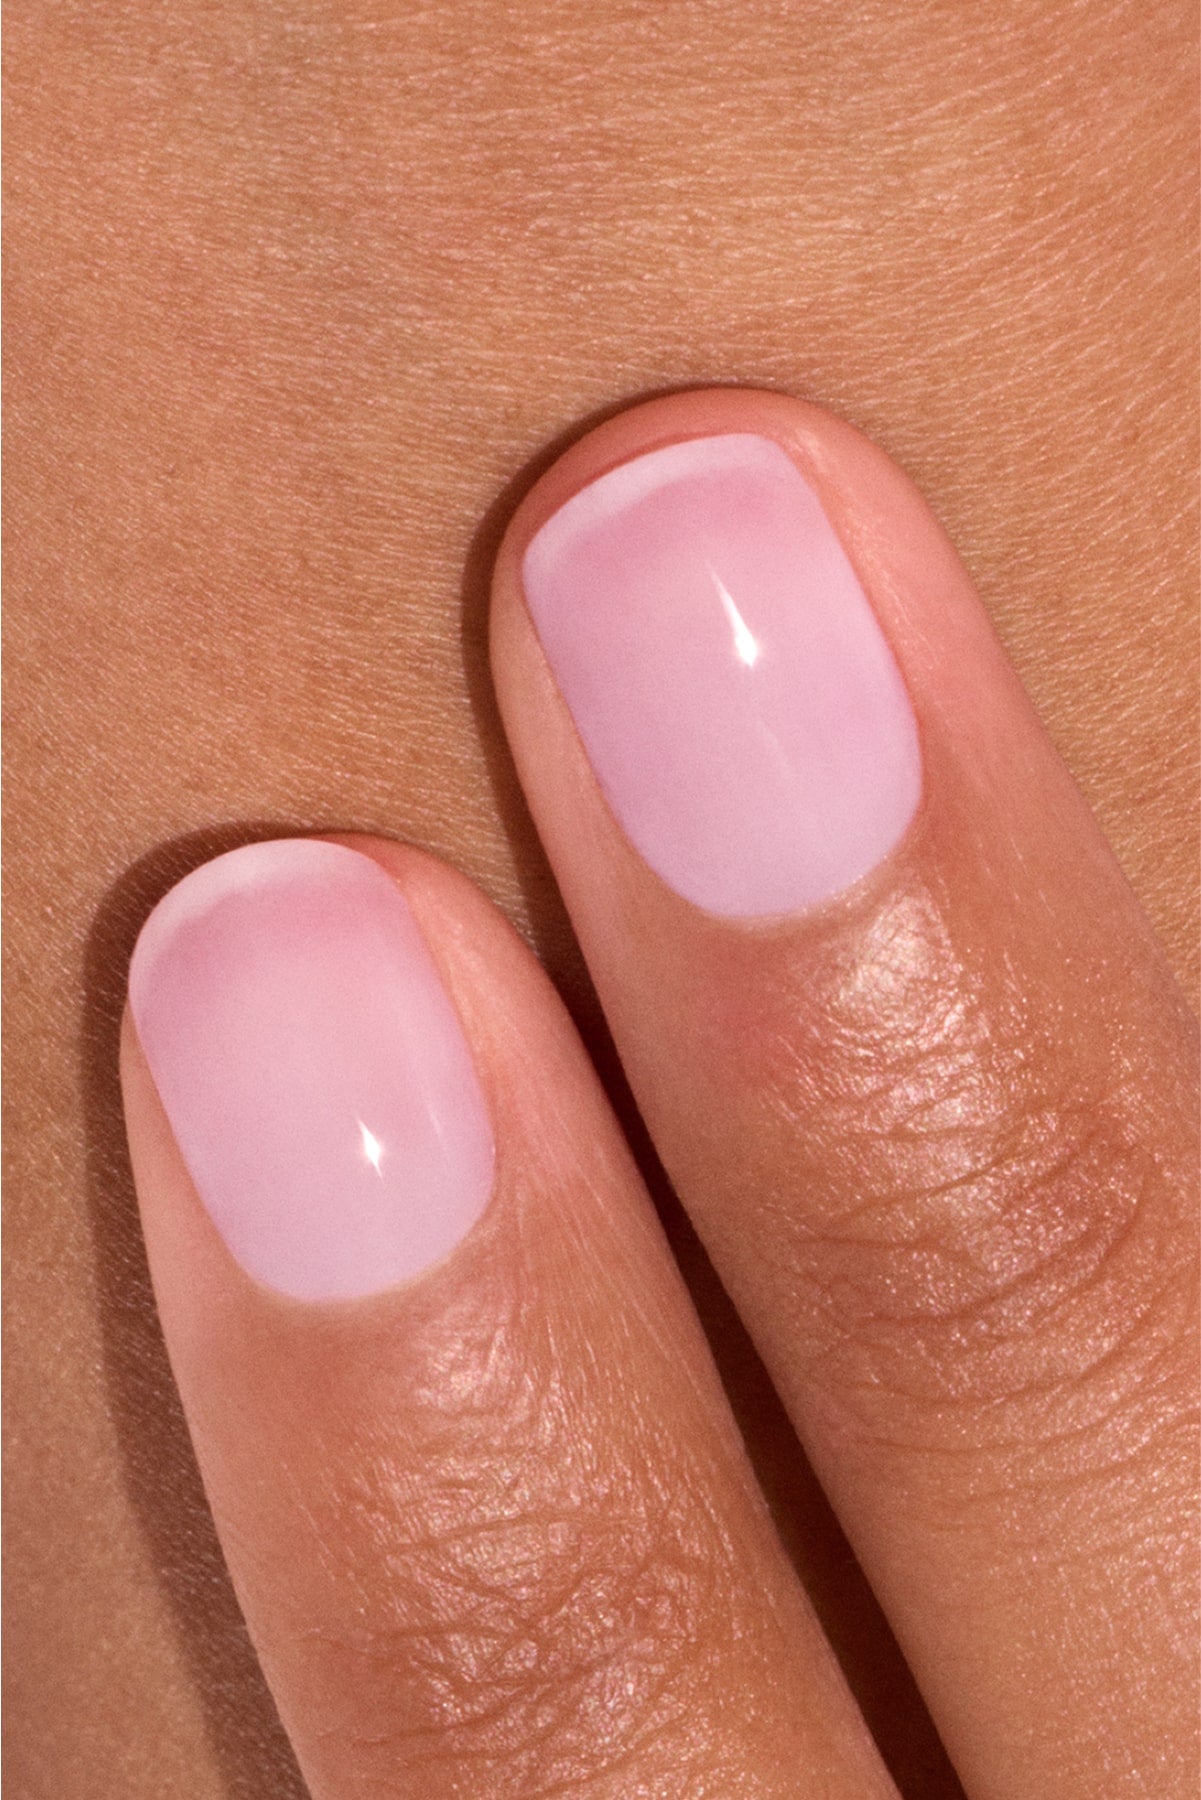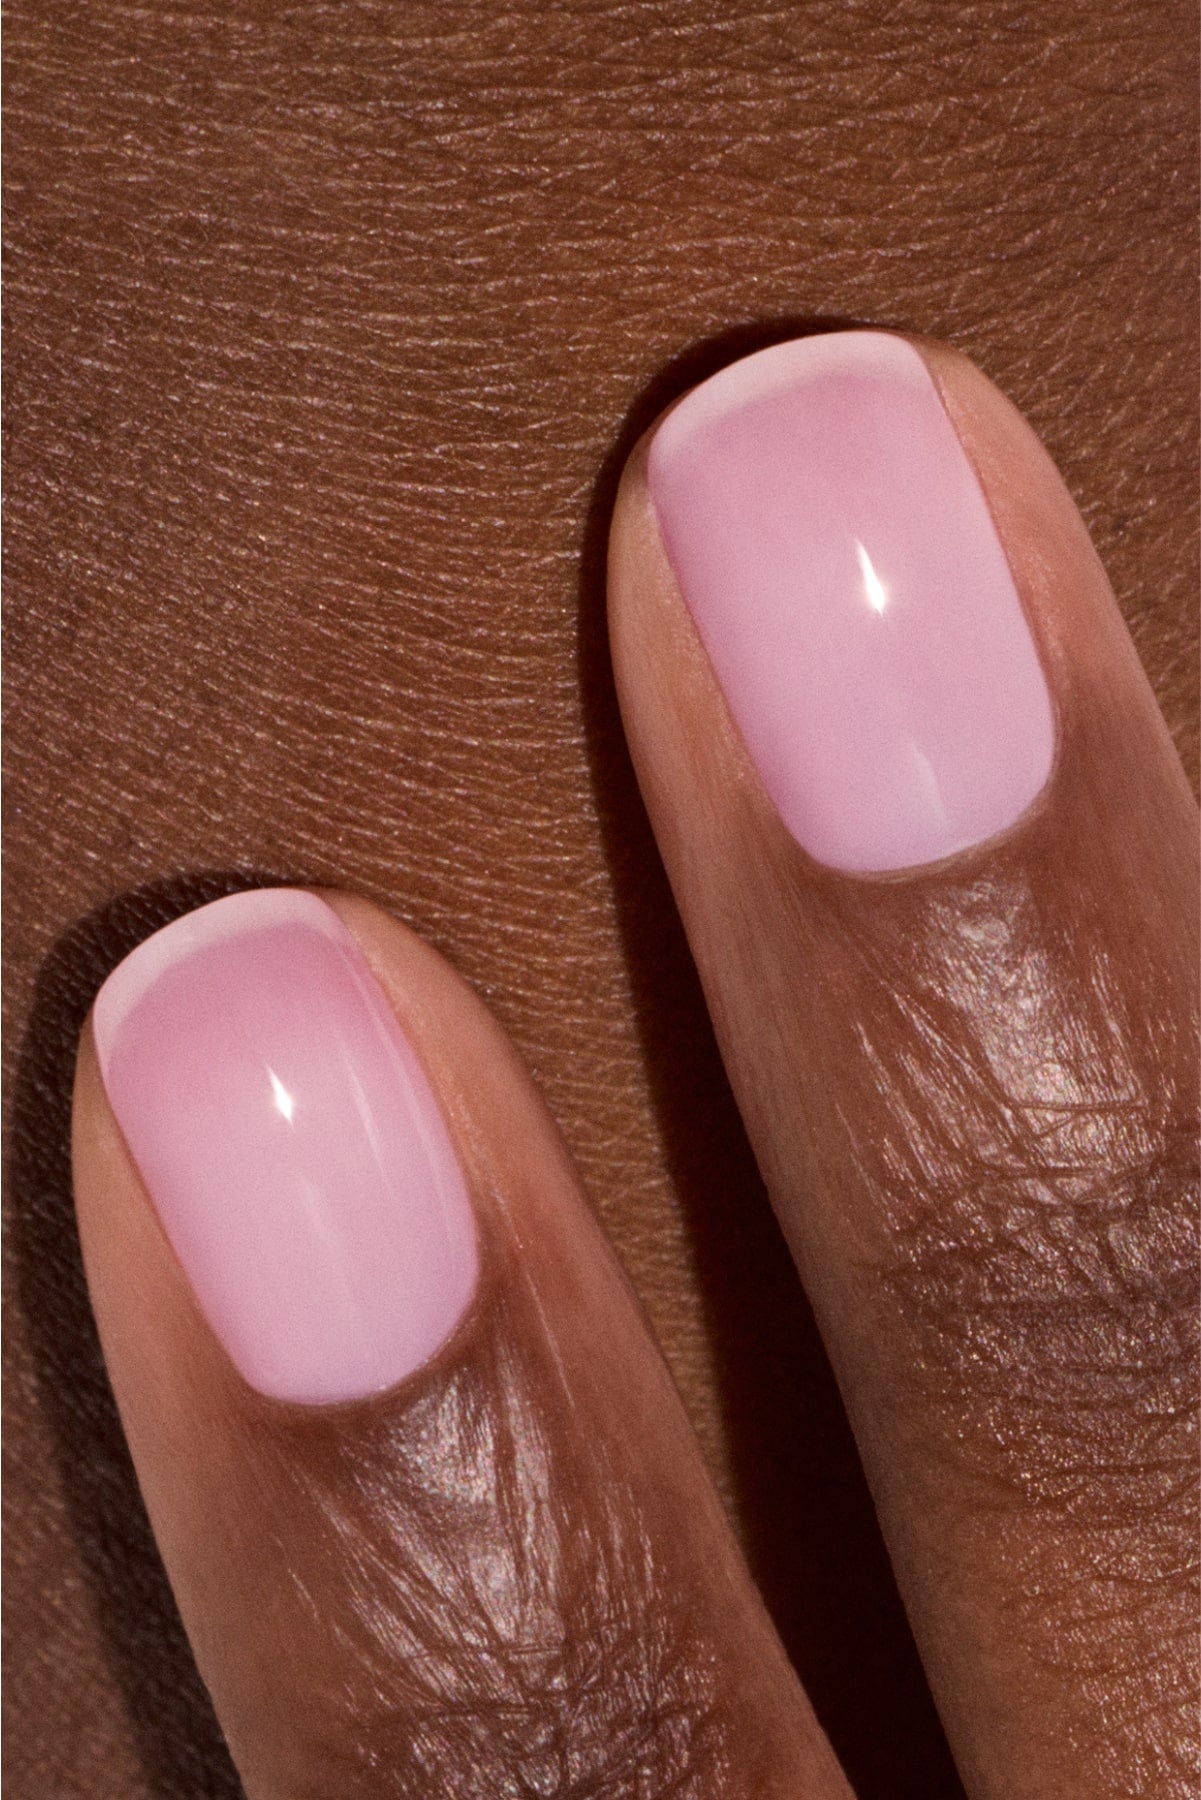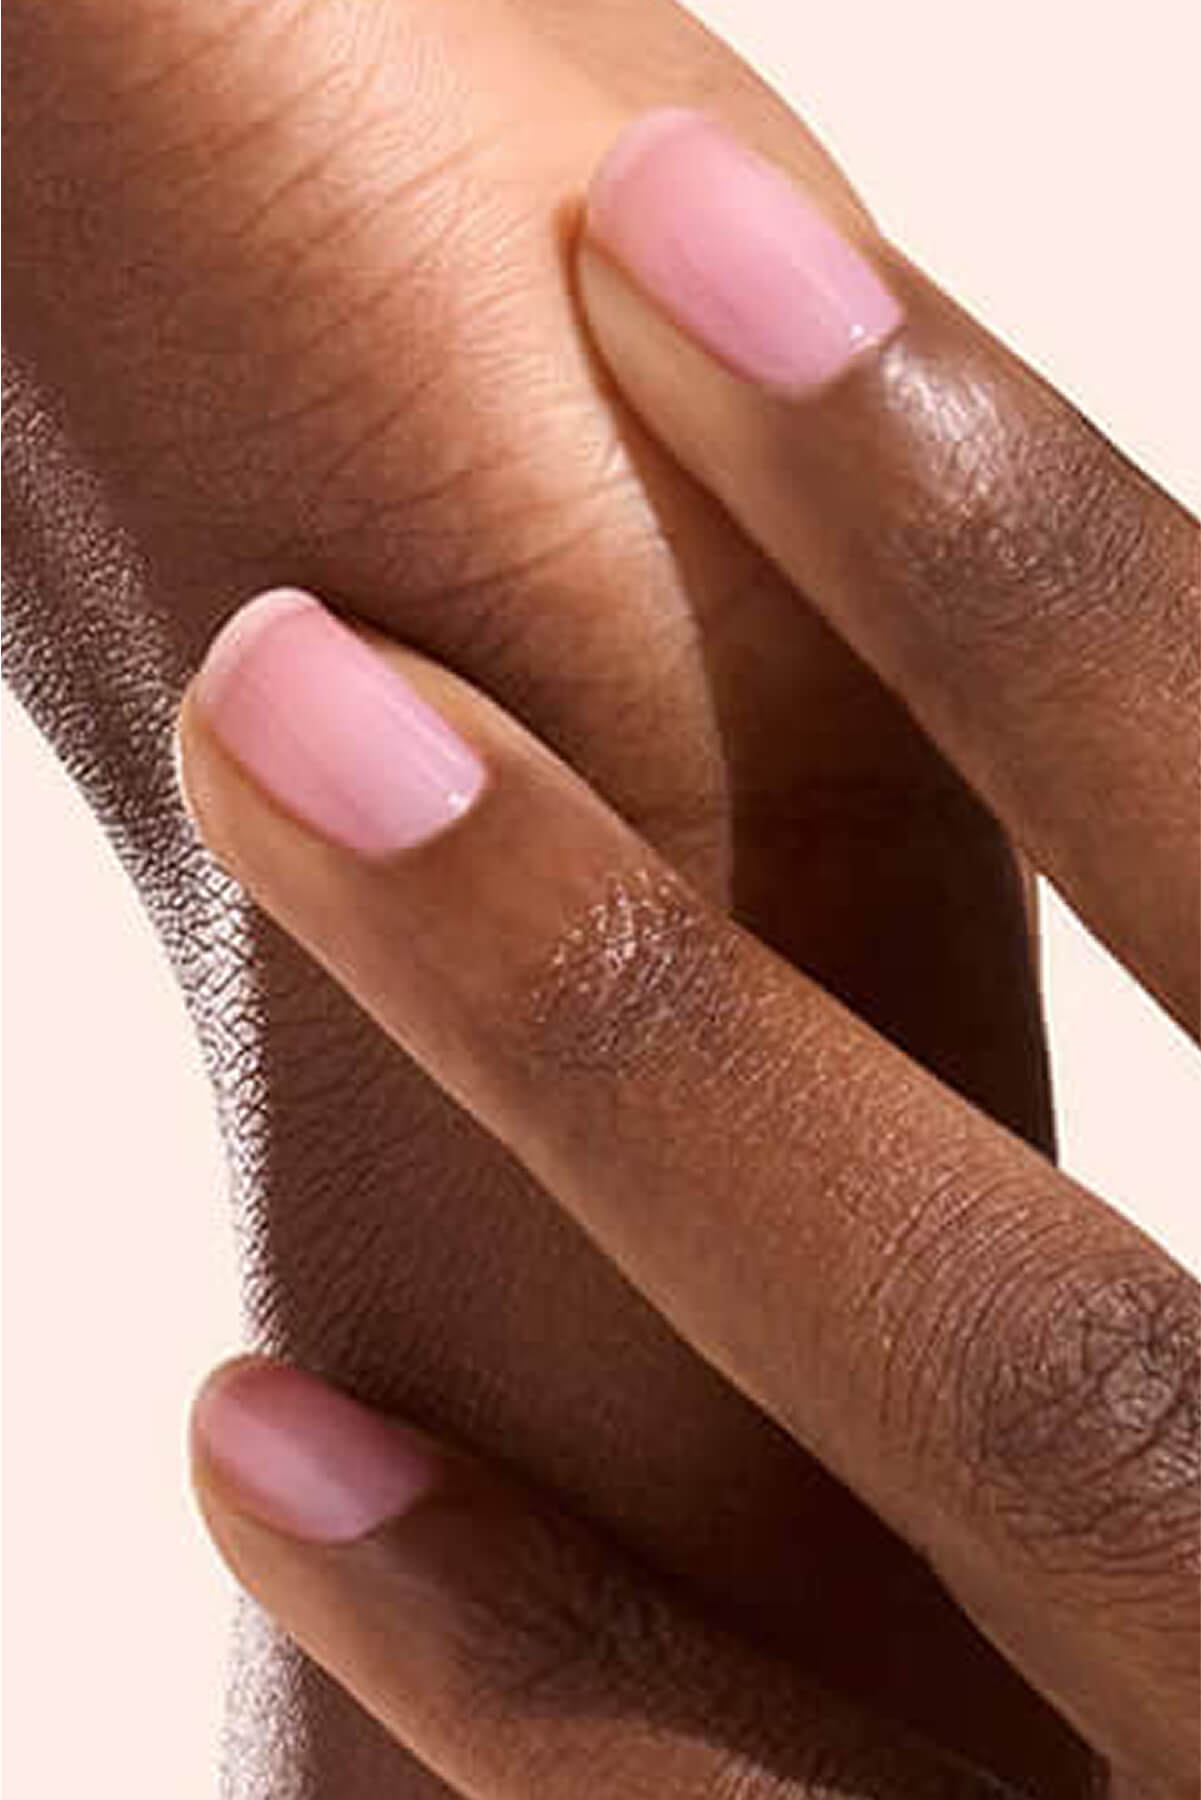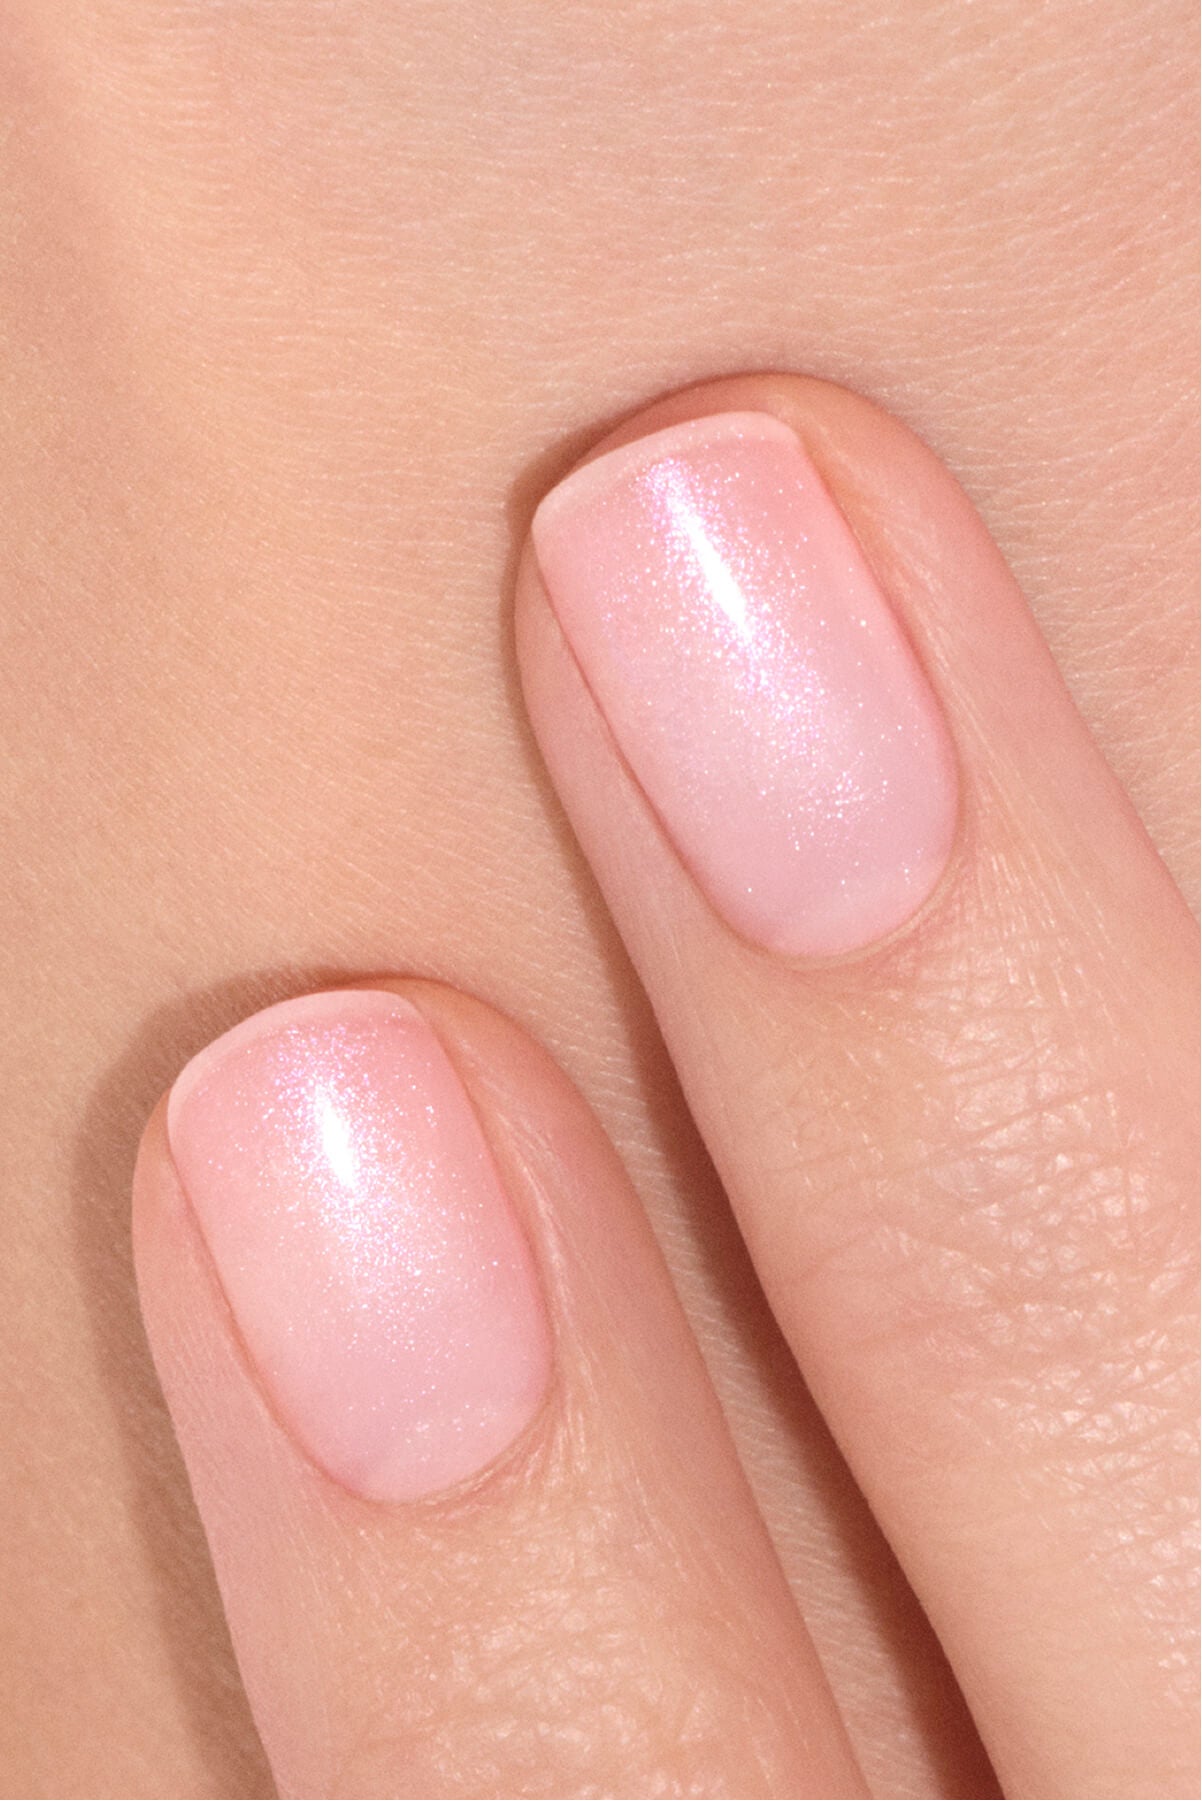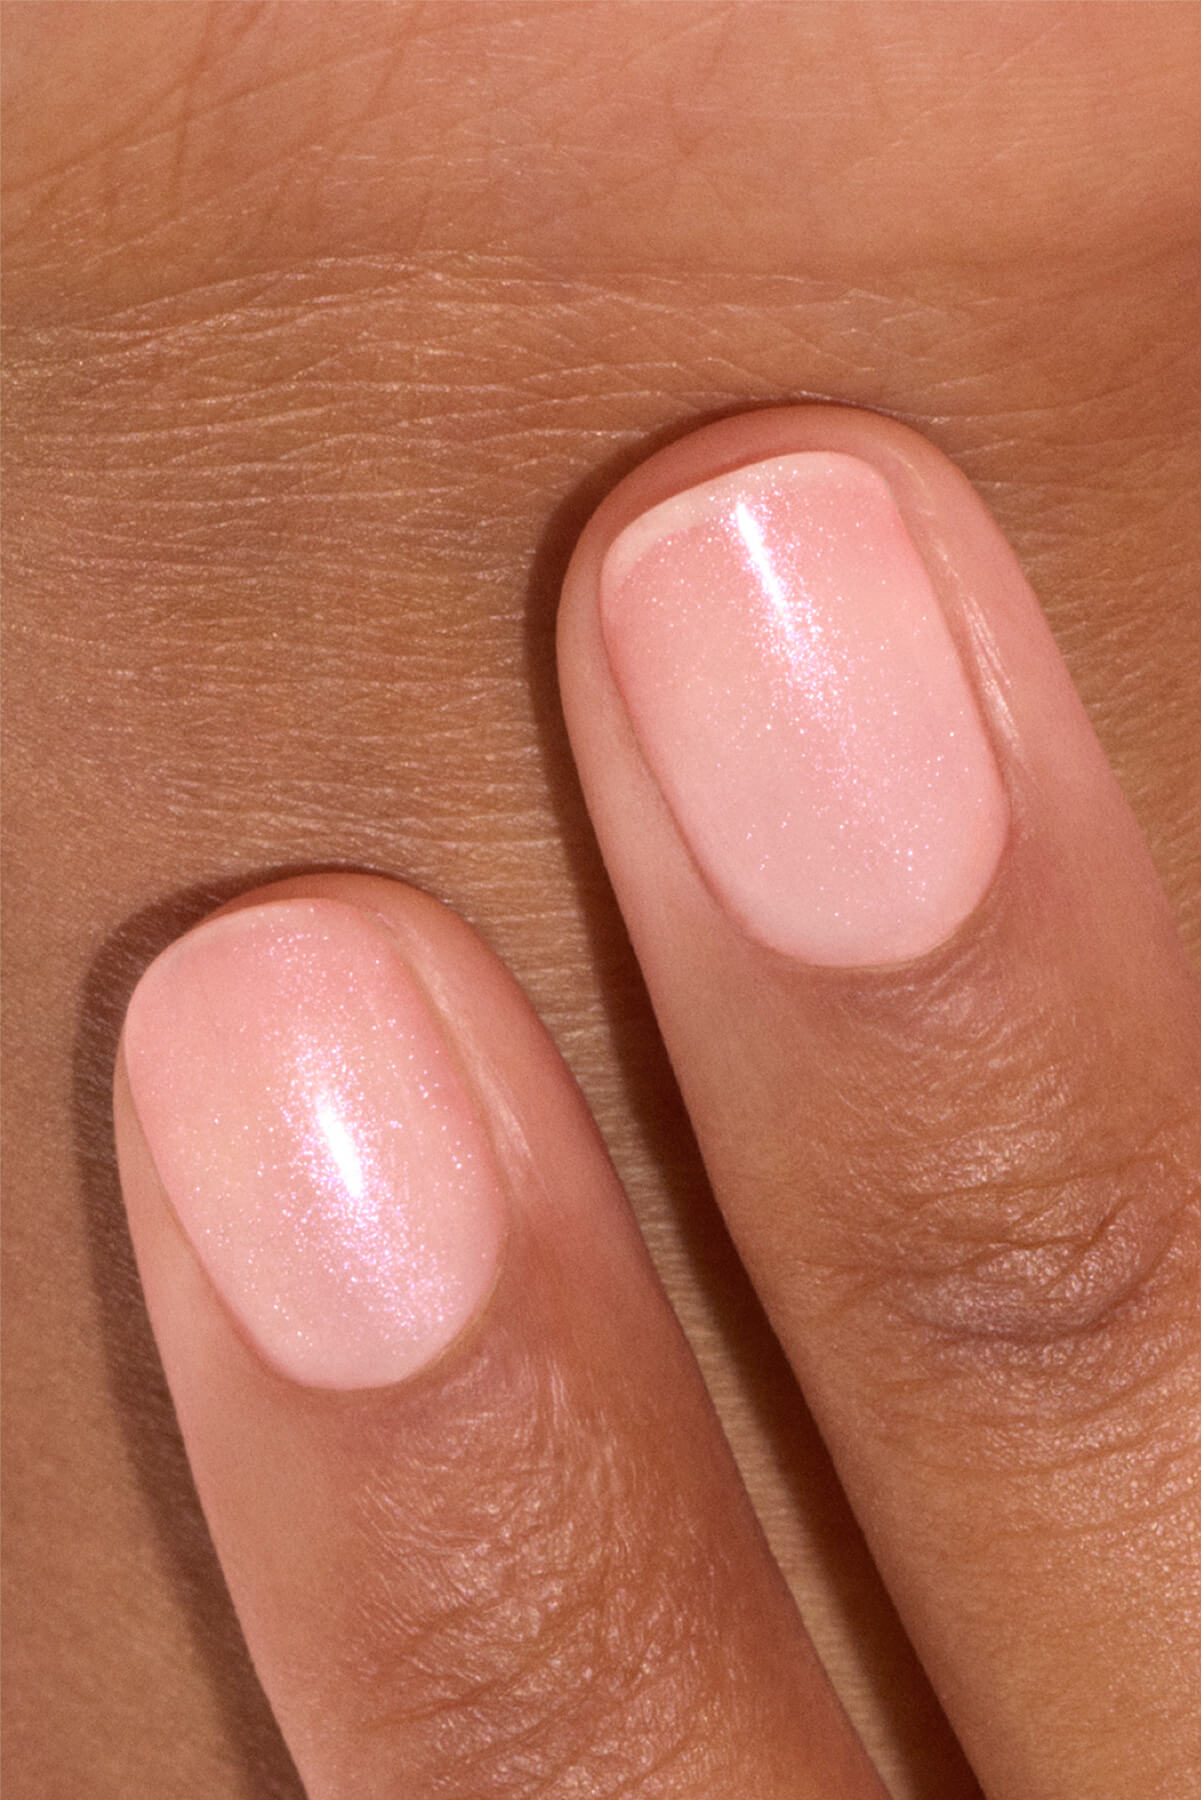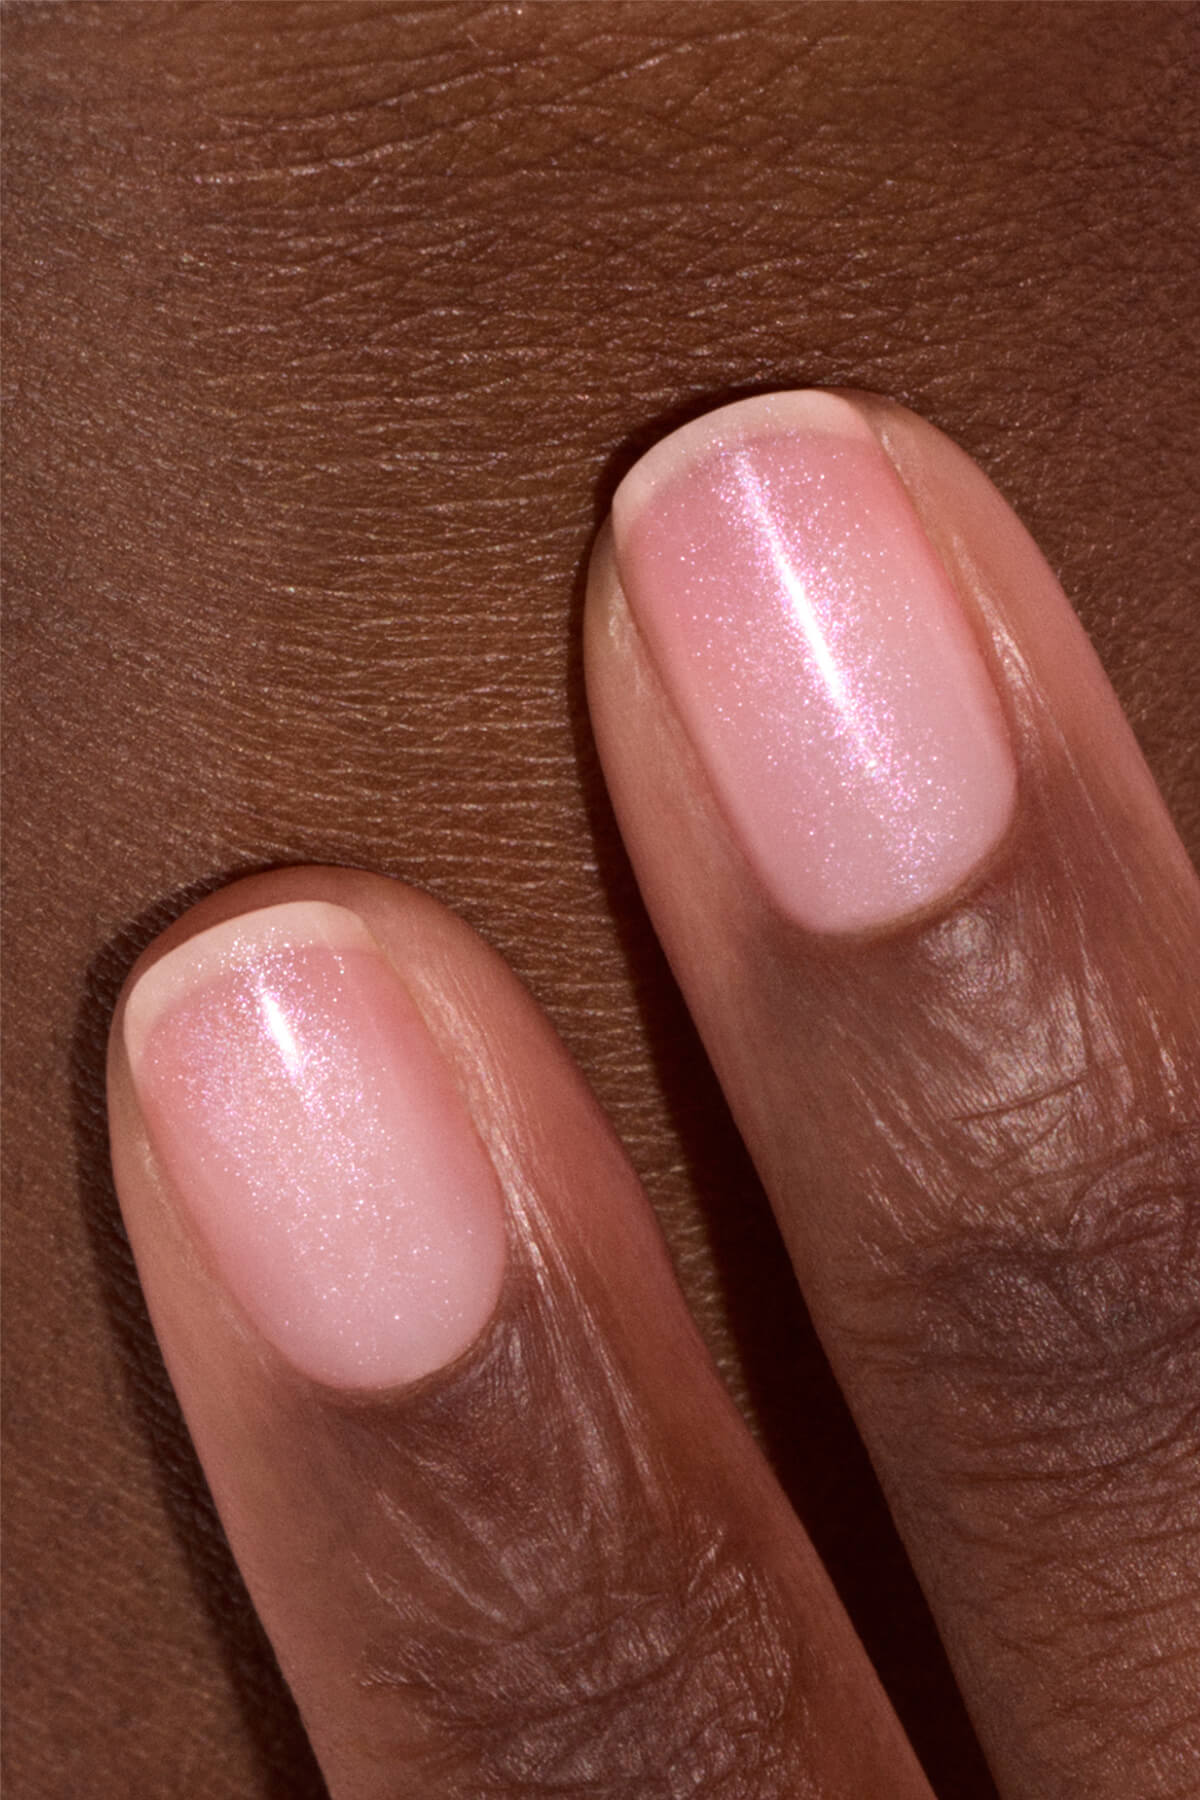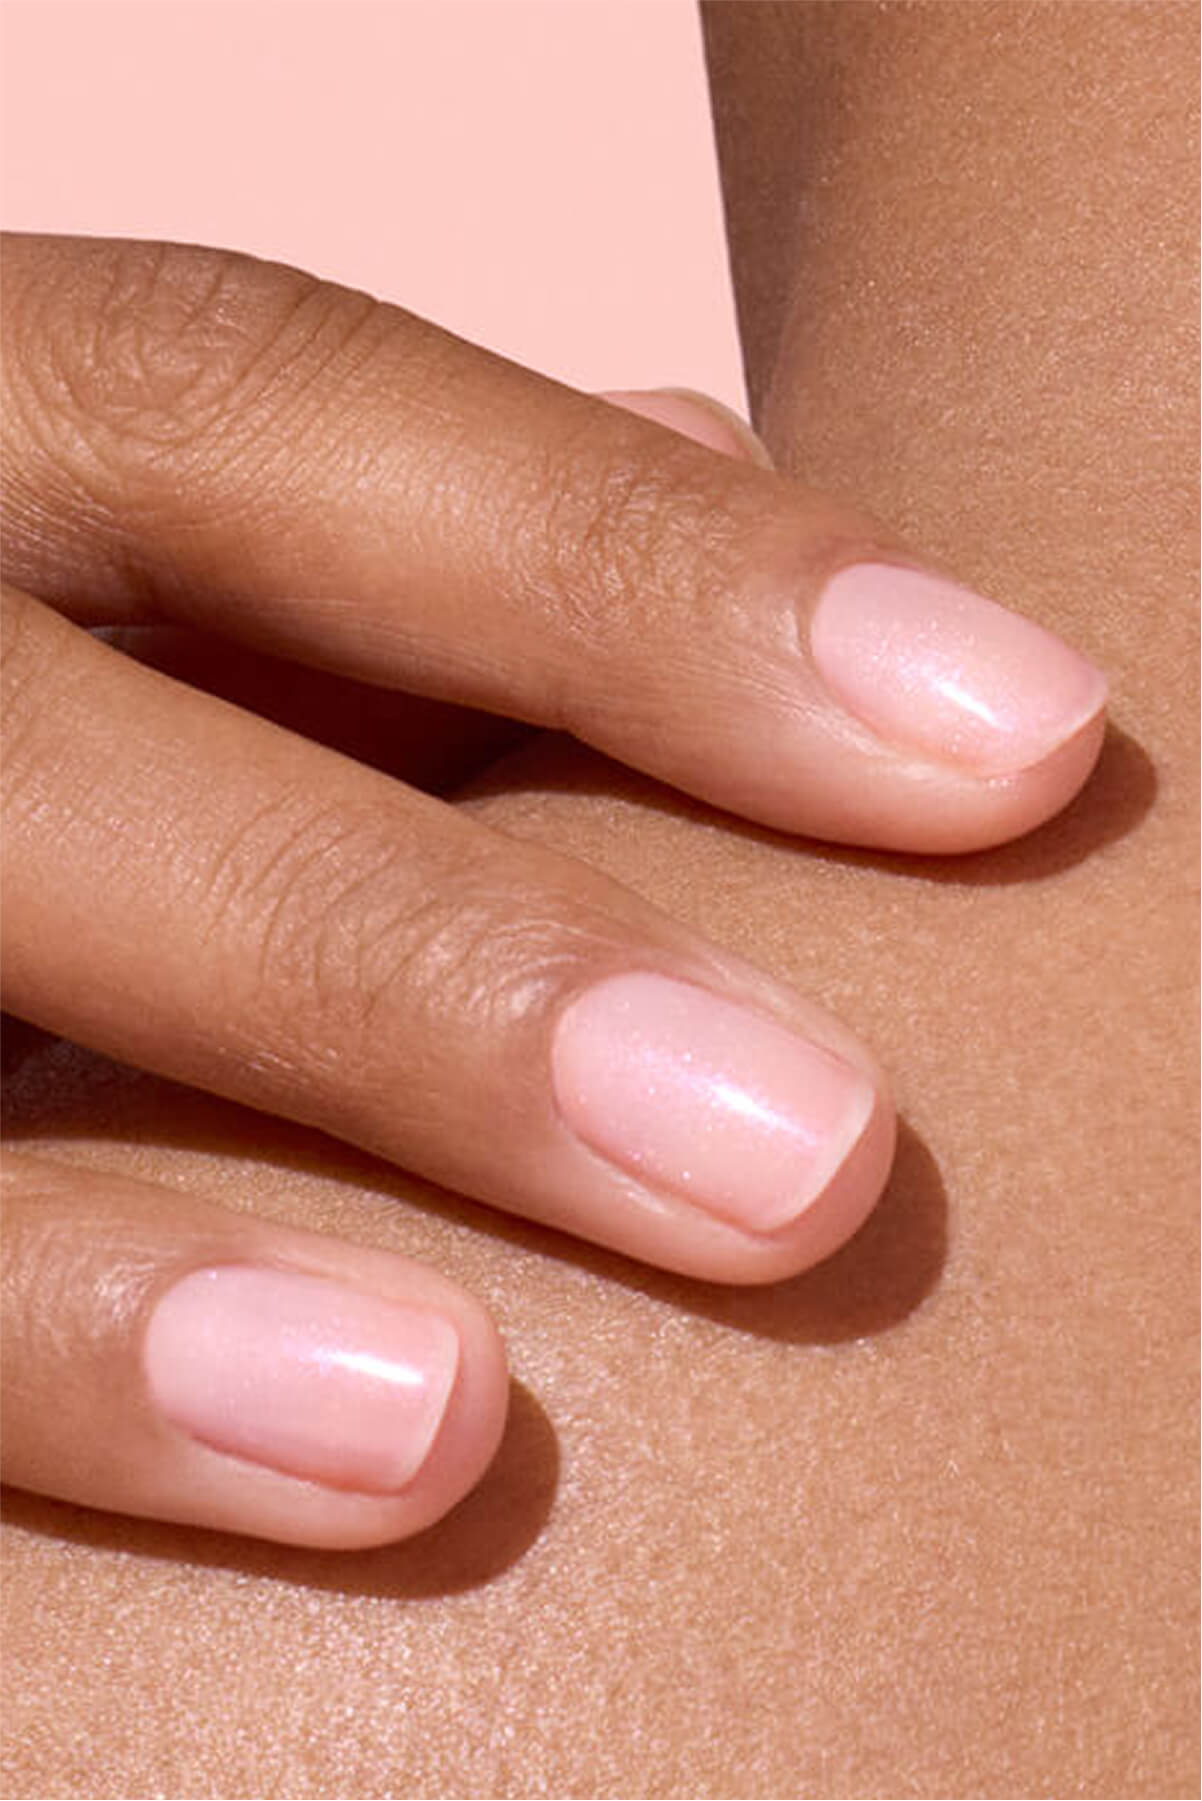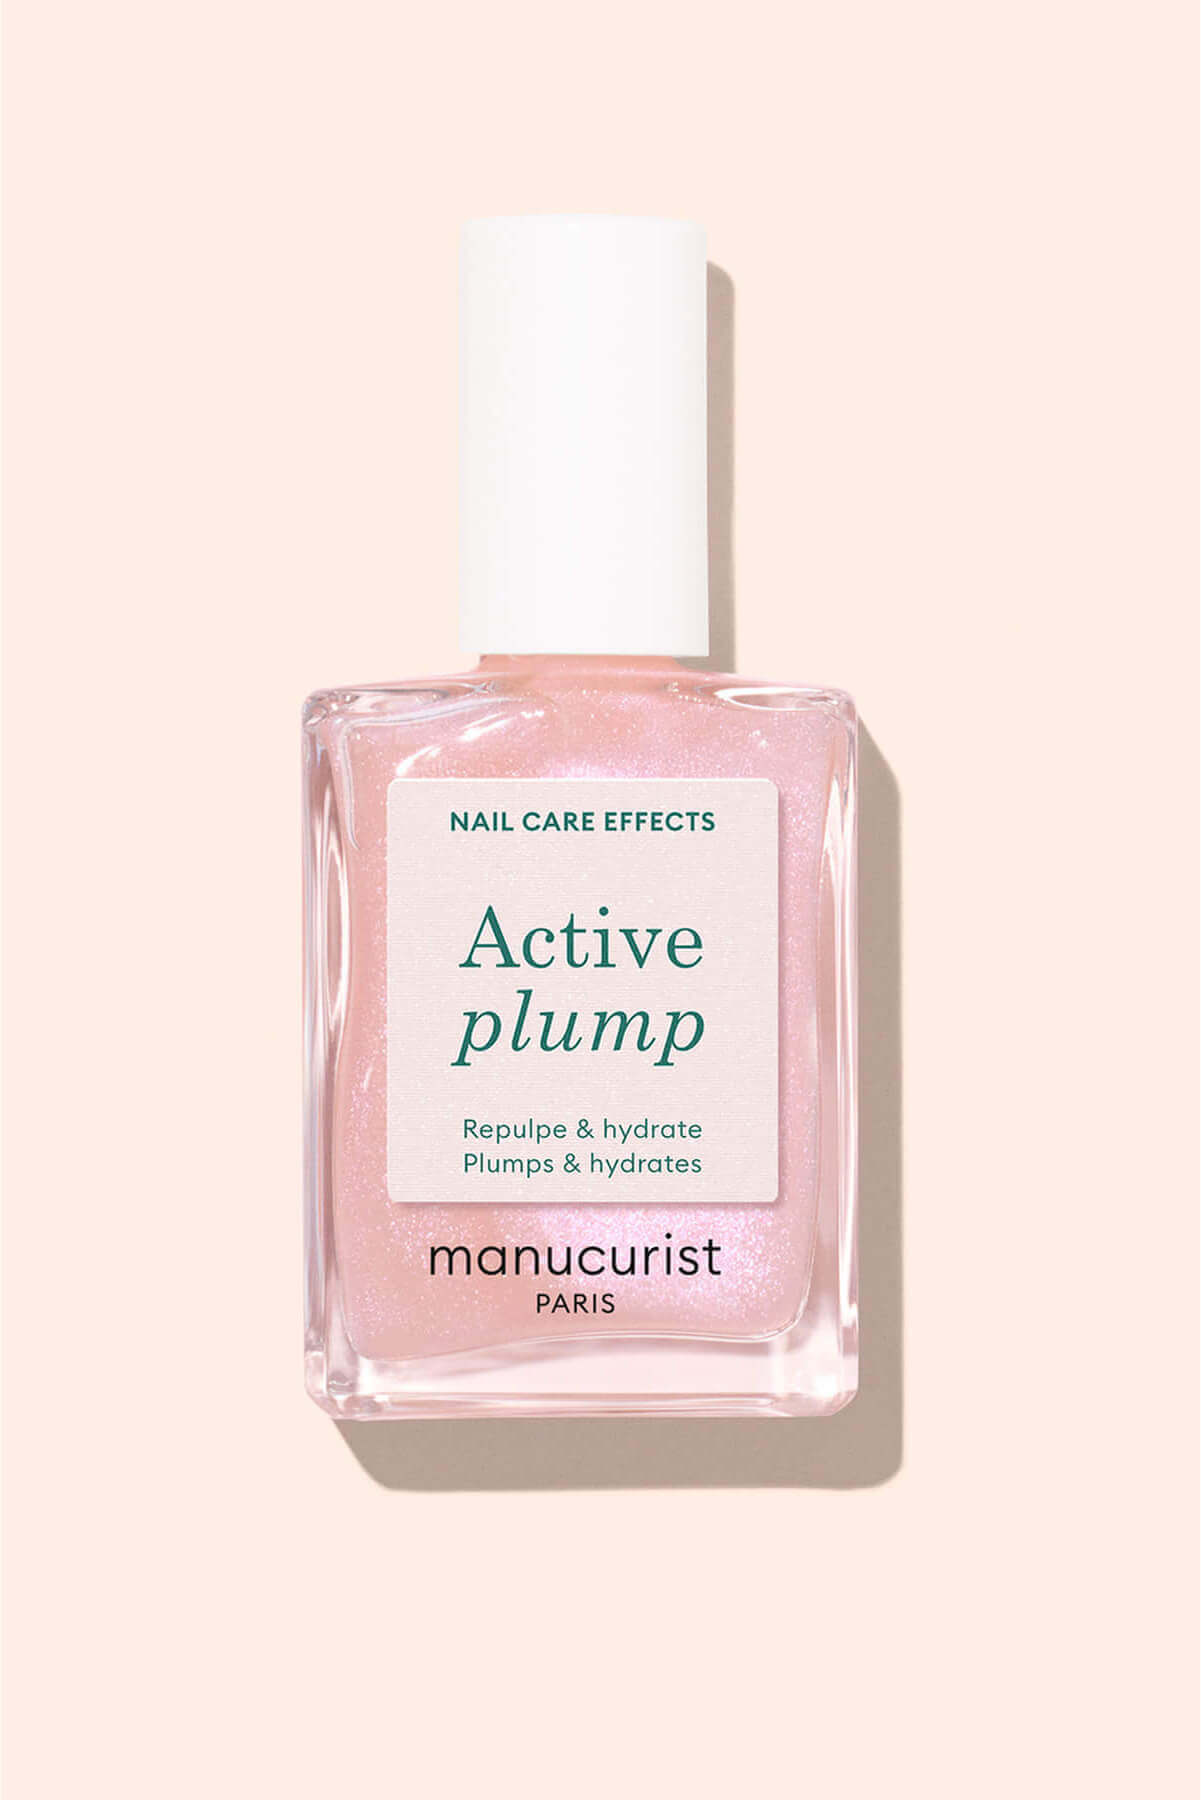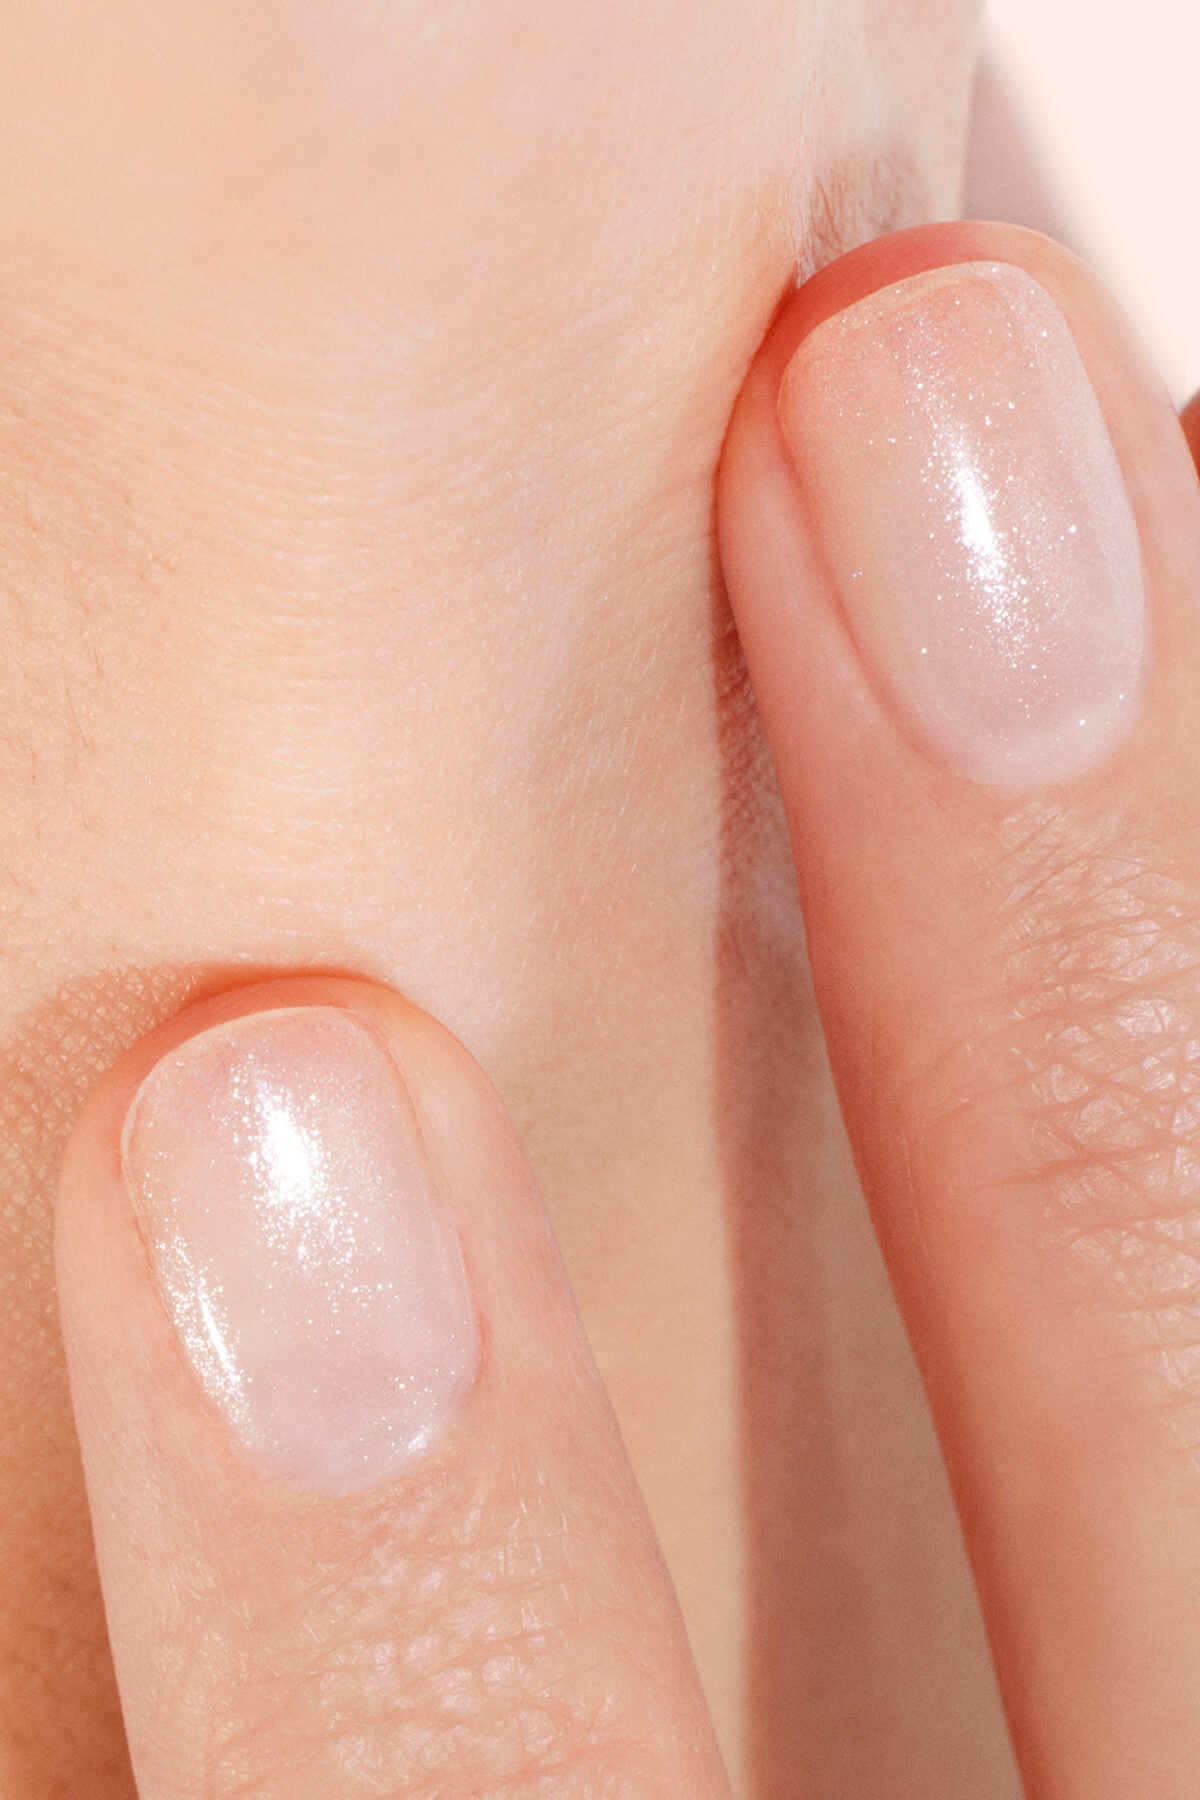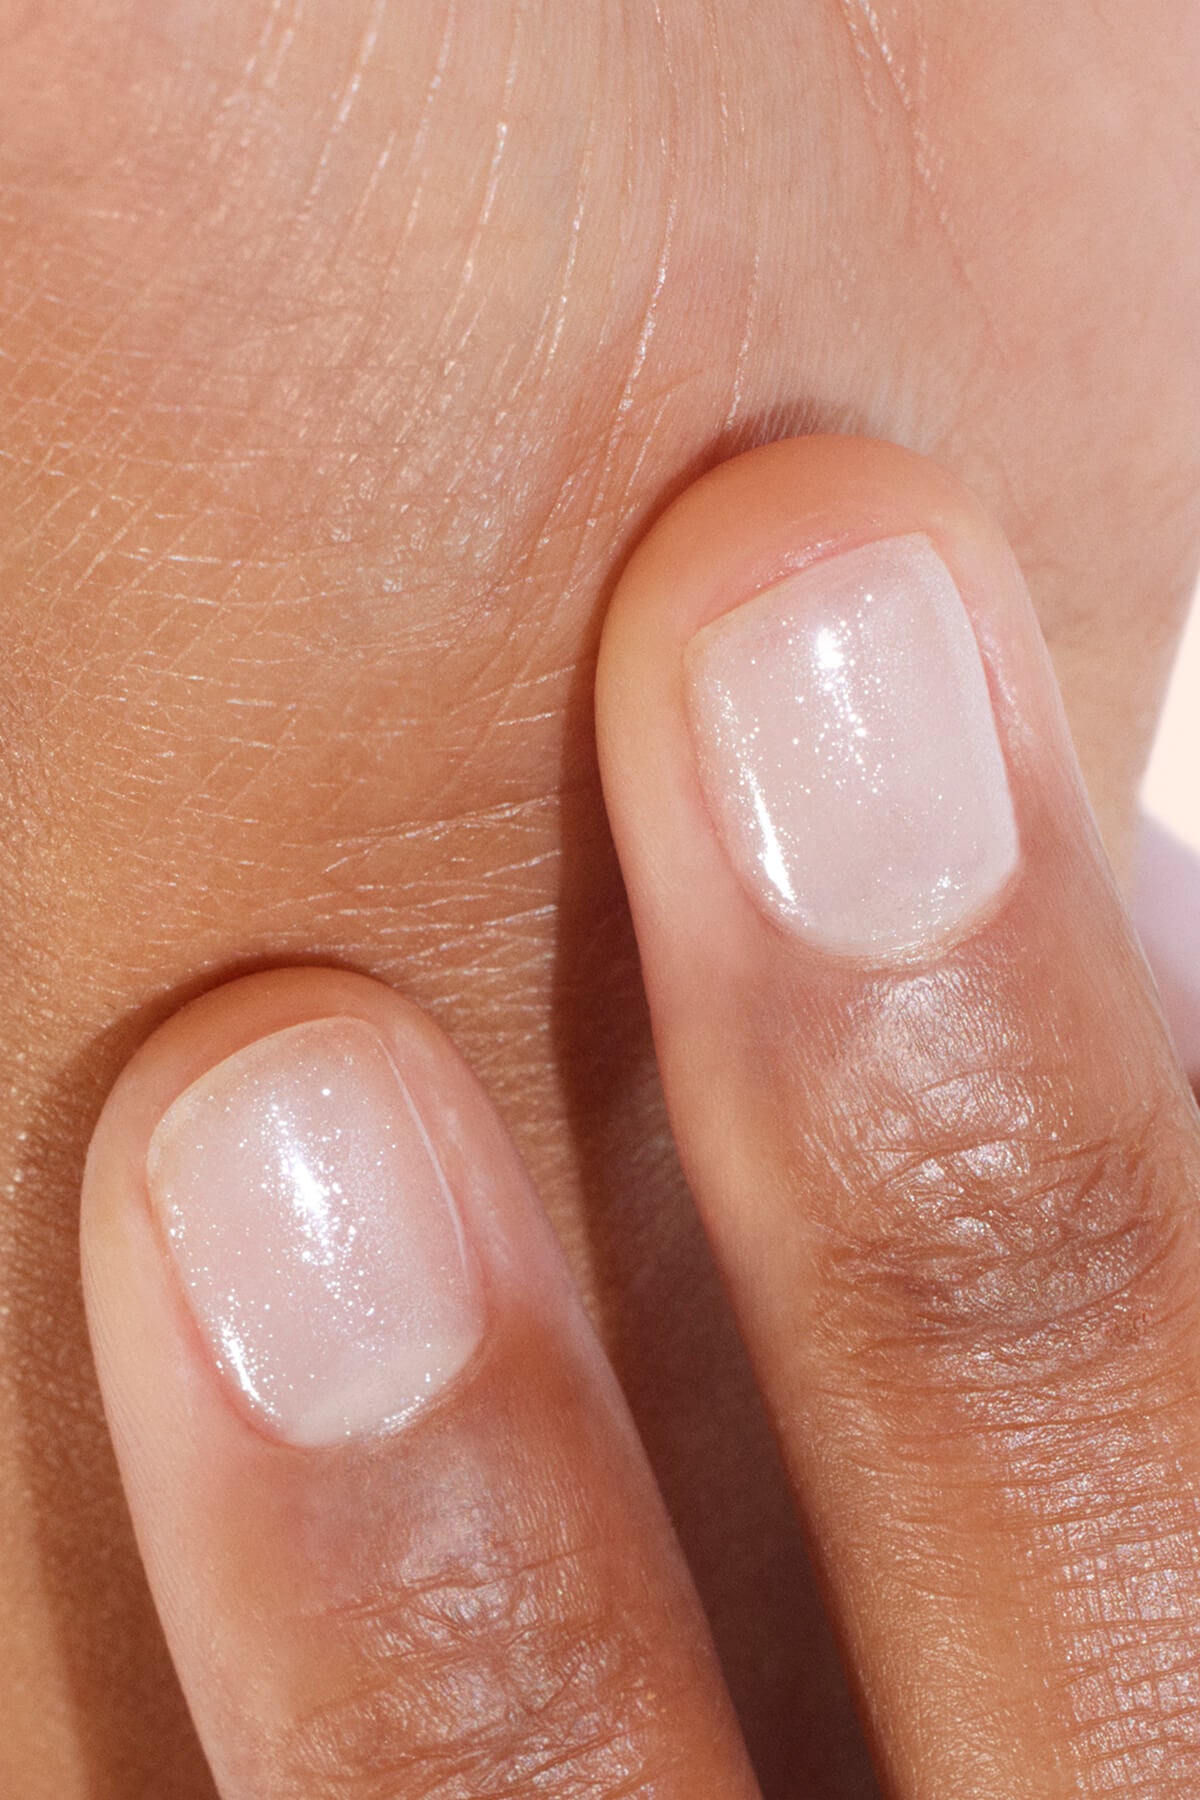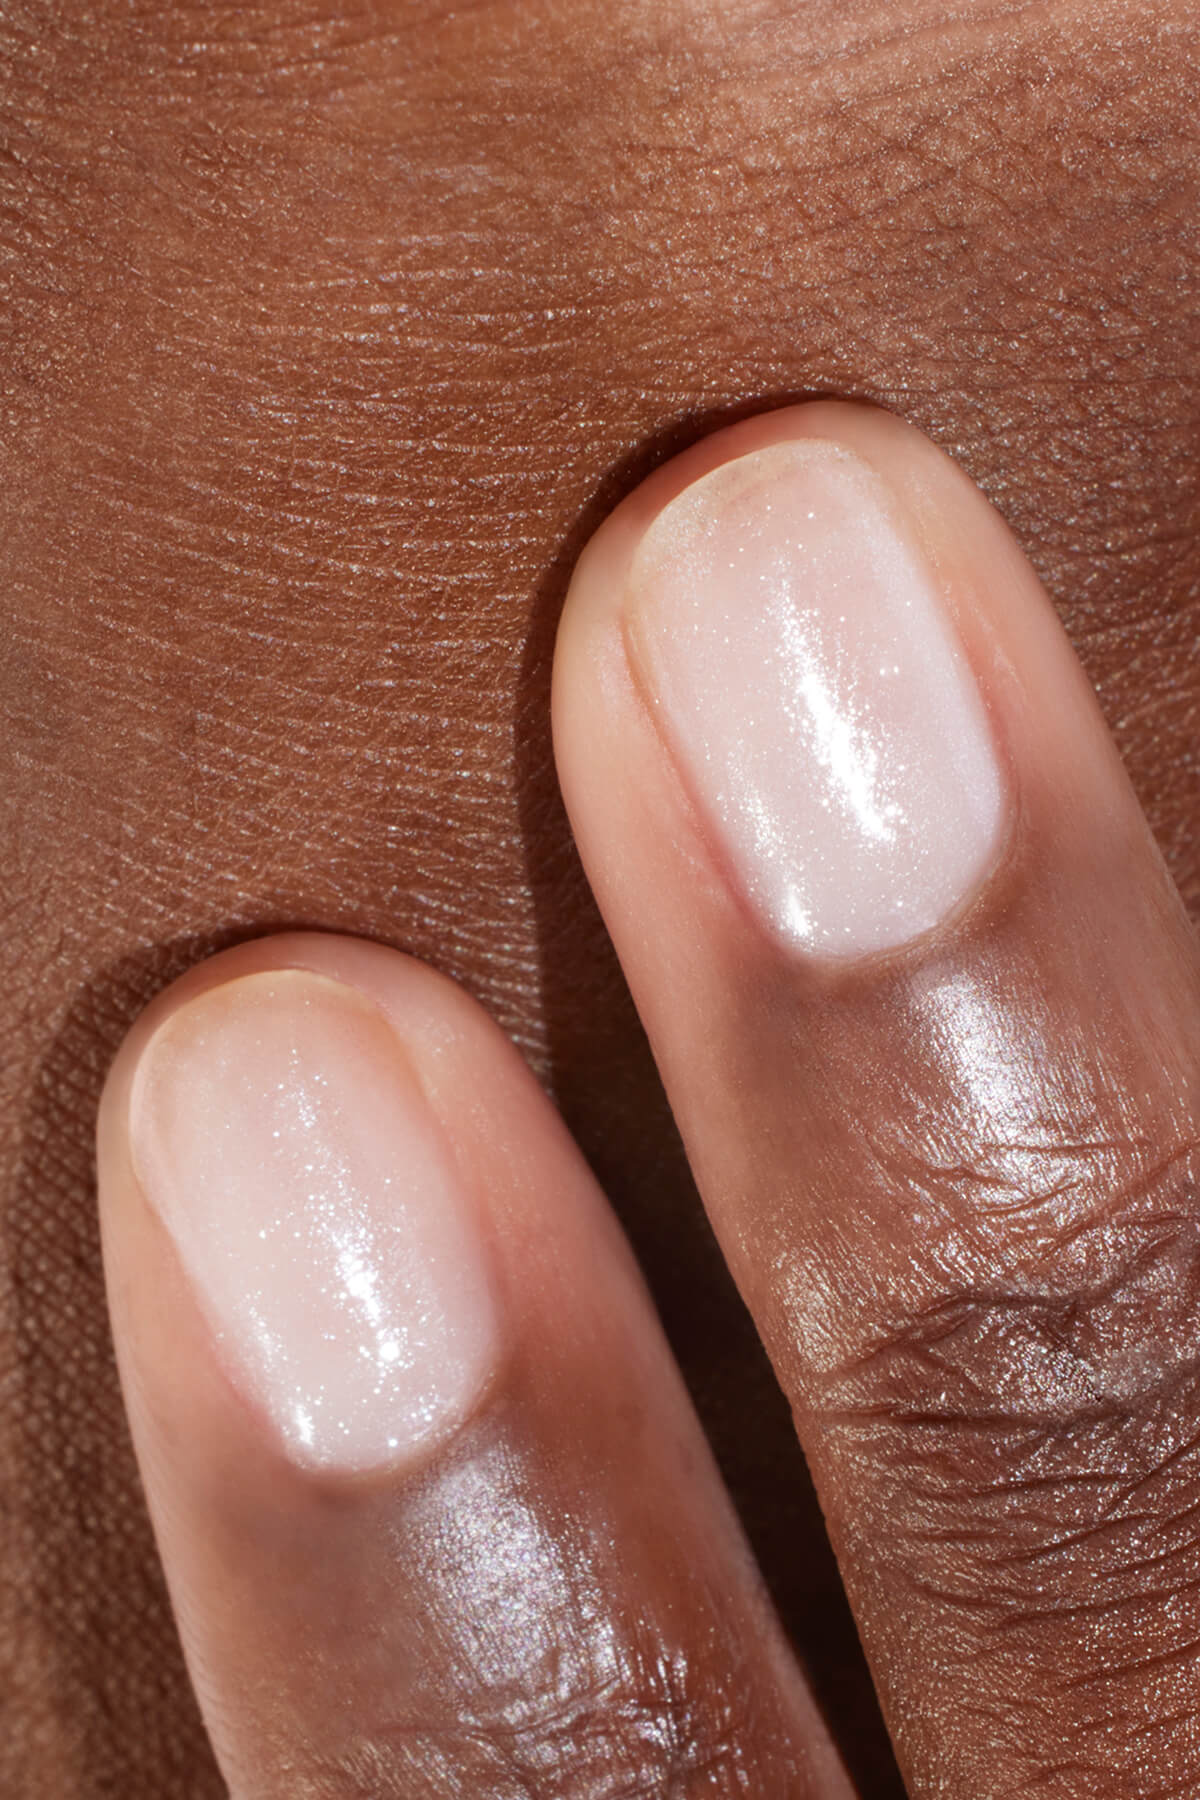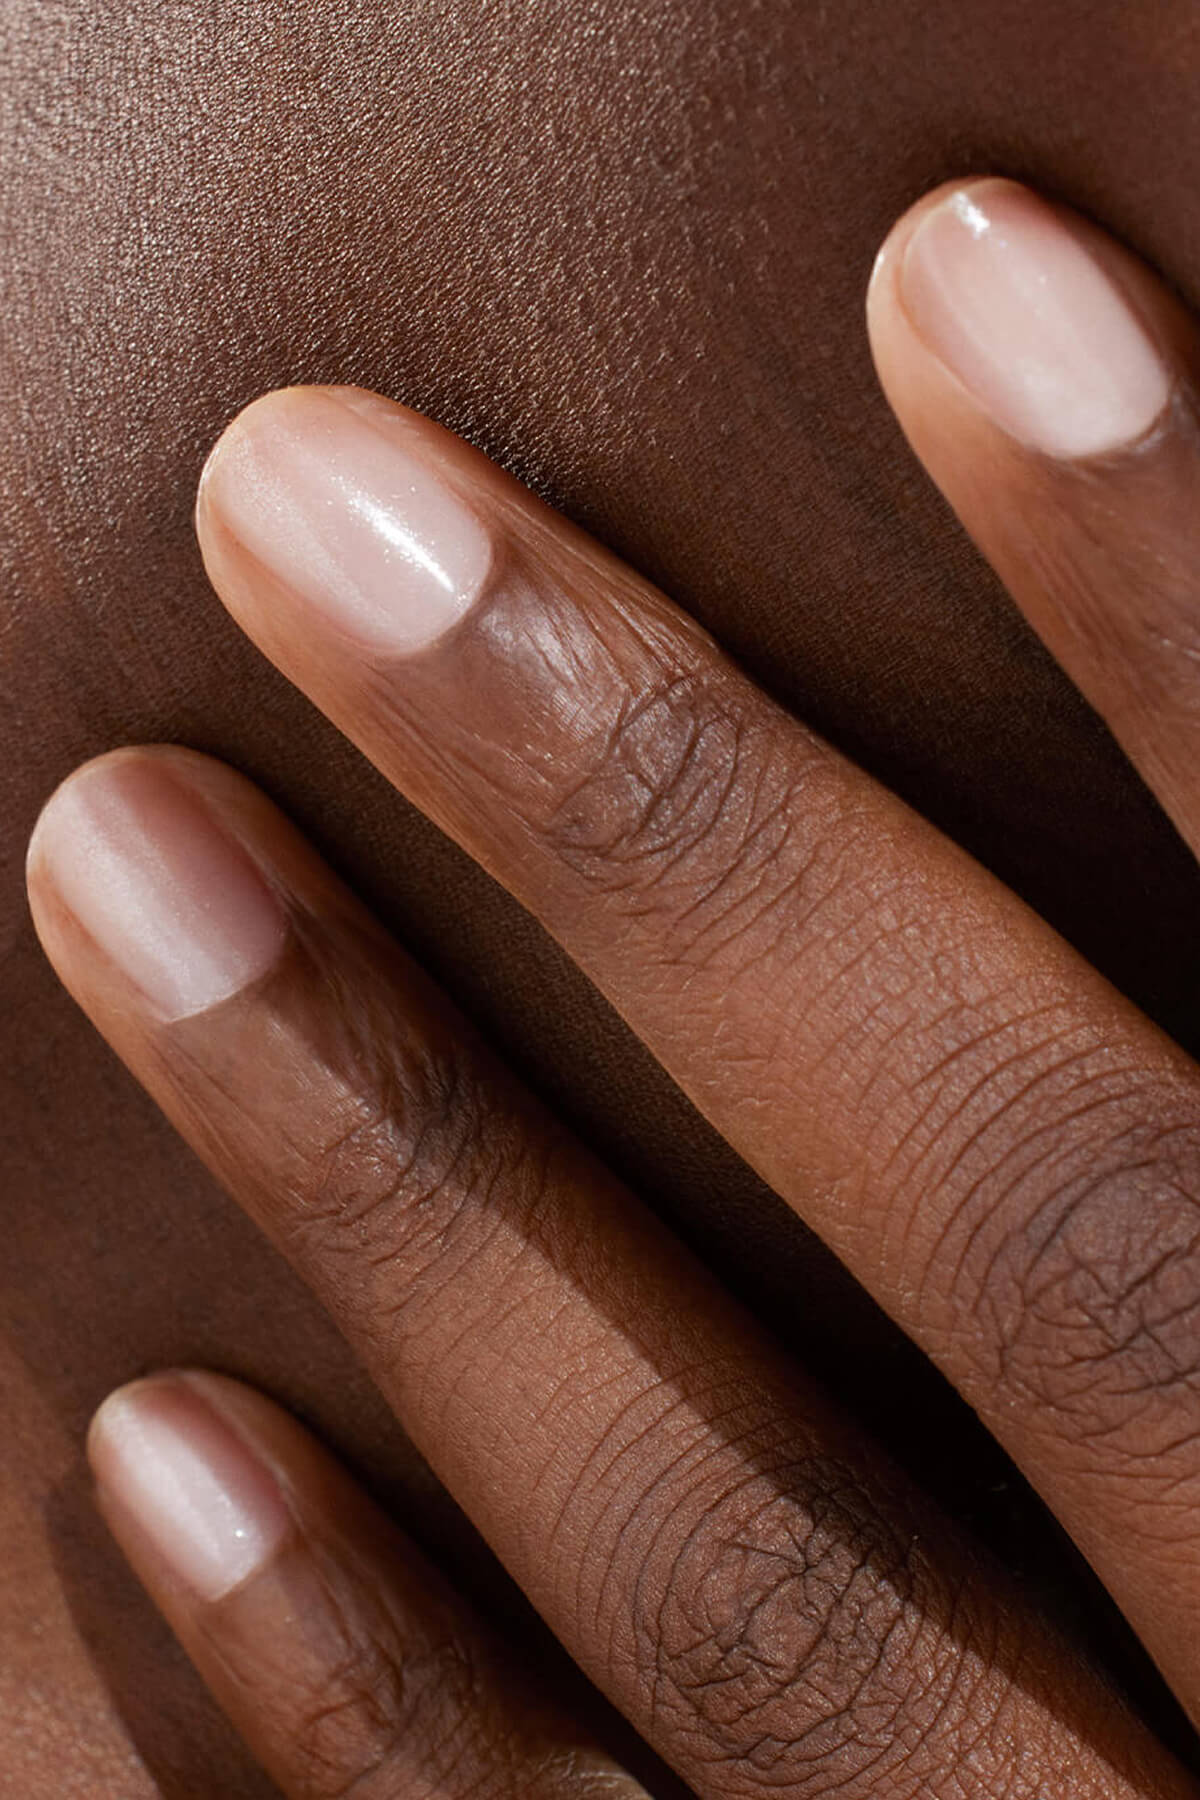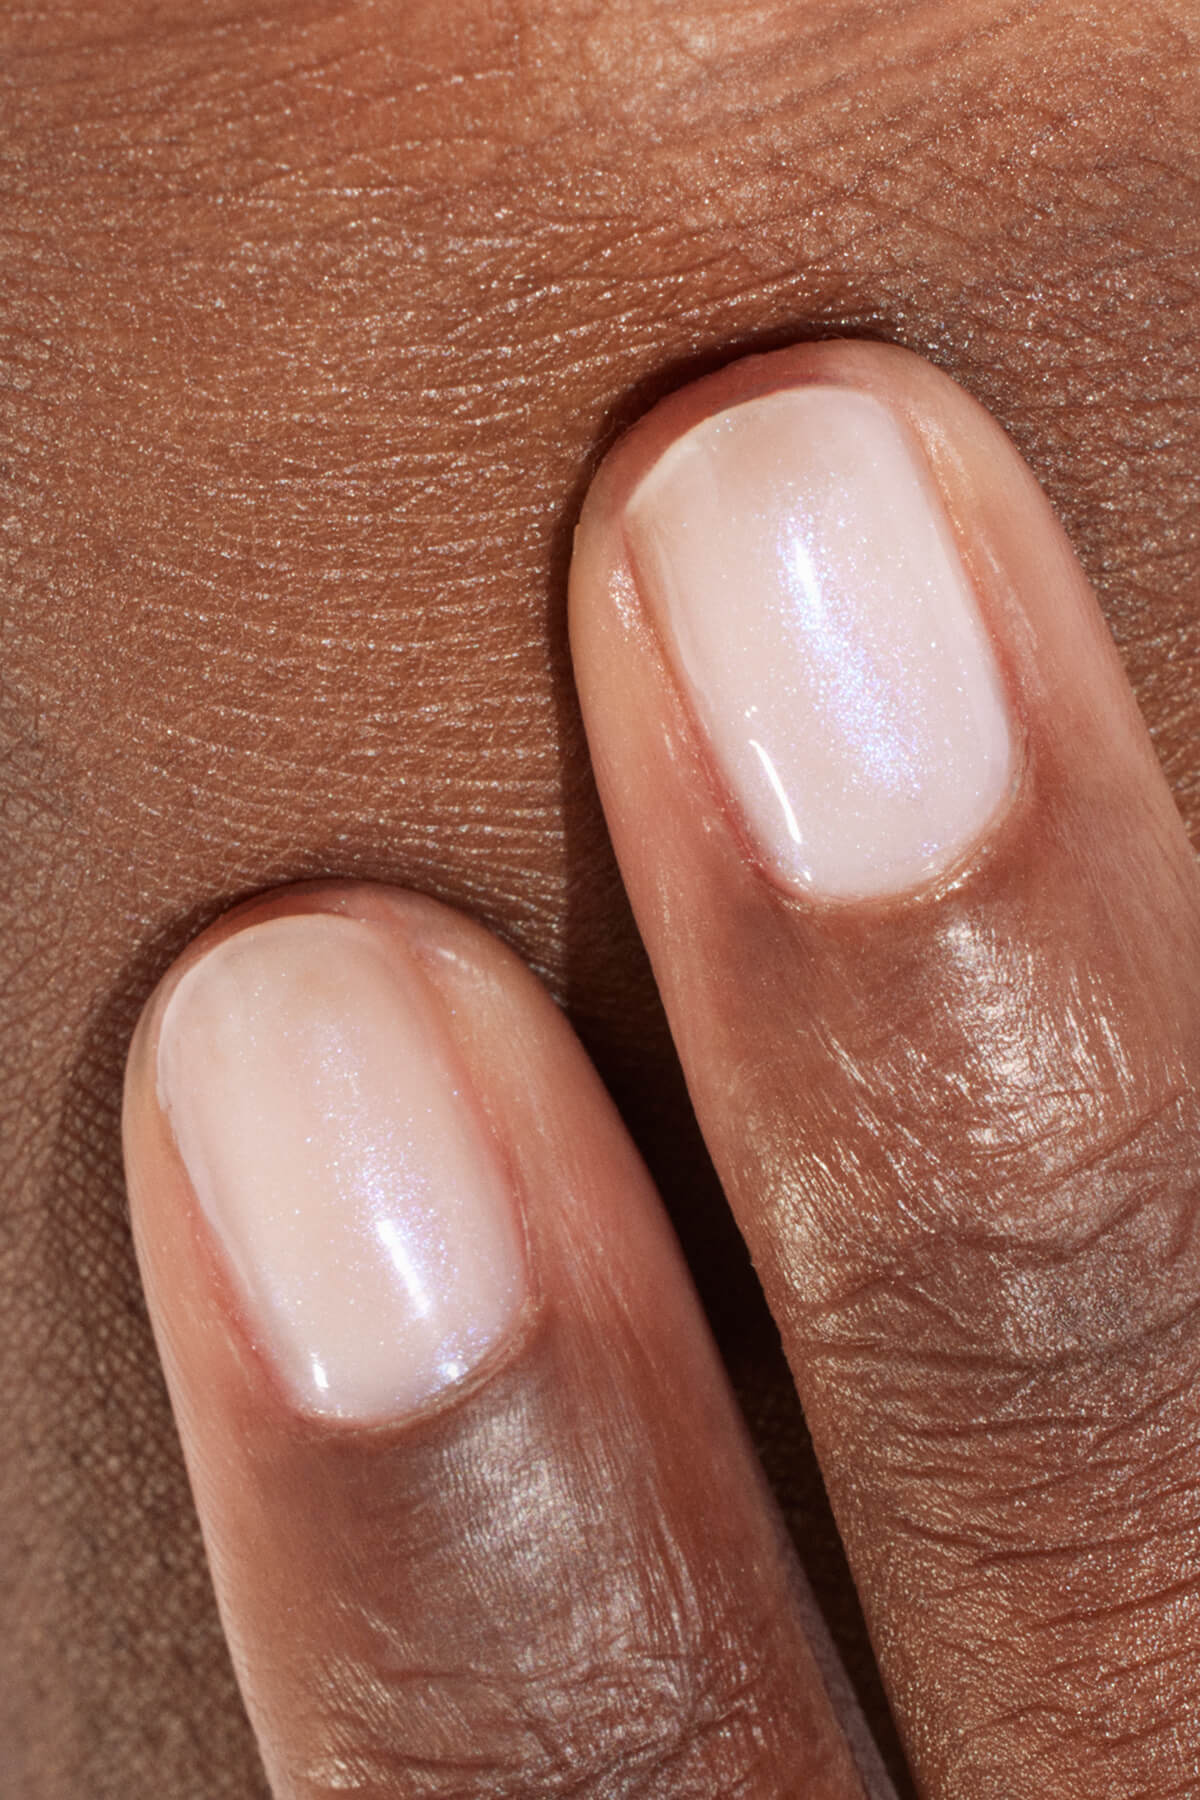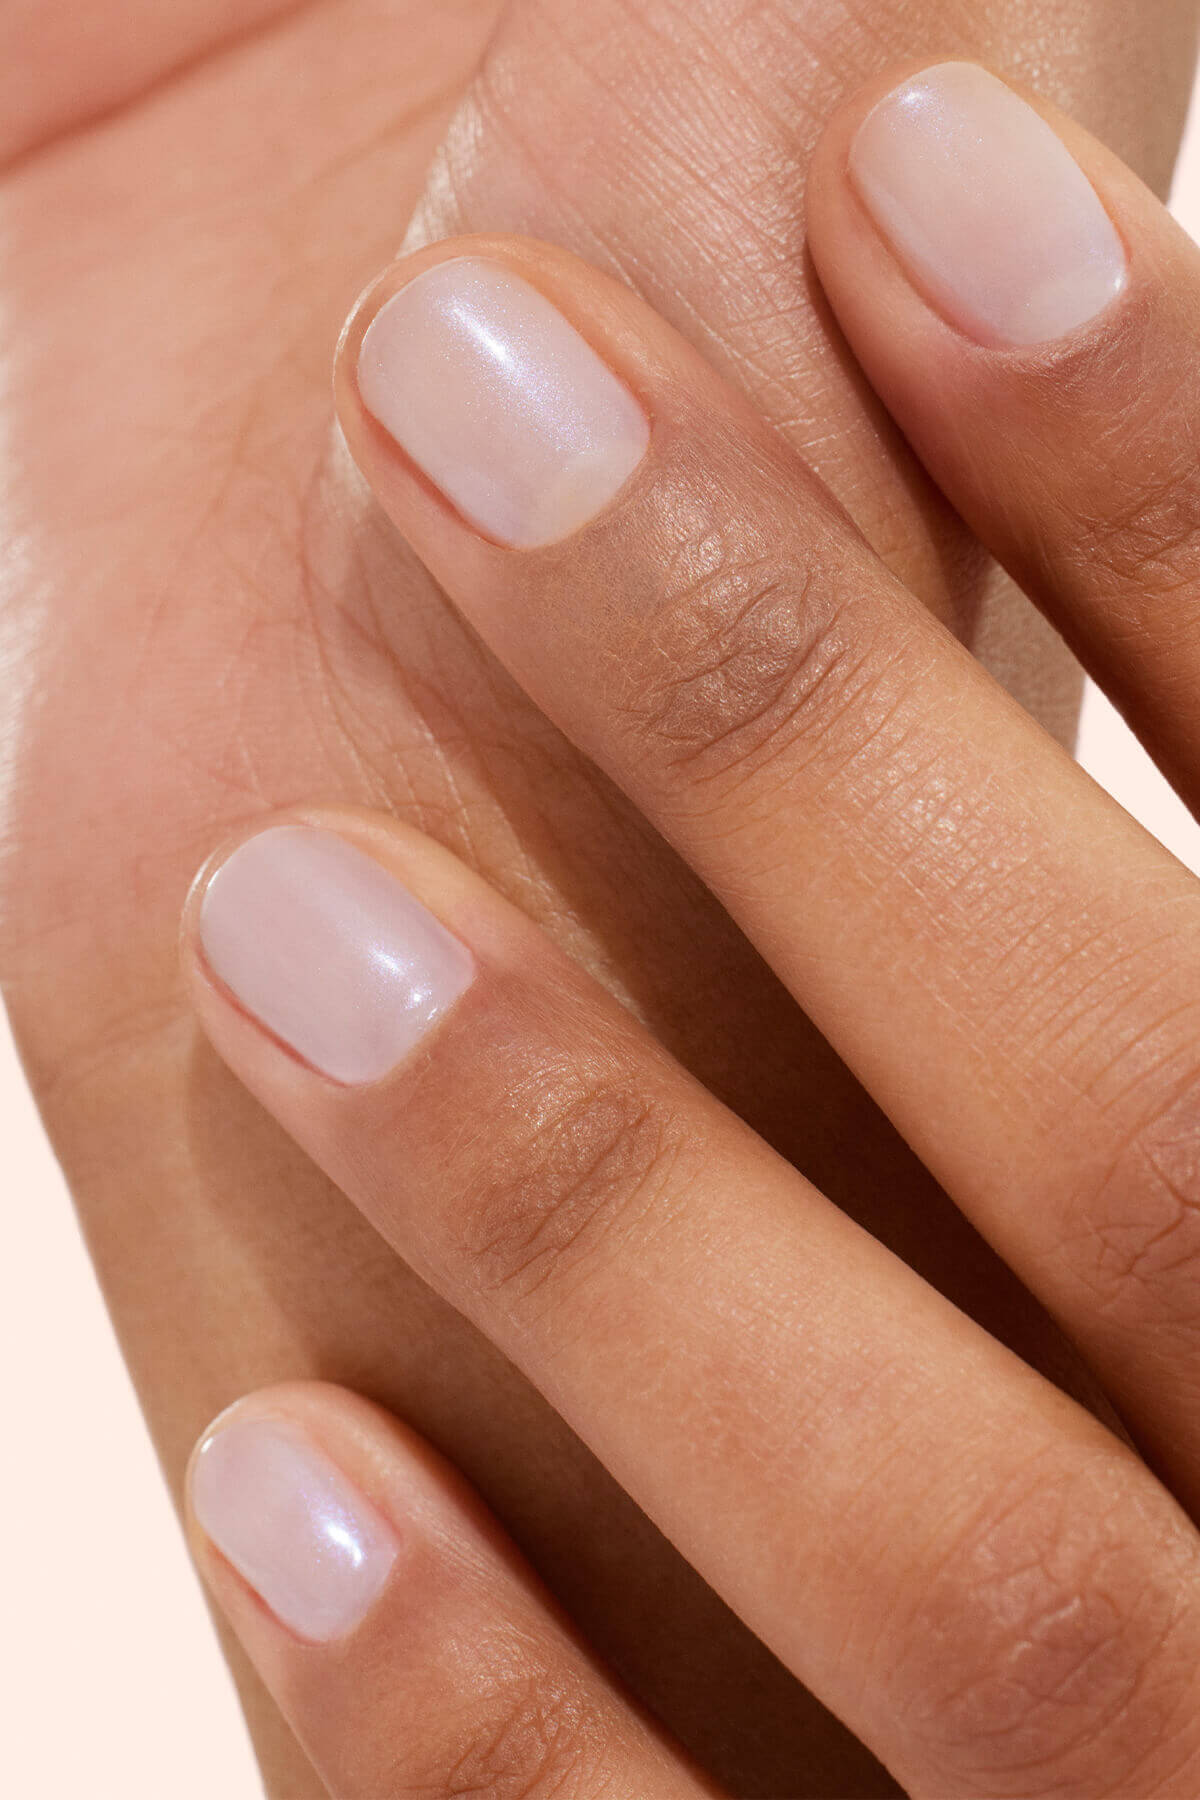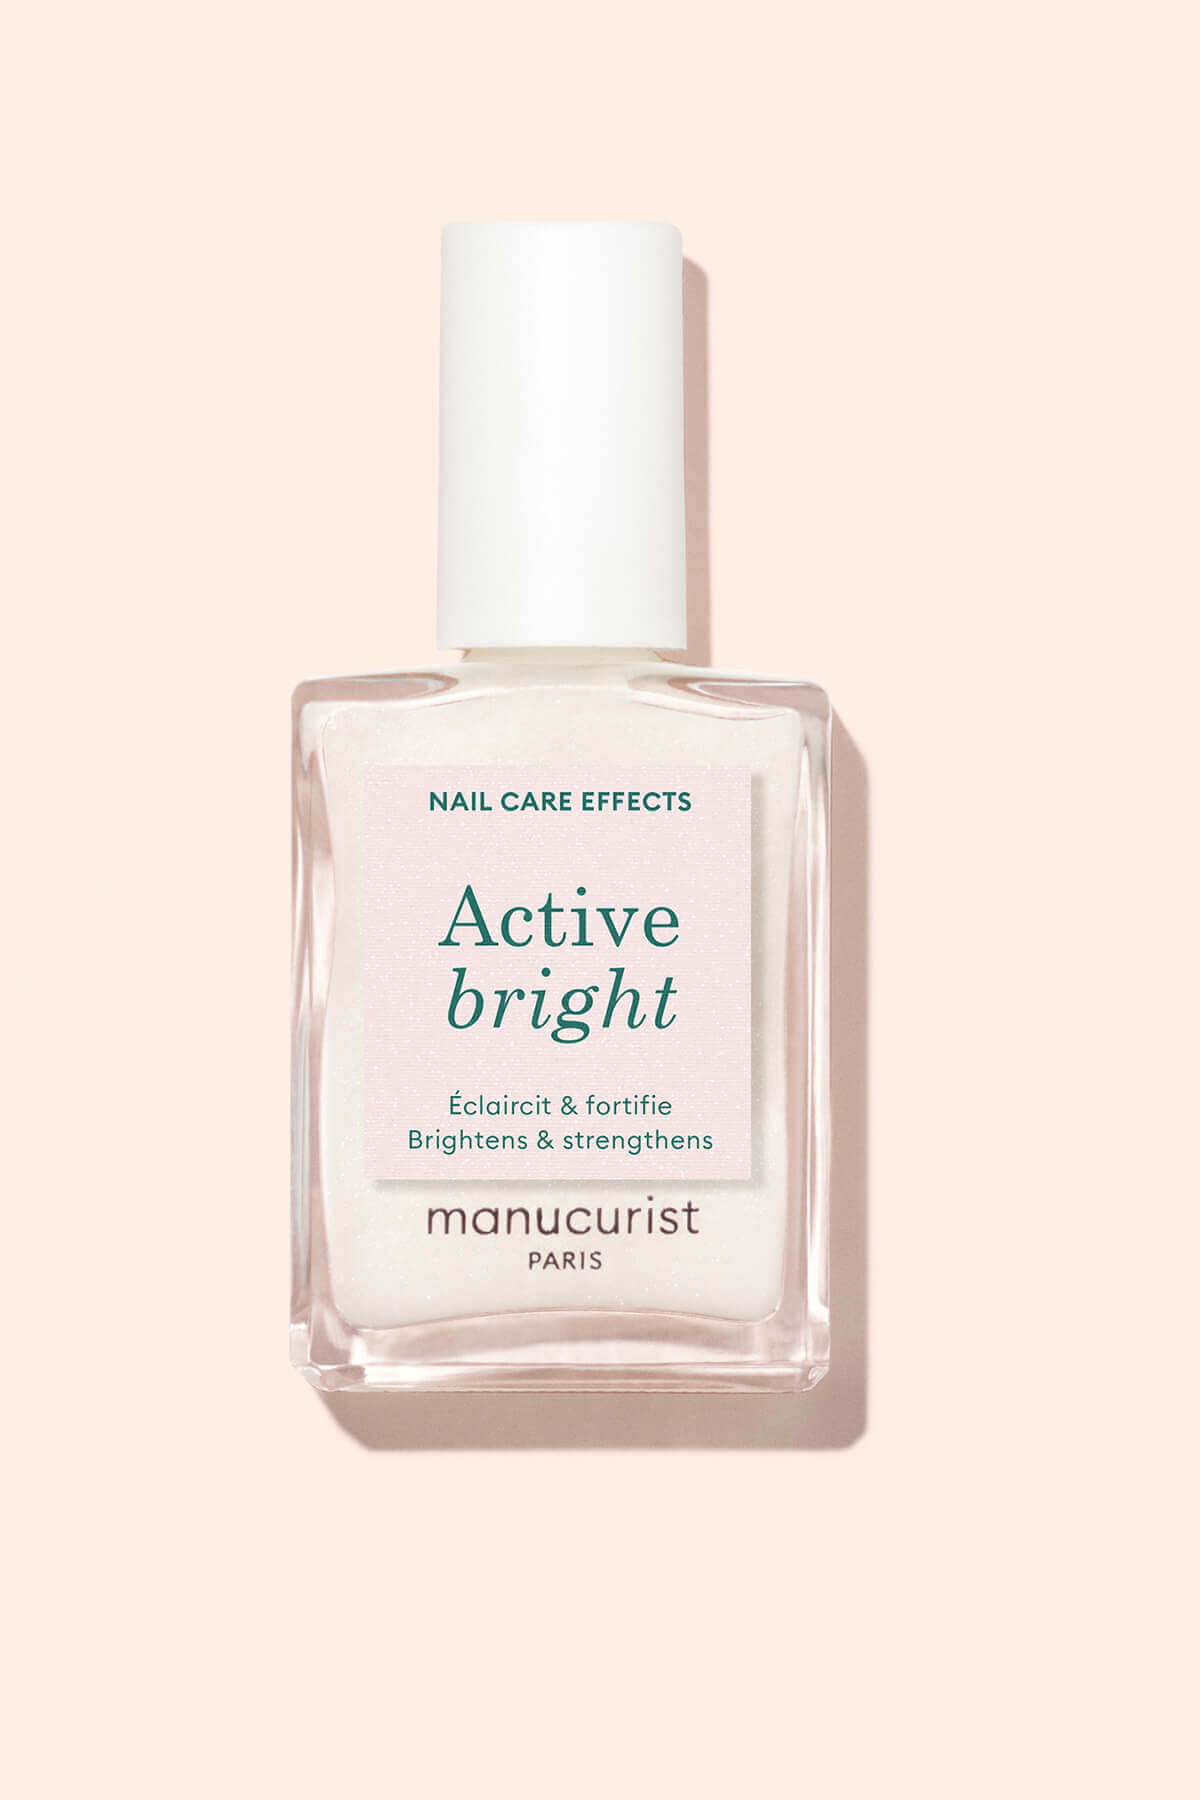


The short nails & nail art combo has never been so desirable. In 2026, you no longer need XXL length to express your creativity: nail art on short nails is all about subtlety, precision and carefully selected colours. Looking for short nail art ideas that are easy to recreate at home? Let us guide you!
Nail art to embrace throughout the seasons
The reinvented micro French
Ultra-fine and decidedly graphic, the micro French manicure modernises natural short nails. It creates a lengthening effect while structuring the hand.
Winter Double Micro French
In winter, opt for a Hortencia translucent pink nail polish base. Then use a liner brush to draw a double outline in fine lines along the edge of the nail with Dove Beige & Queen of Night nail polishes, now available in Green Flash™. Add shine with a layer of top coat for a guaranteed couture effect, ideal with a winter wardrobe!
Summer Reverse French
For this summer version, start by applying Pale Rose as a base. Turn it into a reverse French manicure by outlining the base of the nail with a fine line of one of our metallic nail polishes, such as Disco or Bronzé. This reverse French offers a highly endless summer chrome effect that flatters tanned skin.

Revisit the classics and adapt them to short nails with the double micro French and reverse French.
(@mani.minimalist, @shanivynails)
Soft pastel shades
Pastels are a must for nail art on short nails. They bring freshness and subtlety to a light, airy manicure!
Cloudy Baby Boomer
To create this gradient nail art, apply Milky Pink pink nail polish as a base. Then, on a sponge, apply 3 brush strokes of Milky Pink, Milky White and Snow. Gently dab the trio onto the nail. Clean up any overflow with a corrector pen and protect with a layer of top coat. The result: a soft cloud effect to wear in winter and summer alike, for a natural look and a very on-trend gradient effect.
Discover the art of gradient nail art, a major trend in 2026, with this stunning Baby Boomer by @m.o.n.a.j.
Pastel French Rainbow
Create this rainbow mini French on a Pale Rose nude base applied to well-prepared nails. Then, using the Mani Stamper or a liner brush, paint the edge of each nail with a different pastel colour. We suggest the shades Candy, Bubble, Abricot, Lisa Lilas, Mint. A colourful manicure classic and a subtle, fun micro nail art that makes you want to get outside.

With the Mani Stamper, the mini French manicure becomes so easy.
(@shanivynails)
Minimalist and graphic designs
On short nails, a minimalist manicure is your best ally.
Up & Down mini triangles
For this ultra-precise nail art, apply Fairy pearly white nail polish as a base. The minimalist patterns are drawn with Mocha brown nail polish, on the lunula and along the free edge of the nail for a symmetrical mirror effect. With this clean, geometric nail art inspired by 1930s Art Deco, you’re sure to stand out!
Soft polka dots
On a Milky Pink base, use a dotting tool to place mini dots of colour at the lunula, as shown here with Mist Grey blue-grey. A modern take on classic polka dots. Minimal design, maximum impact!

Minimalist and geometric designs, the best choice for elevating short nails.
(@shanivynails, @matejanova)
Delicate nature-inspired patterns
Botanical nail art remains a safe bet, especially on short nail shapes.
Daisy nails
For this floral nail art, the ideal base is of course Hortencia. Then simply enhance it with an orange mini French manicure using Tangerine, combined with delicate flowers created with a dotting tool using Nebula for the petals and Tangerine for the centre. The result: cute, delicate nail art, perfectly in tune with the arrival of sunny days.
👉Note: Tangerine and Nebula are 2 new shades to discover from 27 March 2026.
Pepper nails
On a Pale Rose base, paint small red and green chillies in one corner of each nail using a liner brush and the Lava and Artichaut shades. A bold, spicy nail art look made to spark curiosity and turn up the heat.

Let nature decorate your nails!
(@nonnailartist, @shanivynails)
The subtle mix & match
Mix & match is perfect for switching things up (without overdoing it) and creating a super trendy manicure.
Retro stripes
On a Pale Rose nude base, alternate thin and wider coloured stripes, playing with the shades Queen of Night, Shell, Hollyhock, Snow, Victoria Plum. Expert tip: limit yourself to a maximum of 3–4 shades to maintain balance. An ideal retro style to shake up a (too) demure look.
Zebra accent nails
Dress your nails in Mocha brown nail polish, except for one or two nails where you apply a Diamant silver nail polish base. On this base, use a liner brush to draw irregular black zebra stripes with Licorice. An animal-inspired look that works on short and long nails alike, revealing your wild side.

Mix & match, or the art of playing with patterns and colours.
(@shanivynails, @nonnailartis)
Subtle gradients
Gradient nail art techniques are highly effective for visually structuring nail length. Here are our favourite gradients:
Glitter gradient
On a barely dry Satin pearly pink base, apply the Holo glitter, concentrating it on the free edge of the nail and letting some scatter over the rest of the nail plate. Remove any excess with a dust brush and seal everything with a suitable top coat. The ultimate festive nail art!
Café latte gradient
Apply Orme light brown nail polish as a base. Place a line of Orme nail polish and another of Mocha on a sponge. Dab this duo onto the nail until you achieve this delicate colour gradient effect. Finish with a top coat for shine, and there you have it! A sumptuous café au lait shade on short nails, ideally comforting when autumn arrives.

Make your nails look longer with the gradient nail art technique.
(@m.o.n.a.j)
Creating nail art at home
Creating nail art on short nails requires meticulous preparation and the right tools.
Special preparation for short nails
Nail art on short nails requires an impeccable base, both to ensure a beautiful result and to guarantee optimal wear. Here are the steps not to overlook:
- File your nails to even out their length and shape, favouring a rounded or squoval shape.
- Care for your cuticles gently. Soften them with an emollient and push them back using a cuticle pusher to clear the surface.
- Gently buff the nail plate with a preparation file to open the keratin scales, then degrease the nail plate with a degreaser or gentle nail polish remover.

For flawless nail prep, choose our Nail Preparation Set.
The right accessories for nail art
Give yourself the best chance of success by keeping the following nail art accessories close at hand:
- a dotting tool for polka-dot designs,
- a liner brush for fine designs and geometric lines,
- a mani-helper for an ultra-clean French manicure,
- a sponge for gradients,
- a corrector pen to fix mistakes and erase overflow.

On short nails, precision is key. Manucurist offers a range of professional-inspired nail art accessories.
The right nail art routine, step by step
When it comes to nail art, creativity should not overshadow the essential steps of your application routine. Here’s a useful little reminder:
Step 1: before applying your nail art base colour, don’t forget the essential base coat. Choose the base coat suited to your chosen polish.
Step 2: apply one or two thin coats of your base colour. Let each coat dry thoroughly, in the open air for Green™ nail polish, under an LED lamp for Green Flash™ nail polish.
Step 3: create the nail art of your dreams. Make sure to let it dry properly to prevent the colours from bleeding and ruining your design.
Step 4: once the nail art is dry, apply a layer of top coat to set the elements and add shine. On a Top Coat Sunshine (compatible with Green™ nail polish), you can also use drying drops to speed up the process.
Post-manicure hydration
Finish with the essential Green Oil, which, when massaged in, hydrates the nail and nourishes the cuticles. A simple treatment to add to your routine for healthy nails and long-lasting manicure wear.

By following every step of the nail polish application protocol, you ensure better wear for your nail art.
In 2026, short nails no longer need to apologise: they make a statement and define a look. Graphic, pastel, reinvented French or reverse French, subtle gradient… nail art proves that you don’t need long nails to look stylish! It’s all about precision, the choice of colours and balance. Less surface, more intention: what if true modernity started there? 💅😉