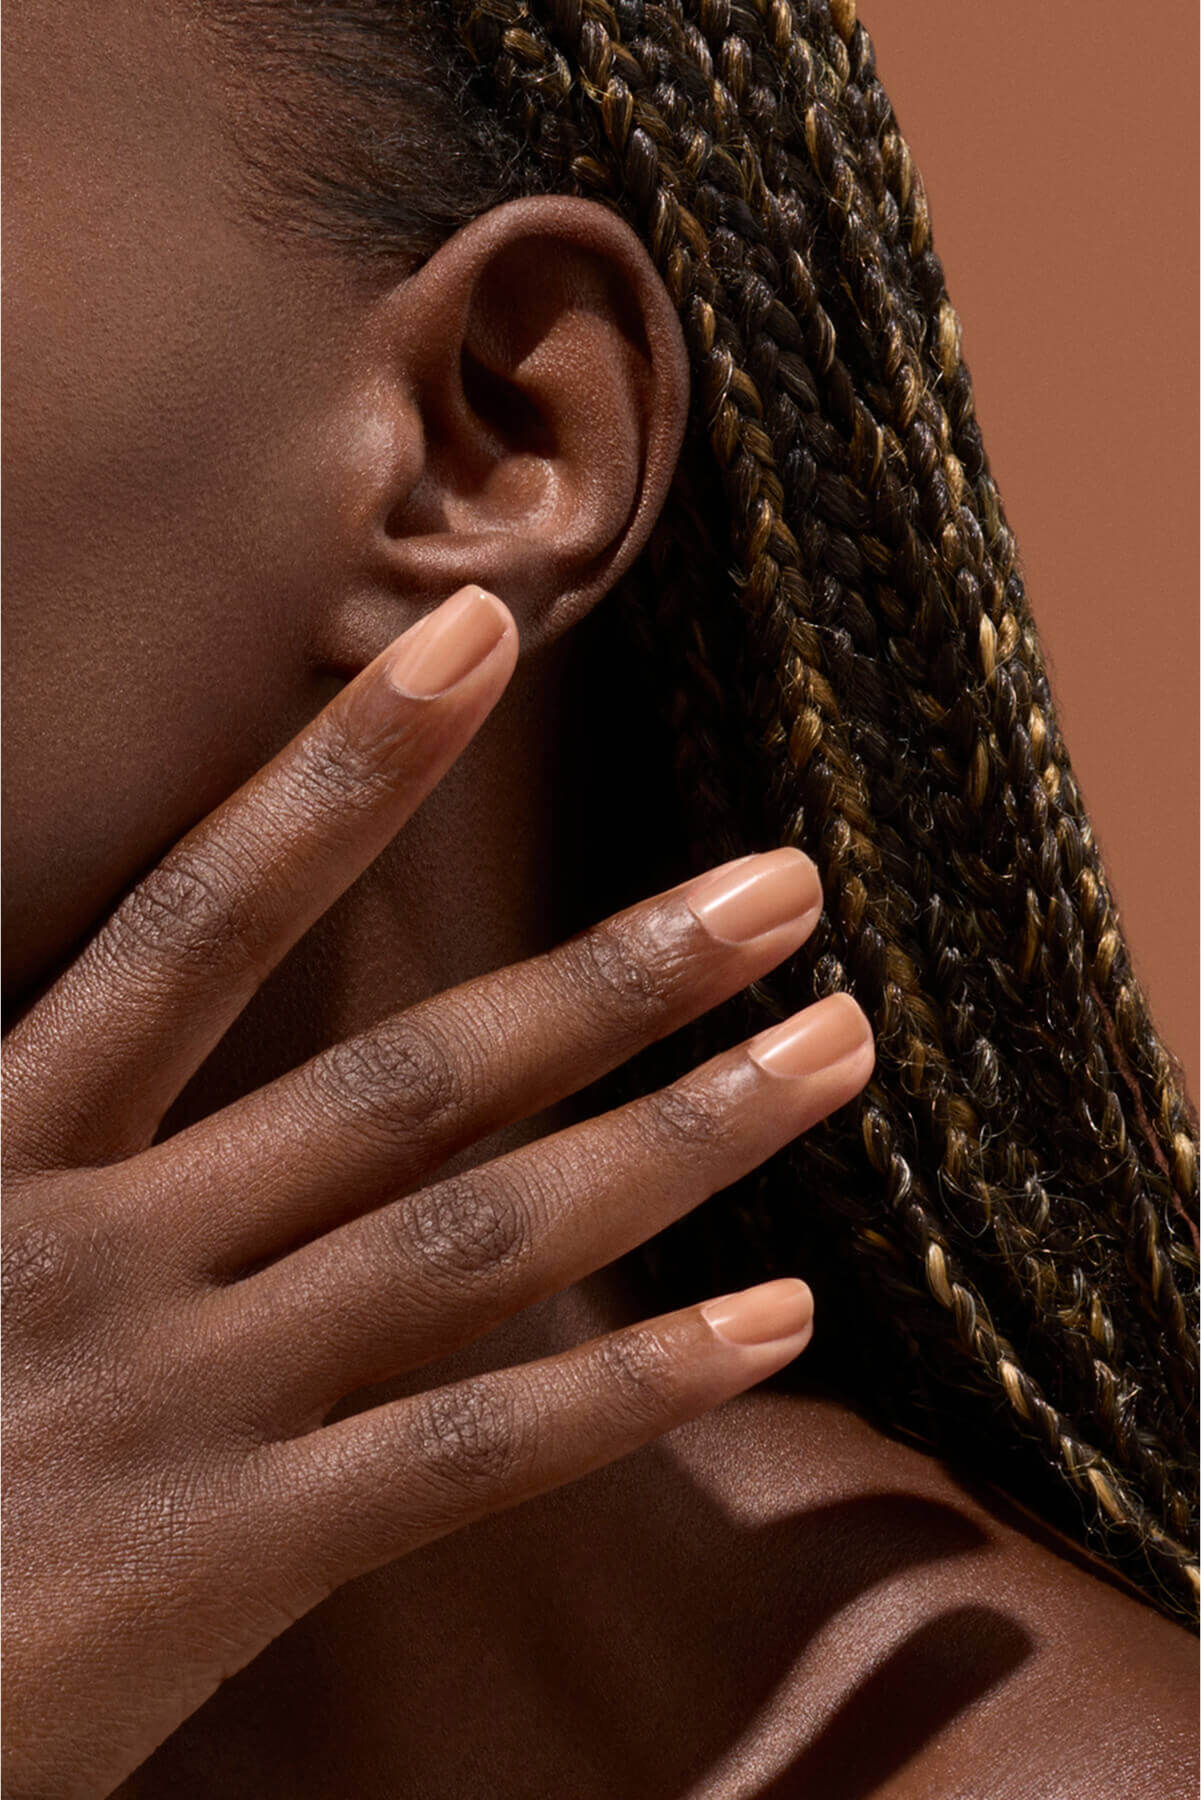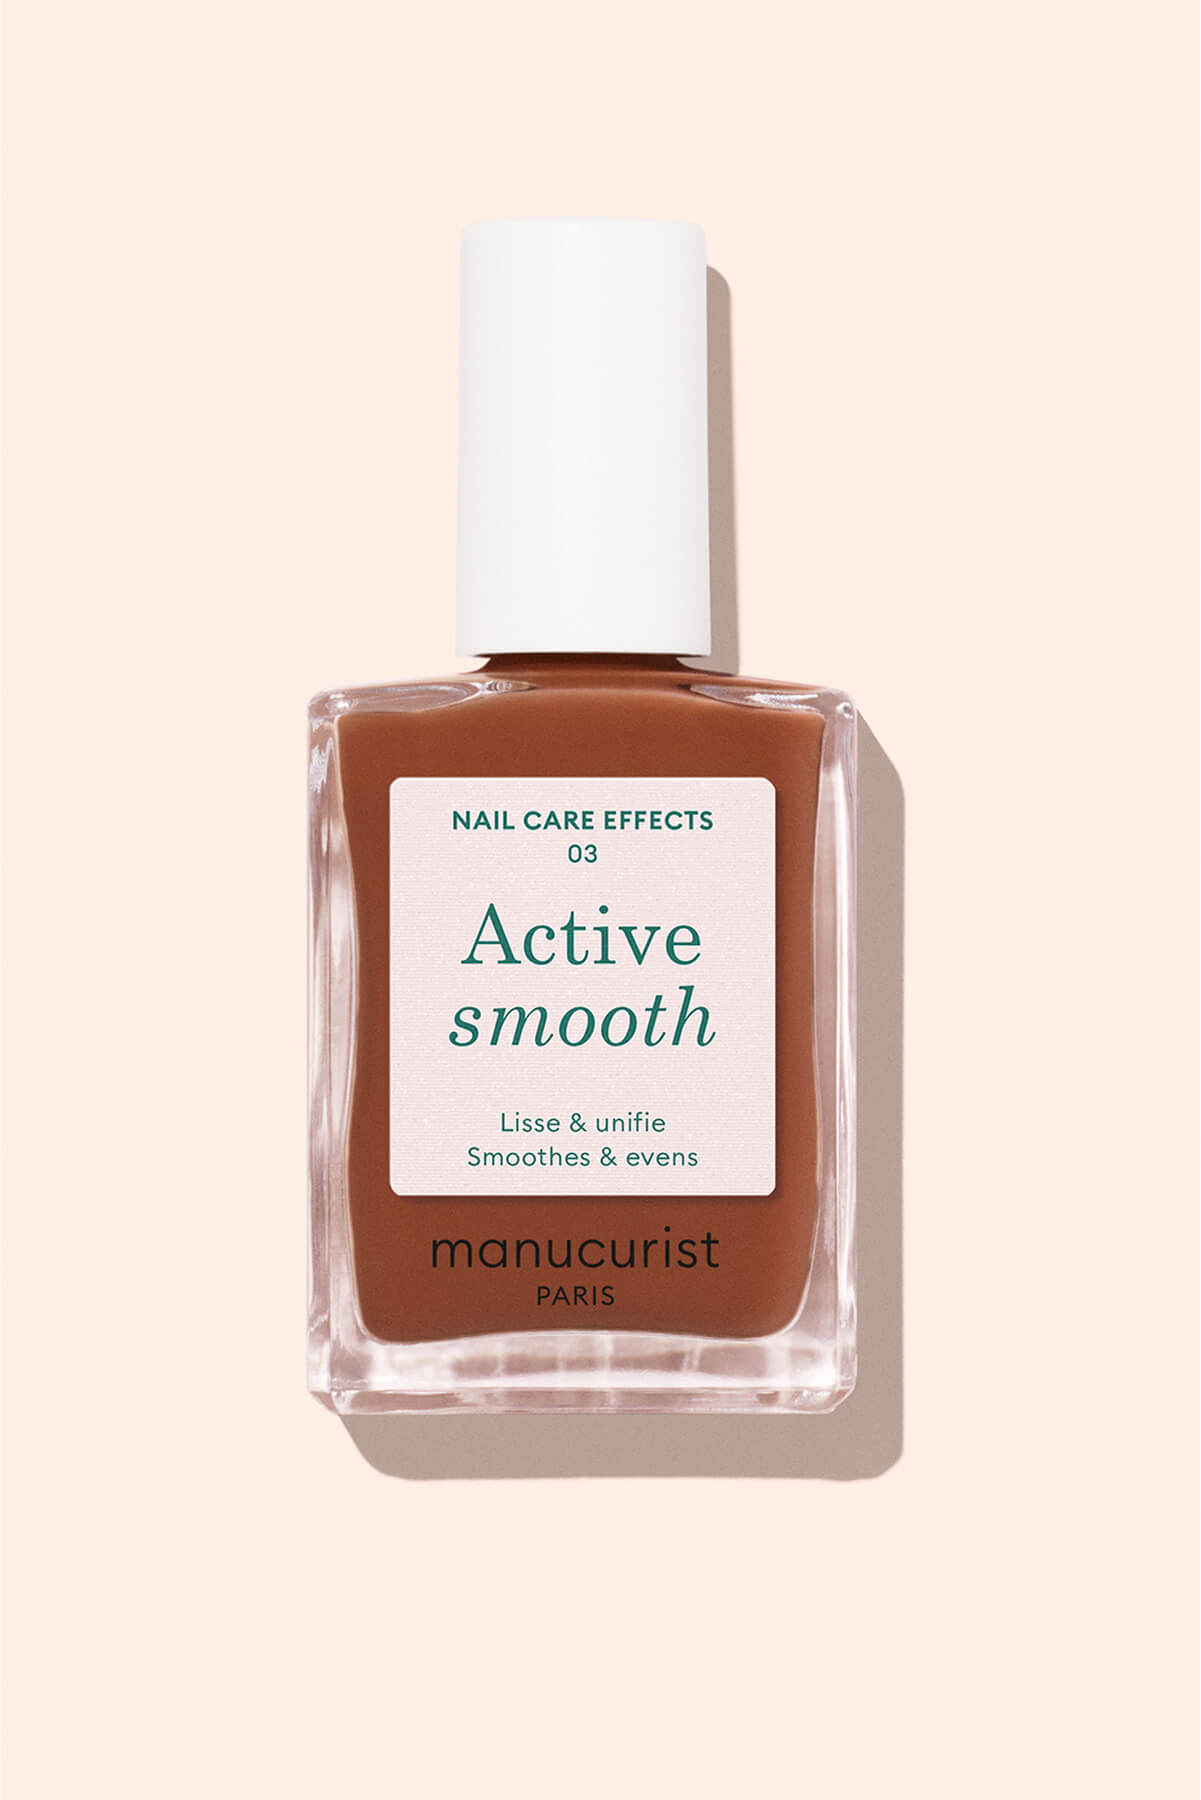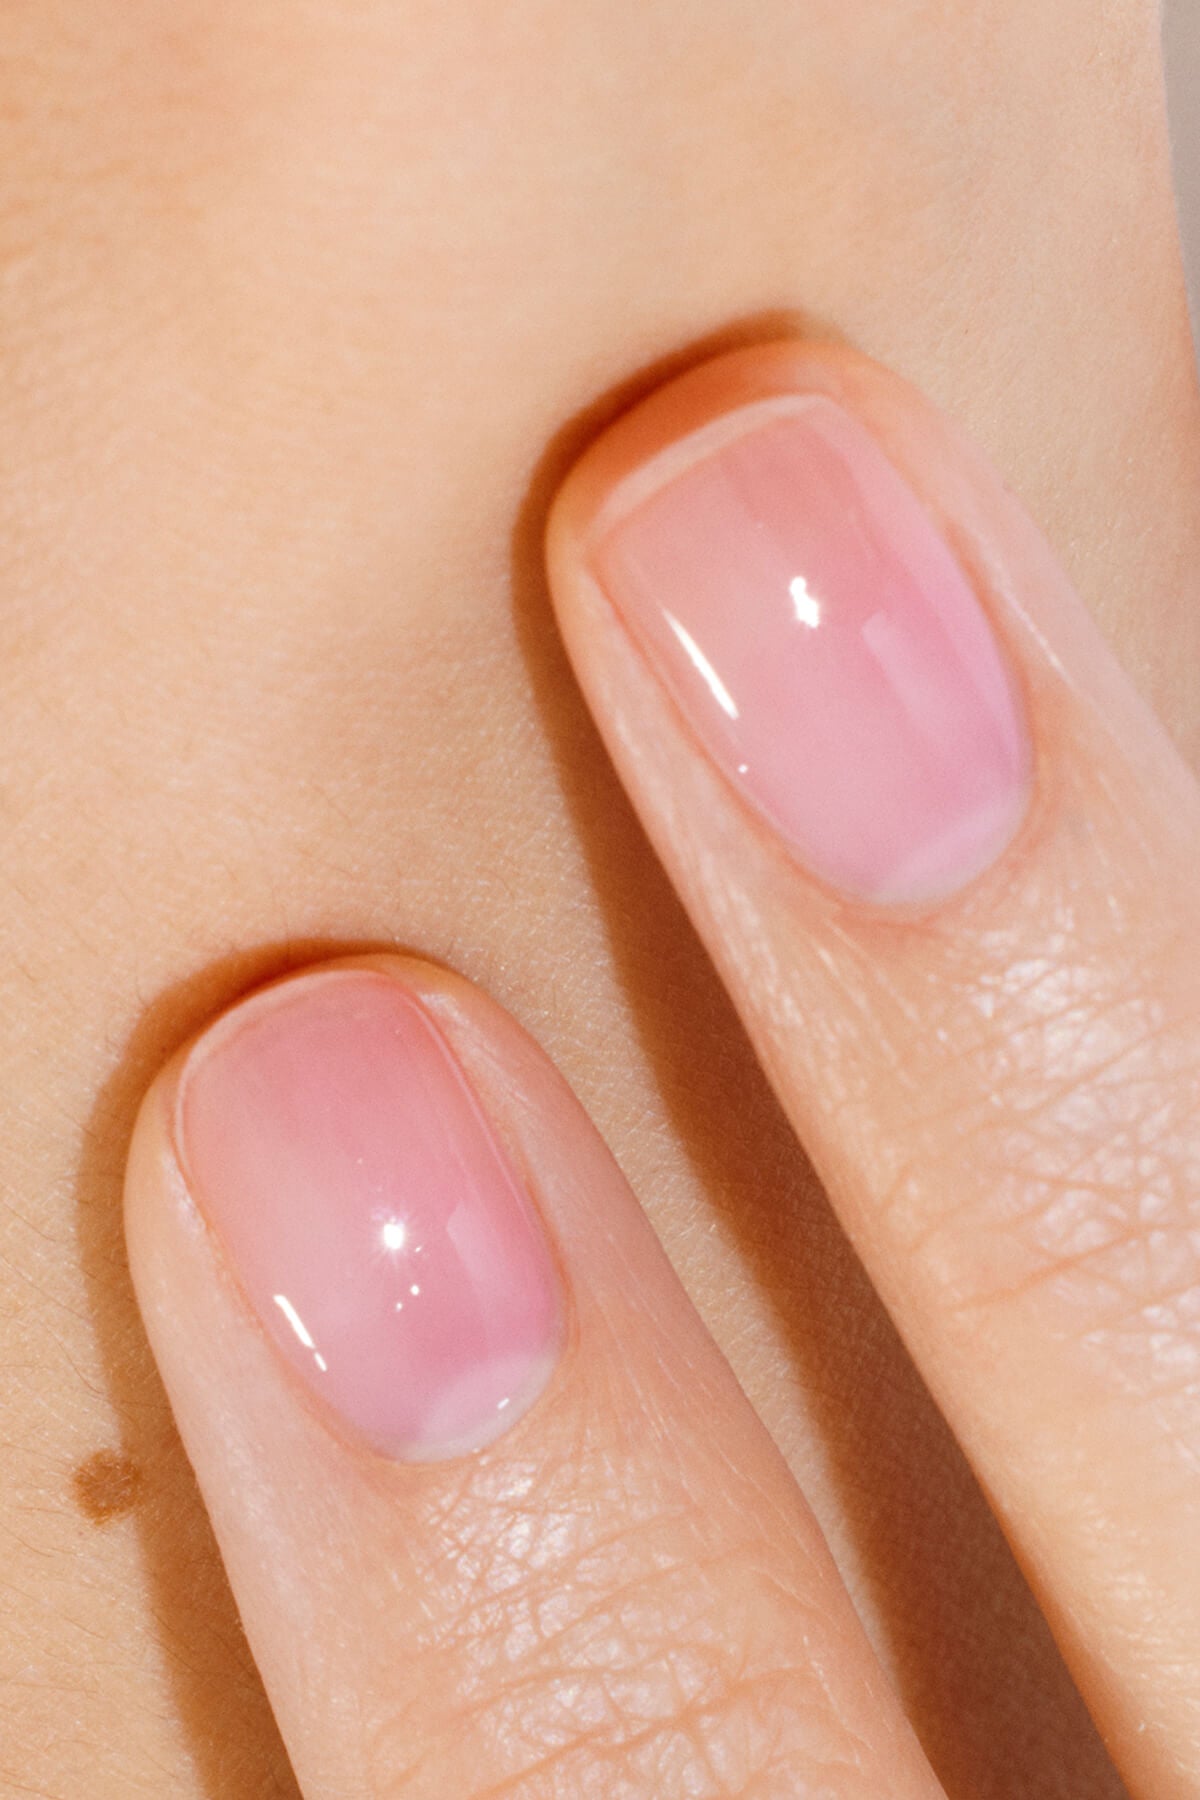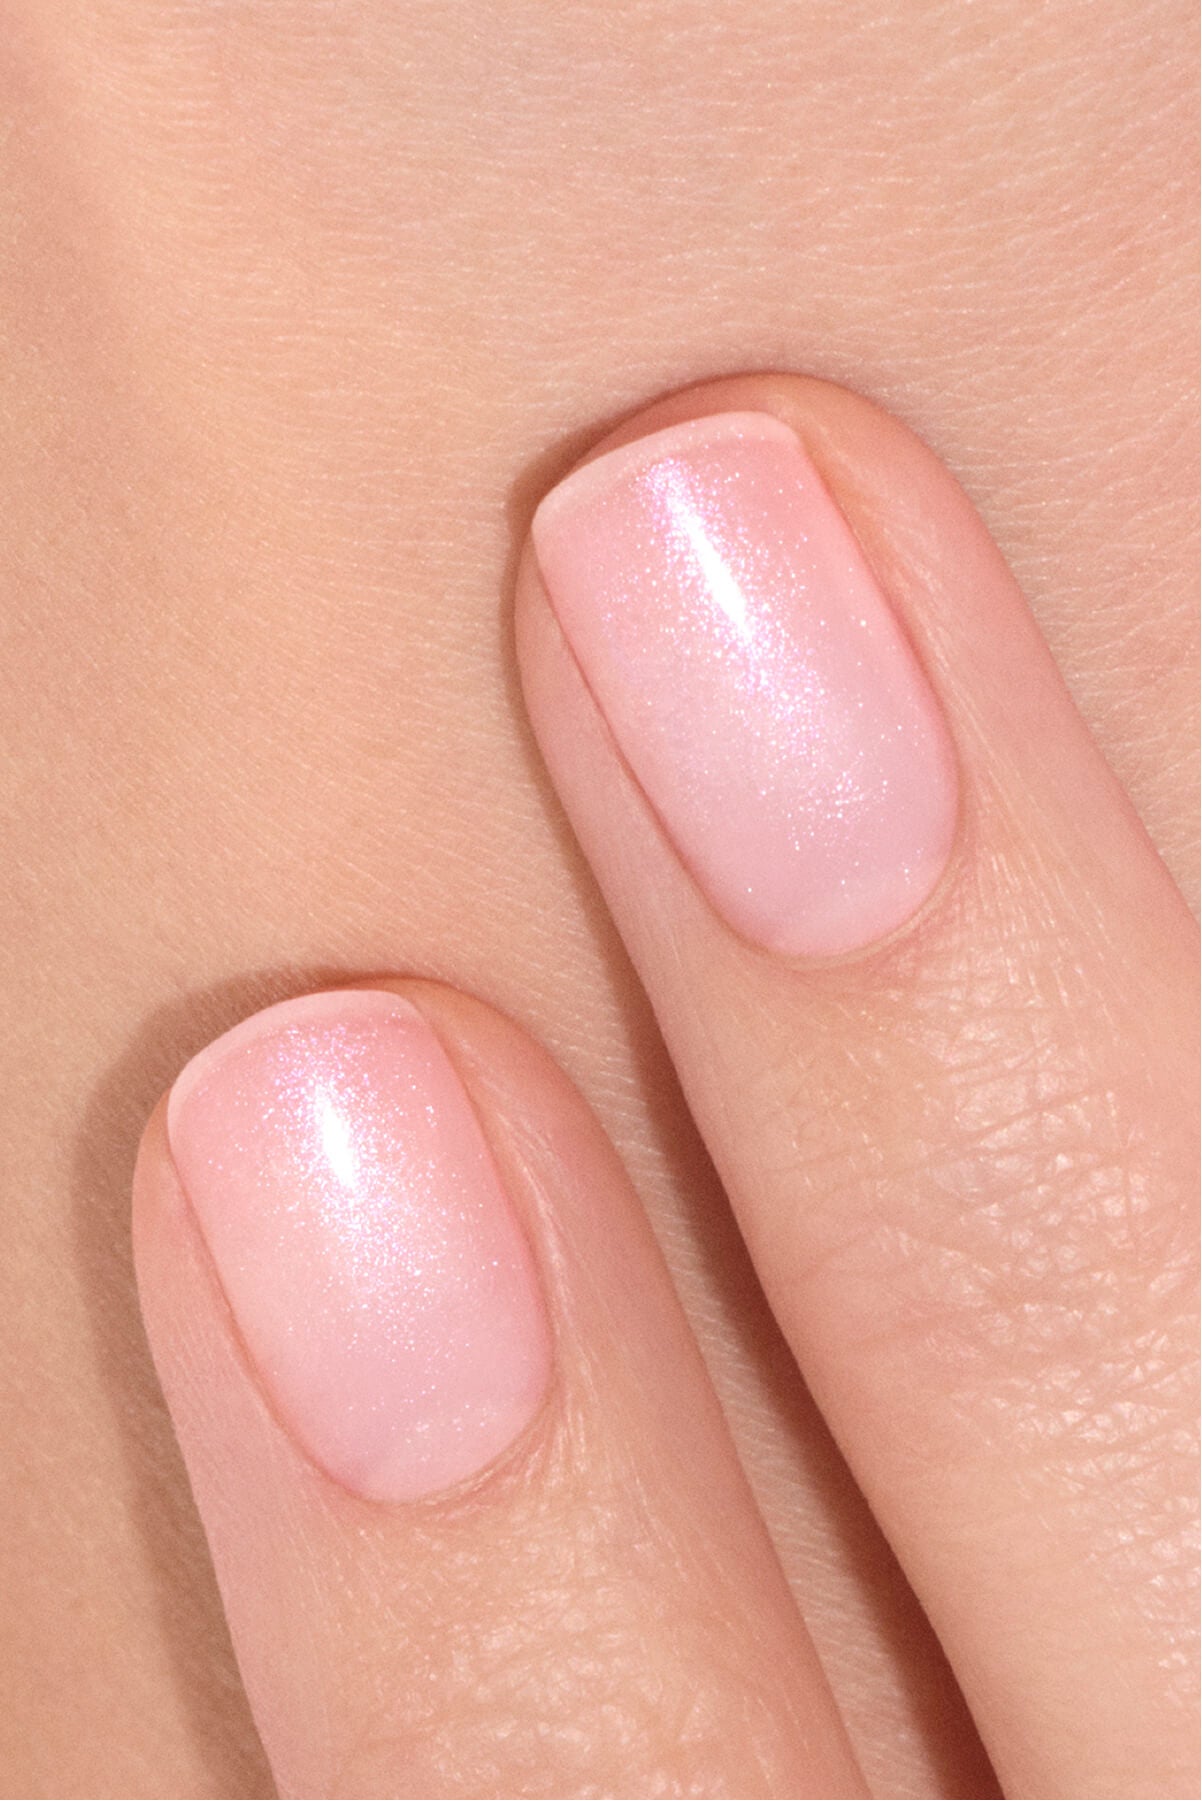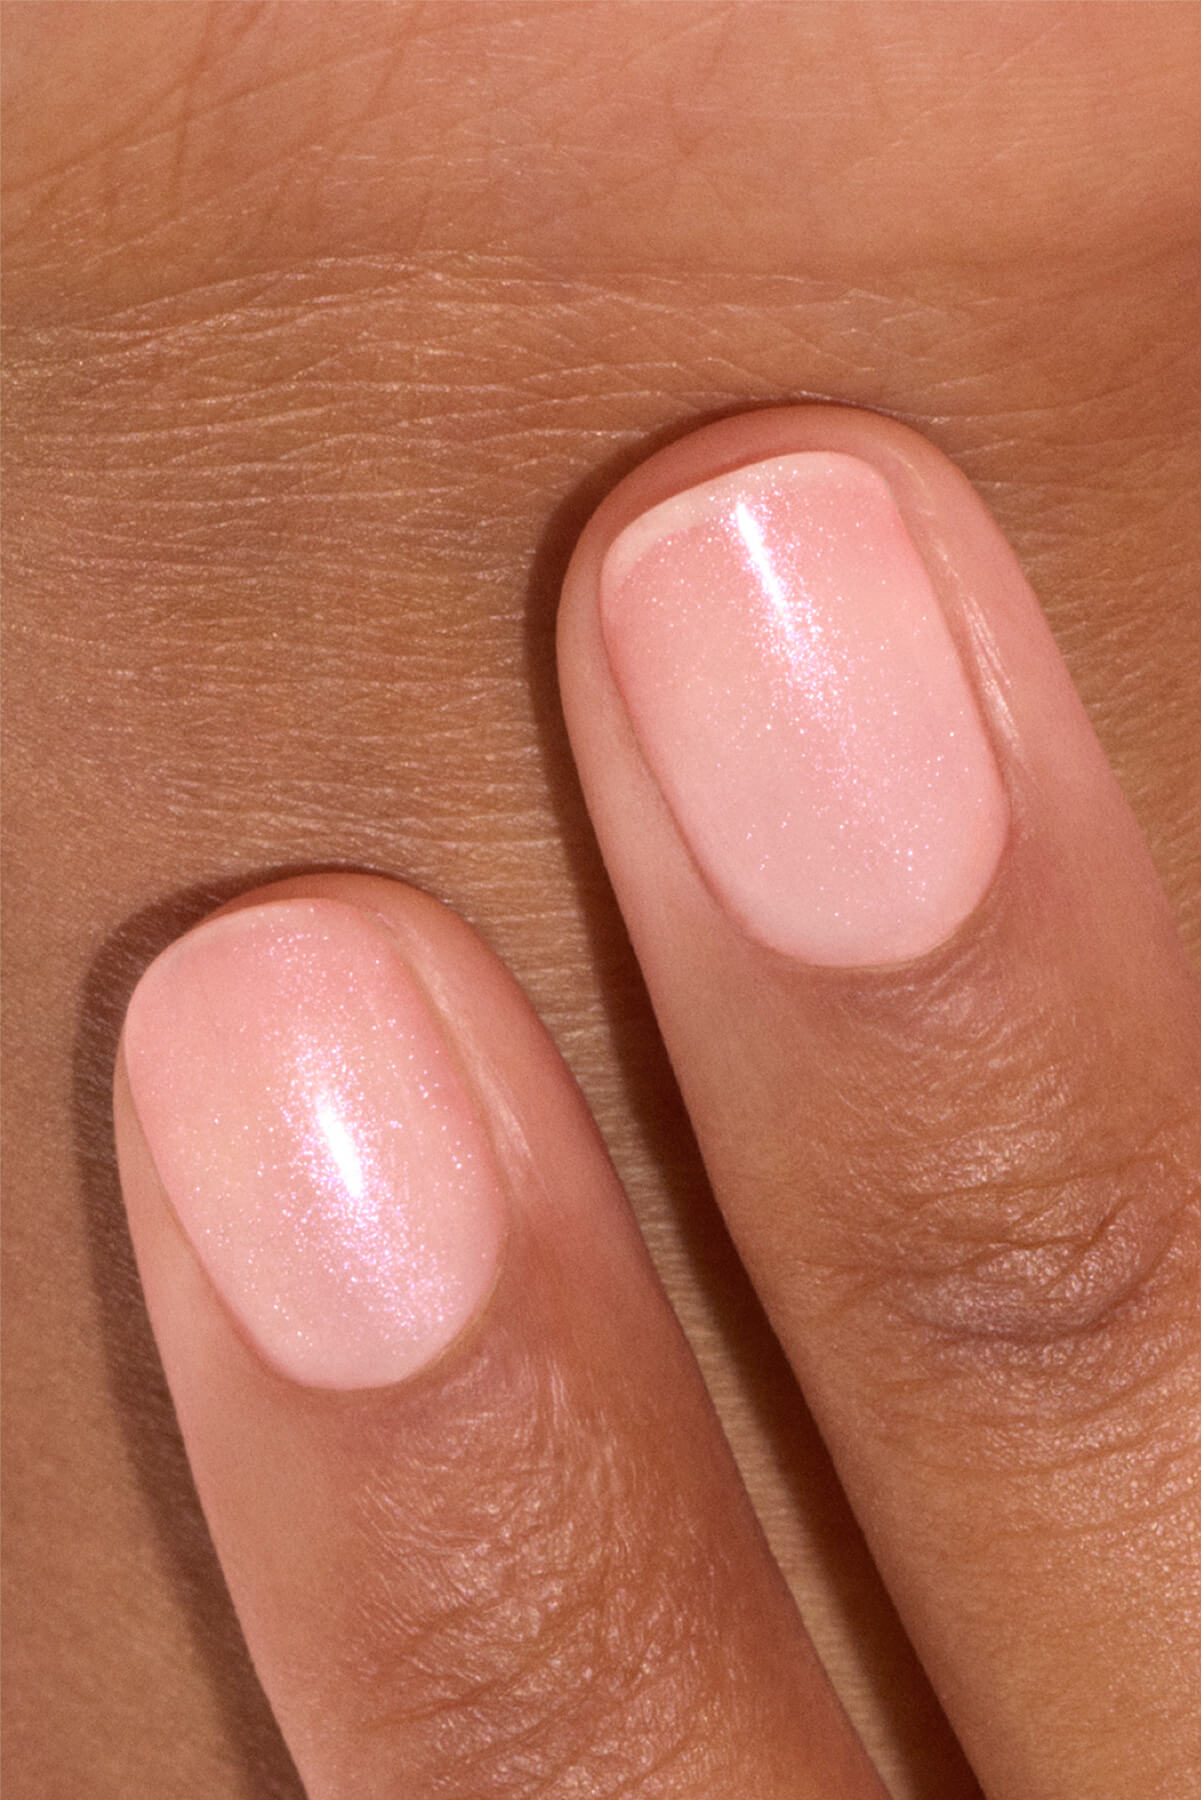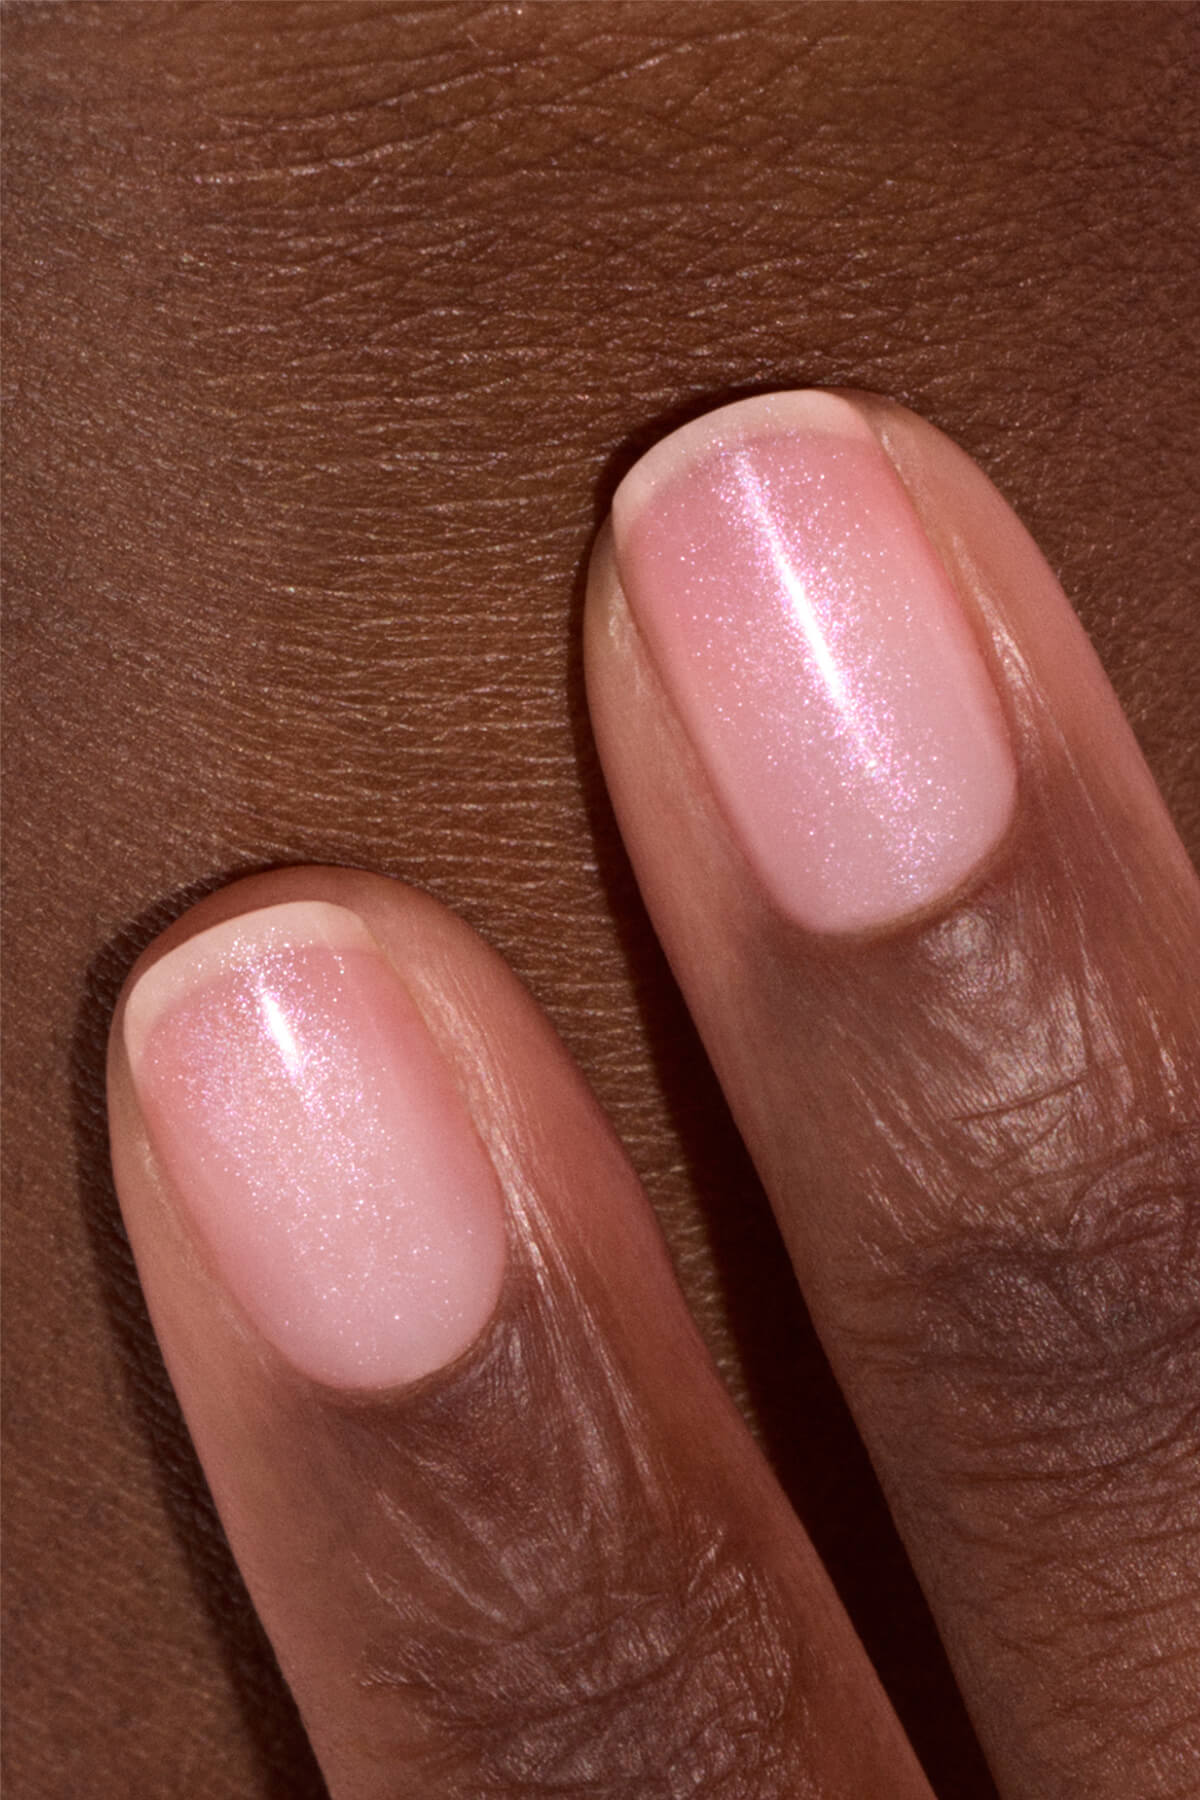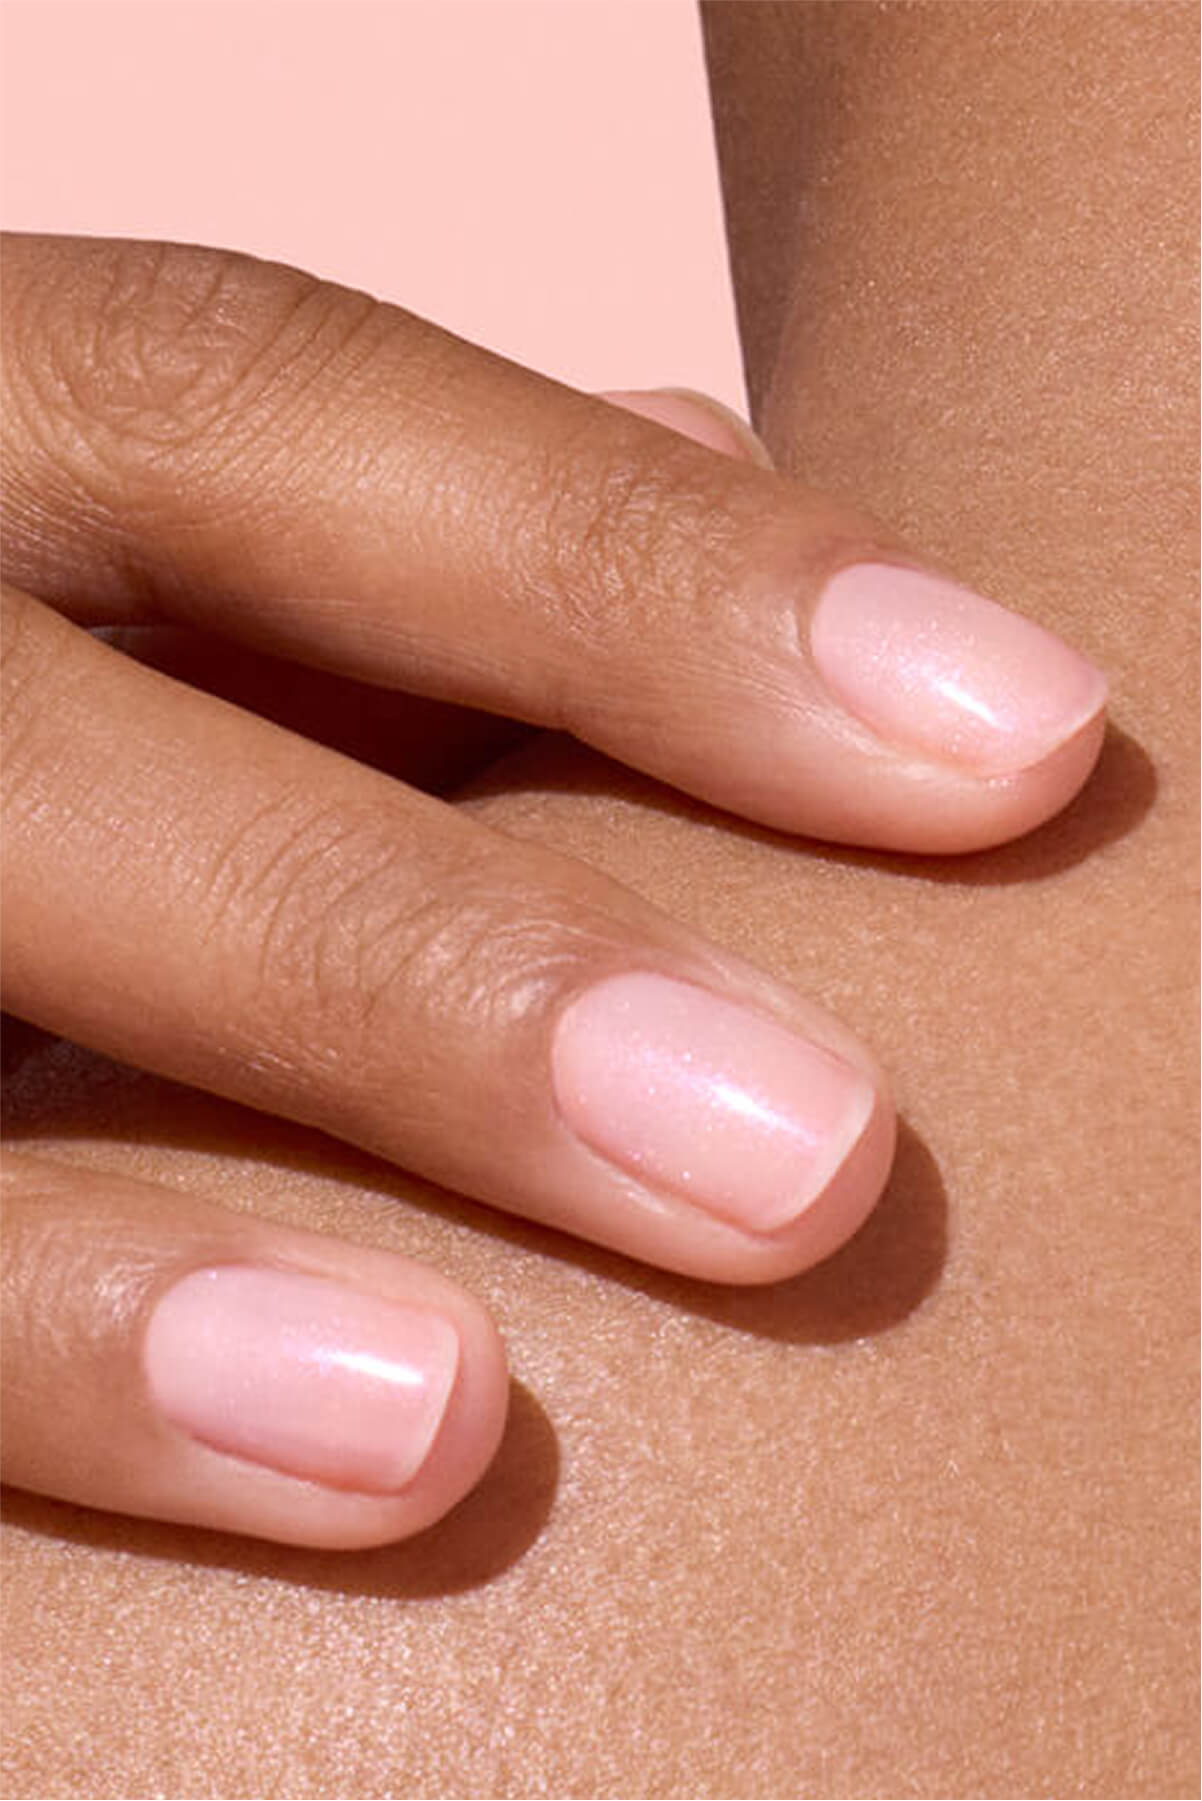


Is nail art only for nail salons? Not at all! With a few tools, simple techniques, and plenty of inspiration, you can become a nail artist for a day right from the comfort of your couch. From delicate dots to minimalist floral designs, discover our easy-to-follow, step-by-step ideas—even for beginners—to rock nails that are as cute as they are trendy.
Why choose an easy DIY nail design?
Embrace minimalism
Do you love caring for your nails, regularly applying a new nail polish and playing with colours? Are you fascinated by nail art trends on social media but haven’t dared to try them yet? Becoming an accomplished nail addict isn’t complicated at all. Simply try things out at home and start gently, with easy-to-create designs. Avoid complex nail art techniques that can quickly feel discouraging. Instead, go for easy-to-achieve looks, pretty polka dots or two-tone graphic effects you can wear with pride. To get started, minimalism is your best ally!

For your first nail art designs, opt for colorful accents rather than intricate motifs. (@shanivynails, @look8thenails)
Creating visual effects on short or long nails
Whether you have short or long nails, the fun is the same—only the effects change.
On short nails, nail art lets you cheat a little: a well-placed design or an elegant French manicure will visually elongate the nail in the blink of an eye. Discover our nail art ideas for short nails in our dedicated article.
On long nails, it enhances their natural length with an ultra-trendy touch of sophistication.
Must-have tools for beginner nail art
To nail your first designs every time, no need to buy out the entire store. All you need is a little patience, precision, and a few game-changing tools:
- A fine-tip brush for precision
- A liner brush (the king of straight lines)
- A dotting tool for perfect polka dots
- A Mani Stamper for a flawless French manicure
- A corrector pen to erase any smudges
- A base coat to apply under the base colour
- A top coat to set and add shine to nail art
💡 Pro tip: To keep your brushes and tips for as long as possible, clean them thoroughly with a little gentle remover after each use. Never let polish dry on them: that’s the secret to keeping your tools effective and long-lasting.


Prepping your nails before doing nail art
Now that your tools are ready, there’s no question of painting on a crumpled canvas. Successful nail art always starts with good preparation. We can’t say it enough: skipping this step means risking your pretty design chipping within days. For flawless wear, follow this four-step ritual:
- File and even out the shape of your nails for a harmonious base.
- Push back your cuticles after softening them with a little cuticle softener.
- Mattify and degrease the nail surface so that the coats of polish adhere perfectly.
- Apply a coat of base coat before applying your base colour. Use a base coat suited to your chosen polish, preferably from the same range and brand.


👉 Good to know: for your first attempts, choose a classic nail polish, such as Green™ polish, rather than a gel polish like Green Flash™. Easy to apply, it air-dries (without a UV/LED lamp) and can be easily corrected if you make a mistake. The perfect way to get the hang of it stress-free before moving on to more serious things!
The easiest cute nail designs to recreate
Once your base is completely dry, let your creativity flow! Looking for inspiration? Here is our winning trio of super-easy designs for a smooth start.
Polka dots
This polka-dot design is where every nail artist starts. Grab your dotting tool or, failing that, a pin. Pick up a little colour with the rounded tip (or pinhead), then gently place the dots on the nail, keeping the tool straight and perpendicular to the nail.
Before you start, map out the placement of your dots on the nail. We recommend starting with a first row of dots in the centre of the nail then adding a row on each side. On short nails, the ideal is to create 3 dots in the centre and 2 on each side, keeping even spacing for a harmonious result.
Our favourite combo? A burgundy Dark Pansy polish base enhanced with Light Blue polka dots… or the other way around, for an equally charming effect!
Mini hearts
Impossible to resist these charming little hearts. Creating them couldn't be easier: simply draw two small V-shaped lines using a fine-tip brush. In just a few strokes, your little hearts come to life!
For a perfectly staged look, opt for the delicacy of the sheer pink Hortencia polish as a base, then draw your pretty little hearts with the deep velvety red Red Velvet polish. A soft, elegant and decidedly romantic pairing for perfect Valentine's Day nails.
Minimalist flowers
What could be better than a flower power design to add a fresh touch? Using your trusty dotting tool, place five small dots in a circle to form petals. Add a dot in a different colour at the centre and, in just a few seconds, an adorable little wildflower blooms on your nails.
For shades, we love pastel colours: use the sheer pink Pale Rose polish as a base and the frosted blue Bubble polish for the petals, then brighten the centre of each flower with a touch of white Snow polish or a golden dot using Metallic.

Polka dots, mini hearts, and minimalist flowers: easy-to-recreate designs even for total beginners. (@shanivynails, @matejanova)
Easy designs for short nails
Short nails deserve their dose of fun too! They’re even perfect for graphic, minimalist looks. Here are four nail designs that suit them beautifully:
The delicate dot
Minimalist, chic and seriously on-trend, this nail art features a single dot or two small dots delicately placed at the base of the nail, at the lunula, for a subtle graphic touch.
Here, we chose to use the milky pink Milky Pink polish as a base, then create the dots with the white Snow polish and Sauge, a soft, sophisticated botanical grey polish.
The half-moon
With its delicately outlined half-moon, this manicure revisits a timeless classic in a retro-chic version that is both elegant and easy to wear. A subtle detail that catches the eye while remaining decidedly refined.
Use the milky white Milky White polish as a base, then draw a half-moon at the base of the nail, over the lunula, with the same polish. Inspired by the Soap nails trend, this look plays with understated colours and a soft, luminous finish, very quiet luxury.

Tiny dots and half-moons: custom designs made for short nails. (@matejanova)
Playful colorful nail art
Calling all color addicts: these nail art designs full of fresh, vibrant shades are made for you!
If you love graphic effects and contrasting colours, here's a foolproof nail design. Apply the pop red polish with pink undertones, Spicy as a base. Then, using a fine brush, draw a diagonal line before filling in the corner of the nail with the pastel purple Wisteria polish. A bold colour combination that adds a sparkling touch to your manicure.
Fall for the Rainbow manicure too, by wearing your favourite colour in 5 shades, one for each finger. For a Pink Rainbow look, choose Bloom polish, a neon pink with bluish undertones, follow with Neon Pink and Pop, a fluorescent pink with orange hues, then finish with Pétula and Candy, two vibrant pinks that add the finishing touch to this fun, girly gradient.
Graphic lines
Dare to go abstract by recreating a horizon line that will visually elongate your short nails. A simple fine line, drawn horizontally or diagonally with a liner brush, to structure the manicure.
We love this combo pairing a Milky White white polish base with a horizontal line drawn using Saphir polish, a majestic deep blue, for a minimalist result with incredible elegance.

Dress up short nails with well-chosen color combos and graphic effects. (@shanivynails, @ellzabethm)
Mastering the French manicure
Ah, the French manicure… Timeless and chic by definition, it’s one of the easiest nail art looks to wear every day. For a flawless finish, start by choosing your base: a nude or white polish for a classic French manicure, a bold colour for a colourful French manicure. Then adapt the smile line of your French manicure, the line that decorates the free edge of the nail, to suit the trend of the moment.
The mini French
Cute but never boring, the mini French manicure charms with its ultra-fine, delicate line, perfect for enhancing short nails with a neat, decidedly clean girl finish.
Here, start with a semi-sheer pink Milky Pink base, then create the French manicure with the light blue Bubble polish. To get it right every time, use the Mani Stamper, a magical tool that creates the French smile line in seconds, without any shaking. Apply a line of polish to the silicone stamper, then gently press it onto the edge of the nail. The stamper adapts to the curve of the nail and applies just the right amount of polish to create the French tip. Use a correcting pen to remove any excess polish beneath and along the sides of the nail.
The double French
Why not double the fun with a double French ? Here, layer two fine lines in different colours along the edge of the nail for an original graphic effect that gives the French manicure a bold twist.
On a Hortencia base, create a double pink French manicure using the Mani Stamper with the Candy and Bloom shades, two bright, zesty pinks that liven up a manicure that’s a little too demure.

With the Mani Stamper, French manicures are easy for everyone—in both single and double versions. (@m.o.n.a.j, @irasnailroom)
Easy nail art ideas inspired by manicure trends
We see them all over social media, we dream of trying them… How about giving them a go right now?
Glazed nails
Hailey Bieber’s signature manicure keeps catching our eye. To create your own version of glazed nails, apply a Glazed effect powder (4 shades to choose from at Manucurist) over a neutral polish base (a milky white, sheer pink or nude) for that luminous glazed finish. Brush away any excess powder with a dusting brush and set the Glazed effect with a layer of top coat suited to the polish used.


Glitter effects
Want to add some sparkle to your nails and your life? Nothing could be easier! If your favourite colour doesn't come in a glitter version, simply jazz it up with a coat of silver or gold glitter top coat—the choice is yours.

Whether using a glitter top coat or applying loose glitter, make your nails sparkle. (@m.o.n.a.j, @bara.hoyle)
More elaborate but just as accessible: the glitter gradient effect. Start by applying a base colour (here, Hortencia). Then, using a glitter brush, apply a few Silver biodegradable glitters to the tip of the nail (or any other shade from the 12 shades of Manucurist biodegradable glitters). Adjust your gradient effect and set your nail art with a coat of top coat suited to the polish used.


Mistakes to avoid
Full of inspiration and ready to dive in? Before starting, remember that even the most minimalist designs require a little technique. For a salon-worthy result, steer clear of these common pitfalls:
❌Skipping preparation: a clean, neat and thoroughly degreased surface is the key to successful nail art that will last. It would be a shame to miss out!
❌Overloading the nail with designs: as is often the case, quantity doesn't equal quality. In nail art, a few well-chosen, well-executed details are enough to create a harmonious manicure. The more designs you create, the more coats of polish you add. Nail art that is too thick will struggle to dry and last over time.
❌Using too many different colours: playing with shades can be tempting, but beware of overdoing it! For an aesthetic result, ideally stick to a maximum of three colours. This helps maintain a good balance between colours and avoids drying issues.
❌Neglecting drying time: patience is essential! Without allowing each coat of polish enough time to dry, colours may bleed and blend into one another and ruin all the finesse of your design.
❌Forgetting the top coat: it is quite simply THE finishing touch that sets the designs and effects, protects and enhances nail art while adding shine and durability. Absolutely essential!
Tips to make your nail art last longer
Once your masterpiece is complete, the goal is naturally to keep it intact for as long as possible. Here are the best habits to adopt:
👉Patience is key: as we've seen, it's essential to let each coat dry properly or each touch of polish, in the open air for regular polish or under a UV/LED lamp for gel polish, before moving on to the next one.
👉The top coat reflex : always seal your design with a thin layer of top coat suited to the polish used, preferably from the same range and brand.
👉Daily hydration : just like your skin, nails need to be hydrated and nourished by regularly applying a nail and cuticle oil.
👉Protection : wear gloves when doing household chores or washing up to prevent water or detergents from damaging your nail art.


You now have all the essentials to dive into nail art. Trust your creativity and treat yourself to custom, 100% homemade manicures. From Halloween to Christmas, spring to summer, there is always a nail art design within your reach.