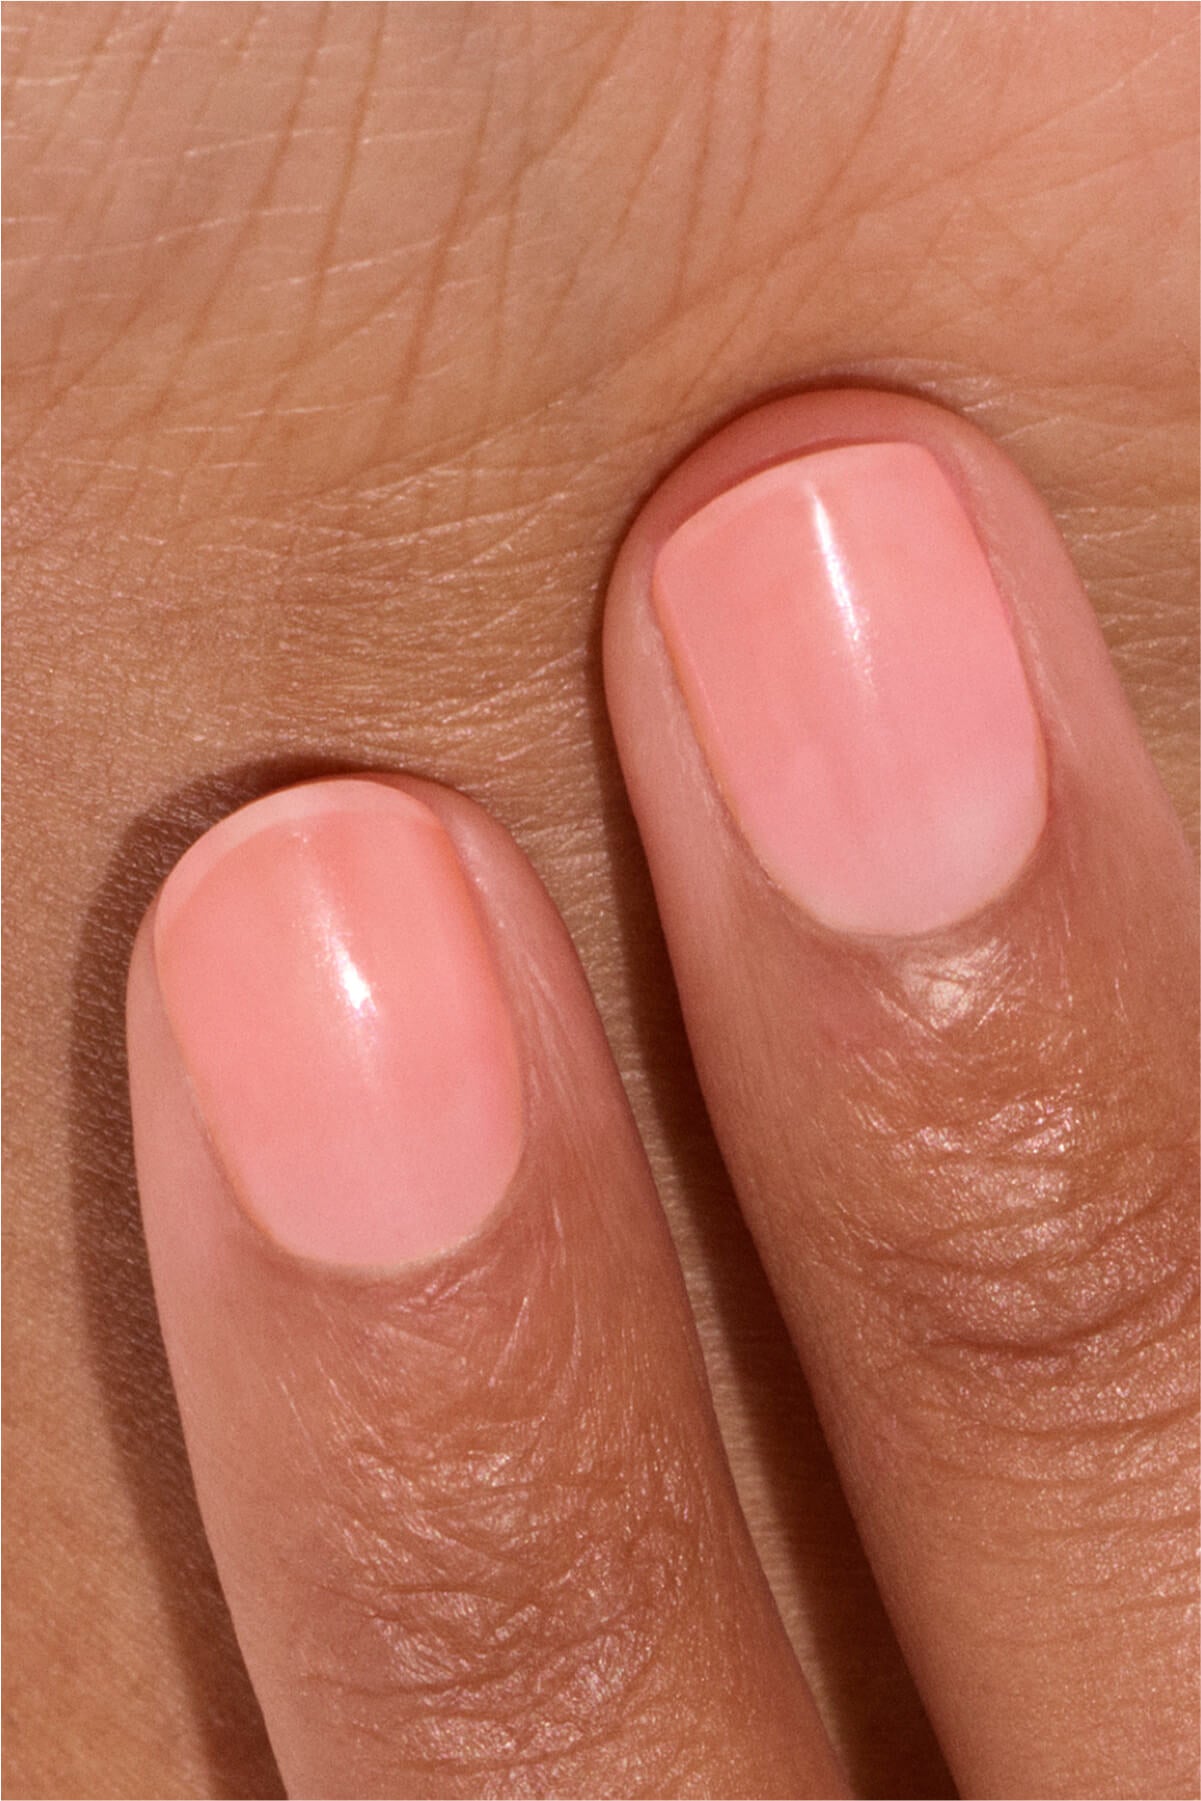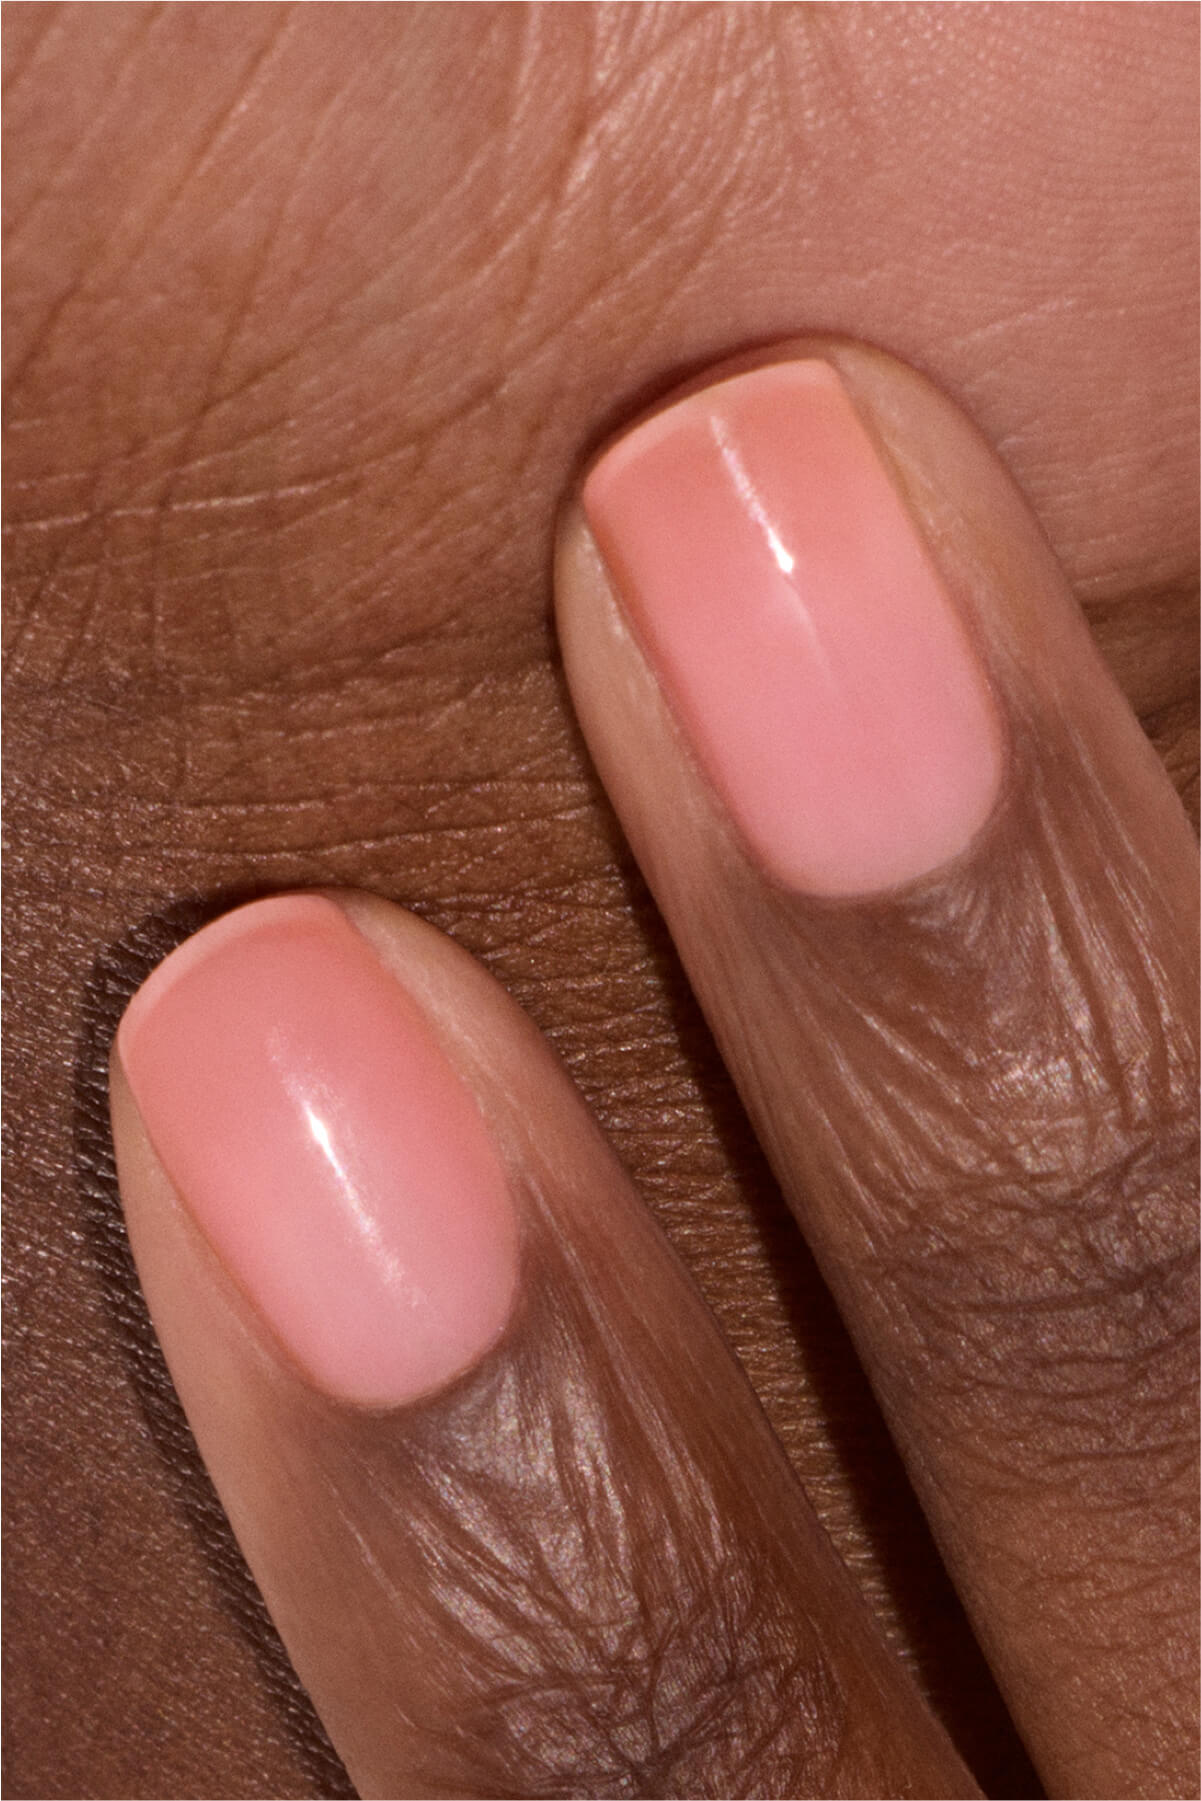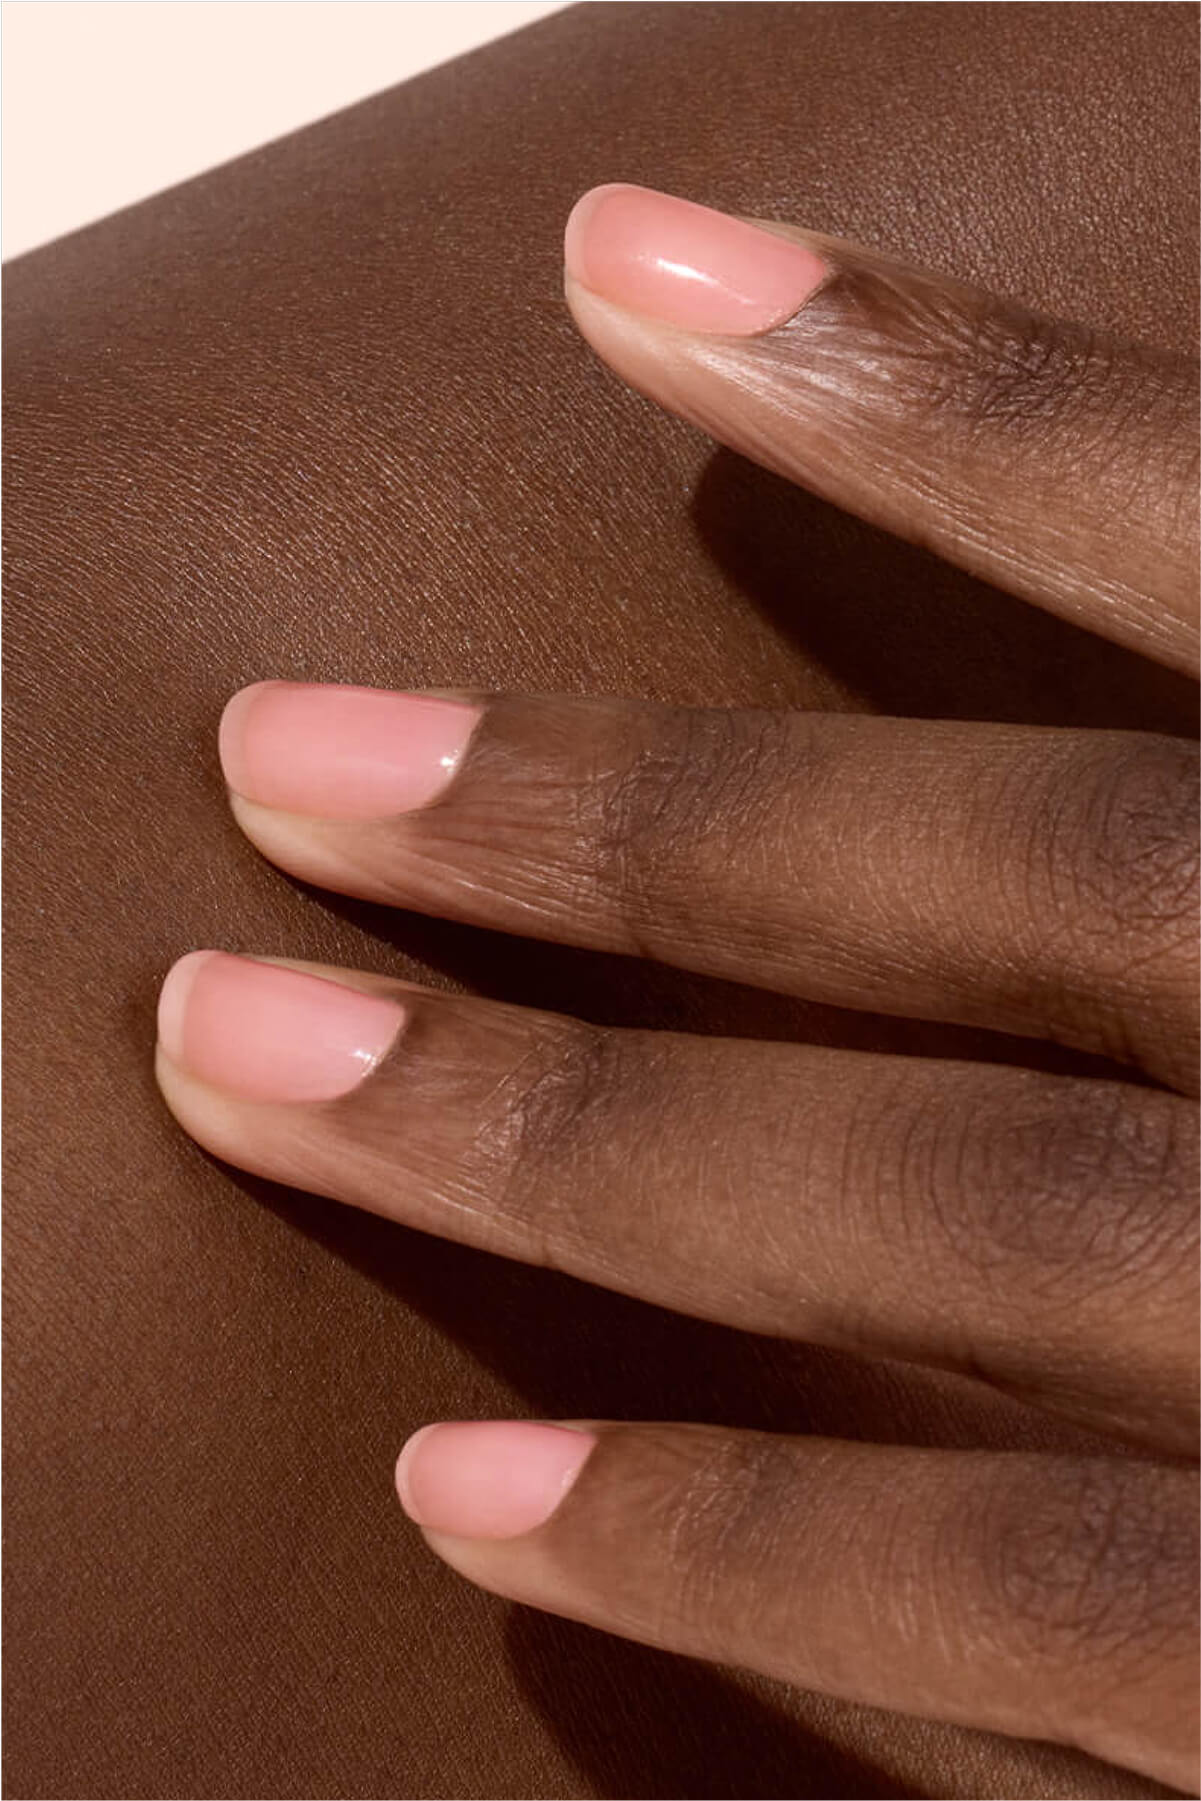


You noticed them during summer 2025, you’ll adopt them in 2026! Among the current nail trends, gradient nails or gradient nail art hold a prime spot. We love this perfect blend between polish colors that transforms nails into dreamlike landscapes, like a sunset or an exotic cocktail. One question remains: how to achieve gradient nails when you’re not a nail artist? Grab your polishes, we’re sharing inspirations and technical tips to help you succeed.
What is gradient nail art?
The principle of gradient nails is to create a subtle blend between several complementary or contrasting polish shades. The colors must merge without any visible line. The result is fascinating: the gradient manicure radiates incredible energy, produced by this delicate and harmonious transition from one color to another.
With this color gradient technique, the creative possibilities are endless both in color combinations and style variations:
- In the vertical version: the gradient visually lengthens the hands.
- In the horizontal version: it offers a graphic and modern look.
- In the ombré version: with a dark shade on the free edge and a lighter one at the base, it adds depth and relief.
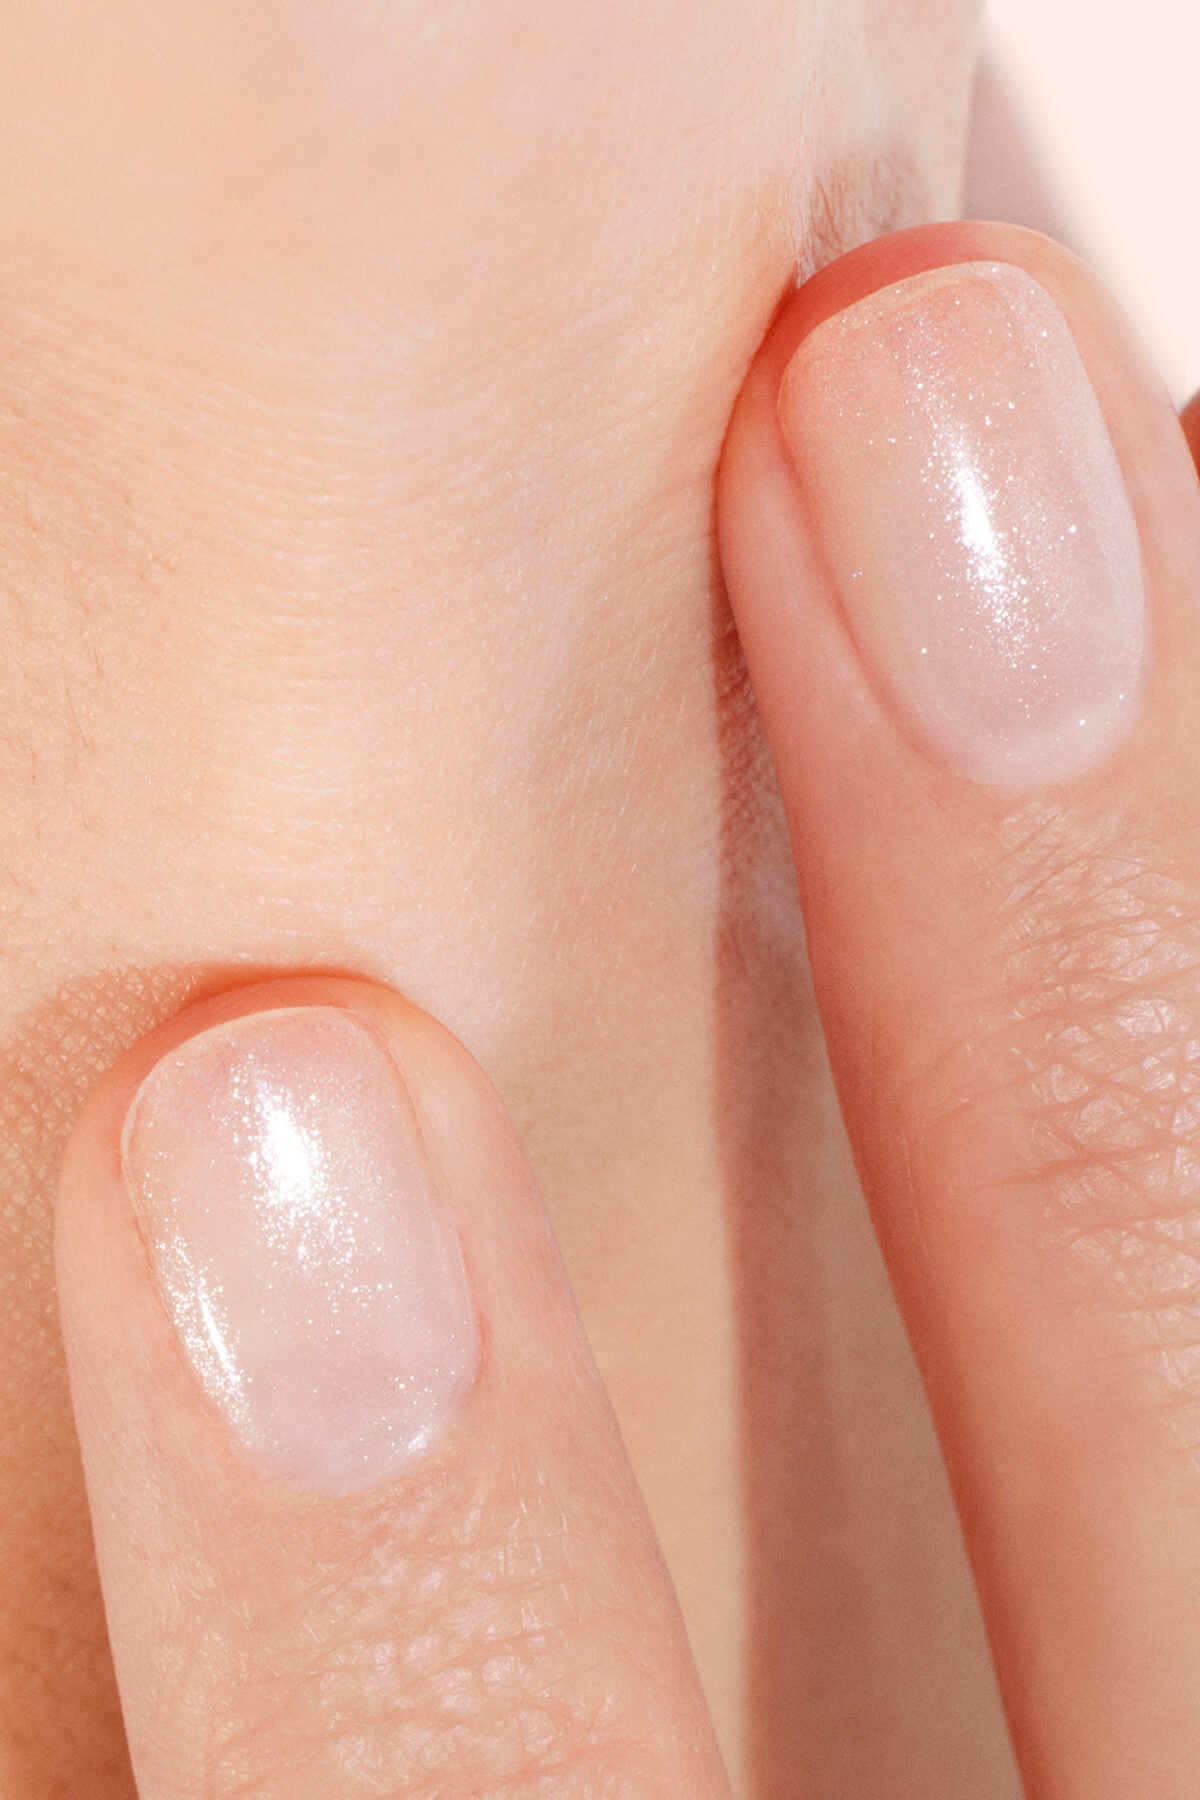
- In the Baby Boomer nails version: a revisited French where the smile of the French manicure blends with the base color for a chic and delicate transition between nude and white. The must-have for a wedding manicure.
- In the Aura nails version: it creates a luminous halo in the center of the nail that gives an illusion of depth.
Whether you’re team short nails or XXL claws, gradient nail art adapts to all desires and manicure styles, even the most minimalist. The choice for an ultra-personalized manicure that will leave no one indifferent.

Vertical gradient, ombré, or aura, which are your favorite gradient nails?(@look8thenails, @m.o.n.a.j)
Which colors should you choose to create a successful gradient on your nails?
This color choice is crucial because not all shades necessarily match each other. Whether a soft variation of tones within the same color or a bold contrasted gradient, we have selected some inspiring nail art variations for you:
Gradients of shades within the same color
Brown gradient: to create this comforting nail art café latte, combine a base of Orme polish, a soft creamy light brown, with Mocha polish, a sophisticated cool dark brown.
Vertical green: a vegetal duo that pairs Khaki polish with its grayish undertones with Sauge polish. A crush of gray and green shades for a stylish manicure.
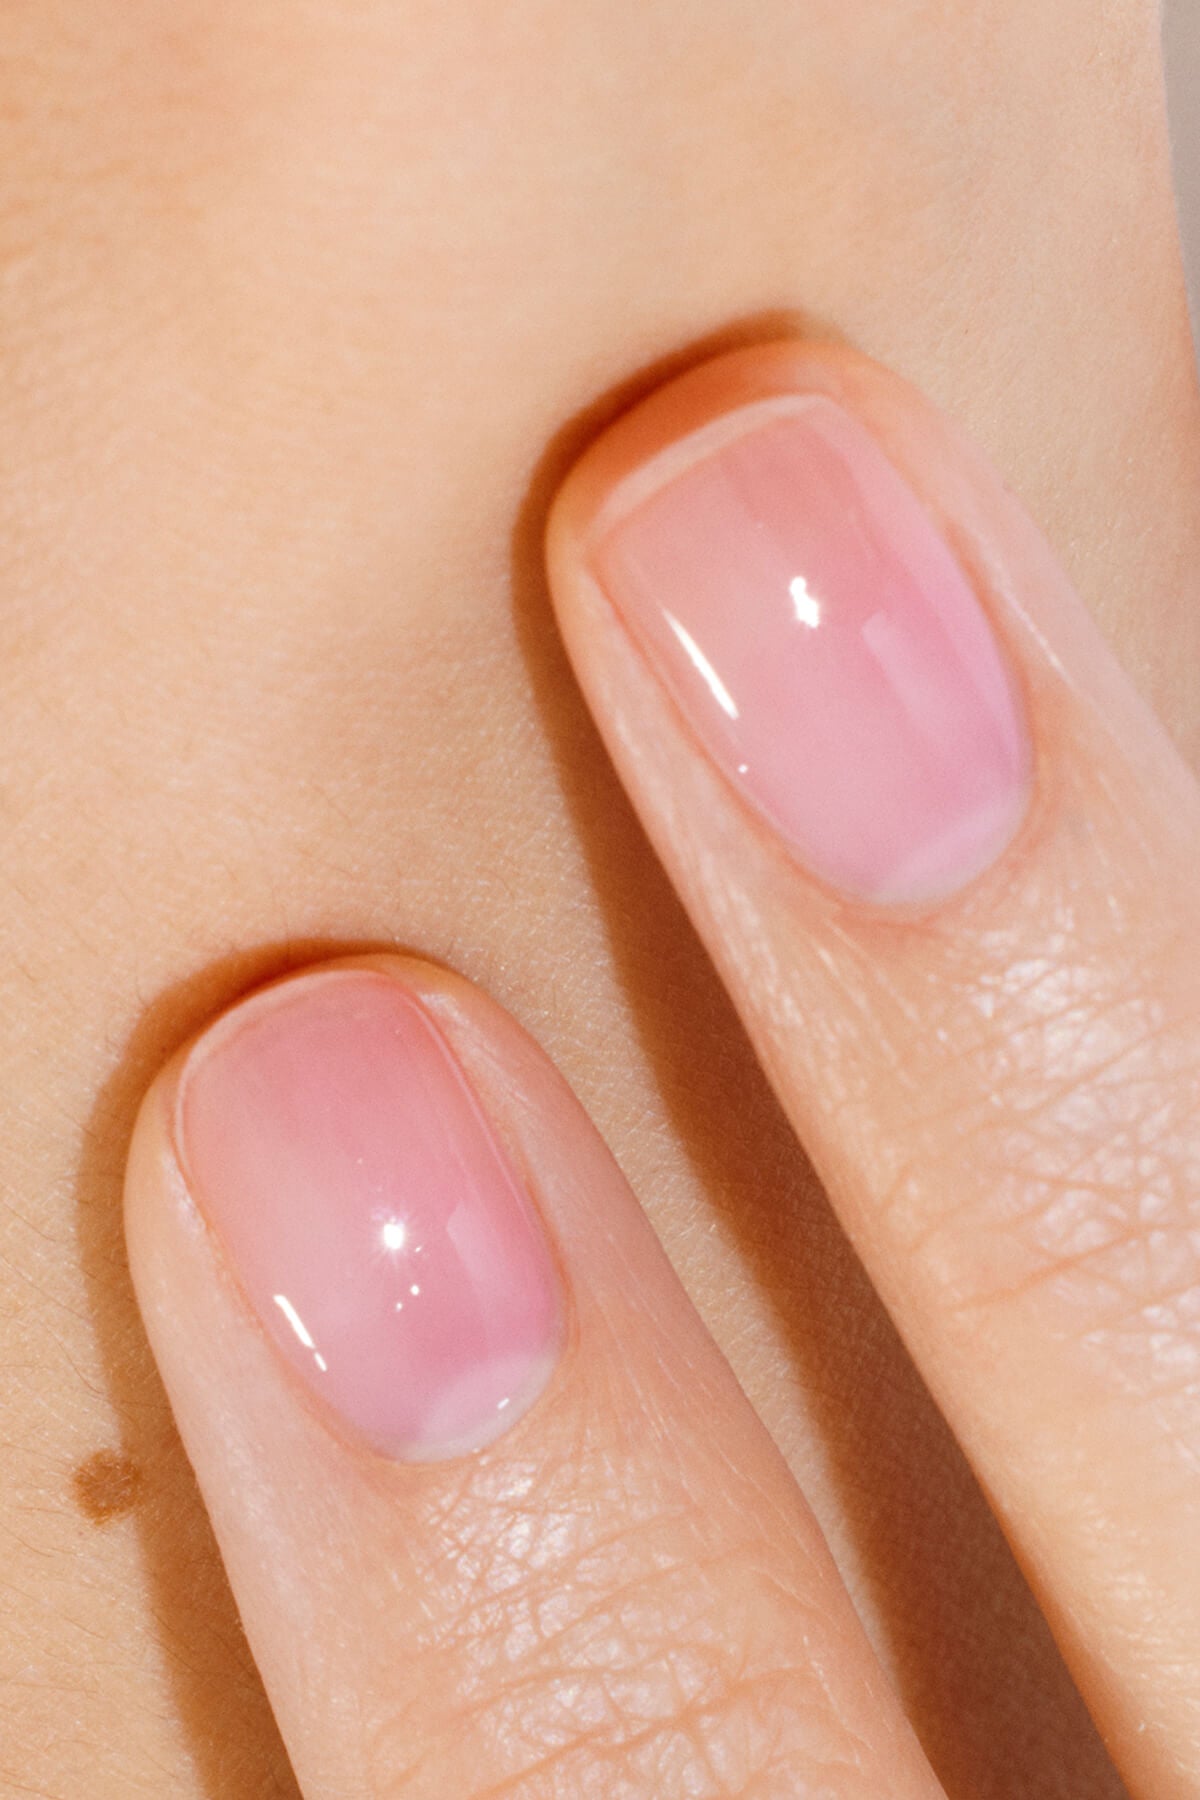
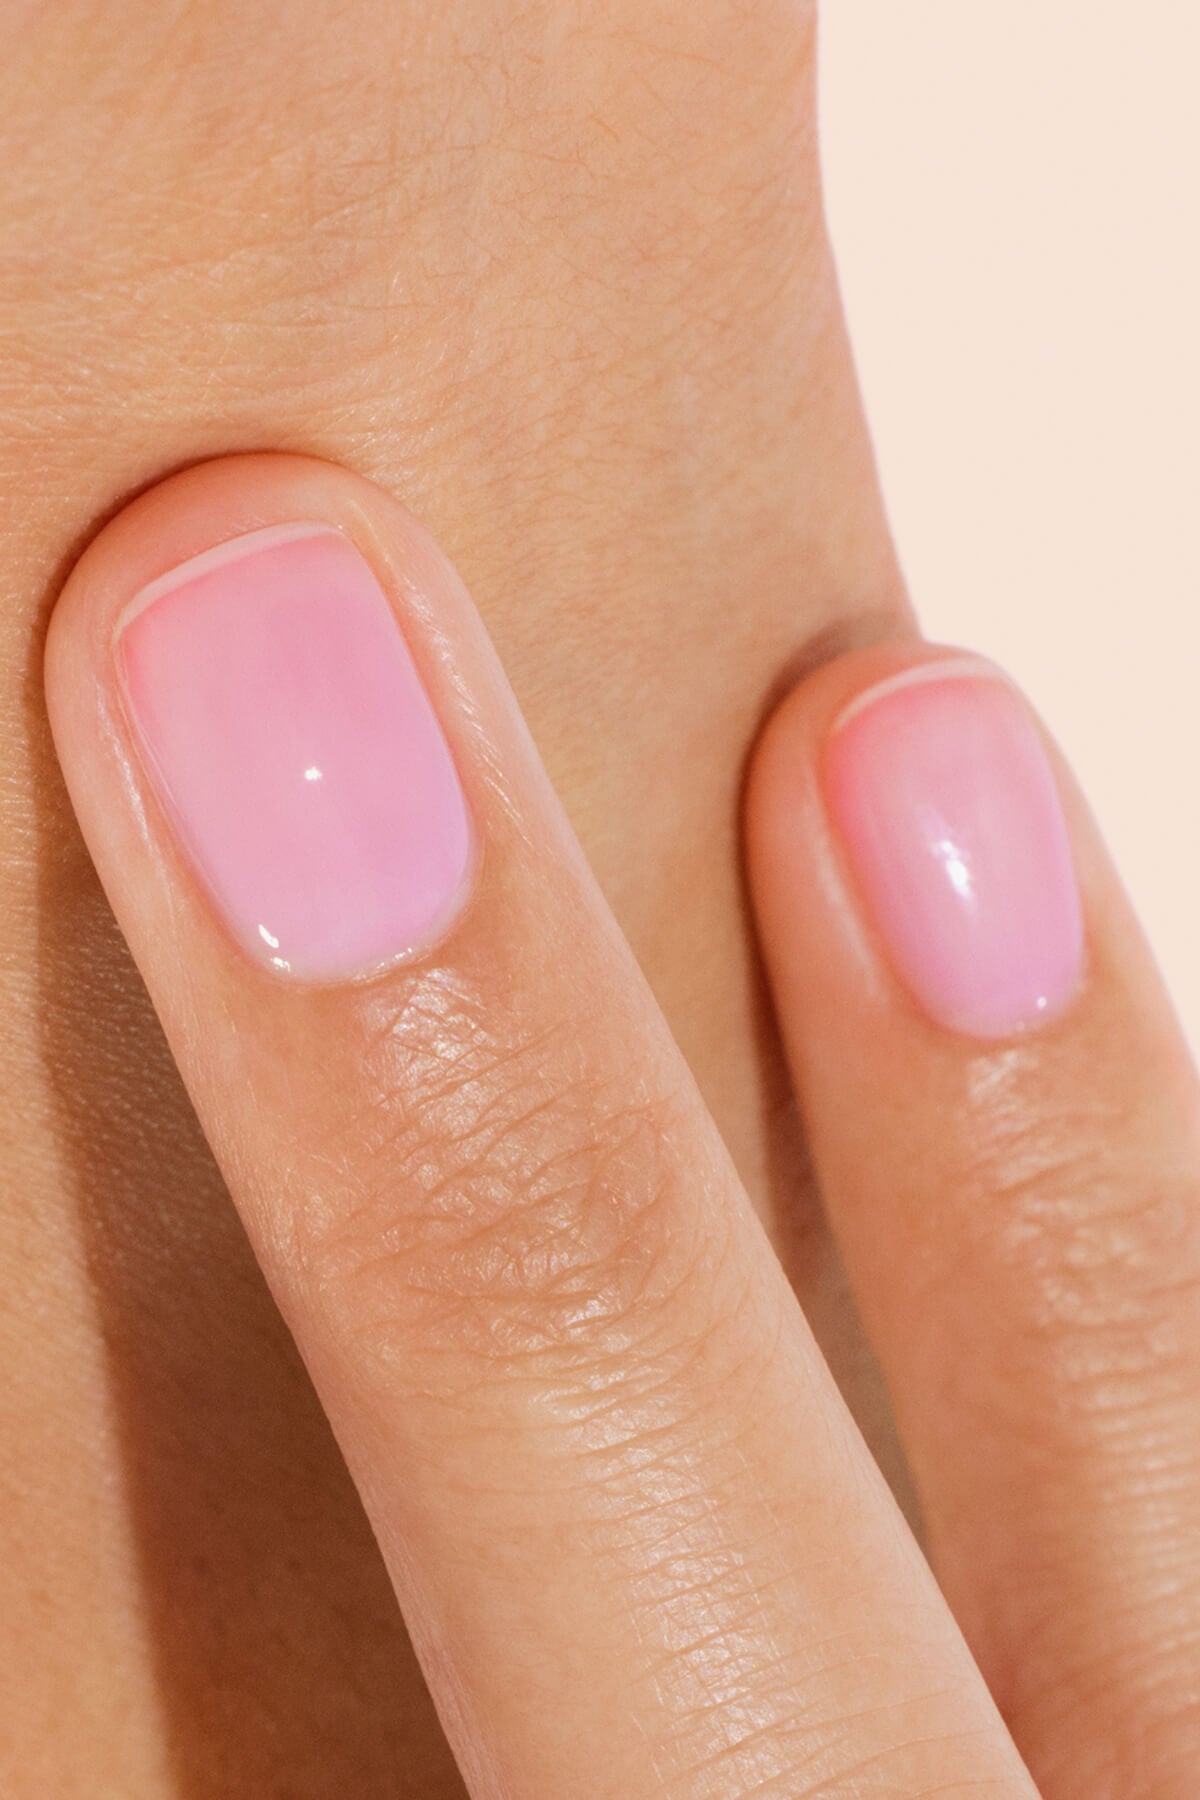
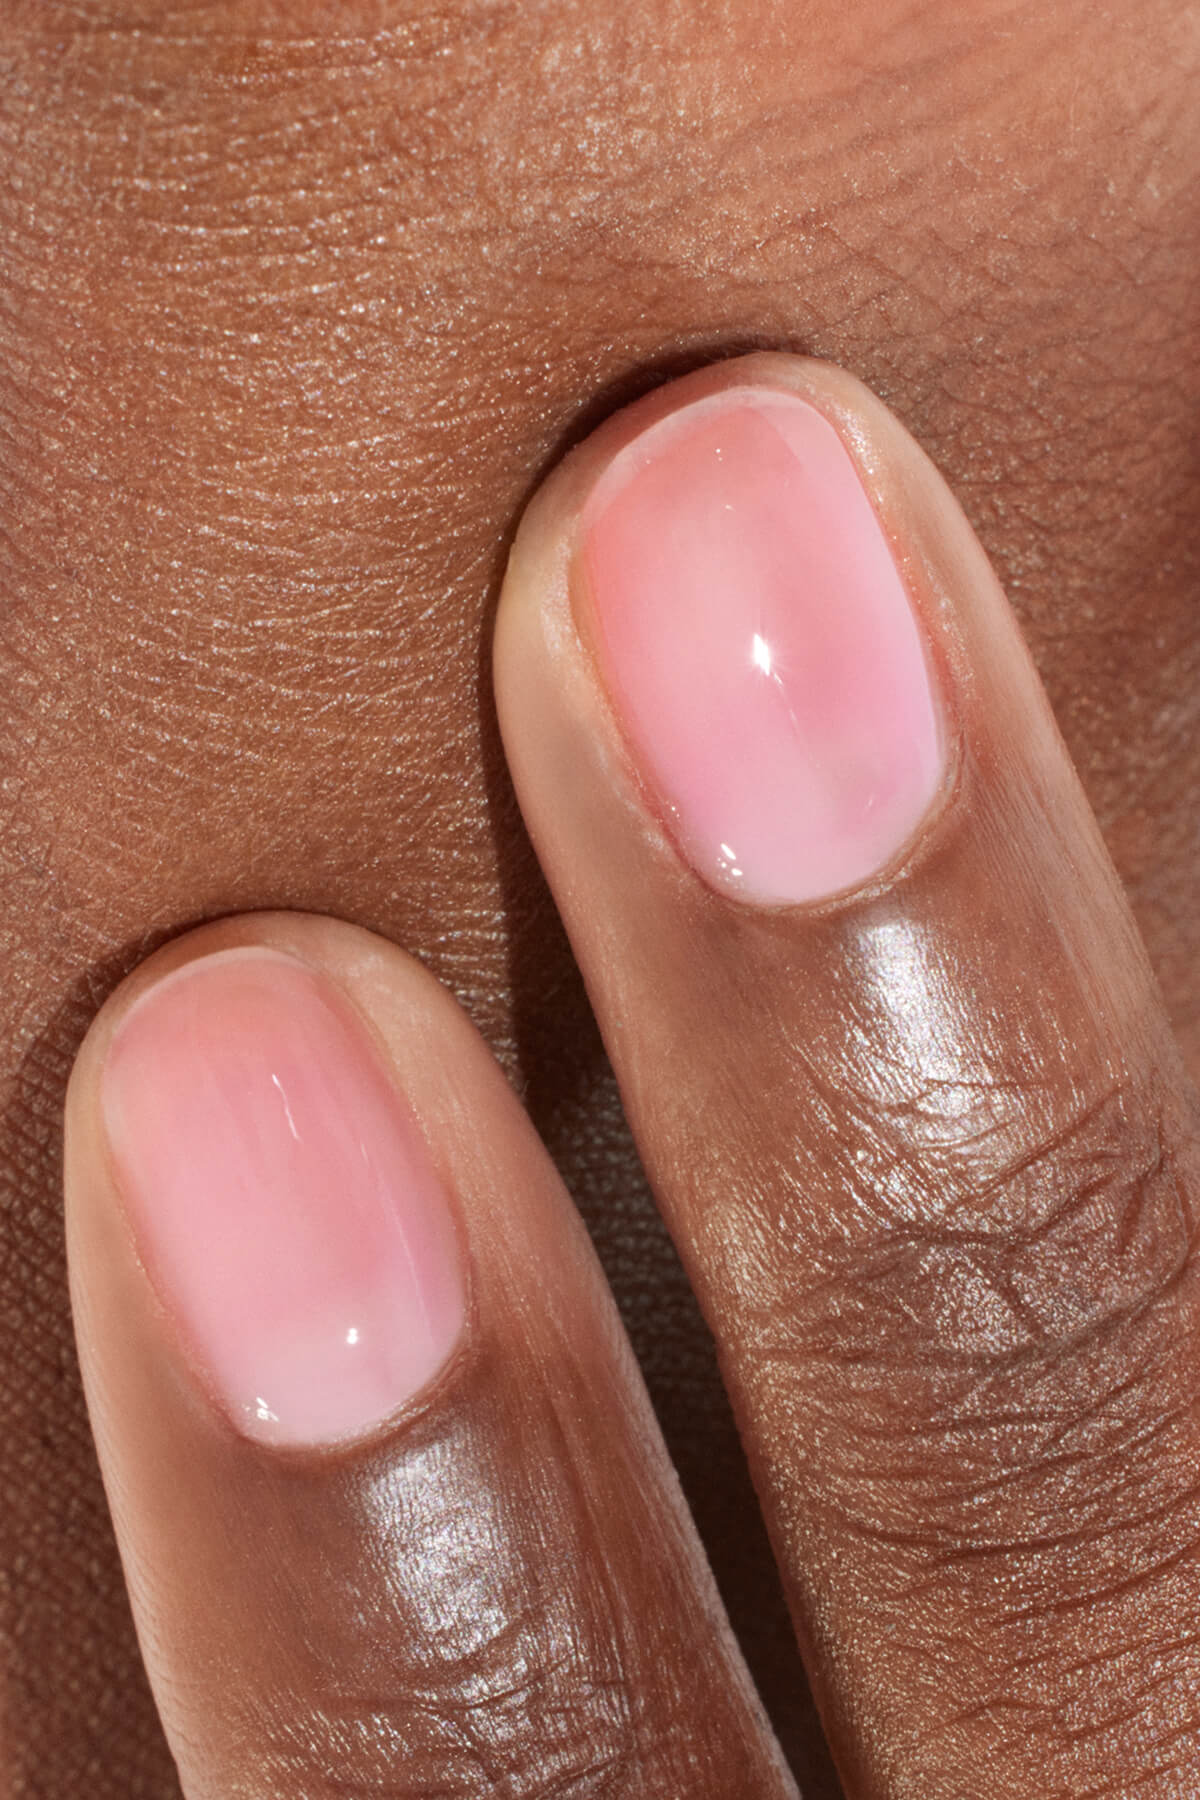
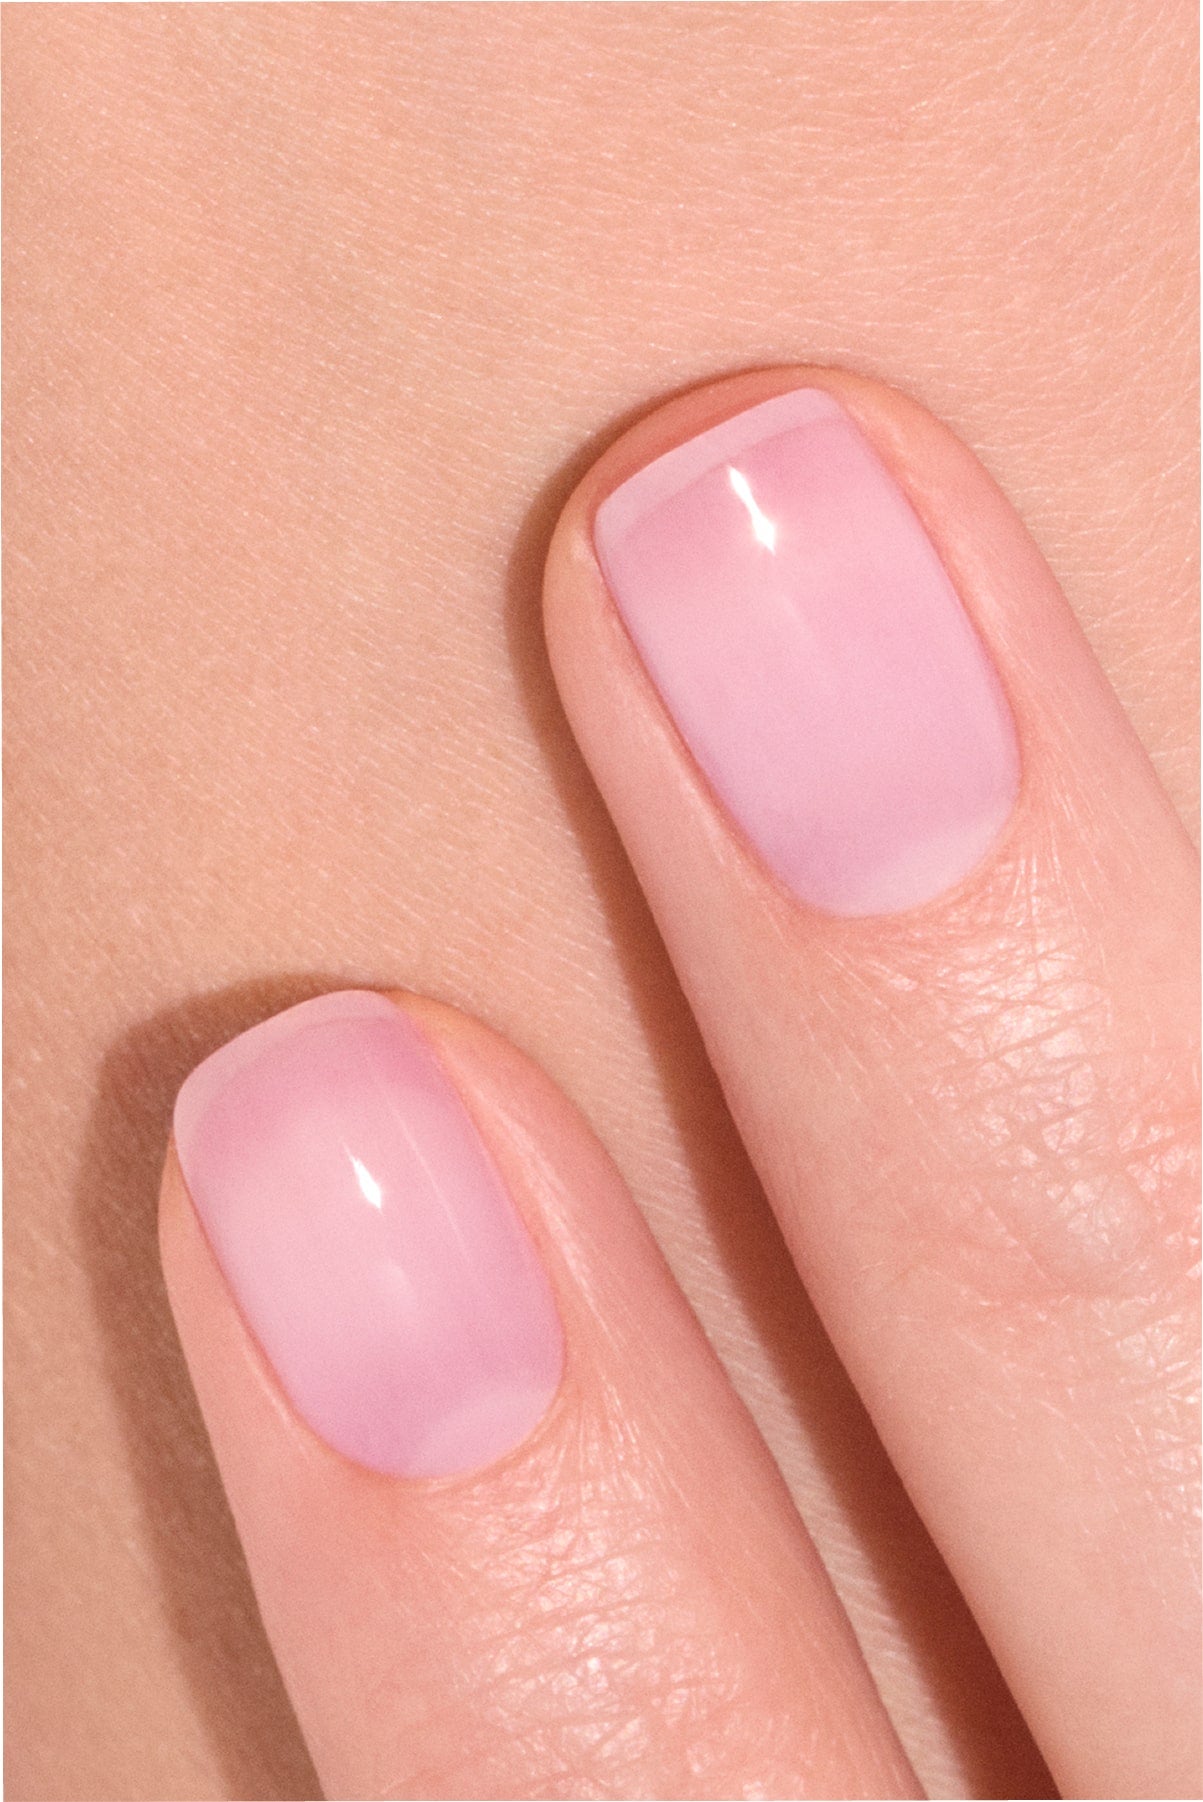
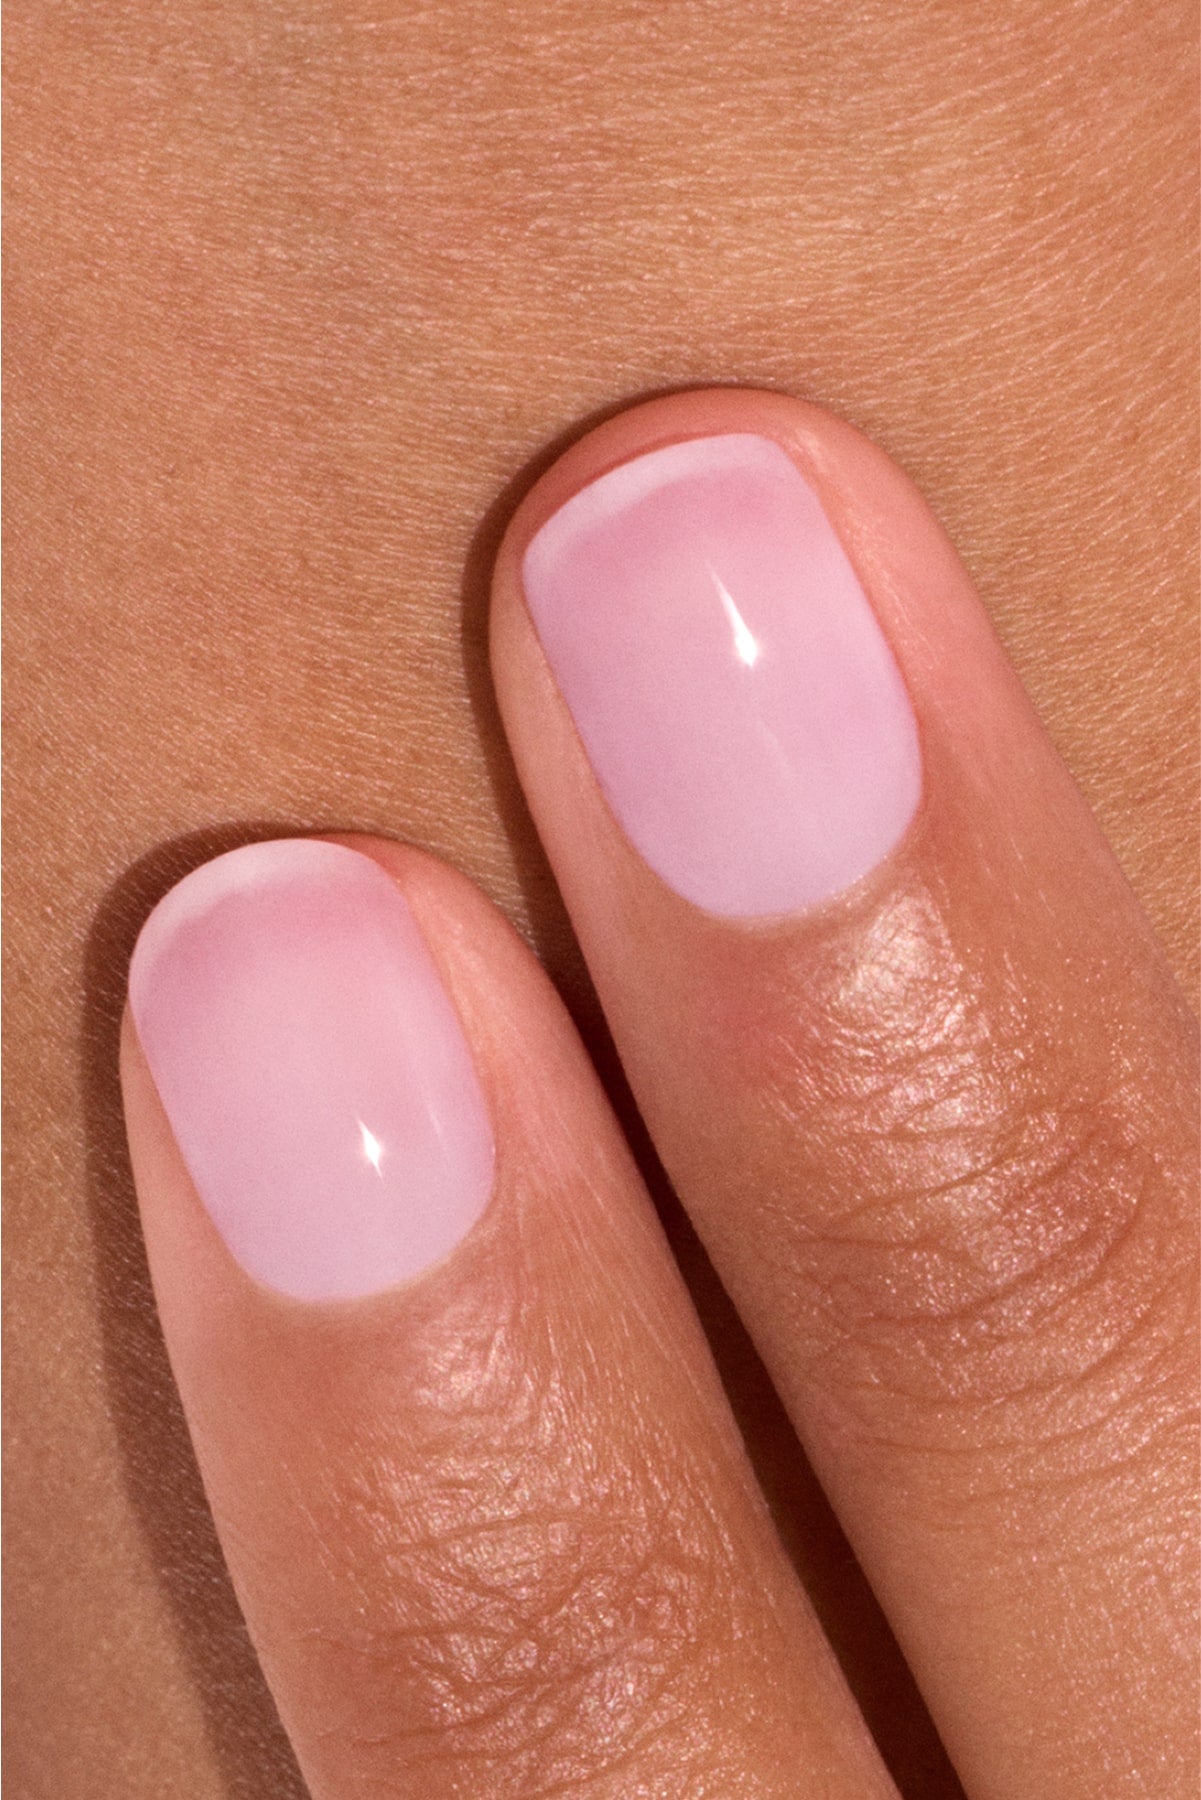
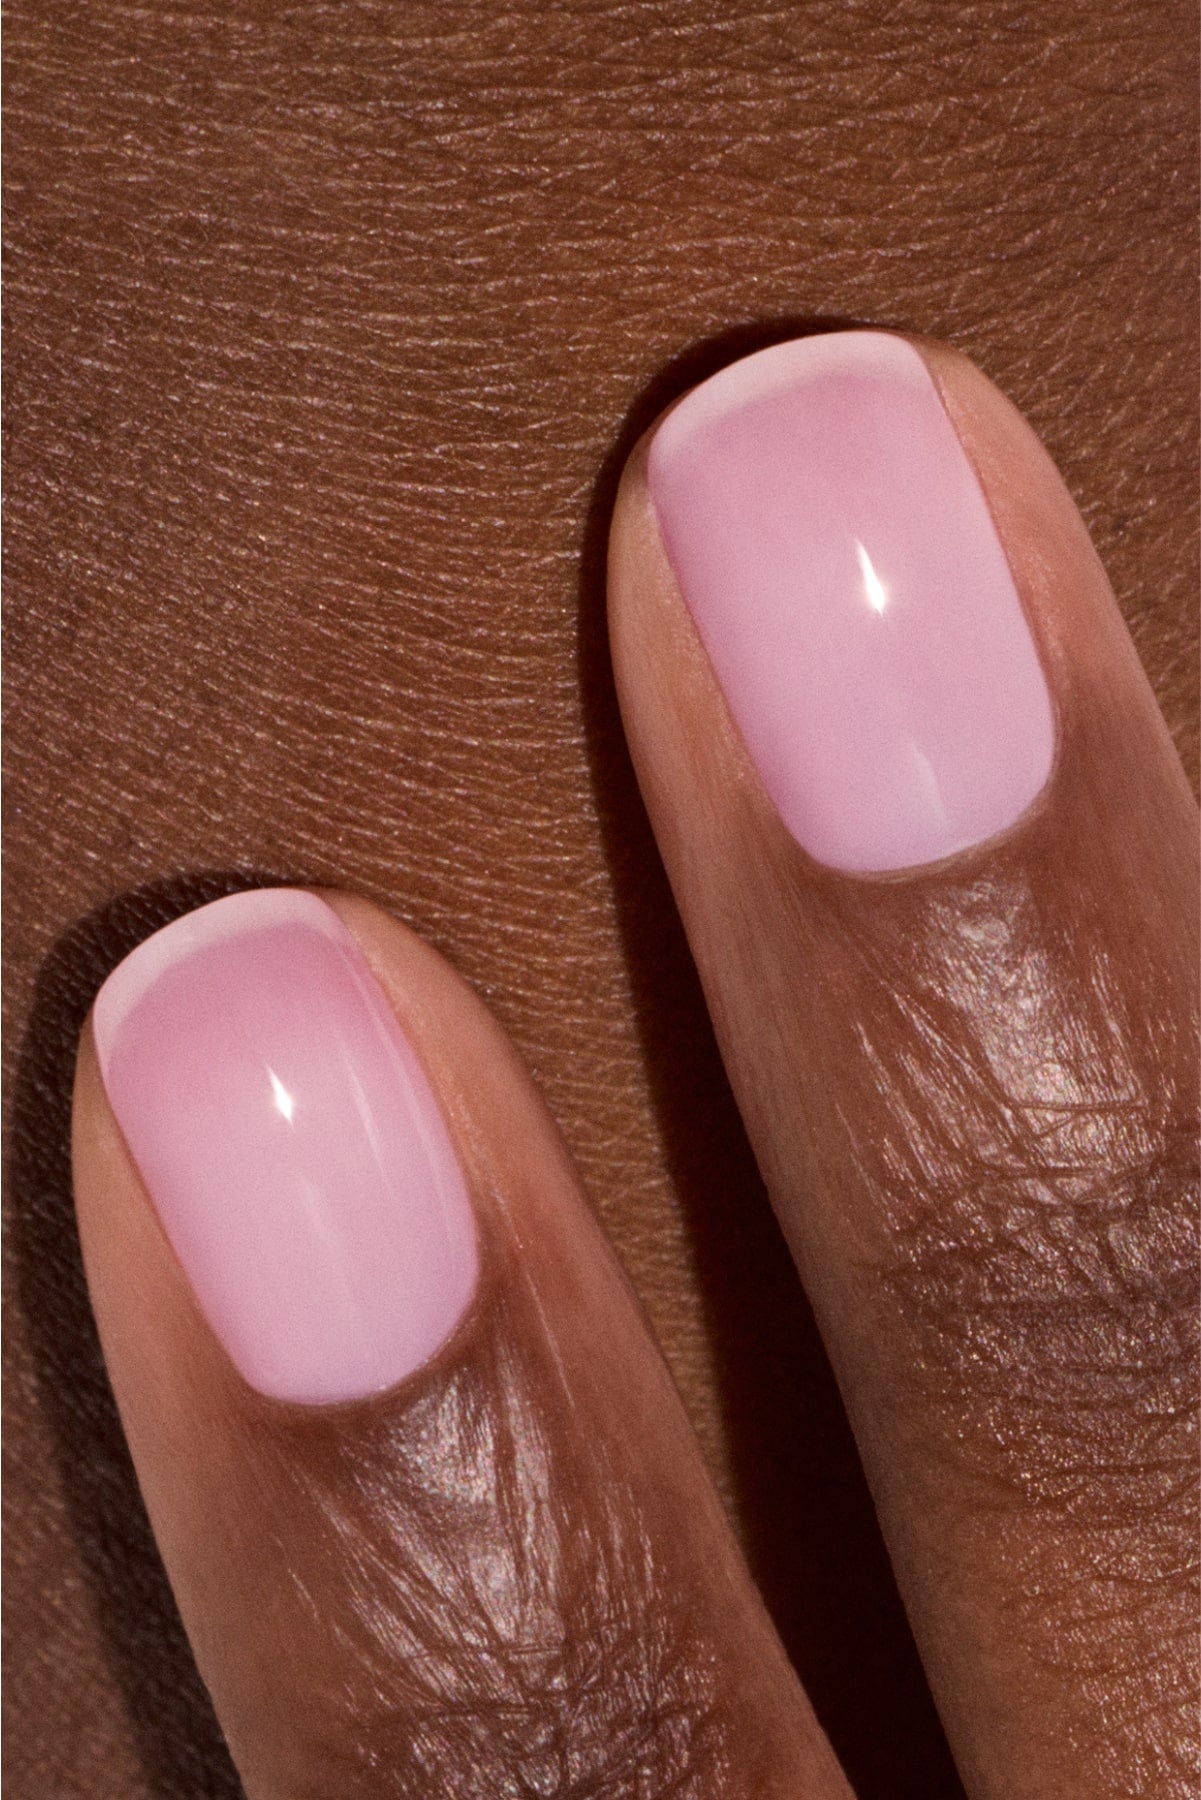
Pink aura: for absolute pink fans, here we go for the delicacy of the transparent pale pink polish Hortencia blended with a neon pink polish with bluish undertones Neon Pink for an absolutely charming rosy blush effect.

Play with the shades of your favorite color in a subtle gradient.(@m.o.n.a.j, @overglowedit)
Pastel gradients
Want a soft nail art to celebrate the sunny days? Go for pastel shade gradients!
Pastel gradient: choose the softness of a baby blue and baby pink gradient with Hortencia polish as base, enhanced by a slightly grayish bluish veil with Bubble.
Spring gradient: place a bouquet of fresh colors at your fingertips with pastel yellow Mimosa, blended with the aqua green Amande, pastel blue Lilas, and mauve Wisteria.

Pastel in all its forms.
(@ellzabethm, @m.o.n.a.j)
Contrasted gradients
If you want summer nails that stand out, go for deep colors with a sharp and energetic contrast.
Sunset ombré: when the Golden hour ignites your nails thanks to the fusion of Hortencia, Tangerine, and the pop red Spicy. Gorgeous!
Orange & blue aura: an electric shock between an intense blue Ultramarine base and a light orange halo Tangerine. Unforgettable!
Purple gradient: a journey through warm colors starting from pale pink Hortencia to intensify up to red-black Hollyhock, passing through cherry red Red Cherry and deep violet Mystic.

Bold gradients to enhance your summer manicures.
(@ellzabeth, @look8thenails)
How to make a color gradient on your nails?
The useful tools to create a beautiful fade
Creating perfect gradient nails requires technique and good tools. Make sure you have in your kit the essential special nail sponge, the magic wand to blend shades smoothly. Besides this nail art accessory, also equip yourself with the essentials of any good manicure, namely:
- A base coat that protects your nails from pigments and boosts the tenue of your polish. Make sure to use the base coat suited to the type of polish chosen (Green Base Coat under Green™ polish, Vitamin-enriched Base Coat Green Flash™ under Green Flash™ polish).
- The colors of Green™ nail polishes or Green Flash™ semi-permanent polishes that you have selected for your gradient nail art.
- A correction pen to erase smudges and ensure a clean finish.
-
An ultra-shiny top coat to seal your manicure, protect it over time, and add the essential glow. Here too, remember to use a top coat suited to the type of polish chosen:
- on Green™ polish => Top Coat Sunshine
- on Green Flash™ polish => Top Coat Green Flash™ (wear 12 days) or Top Coat Xtrem Flash™ (wear 21 days)


Steps to succeed with your gradient nails
Ready to get started? Follow our step-by-step guide:
- Let's prep your nails! This is the step you must not skip to ensure the success of your gradient nails. File your nails to give them a nice shape. Gently push back your cuticles. Buff the surface to open the keratin scales and optimize polish adhesion. Finally, clean and degrease the nails to remove sebum and dust.
- Apply a layer of base coat and let it dry naturally or under an LED lamp depending on the polish chosen.
- Then apply the color layer that will serve as the base and let it dry thoroughly.
- Grab your nail art sponge and create your gradient:
- for a simple gradient, ombré, or baby boomer: apply the colors to be blended on the sponge in adjacent stripes in the desired order. Then tap on the nail to merge the shades. Don’t hesitate to add a bit more polish to the sponge a second time to refine the finish.
For a perfect gradient, follow the video tutorial by @ellzabethm.
- for an aura effect: on the sponge, place a touch of your central shade and surround it with a line of your secondary color (which is often the base color). Gently dab in the center of the nail to create the halo.
Discover the aura nails technique in a video tutorial with @look8thenails.
- Before it dries, clean up any overflow around the nail using a corrector pen or a cotton swab soaked in gentle remover.
- Finally, apply the top coat to seal your manicure.


What mistakes should be avoided with gradient nails?
Some fatal mistakes can ruin all your efforts. So what should you watch out for?
Color choice: absolutely avoid shades that are too close
For a 2-color gradient, favor complementary colors (light/dark, warm/cool). For a gradient of 3 or more colors, choose your 2 complementary colors plus 1 or 2 intermediate colors to create a smooth and harmonious transition.
Color placement on the sponge: do not separate the colors
On the contrary, place your strokes or color touches side by side so that when applied, they can blend into each other without visible lines.
Another important point: avoid putting too much polish on the sponge, as this can create an unsightly "clumpy" effect.
Handling the sponge: do not rub the sponge on the nail
The right move is to gently dab with a steady vertical motion, always on the same area. It’s better to tap several times with a small amount of product than to leave visible marks. Also be careful to not overlap colors when dabbing, as this would cancel out the desired effect.
Finish: don’t neglect the final touch
With the sponge, color overflow around the nail edge is inevitable. It is essential to carefully clean the nail edges for a neat and elegant finish. And to enhance your nail art, the shiny or matte finishes offered by top coats are highly recommended.
Nail art variations around gradient nails
Playing with colors is great. Adding effects inspired by other nail trends is even better. Here are our favorite variations around gradient nails:
Aura & french: we love this vibrant combo that pairs a Neon Pink aura effect on a Hortencia base with a punchy lime green French manicure thanks to the Lime polish.
Sparkling Baby Boomer: revisit the famous Baby Boomer in a festive version. Choose a pale pink Satin polish base on which you sprinkle Silver glitter from the nail edge. Perfect for stunning Christmas nails!
Valentine aura: how about decorating aura nails with delicate patterns? We tried and approved it, as shown with this Rose polish aura on a Hortencia base, adorned with cute little Snow hearts.

Gradient x French, Sparkling Baby Boomer, or Heart Pattern Aura: upgrade your gradient nails!
(@look8thenails, @m.o.n.a.j)
Whether you fall for the softness of a pastel gradient or the boldness of a vibrant halo, you now have all the keys (and the best color combinations) to master your gradient nails. Grab your sponges, choose your polishes, and let the magic happen.