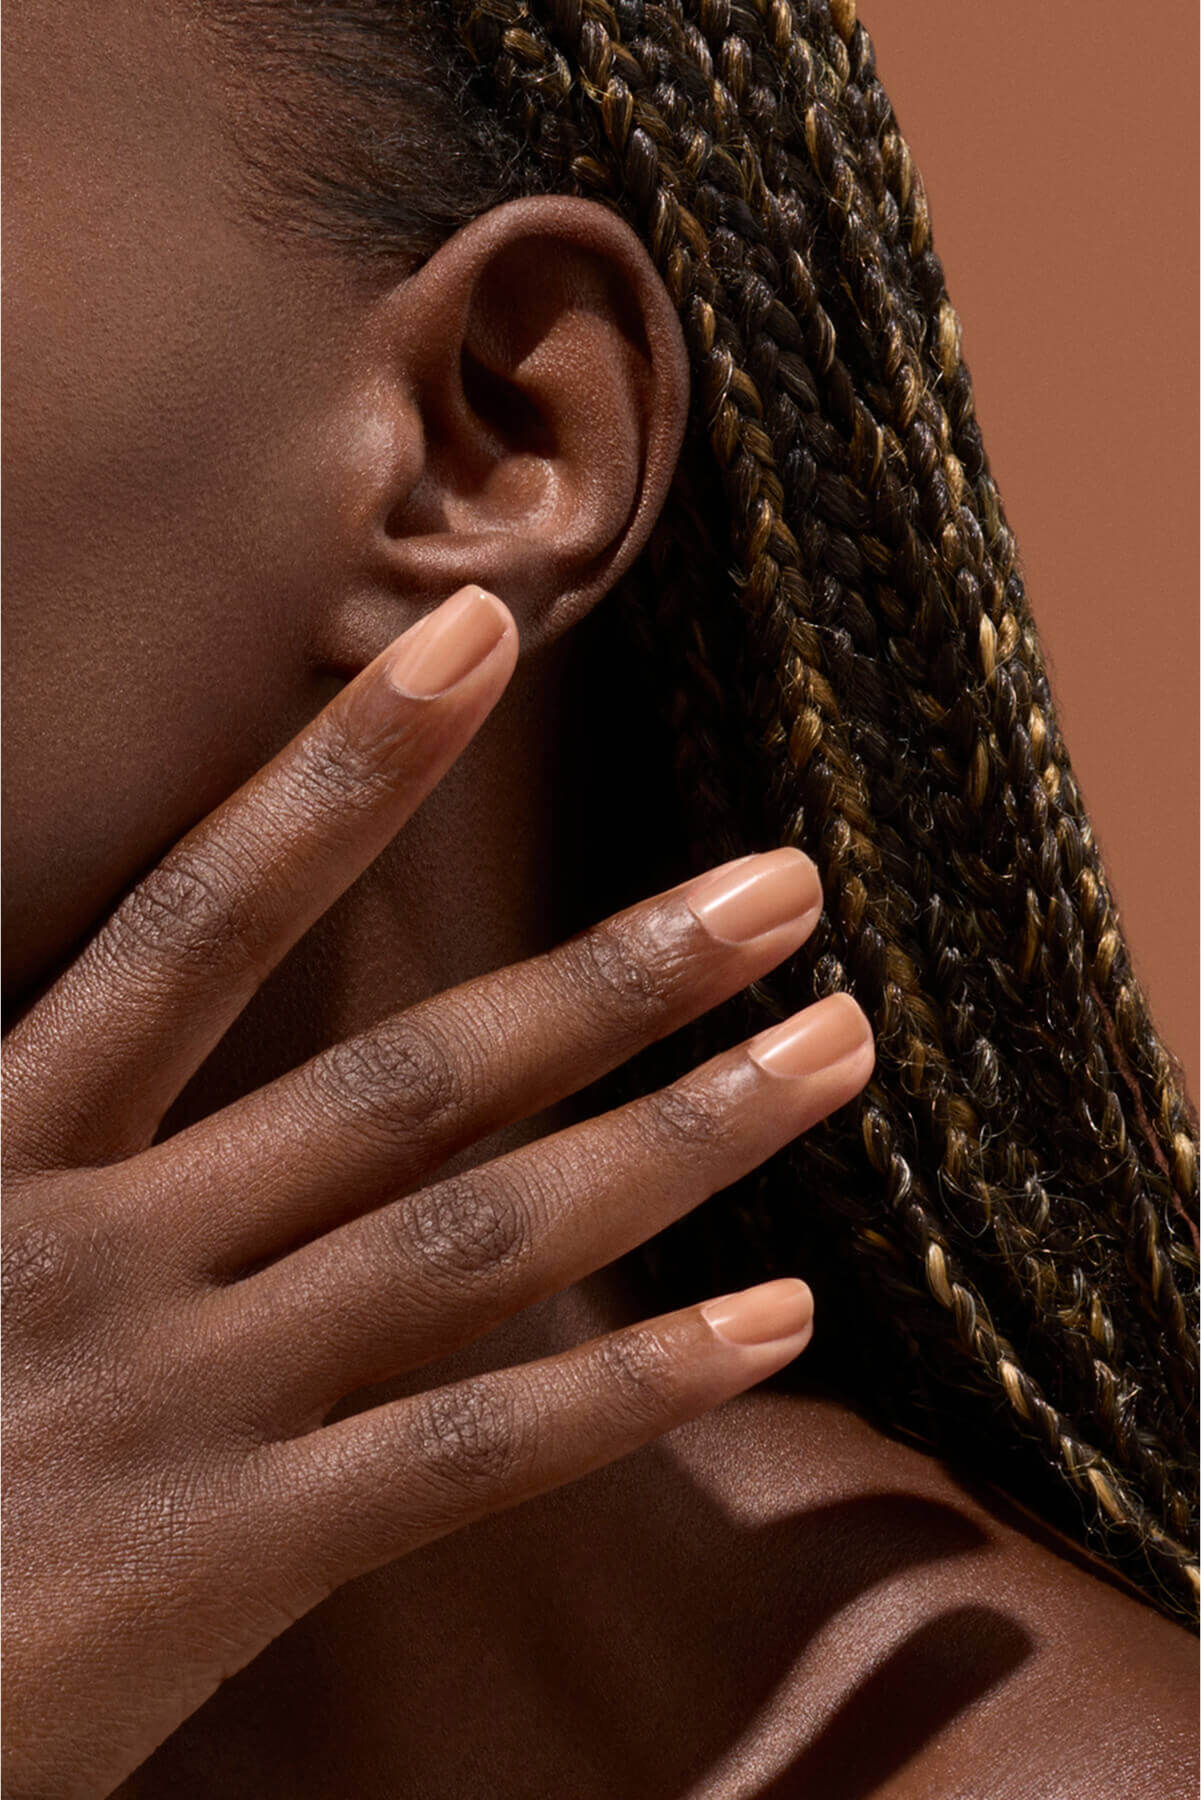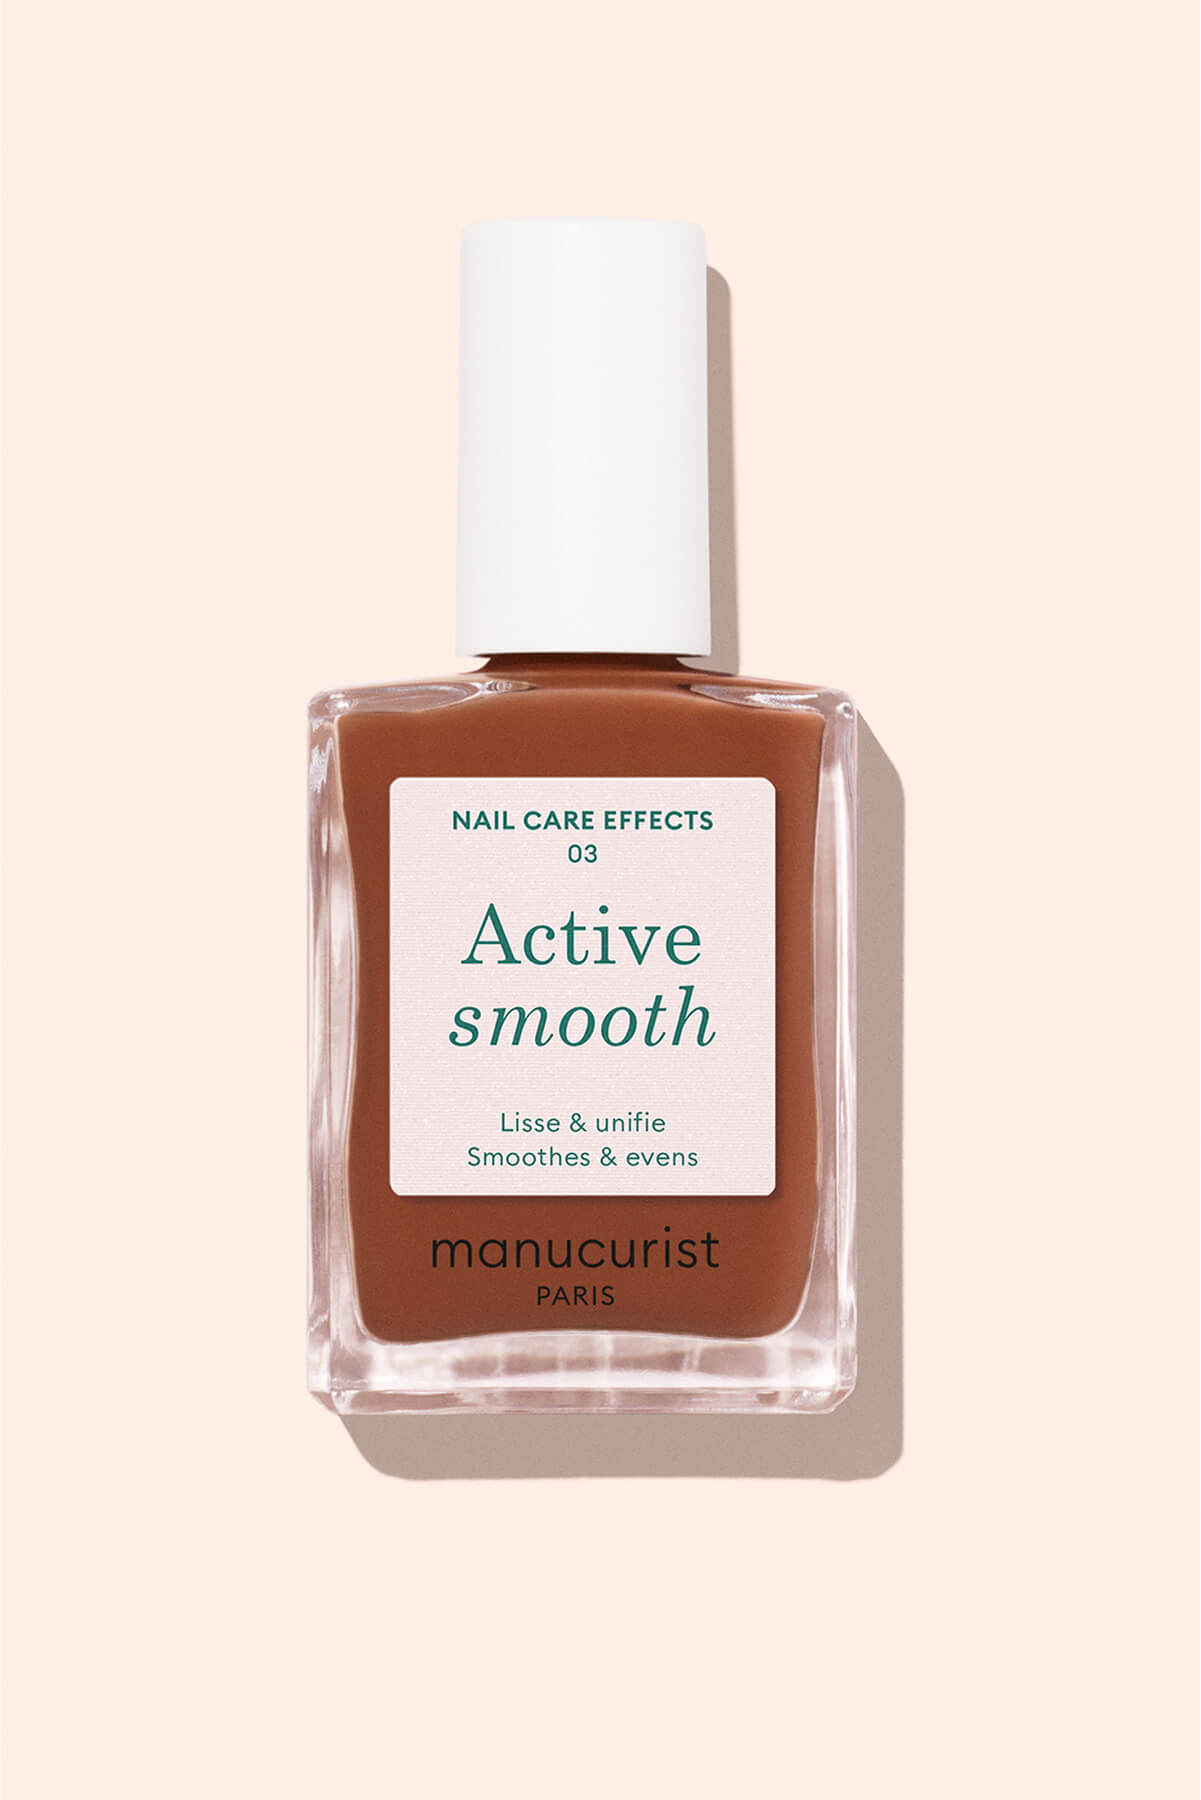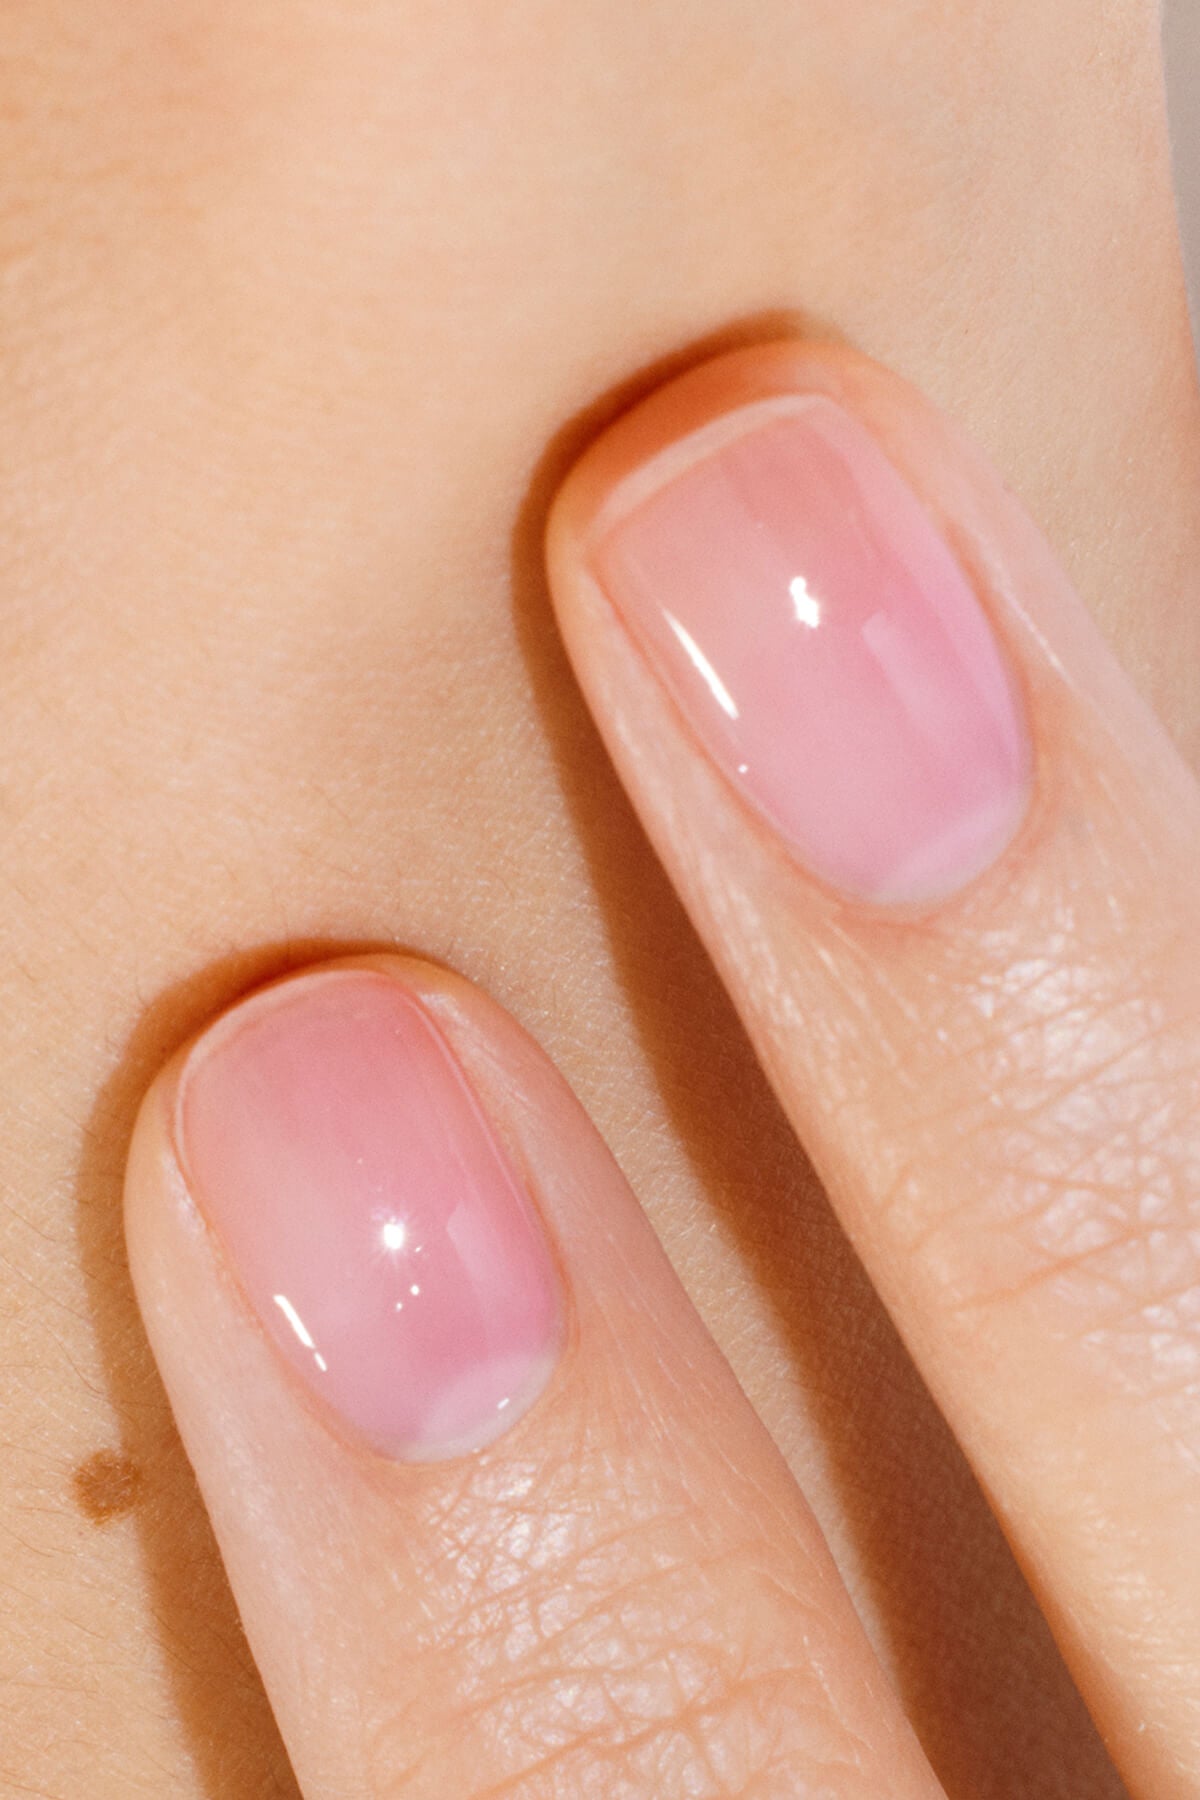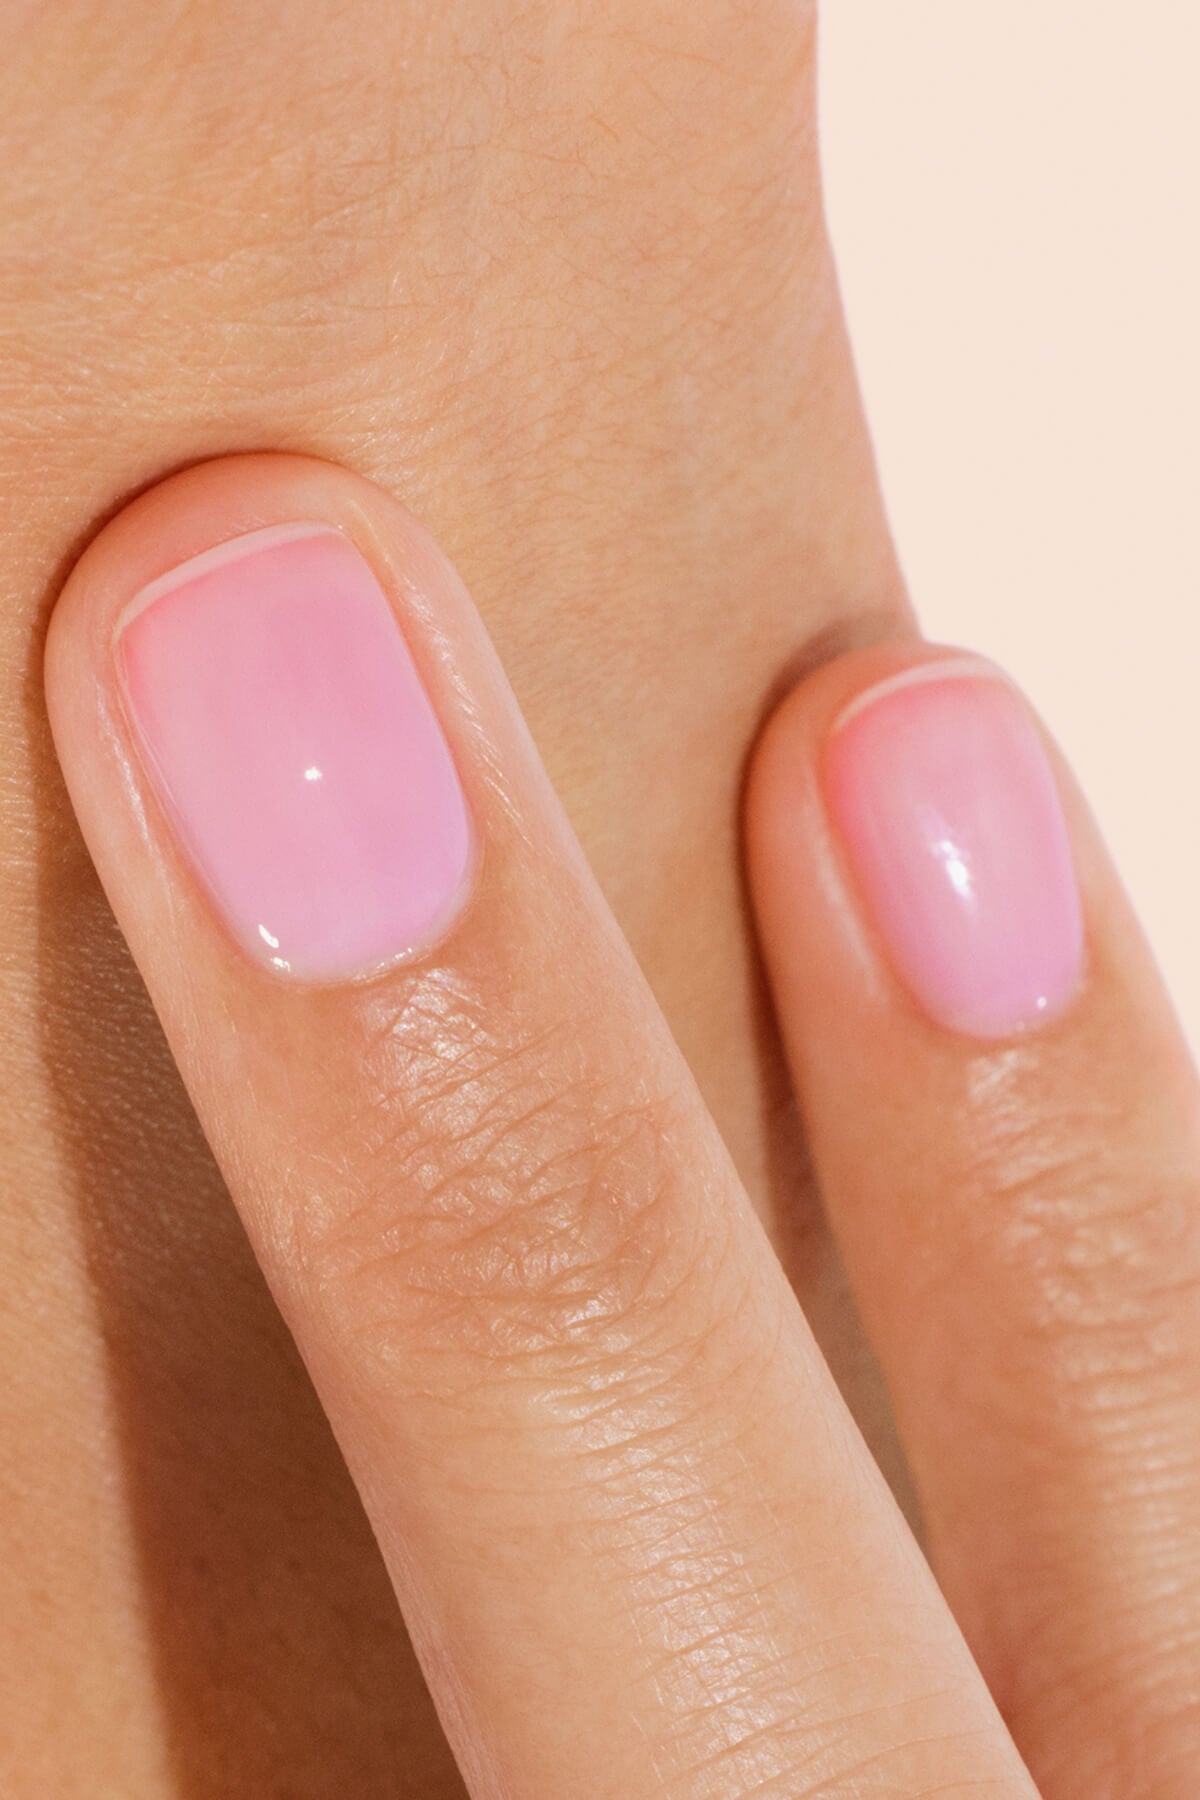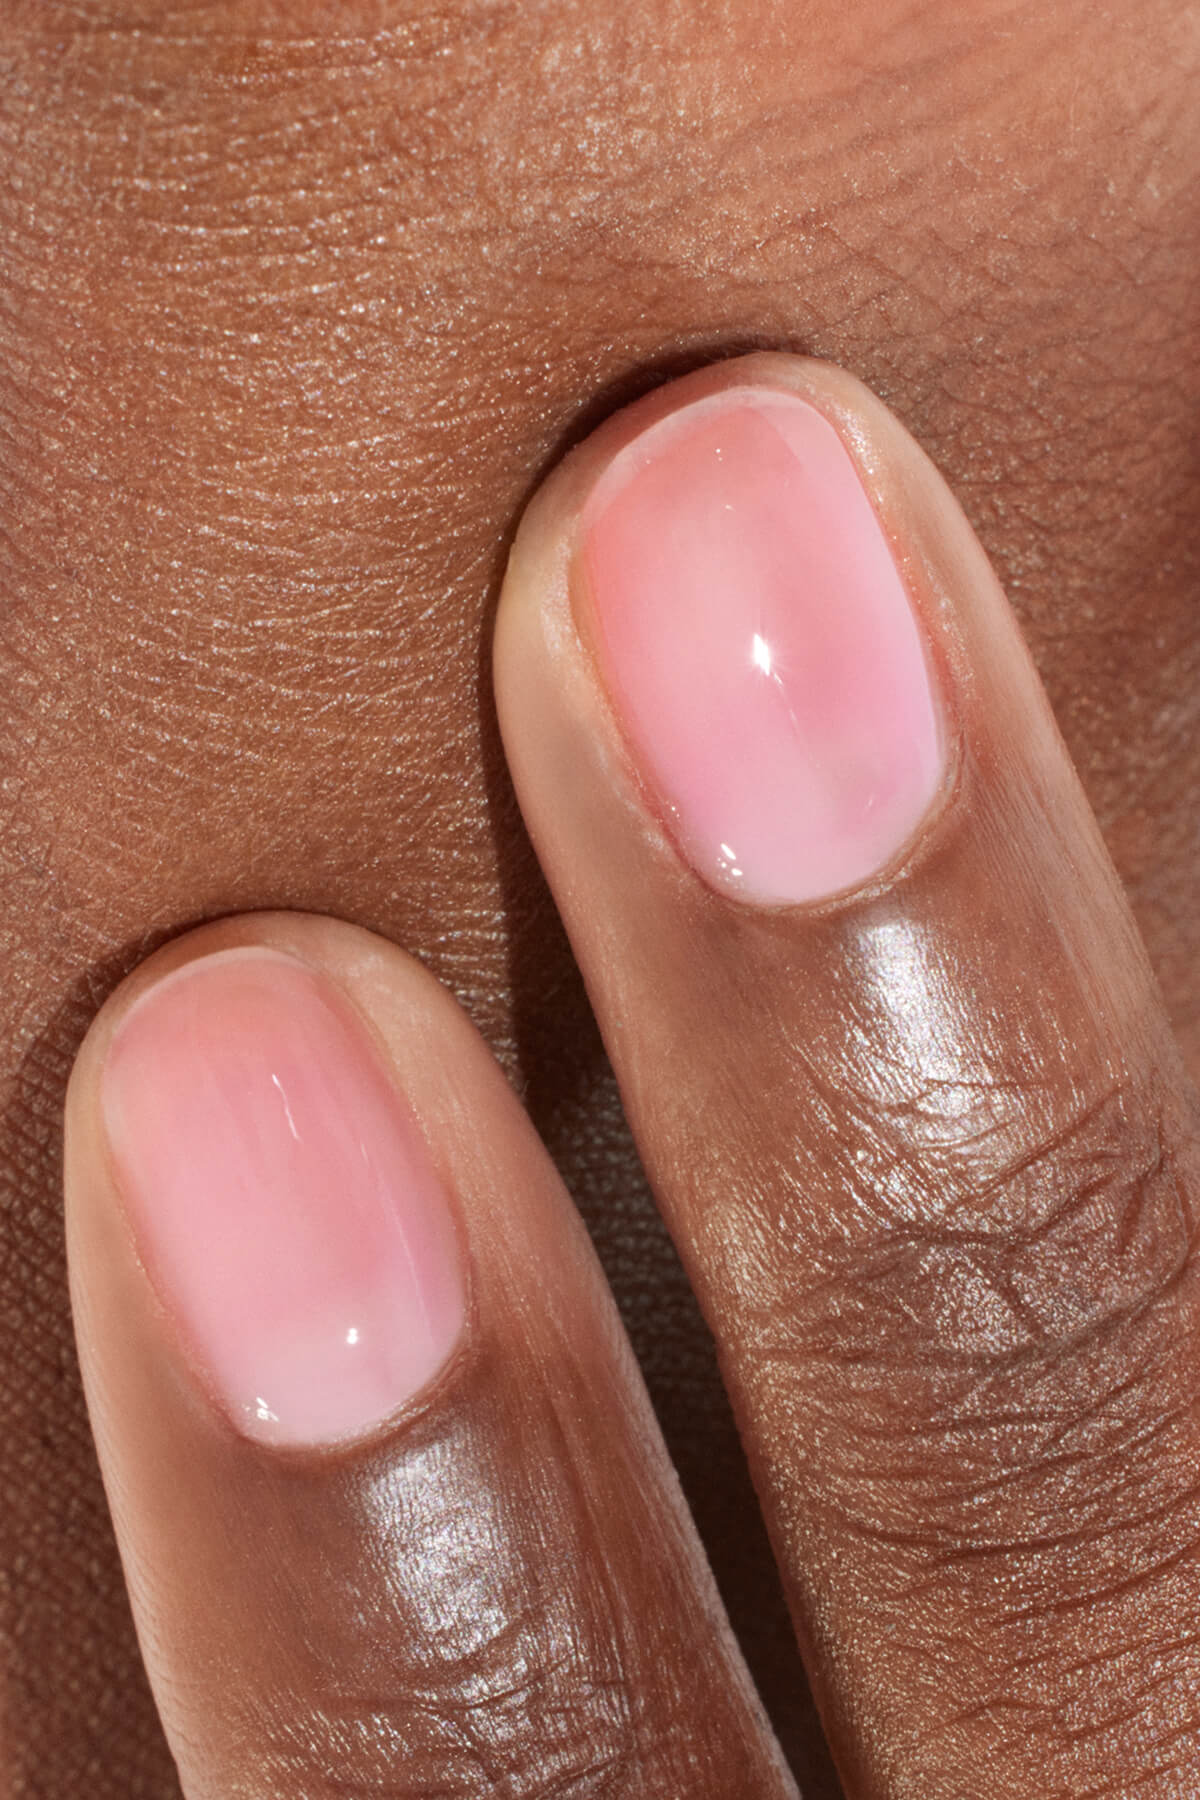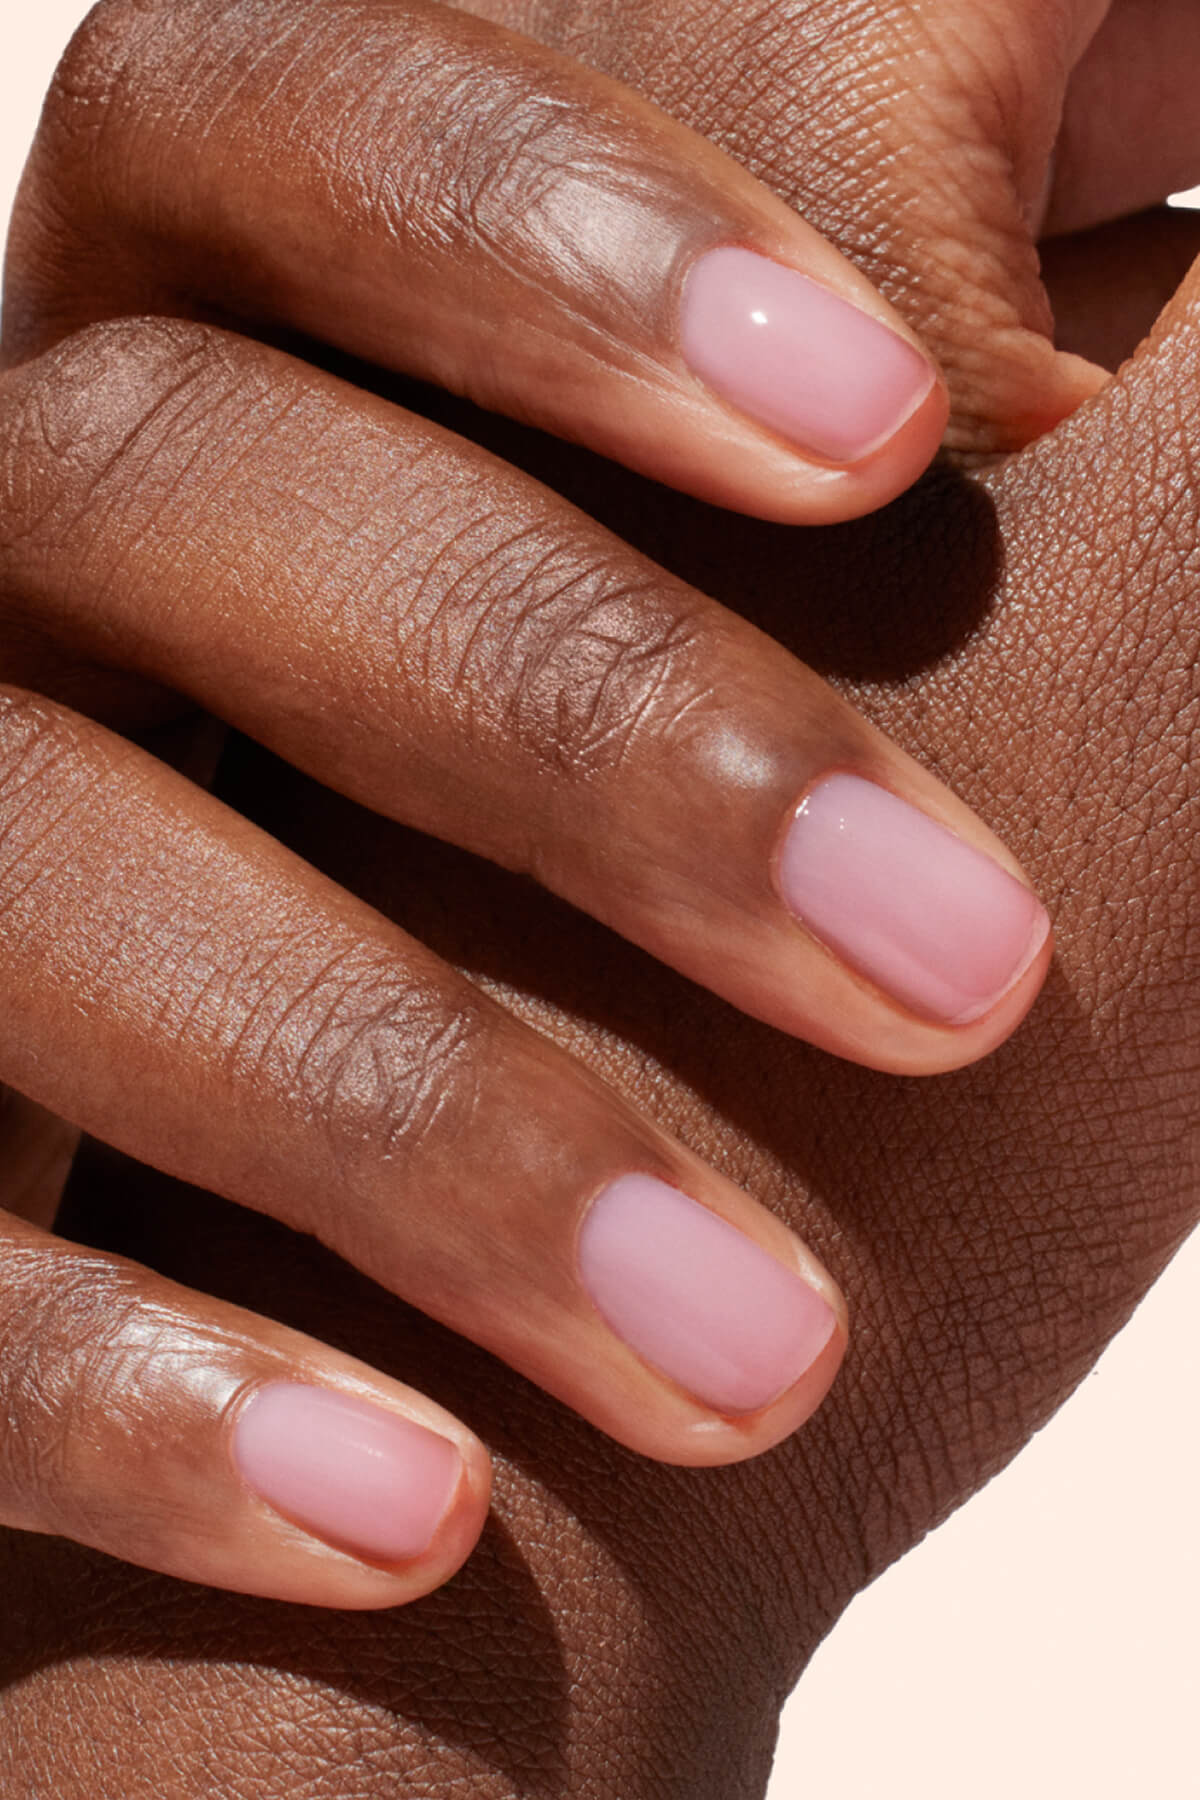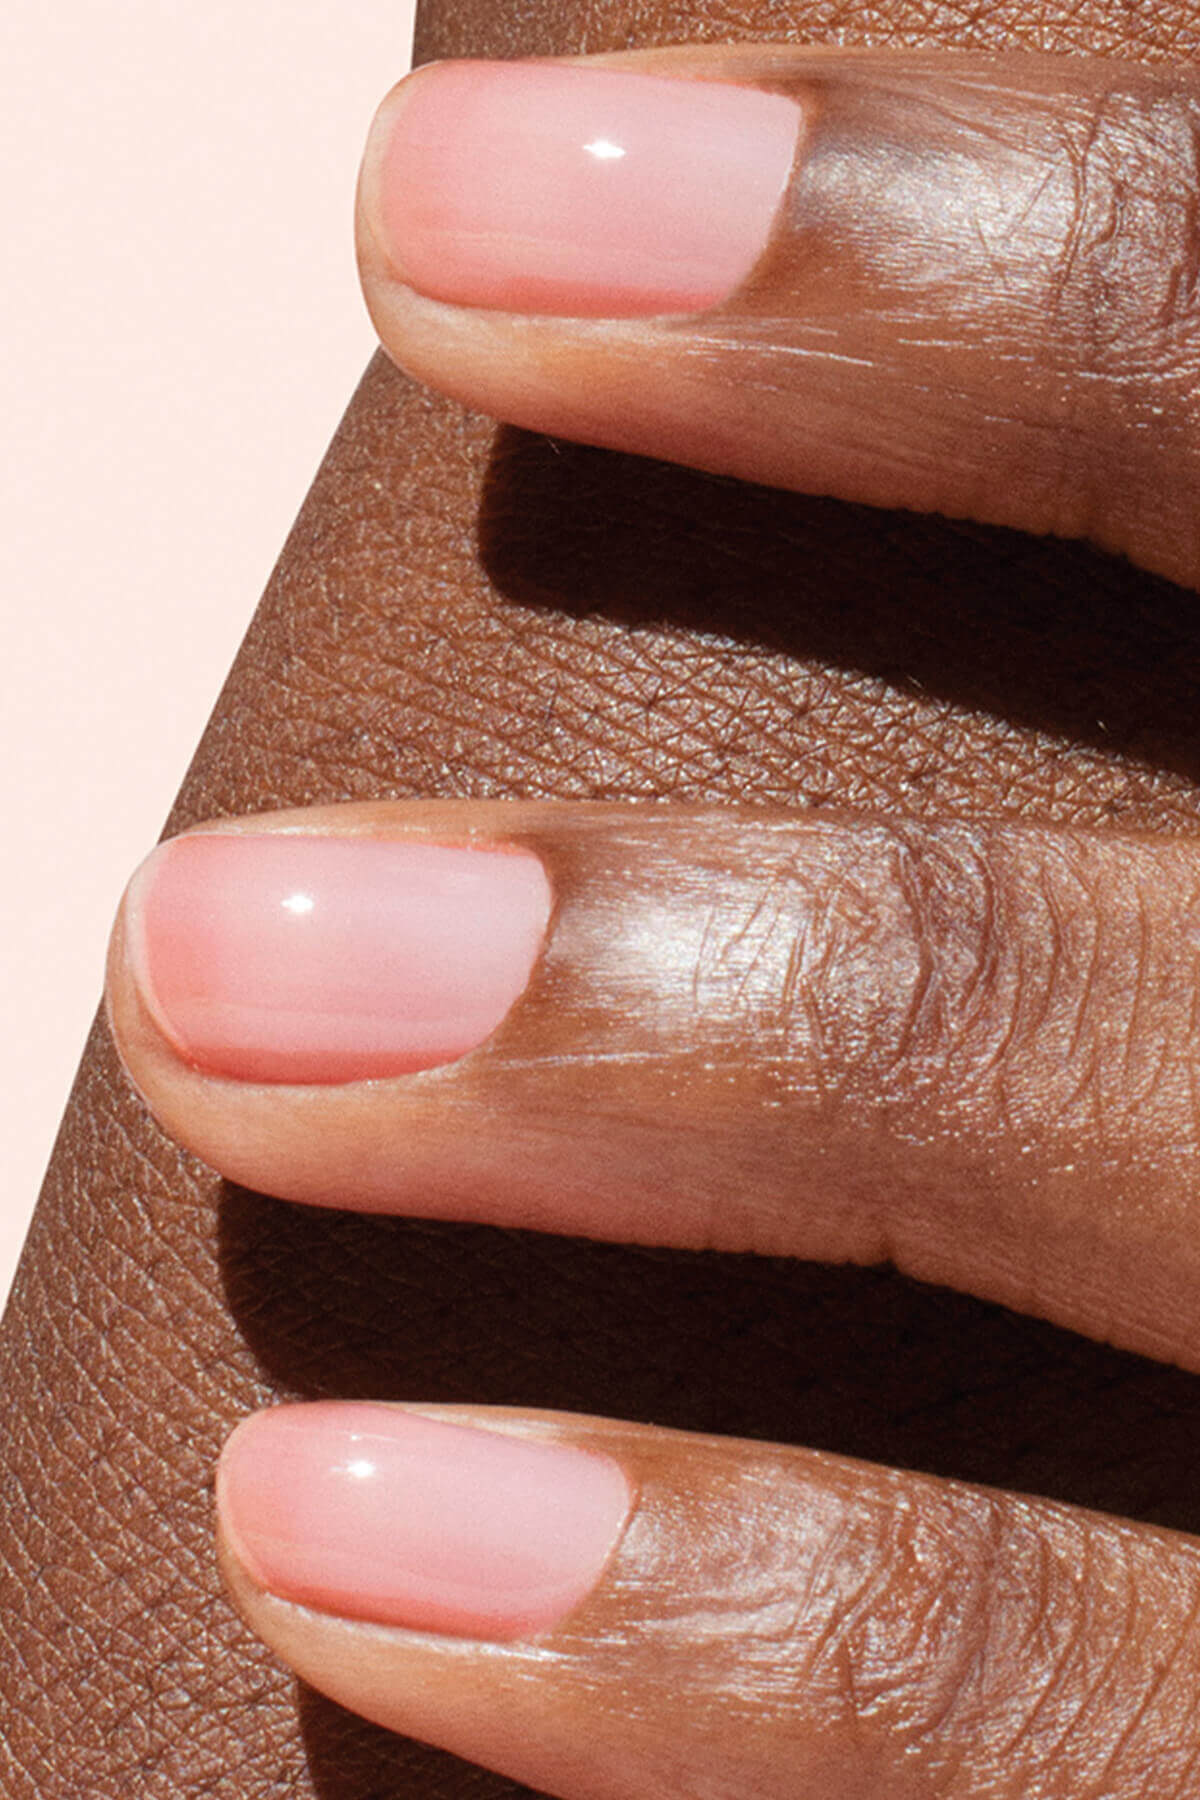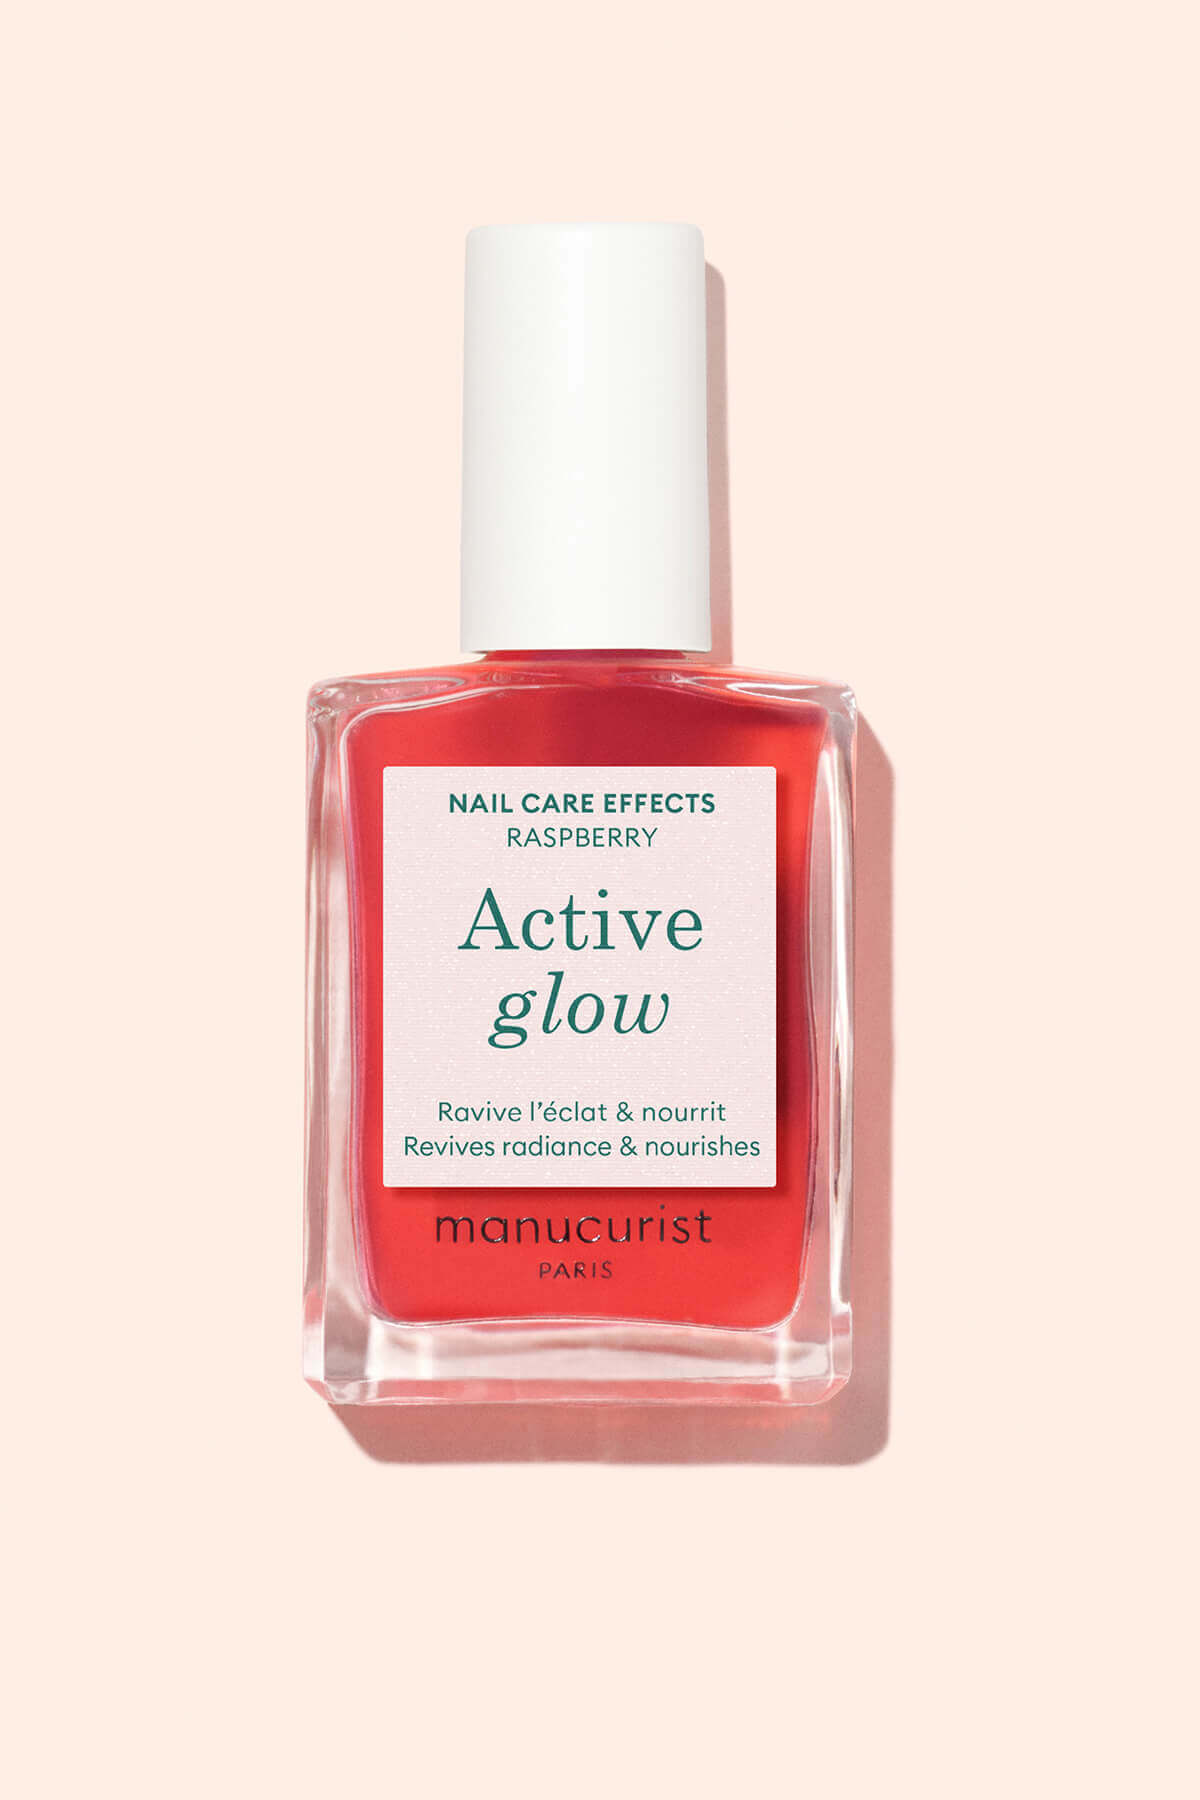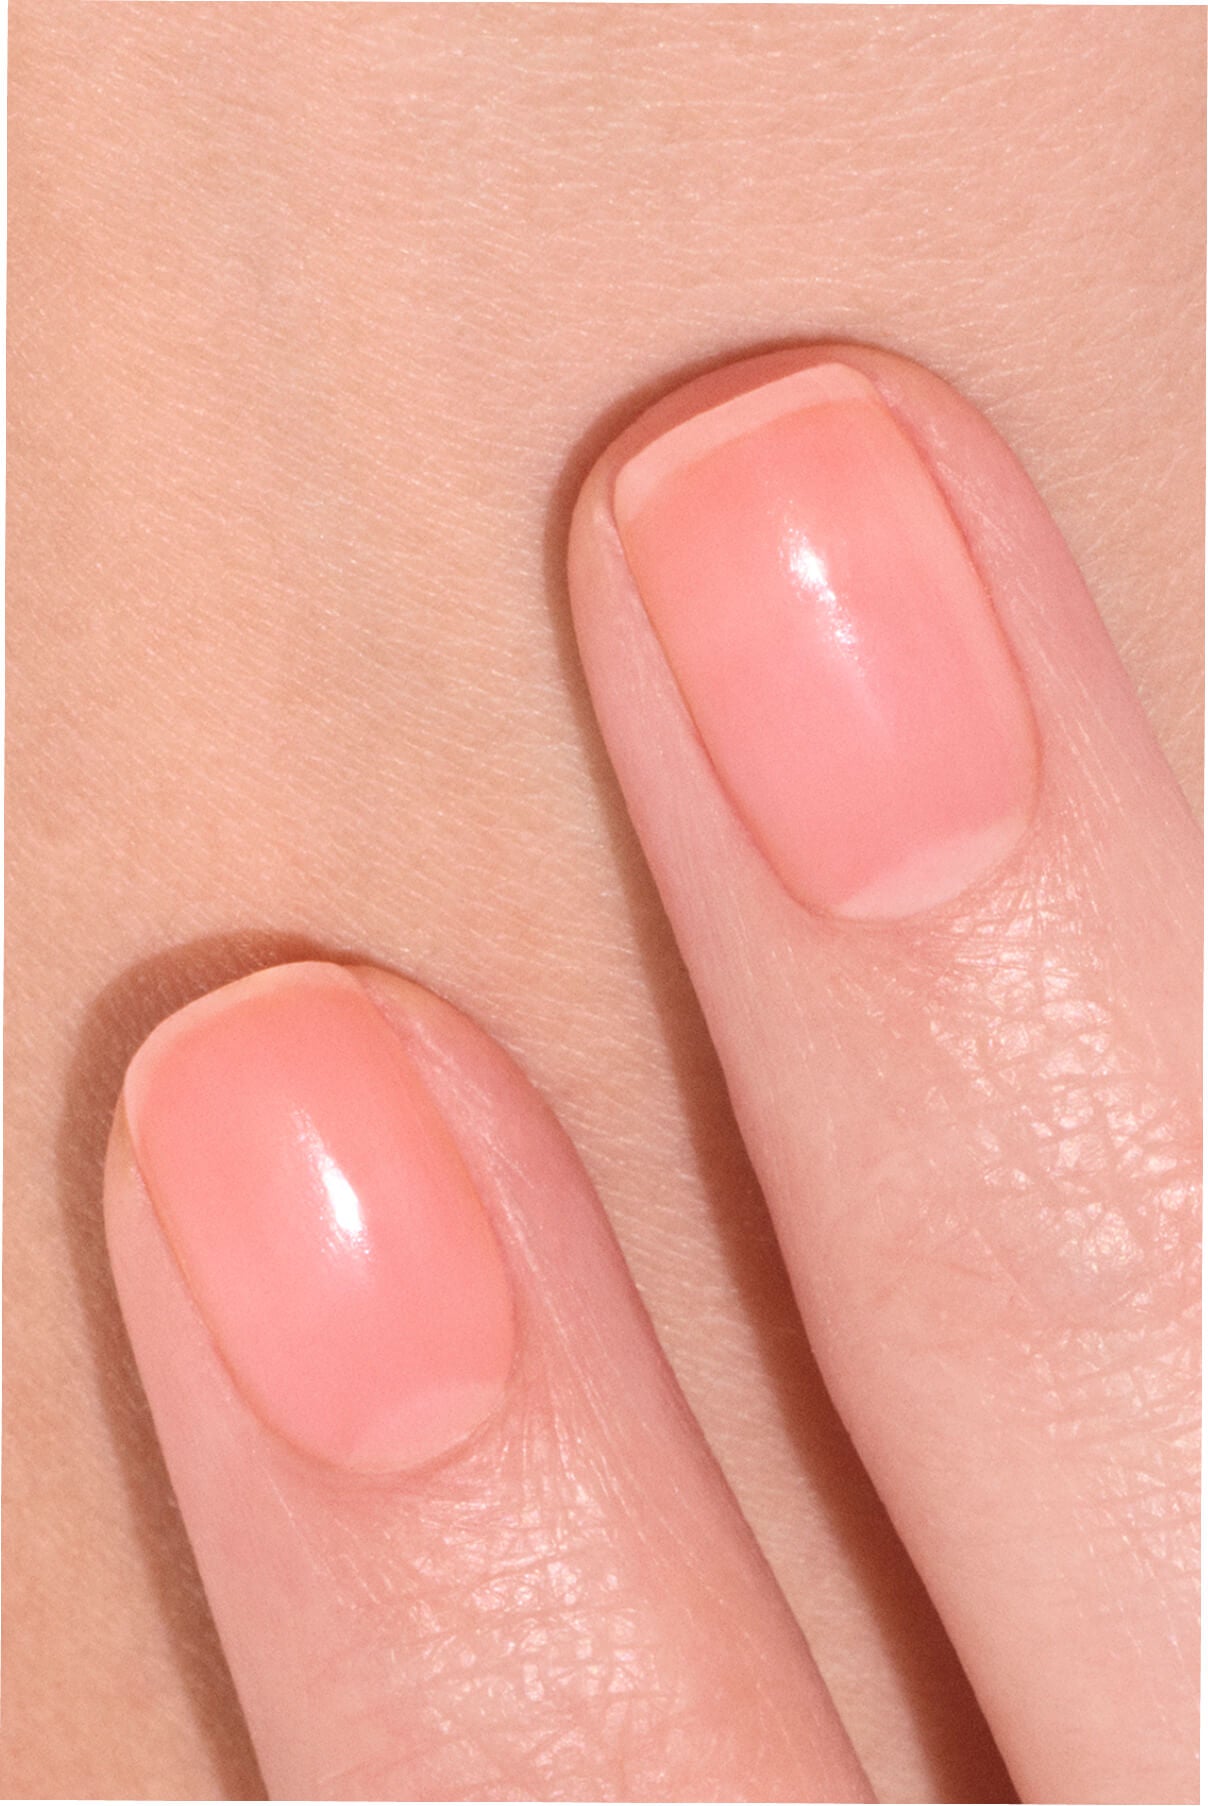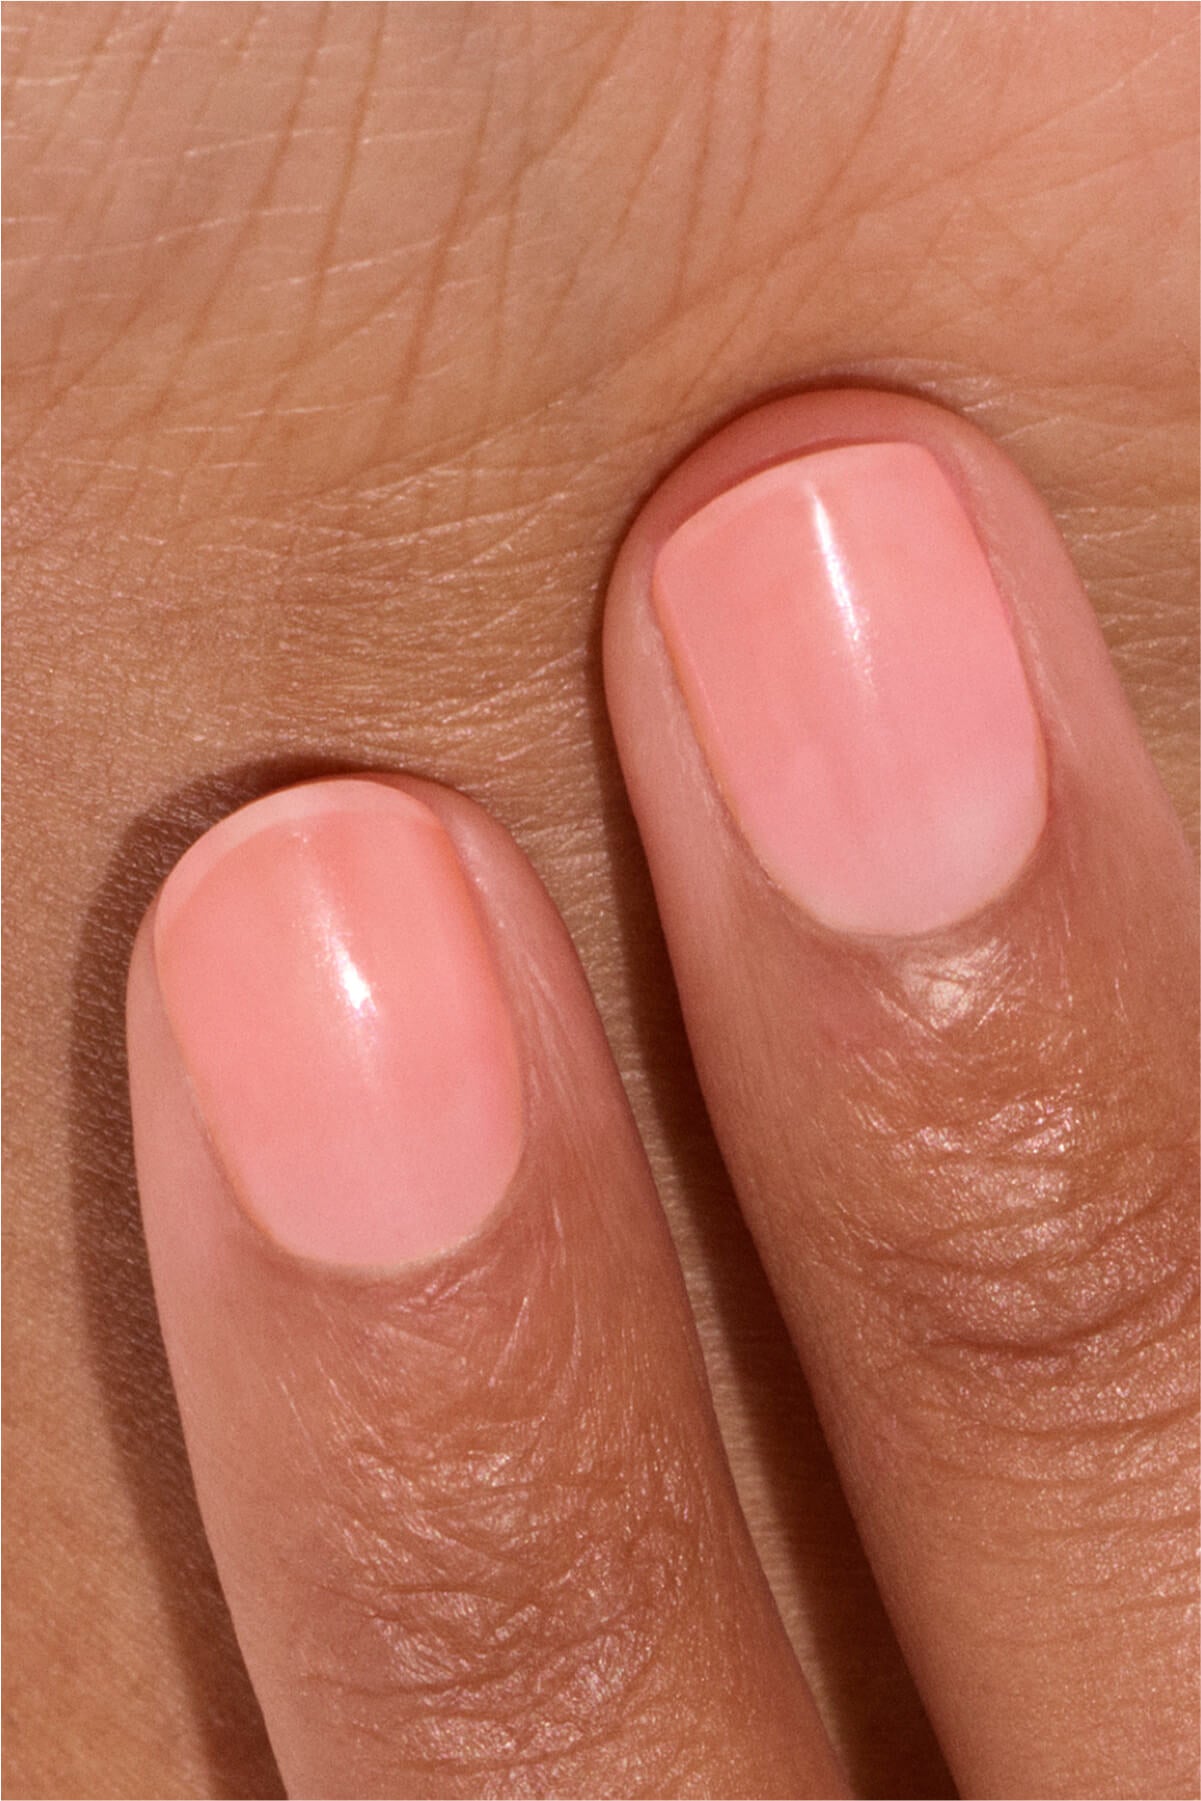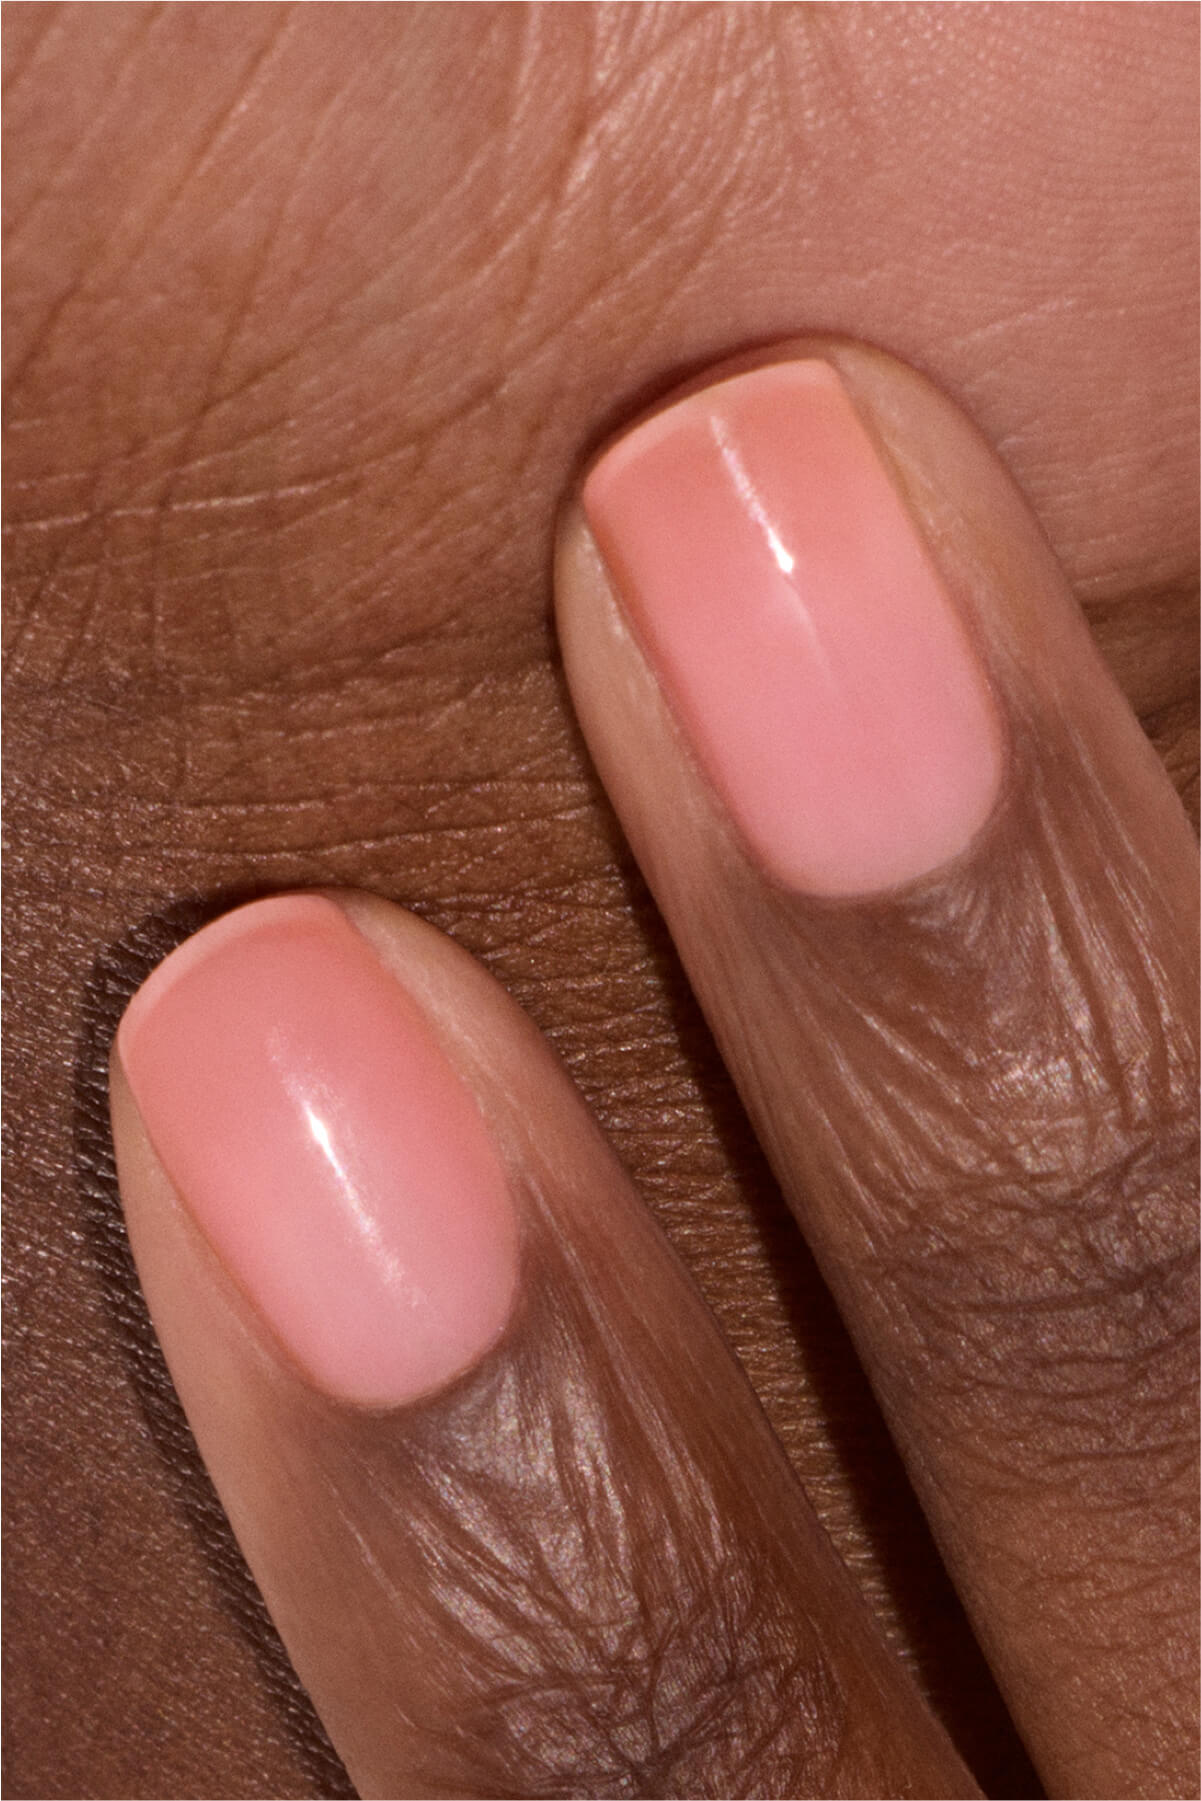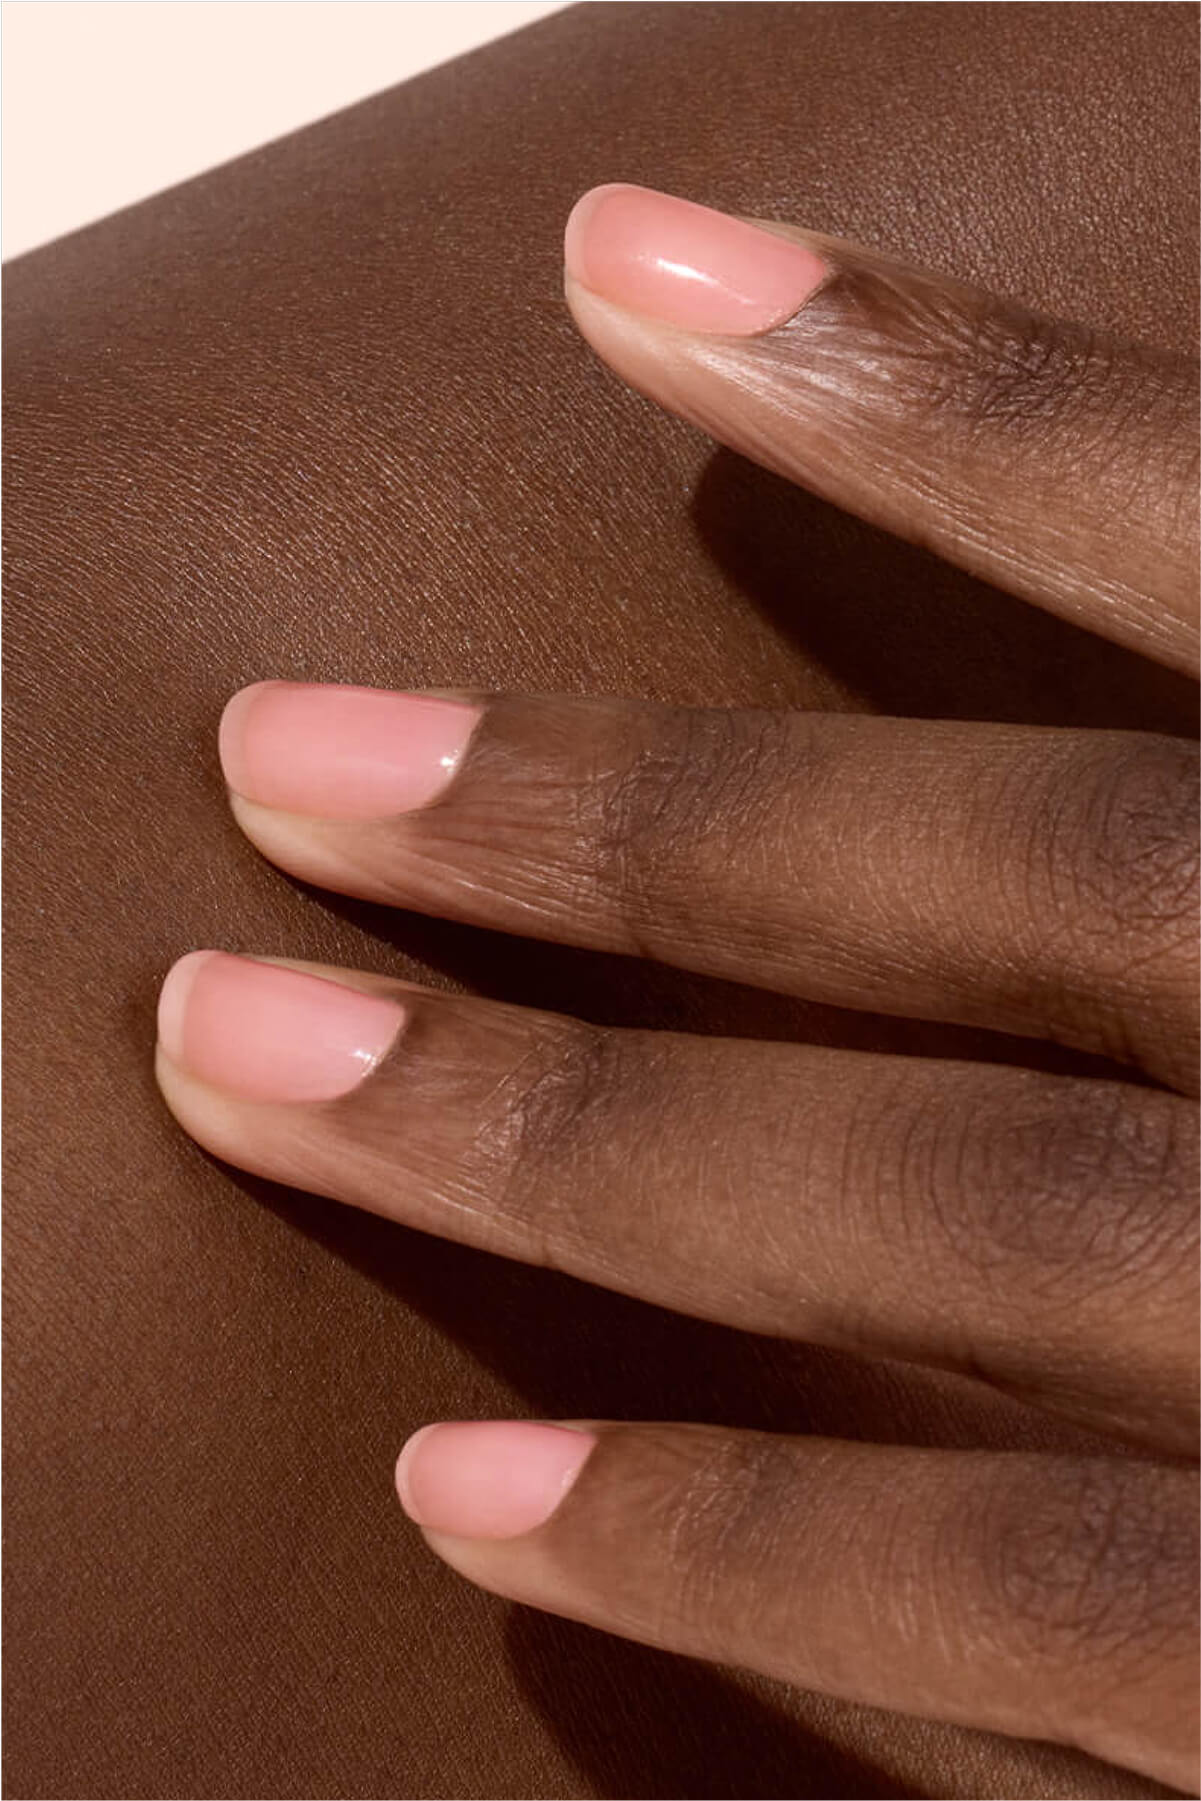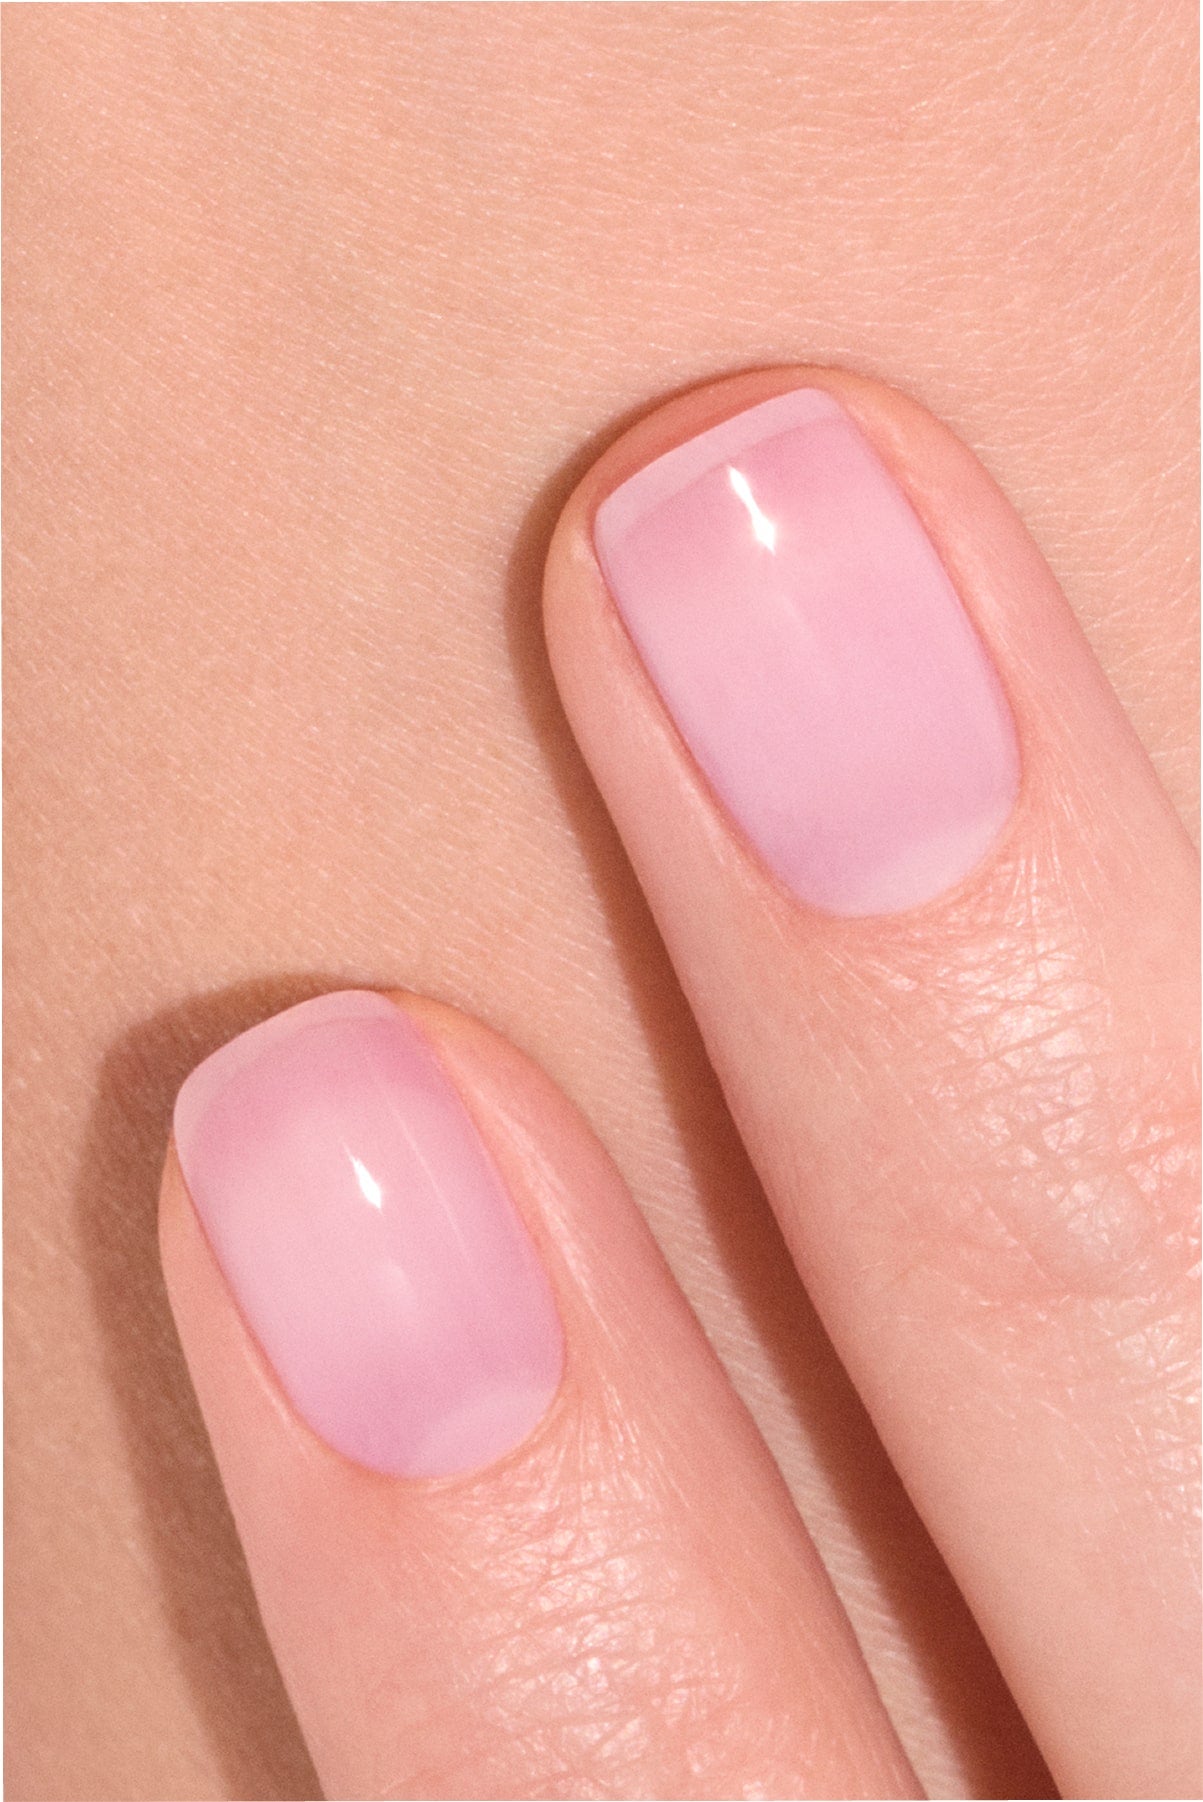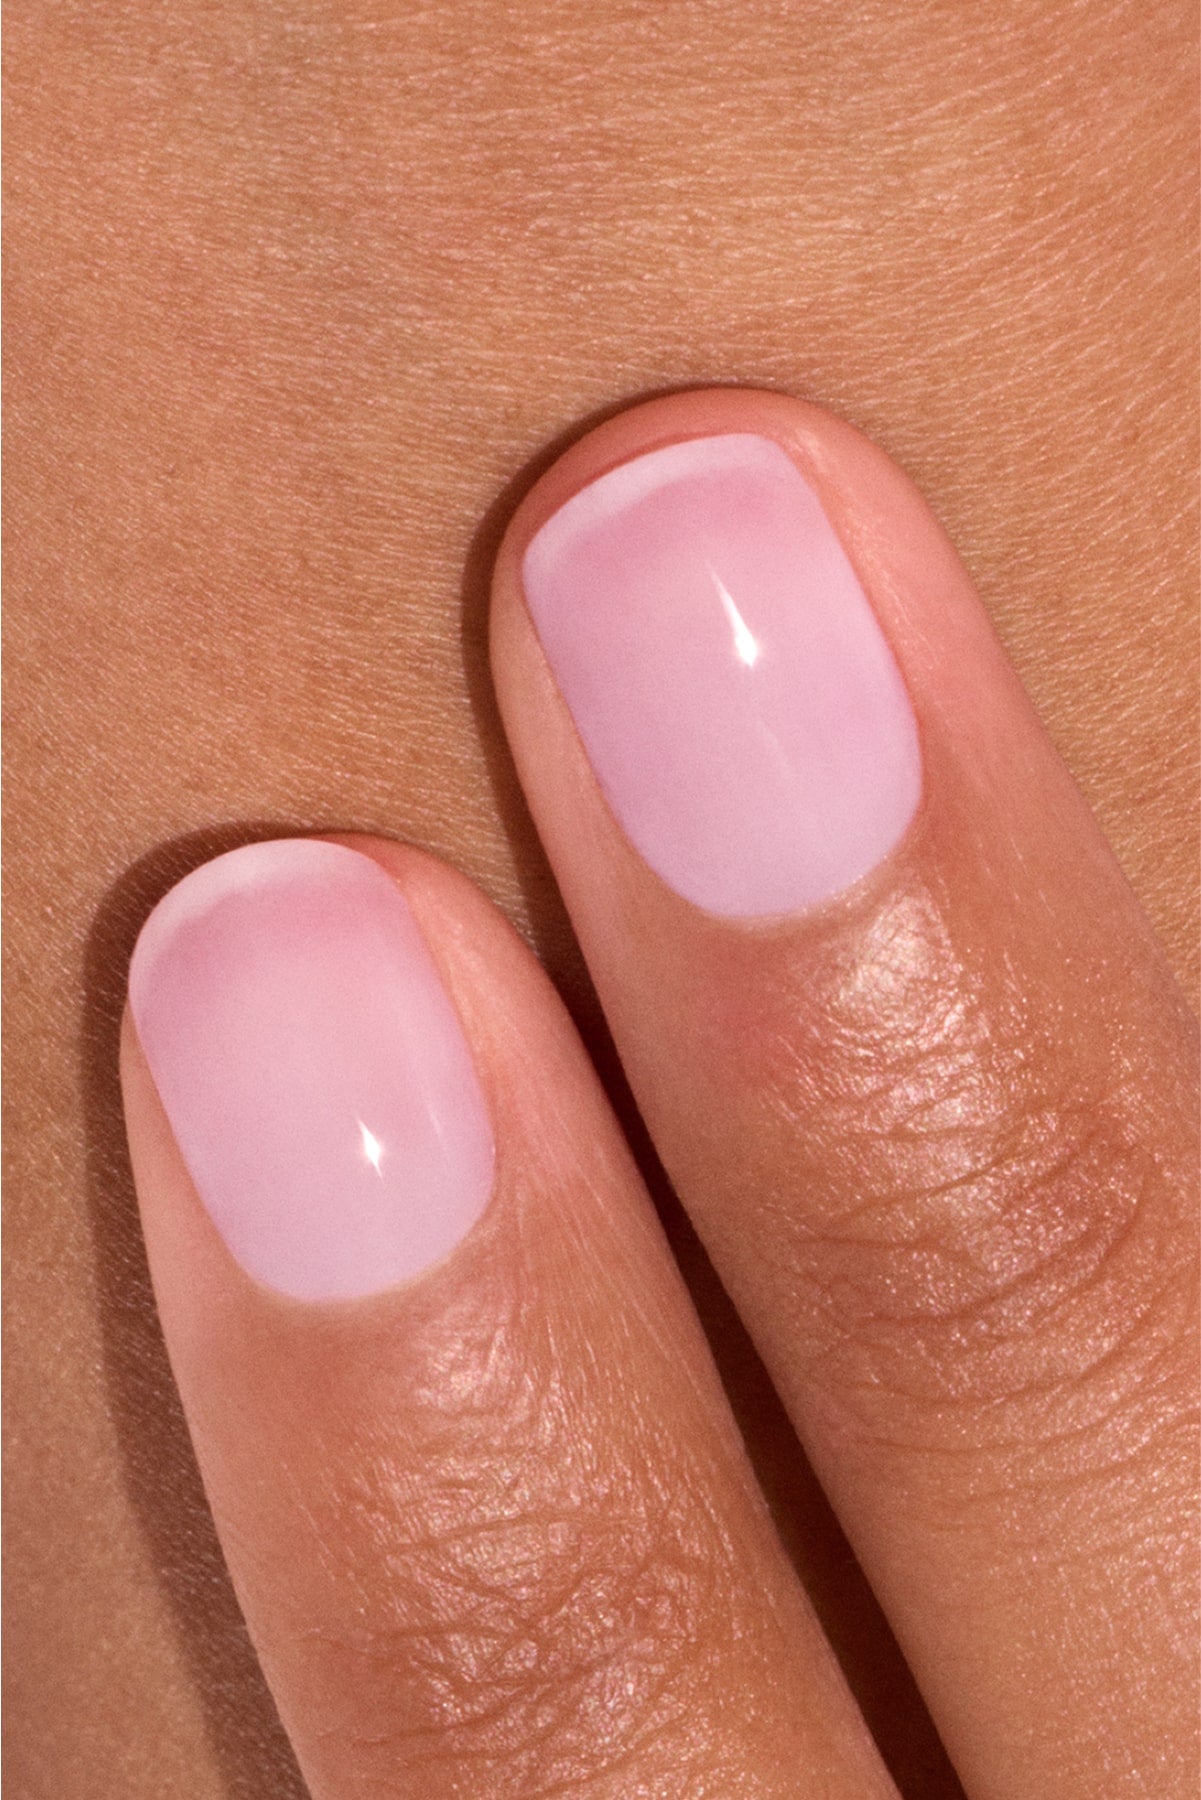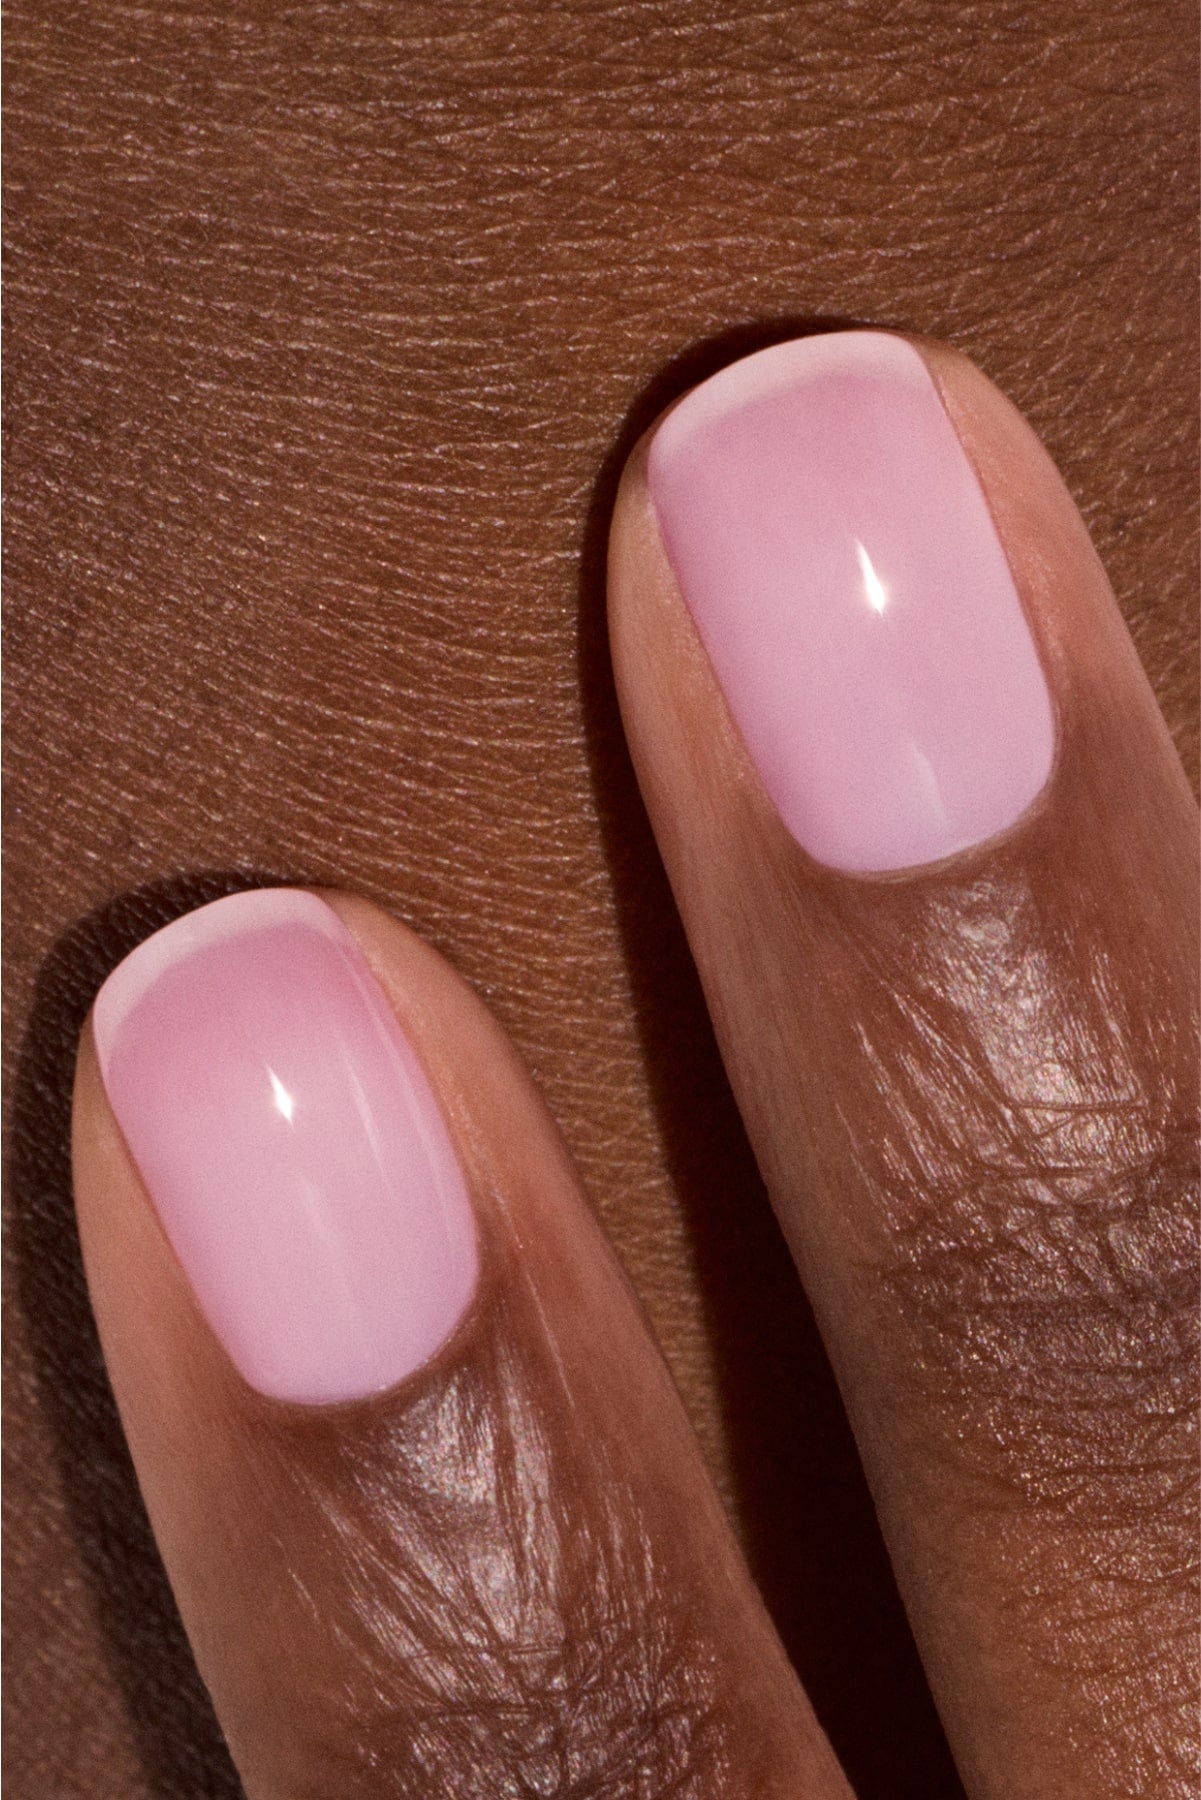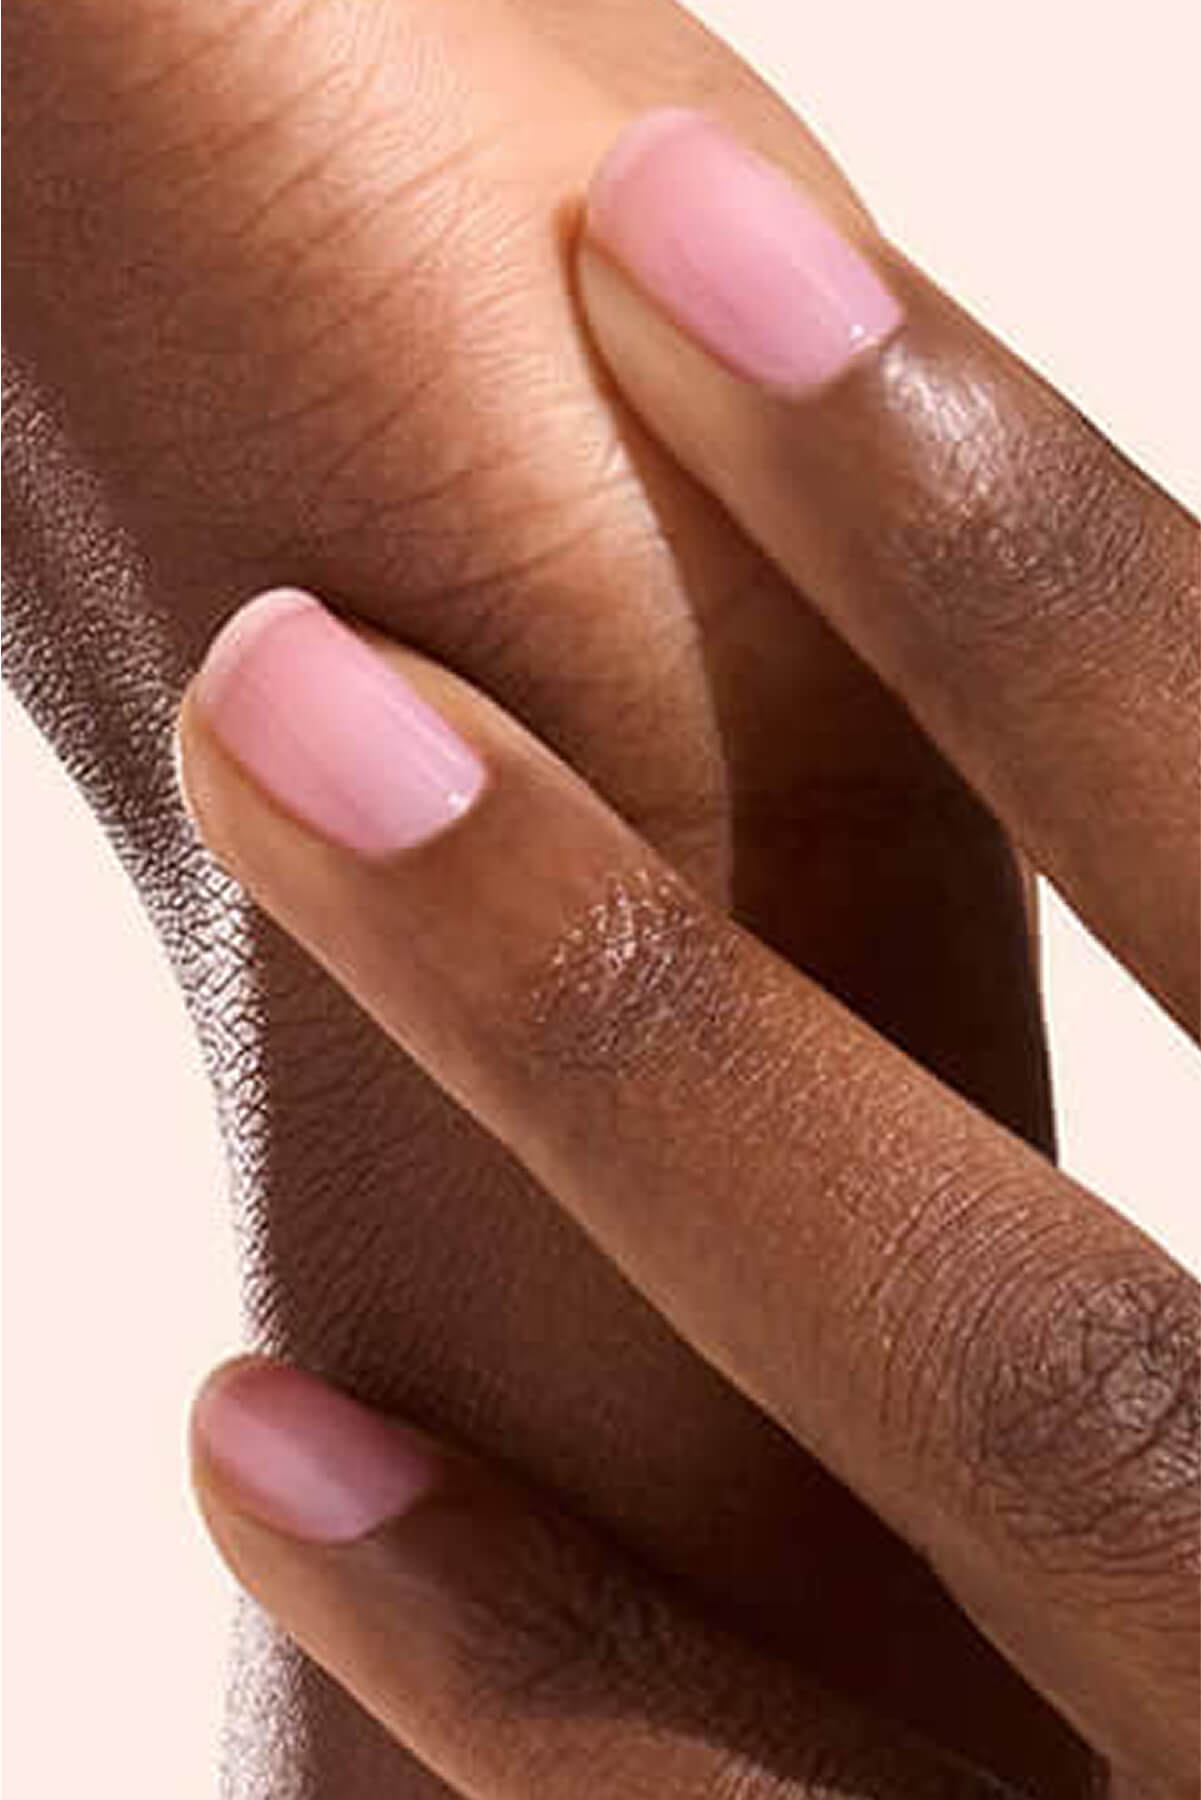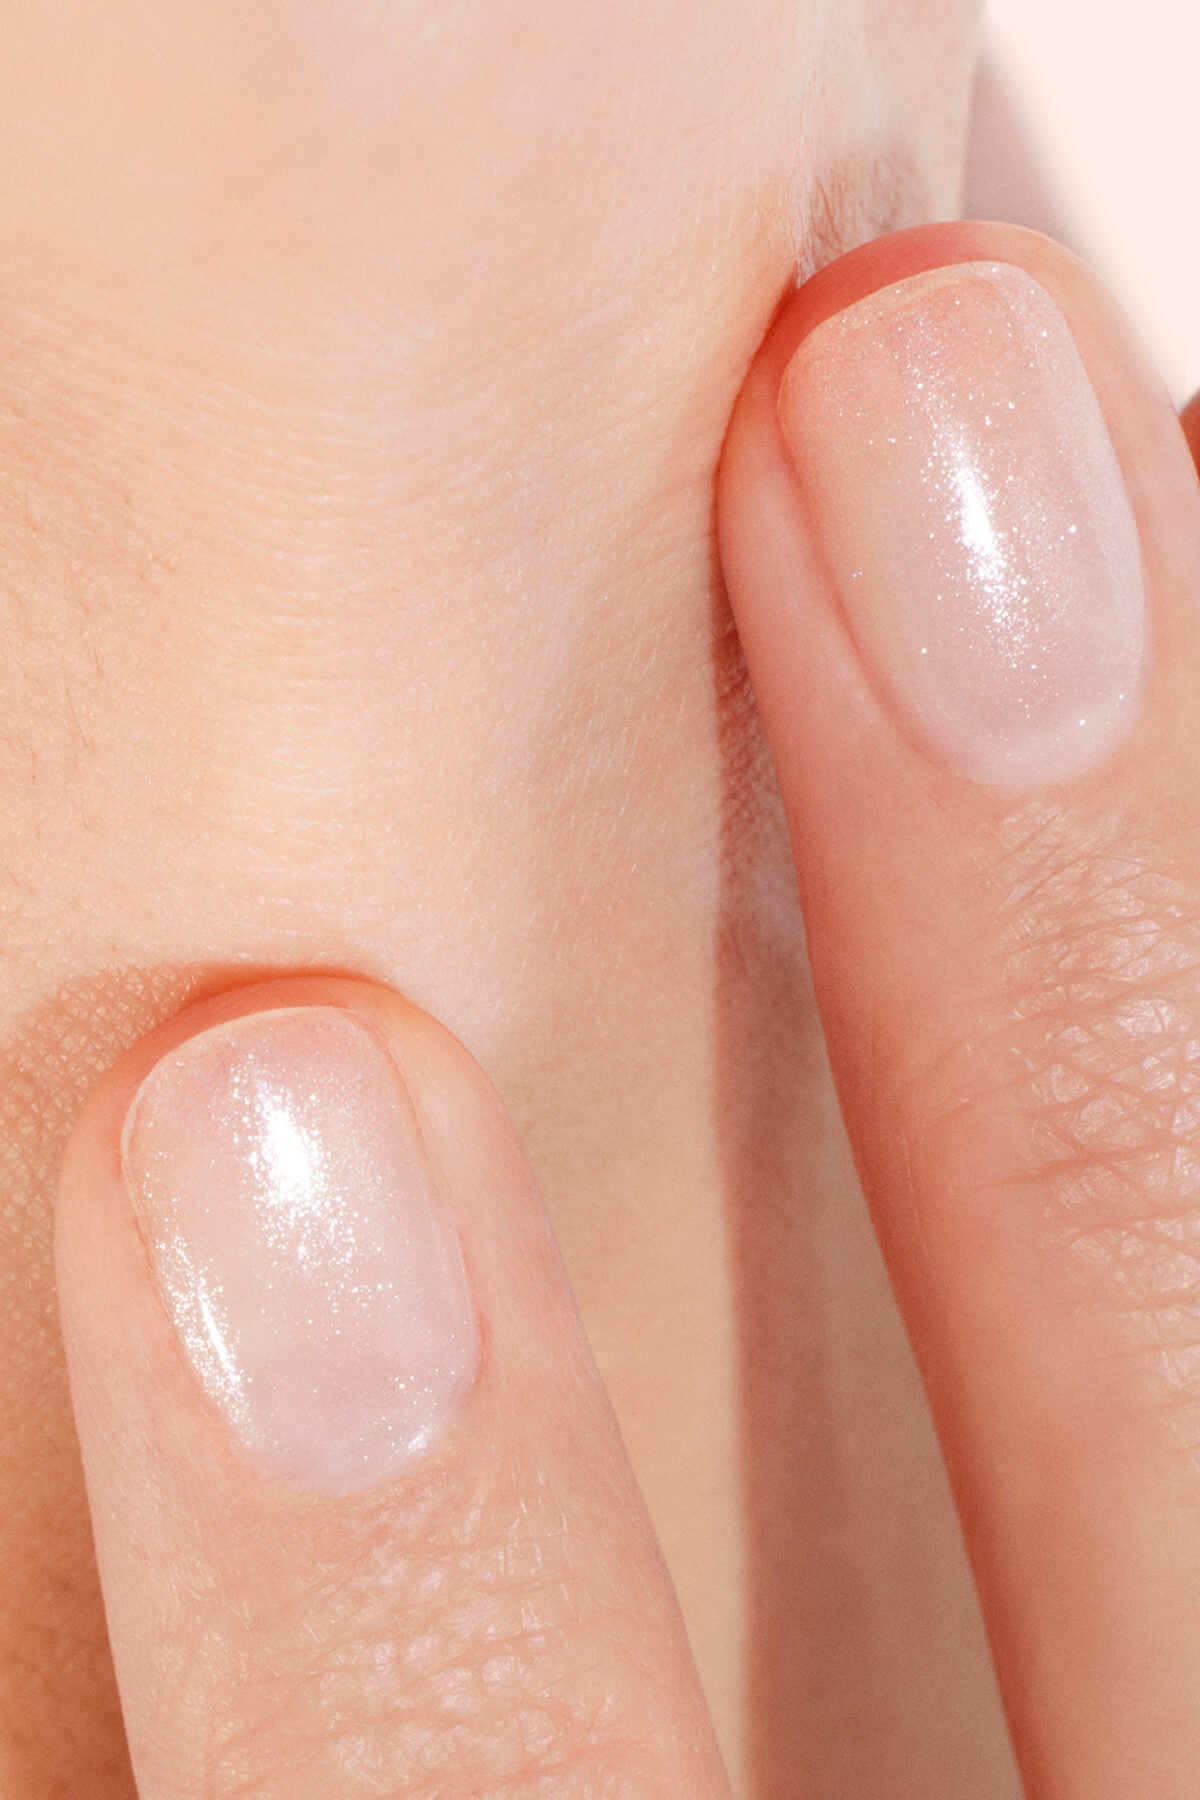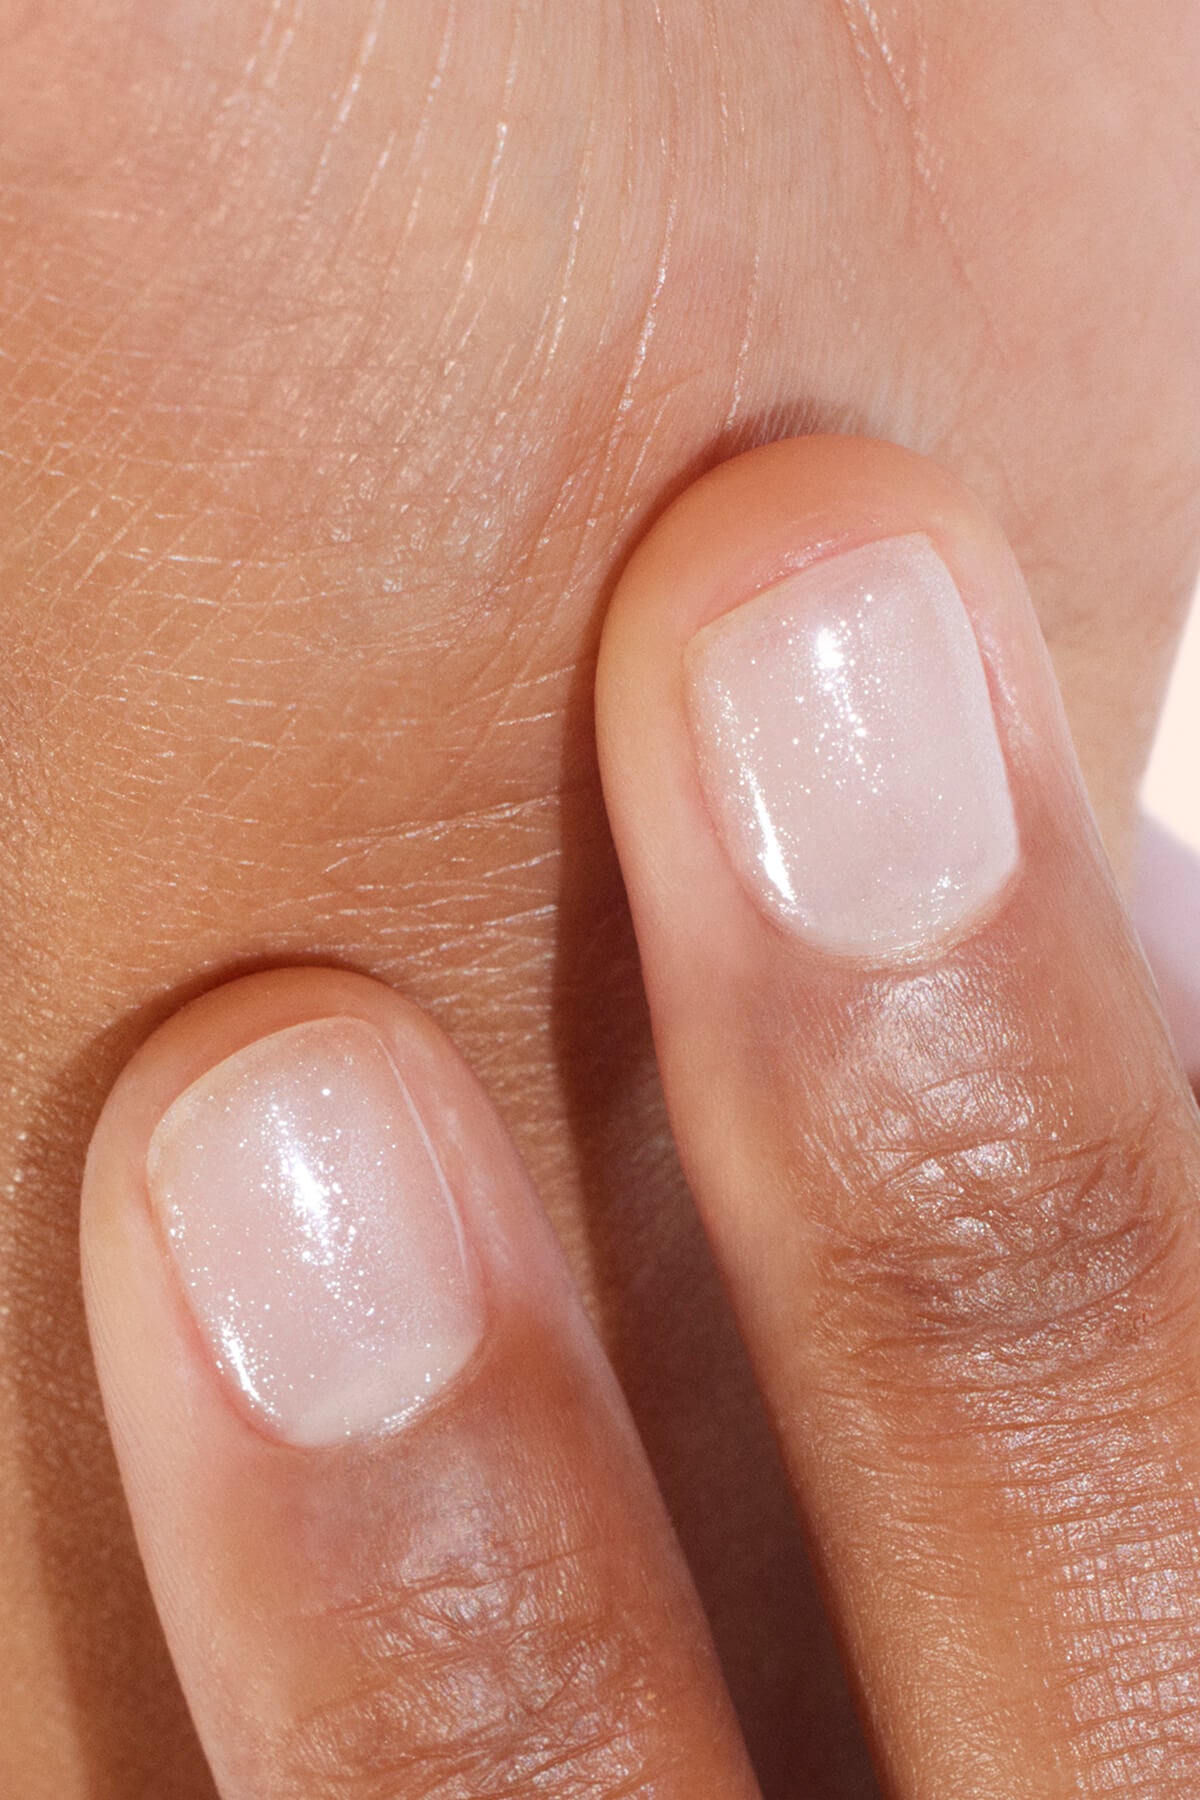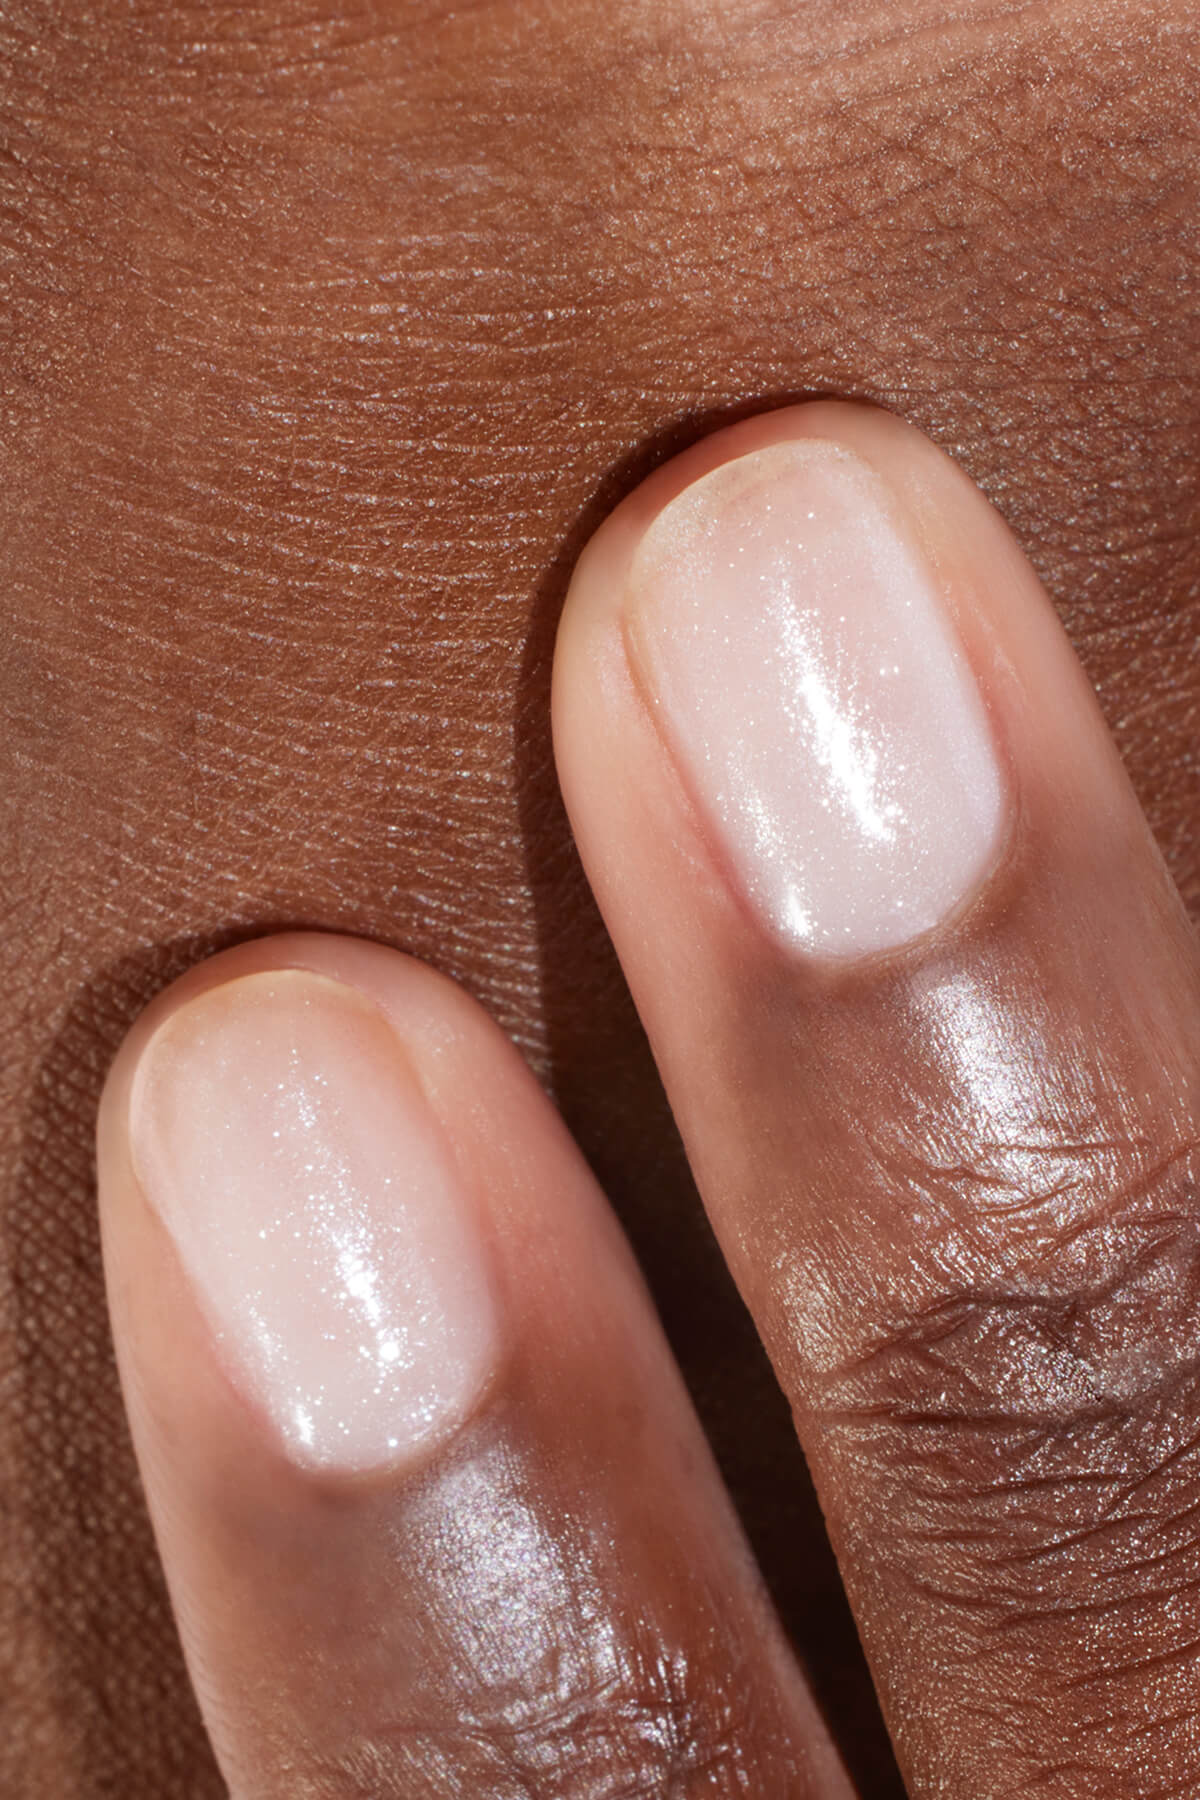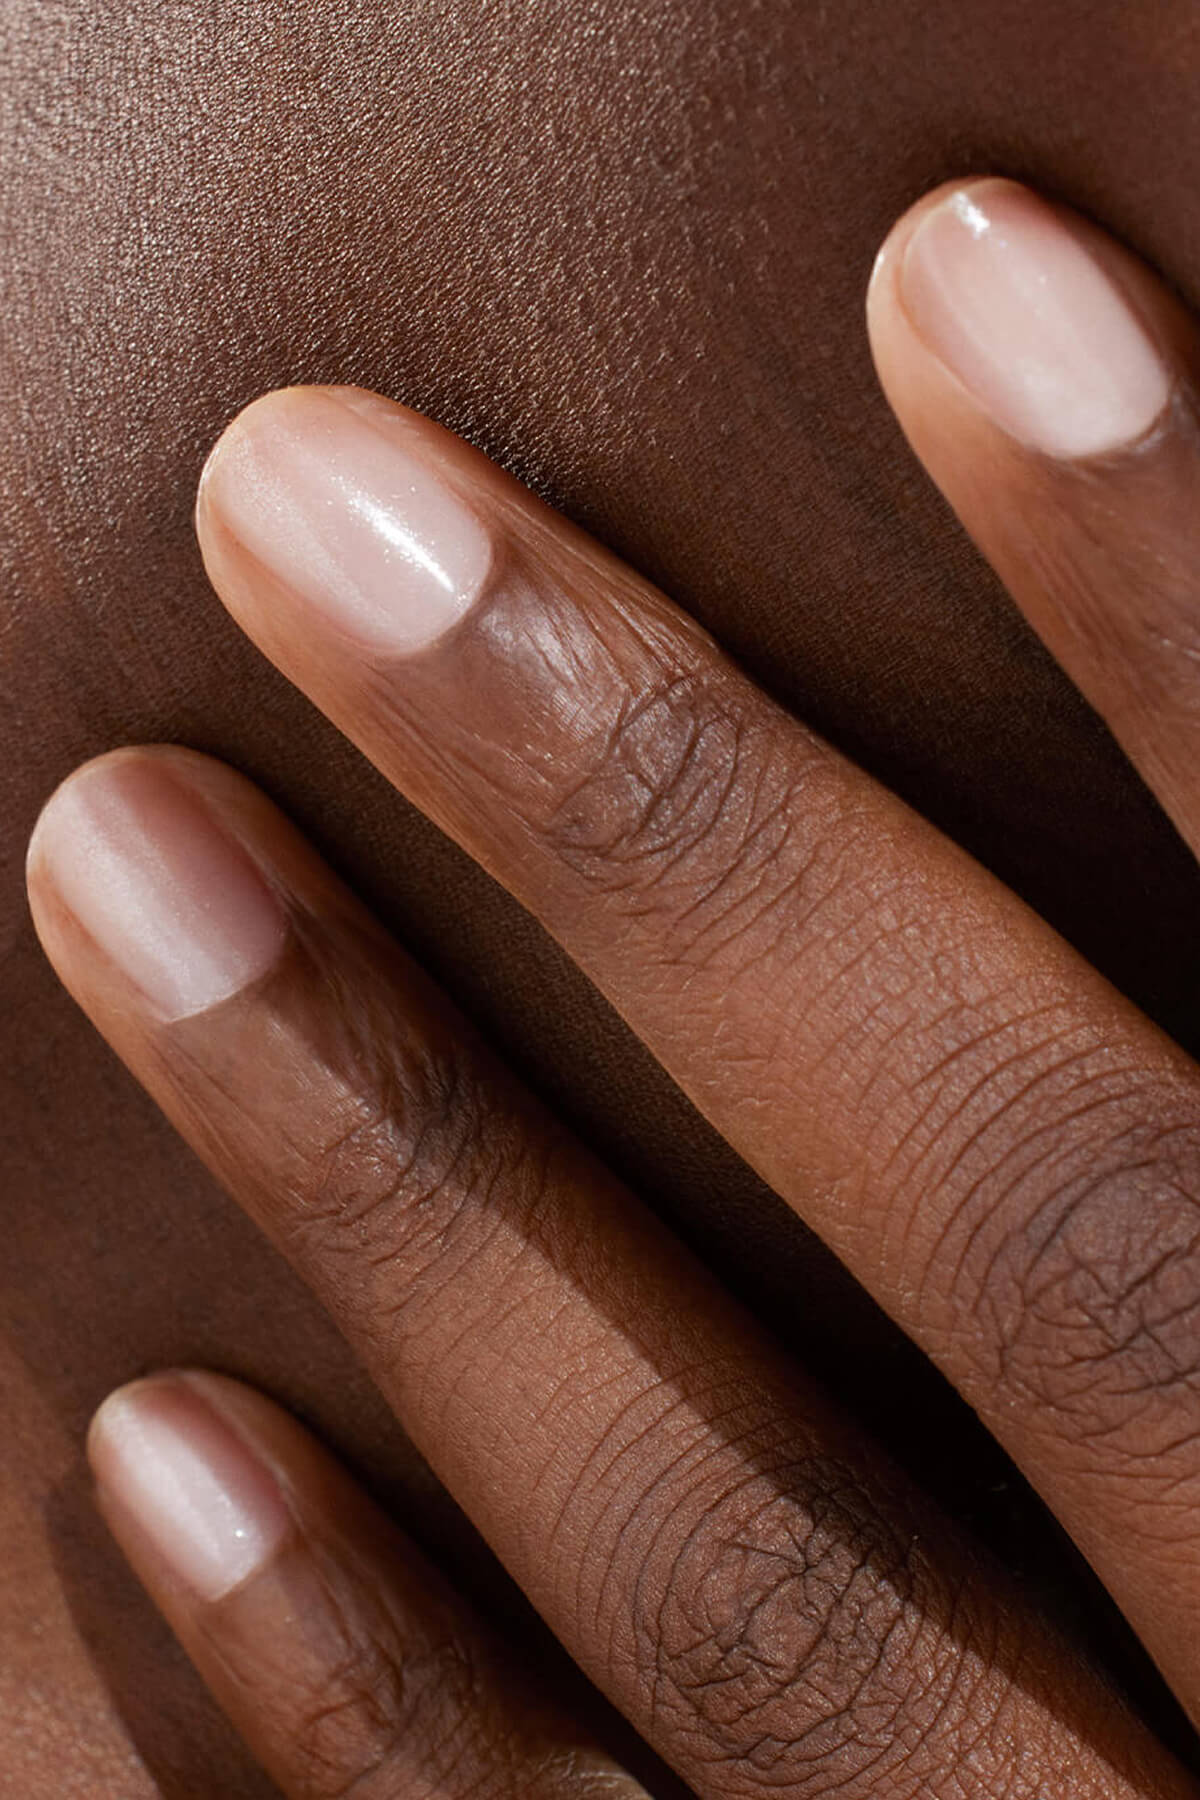


Pink blush, blue orange, deep purple or witchy green: aura nails rely on colour and originality to bring character to your nails. Discover this ombré nail art style, our top inspirations and the technique to easily create your aura nails at home. Now it's your turn to create the aura that matches your vibe!
What are aura nails?
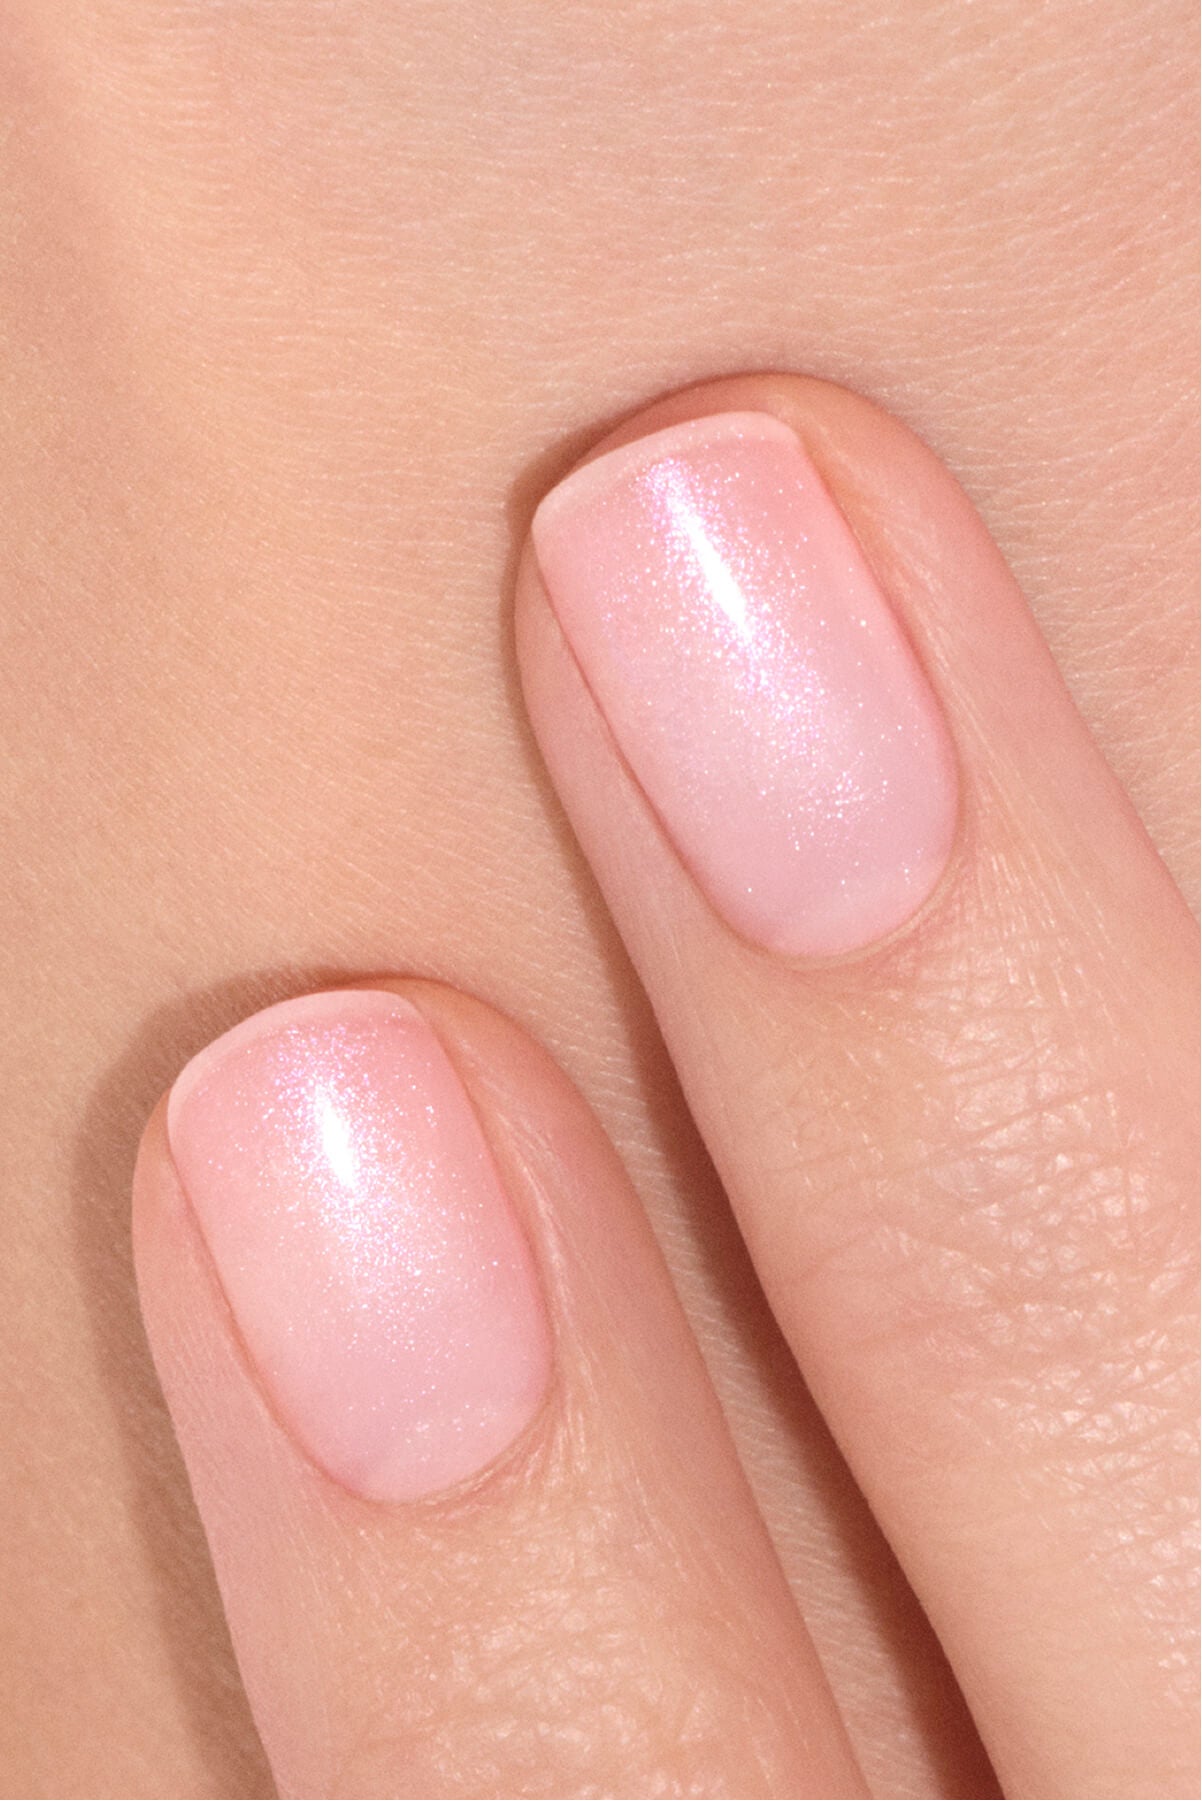
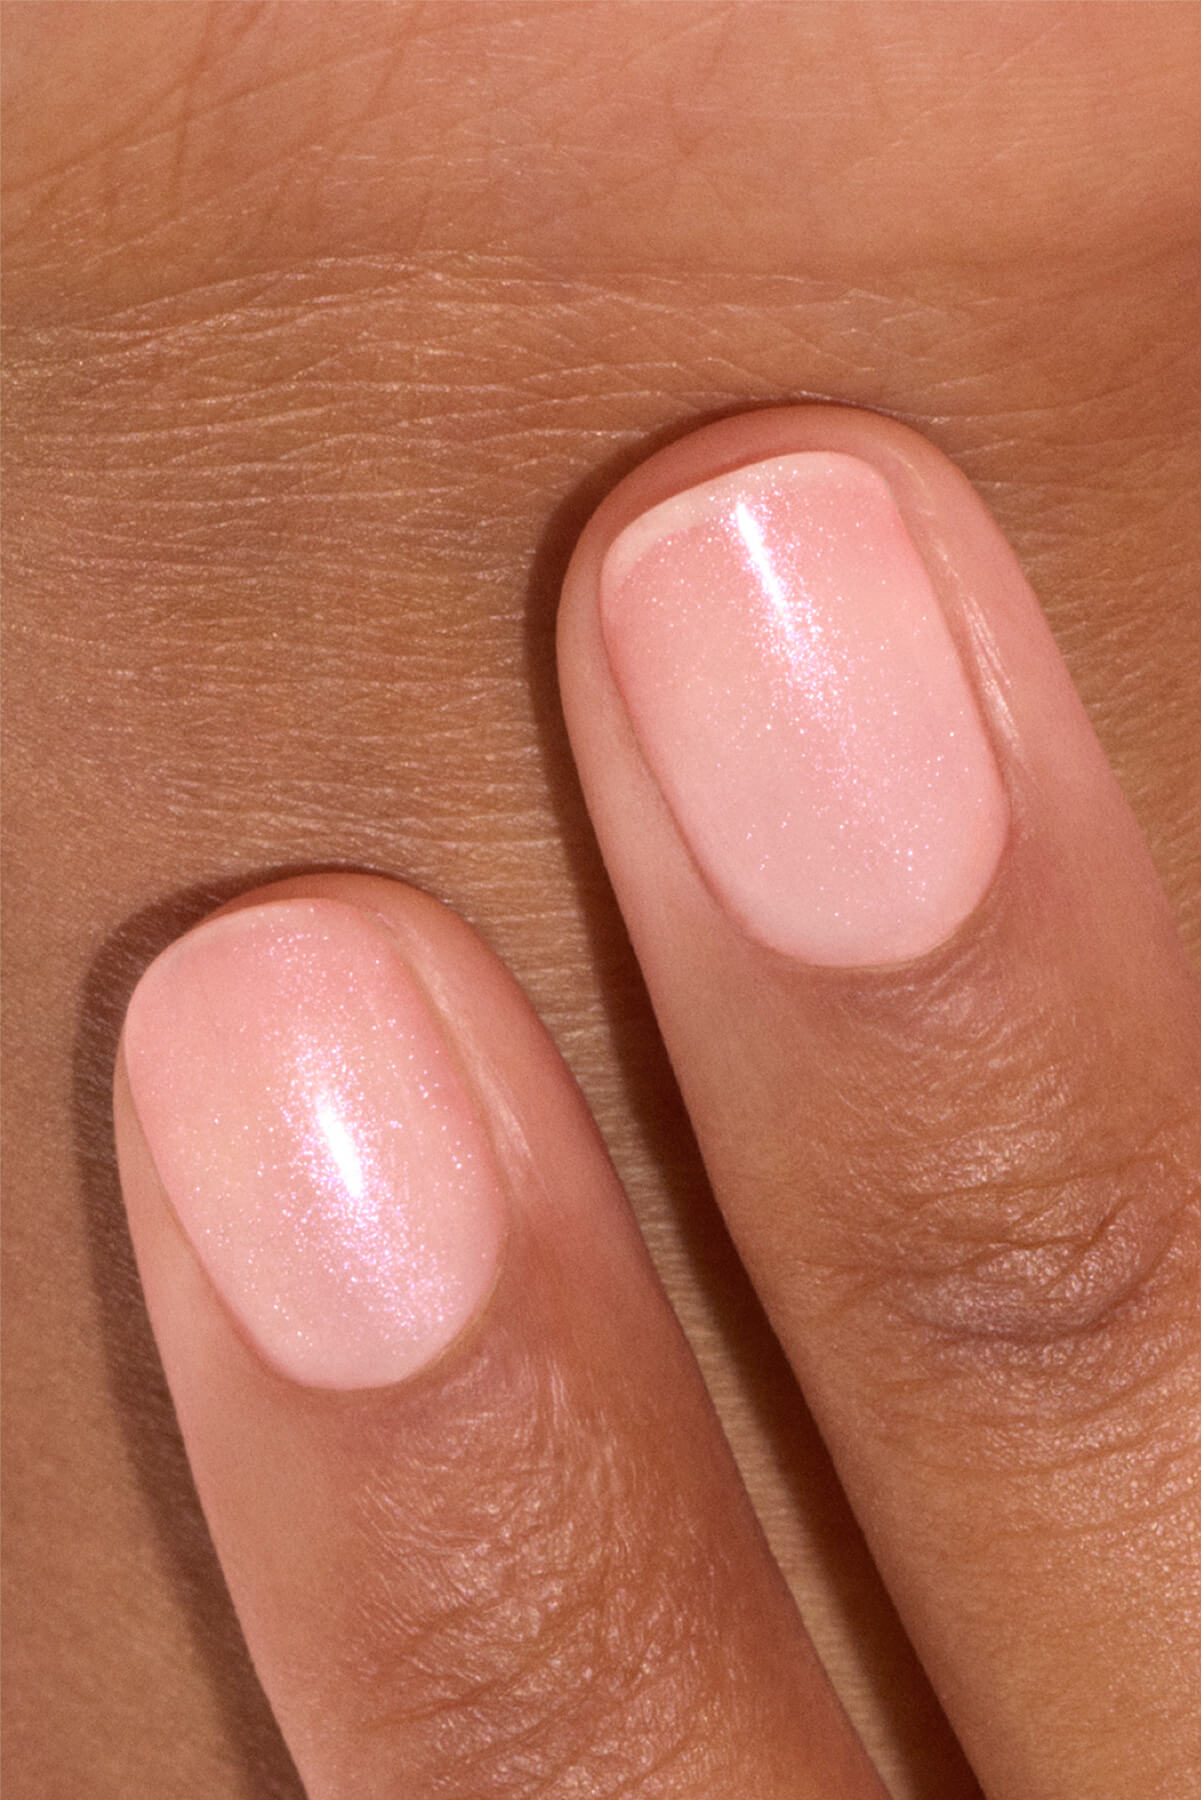
After several seasons dominated by minimalist manicures, aura nails are taking over nail bars once again and putting colour right back at the centre of the game. Their signature look? A diffused halo of colour in the centre of the nail, creating the impression of a glowing aura spreading across the surface.
The principle is simple: one shade acts as a base, then one or more polish colours are blended into the centre of the nail using a smooth gradient. The result can be very soft or, on the contrary, strikingly graphic. That's precisely what makes aura nails so exciting: the technique stays the same, but the nail design possibilities are endless.
Aura nails belong to the wider world of gradient nail art, but shouldn't be confused with a simple colour fade. In a classic ombré manicure, colours usually transition from one edge of the nail to the other. With aura nails, the colour creates a luminous halo in the centre of the nail providing an illusion of depth before fading gently outward.
The great thing is that you can play with two, three or four colours, depending on the intensity you want.

Delicate pastels, bold flashy colours, deep shades or combined with nail art designs: every aura has its own mood! (@look8thenails, @matejanova, @cristinaccalvo)
Soft aura nails for everyday wear
Love this nail design but want an easy-to-wear everyday version? Start with colour combinations that are close or subtly contrasting. It will make an impact without being overly dramatic.
Pastel aura: Pink Aura
For pink aura nails with a gorgeous blush effect, opt for Hortencia as a base, then create a halo by combining Hortencia and Neon Pink. The secret to keeping that airy, soft-focus finish? Don't overload the sponge with colour. Applying several light layers allows you to build the halo gradually and maintain a beautifully controlled blend.
Orange aura: Mango Aura
Bring on the sunshine with Abricot as a base and an Abricot and Sunset duo for the halo. This combination works wonders on short or rounded nails: the colour immediately adds dimension to the manicure without needing extra patterns.
Blue aura: Ocean Glow Aura
Fancy mermaid aura nails? Apply Bubble as a base and play with Bubble and Pop to create the aura. The perfect combo for an ultra-fresh & trendy result. Shades of blue work particularly well to play with depth.

Over a pastel base, opt for a deeper shade in the centre to enhance the depth effect. (@m.o.n.a.j, @cristinaccalvo, @look8thenails)
Bold aura nails
Prefer manicures that make a statement? Good news: aura nails are amazingly suited to bold colour pairings.
Sunset aura: Red Orange Aura
Why choose just one colour when you can create a blazing sunset right on your fingertips? Alternate Capucine, Coral Reef, Abricot and Spicy as a base and in your aura to build a warm gradient inspired by the shifting shades of a sunset. Here, each nail can have its own combination. No need to aim for perfect symmetry: the blend of shades is precisely what creates this gorgeous effect.
Burgundy aura: Deep Purple Aura
Purple shades bring a sophisticated edge to aura nails. Use Grenat as a base, then combine Grenat and Rosewood to create a gradient as rich and captivating as a fine vintage wine.
Halloween Aura
As Halloween approaches, aura nails are part of the fun. Here are two variations:
- Bloody Aura: for a dark, romantic finish, go with Licorice as a base and blend this polish shade with Red Velvet in the centre.
- Witchy Aura: for a "magic potion" vibe, apply Poison as a base and create a halo effect with Poison and Mint to create an unexpected… and bewitching contrast!

Calling all colour addicts: aura is the ultimate nail art to experiment with contrast effects and daring colour combinations. (@look8thenails, @m.o.n.a.j, @shanivynails, @mani.minimalist)
Twisted aura nails
The great thing about aura nails is that they don't stop at a single colour halo. Once you've mastered the technique, you can combine your aura nails with a French manicure, nail art patterns or graphic accents. The sky's the limit!
Aura & French: Guava Aura
Take the Hortencia & Neon Pink duo that creates that lovely Pink aura effect and add Lime to the free edge of your nails for a truly punchy anise green French manicure. The result retains the signature aura nails halo while adding a graphic touch. A great option for anyone wanting to try the Aura trend without giving up the structured look of a French manicure.
Fruity aura: Passion Fruit Aura
For a vibrant manicure, start with Candy as a base, then Candy and Neon Pink in the centre. Top it off by drawing tiny "seeds" with Mimosa and Clove. The result? A passion fruit-inspired nail art look! A playful idea showing that aura nails can serve as the canvas for more intricate designs.
Aura & hearts: Valentine's Day Aura
How about adding a playful twist to the aura effect? The Hortencia and Rose duo is adorned here with tiny hearts drawn with Snow for an ultra-romantic manicure, perfect for Valentine's Day nails! The motif can be placed right in the centre, slightly off-centre, or featured on just a few accent nails. You choose the level of detail!

Let's play with colours! Mix and match your aura nails freely with other nail art designs. (@look8thenails, @cristinaccalvo)
How to create aura nails at home
Good news: aura is an accessible nail design that's easy to recreate at home, using classic nail polish or gel polish.
🪄 The magic tool to achieve this is the nail art sponge. It lets you apply colour gradually and create that famous diffused halo for a seamless gradient with no visible lines between colours. The Manucurist nail art sponge is made of ultra-fine foam that ensures an even blend for salon-worthy results.
👣 Let's get hands-on with our step-by-step tutorial:
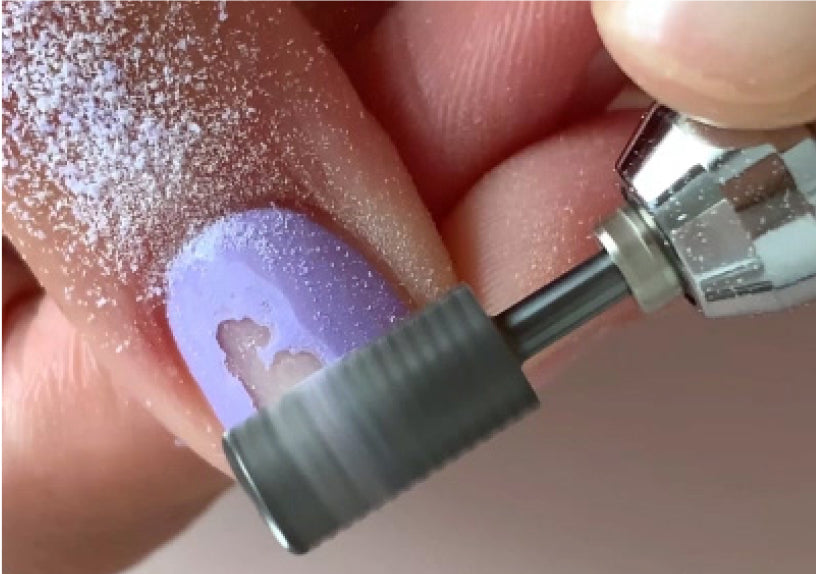
#1 Prep your nails: this step is essential to ensure your aura nails are a complete success. File your nails to give them a neat shape. Gently push back your cuticles. Then buff the surface to open the keratin scales and optimise polish adhesion. Finally, cleanse and degrease your nails to remove oils and dust.
#2 Apply your polish: start by applying a layer of Green™ Base Coat or Green Flash™ Base Coat and let it air-dry or cure under an LED lamp depending on the polish range. Next, apply the Green™ or Green Flash™ shade that will serve as your base and let it dry thoroughly.
#3 Create the halo: on your nail art sponge, use the brush tip to place a dot of your central polish colour (usually the lightest). Ring it with a circular stroke of the secondary colour (usually your base colour), leaving no space between the two. Gently dab the centre of the nail to create the halo, without trying to achieve full intensity right away. Repeat several times to build up colour gradually and ensure a smooth, seamless gradient.
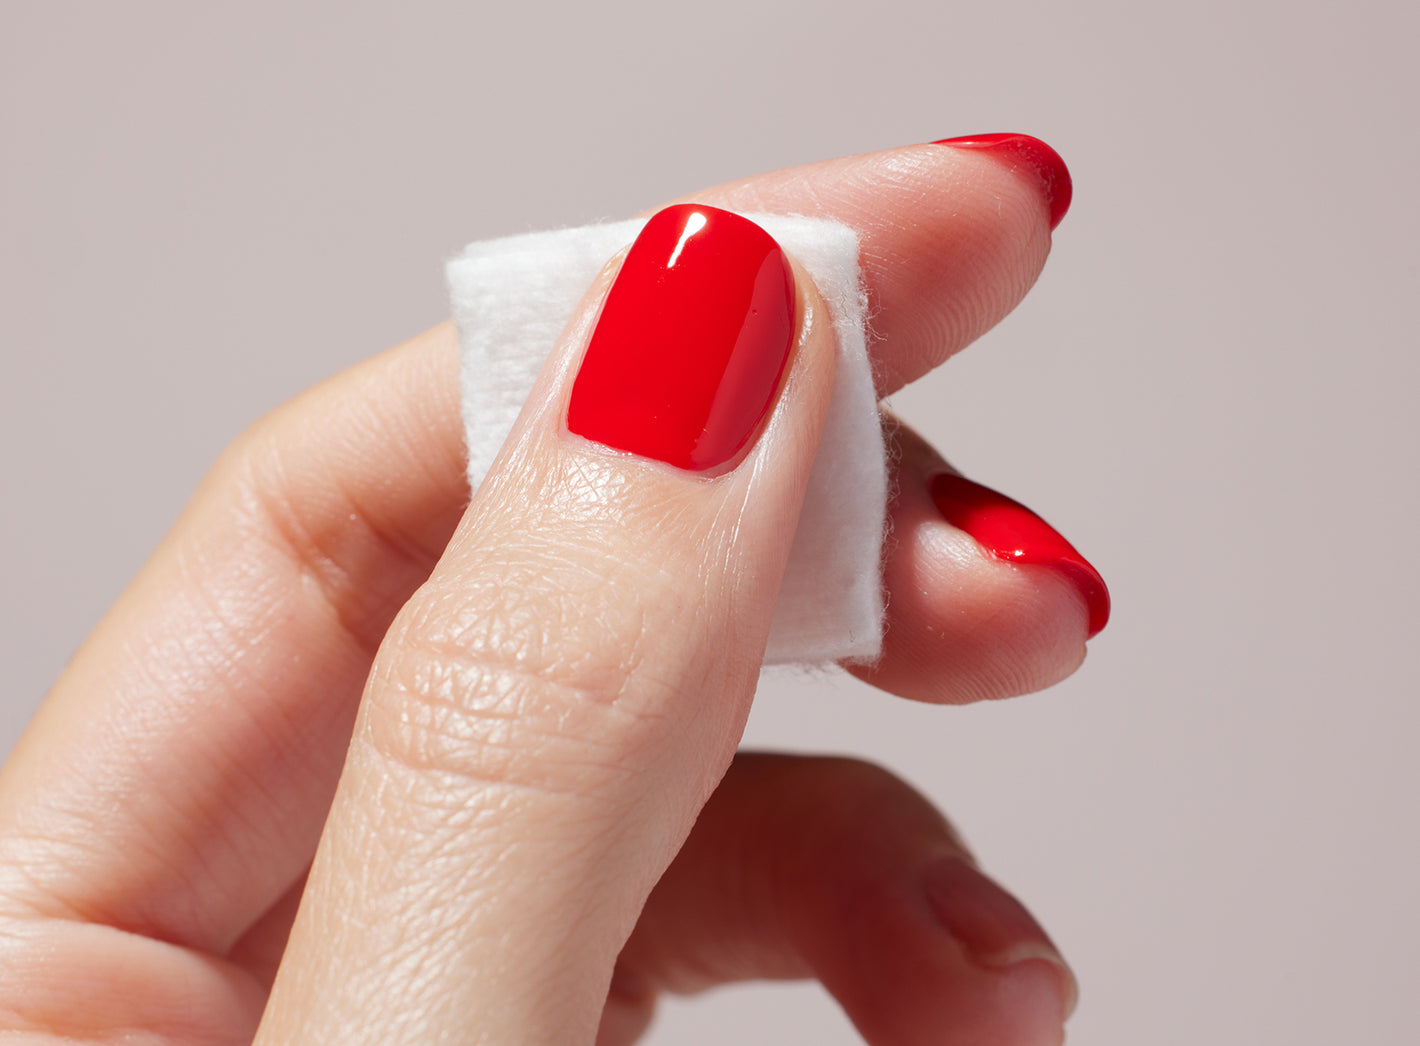
#4 Clean up any overflow left by the sponge using a corrector pen or a cotton swab soaked in gentle remover.
#5 Finish the manicure by applying a layer of top coat to protect your nail art and add a touch of shine. Use the top coat suited to your nail polish: Sunshine Top Coat (7-day wear time) over Green™ polish, Green Flash™ Top Coat (12-day wear time) or Xtrem Flash™ (21-day wear time) over Green Flash™ gel polish.


Choosing your colours to match your aura
To nail your aura look, colour choice is just as important as technique. For a subtle finish, opt for two similar shades: soft pink and bright pink, light blue and a deeper blue, orange and coral. For a higher-contrast aura, pair two different colour families.
If you're a beginner, start with two colours. Once you've mastered the technique, gradually add a third shade, then patterns or a French manicure.
You can also start from a colour you love and build your palette around it: a light shade as a base, a more intense colour in the centre, then optionally a third shade to enhance the halo.
⚠️ Please note: don't worry about copying an inspiration look exactly. The same colour duo can yield a completely different result depending on the amount of polish applied, the size of the halo or the number of dabs with the sponge. Aura nails are made to be personalised!
As you can see, aura nails offer endless possibilities: soft and delicate pastels, vibrant and colourful pops, deeper tones or twisted with a French tip. Proof that a single technique can yield completely different manicures. To get started, choose two colours you love, grab your nail art sponge and let the magic of colour take over.