

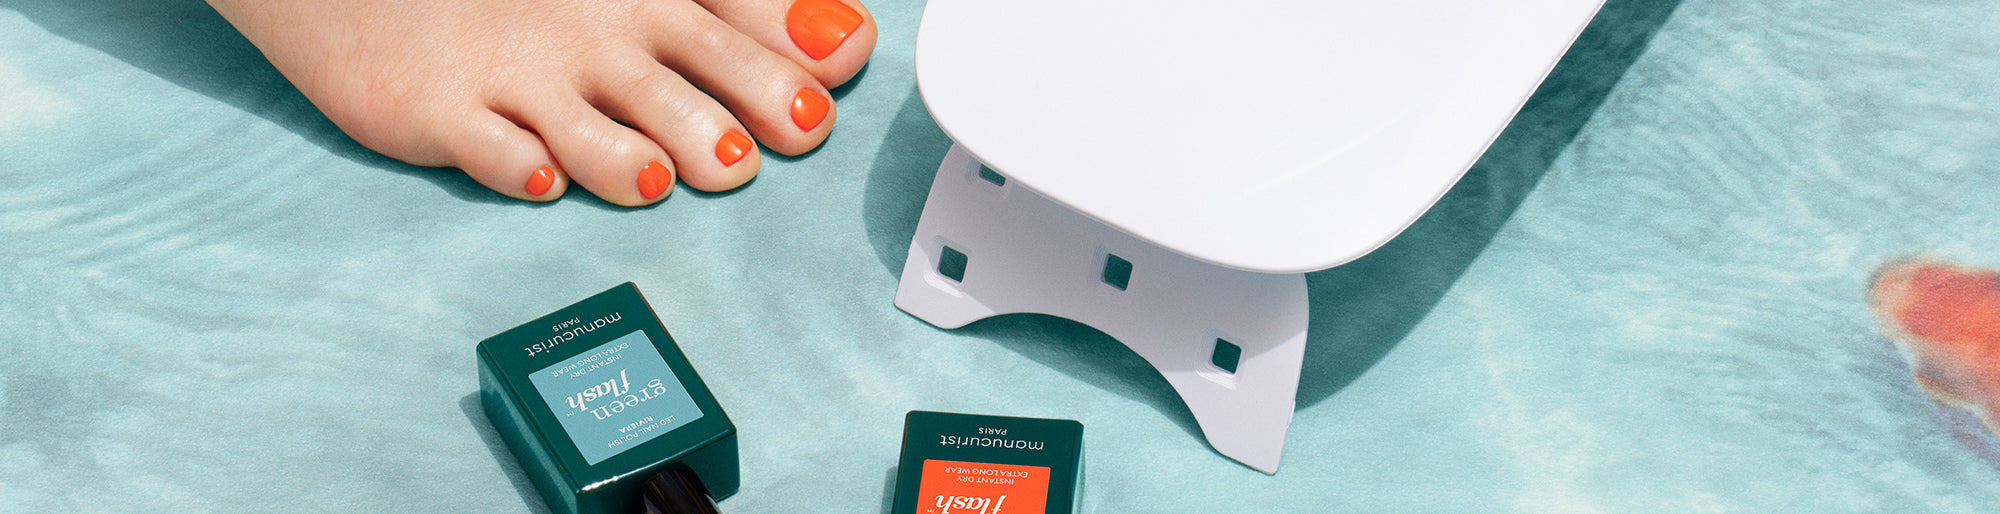
Nothing beats not having to worry about how long your pedicure lasts with a long-lasting nail polish, featuring pigmented colour and intense shine. We unhesitatingly opt for gel polish, but not just any kind: discover all our recommendations for flawless application and removal.
Which gel polish should you choose for toes?
There is nothing better than gel polish on your toenails so you do not have to worry about polish wear during the summer. However, not all gel polishes respect the nail's keratin layer, the main barrier against external stressors. Gel polish removal can also be damaging to nails, as traditional formulas often require salon removal with an electric file.
When choosing gel polish for your toes, we can only recommend using Green Flash™ polish: the green and clean alternative to gel polish. Its up to 84% bio-sourced formula delivers intense colour, mirror shine for up to 10 days, and a removal process that does not damage your nails.
Removal is done with an acetone-free nail polish remover, at home and in under 2 minutes using peel-off technology. To learn more about Green Flash™ innovation, visit our dedicated page.
How to achieve a flawless gel polish application on toes?
Step 1: Filing and buffing toenails
Start by cutting your nails straight across. Then use the Nail File for Natural Nails to slightly round the corners for a smoother shape. Next, use the Prep File to gently buff the nail surface and maximise the adhesion of the gel polish on your toes.

Step 2: Nail prep and care
Before applying your nail polish, prep your nails carefully for a flawless result. Use the Effective Emollient to facilitate cuticle removal and remove dead skin around the nail by softening them. Then gently push back the cuticles using the Steel Cuticle Pusher, without necessarily cutting them, for a cleaner nail contour.

Step 3: Base coat application
A protective base coat is crucial to prep your nails for colour application. Apply a thin layer of Green Flash Base Coat™ before curing under the lamp : 1 minute with the Pro Lamp, 2 minutes with the Slim Lamp.

Step 4: Color application
For a flawless polish application, opt for several thin coats rather than a single thick coat. Start with a thin coat in the centre of the nail starting from the base, before repeating on the sides. This technique helps avoid bubbles and streaks, while ensuring an even, long-lasting colour. Cure under the lamp (1 minute for the Pro Lamp, 2 minutes for the Slim Lamp), then repeat for the second colour coat.

Step 5: Finishing touch
Finish your pedicure with a shiny top coat. The Green Flash Top Coat™ is the finishing touch that seals your polish and adds shine. It also protects the polish against chipping and extends its wear time. Apply it in a thin layer then cure again under the lamp: 2 minutes for the Pro Lamp, 3 minutes for the Slim Lamp.

Step 6: Hydration, nourishment, and care
At the end of your pedicure, apply a drop of Green Oil to each nail to nourish its contour, extend polish wear time and prevent breakage: this will also prevent the polish from sticking to your socks if you have to wear closed-toe shoes.
Finish by massaging your feet with a dab of Botanical Cream to deeply nourish them. Repeat the process in the days following your pedicure to take care of your nails and feet.

FAQ
Is gel polish suitable for toenails?
Gel polish is perfectly suited for toenails. However, we advise using a green and clean gel polish to protect your nails and your health. Green Flash™ gel polish is the ideal alternative to traditional gel polish, up to 84% bio-sourced and removes just like regular nail polish, without damaging your nails. Discover our gel polish kits Green Flash™, just click here. And for a seasonal pedicure, check out our selection of winter shades in Green™ and Green Flash™.
Is it good to wear nail polish all the time?
It is not recommended to wear polish on your toenails continuously: we encourage you to take breaks between applications while taking care of your nails, for instance using a treatment base coat.
How long should you keep polish on your toes?
Even though it is tempting to keep polish on your toes for a long time, we recommend not exceeding 3 weeks to let the nail breathe.