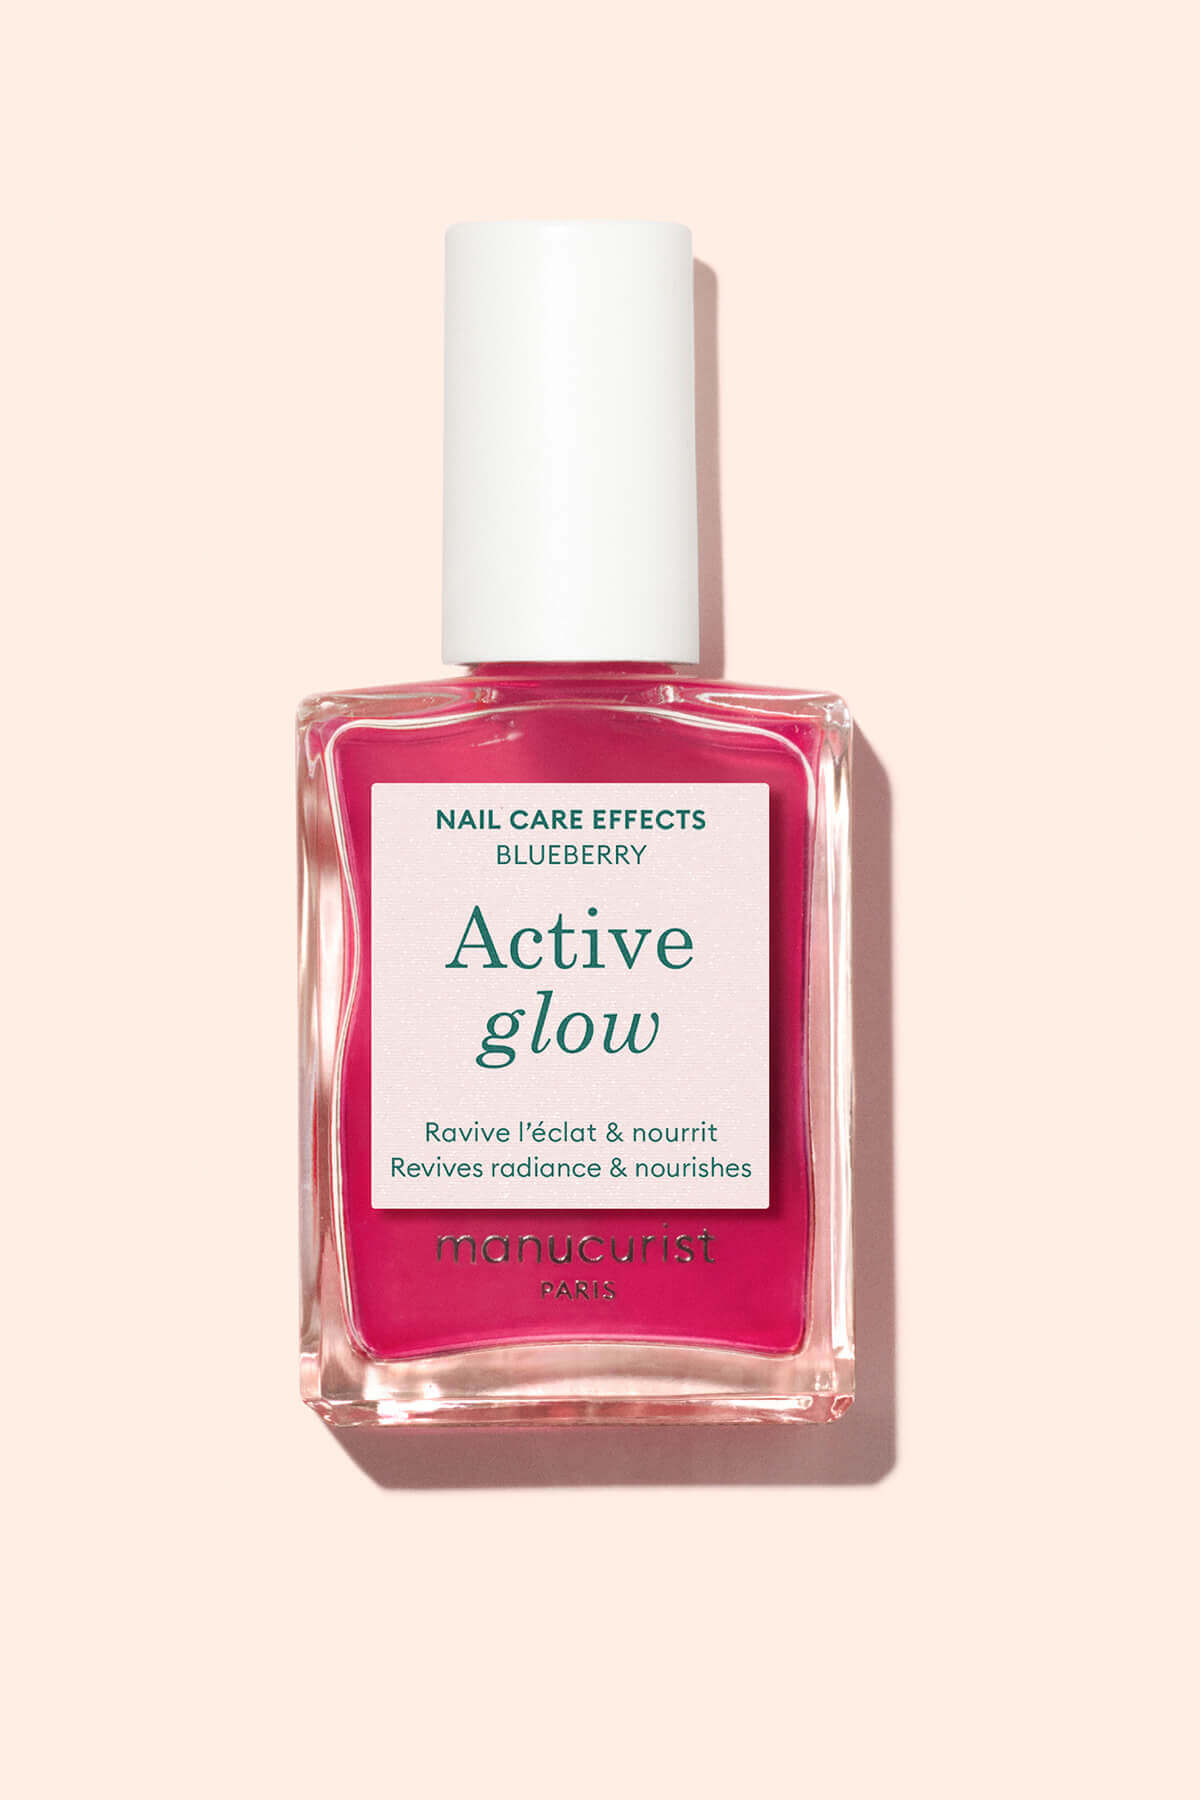
Builder gel, also known as builder gel, is one of the most popular options for achieving immaculate nails with a strong, long lasting structure. Whether you want to strengthen your natural nails, refine their shape or create nail extensions, this technique delivers a stylish result with impressive staying power. In this guide, discover the different types of builder gel, what sets them apart from Gel Polish and a step by step tutorial for a flawless application and a stylish manicure. If you are curious about the builder gel manicure trend, you are in the right place.
What is builder gel?
Definition
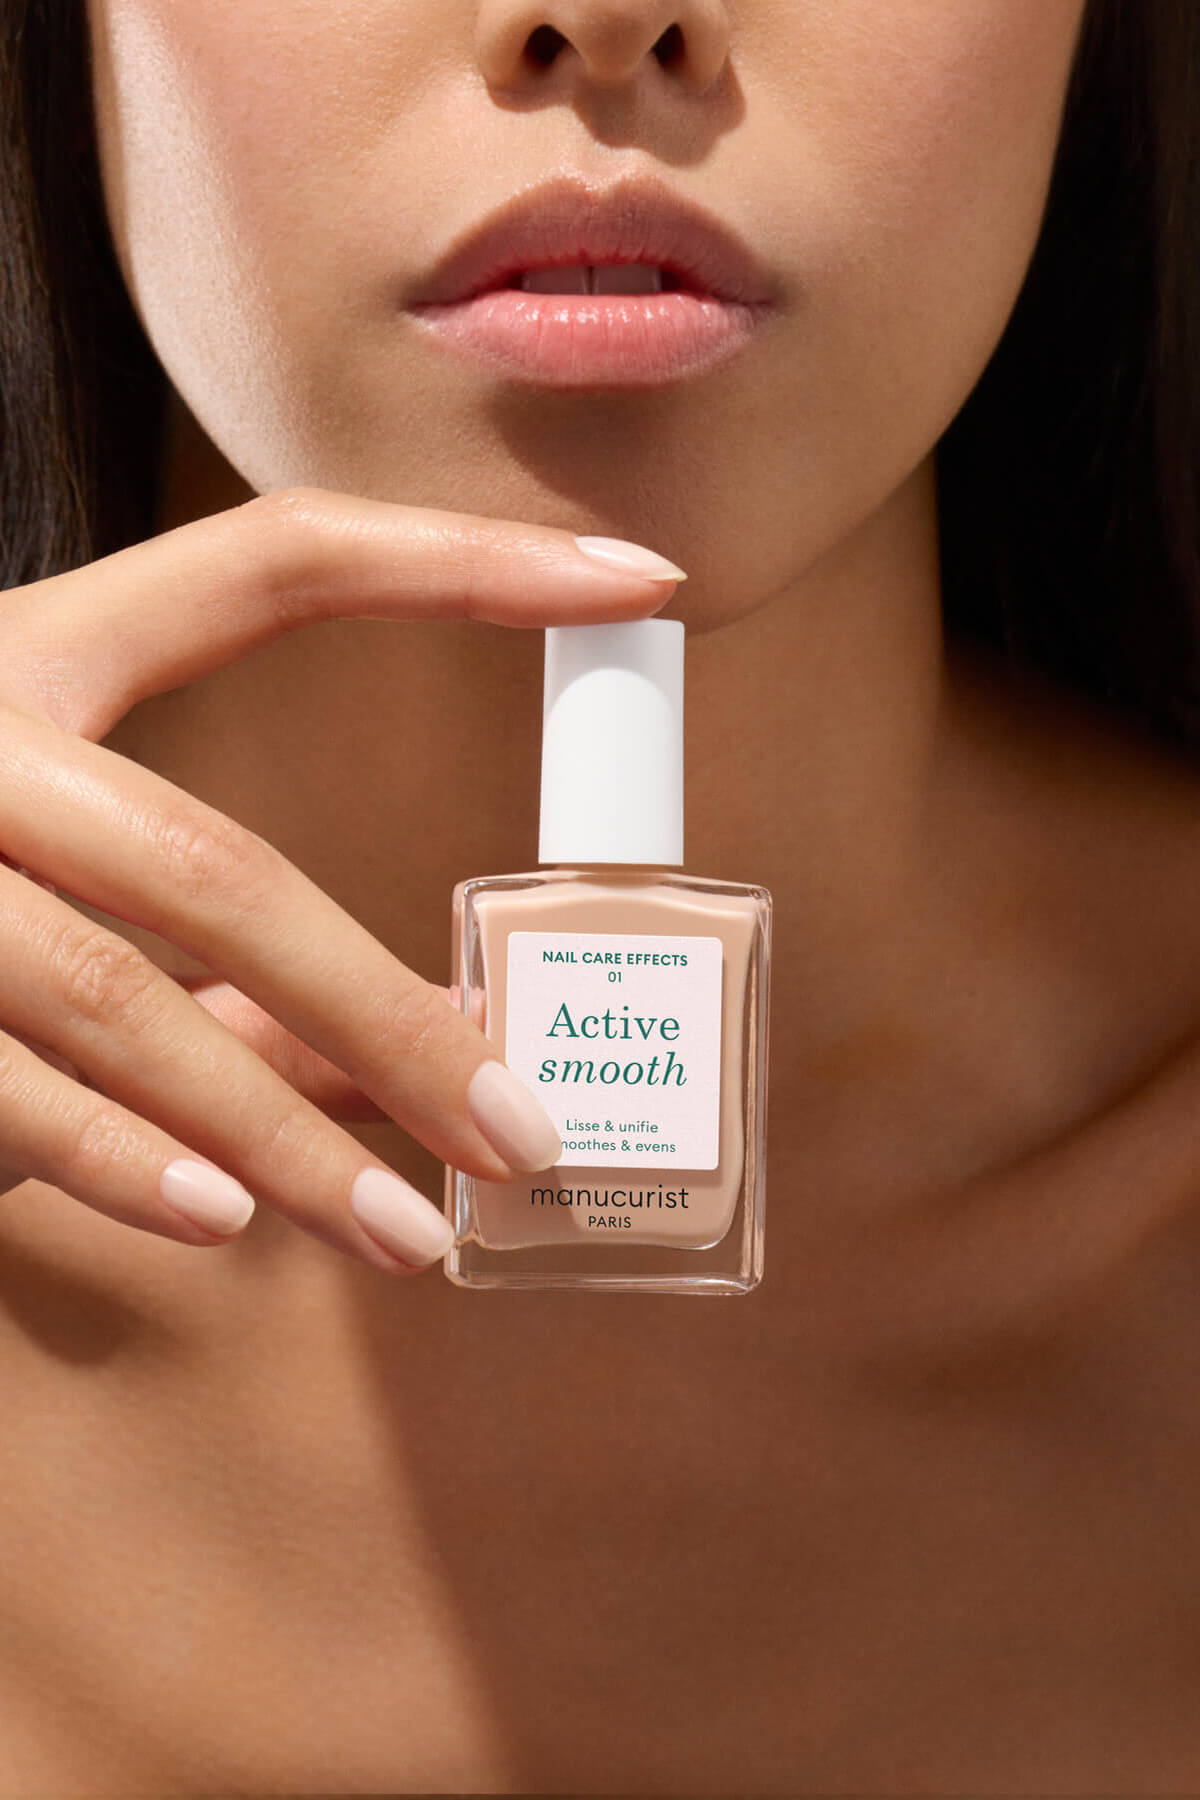
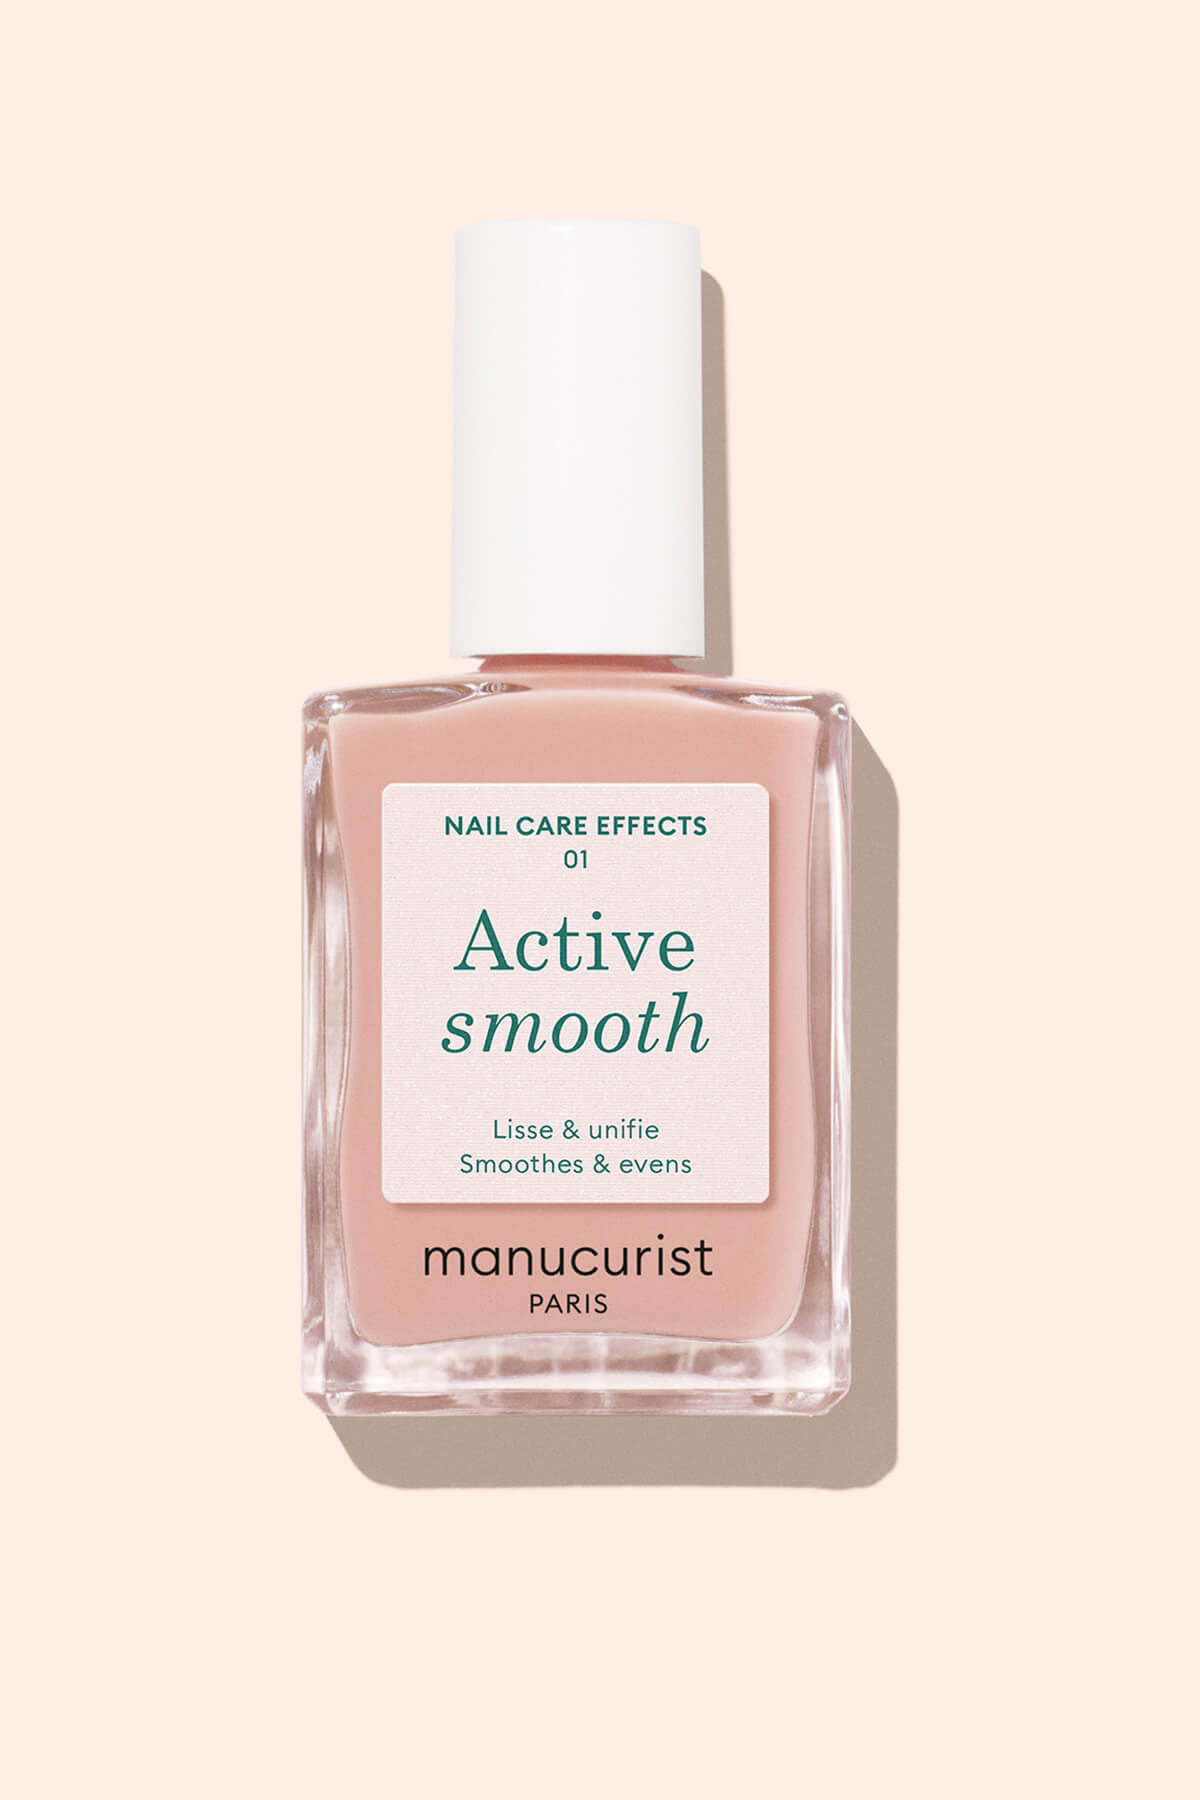
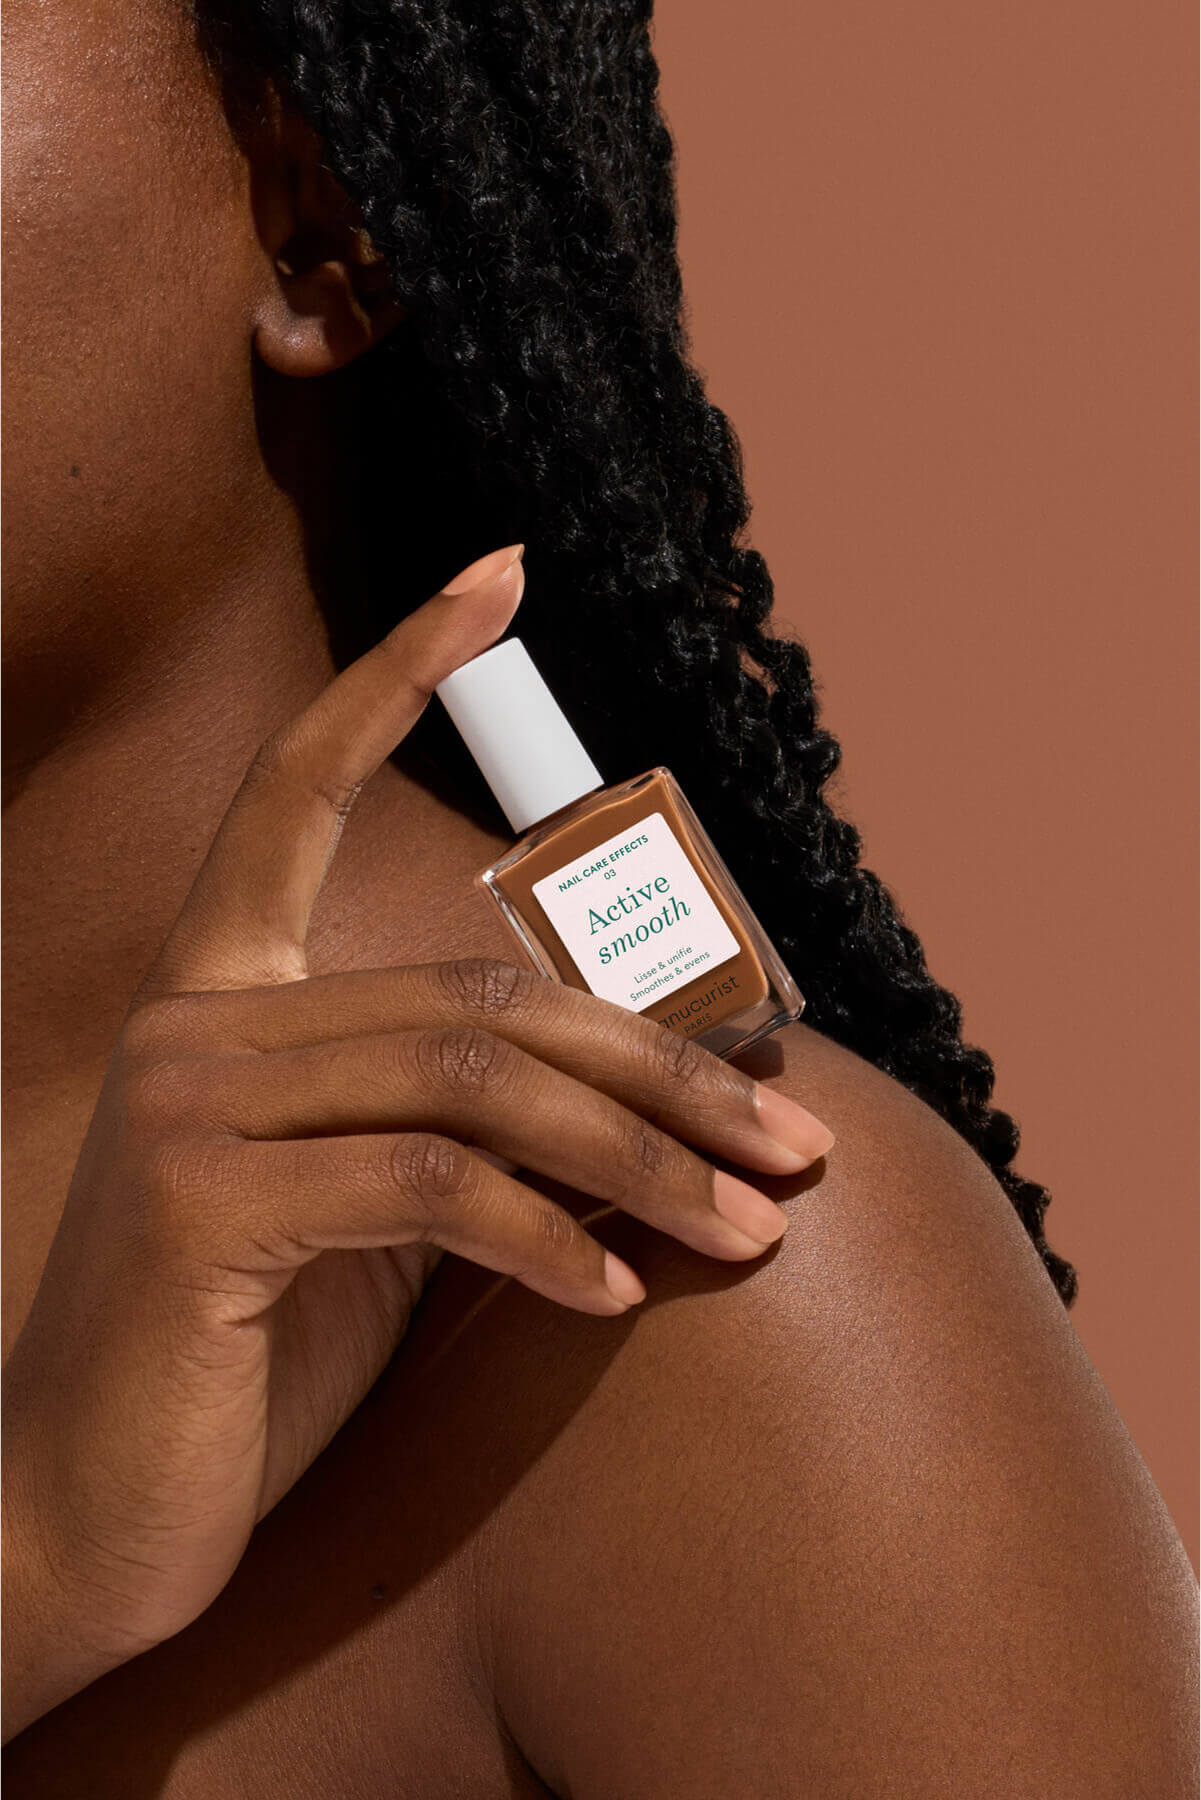
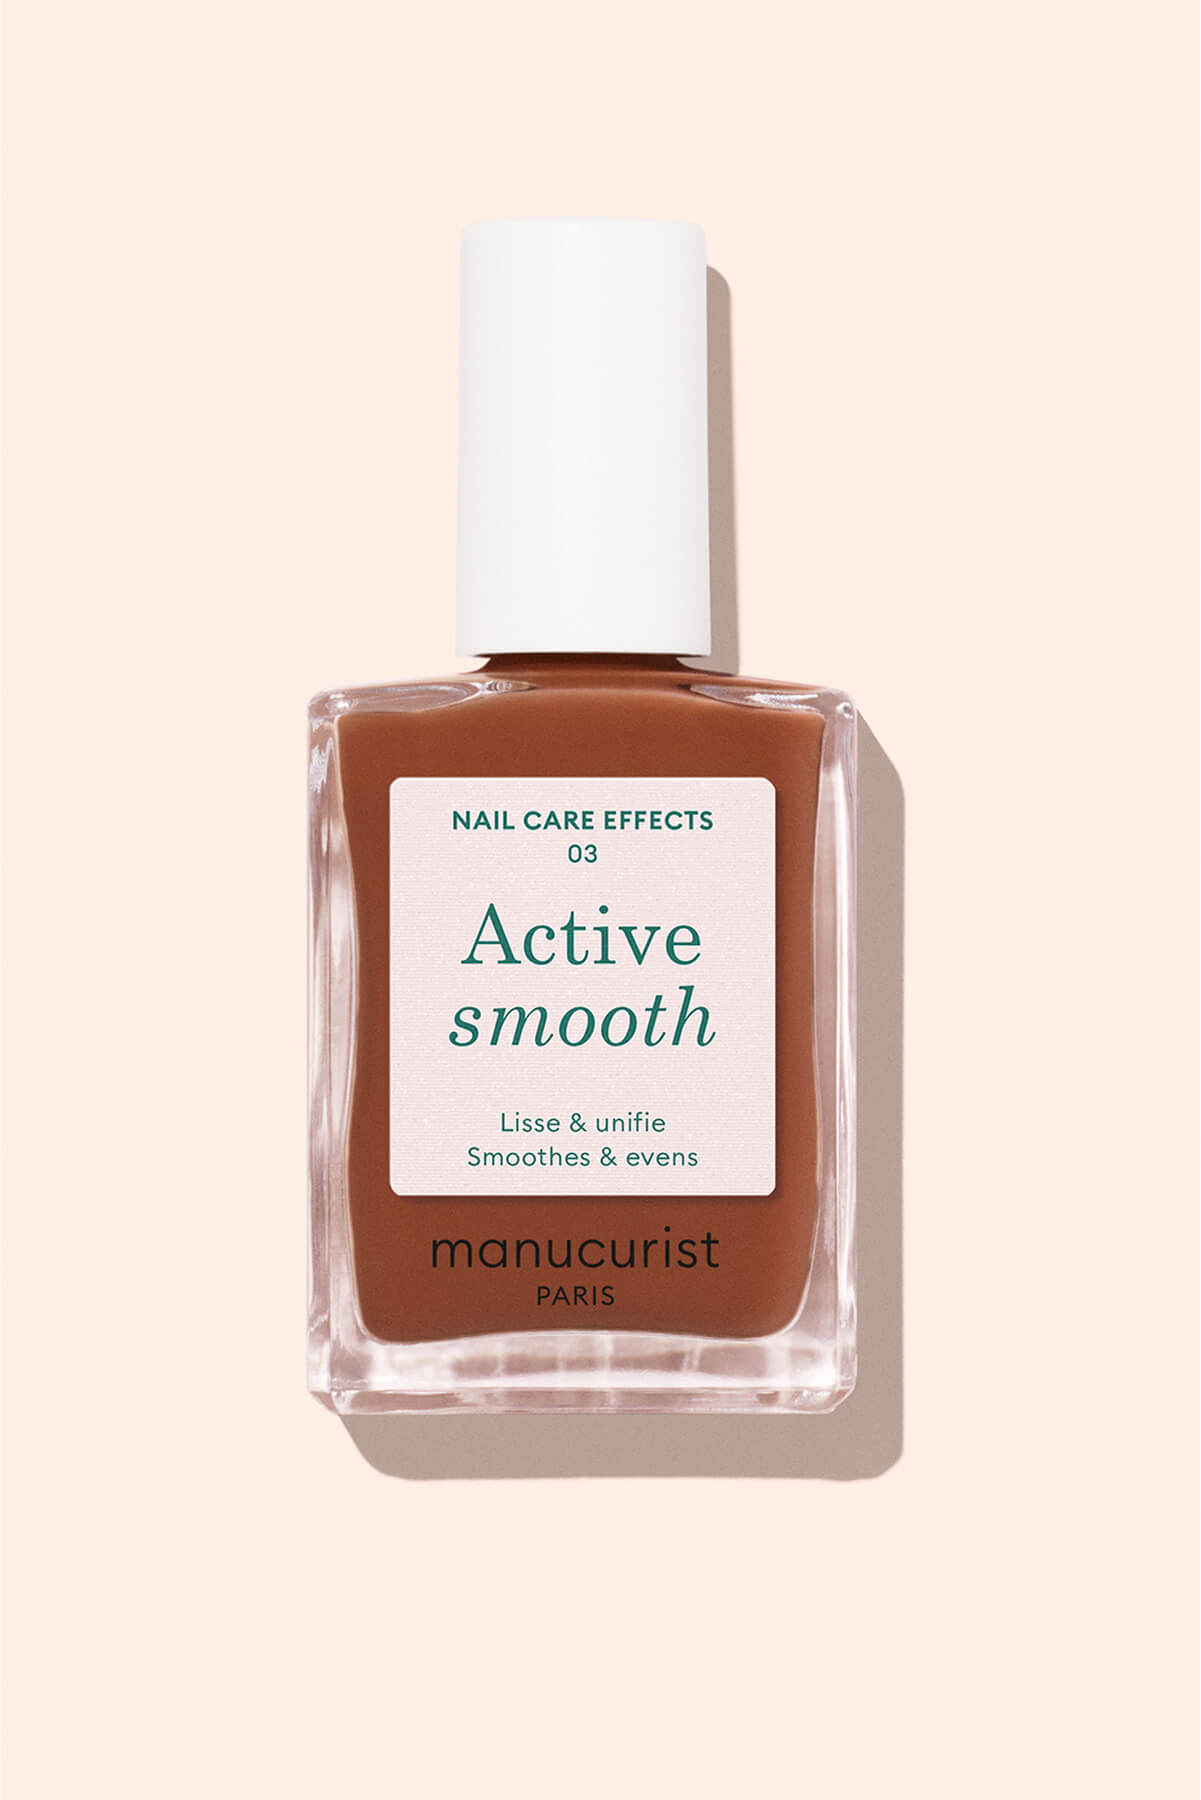
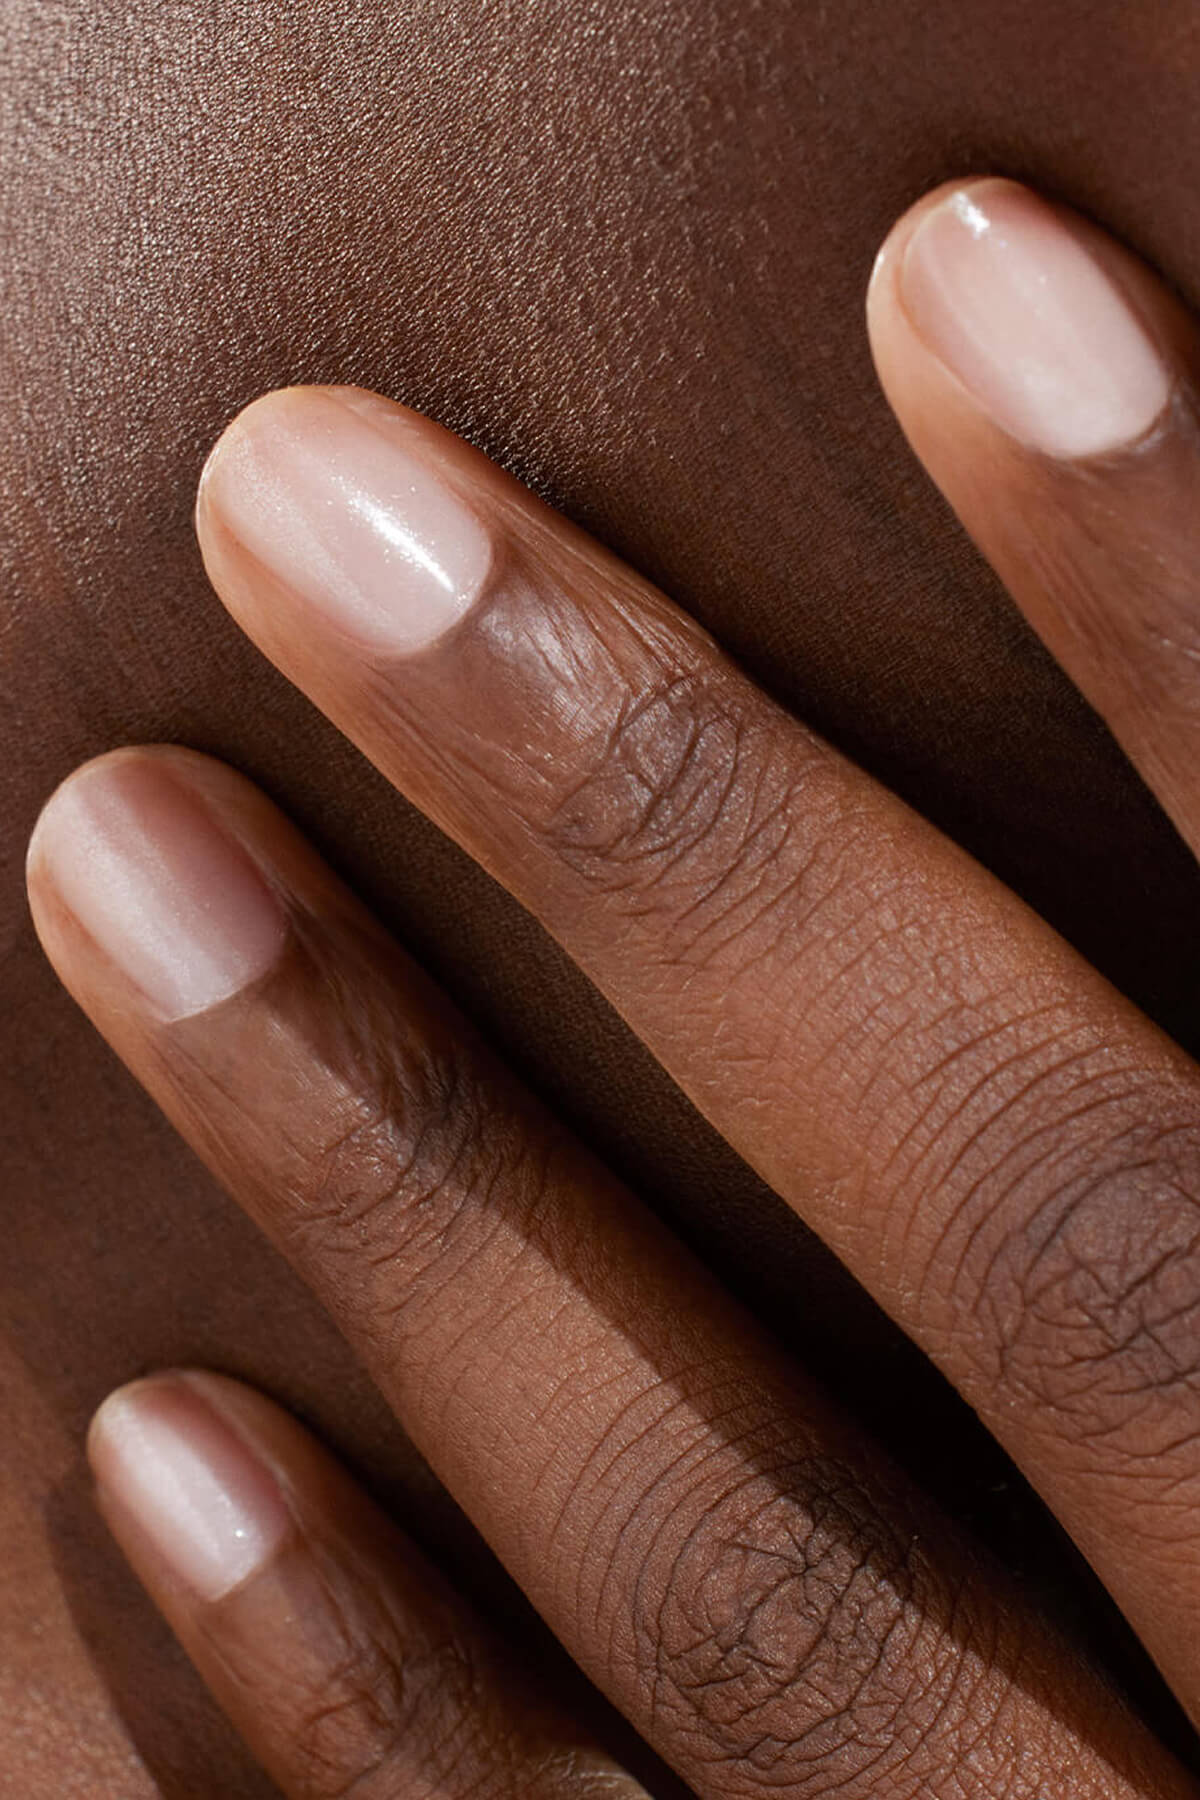
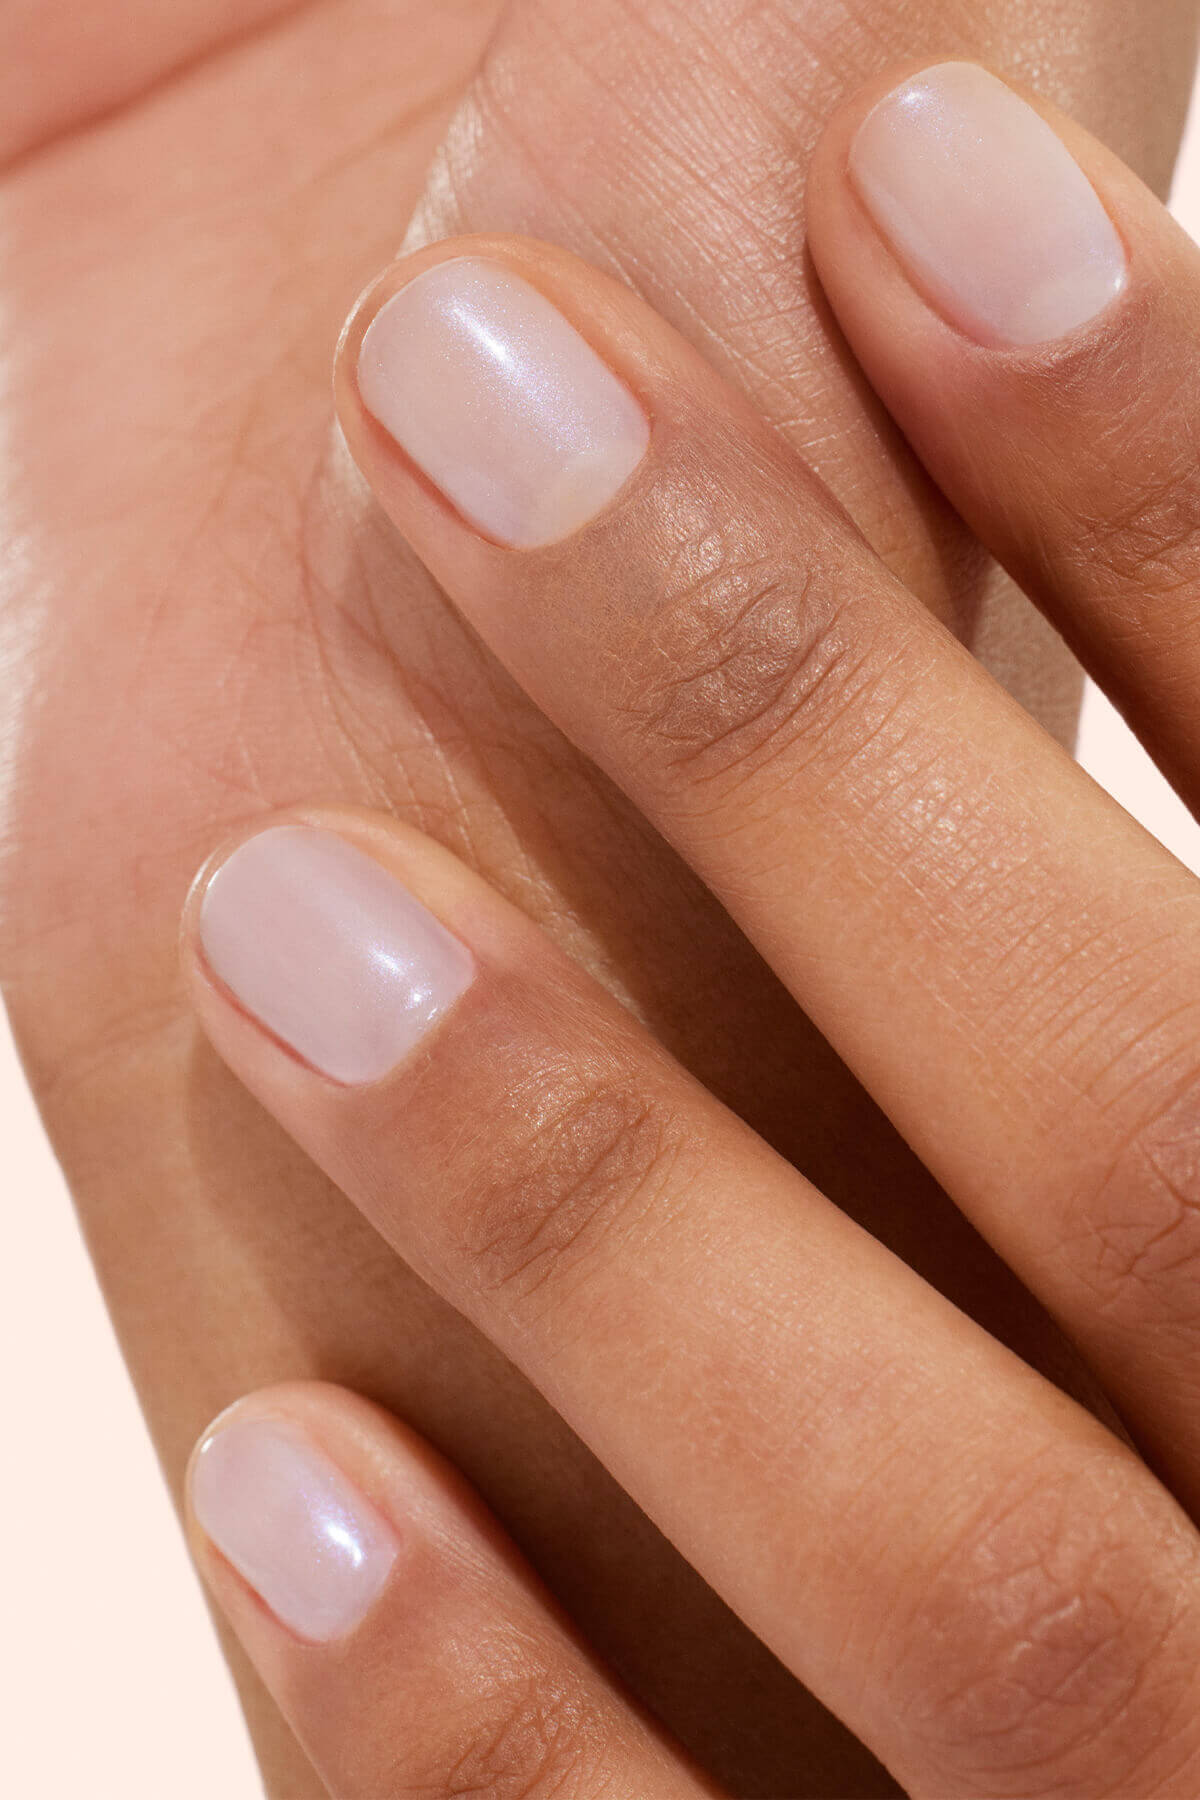
Builder gel is a thick gel designed to strengthen, coat or reshape the natural nail. It can lengthen the nail and correct its shape to perfect its overall appearance. Colour is not the main focus here, although coloured builder gels do exist. The primary goal is to work on the nail structure to create reinforcement, disguise imperfections and add volume and length.
Made from polymers, it must be cured under an LED or UV lamp to harden and achieve the remarkable strength that defines it.
Another advantage is its versatility. It can be applied to natural nails or combined with long extensions or a sculpting form application.
Applying builder gel follows three essential stages:
- The base stage: applying a base gel that ensures proper adhesion of the builder gel to the nail.
- The building stage: shaping the gel according to the volume and shape you want to achieve.
- The finishing stage: applying a finishing gel that protects the underlying layers and defines the final look, whether matte, glossy or textured.

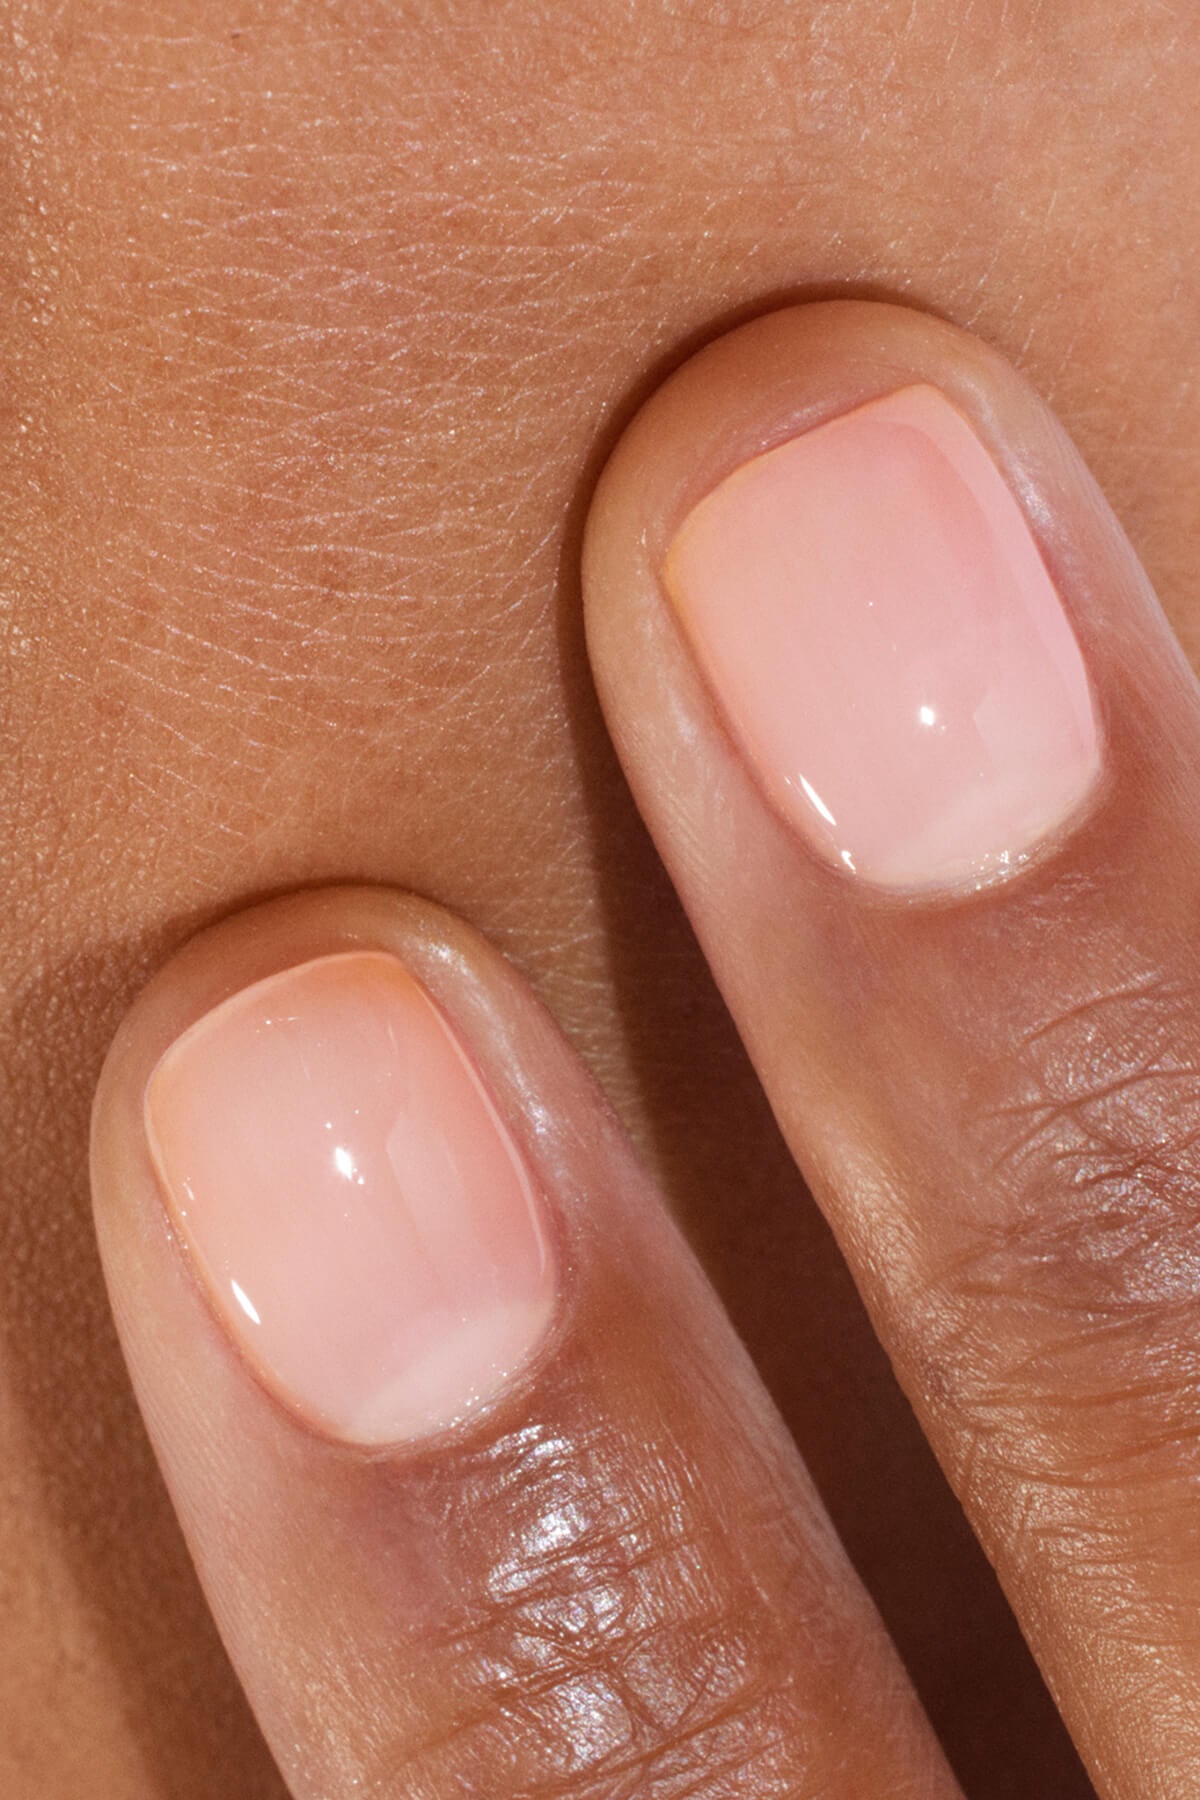
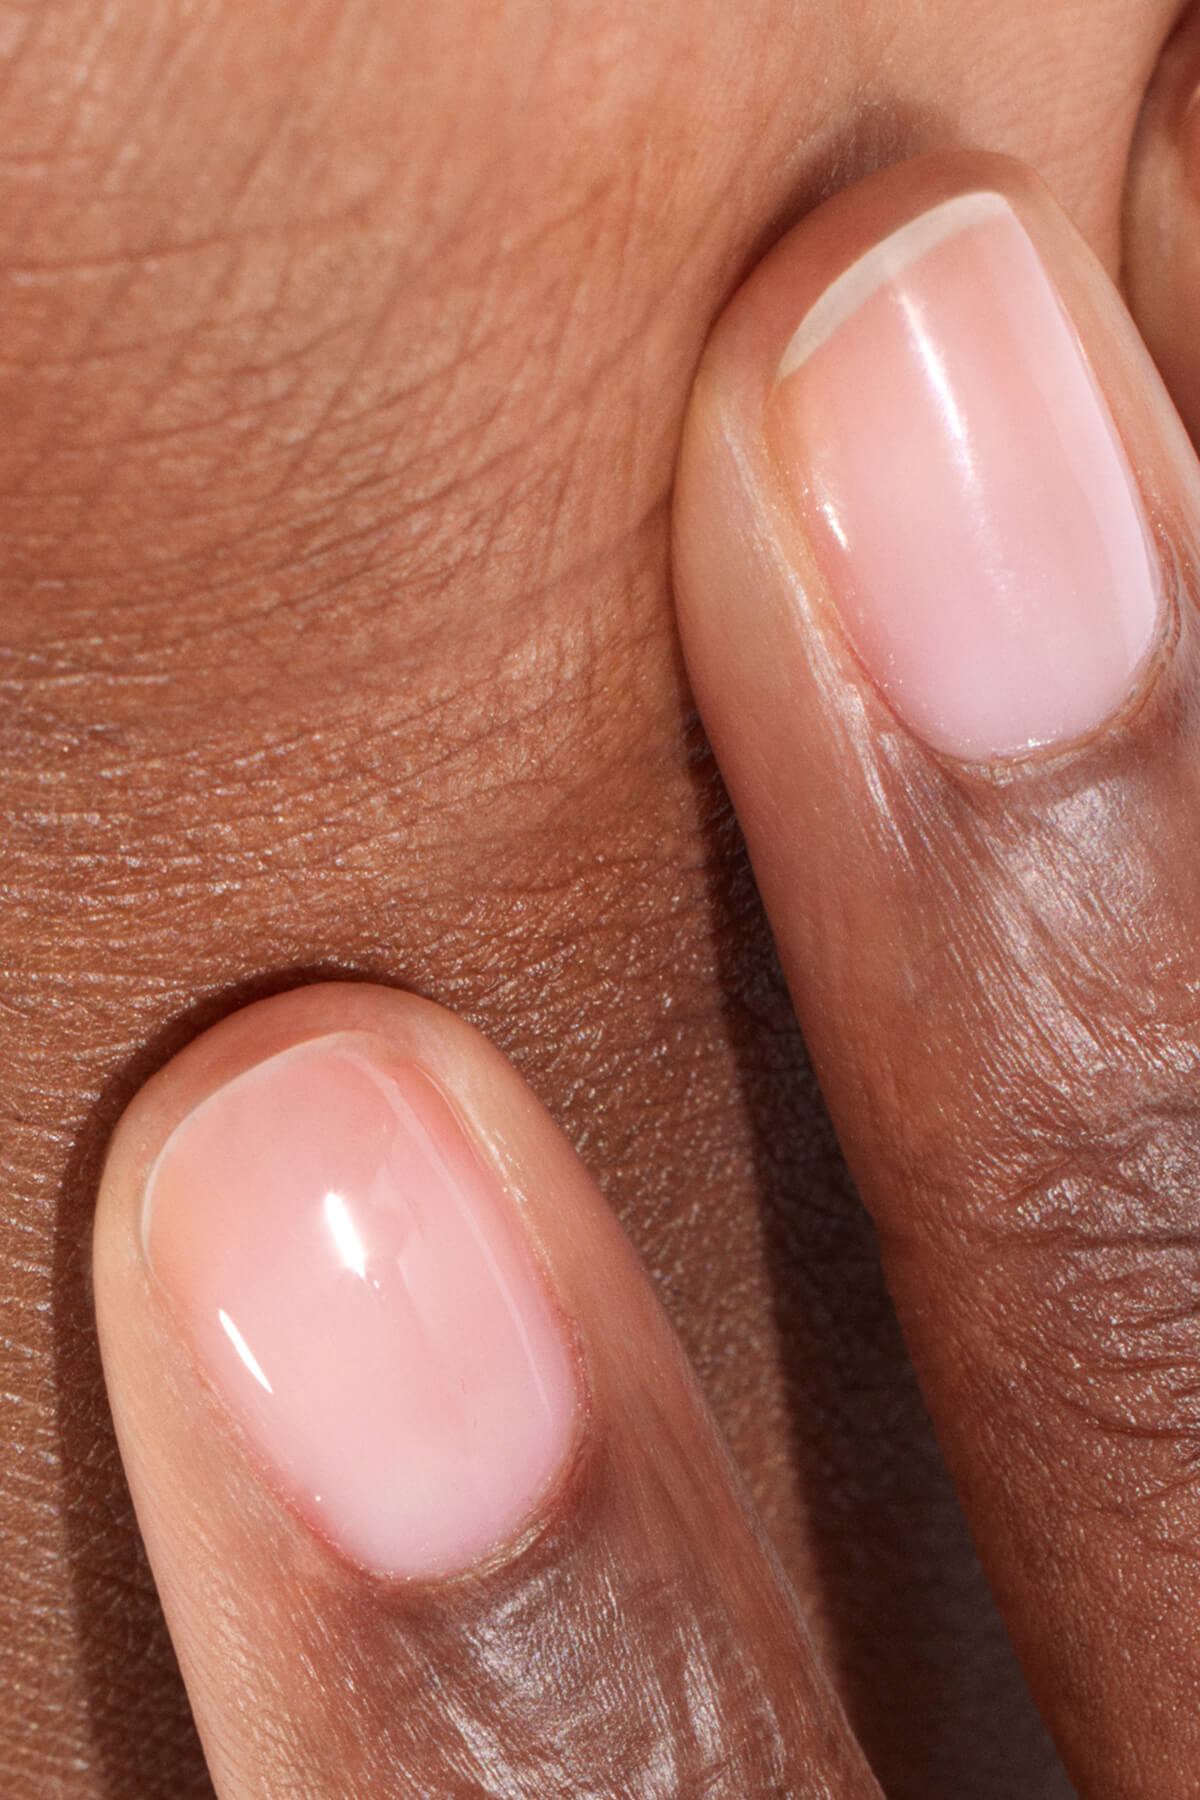
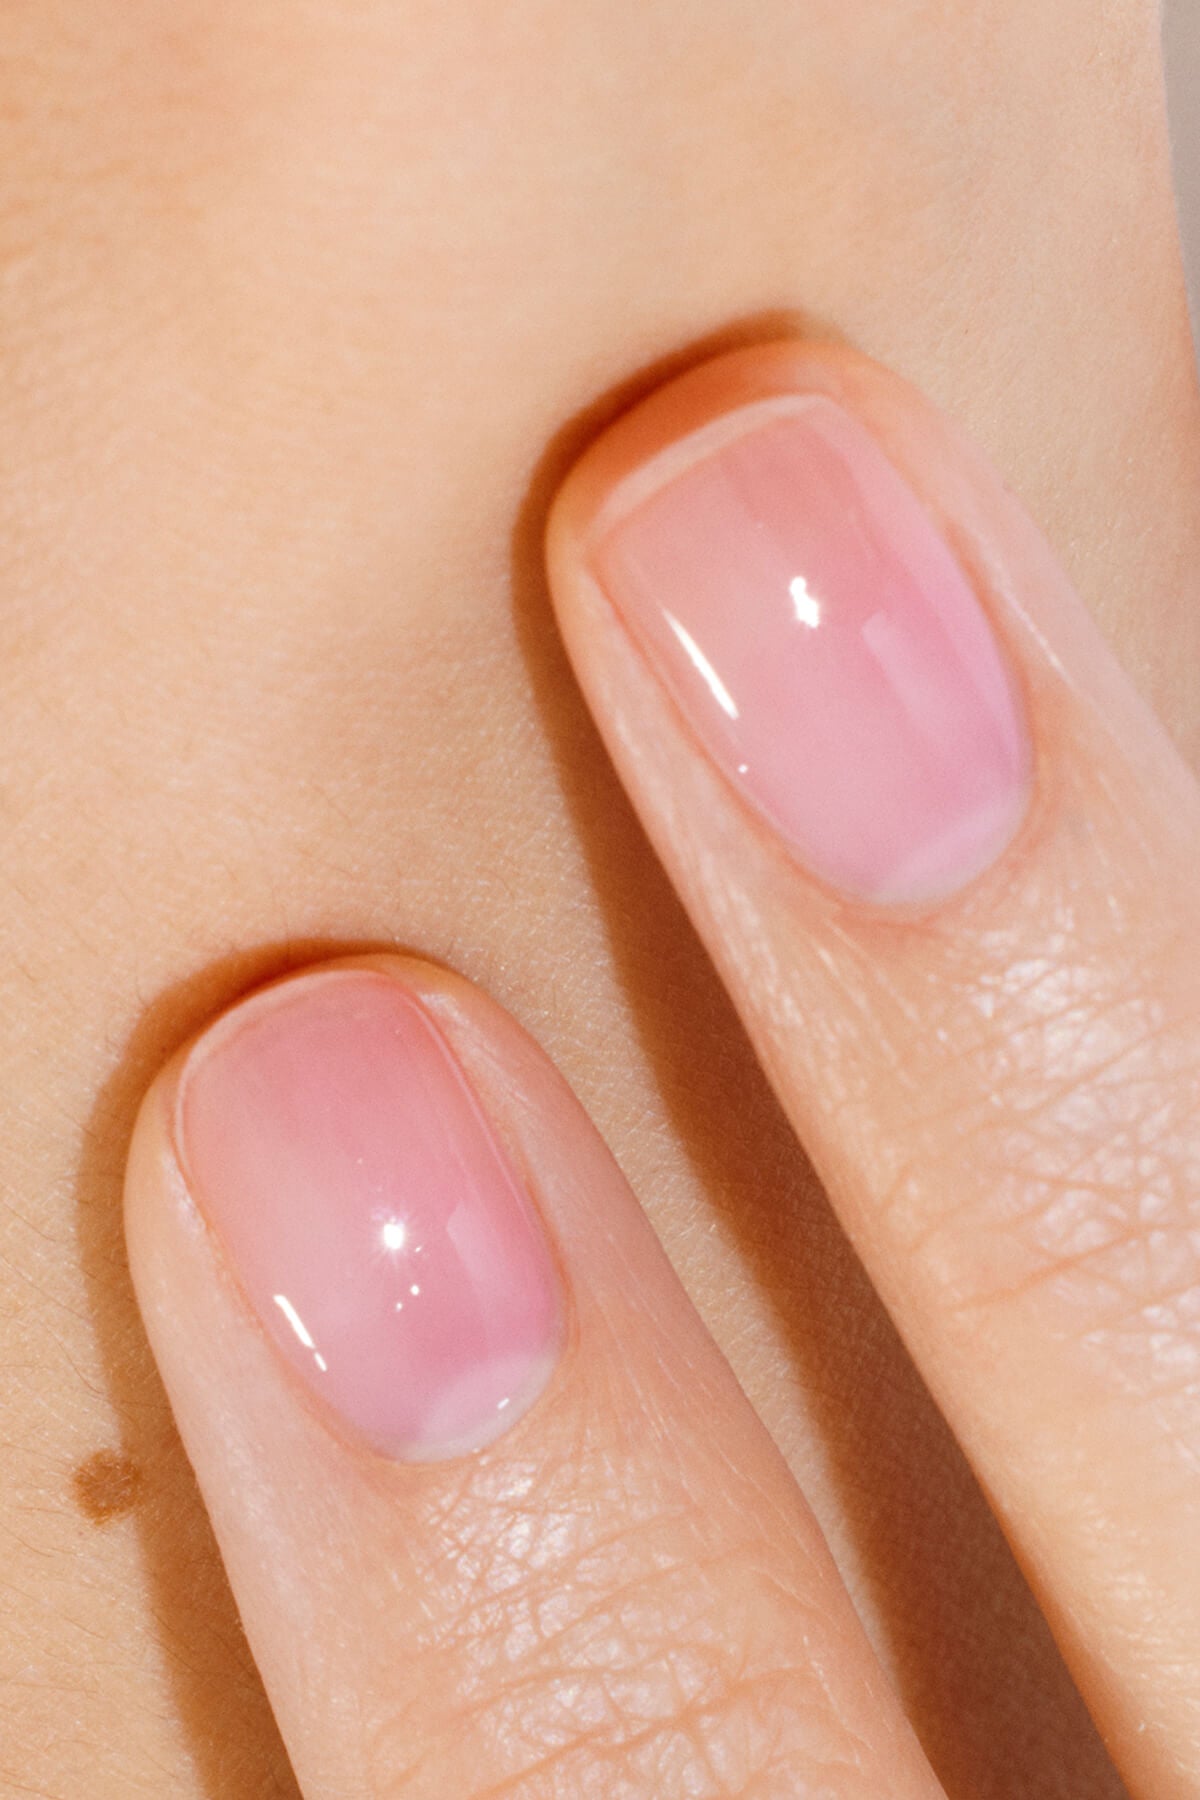
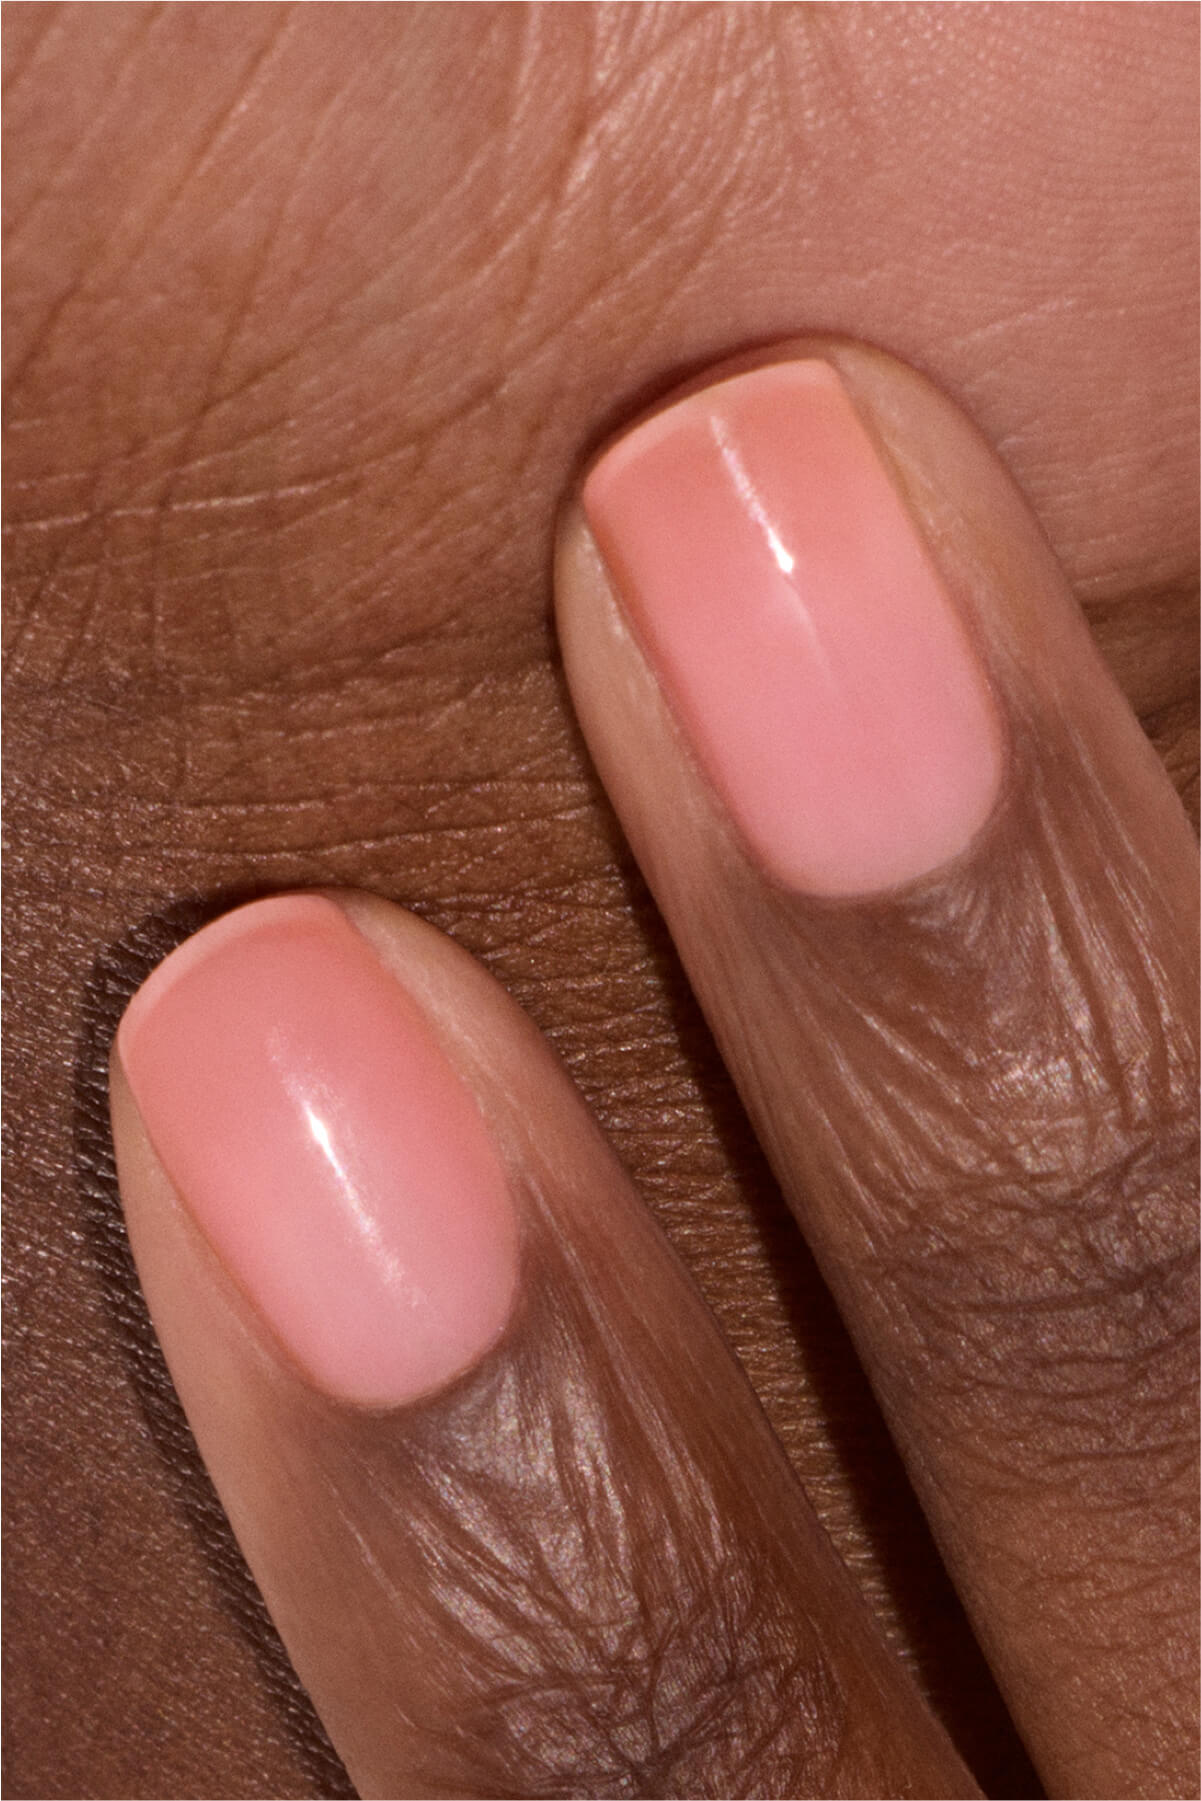
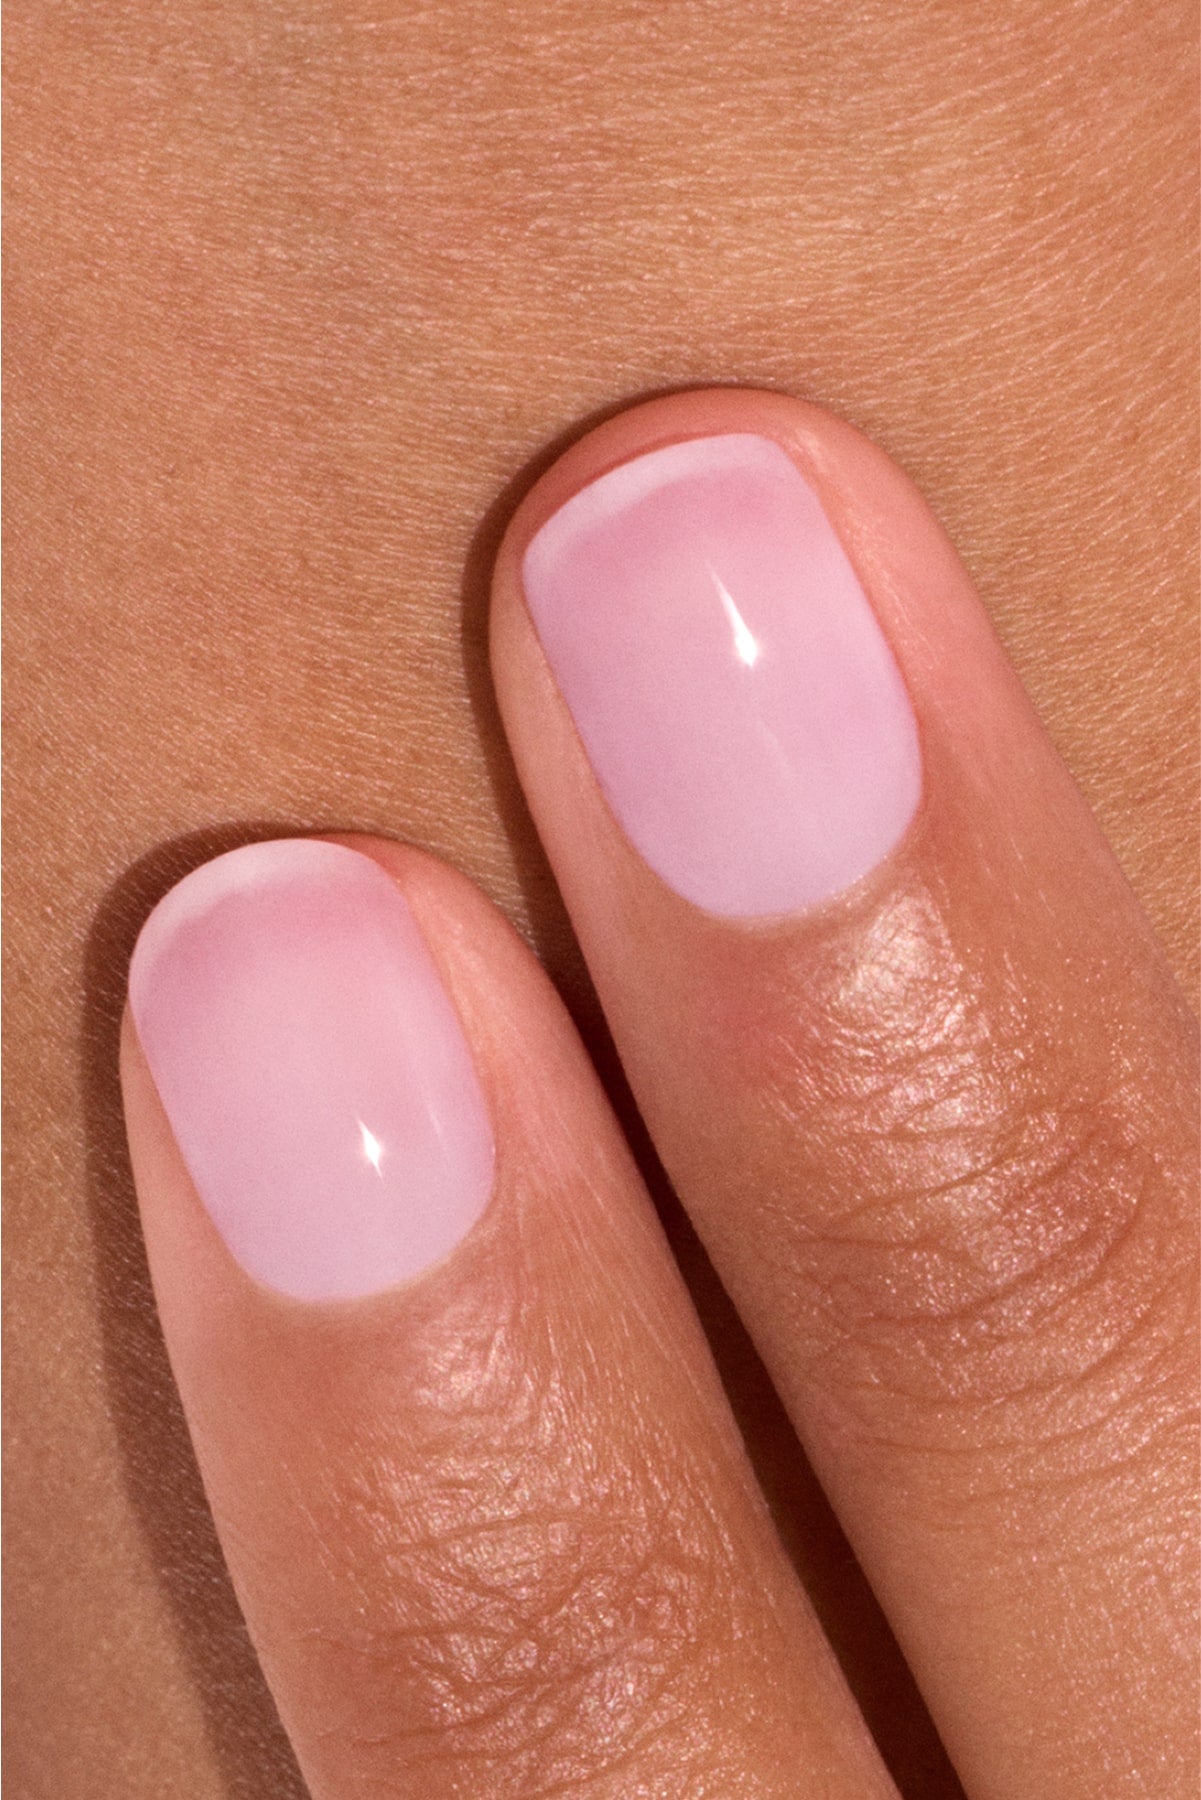
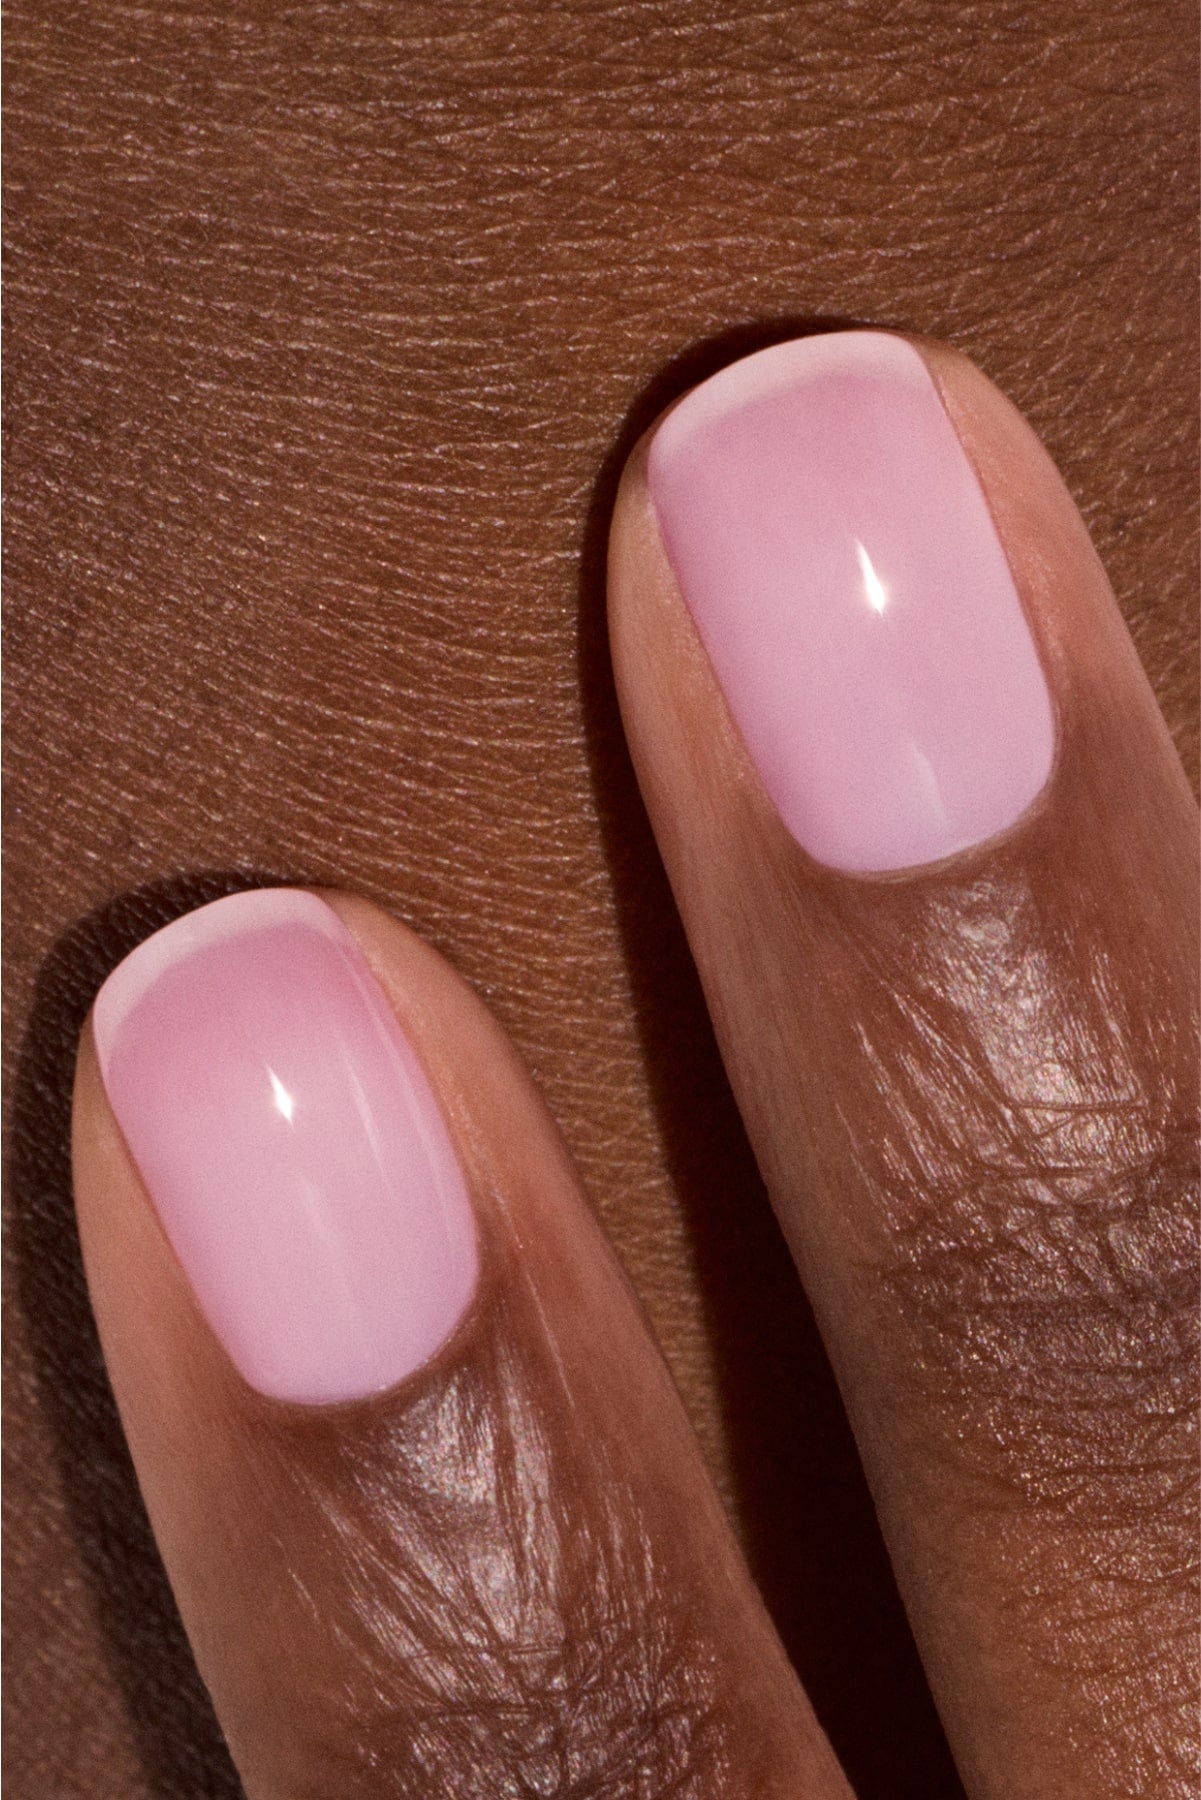
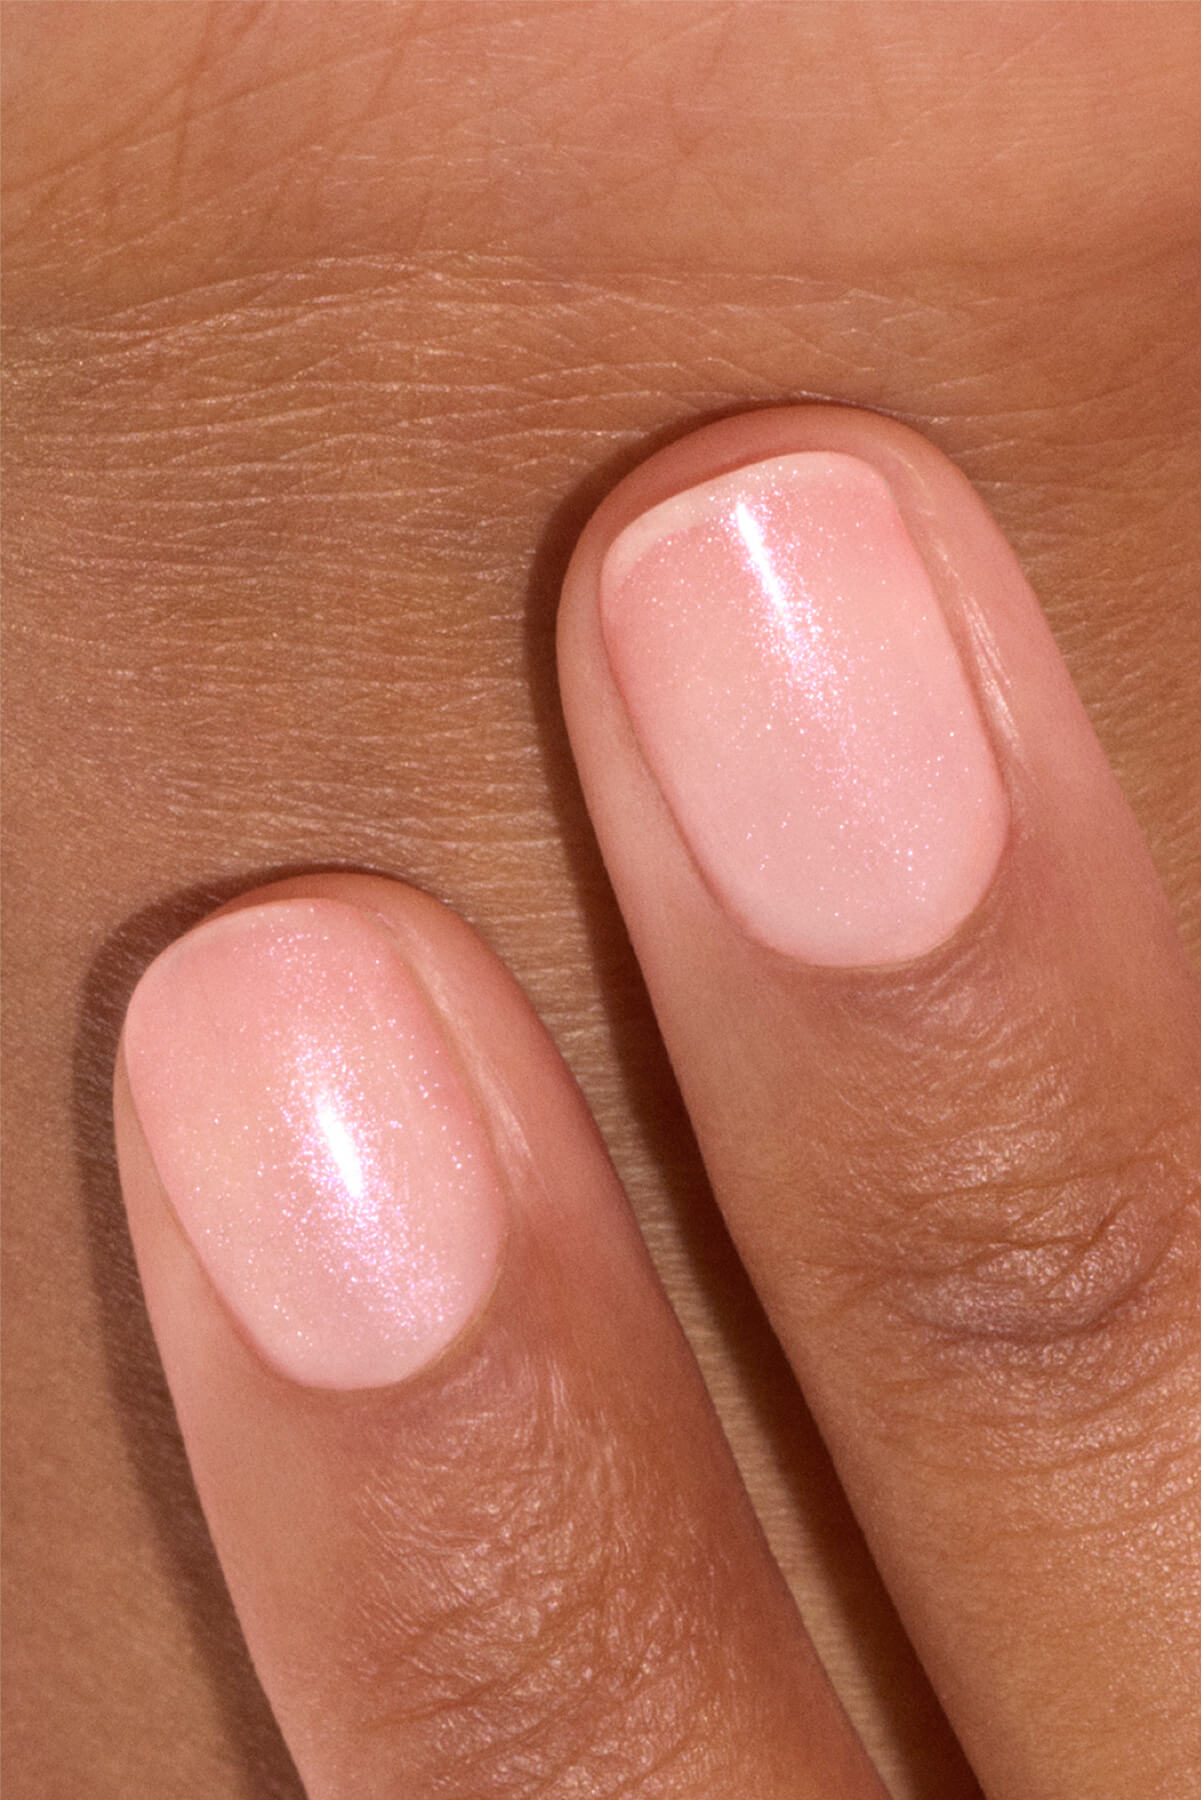
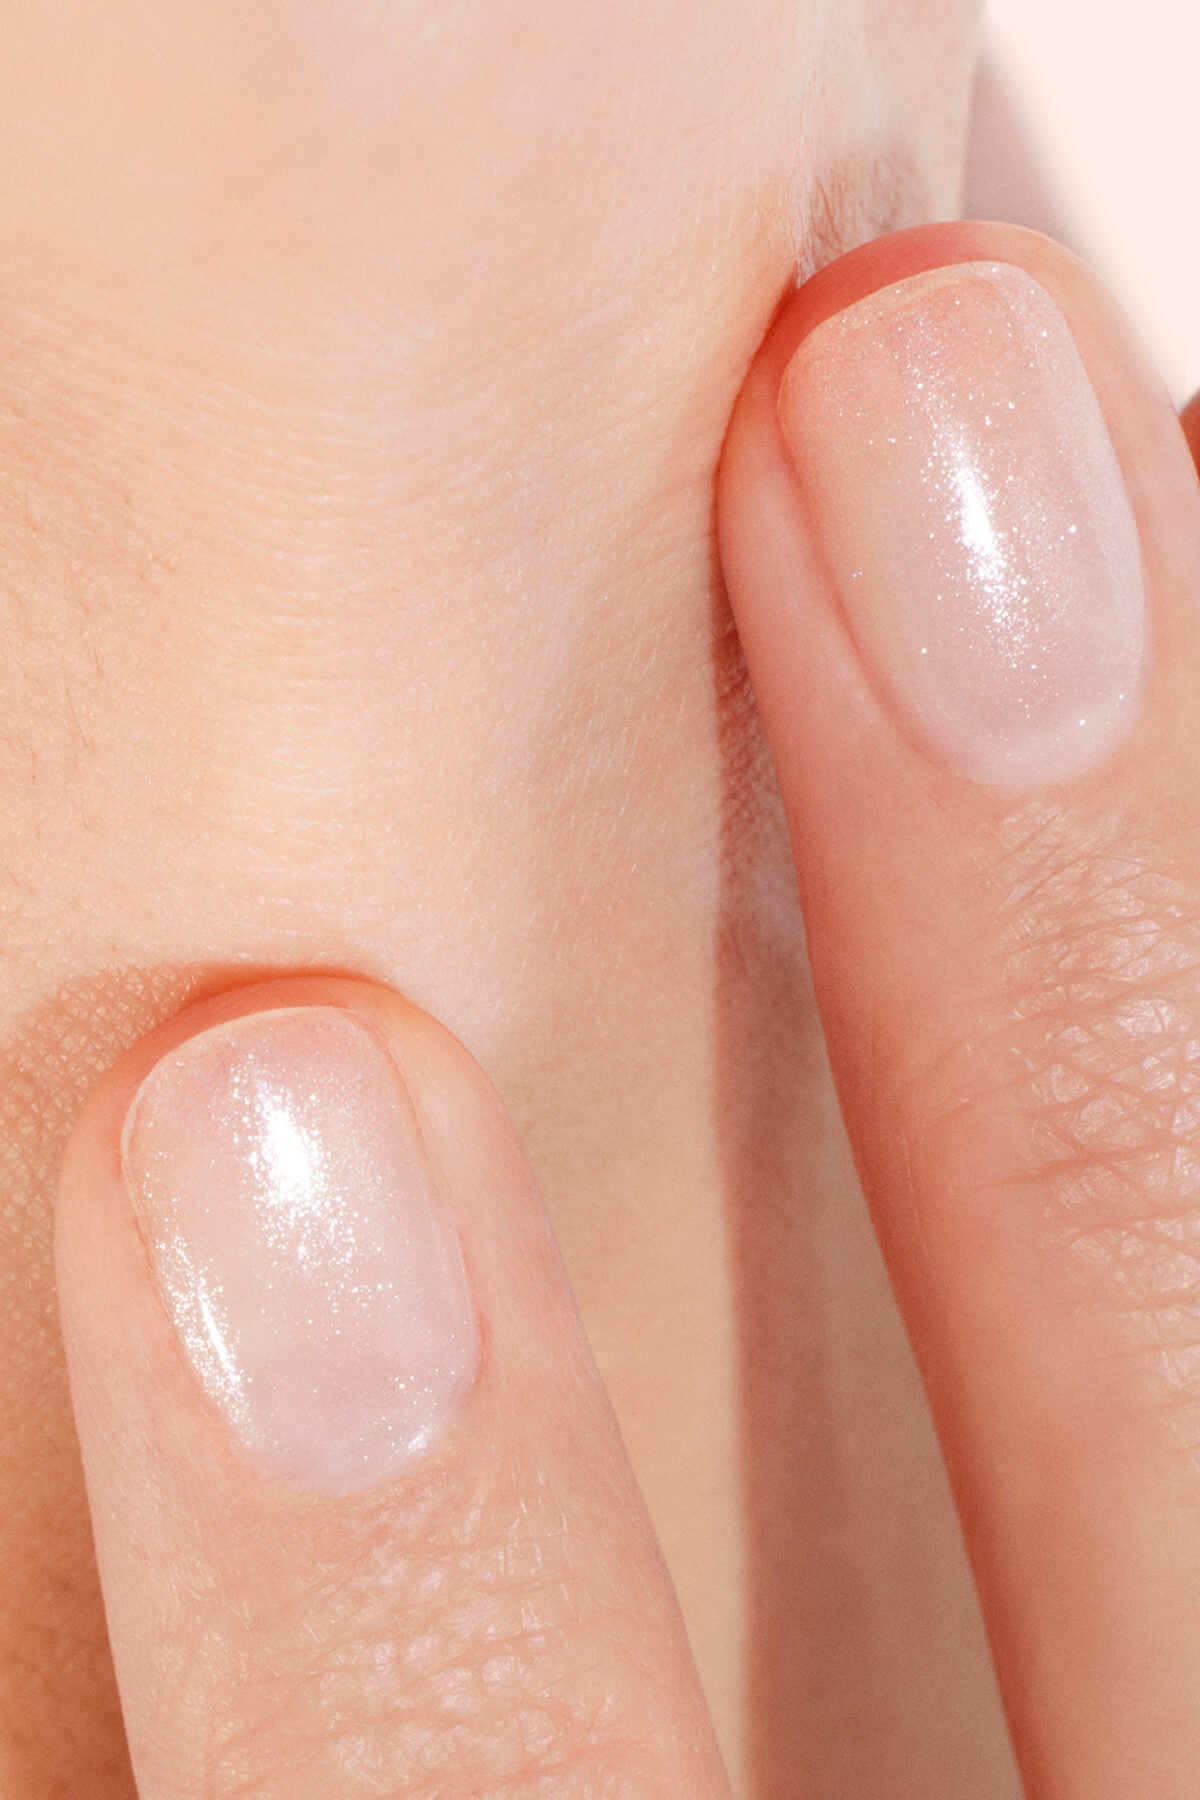
Builder gel can be applied on natural nails or on tips for longer extensions.
(@pinterest, @ongle24)
The different types of gel
There are many types of gel, each with different levels of ease of use. Among the most common are:
- Monophase gel: a three in one gel that allows you to complete all three stages of application using a single product. Its smooth application makes it ideal for beginners discovering the builder gel manicure technique.
- Biphase gel: a two in one gel combining base and builder, allowing you to choose your preferred finishing product.
- Triphase gel: the traditional system using one product per stage. This method is mainly used by nail technicians because it is more technical but offers greater creative freedom depending on the gel viscosity.
- Self levelling gel: this gel spreads evenly across the nail surface, making application much easier.
- Coloured builder gel: perfect for creating a structured and colourful manicure in one step, without adding a layer of nail polish.
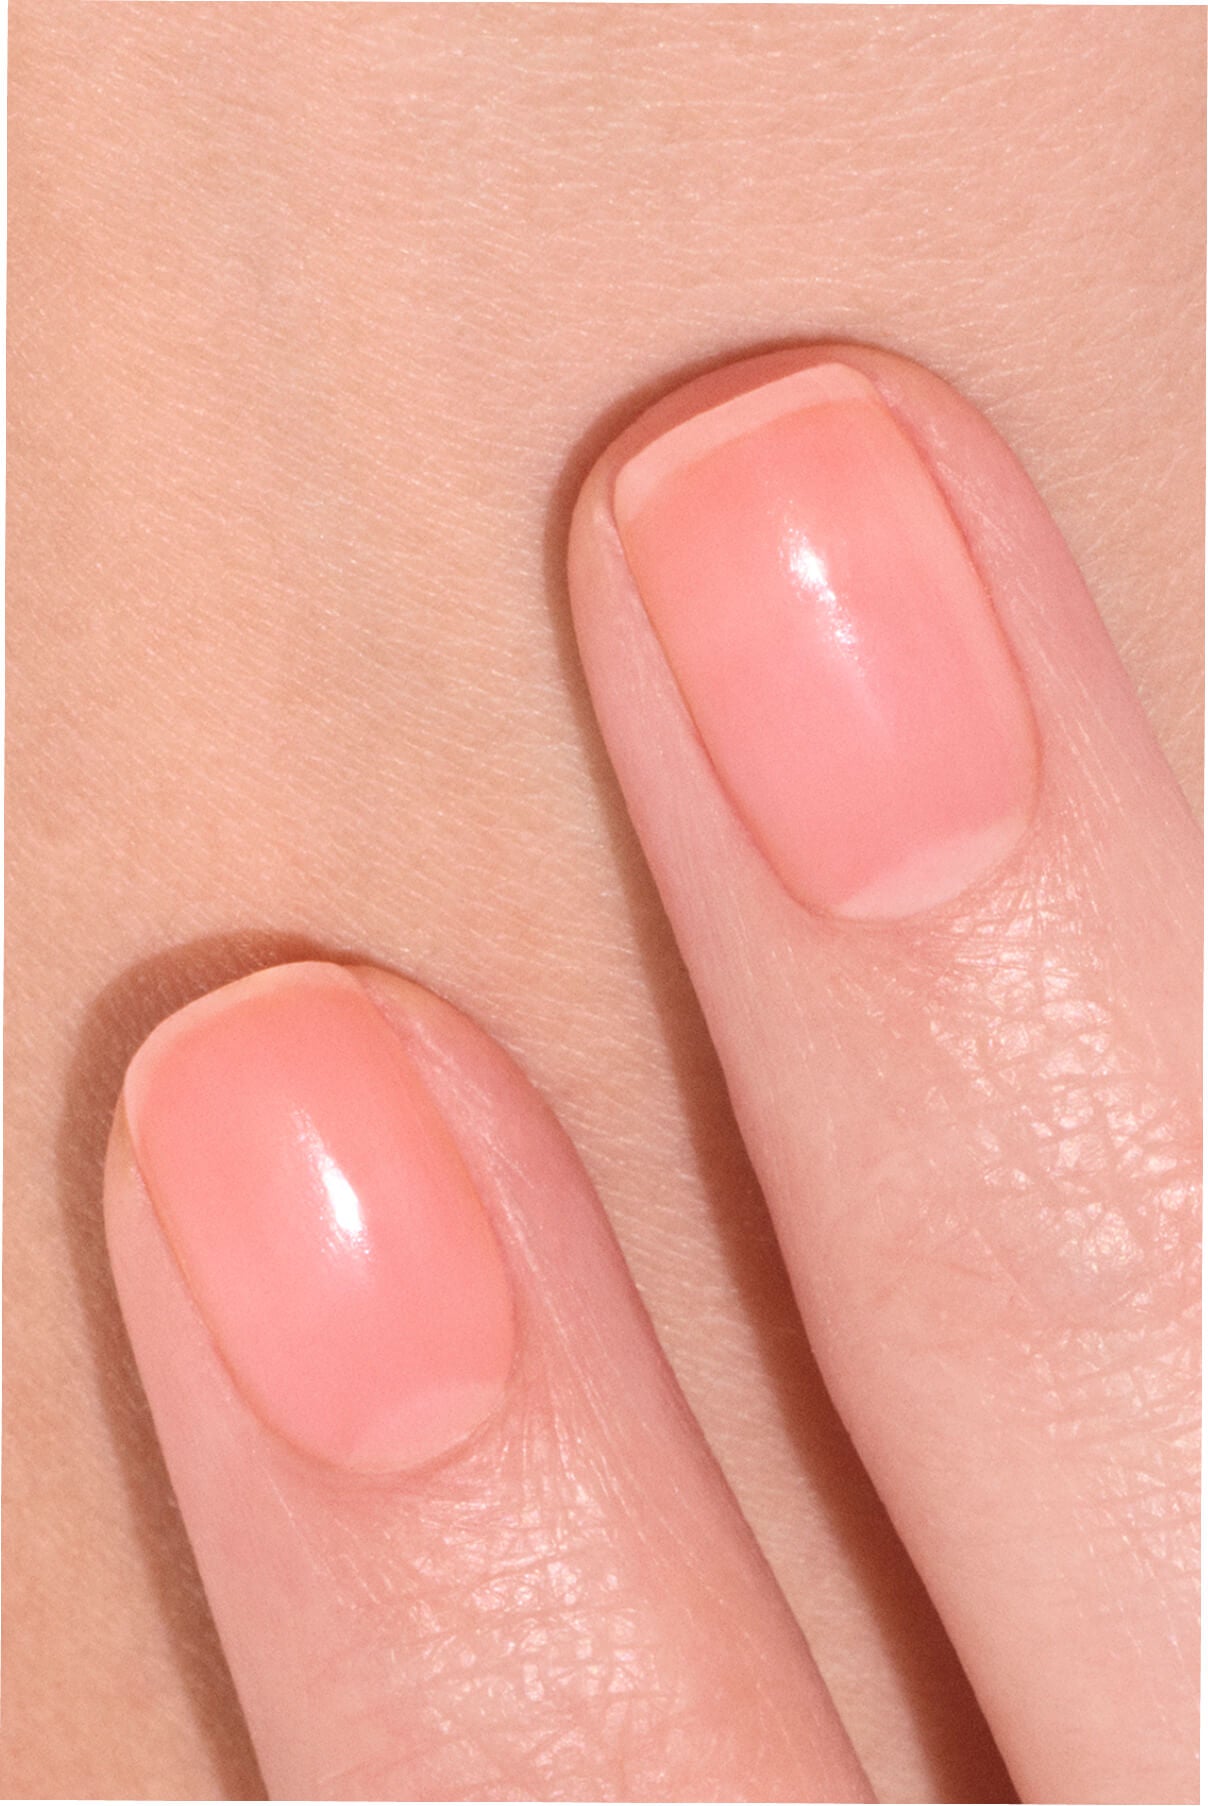
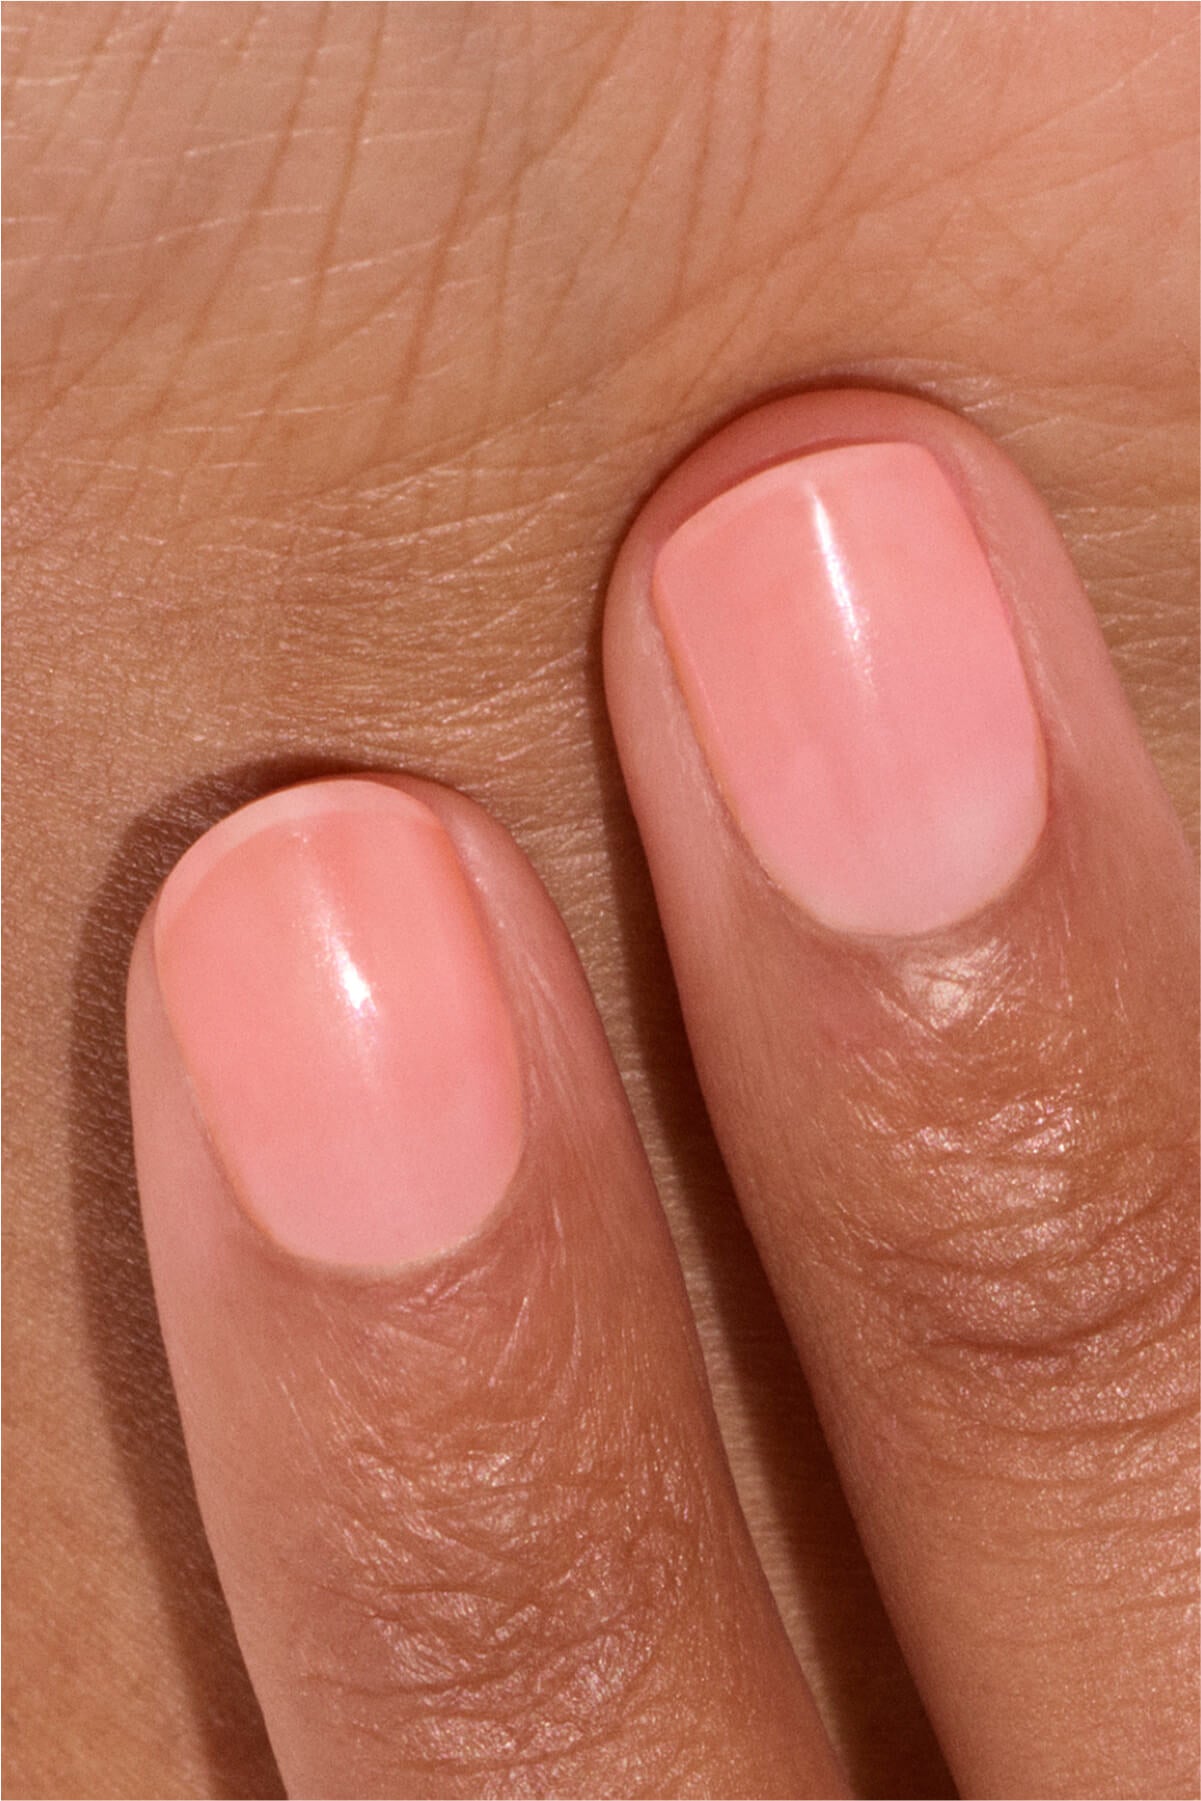
The advantages of builder gel
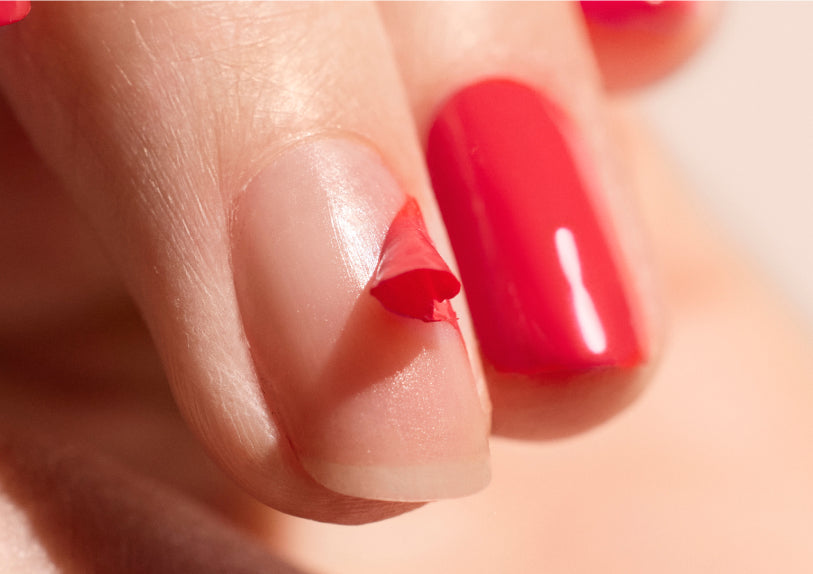
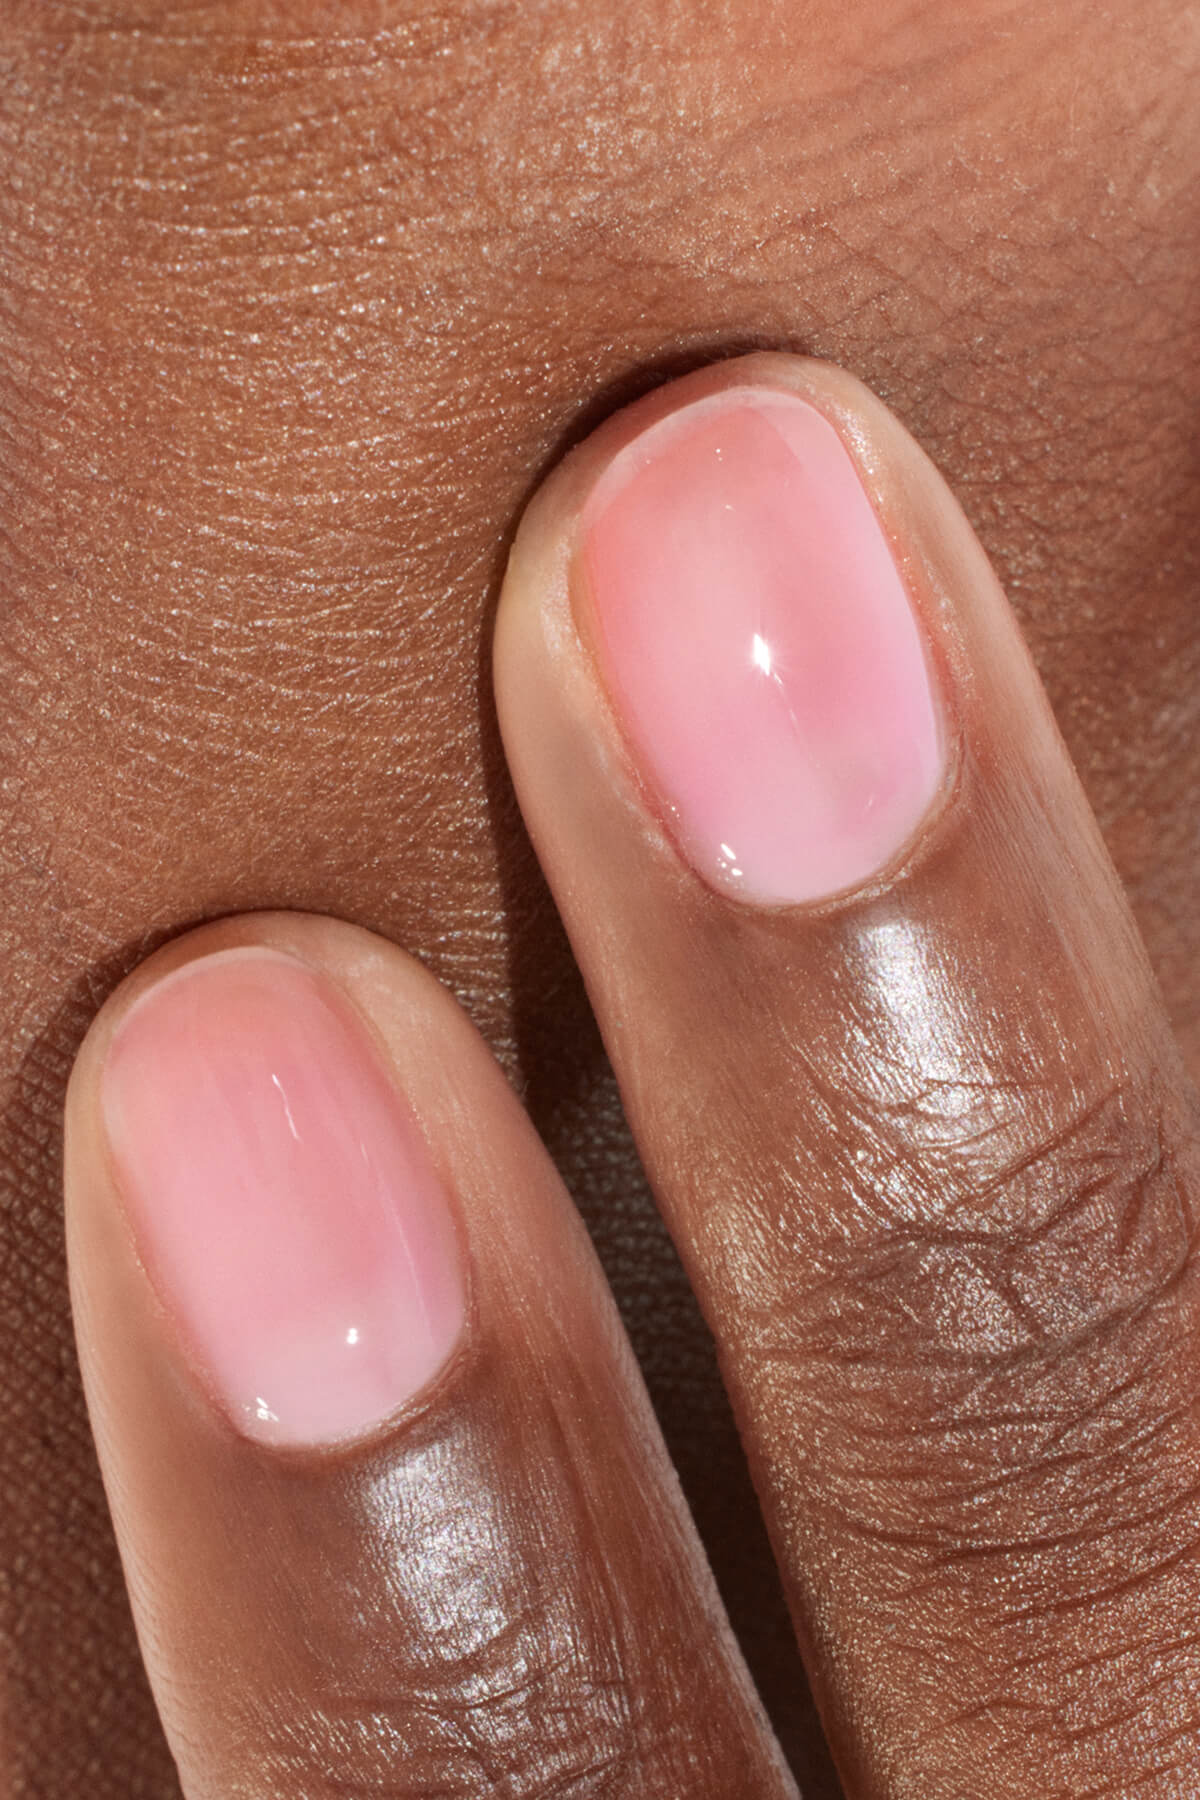
🛡️ Protection and reinforcement: builder gel is the perfect ally for fragile nails that need extra strength and structure. Thicker than classic Gel Polish, it helps coat the nail and protect it from everyday breakage. It is ideal if your nails are soft, delicate or prone to splitting. With this protection, nails can grow steadily without breaking.
Learn more about nail reinforcement in our article.
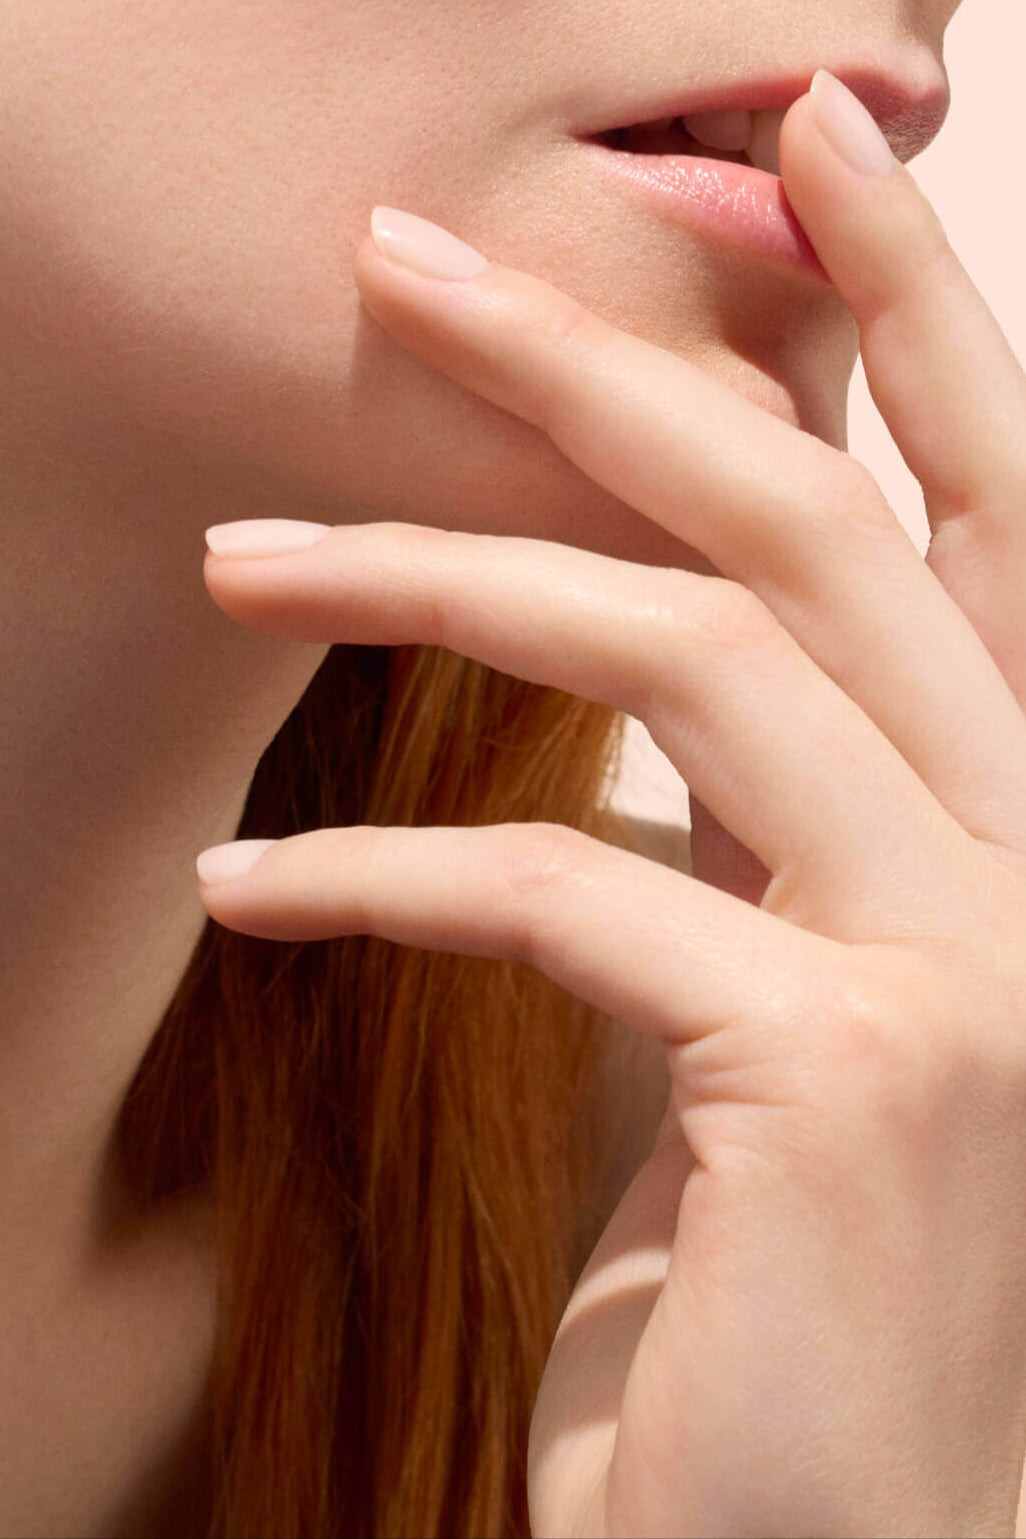
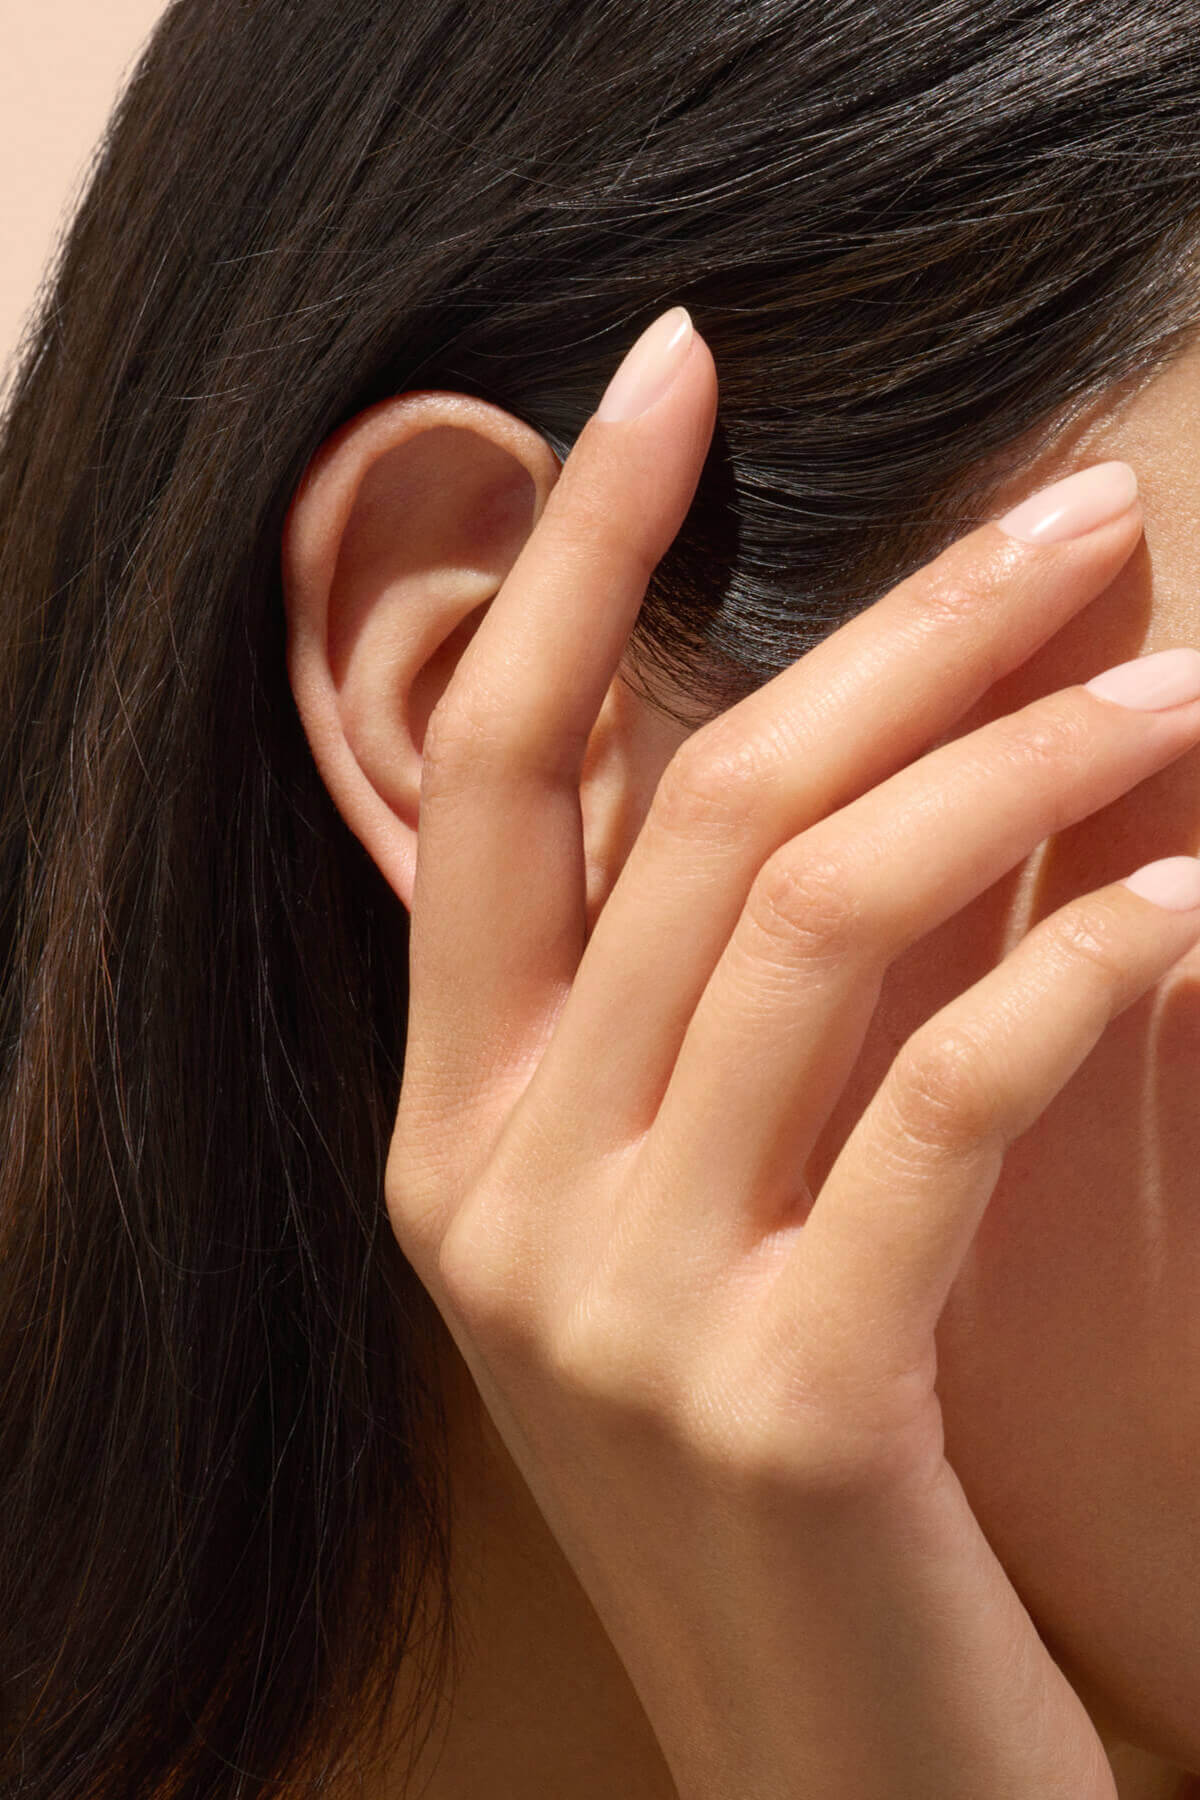
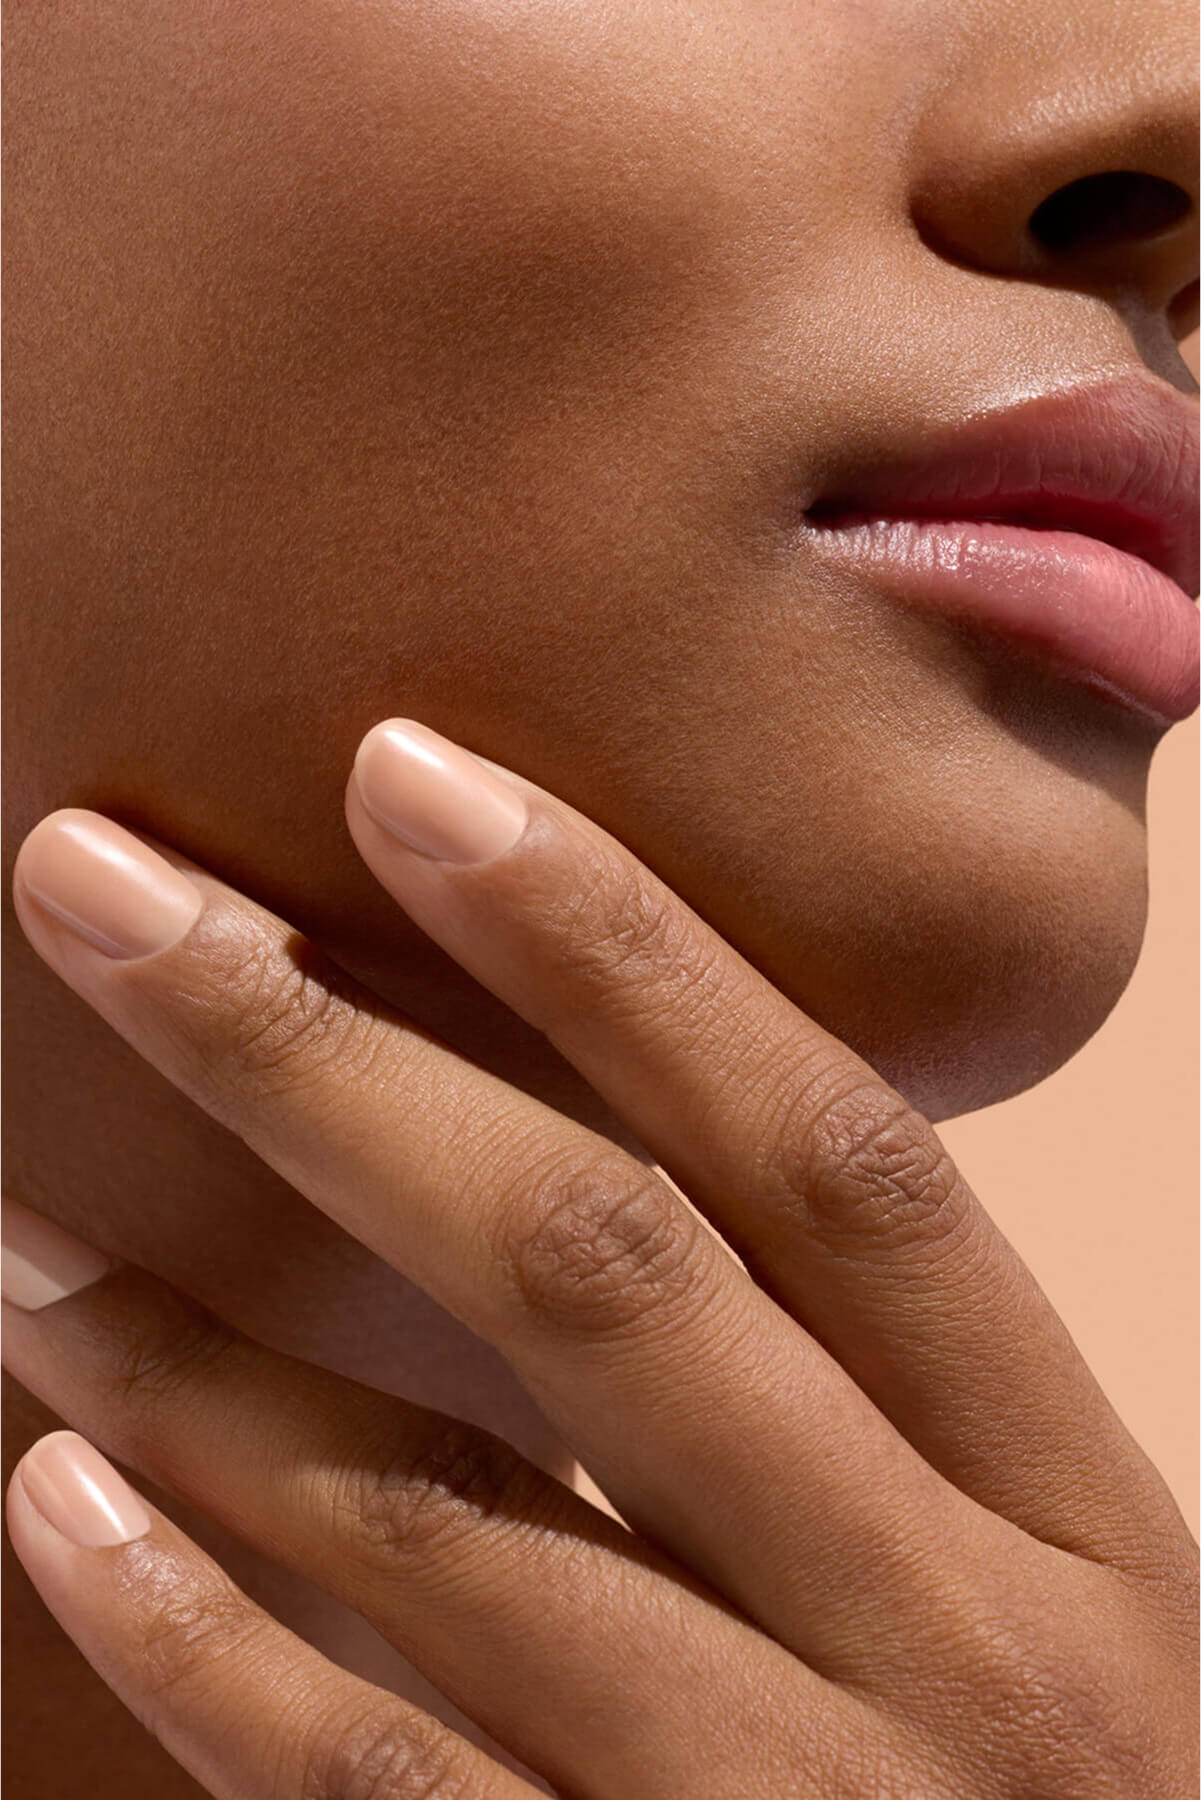
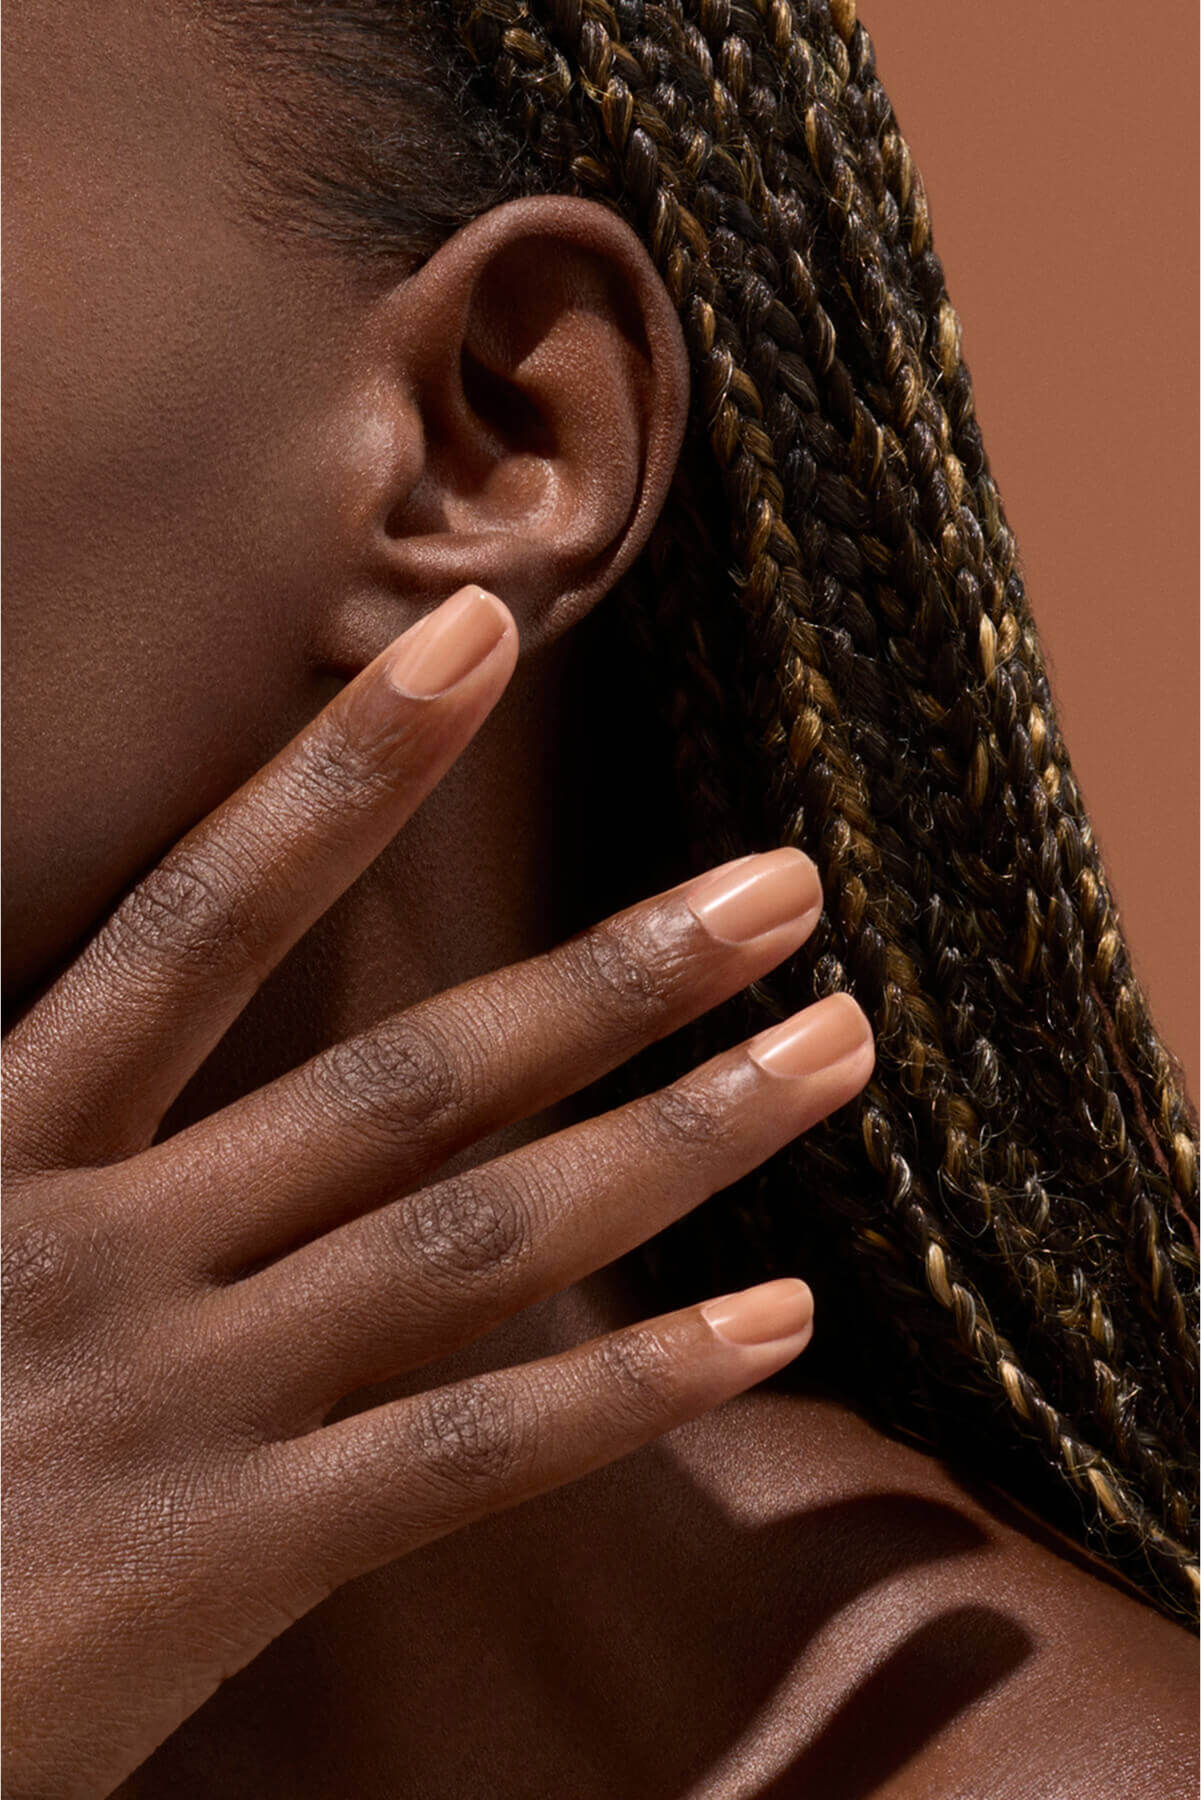
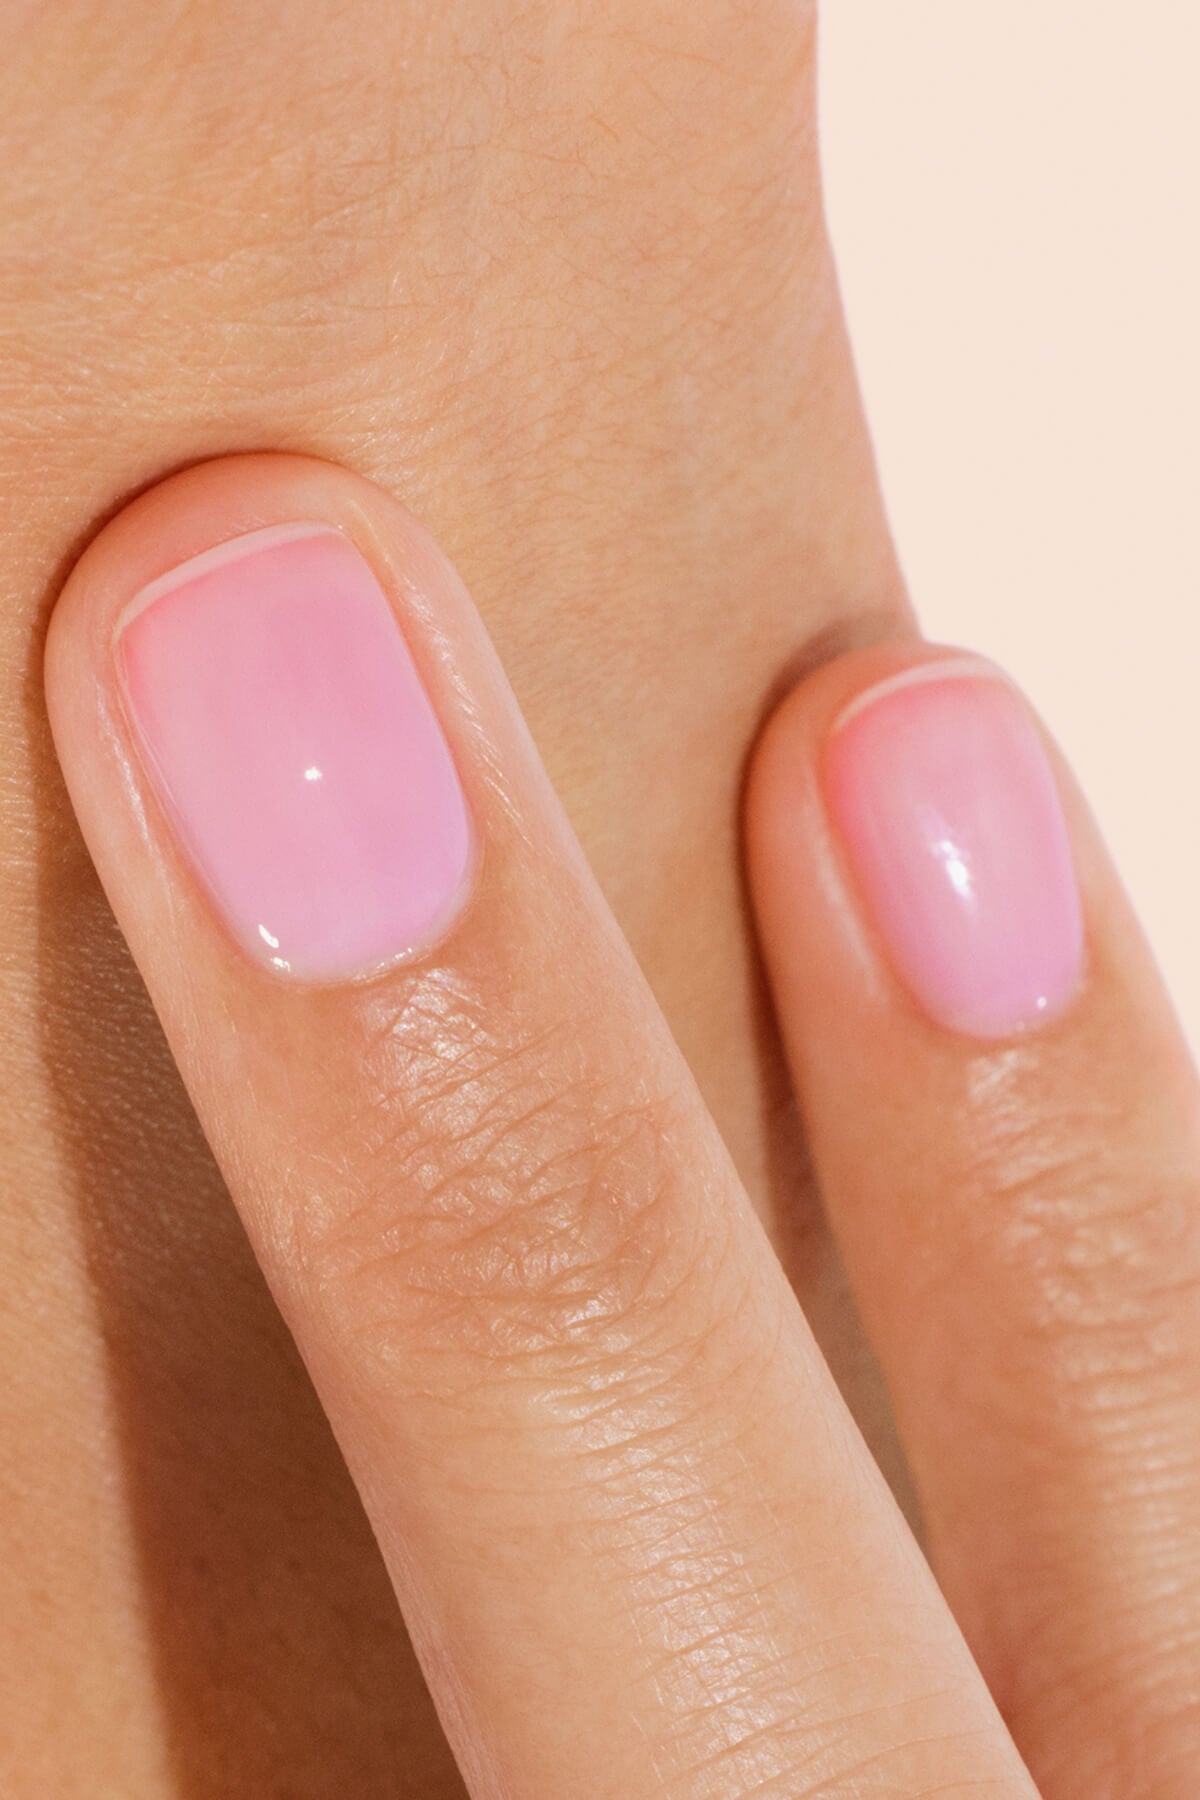
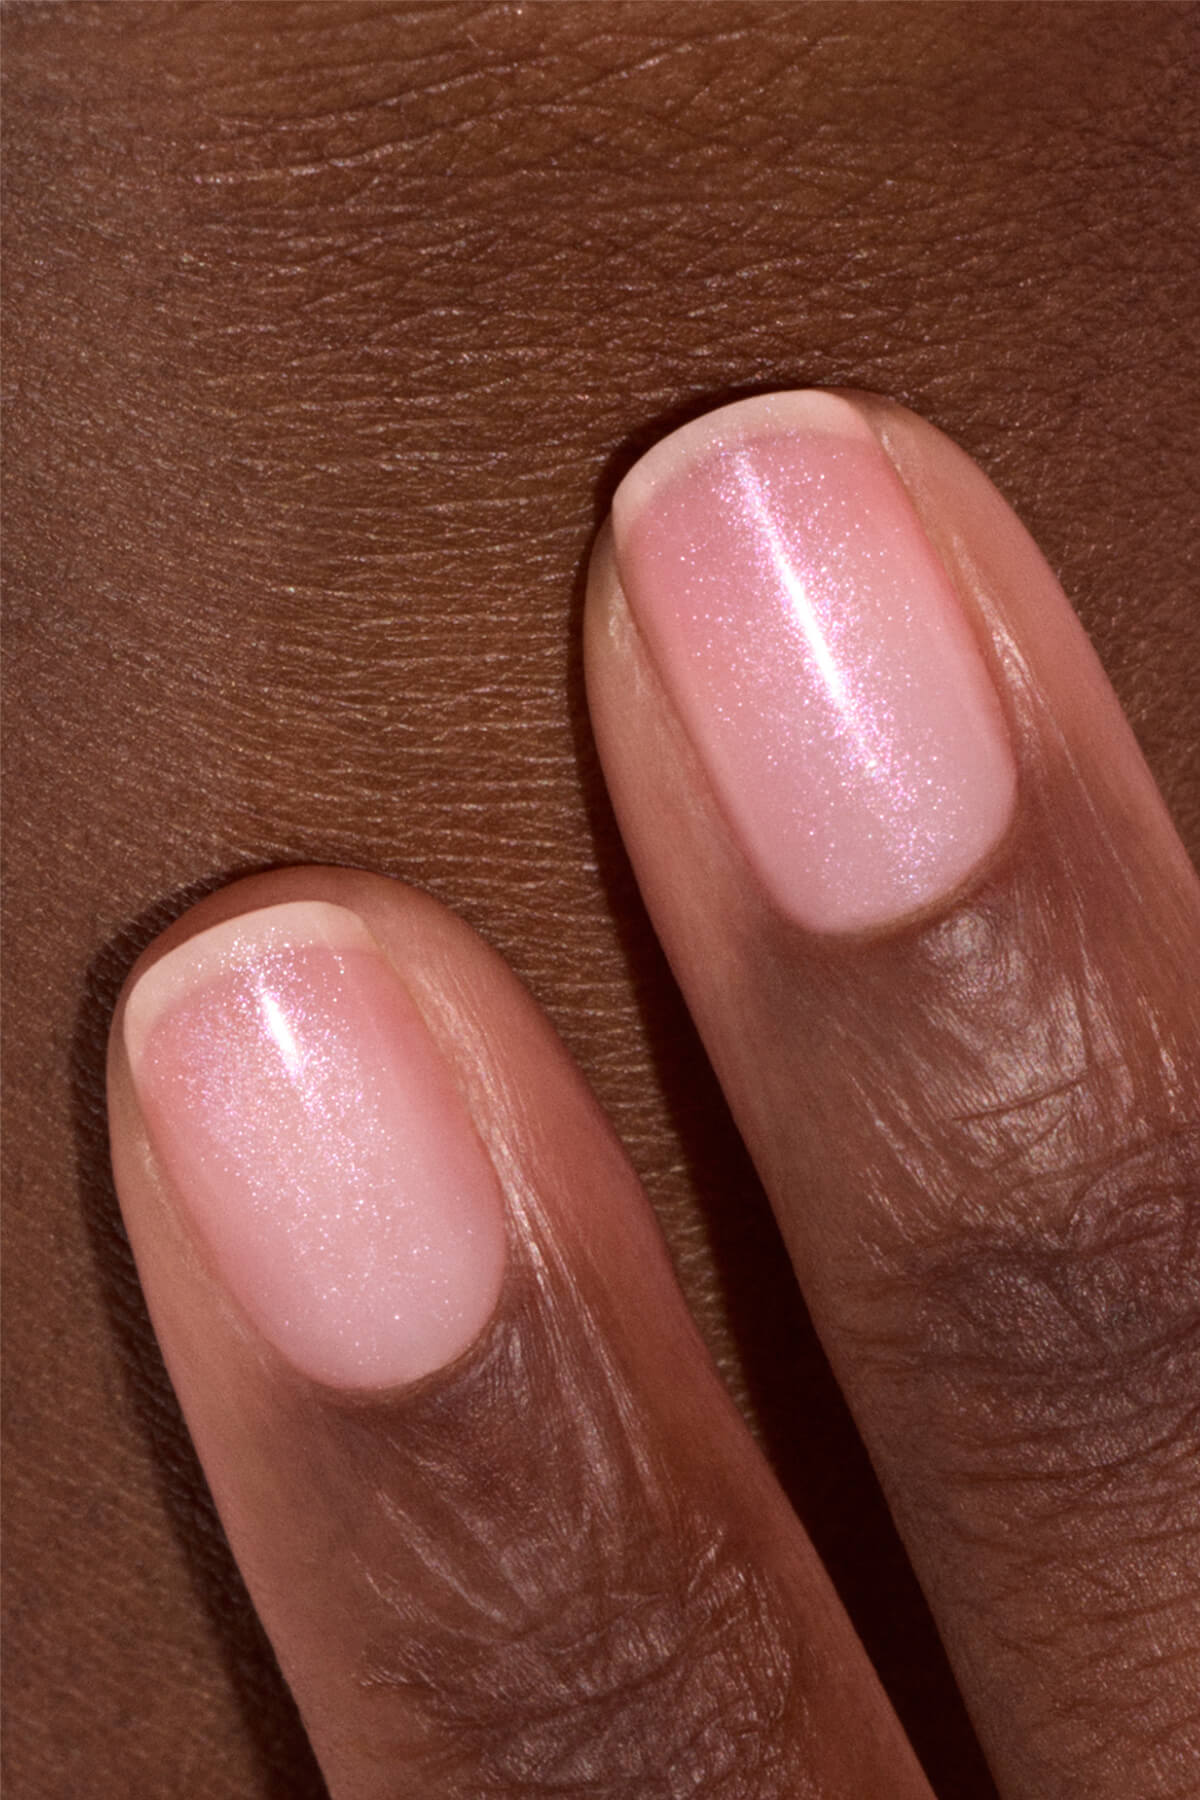
💅 Perfect nails on demand: builder gel smooths irregularities and evens out the nail surface, creating the ideal base for colour or nail art. It also allows you to create almost any nail shape or length. Long stiletto nails or short square nails, everything is possible.
⏱️ Long lasting wear: up to four or even six weeks.
How do you apply builder gel?
Let us be honest, applying builder gel requires excellent technical skill to achieve a smooth application and a flawless finish. Self levelling gels do make things easier, especially for beginners, but filing and sculpting remain technical gestures best mastered by experienced hands. Here are the key steps for this type of manicure.
Preparing the nails
As with any manicure, careful nail preparation is essential to optimise gel adhesion and prevent premature lifting. Start by filing the nails with a 180 grit nail file to even them out, then push back the cuticles using a Steel cuticle pusher. Next, lightly buff the surface using Buffer sponges to create tiny scratches that help the gel adhere better. Work gently to avoid weakening the nail plate. Finally, clean and degrease the nail before applying the builder gel.
Application and curing
Depending on the system used, monophase, biphase or triphase, apply the product in thin layers and cure each one under a UV or LED lamp before applying the next. A 48W LED lamp is recommended for quick curing.
During the building stage, the sculpting work is done with a brush, adjusting according to the gel viscosity to shape the desired length and form. For short extensions of less than three millimetres, choose a medium viscosity gel. For medium to long extensions between four and eight millimetres, opt for a thicker gel that creates a strong structure.
The movement should remain precise and fluid. Apply the gel at the centre of the nail and gently pull it toward the free edge without touching the cuticles. Gradually create a slight curve, known as the apex, in the centre to strengthen the structure. Take your time because rushing can cause air bubbles or brush marks that ruin the final result.
Finishing
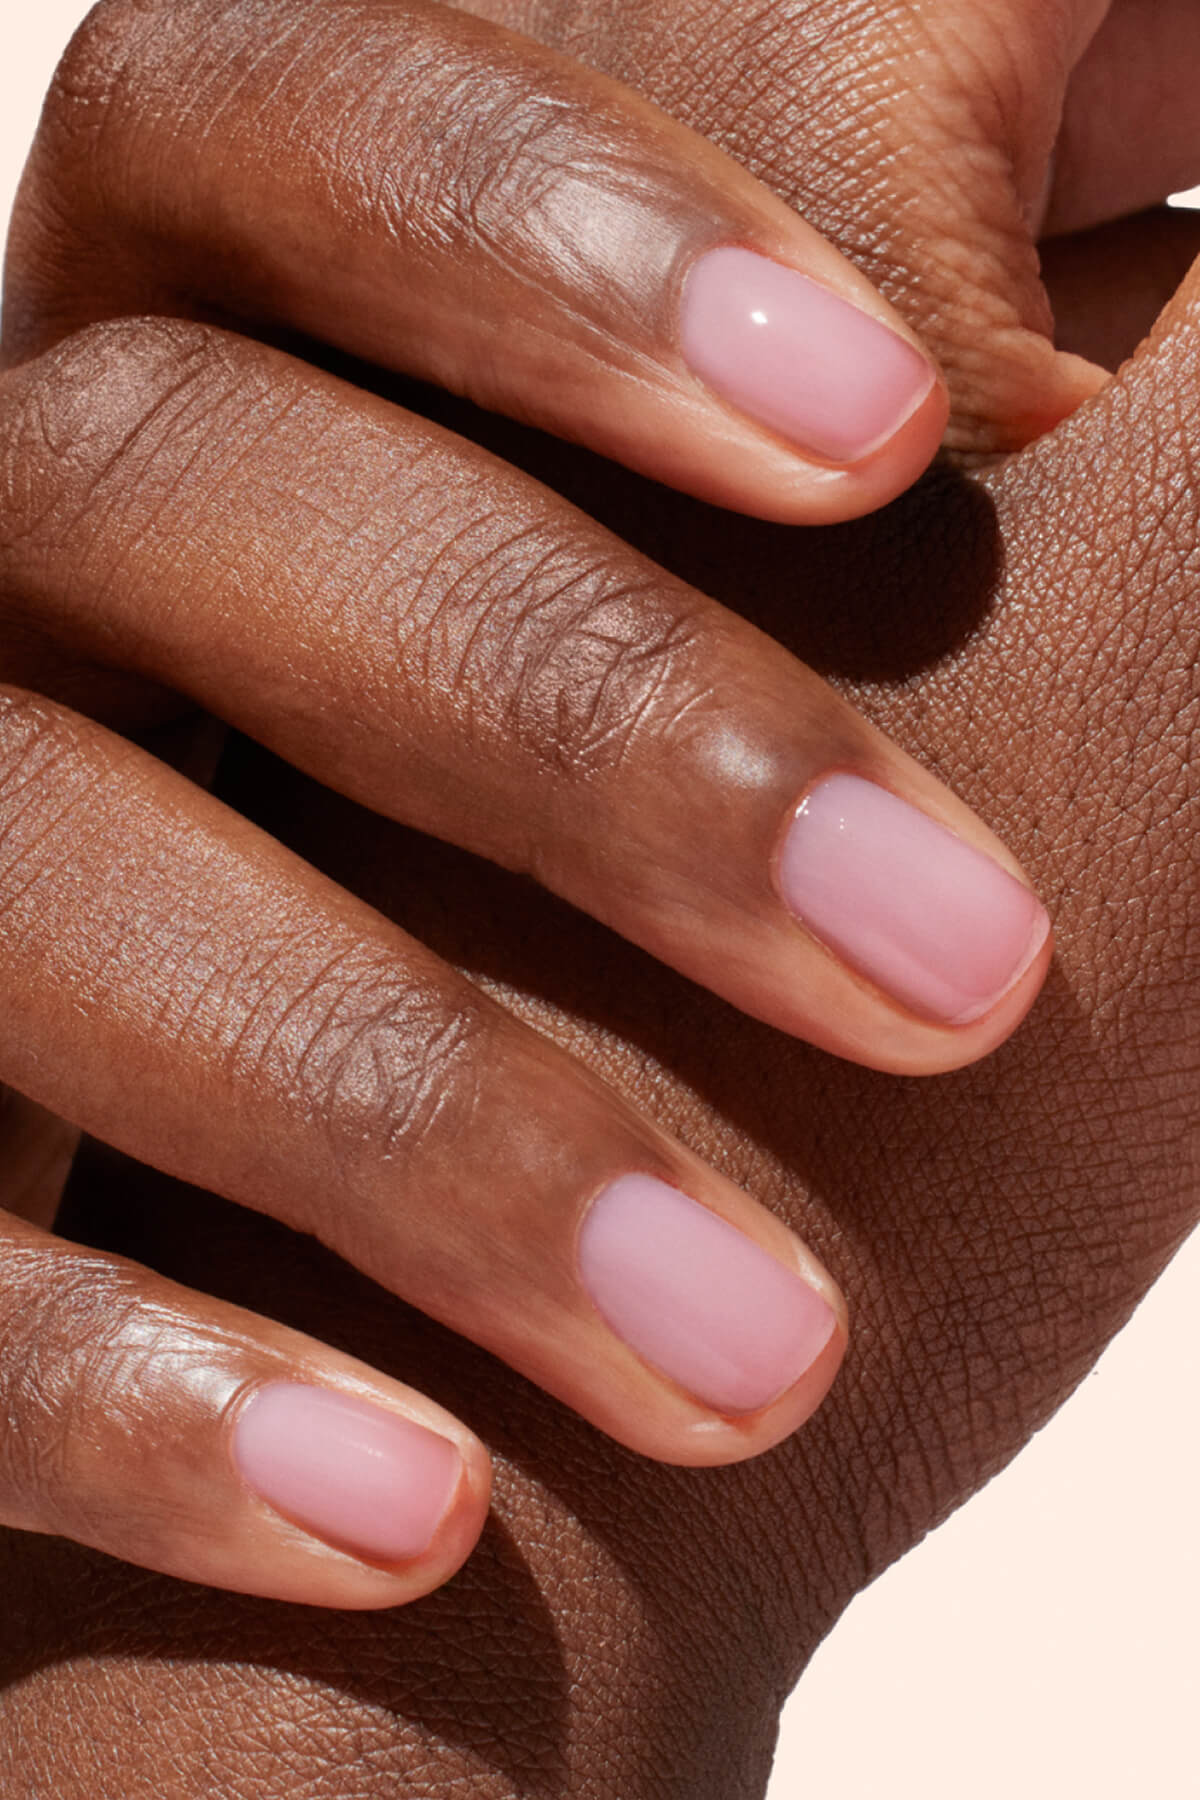
Unlike gel or acrylic nail extensions, you usually do not need to file to refine the finish. Except in the case of monophase gels, the application ends with a layer of top coat that adds the desired effect or texture such as matte, glossy, glittery, pearlescent or chrome.
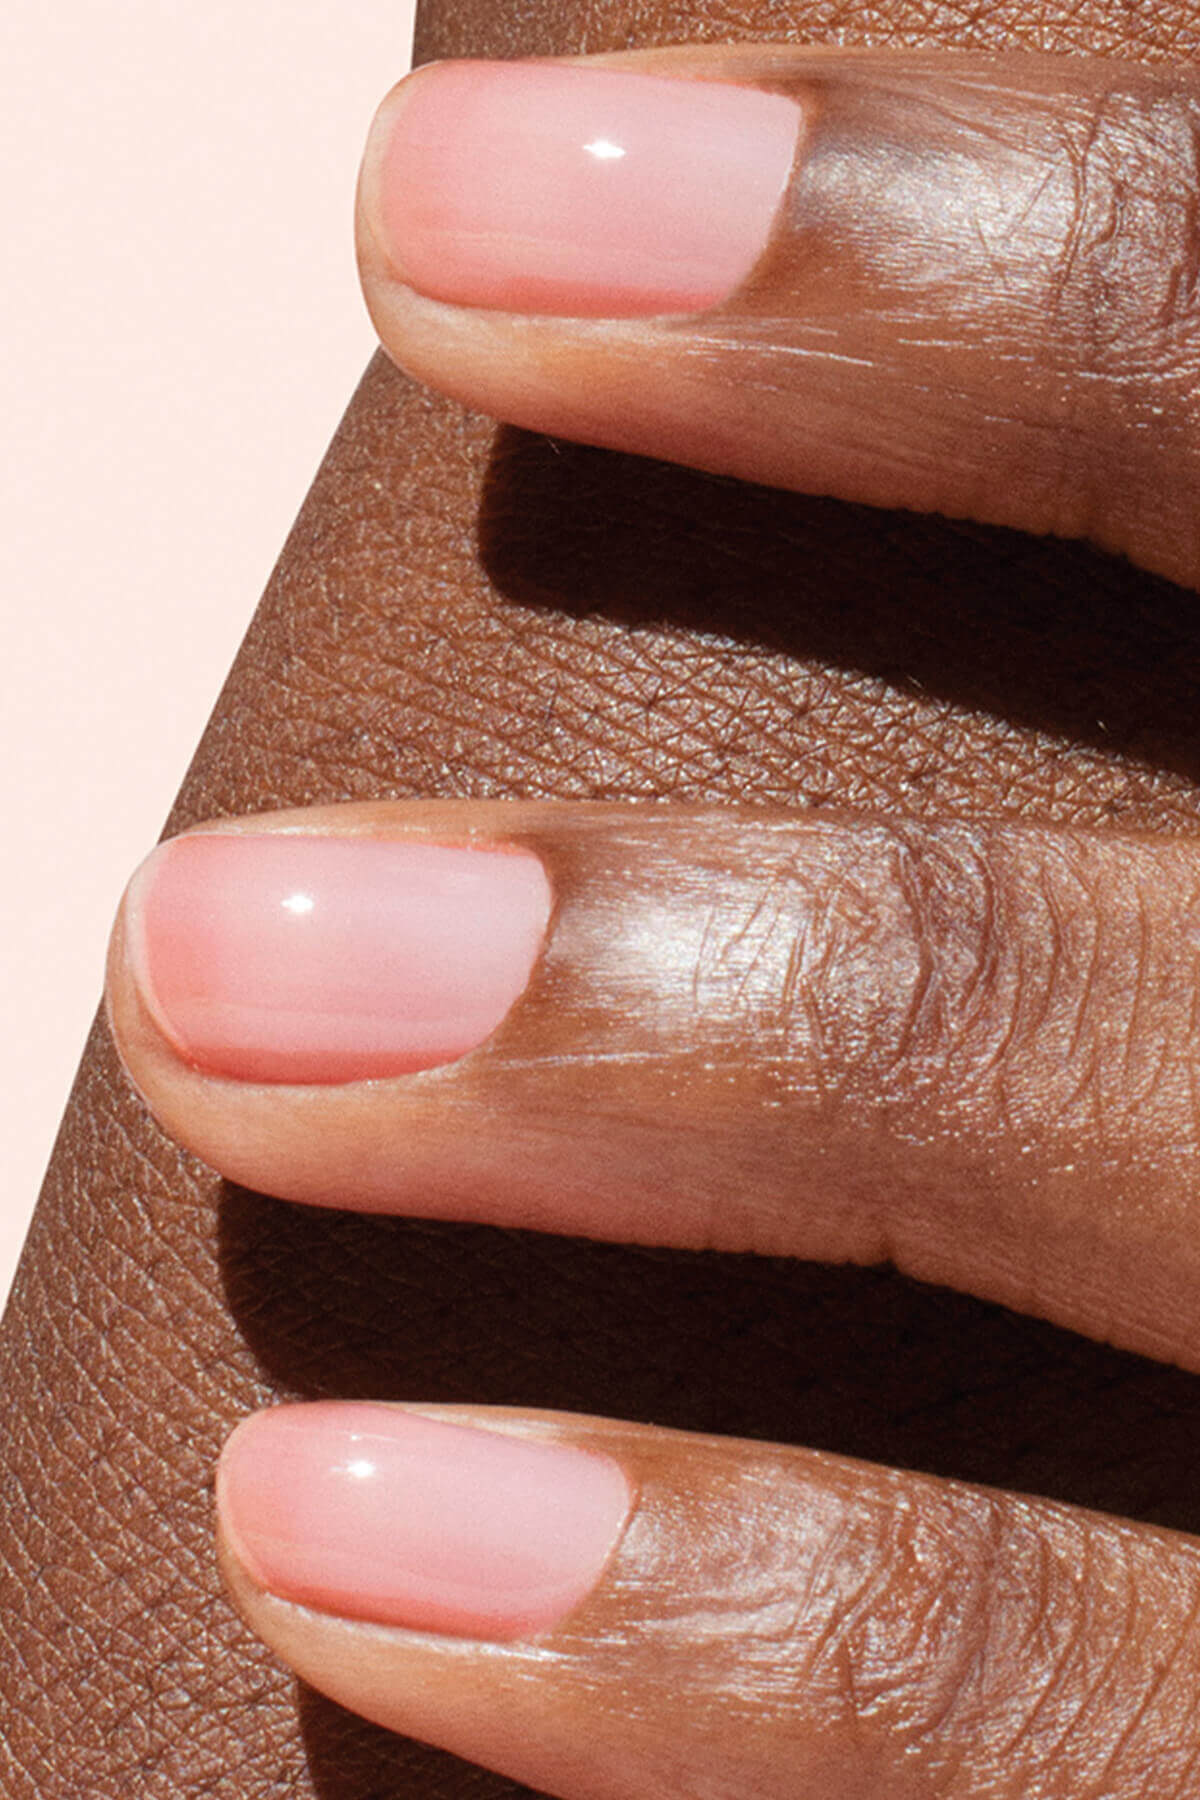
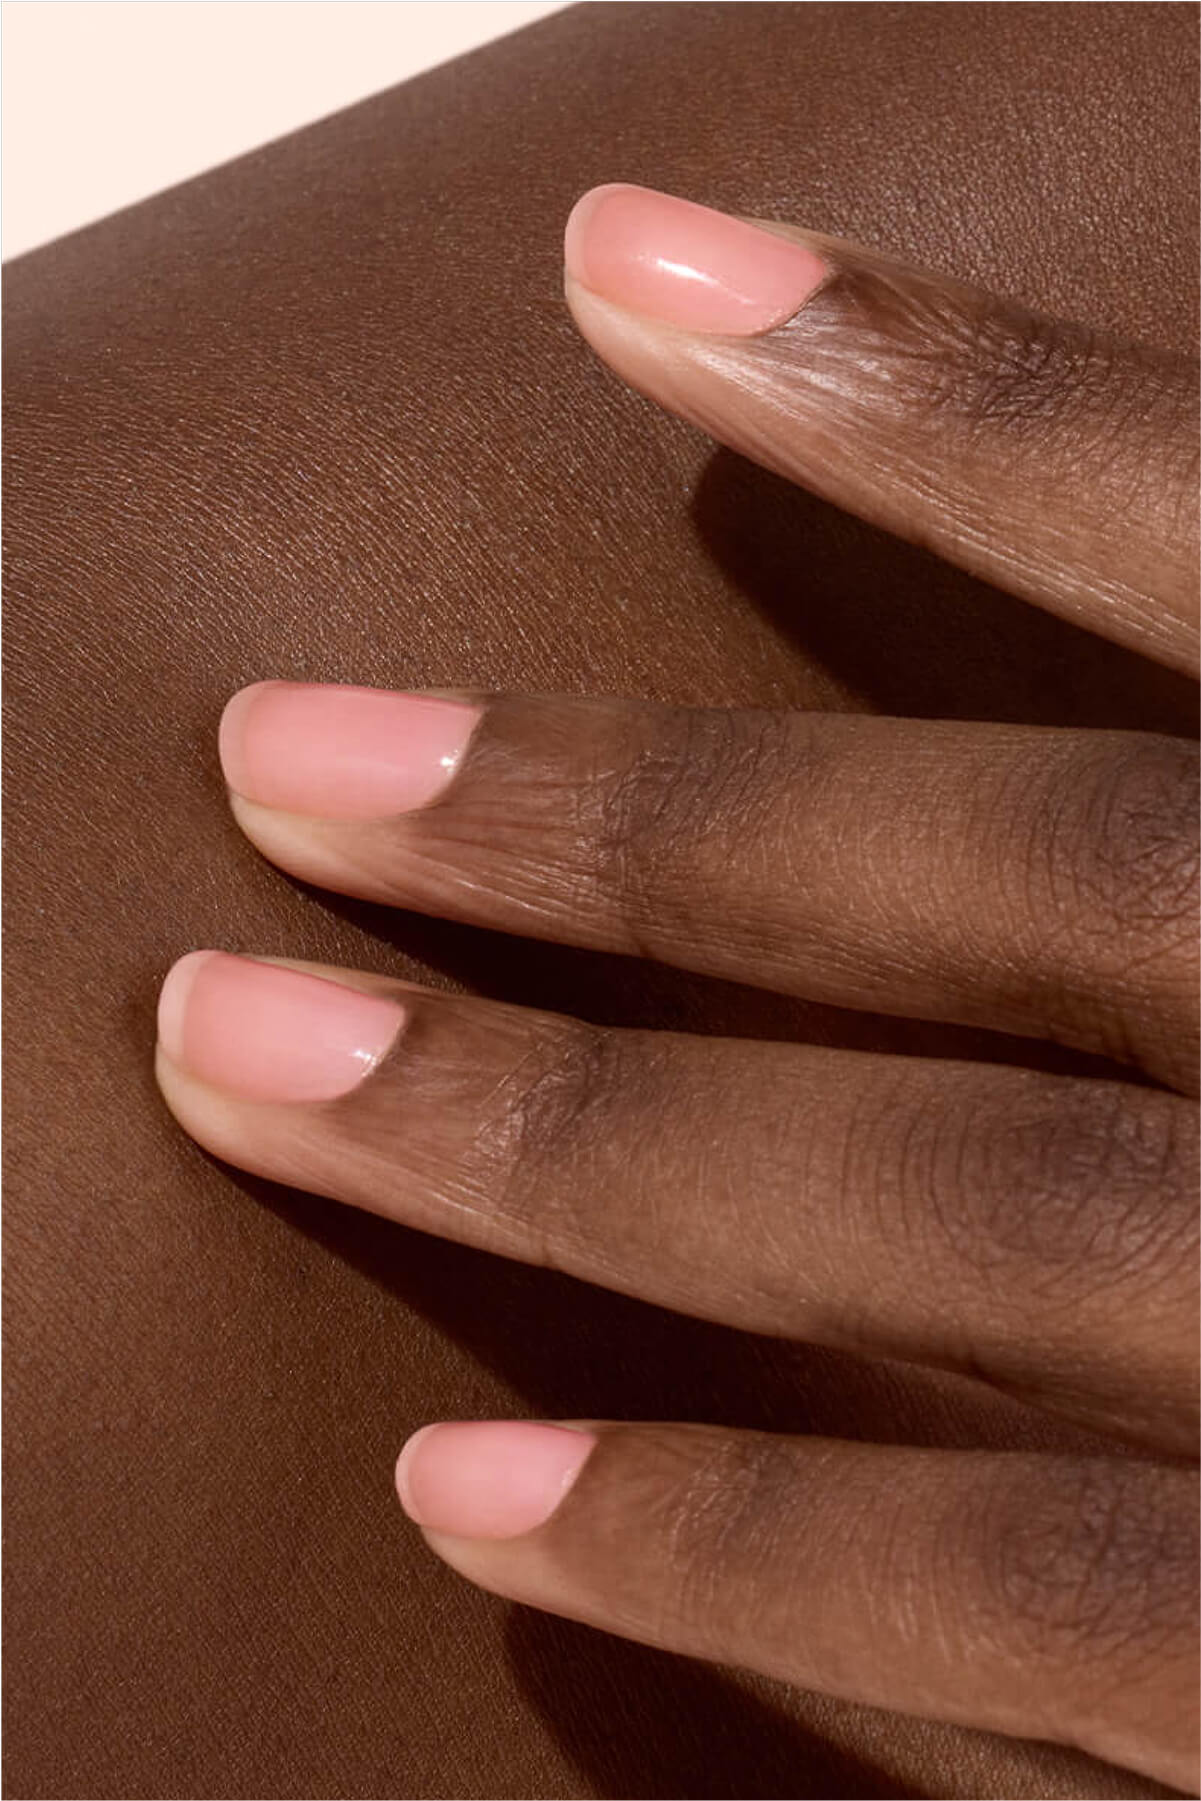
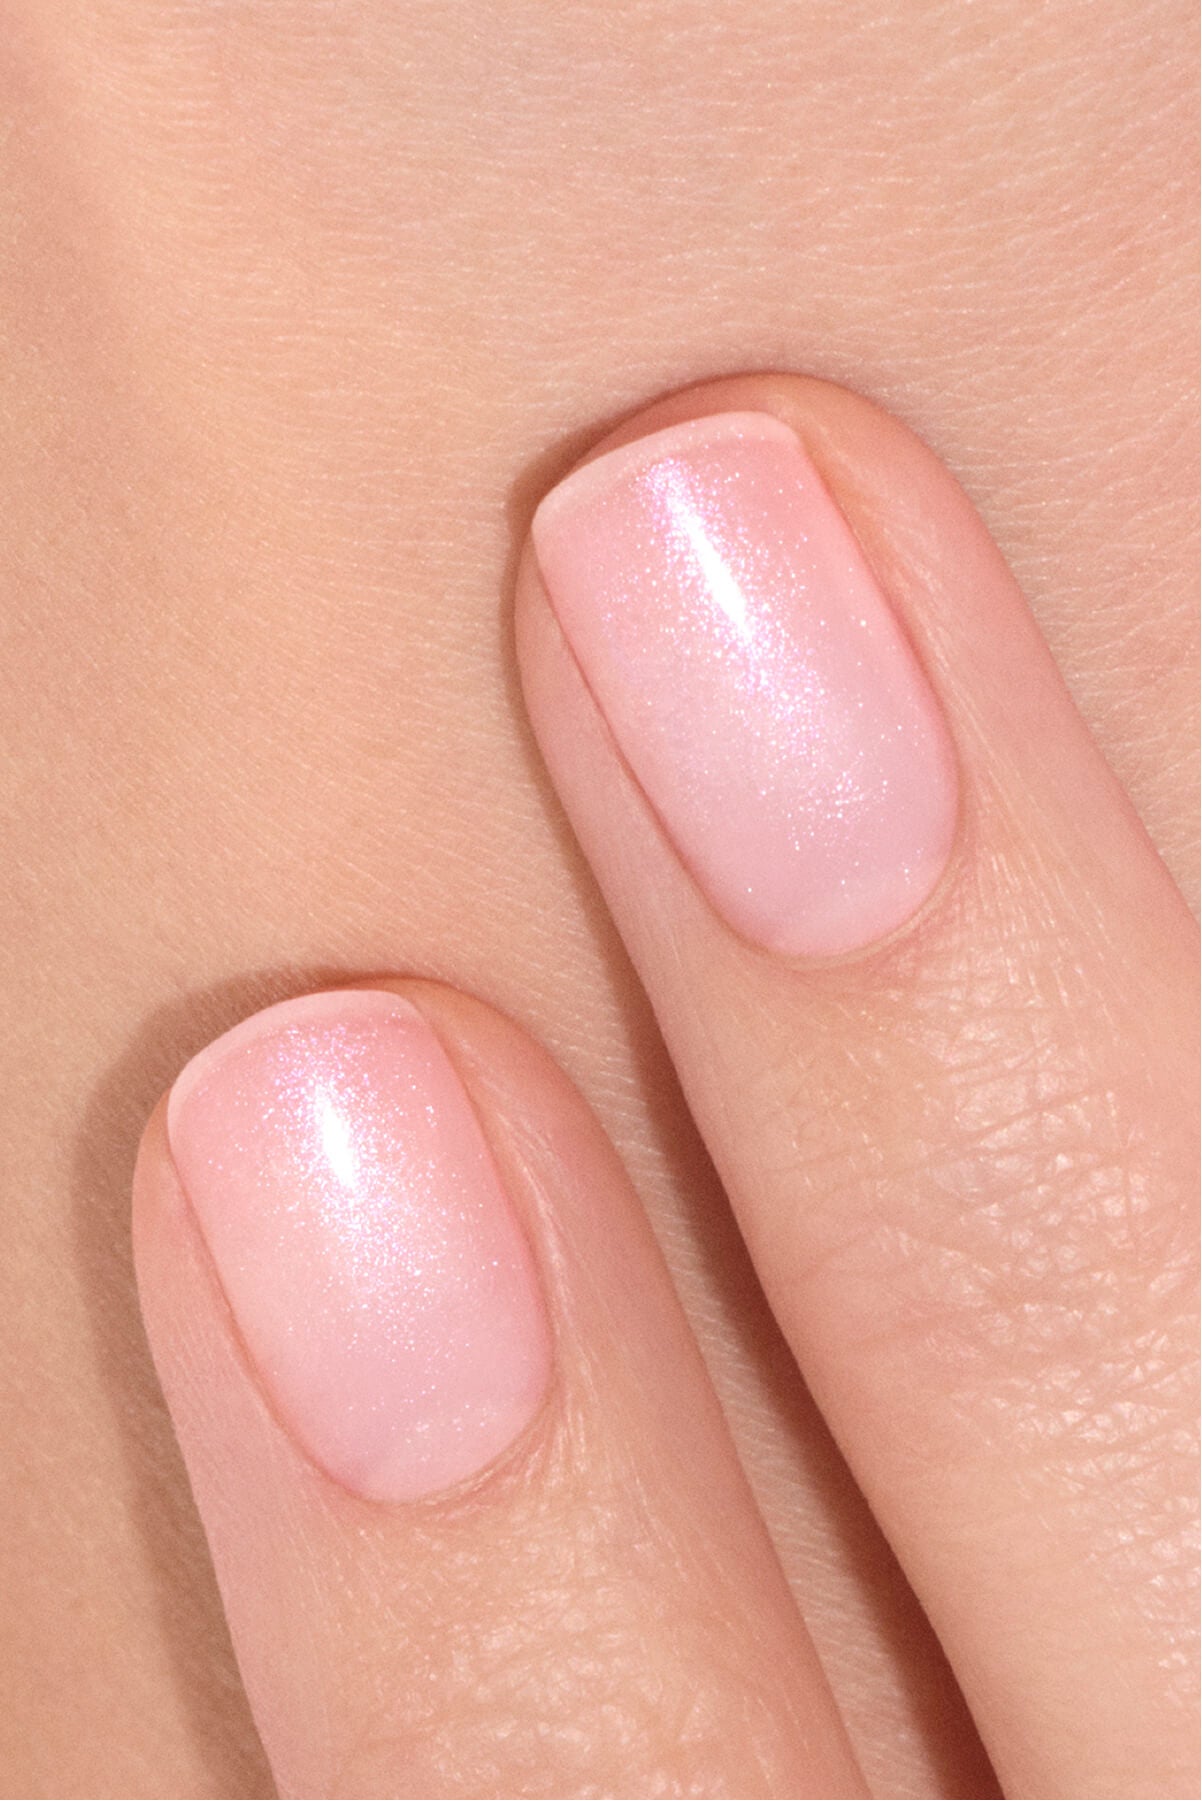
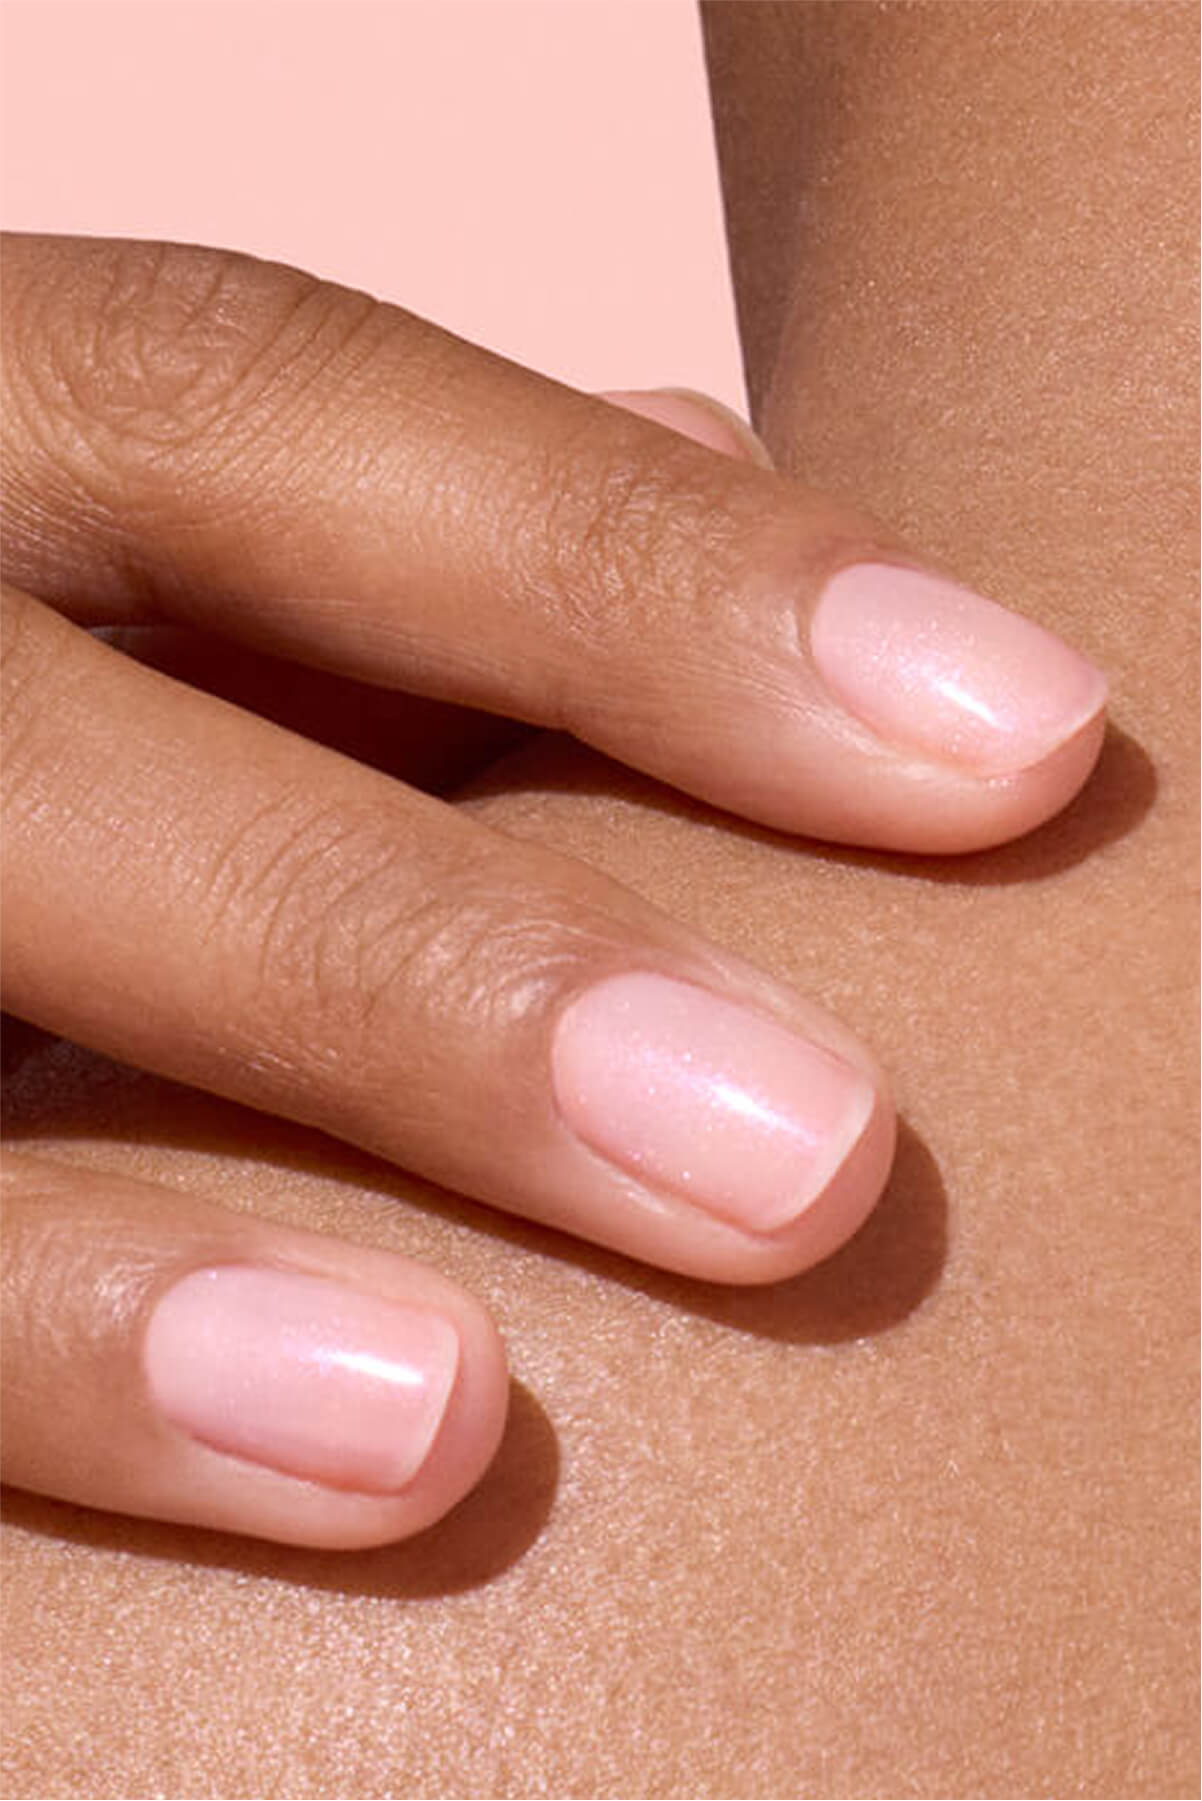
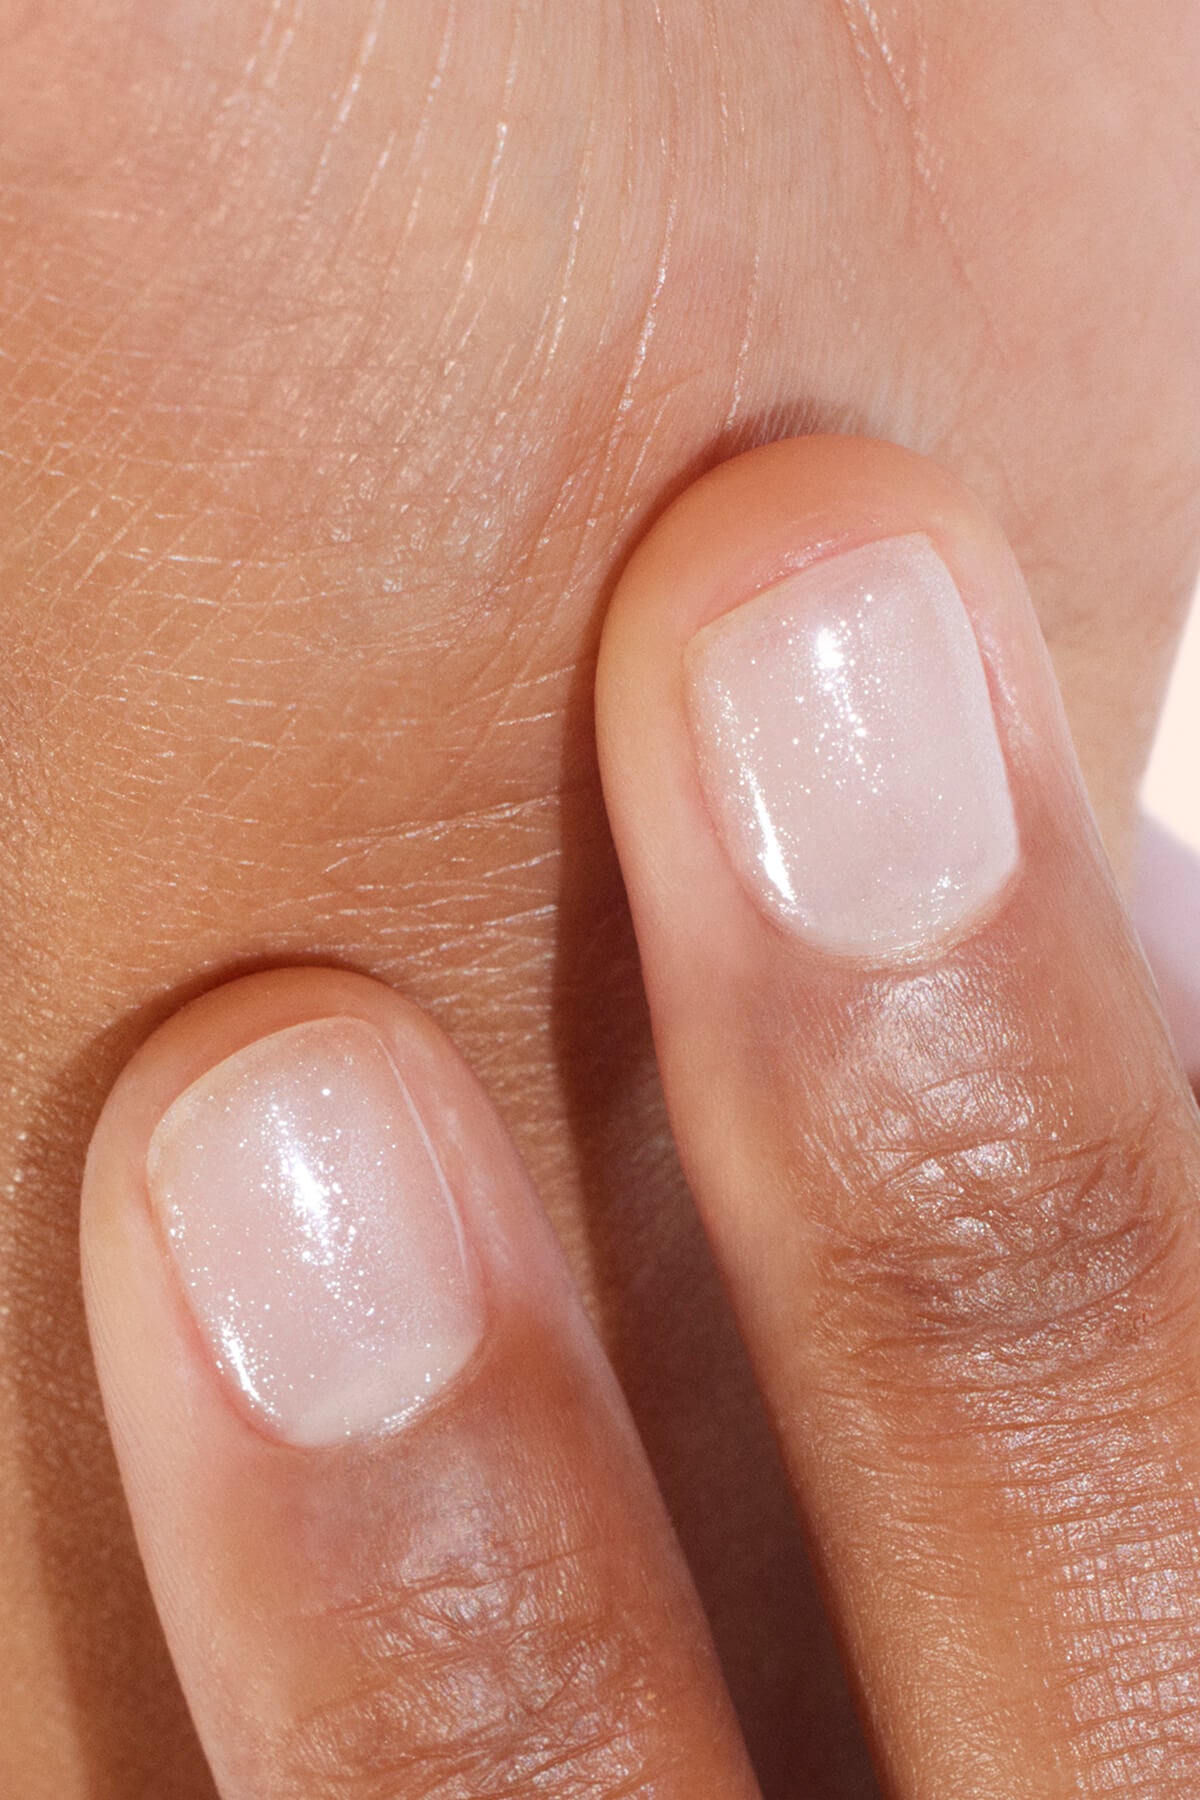
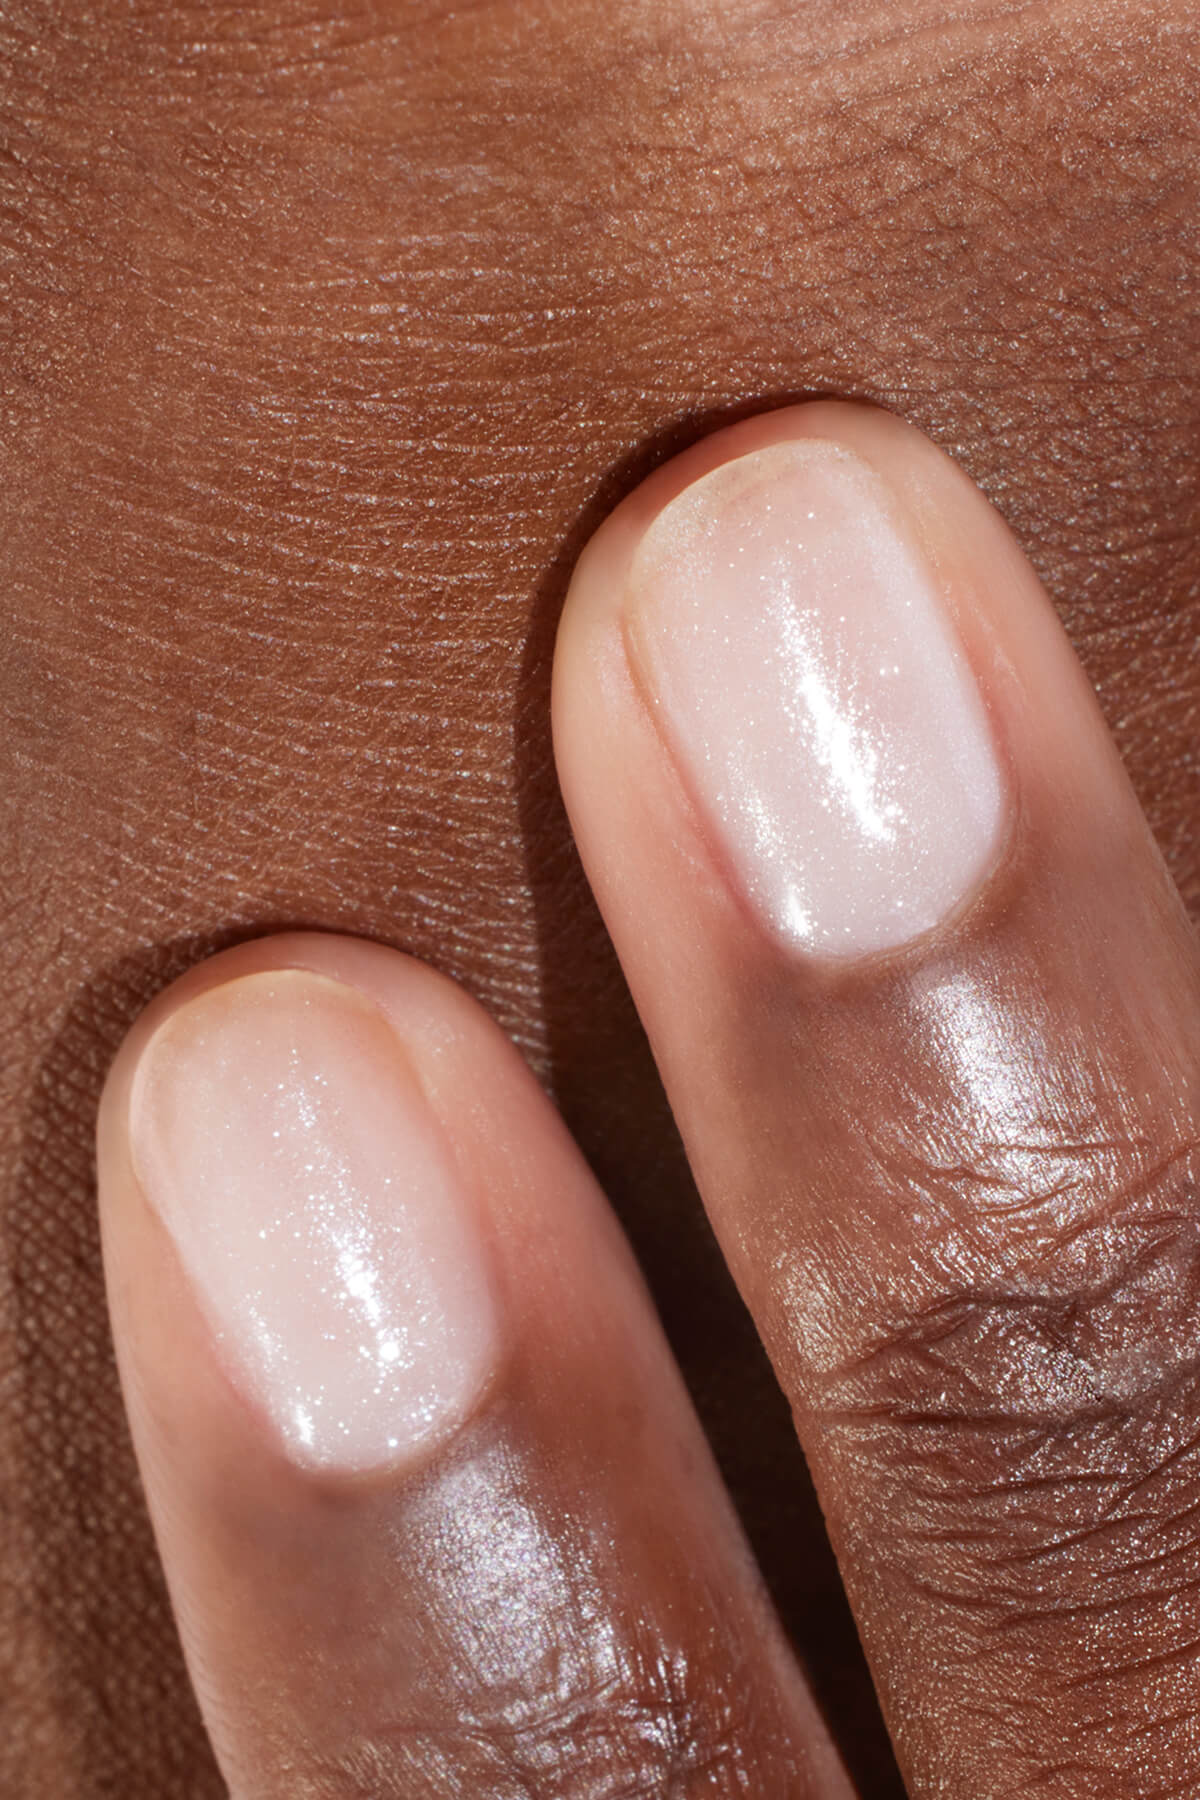
Builder gel application essentials by @nailsbypaular.
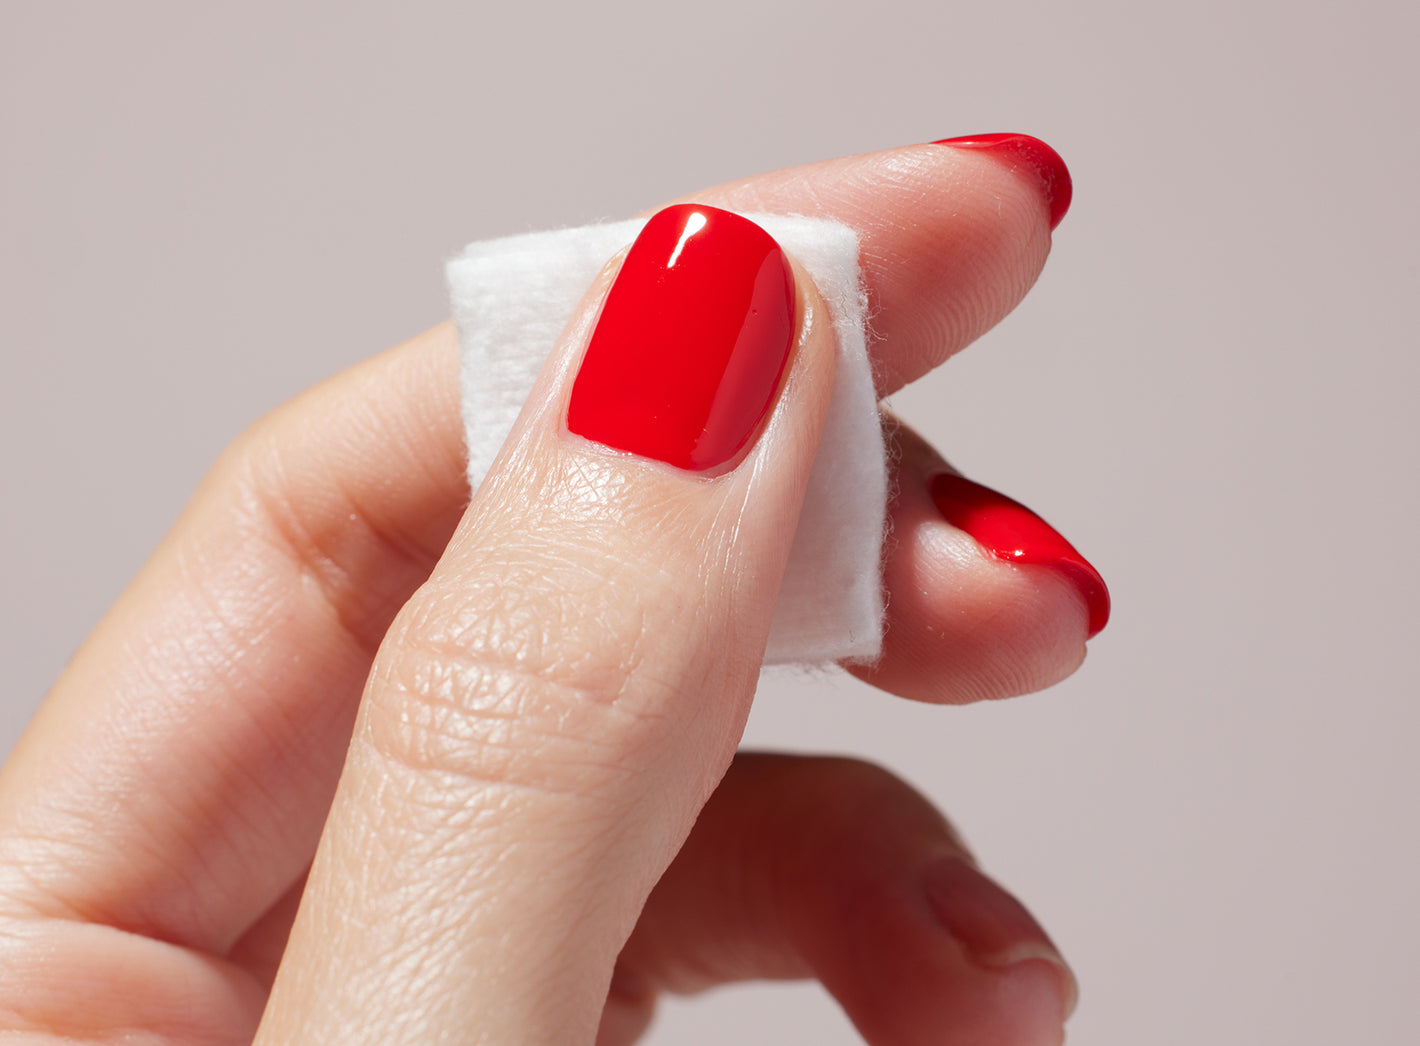
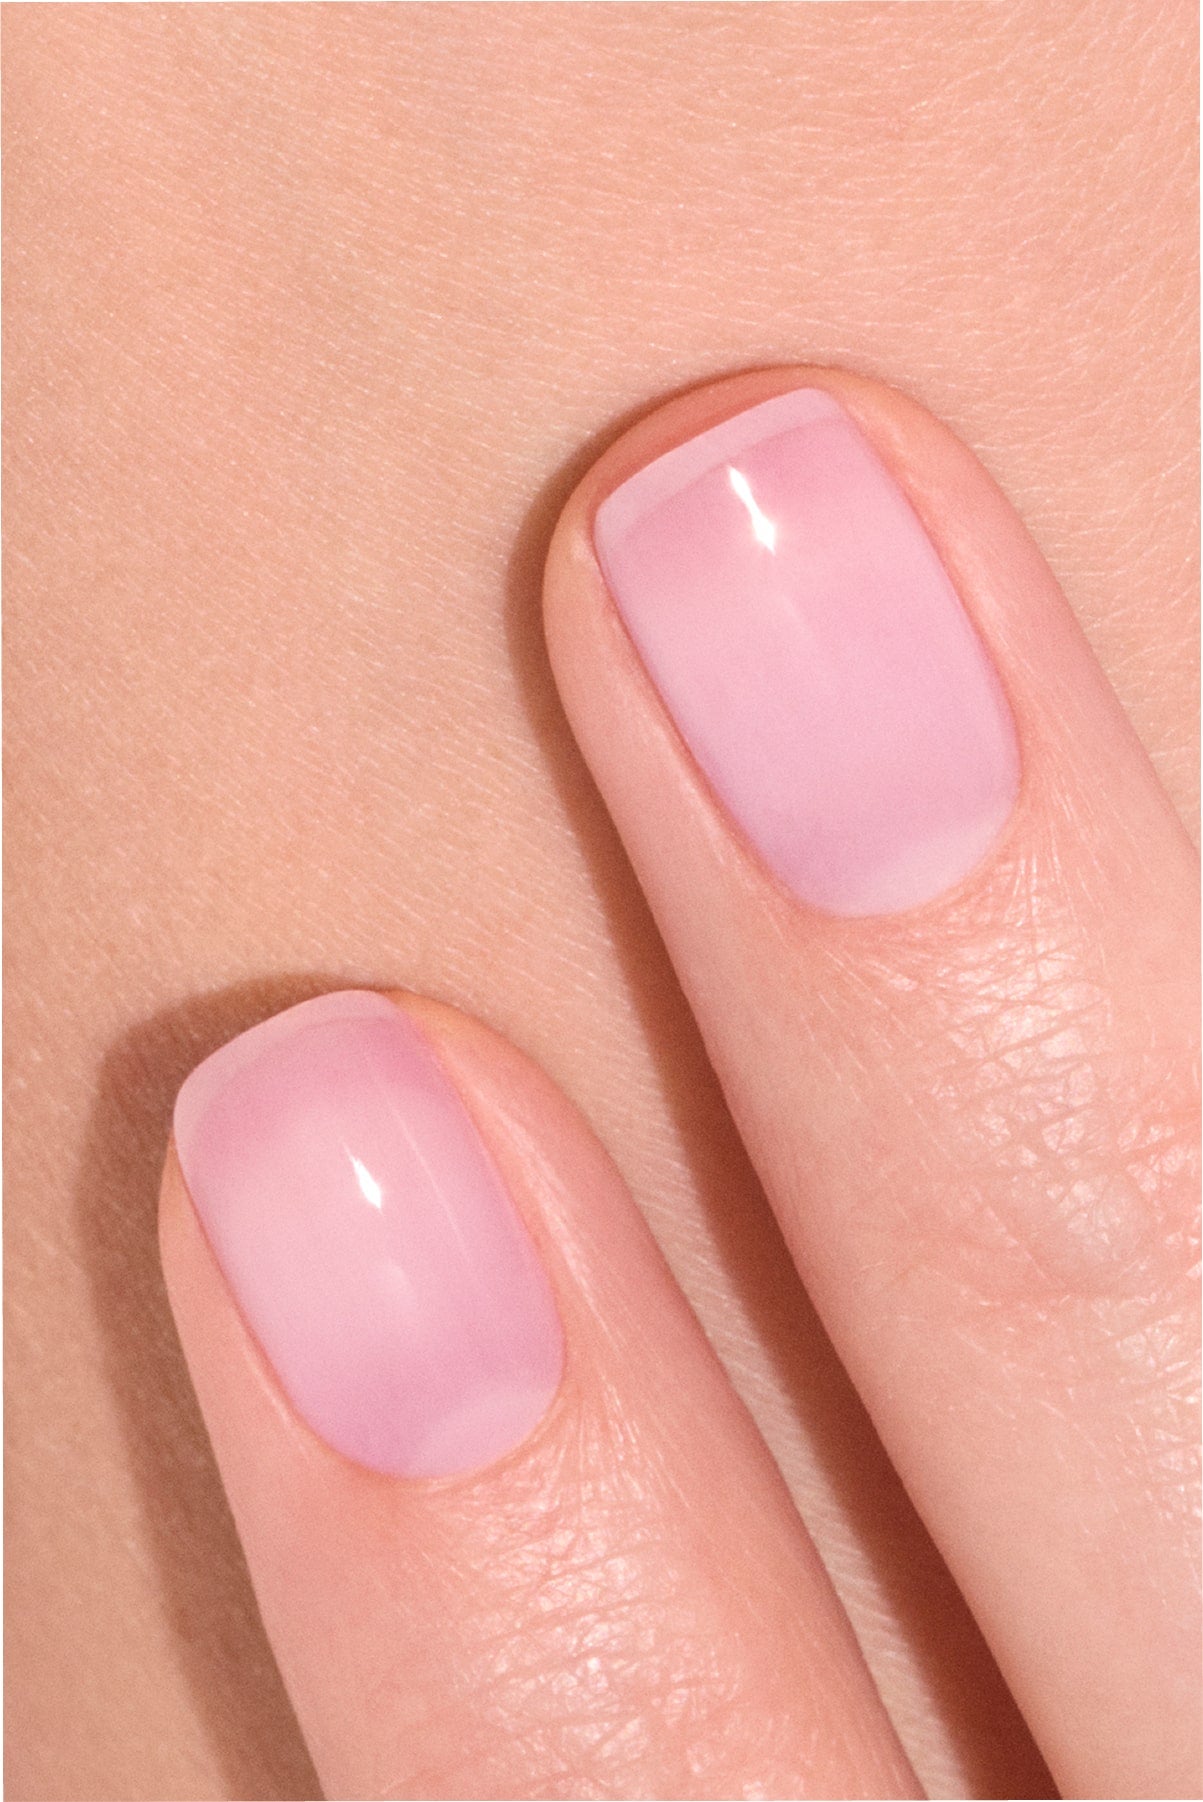
Builder gel vs Gel Polish
These two manicure techniques are often confused, yet they serve very different purposes. Builder gel acts as a skeleton for the nail, while Gel Polish acts more like a decorative finish. Here are the key differences.
Application
- With builder gel: the process is technical and time consuming, usually taking more than one hour and ideally performed by a professional nail technician if you are inexperienced.
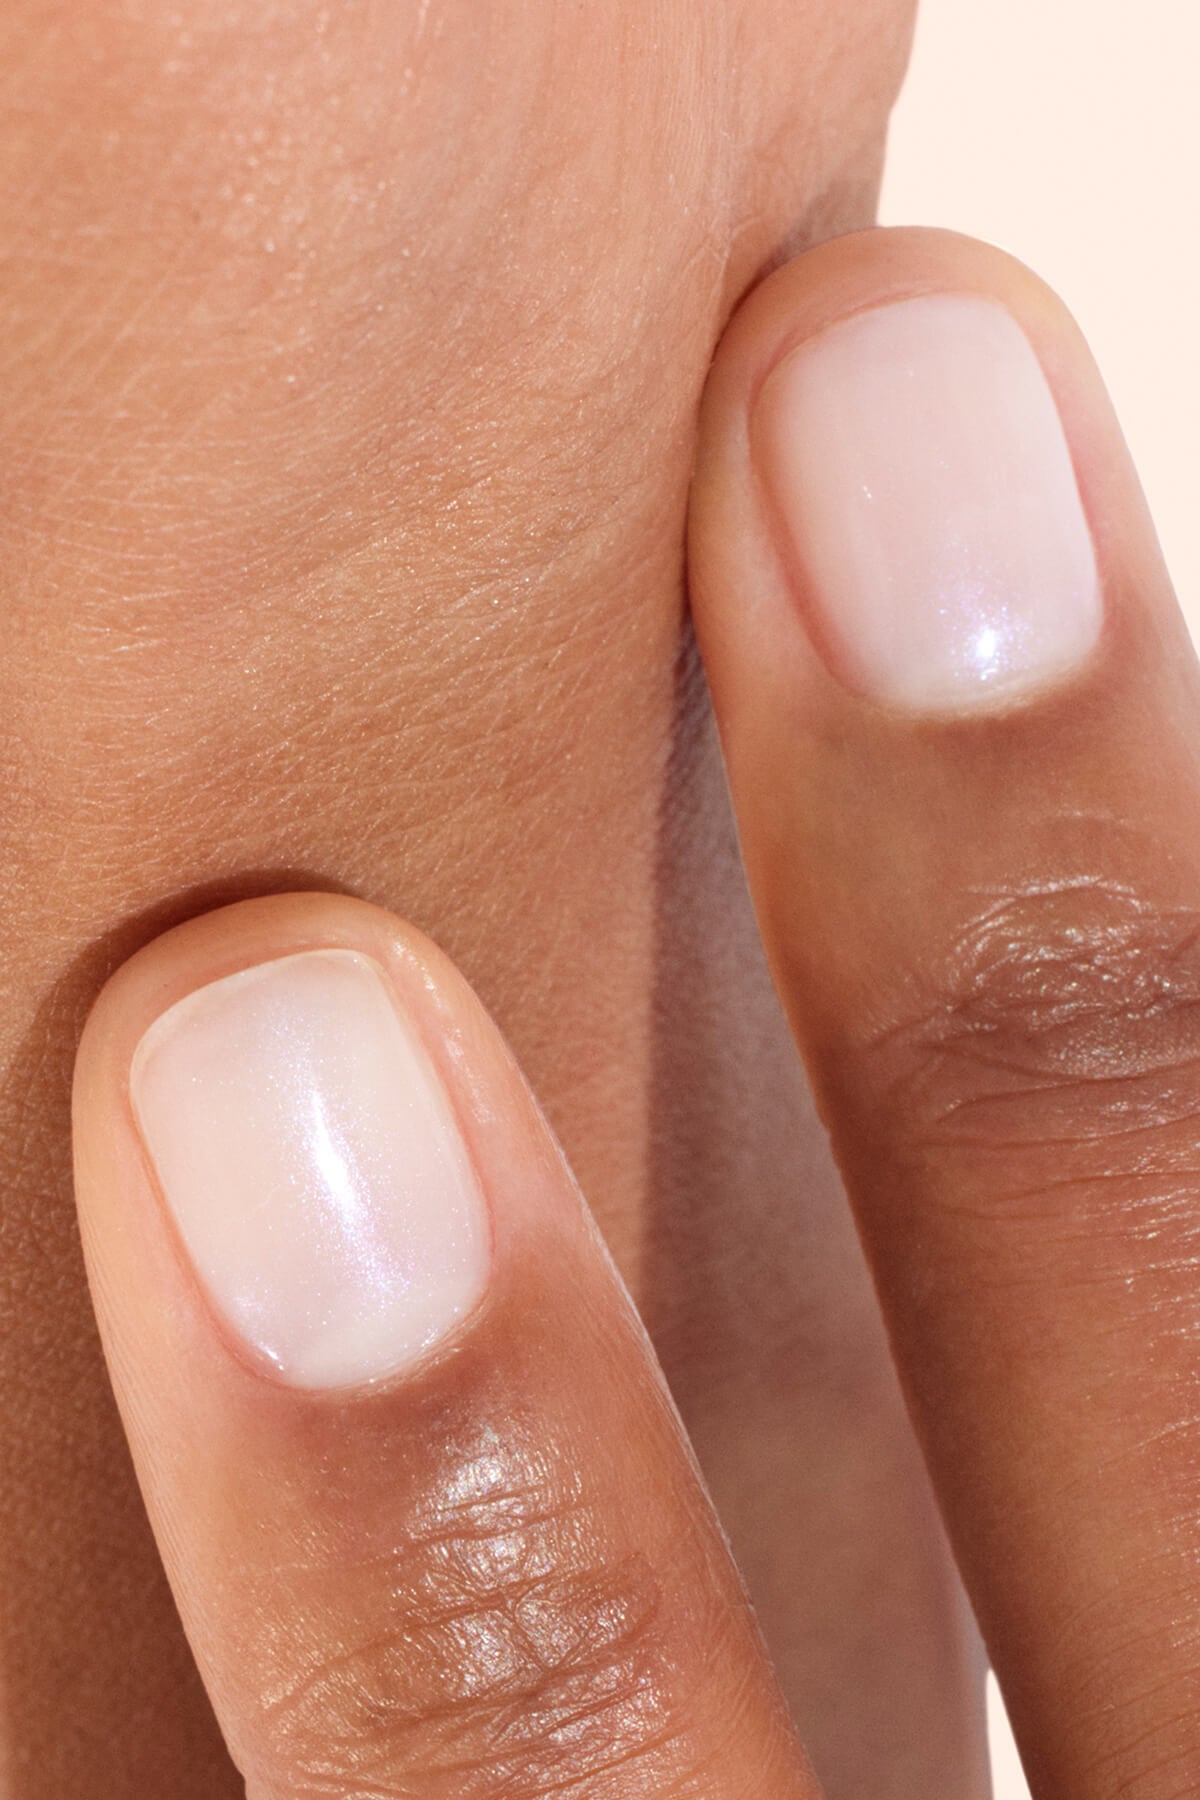
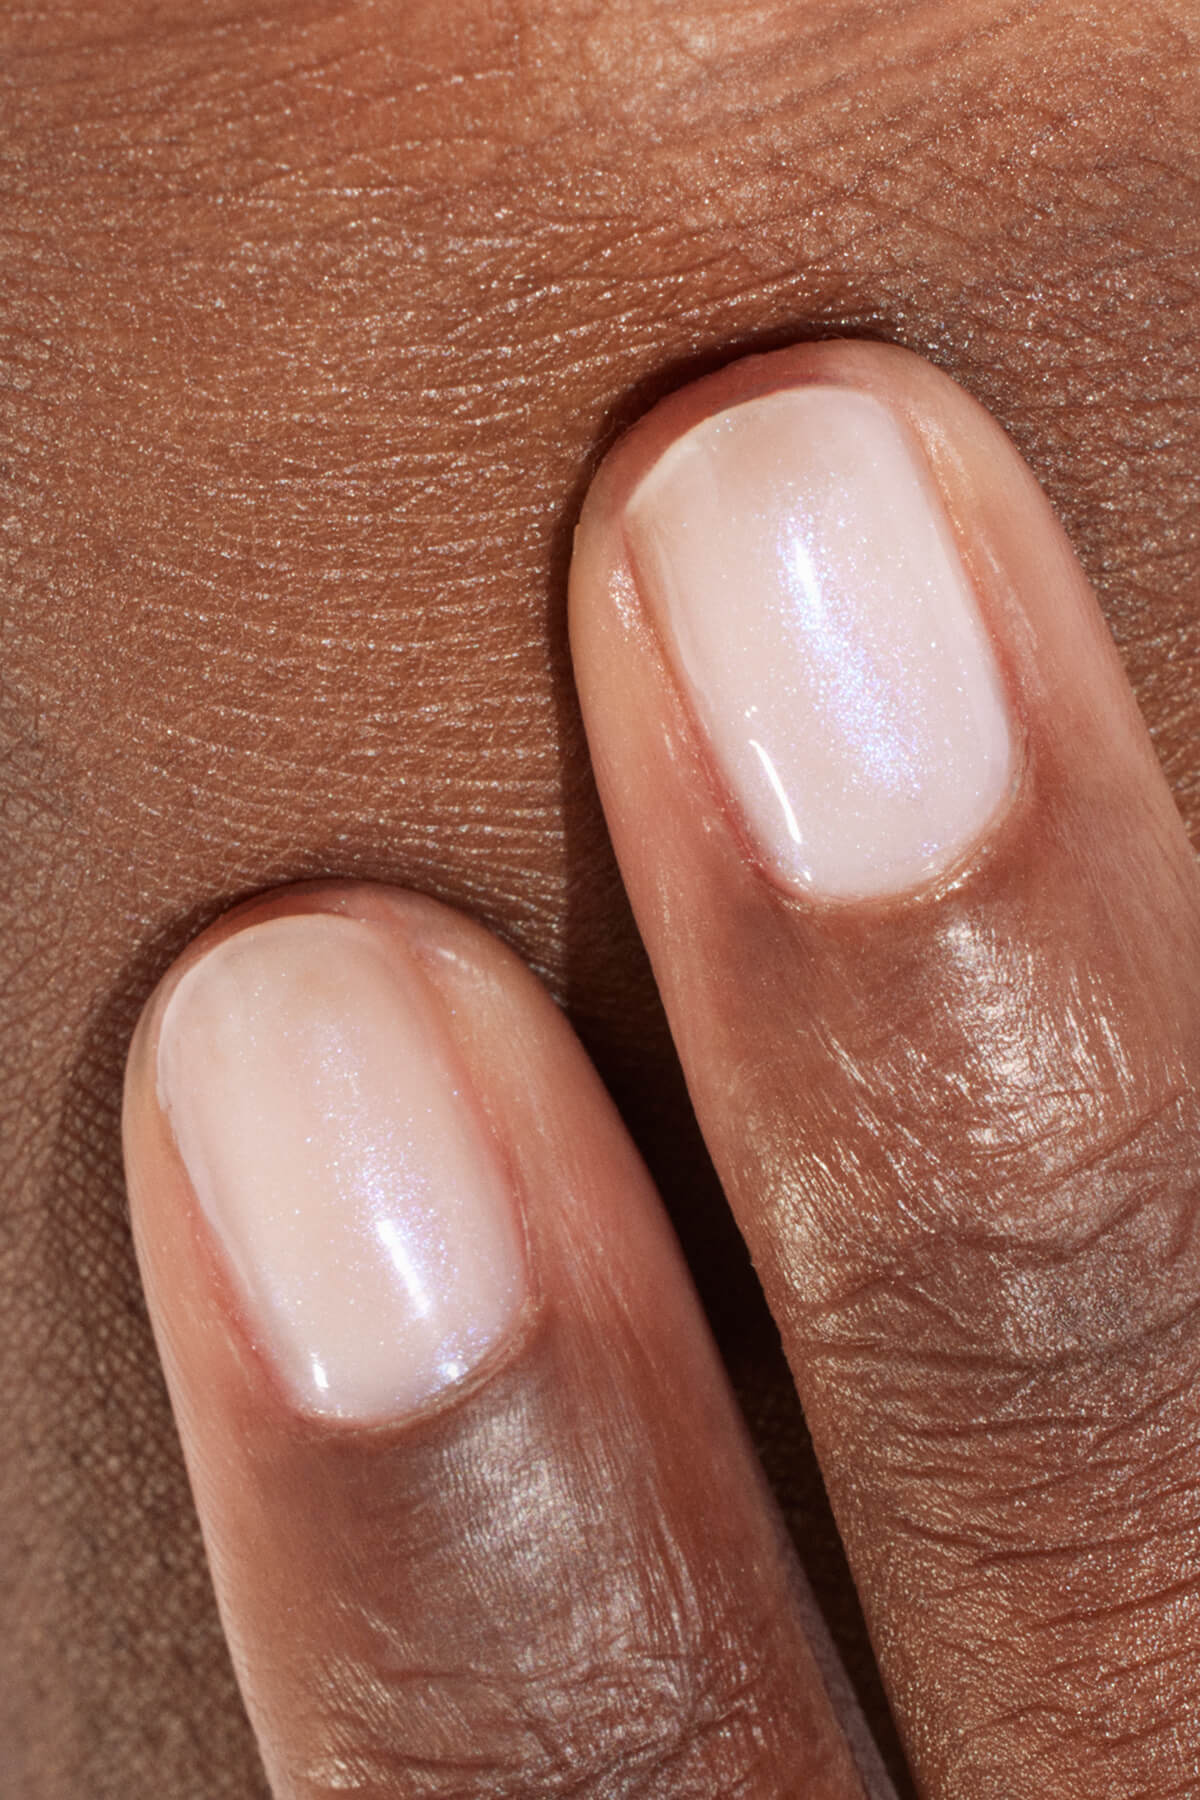
- With Green Flash™ Gel Polish: Green Flash™ Starter Kits allow for a quick application of around thirty to forty five minutes and it can easily be done at home.
Finish
- With builder gel: you get an ultra structured nail with a perfect curve, ready for long extensions, bold shapes, colour or nail art.
- With Green Flash™ Gel Polish: you enjoy an intense colour, mirror like shine and endless nail art possibilities, while the length and shape depend on the natural nail.
Wear
- With builder gel: results can last four weeks or longer, depending on nail growth.
- With Green Flash™ Gel Polish: around twelve days with Green Flash™ colour and up to twenty one days with a Top Coat Xtrem Flash™.
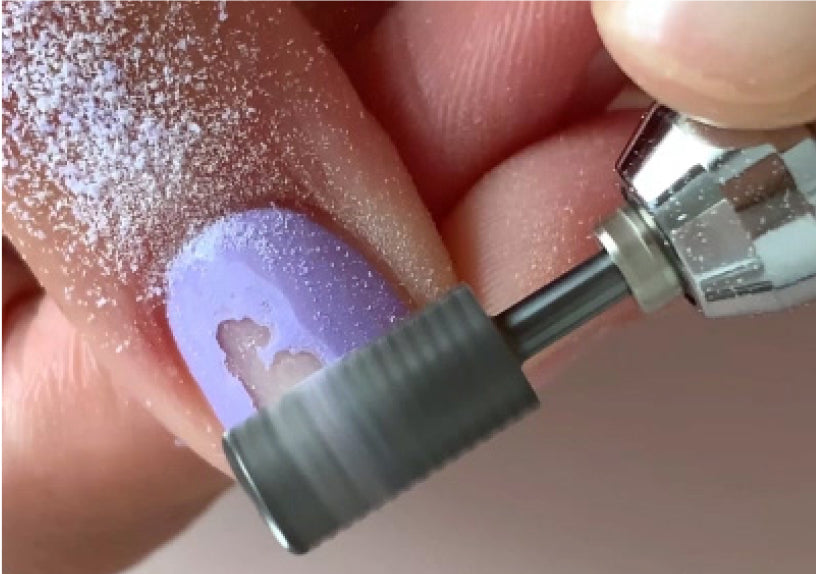
Removal
- With builder gel: except for soak off gels that dissolve with a specific remover, filing is required to remove builder gel. If done incorrectly, filing can damage keratin layers, thin the nail and make it more sensitive.
- With Green Flash™ Gel Polish: removal is done in peel off style in just a few minutes, without acetone and without filing.

With Xtrem Flash™, discover the advantages of a long lasting manicure with no risk during removal.
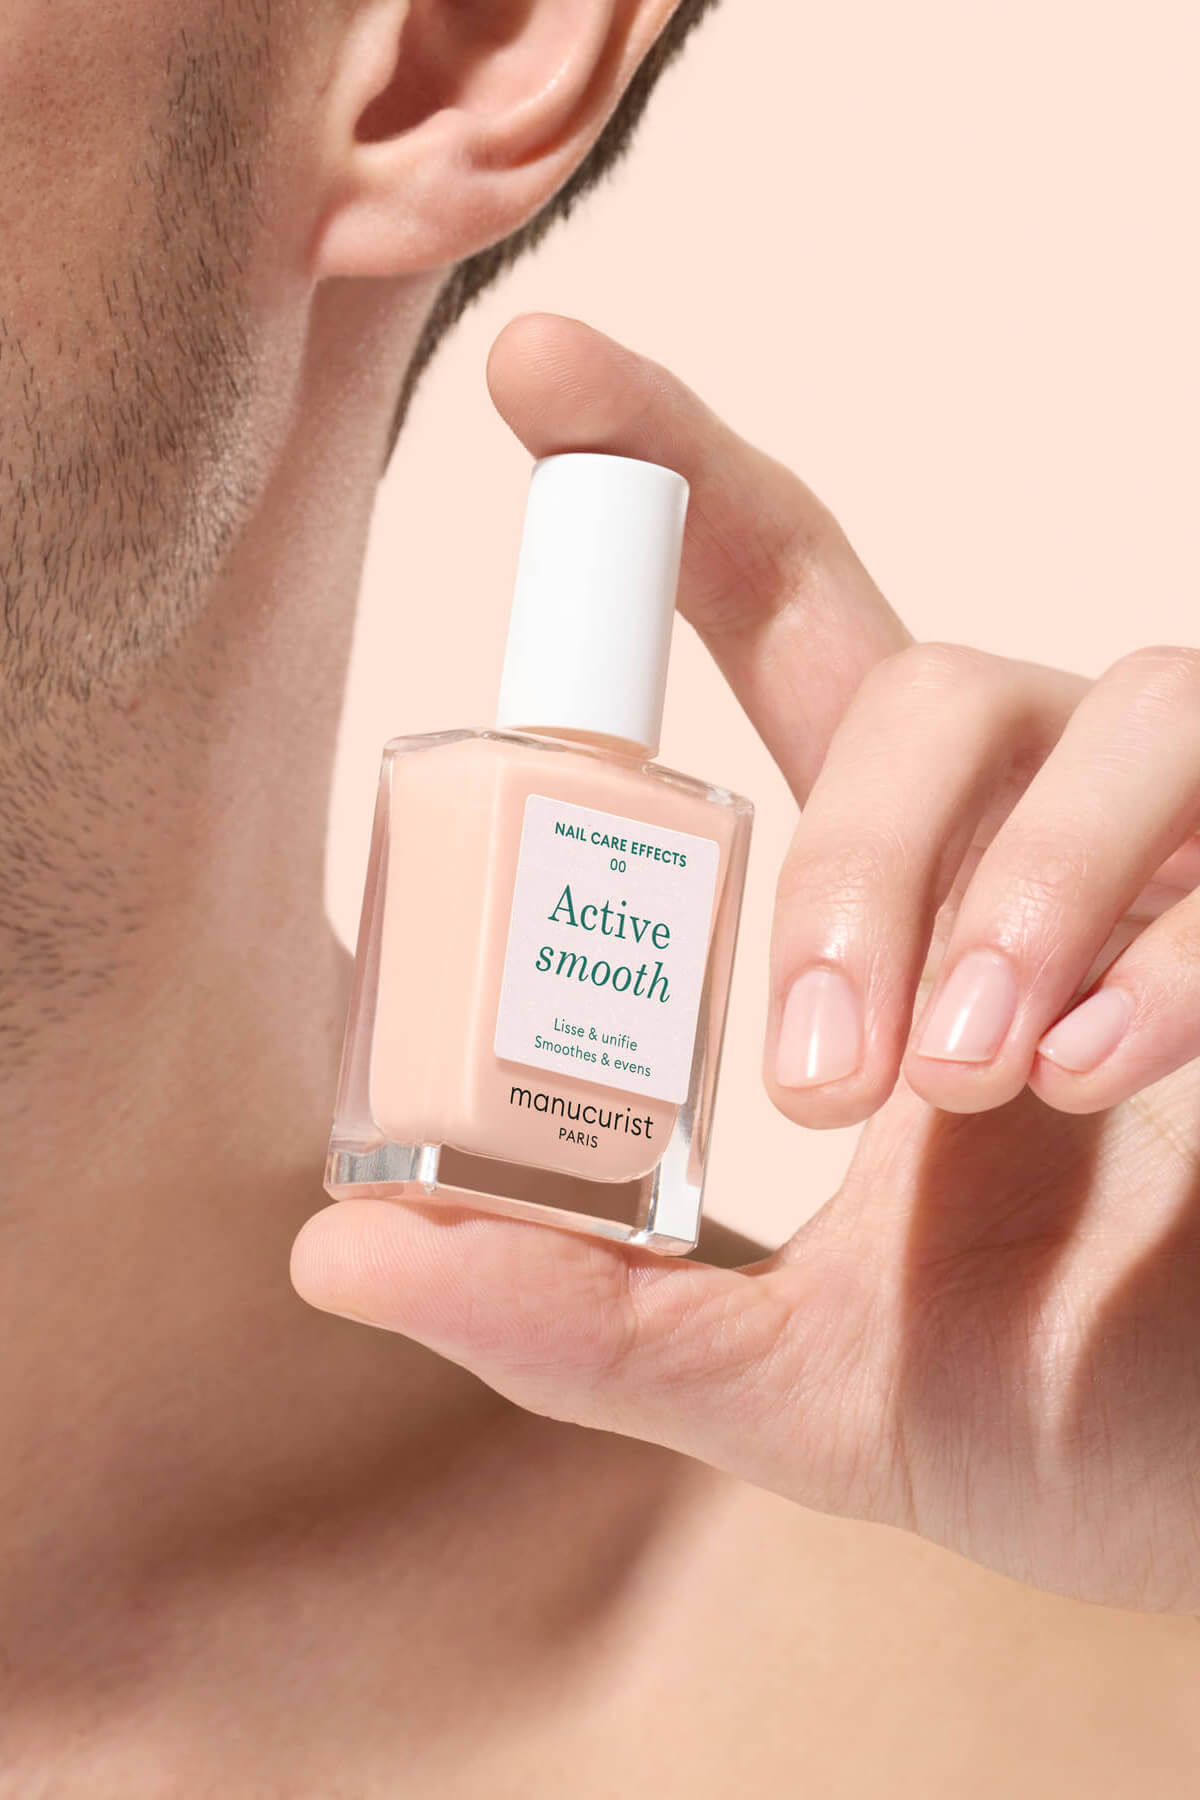
Builder gel is therefore the perfect option if you want to structure your nails, add impressive length and enjoy exceptional strength. However, mastering the builder gel manicure technique takes practice, or a visit to a professional nail salon. If you prefer a long lasting manicure that protects and strengthens your nails under colour, with easy application and safe removal, choose Green Flash™, a vegan Gel Polish formula that is up to eighty four percent plant based. Strong nails, a flawless manicure and long lasting wear, all with complete confidence.