

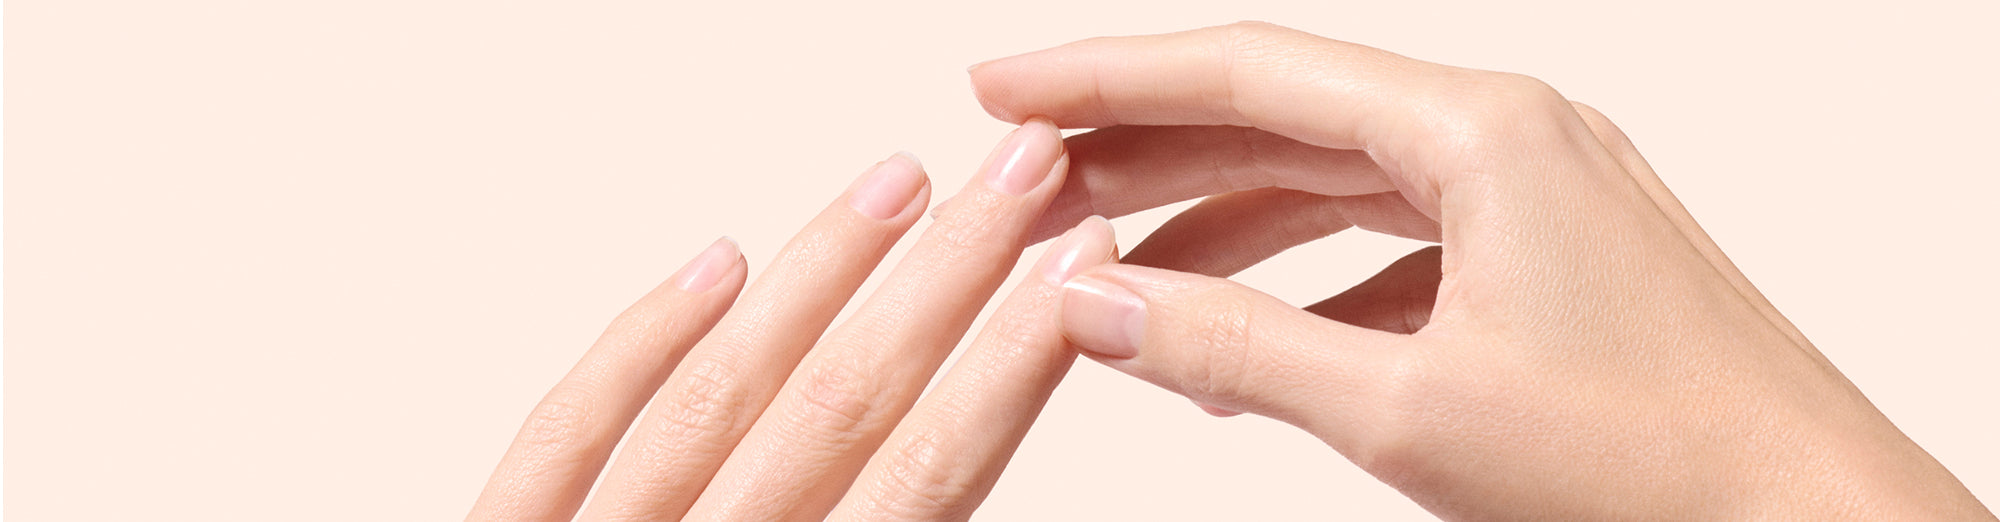
Whether you’re team classic polish or a fan of gel manicures, there’s one golden rule that pros never break: a successful manicure always starts with good nail prep. Filing, pushing back cuticles, buffing the surface, cleaning the nail… This simple, essential routine not only enhances the final result, but also extends the wear of your polish and protects your nails. So we’ve put together a complete guide for perfect nails, ready to go with you through all your manicures.
Key takeaway:
- A successful manicure always starts with good nail prep (nail preparation).
- Prep improves nail polish adhesion, extends wear time and preserves nail health.
- The ideal routine has 4 steps: file, push back cuticles, buff the surface, degrease.
- It’s essential, whatever nail polish you apply afterwards—classic (Green™) or gel polish (Green Flash™).
Why should you prep your nails before applying polish?
Because a nail is a bit like a blank canvas: the cleaner it is, the neater and longer-lasting the result. Good prep helps to:
- Smooth the surface of the nails to make applying nail polish coats easier
- Improve the adhesion of the Base Coat and polish by opening the keratin scales
- Remove dead skin around the nail
- Avoid bubbles, smudges and peeling
- Prevent splitting and breakage
- Perfect your manicure with a polished finish
An essential step not to overlook, whatever type of nail polish you use afterwards, as the quality of the application largely depends on prep!

The key to a flawless application? It’s all in the prep.
The right steps for flawless prep
Here’s the ideal 4-step routine, tested, approved (and loved) by our community:
Step 1: Shape and file without damaging
First things first, start by defining the nail shape that suits you. Square, oval, almond or round—don’t know which nail shape to choose? Check out our article to find the shape that best suits your hands. And to learn how to use a nail file properly, we tell you everything in this article. Time to get practical:
🔧 What you’ll need:
- Natural Nail File: the classic, with its two grit types (100/180) for shortening and shaping.
- or the Premium Glass Nail File: with its lightweight design, it’s easy to hold and its fine 180 grit is perfect for normal to fragile nails. Cleanable with soapy water or a spray cleaning solution, it is more durable than classic files.
- or the File for Fragile Nails: featuring a fine 180/240 grit and a central cushion, this file was specially designed to gently file sensitive, soft or brittle nails.
👉 What to do: Hold the file perpendicular to the nail and file from the outer edge towards the centre, always in the same direction. Then do the same on the other side of the nail. Finish by filing the free edge (top of the nail) to even out the shape.
Precise steps for enhanced nails from the very first stage.
💡 Important: we recommend filing in one direction, meaning always filing in the same direction, to respect the keratin layers. If you have fragile nails, file underneath the free edge to prevent splitting.
Step 2: Gently soften and push back cuticles
Cuticles are the small pieces of skin that border the nail and protect the matrix. If left as they are, they create unevenness that can interfere with nail polish application or even prevent the polish from adhering. It’s therefore important to push them back for a clean nail contour, while taking care not to damage them so they can retain their protective role against the risk of infection and other external germs. How do you go about it?
🔧 What you’ll need:
- A few drops of Effective Cuticle Softener
- A steel cuticle pusher or a glass cuticle pusher or an orange wood stick
- A cuticle nipper (optional)
By caring for your cuticles, you ensure good polish wear while protecting the nail matrix.
👉 What to do: start by softening the cuticles by applying a drop of Effective Cuticle Softener to the base of each nail and leaving it on for 2 minutes. Gently push back the cuticles using the rounded end of a cuticle pusher or an orange wood stick, moving against the direction of nail growth and without going back and forth to avoid damaging the nail plate. Remove the small pieces of dead skin and, if needed, carefully trim them with cuticle nippers. Be careful: only trim what sticks out, and not too close to the edge!
💡Pro tip: Do this once a week to keep your nail contours neat and prevent stubborn little bits of skin.
Now that the contours are flawless, it’s time to take care of the surface of your nails.
Step 3: Smooth and buff the surface without weakening it
Nails deserve a little exfoliation too! This step helps to even out the surface, smooth away ridges and optimise nail polish adhesion. Buffing opens the keratin scales, making it easier for the Base Coat to grip and ensuring longer-lasting nail polish.
🔧 What you’ll need:
- The prep file, a magical tool with a sponge-like texture that gently removes small imperfections from the nail surface.
👉 What to do: lightly buff the nail plate, always in the direction of nail growth (from the base to the free edge) and no more than once every two weeks to avoid weakening the keratin. Use the fine grit (logo side) for fingernails and the coarse grit (opposite side) for toenails.
Even out the surface, optimise adhesion, enhance the finish.
Step 4: Clean and degrease for long-lasting wear
Final step: remove all impurities, oily residue and any dust created during the previous steps that could affect the application of the following polish layers. In short, it’s time for a deep clean!
🔧 What you’ll need:
- A dust brush
- Green Degreaser (if you’re applying Green™ nail polish afterwards)
- Green Flash Gentle Remover (if you’re applying Green Flash™ nail polish afterwards)
👉 What to do: use a quick sweep with a dust brush over each nail until they are perfectly clean. Then soak a cotton pad with a little Degreaser or Gentle Remover, depending on the type of polish you plan to use, to clean deeply without drying out the nails.
Good to know: an acetone-free nail polish remover has a dual role: it degreases the nail before application and also allows for gentle removal later on.
To sum up:
- Good prep smooths the surface and opens the keratin scales, improving the adhesion of the Base Coat and nail polish.
- It removes dead skin and helps prevent bubbles, smudges and chipping.
- It prevents splitting and breakage.
- Result: a cleaner application, longer wear and protected nails.

Perfectly clean, neat nails for flawless wear.
Find all the essential tools for this nail prep routine in our Nail Prep Set, your best ally for a radiant manicure you can wear for a long time.

A complete set to prep your nails like a pro, with a white nail file, cuticle softener, prep file and cuticle pusher.
💡If you wish, you can personalise the Nail Prep Set by adding the Dust Brush or Cuticle Nippers to suit your needs.
Once prepared, your nails are ready for a fresh colour. Whether you opt for a Green™ nail polish, a Green Flash™ gel polish or a gel polish kit, with all the essentials brought together in one simple routine that makes all the difference. A must-have!
To sum up:
- File: use a file suited to your nail type (100/180 grit for normal nails, 180/240 for fragile nails), always in the same direction (one-way filing), from the outer edge towards the centre.
- Push back cuticles: soften with Effective Cuticle Softener (leave on for 2 min), then gently push back with a cuticle pusher or orange wood stick, without going back and forth—once a week.
- Buff the surface: use the prep file in the direction of nail growth (from the base to the free edge), no more than once every 2 weeks to avoid weakening the keratin.
- Degrease: remove dust with a brush, then cleanse with Green Degreaser (before a Green™ polish) or Green Flash Gentle Remover (before Green Flash™).
-
All these essentials are brought together in the Nail Prep Set.