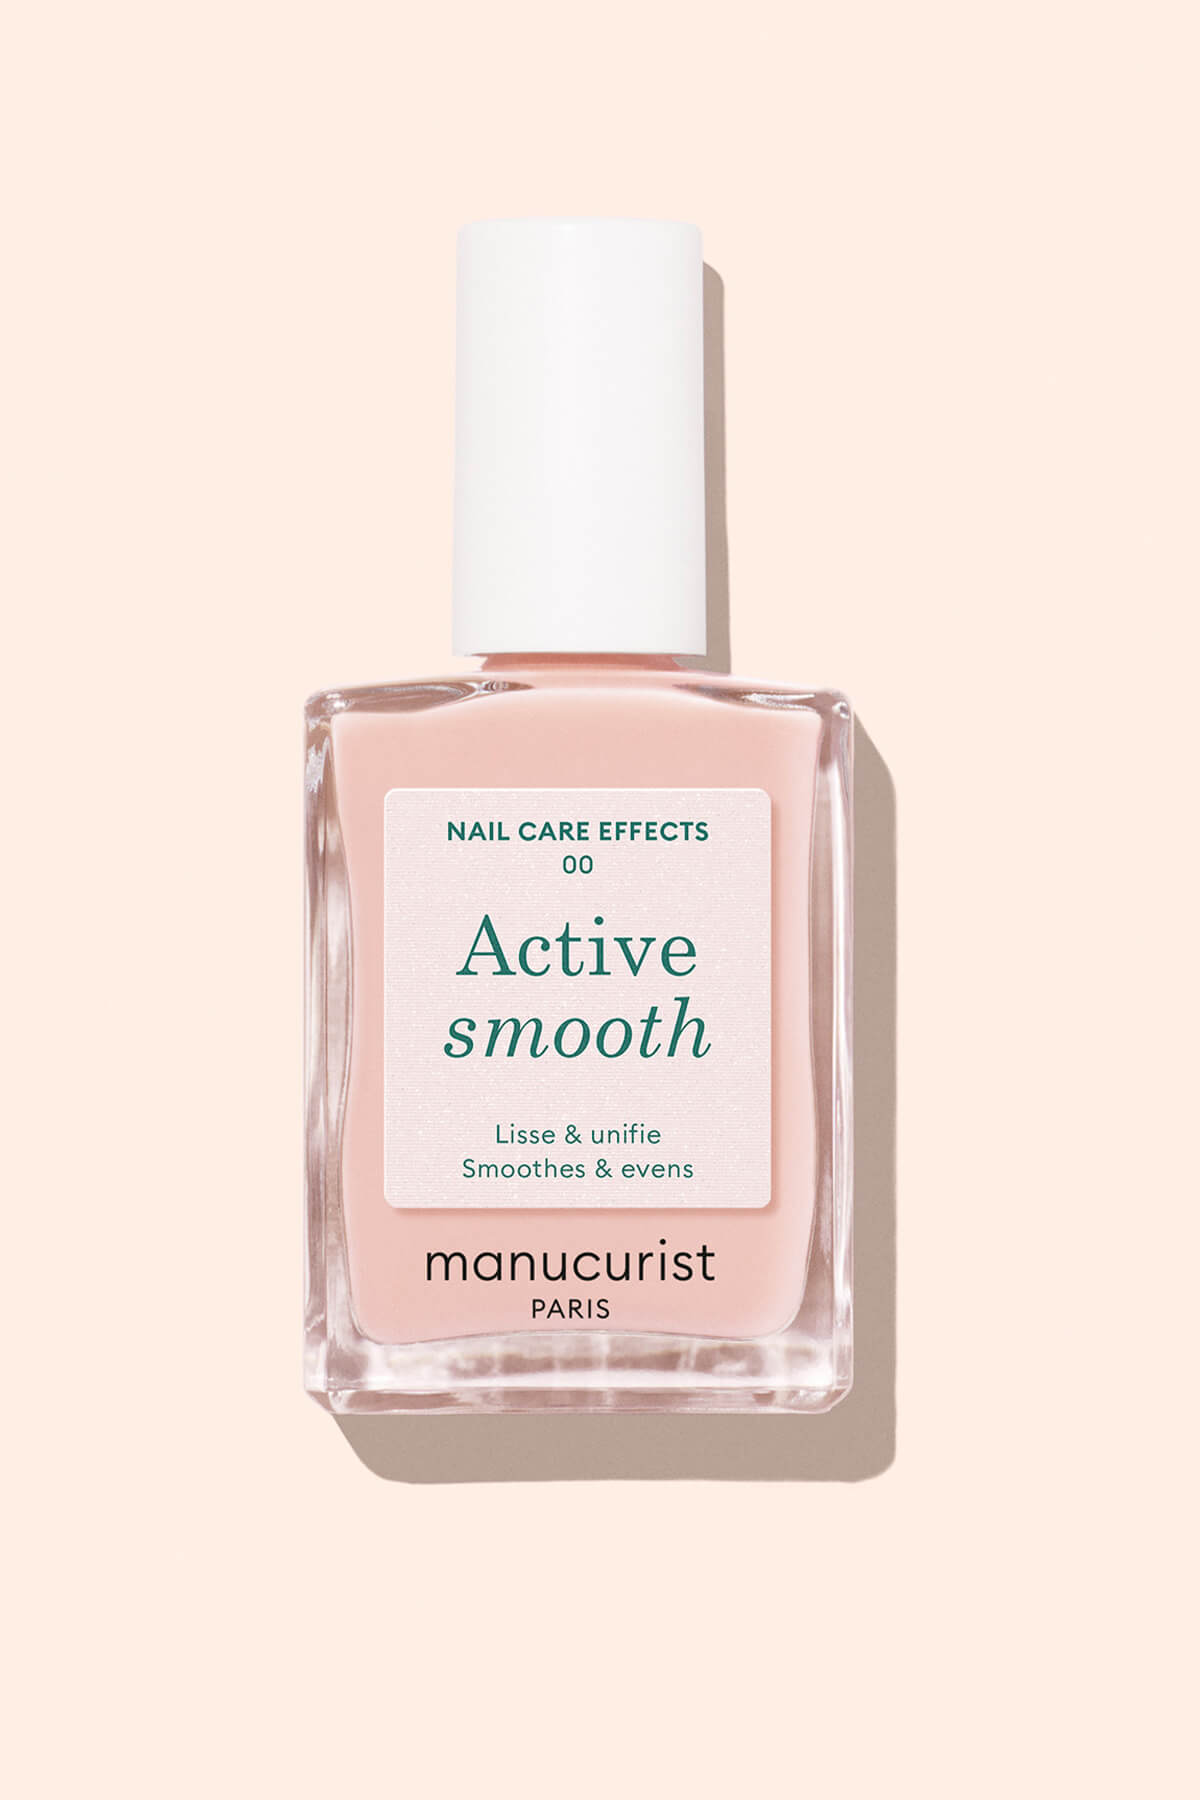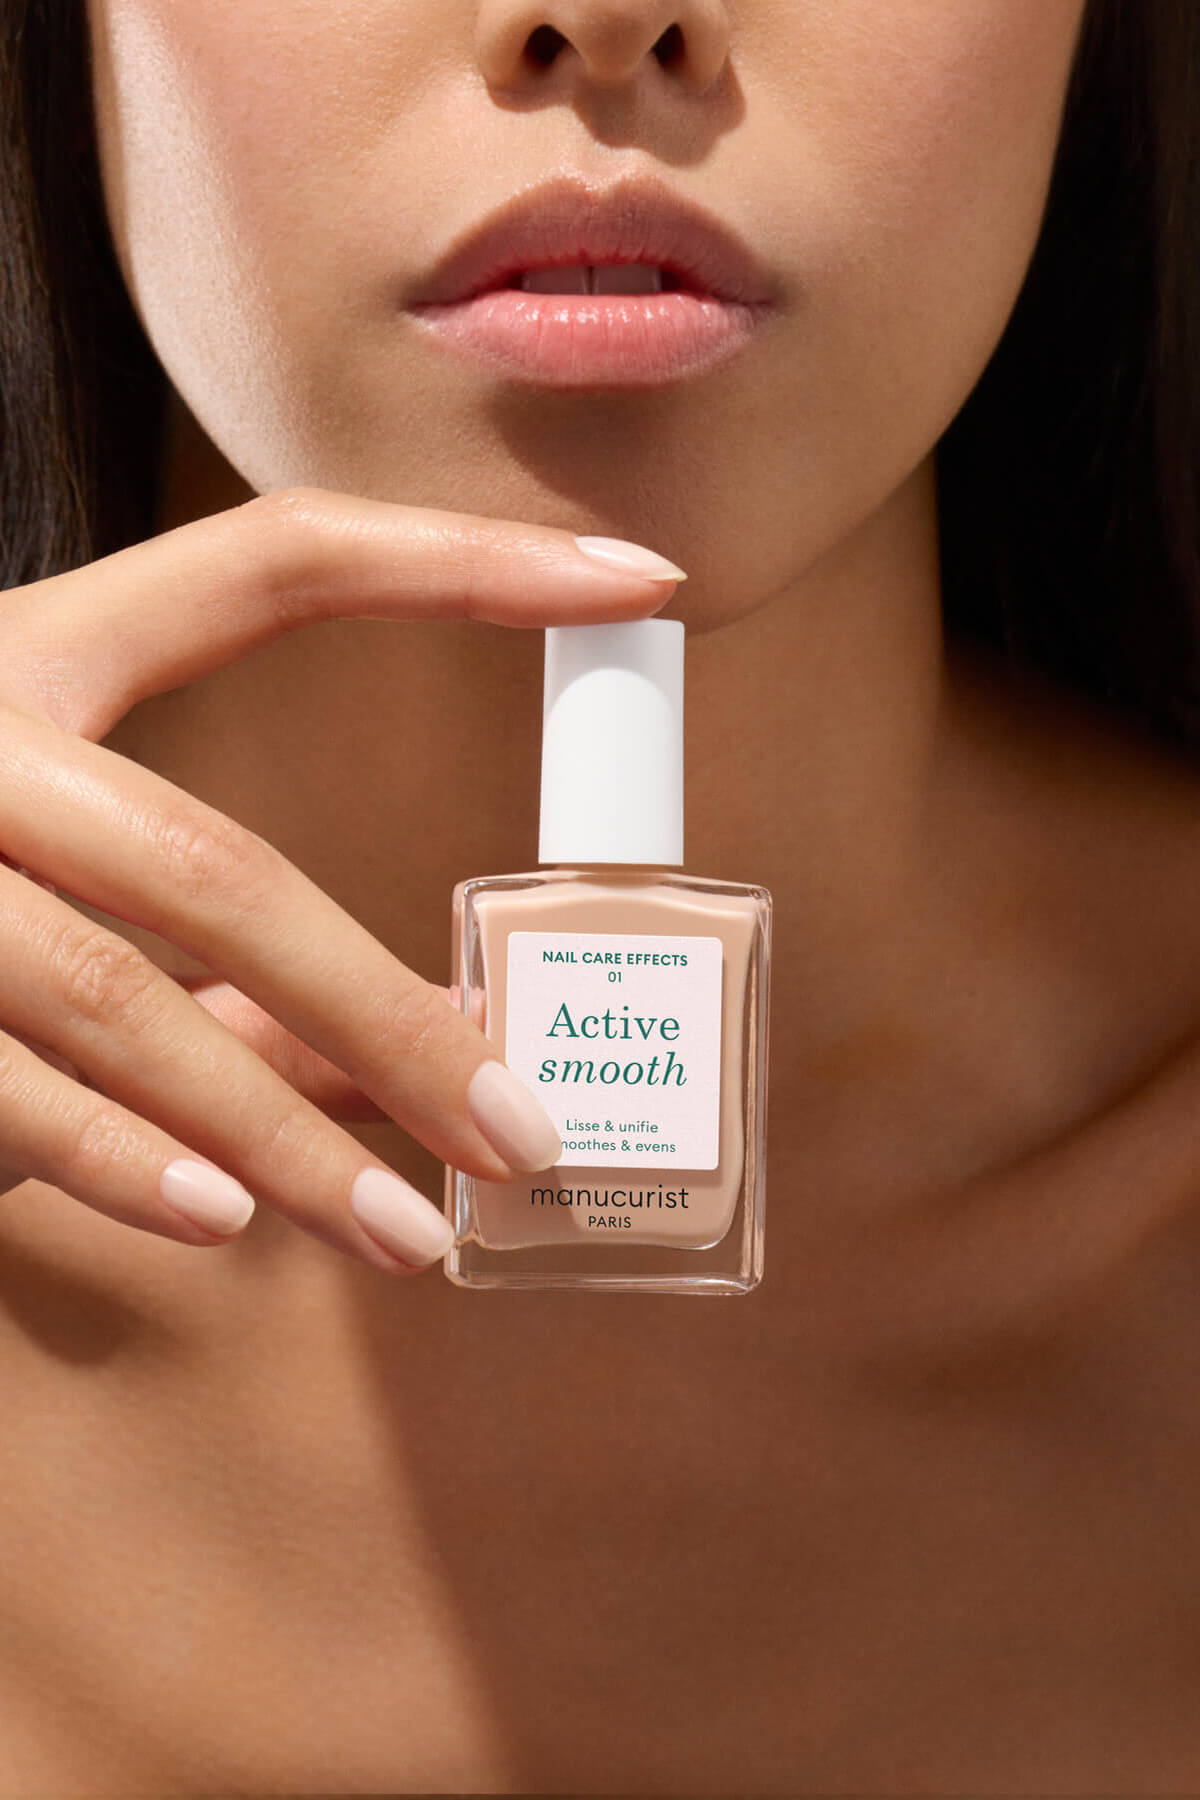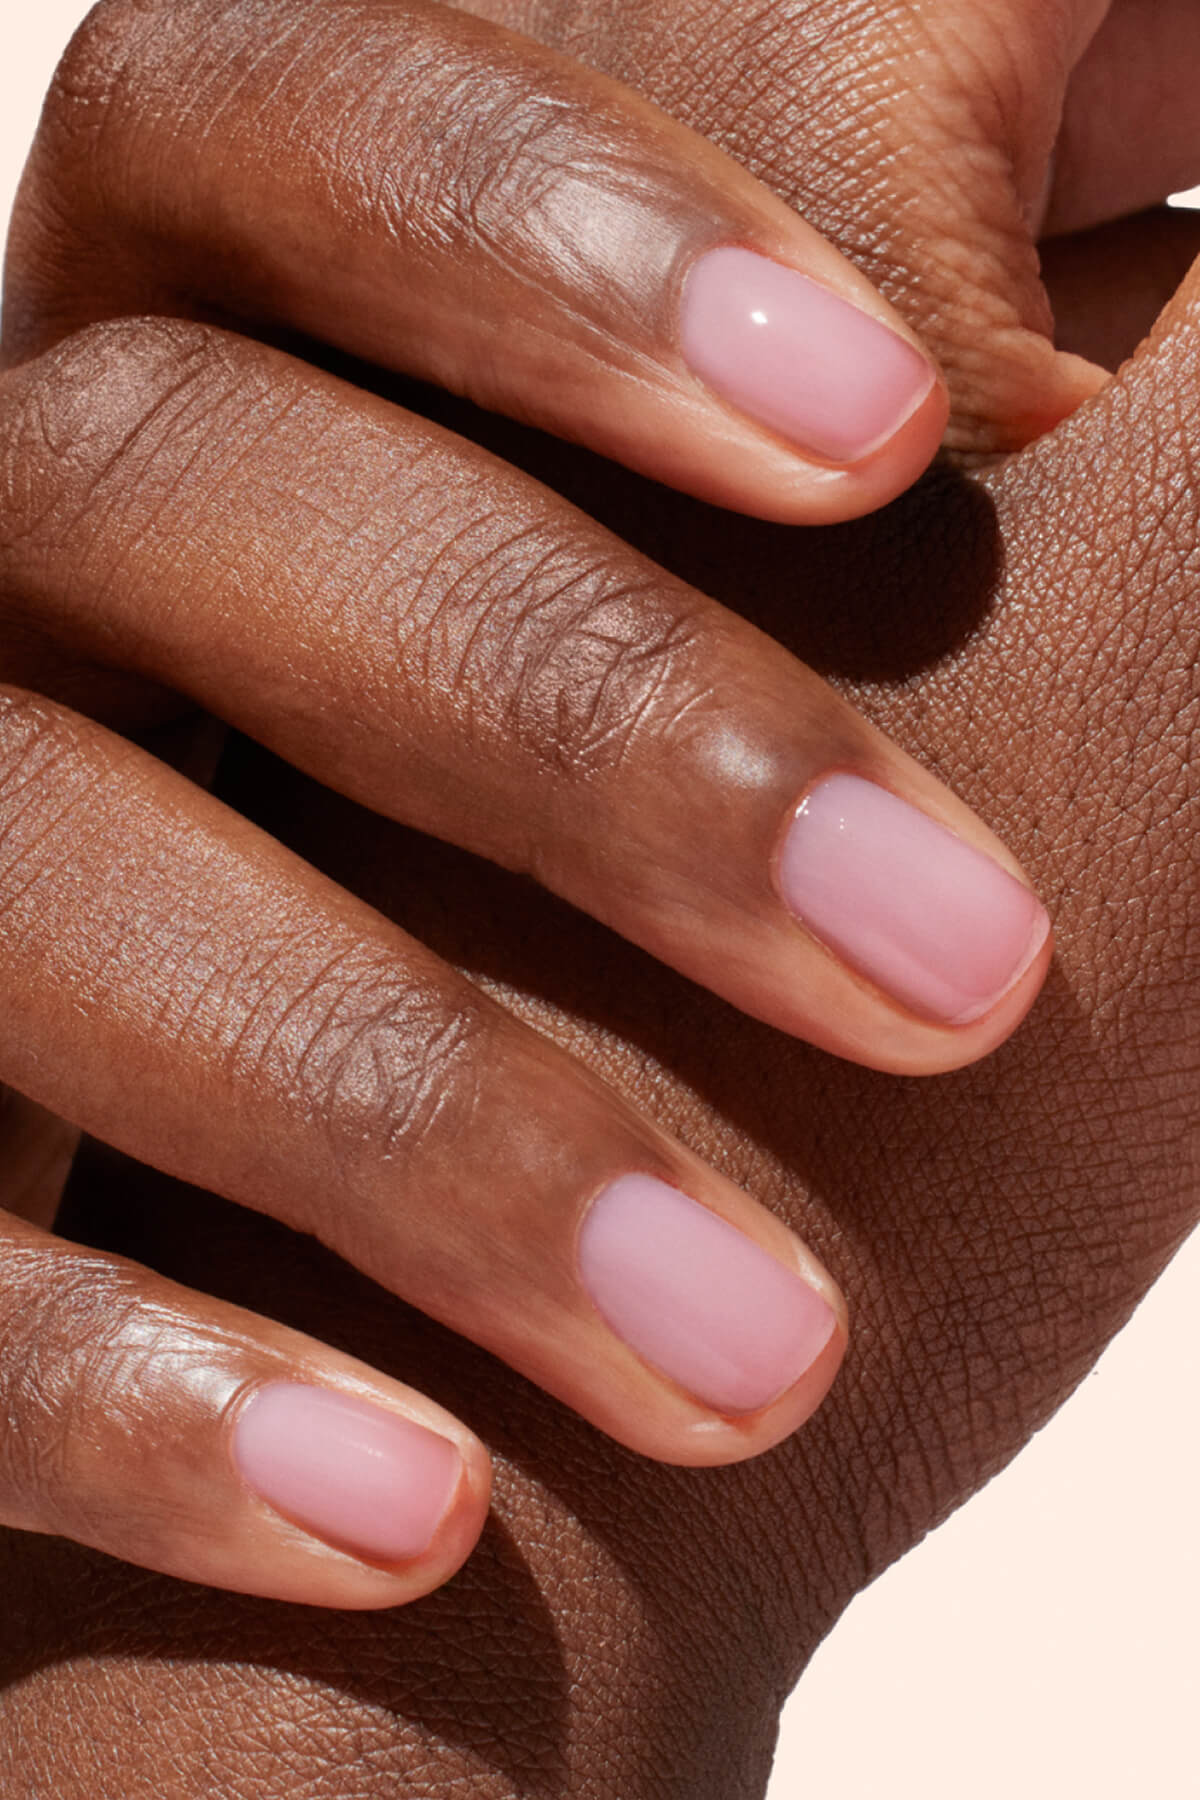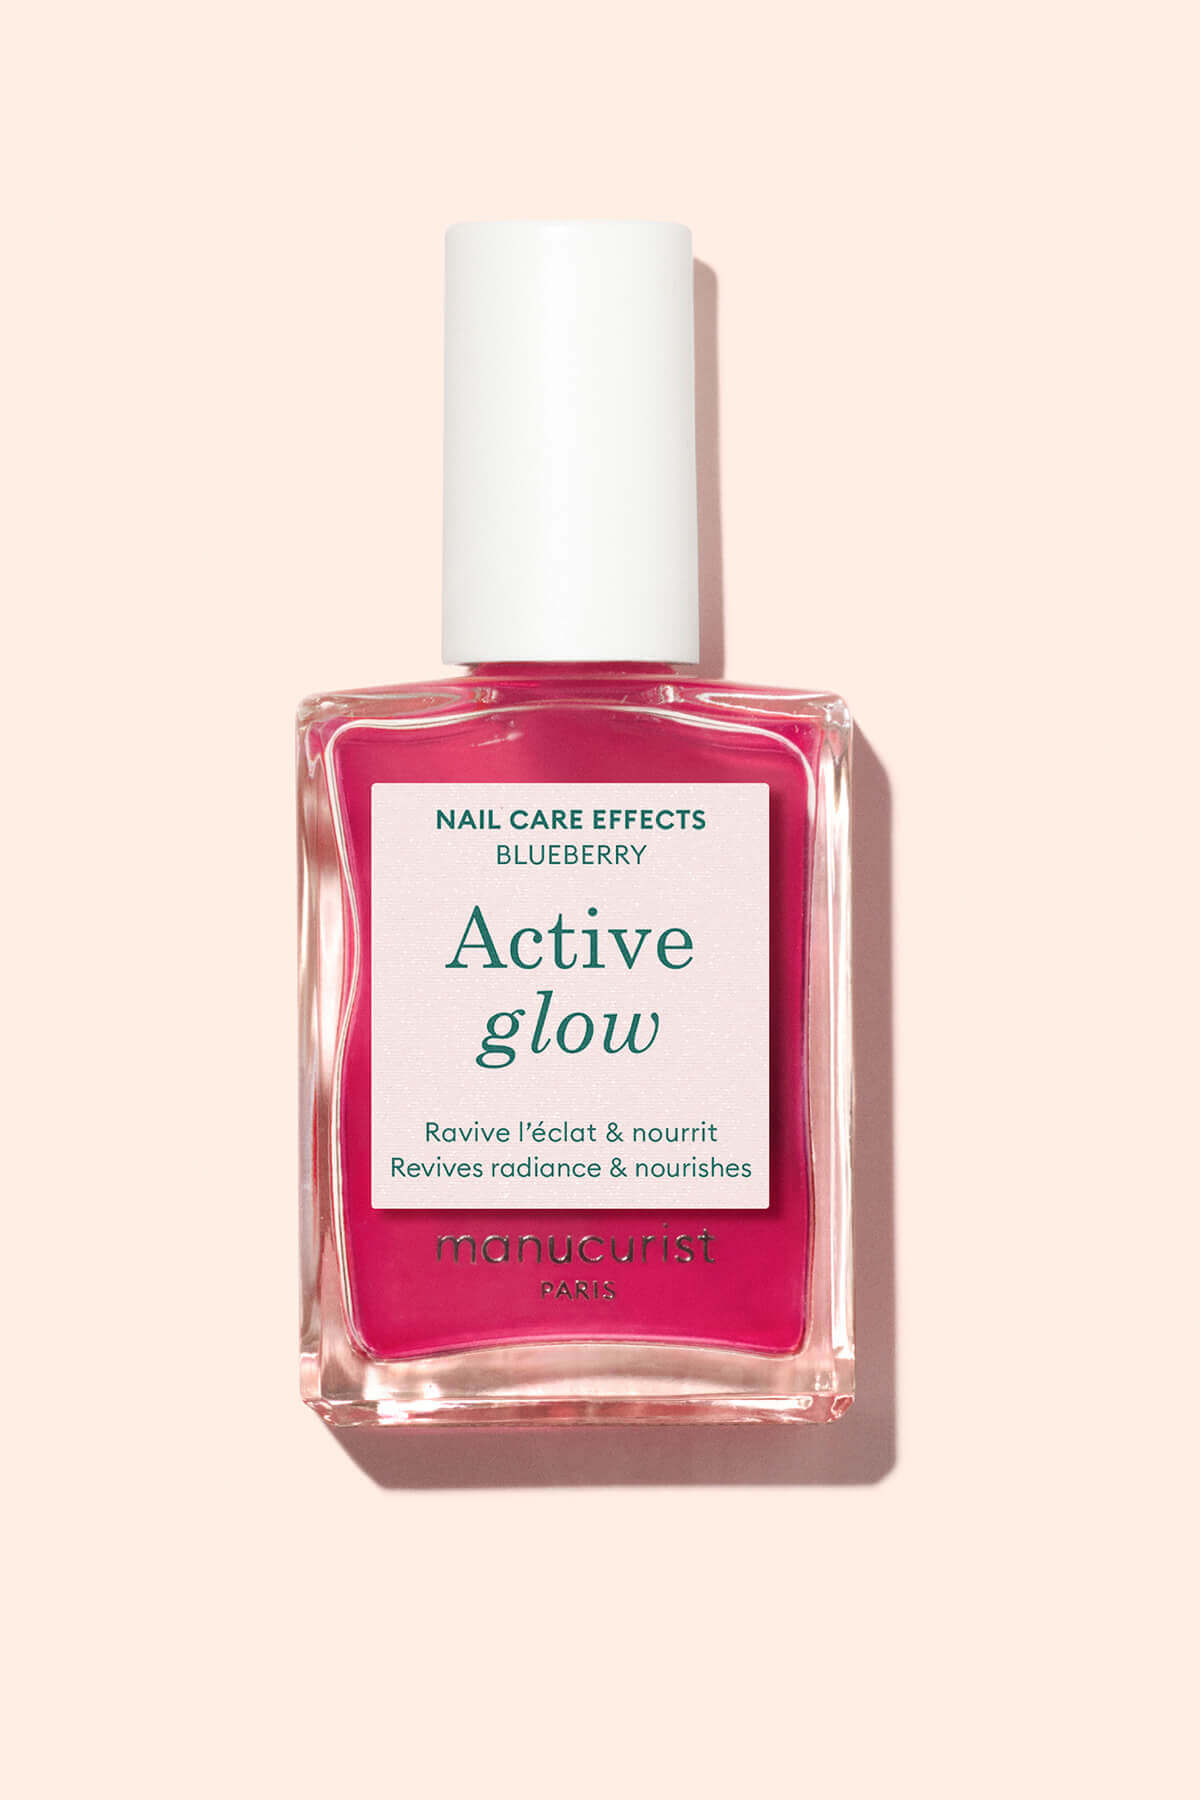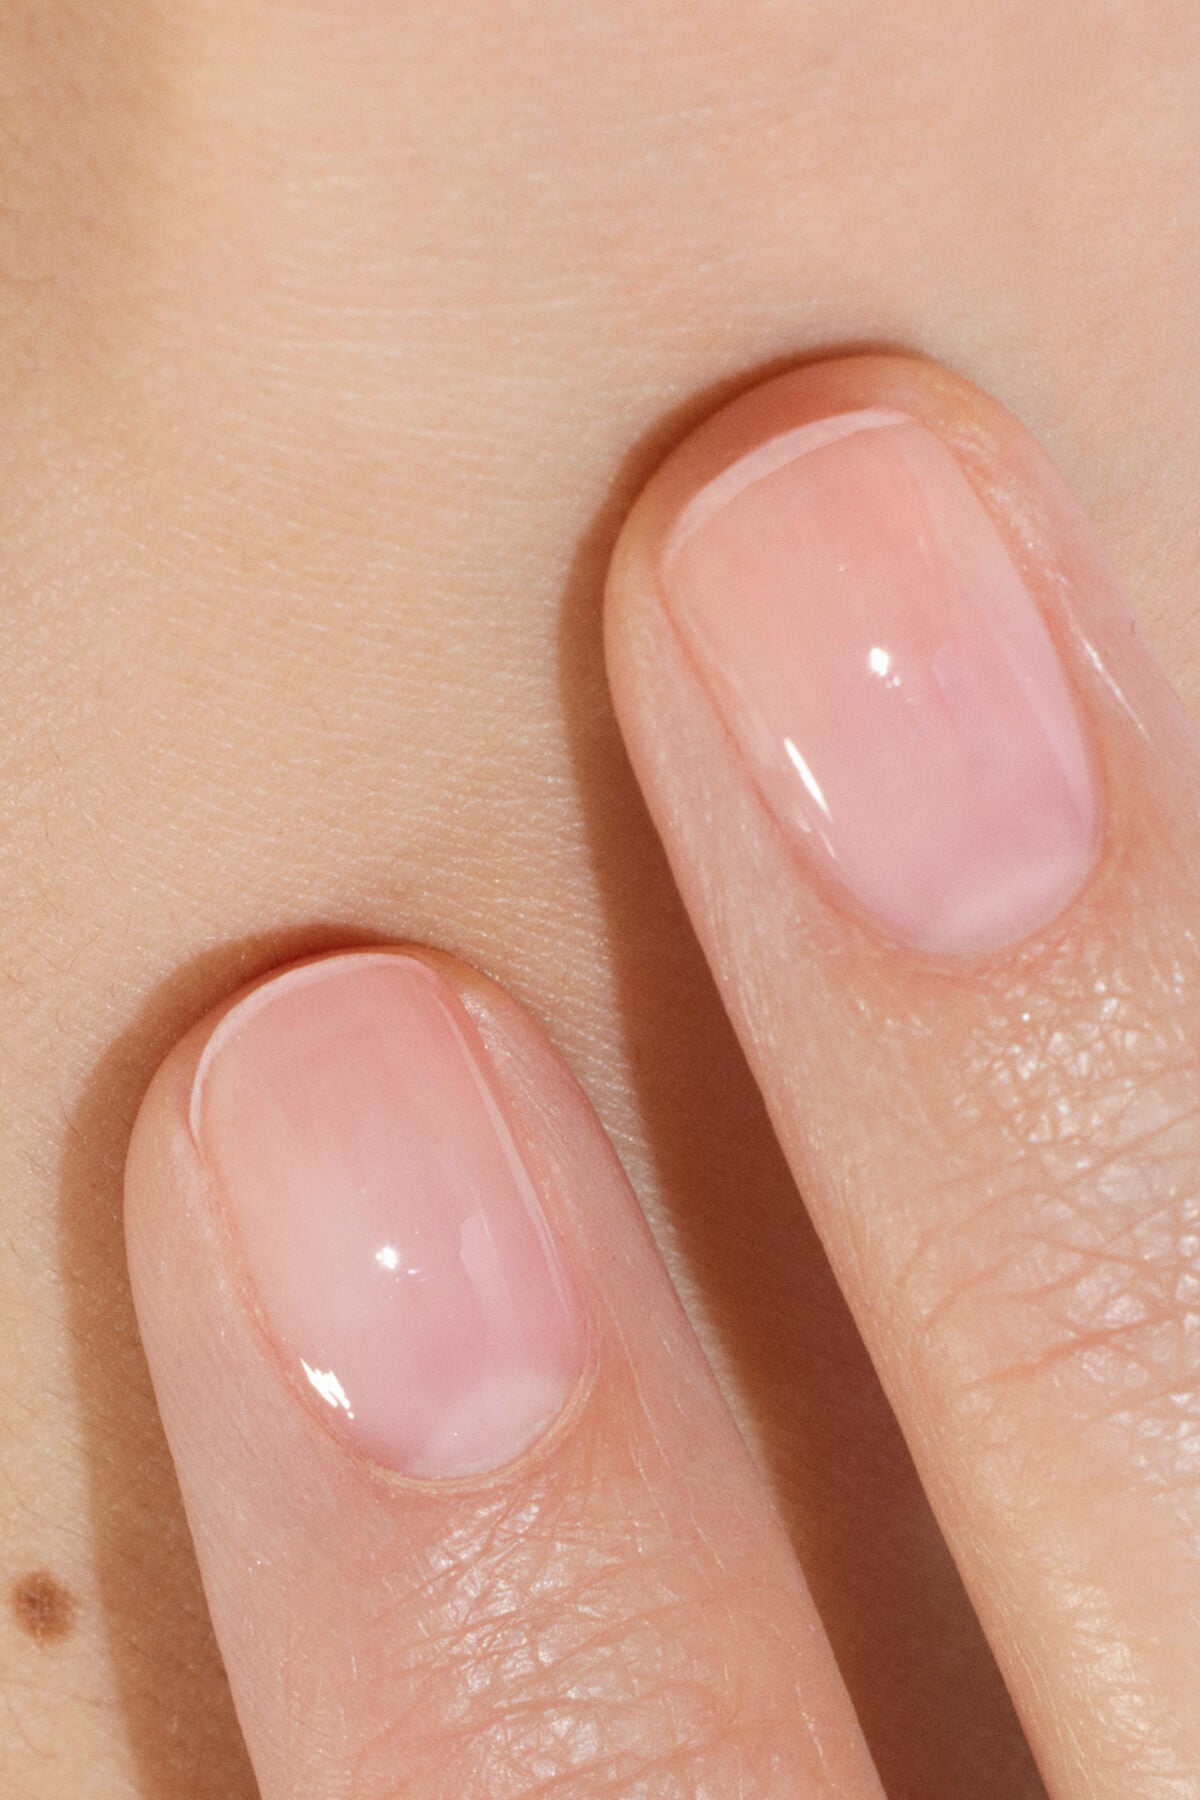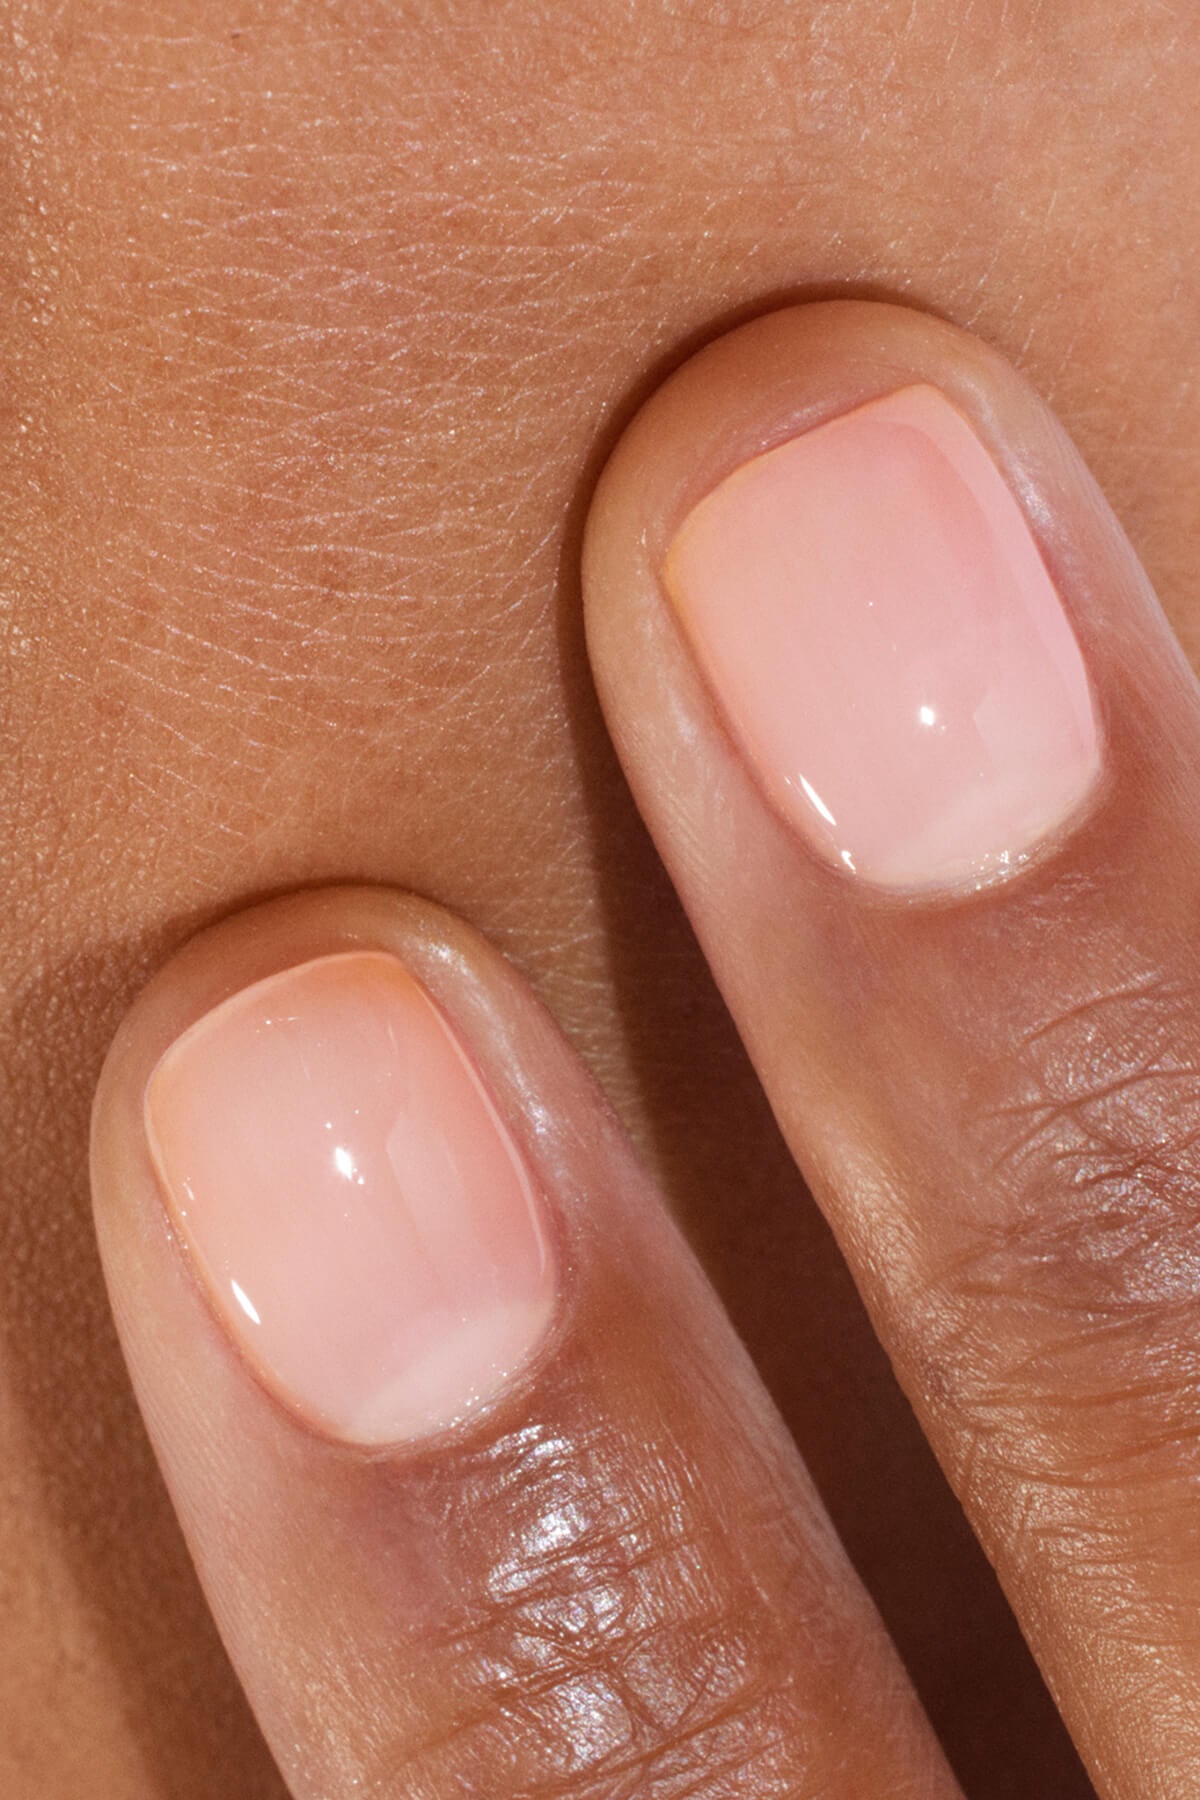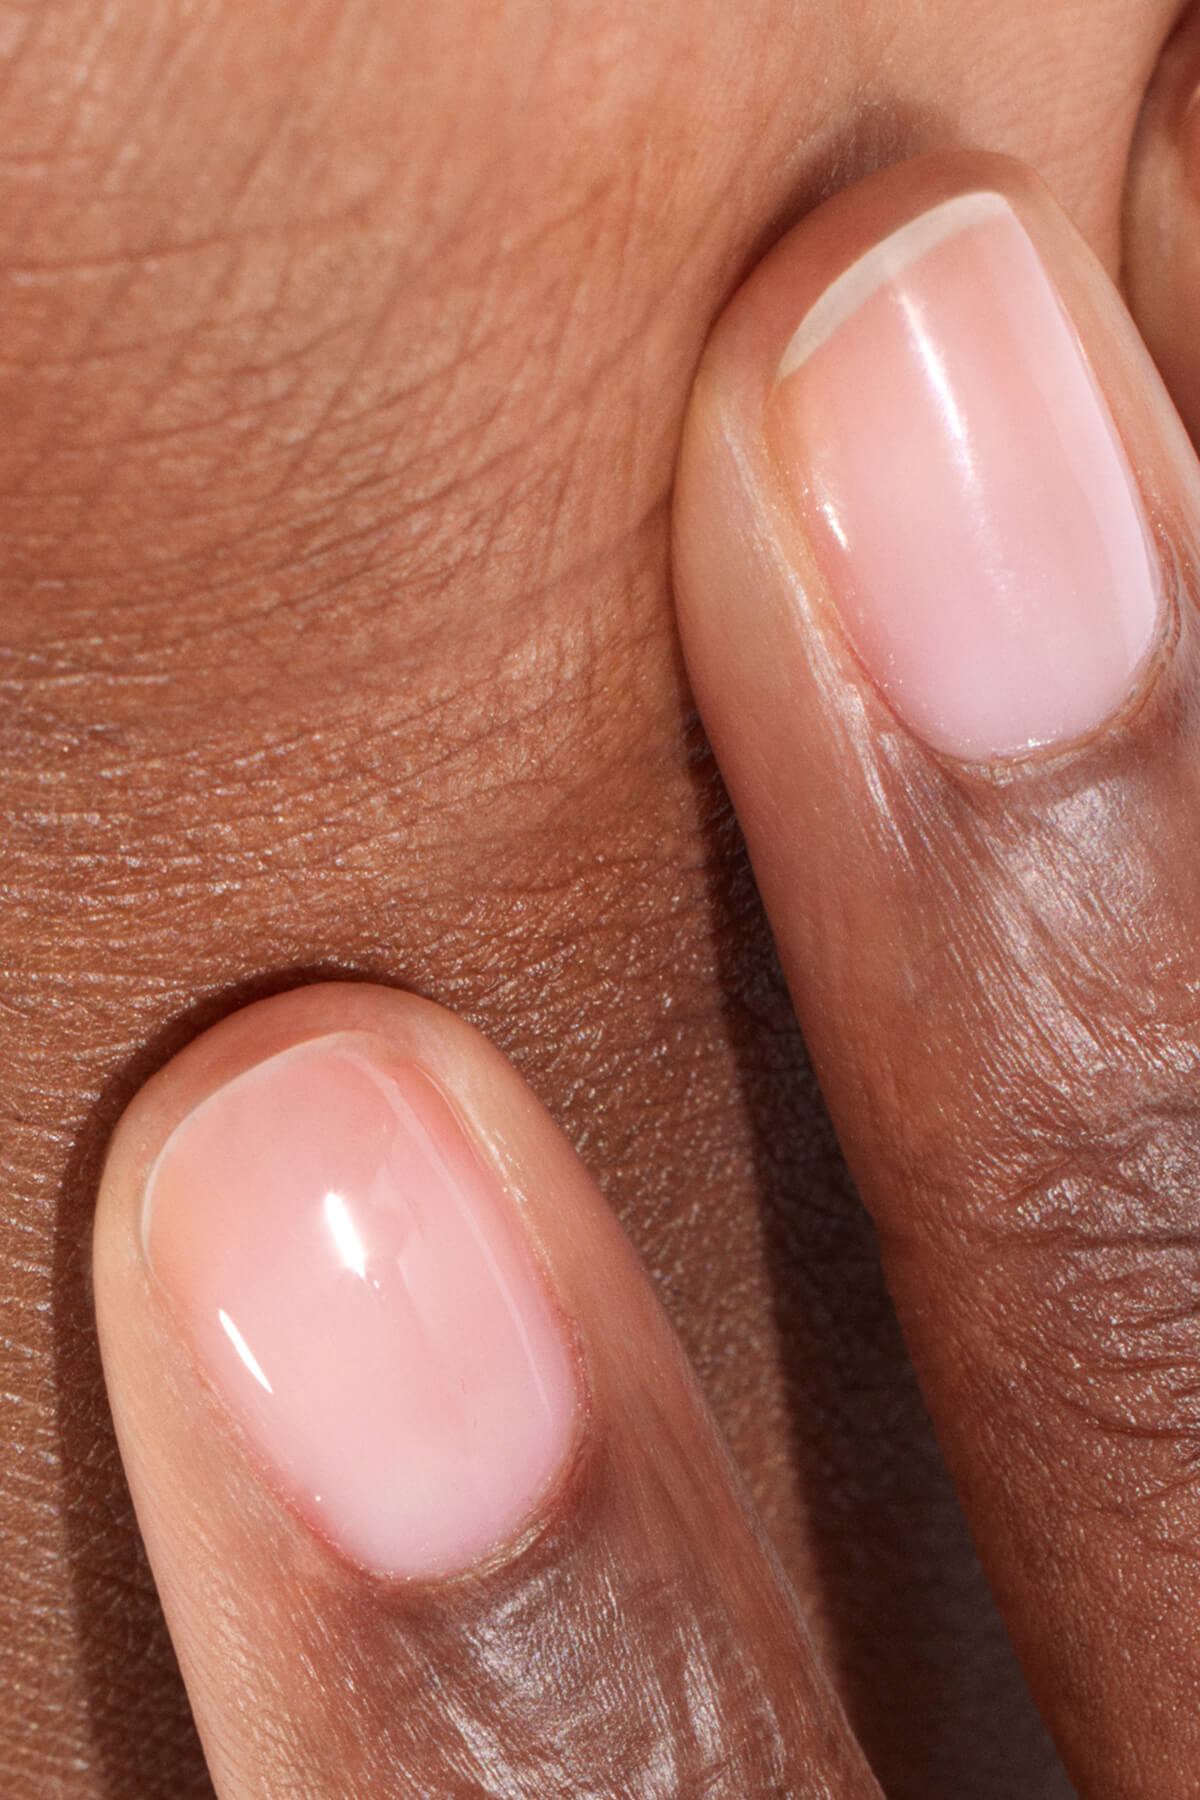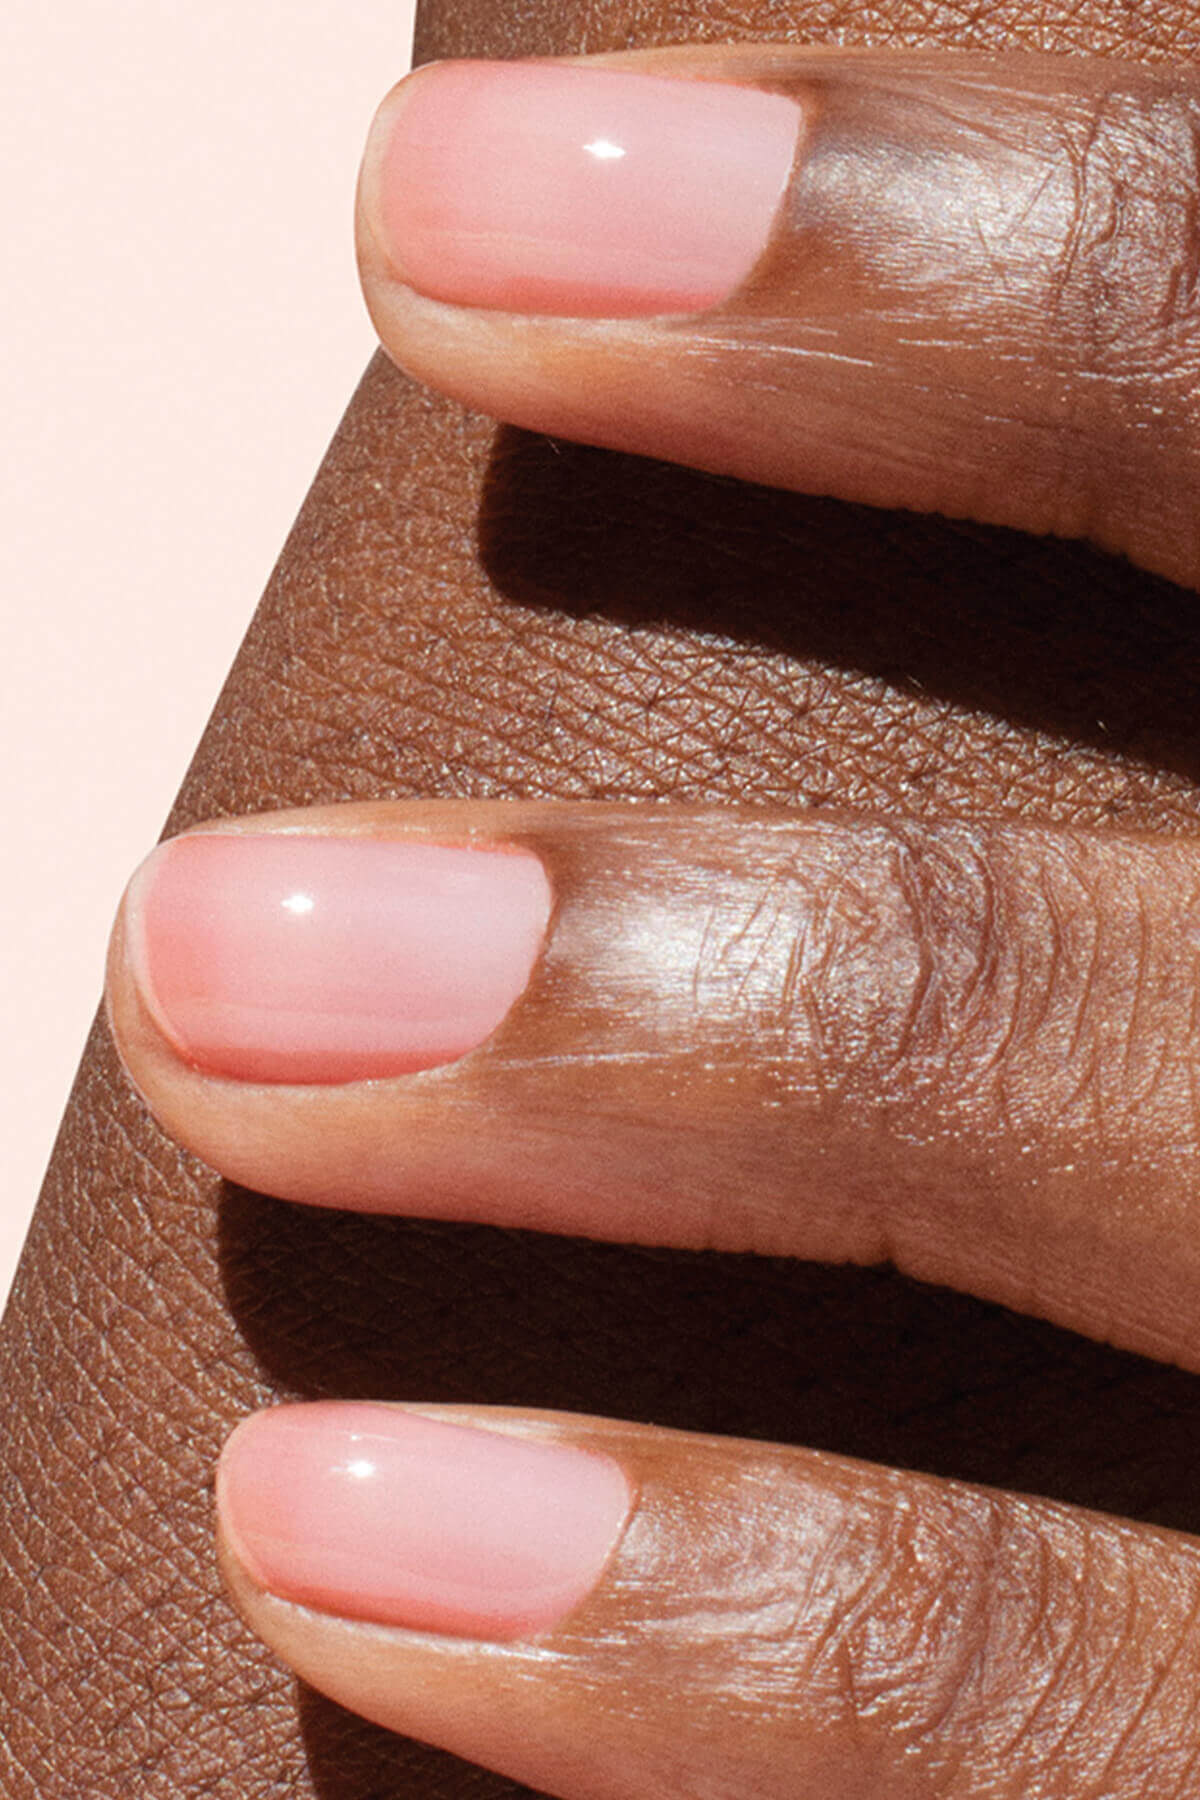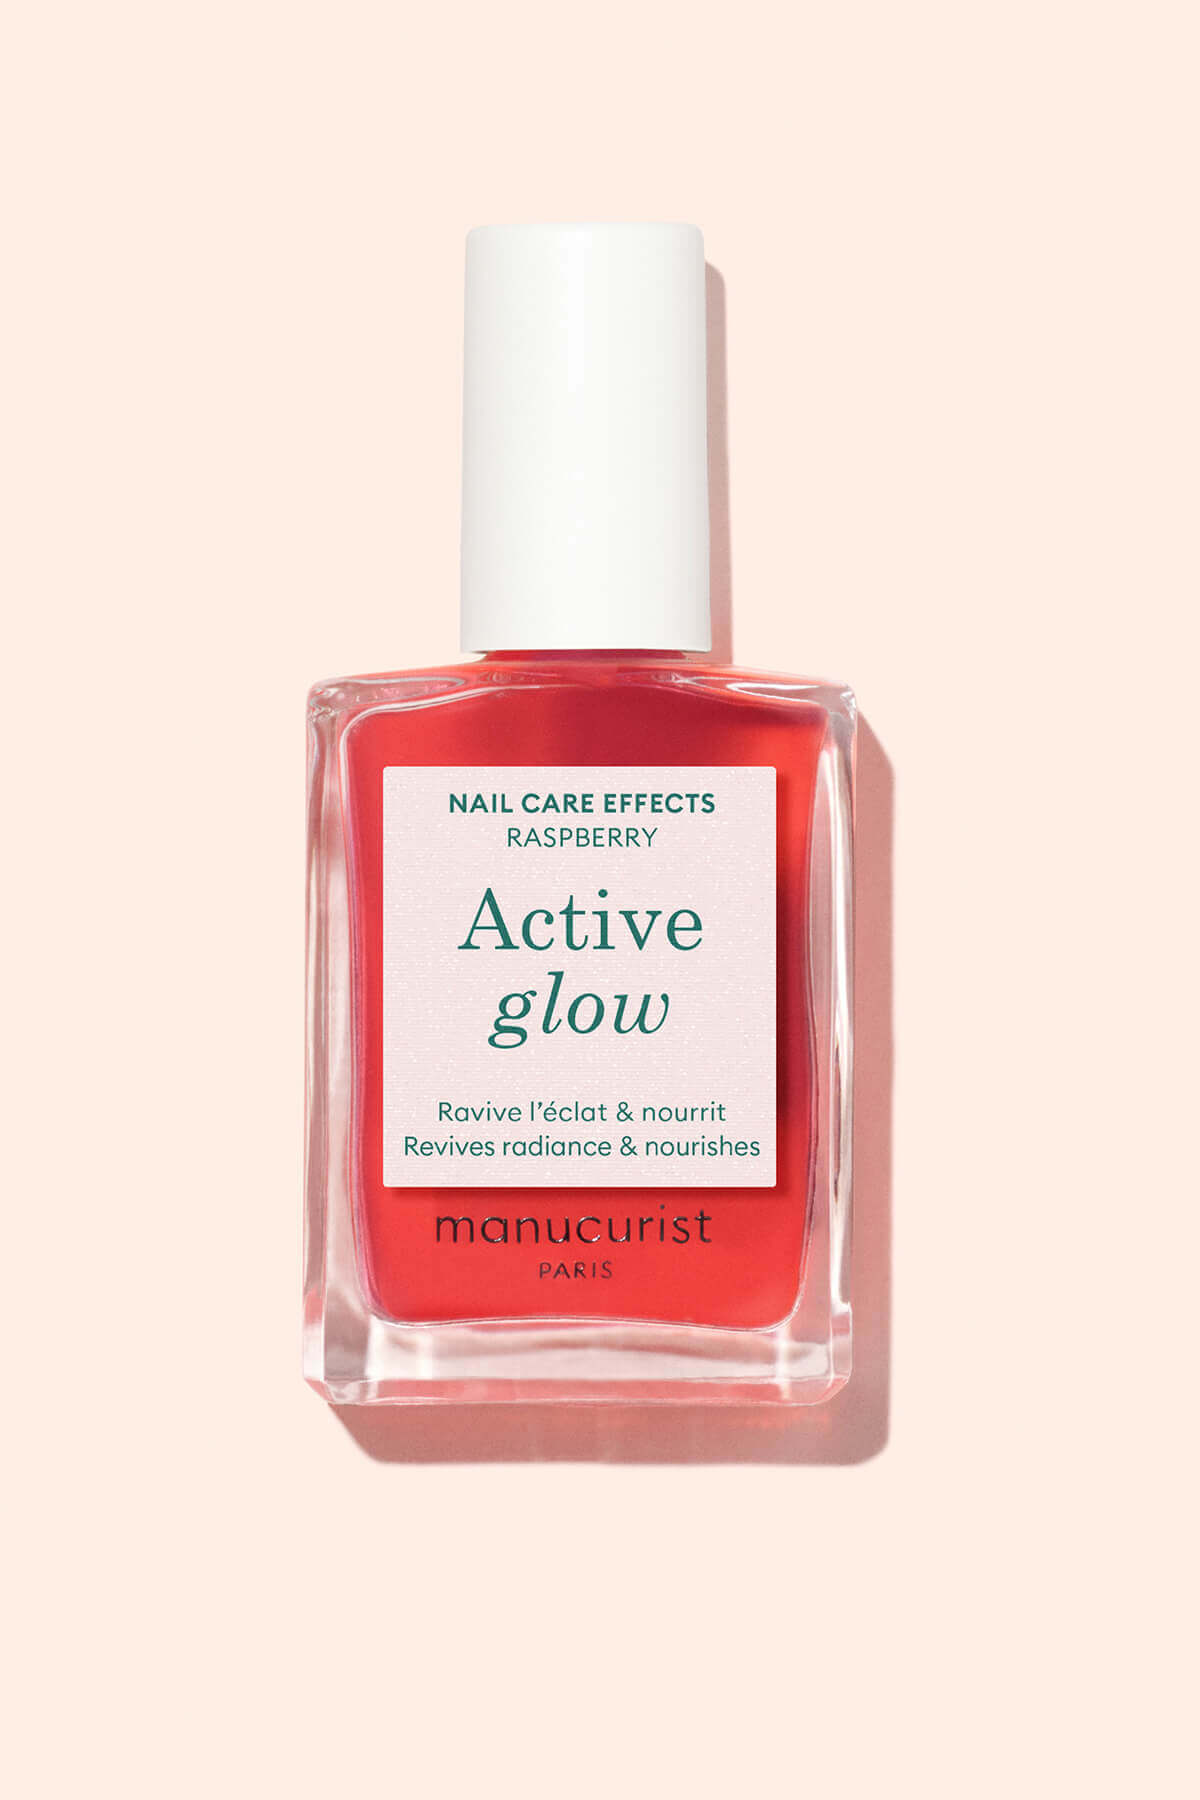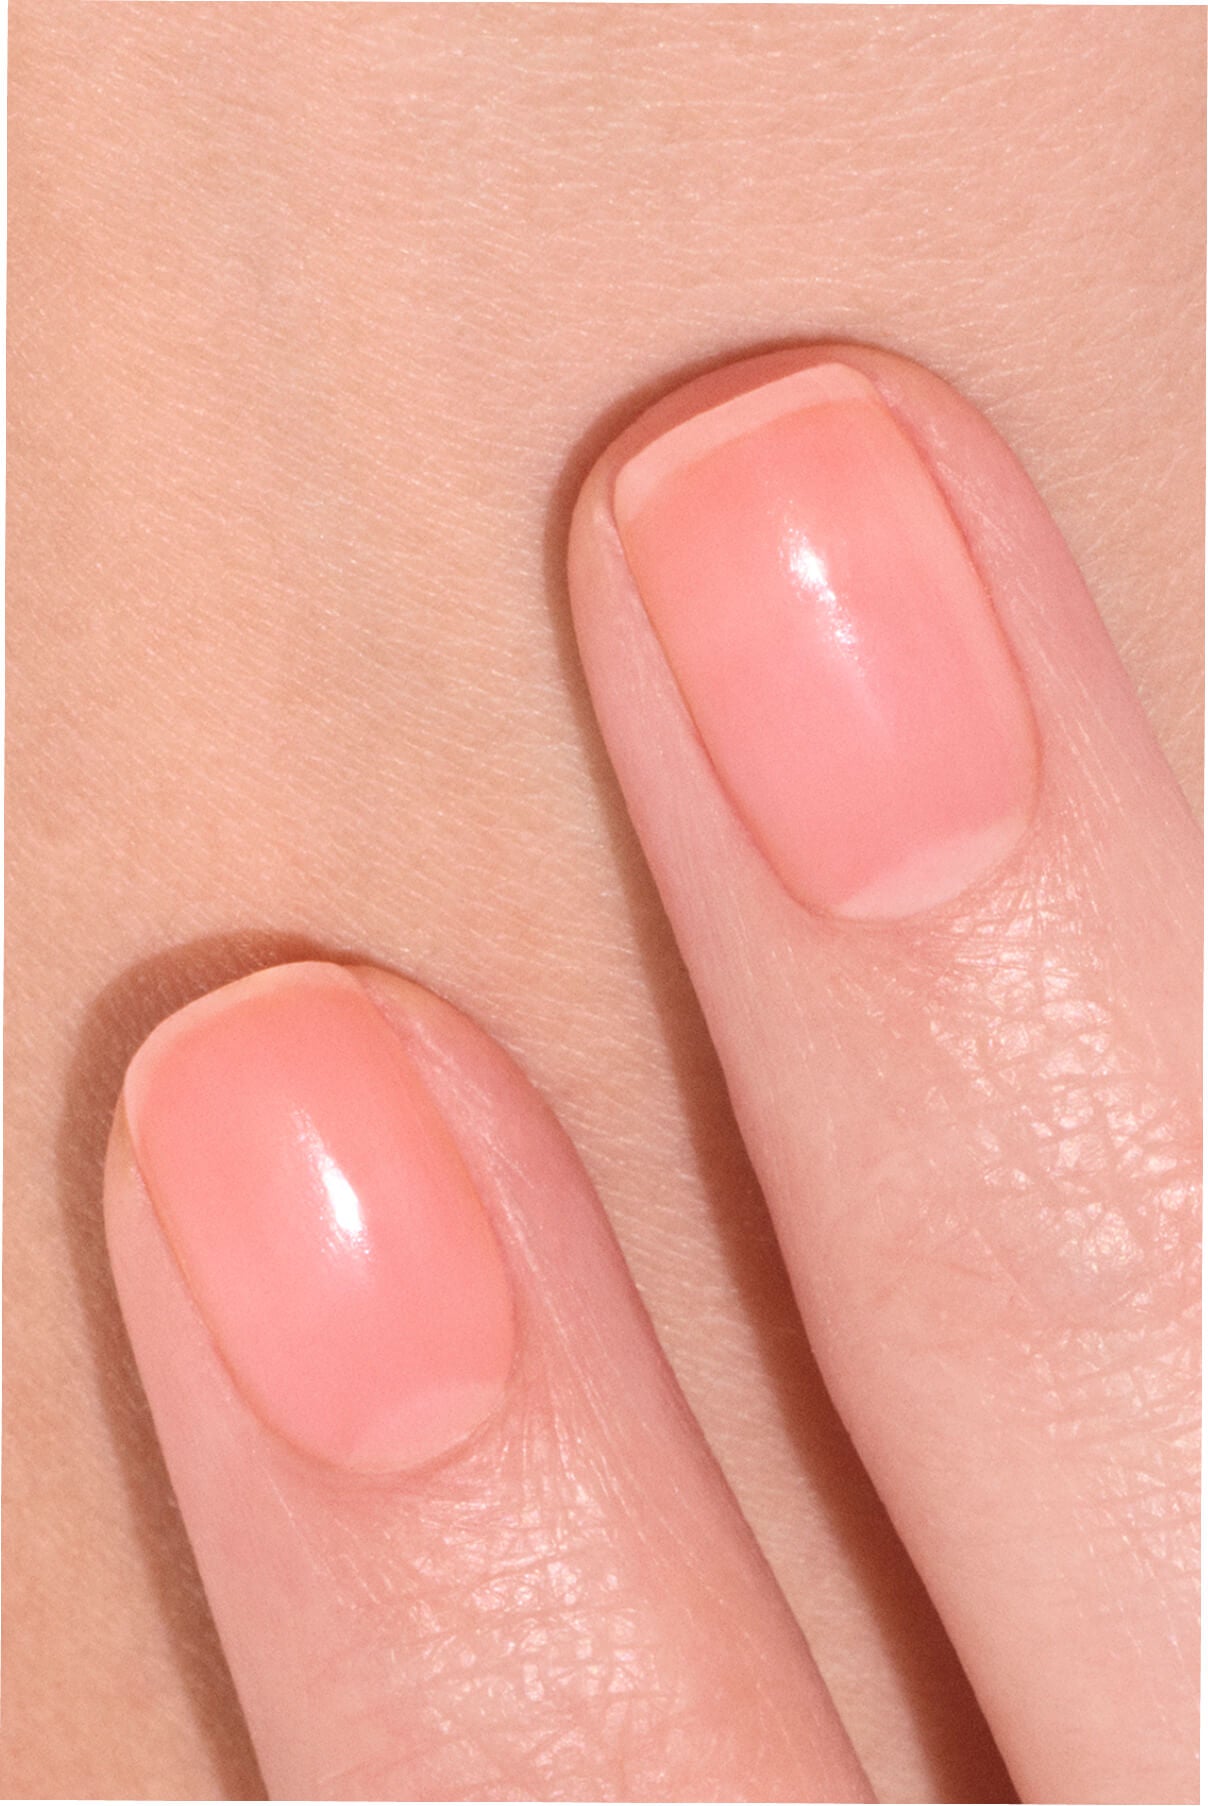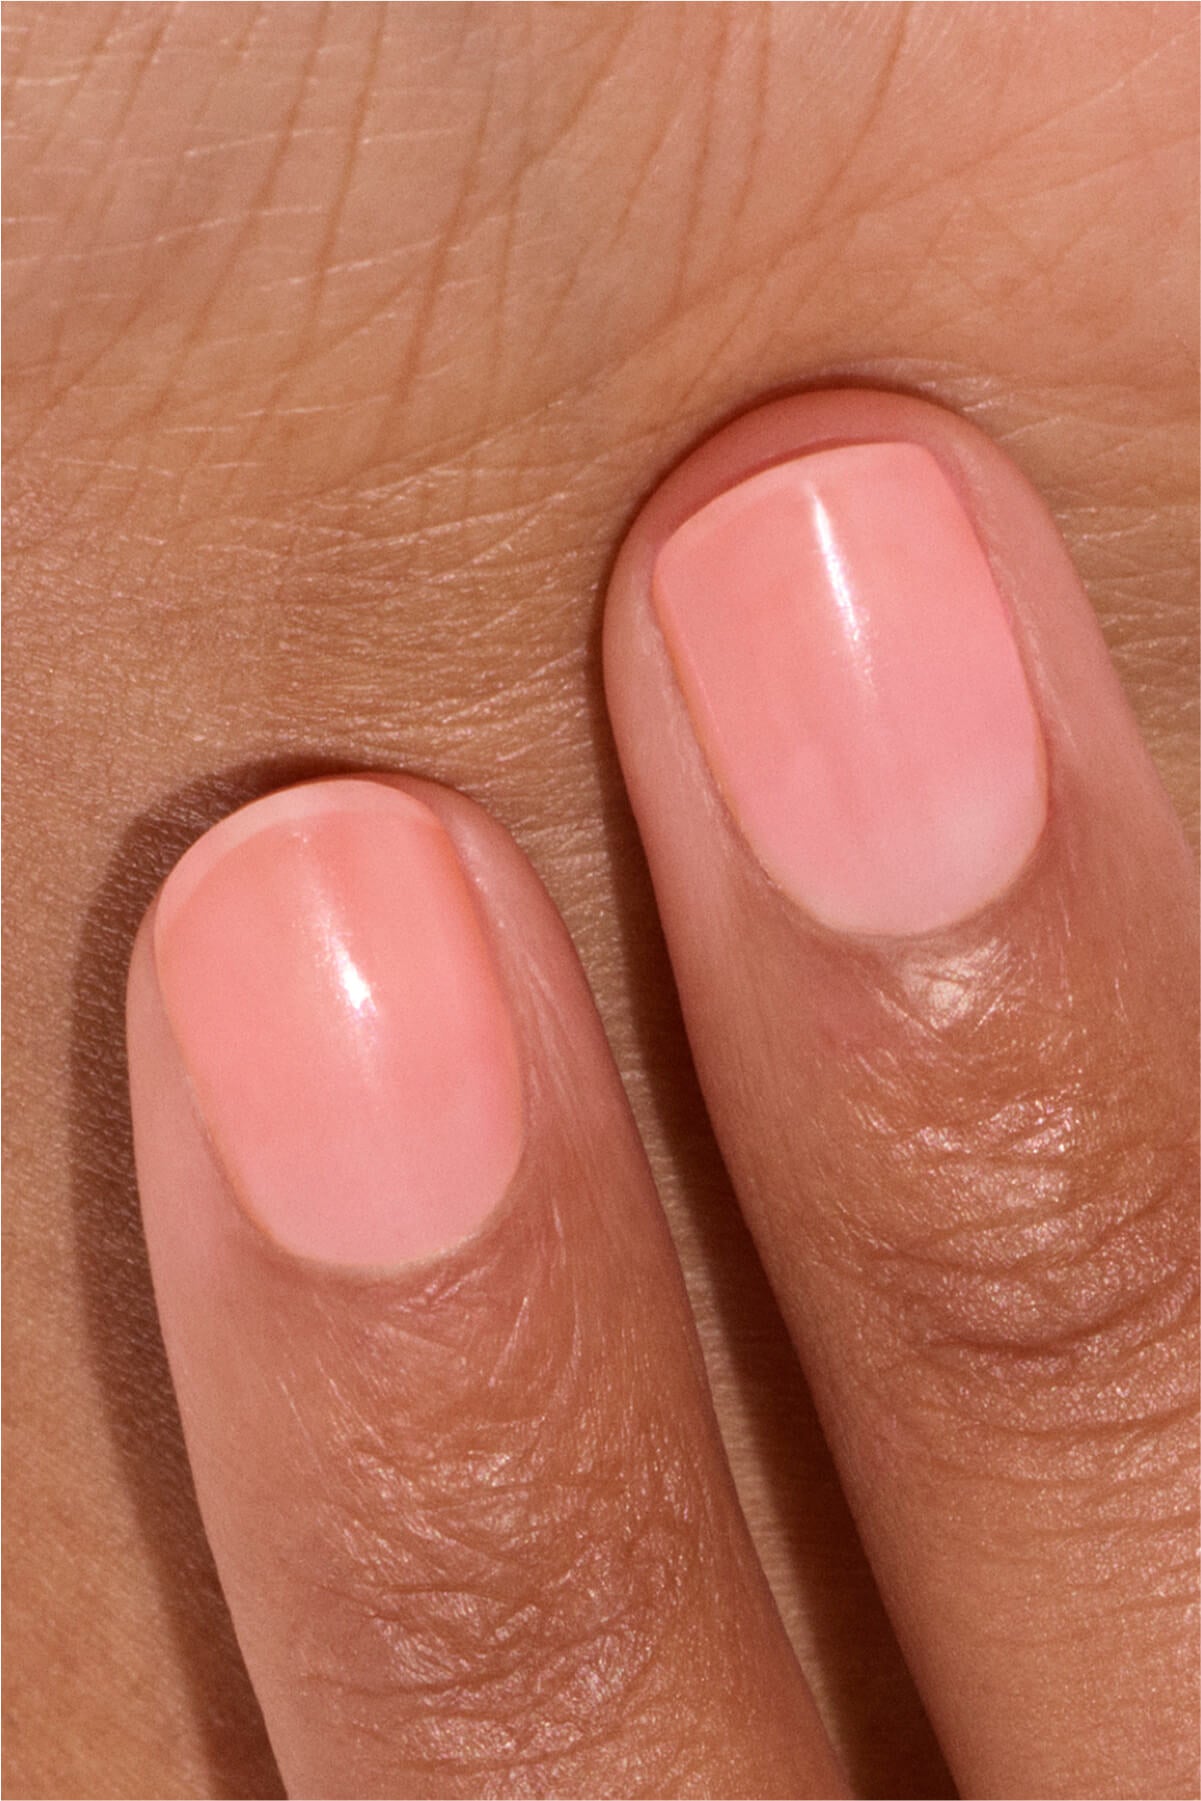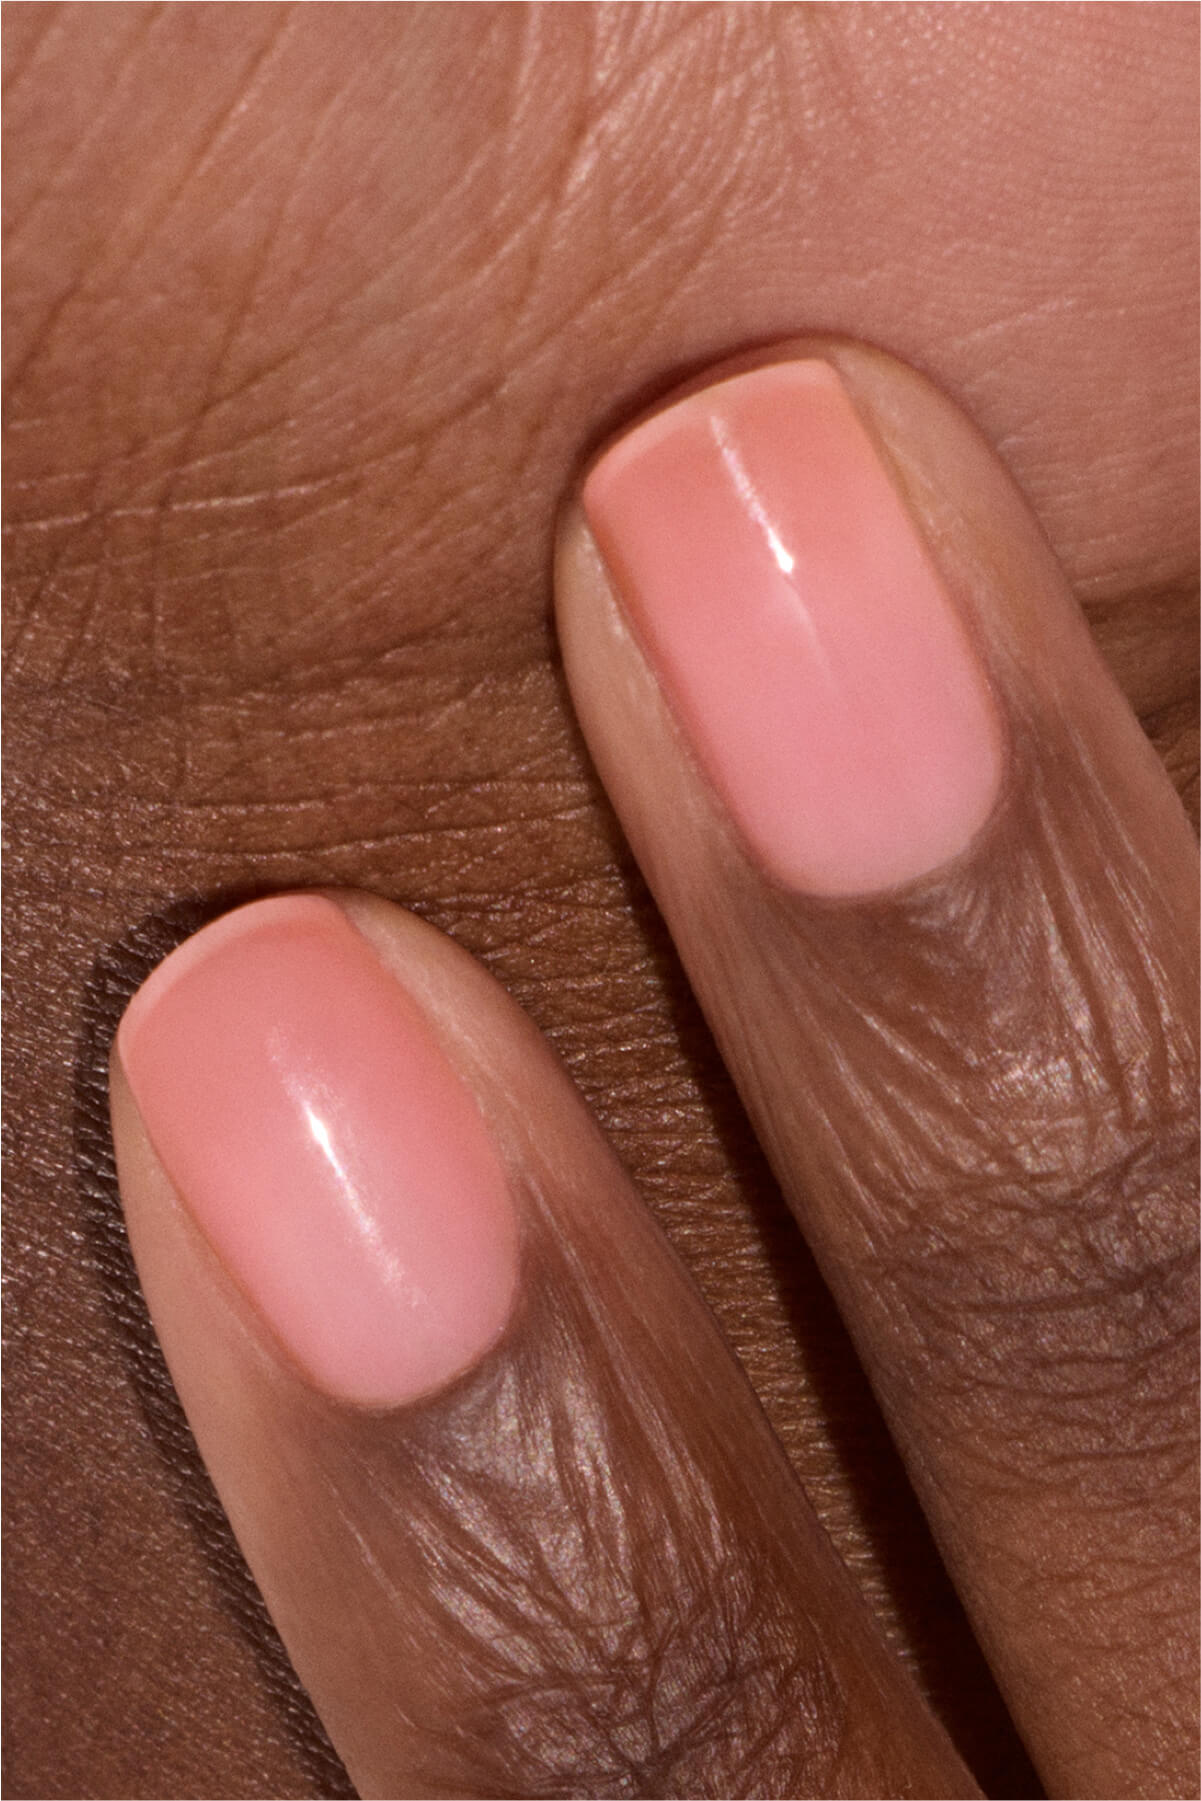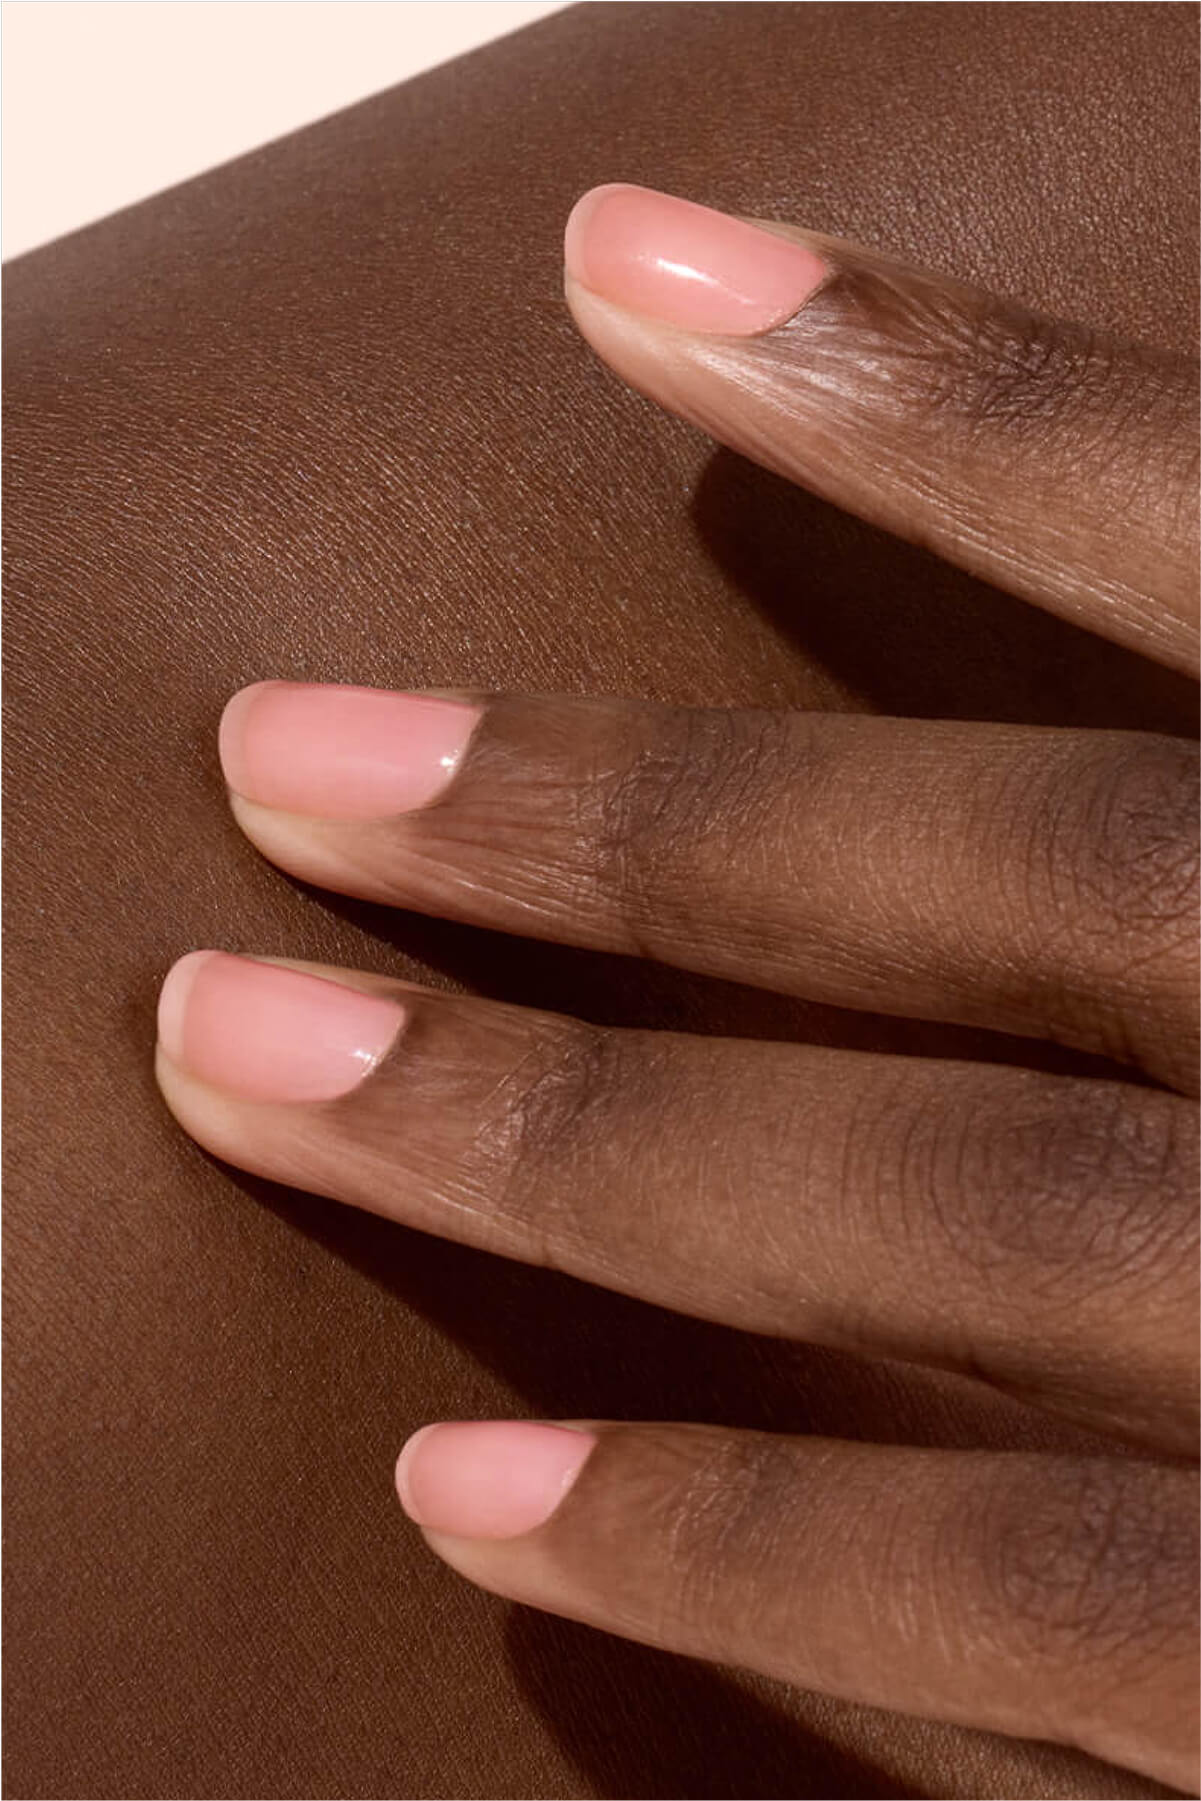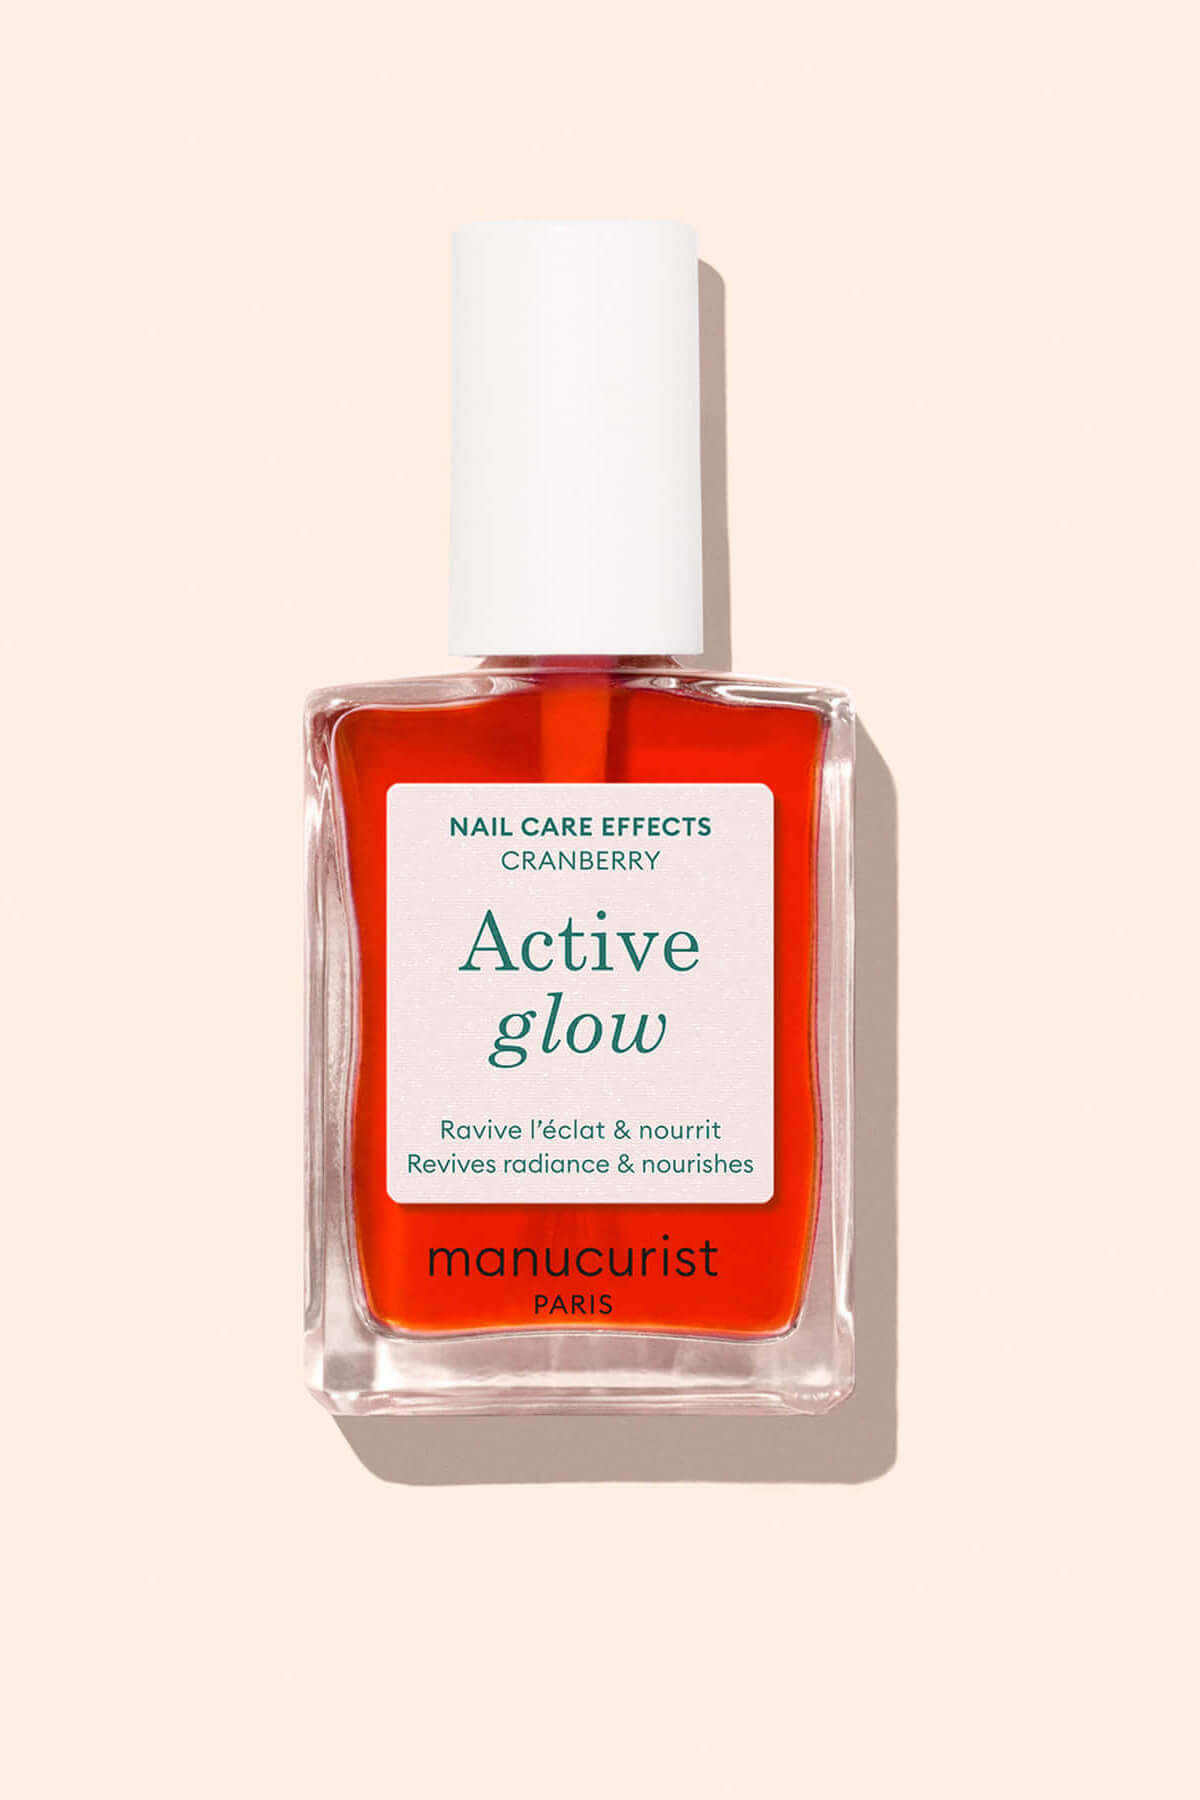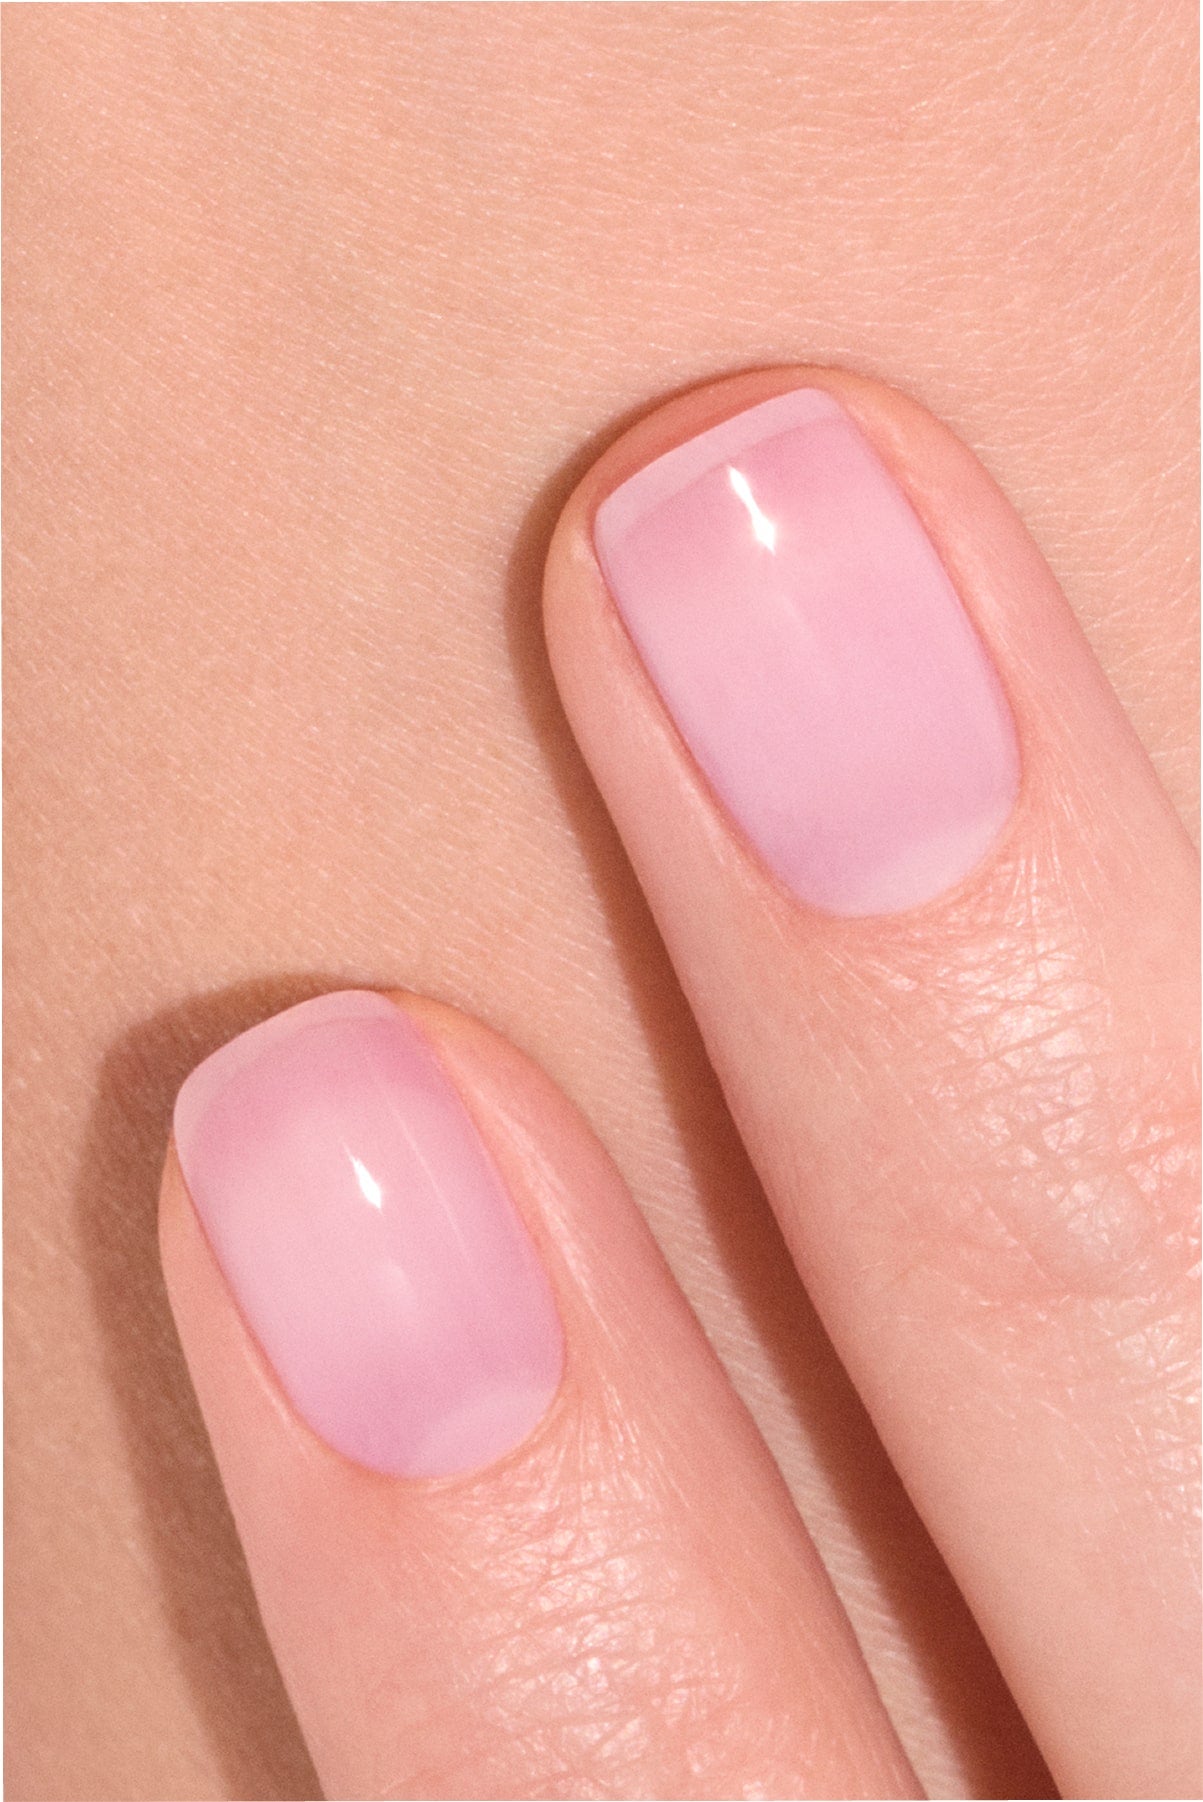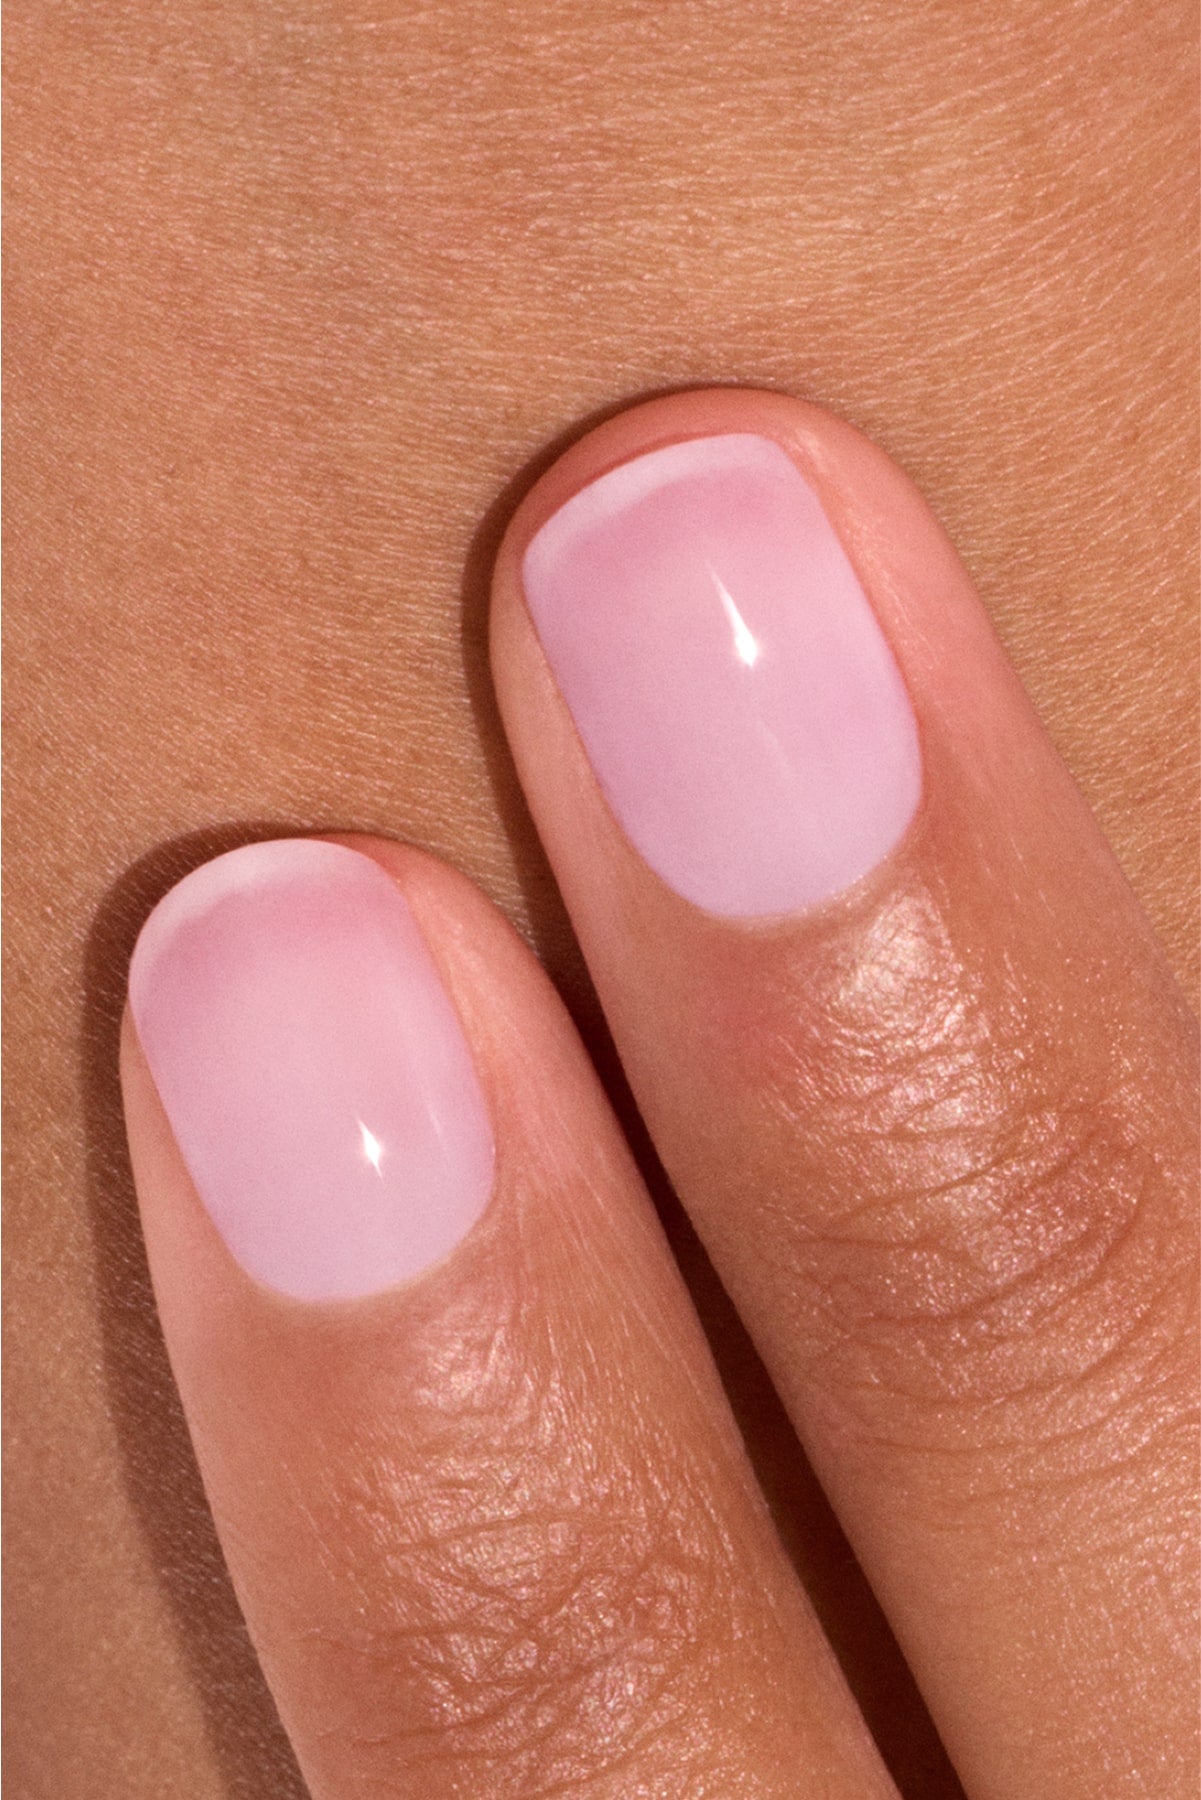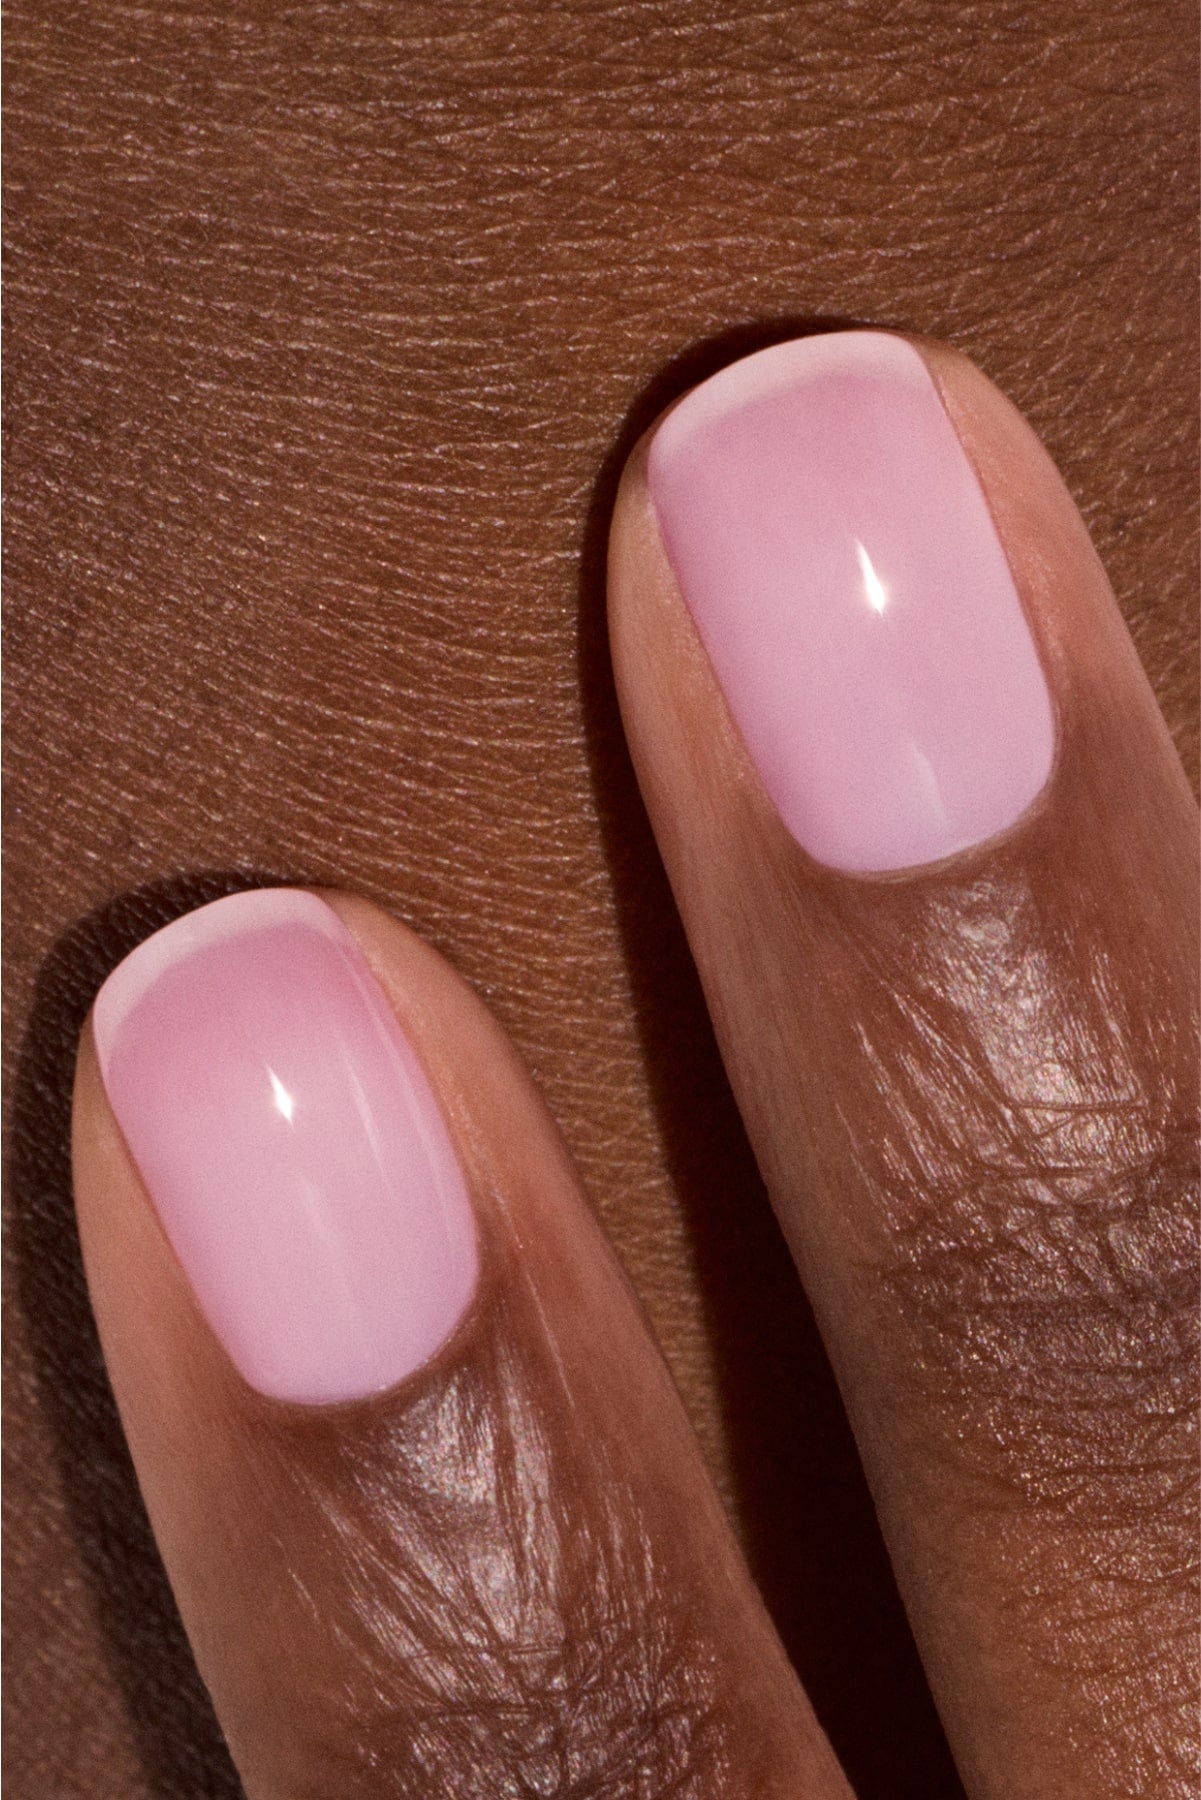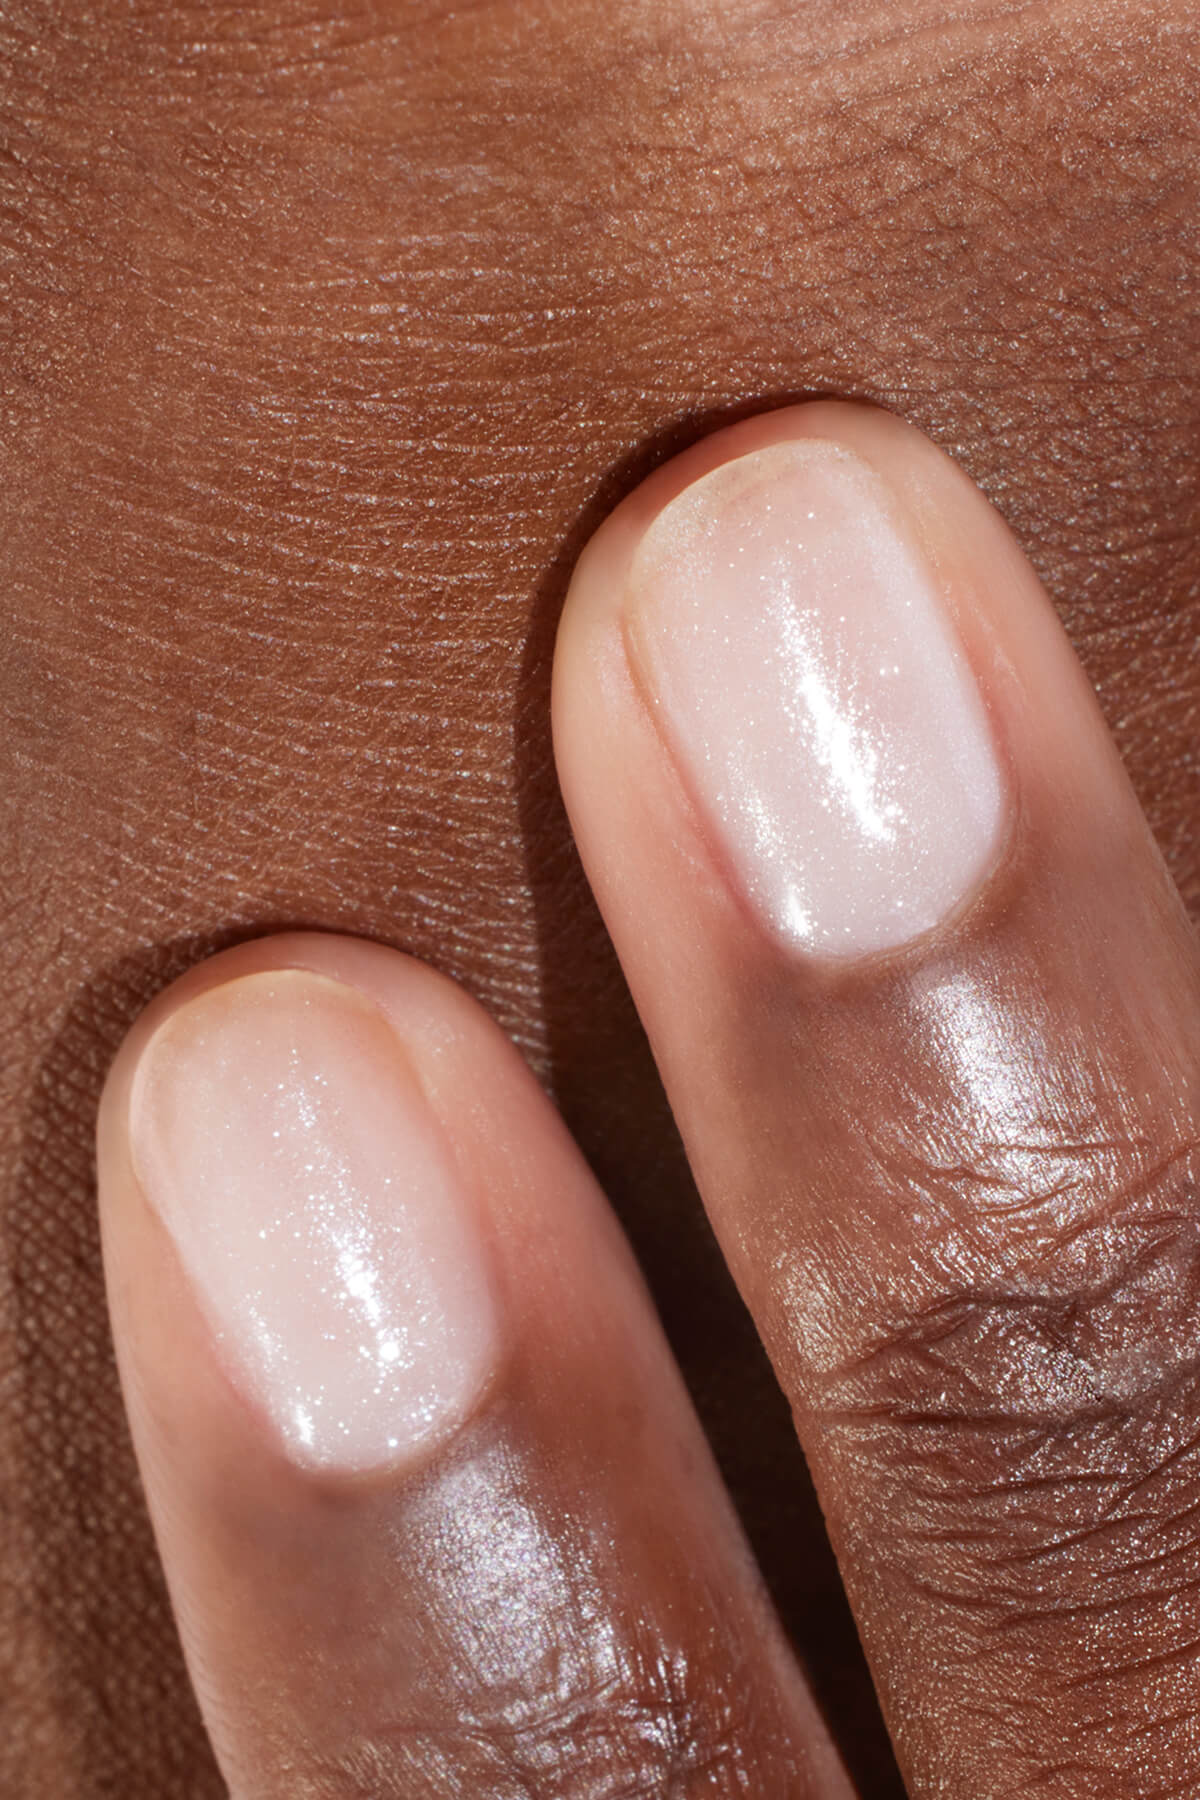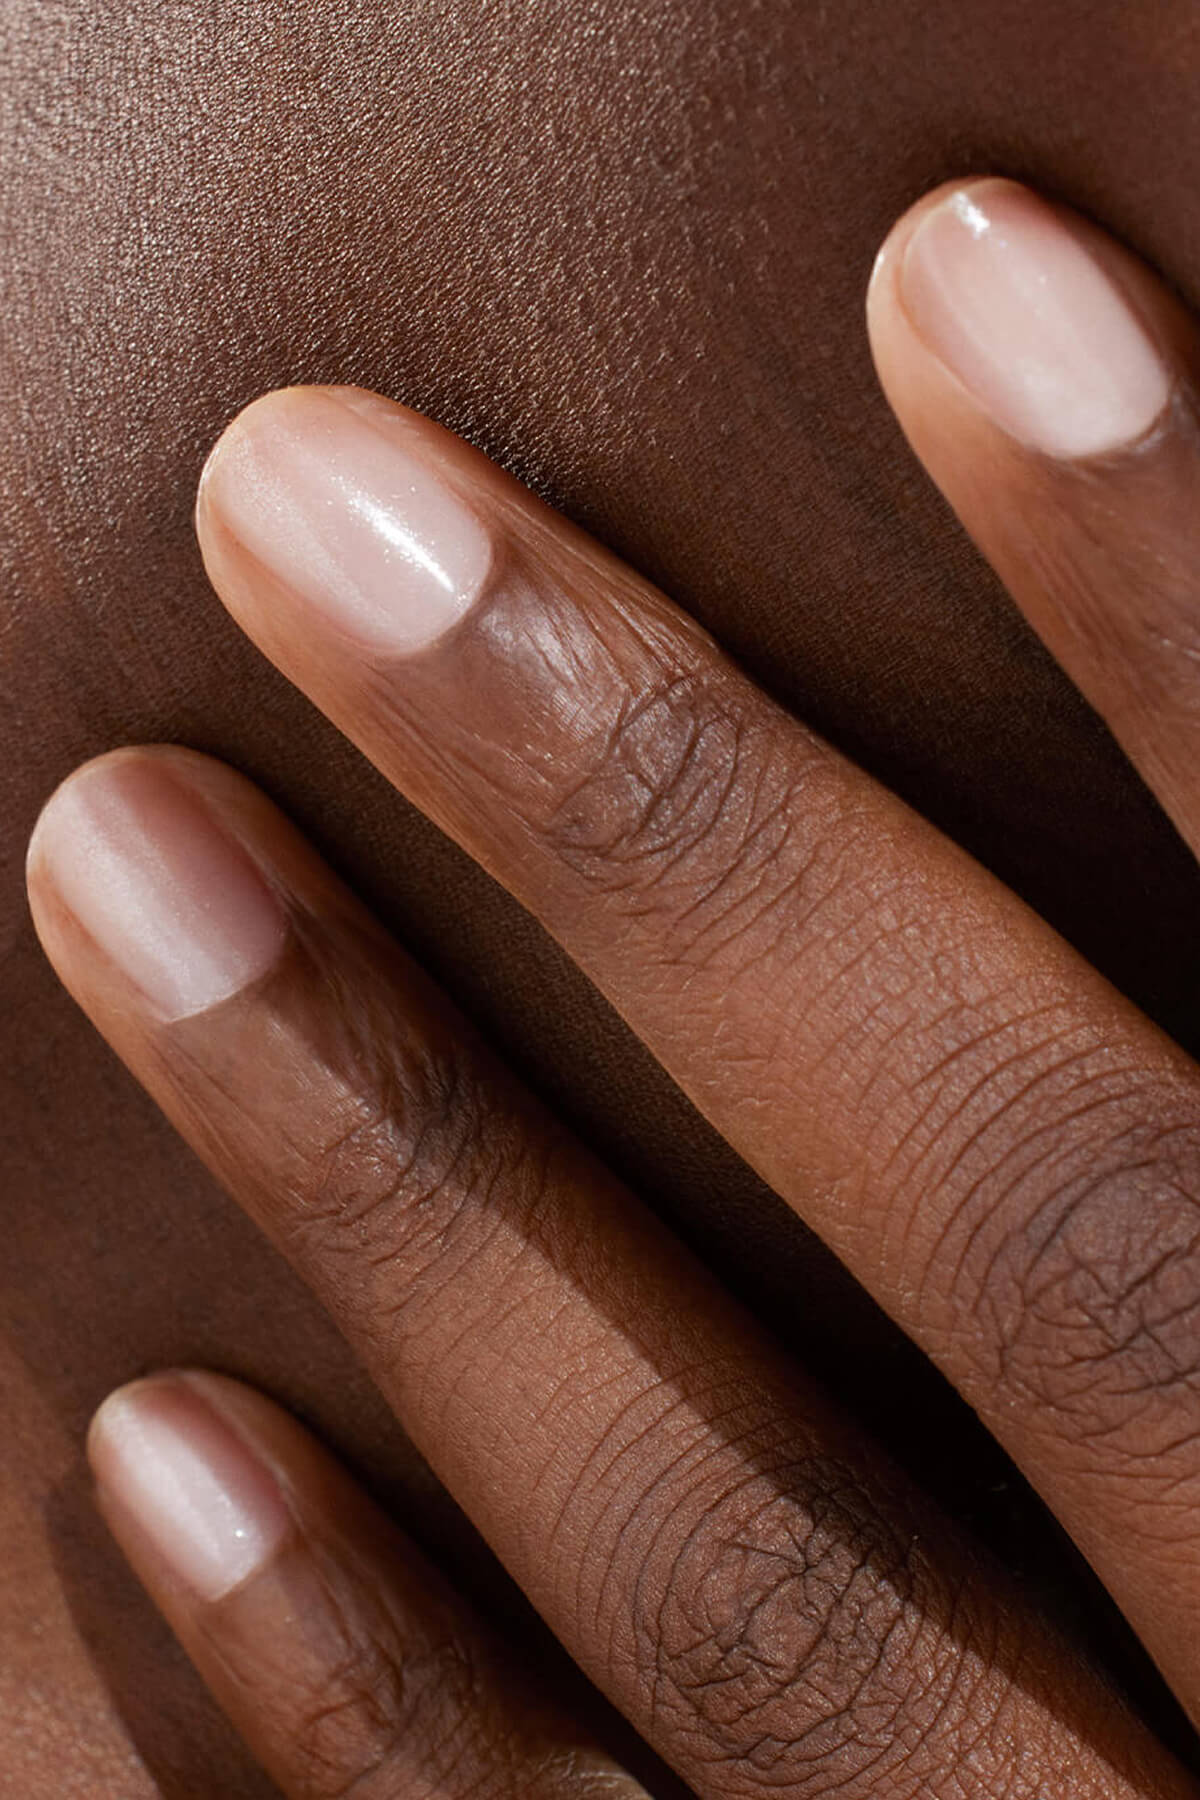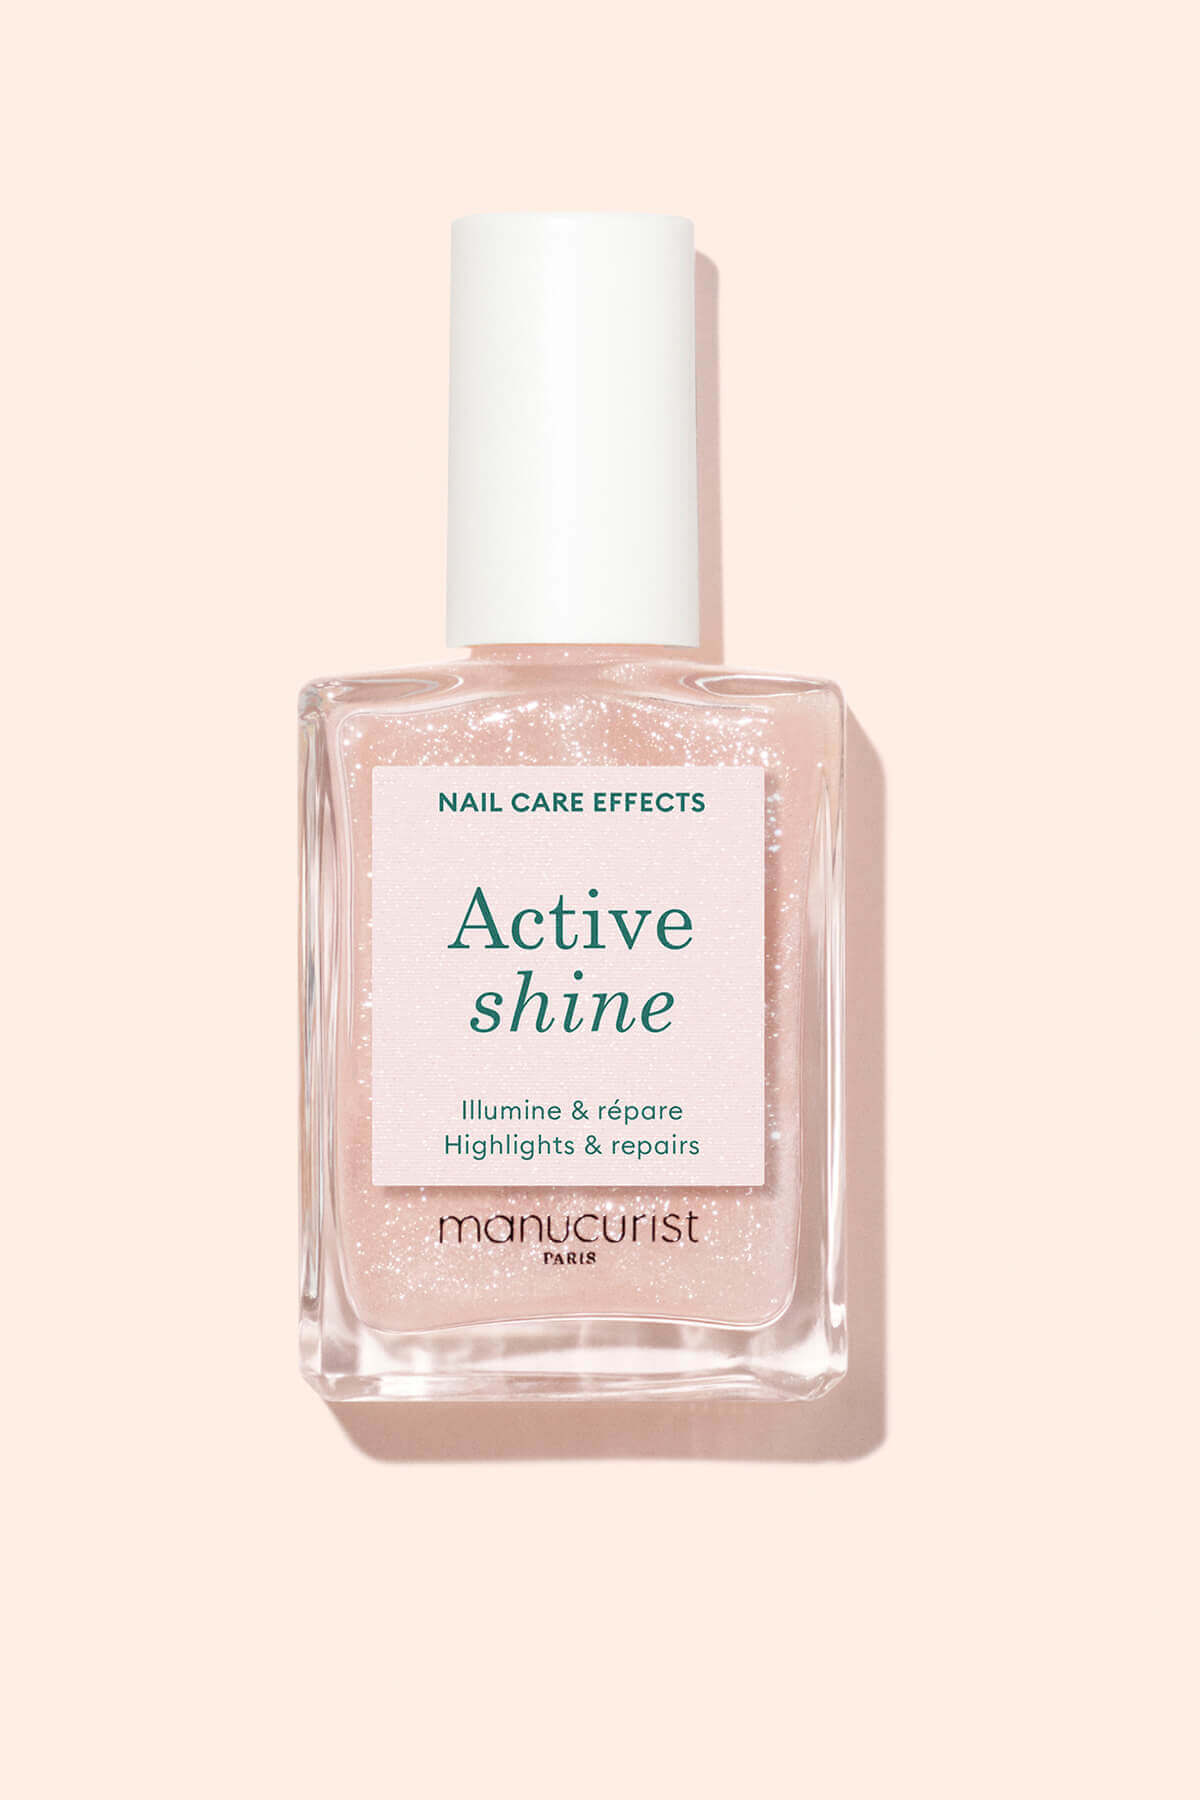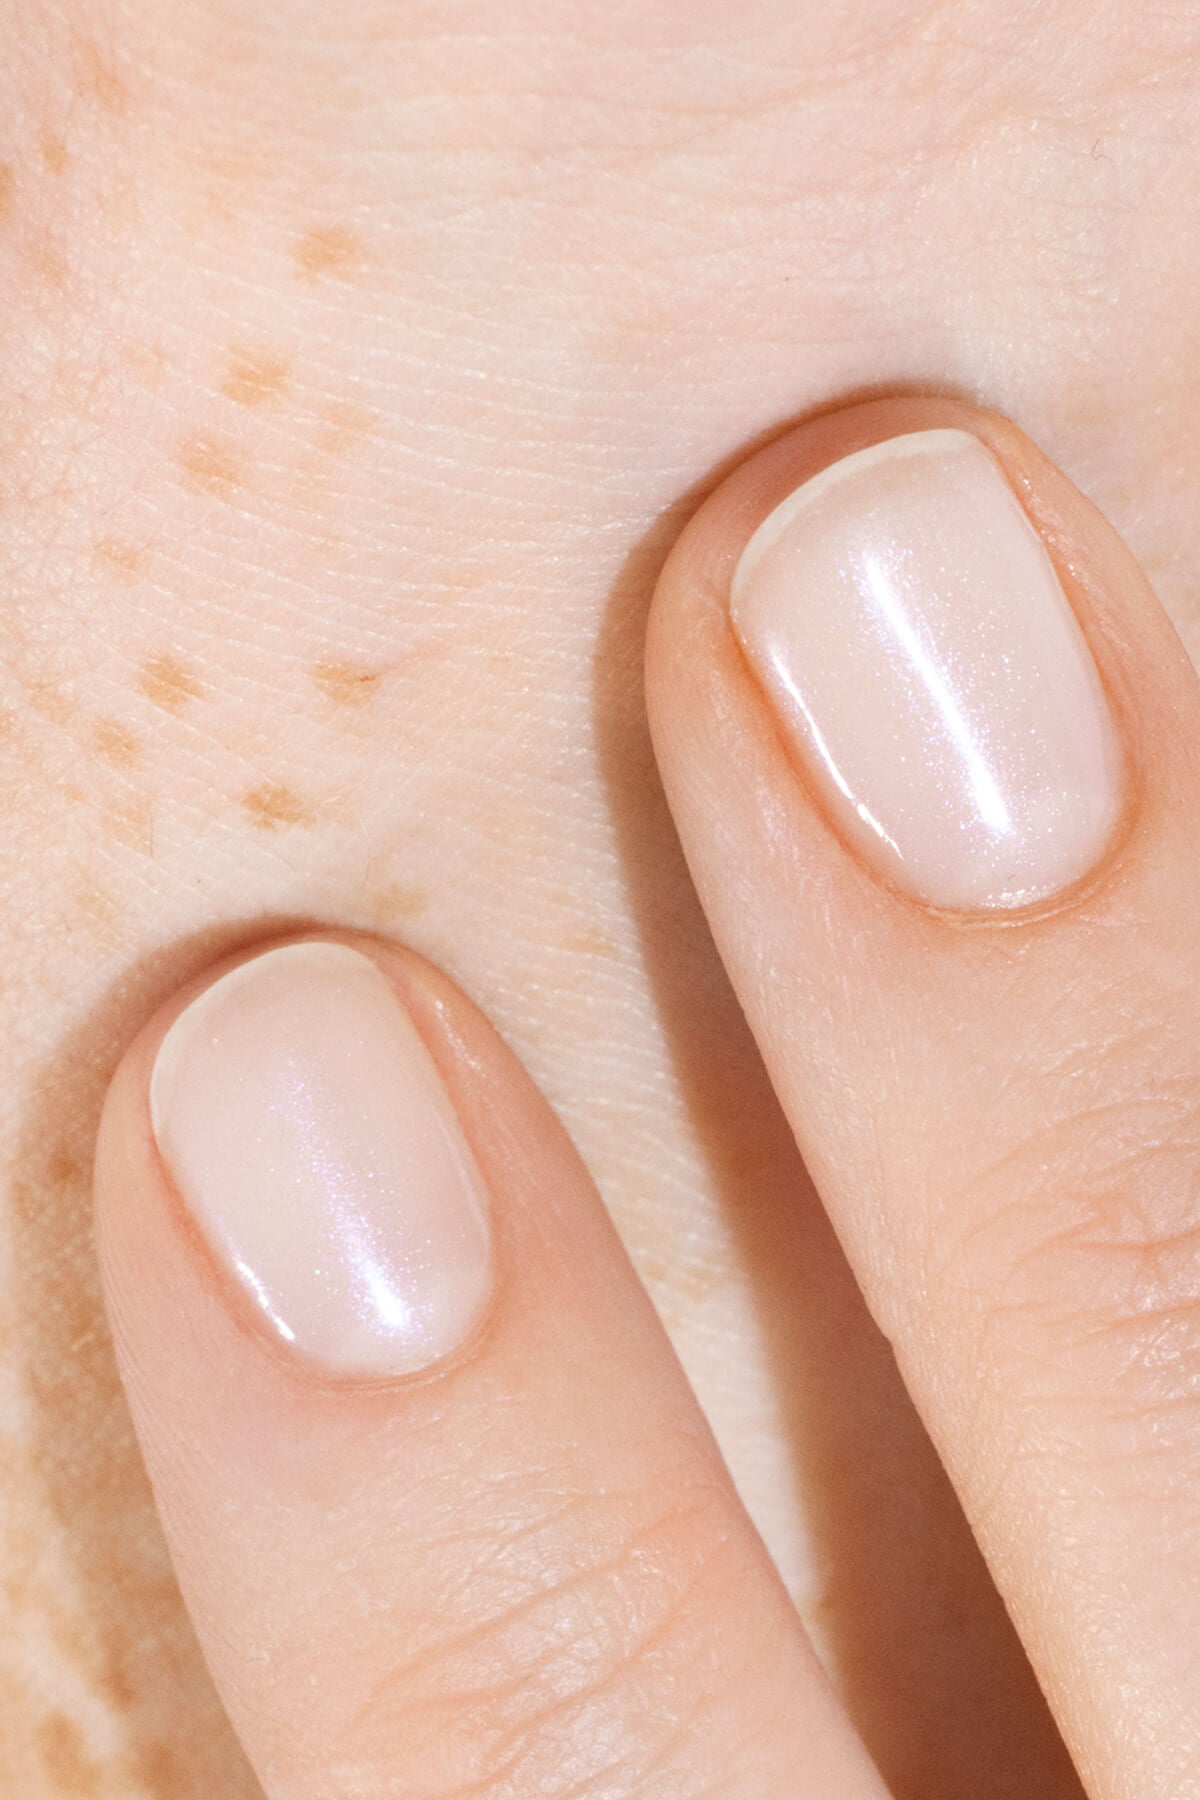


Looking for a high-shine, long-lasting manicure without heading to a salon? Great news: gel polish has arrived at home. Thanks to next-generation formulas and DIY manicure kits, polish application has become an essential step in beauty routines. We've put together a complete guide to help you apply your polish like a pro. Settle in, we'll tell you everything!
Key takeaways:
- Certain gel polish formulas deliver a glossy, long-lasting manicure without heading to a salon.
- DIY kits make application accessible to everyone.
- Requires meticulous nail prep for a long-lasting, even result.
Why prep is essential for a flawless manicure
We can never say it enough: thorough nail prep is the secret to a flawless manicure, no matter the polish you choose: regular polish, gel polish, or press-ons. Much like clean, hydrated skin before makeup, properly prepped nails ensure an even result and optimal wear. Here are the key steps:
Step 1: File and shape your nails
Start your nail prep by filing your nails to shorten and shape them using a nail file for natural nails. Choose the nail shape that suits you best: square, oval, or almond, the choice is yours. File the edge of the nail following a curved motion to shorten it, then sculpt your desired shape. What matters most is getting a clean, even base.
Step 2: Care for your cuticles
Continue your nail prep by taking a few minutes to pamper your cuticles. A few drops of cuticle remover to soften small bits of skin, a cuticle pusher or wooden stick to gently push them back, and voila—your nails get a clean, crisp contour. Job well done to simplify application and prevent polish from chipping after just a few days.
Step 3: Clean and degrease your nails
Finally, give your nails a light buffing by running a prep nail file over the surface of the nail. This step creates micro-scratches and opens up the keratin scales, which helps with polish adhesion. Next, degrease with a cotton pad soaked in gentle nail polish remover or nail cleanser. The nail must be clean, dry, free of oily residue, and dust-free.

Prep your nails to perfection with our nail prep set.
Applying gel nail polish in 4 coats
1. One coat of base coat
Base coat serves as the foundation of your manicure. Applied before color, it protects the natural nail and creates an even surface that makes gel polish application easier and maximizes long wear. Apply in a thin coat and cure under a UV/LED lamp for the recommended time.
With the Green Flash™ Vitamin Base Coat, you benefit from KeraHCE+ technology, combining hexanal with vitamins C and E. Thanks to this Manucurist innovation, the Vitamin Base Coat strengthens nails with every application and creates an antioxidant, anti-dehydration shield. The result: nails are continuously strengthened under color and Green Flash™ polish adhesion is boosted, with intense shine and color that lasts longer. To get the base coat, color, top coat, and LED lamp all in one, you can start with a Green Flash™ gel polish kit, designed for a full at-home application.
2. Two coats of color
From pastel hues to fiery red, whatever the shade, color should always be applied in 2 thin coats. Here's how to apply each coat of Green Flash™ polish properly:
Take a small amount of polish on the tip of the brush.
Apply nail polish in 3 brush strokes: one down the center of the nail, followed by one on each side. That's the secret to an even manicure, free of air bubbles or thickness, for flawless nails.
Don't forget to cure each coat of polish under a UV/LED lamp. Make sure the first coat is completely dry before applying the next one to keep your gorgeous polish from wrinkling.
3. One coat of top coat
Top coat is the ultimate finishing touch and the life insurance of your manicure! It brings plenty of benefits:
It serves as a finishing layer with your choice of finish: high shine or matte effect, natural or plumped look depending on your gel polish routine.
It locks in color and nail art designs.
It boosts your manicure's durability and protects it against scratches and everyday wear and tear.
It extends your manicure's wear time.
Just like the previous coats, apply in a thin layer and cure under a UV/LED lamp for the required time.
Green Flash™ Top Coat or Xtrem Flash™ Top Coat: which one should you choose?
With Green Flash™, you can now choose between two top coats to match your manicure to your lifestyle and mood. Same base coat, same Green Flash™ palette with all its iconic shades, but two different finishes and wear times. Here's a breakdown:
👉 Green Flash™ Top Coat
It goes on in a thin coat and cures in just a few minutes under an LED lamp. With Green Flash™ Top Coat, you get a clean, glossy manicure with a natural finish that stays flawless for up to 12 days. An ideal pick if you love switching up colors often or want a manicure solution that's easy to apply and remove.
👉 Xtrem Flash™ Top Coat
Xtrem Flash™ Top Coat is also applied in a thin coat, but its thicker texture compared to classic top coat calls for a few precautions:
When applying, remember to wipe your brush on the neck of the bottle to avoid picking up too much product, which could spill over onto cuticles. If it does overflow, wipe away excess polish with a wooden stick before curing under the LED lamp.
Dry each hand without the thumb completely flat for 1 minute under the LED lamp. Cure the thumb separately for 1 minute under the LED lamp, resting it flat to keep the polish from pooling on the sides.
Watch the Xtrem Flash™ routine on video with @nenapleasenails.
With the Xtrem Flash™ Top Coat, you get the intense shine and plumping effect of a gel polish manicure along with extra long wear for up to 21 days. Removal is done without acetone or buffing, in a peel-off motion with a bit of gentle nail polish remover. In short, it's the best option when you want a long-lasting, ultra-glowy manicure without sacrificing your nails when it's time to take it off.
Caring for and protecting your nails after your manicure
A gorgeous manicure needs care! Once finished, it's time for nail care treatments to make it last.
As soon as application is complete and the top coat is fully dry, apply a cuticle oil such as Huile Verte to nourish nails and cuticles. Repeat this care daily for the entire wear time of your gel manicure.
Massage your nails daily with a hydrating treatment such as Complete Serum to maintain their suppleness. Its exclusive water-based formula enriched with plant glycerin, panthenol, and chestnut extract deeply hydrates and regenerates the nail.

Hydrated, nourished nails are the secret to a long-lasting manicure.
To sum up:
- Prep nails: file, push back cuticles, buff, and degrease.
- Base coat + 2 coats of color + top coat: apply in thin layers and cure under an LED/UV lamp.
- Cure each coat for the required amount of time to avoid bubbles or wrinkling.
- Care after application: cuticle oil and hydrating treatment to prolong wear.
How to gently remove gel nail polish
Today, removing gel nail polish doesn't have to mean harsh buffing and damaged nails. New bio-sourced polishes are formulated to be removed gently without damaging your nails. Here's how it works with Green Flash™:
Step 1: Get your tools ready
Get about ten cotton pads or lint-free wipes ready, sized to fit your nails. Avoid loose cotton balls that tend to fray and snag on the polish. Generously soak each cotton pad with Green Flash™ Acetone-Free Gentle Nail Polish Remover, designed for fast and effective Green Flash™ polish removal without drying out nails thanks to its formula enriched with castor oil.
Step 2: Soften the polish with a gentle method
Place a cotton pad directly onto each nail and secure it with a special removal clip to keep the remover in direct contact with the polish. If you don't have removal clips, wrap aluminum foil around each nail.
⚠️Important: Follow the recommended curing time for your chosen routine. With Green Flash™ polish, this time depends on the top coat you choose:
- With Green Flash™ Top Coat, the polish layer lifts off in just 1 to 2 minutes.
- With Xtrem Flash™ Top Coat, allow about 10 minutes of soaking time for the polish to lift.

It only takes a few minutes to peel off your Green Flash™ polish.
Step 3: Gently remove the polish
Remove the clips, or foil wraps, and cotton pads to reveal the result. The standout feature of the Green Flash™ routine is its peel-off removal: under the action of the remover, the polish layer lifts off in the blink of an eye without leaving any residue.
If the polish resists in certain spots (not enough remover or not applied properly), gently lift away residue with a wooden stick without forcing it. If needed, reapply a cotton pad soaked in remover to the nail for a few moments.
With the right gel products, accessible manicure techniques, and a little practice, you can achieve results worthy of a salon manicure. In either Green Flash™ or Xtrem Flash™ versions, the Manucurist routine lets you enjoy a 100% feel-good beauty break, with the ultimate reward of a resilient, high-shine manicure and gentle removal that won't weaken your nails. We love it!