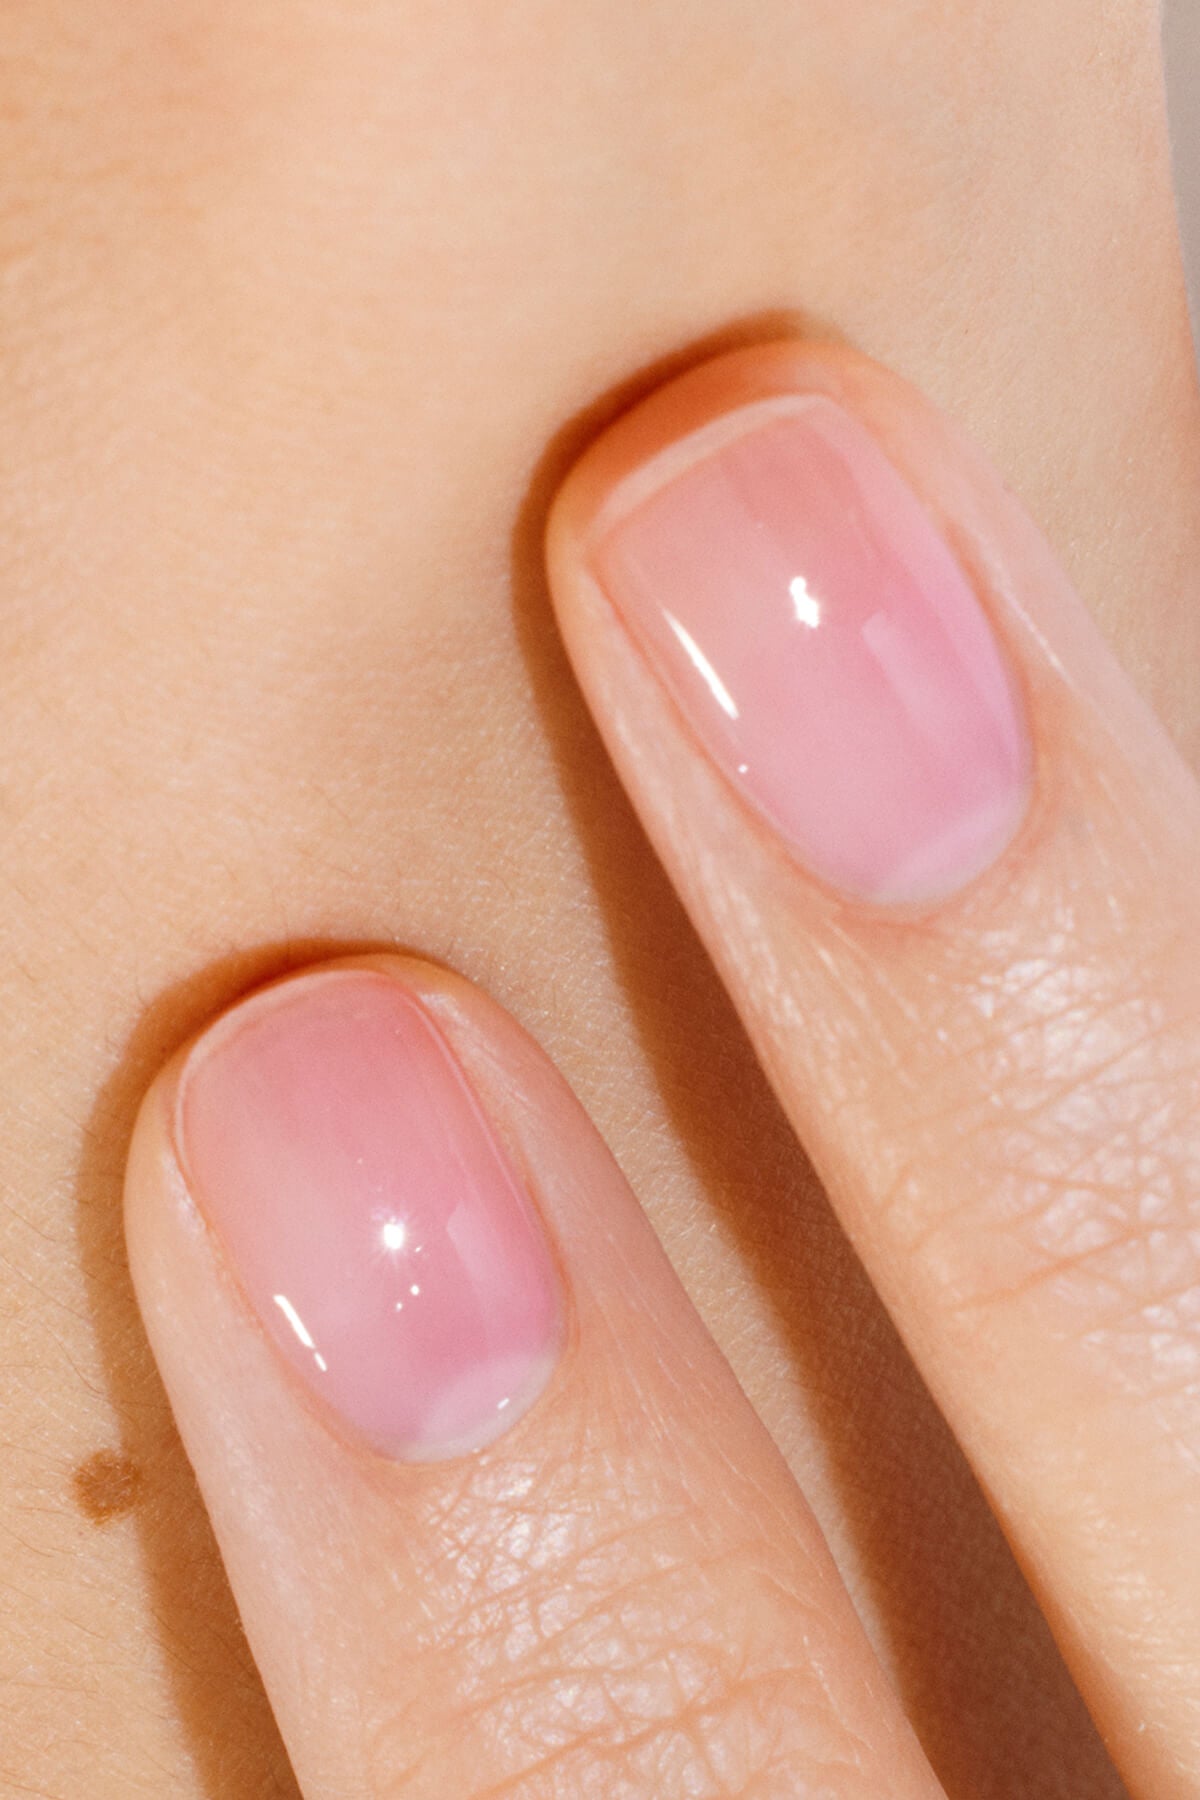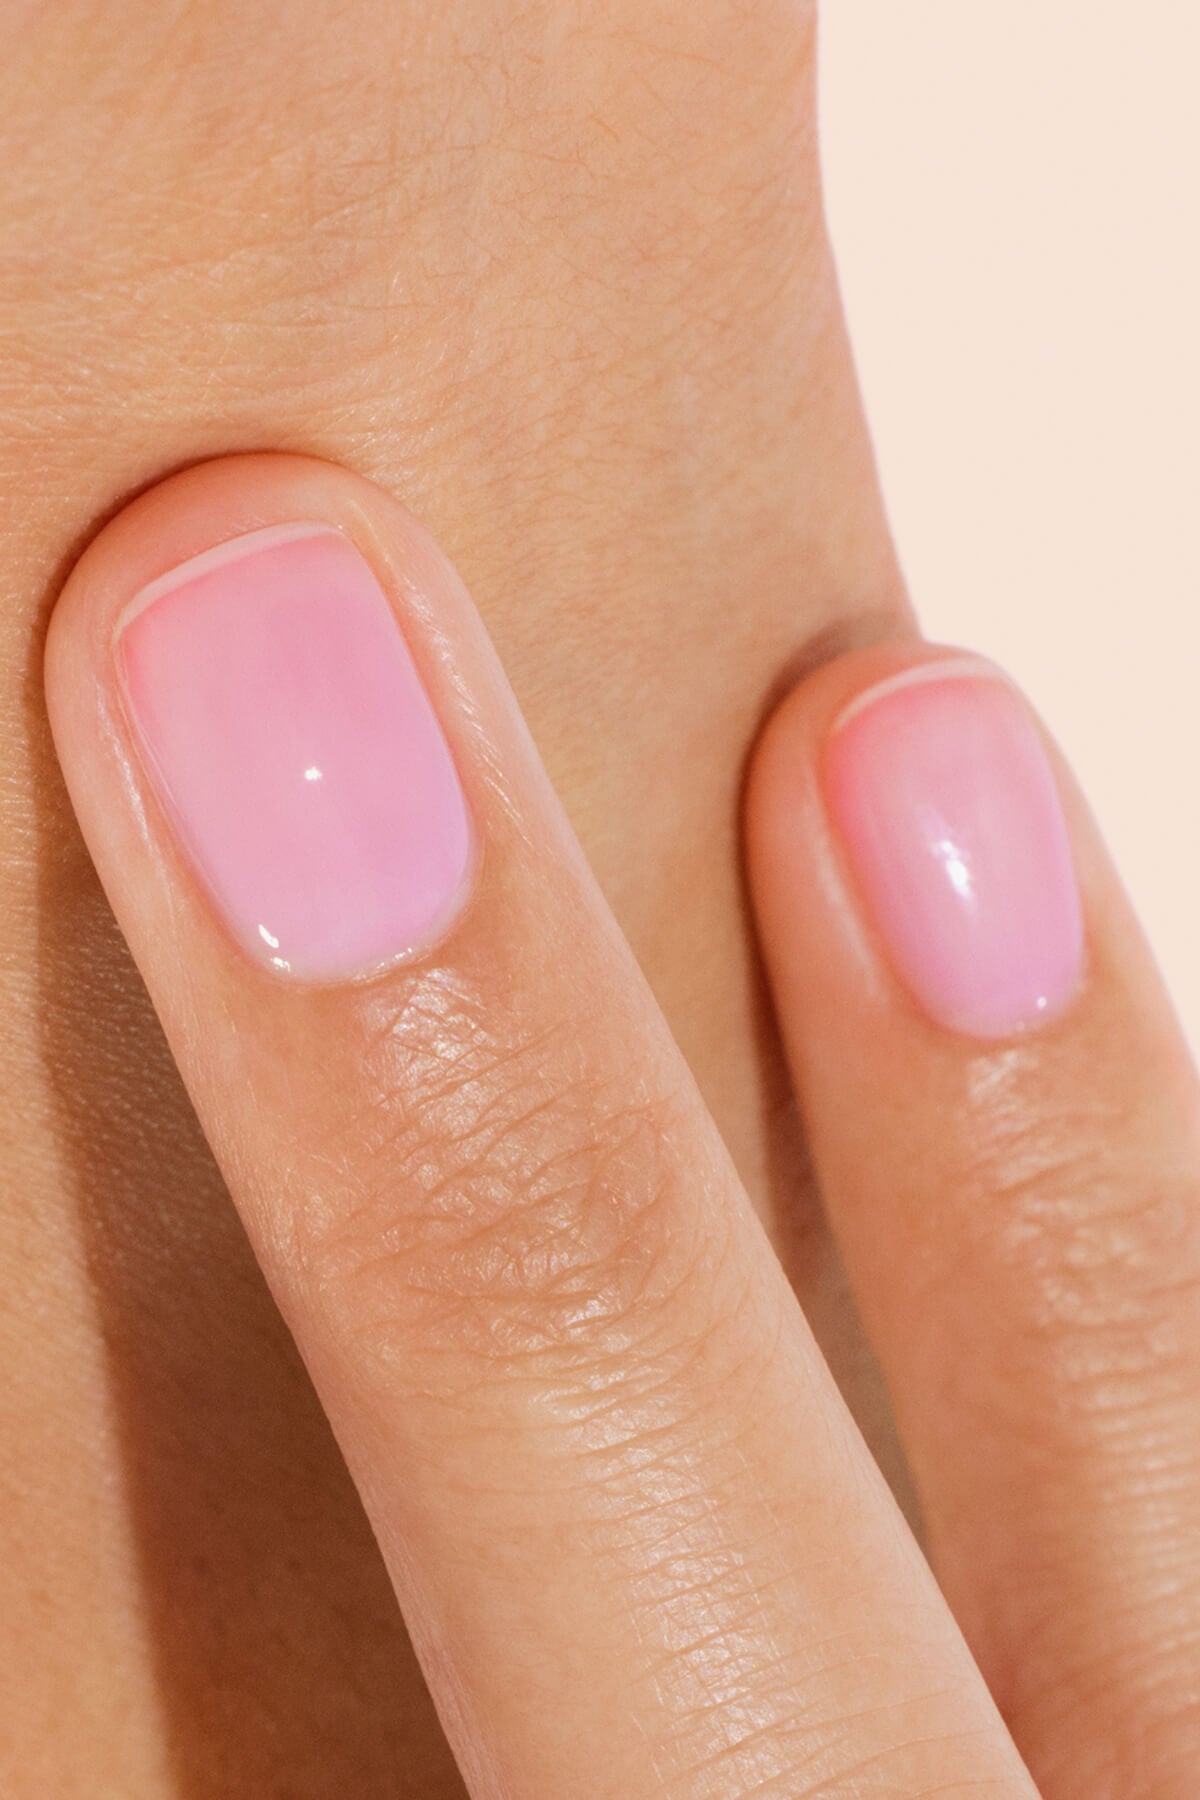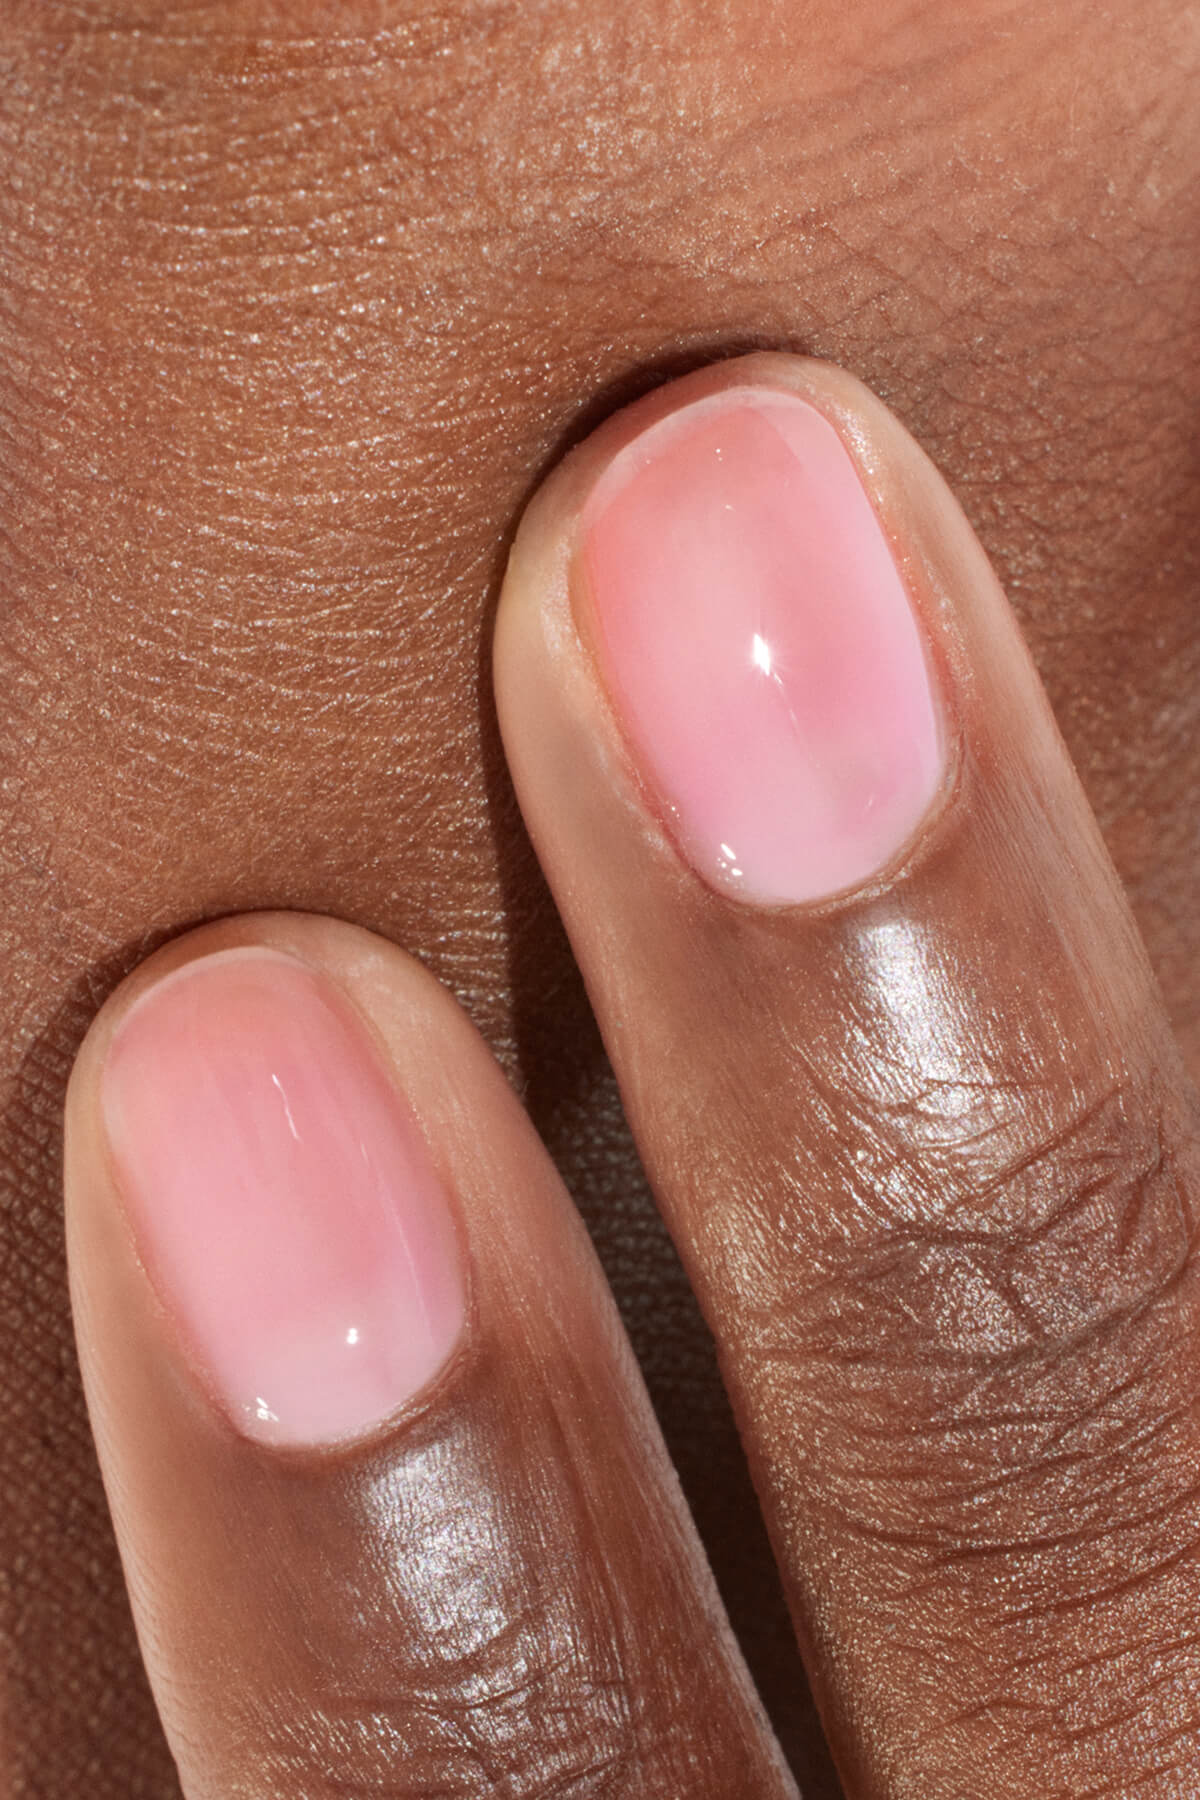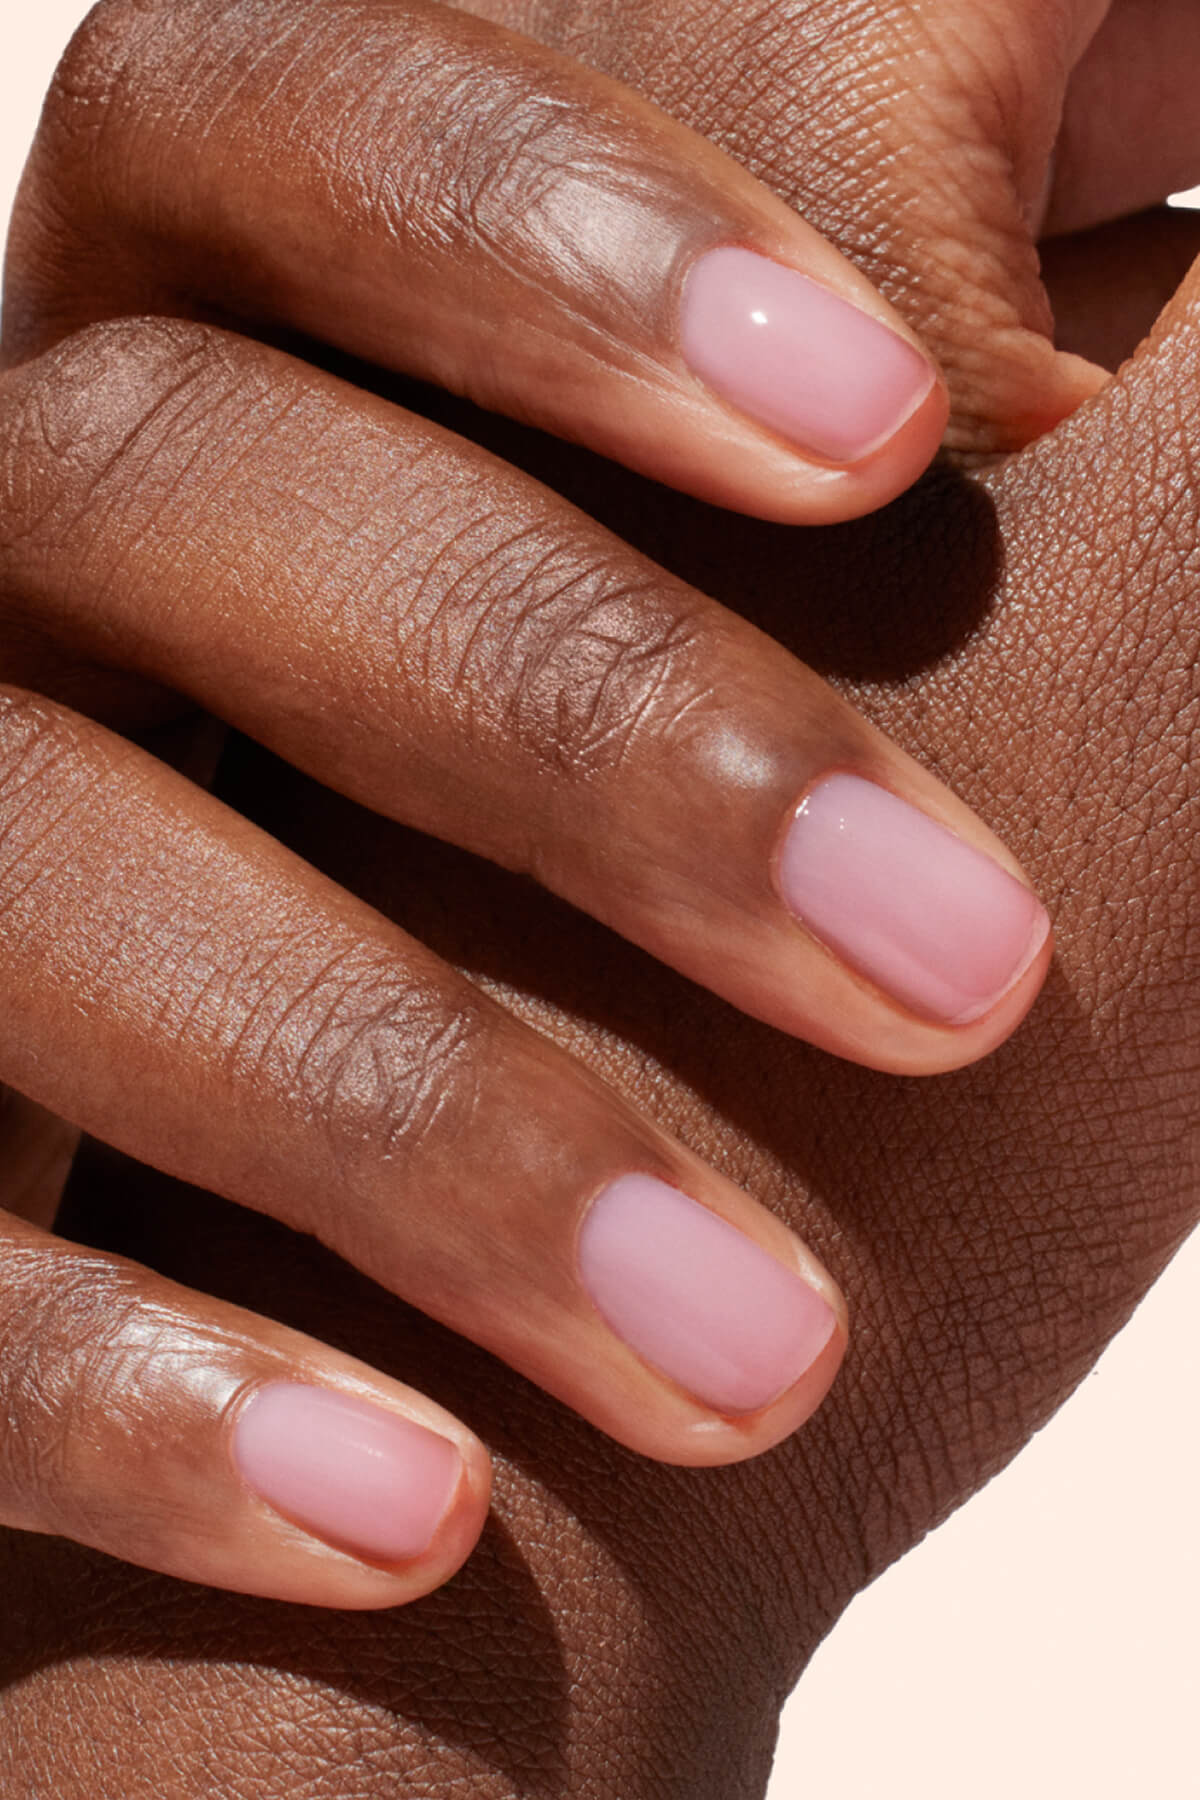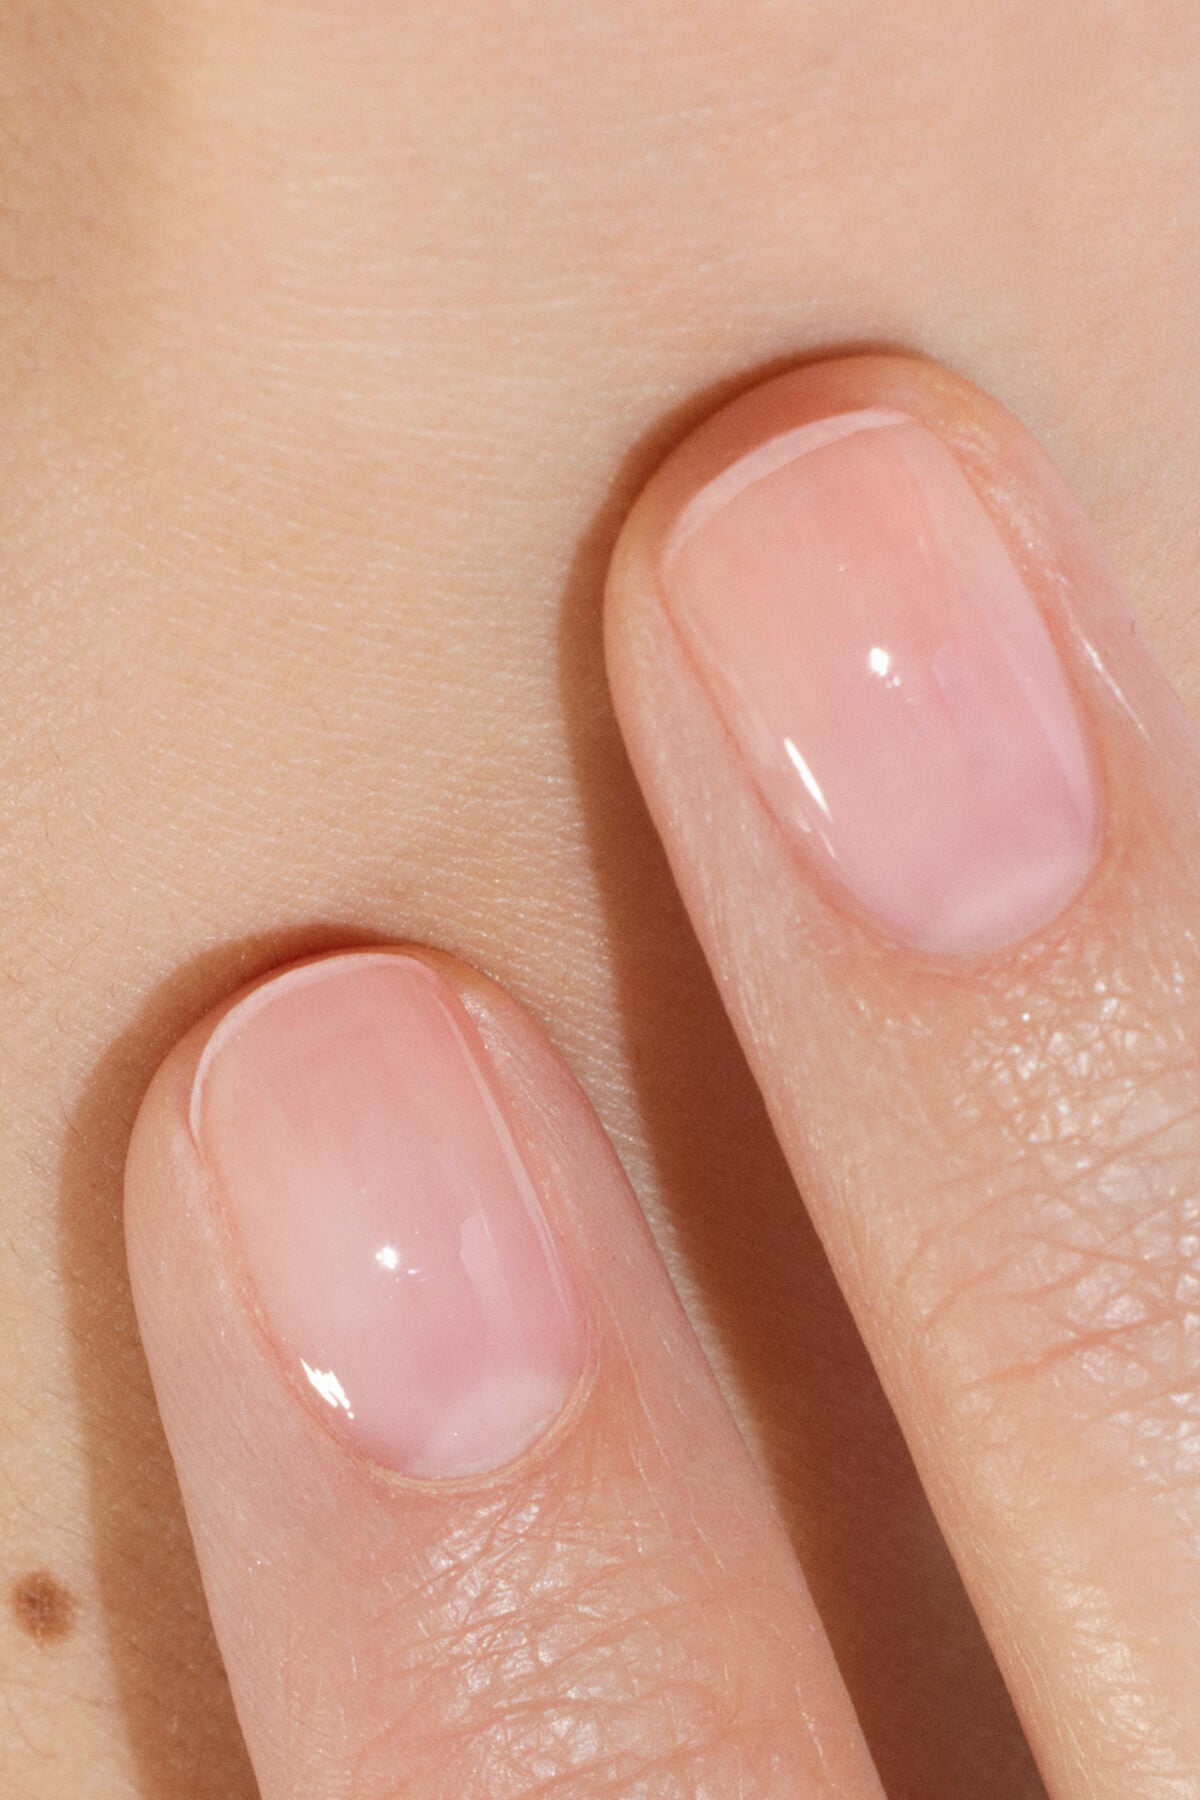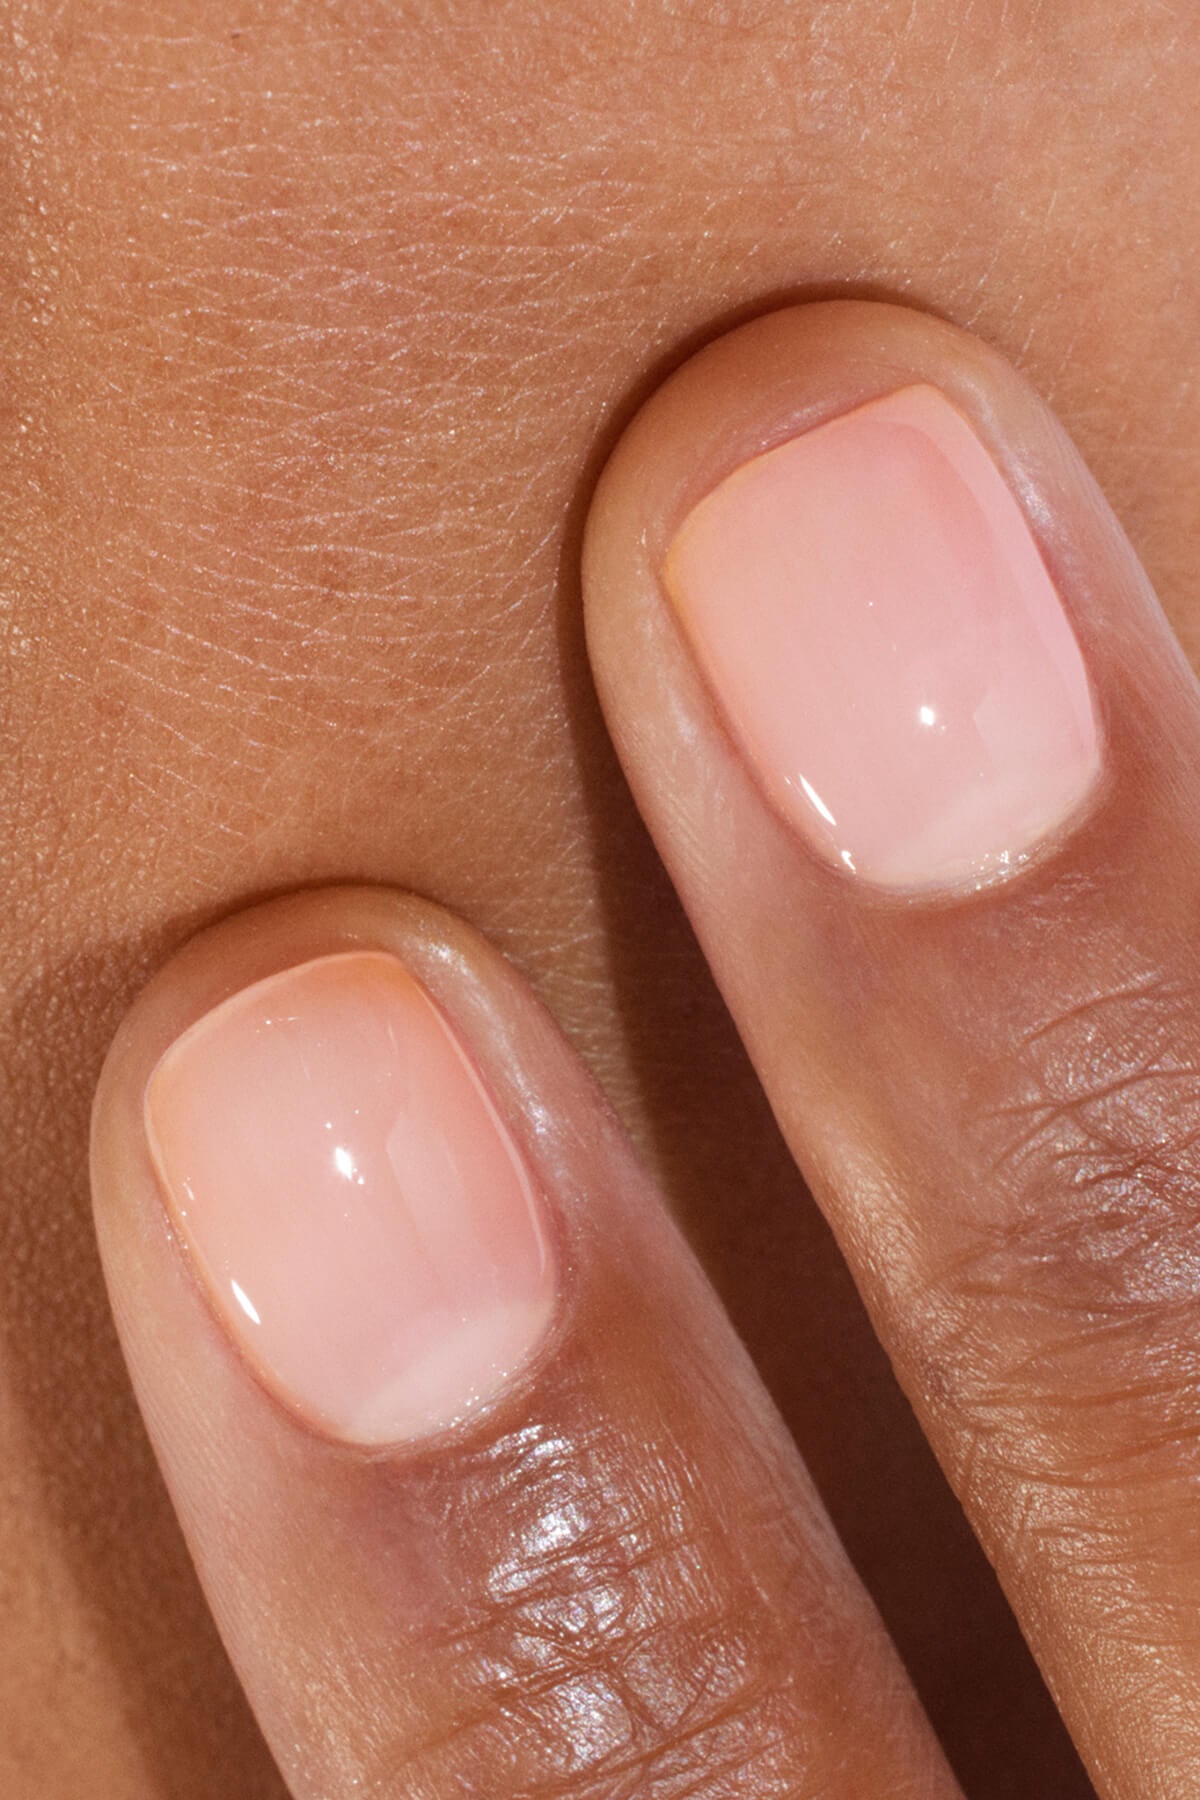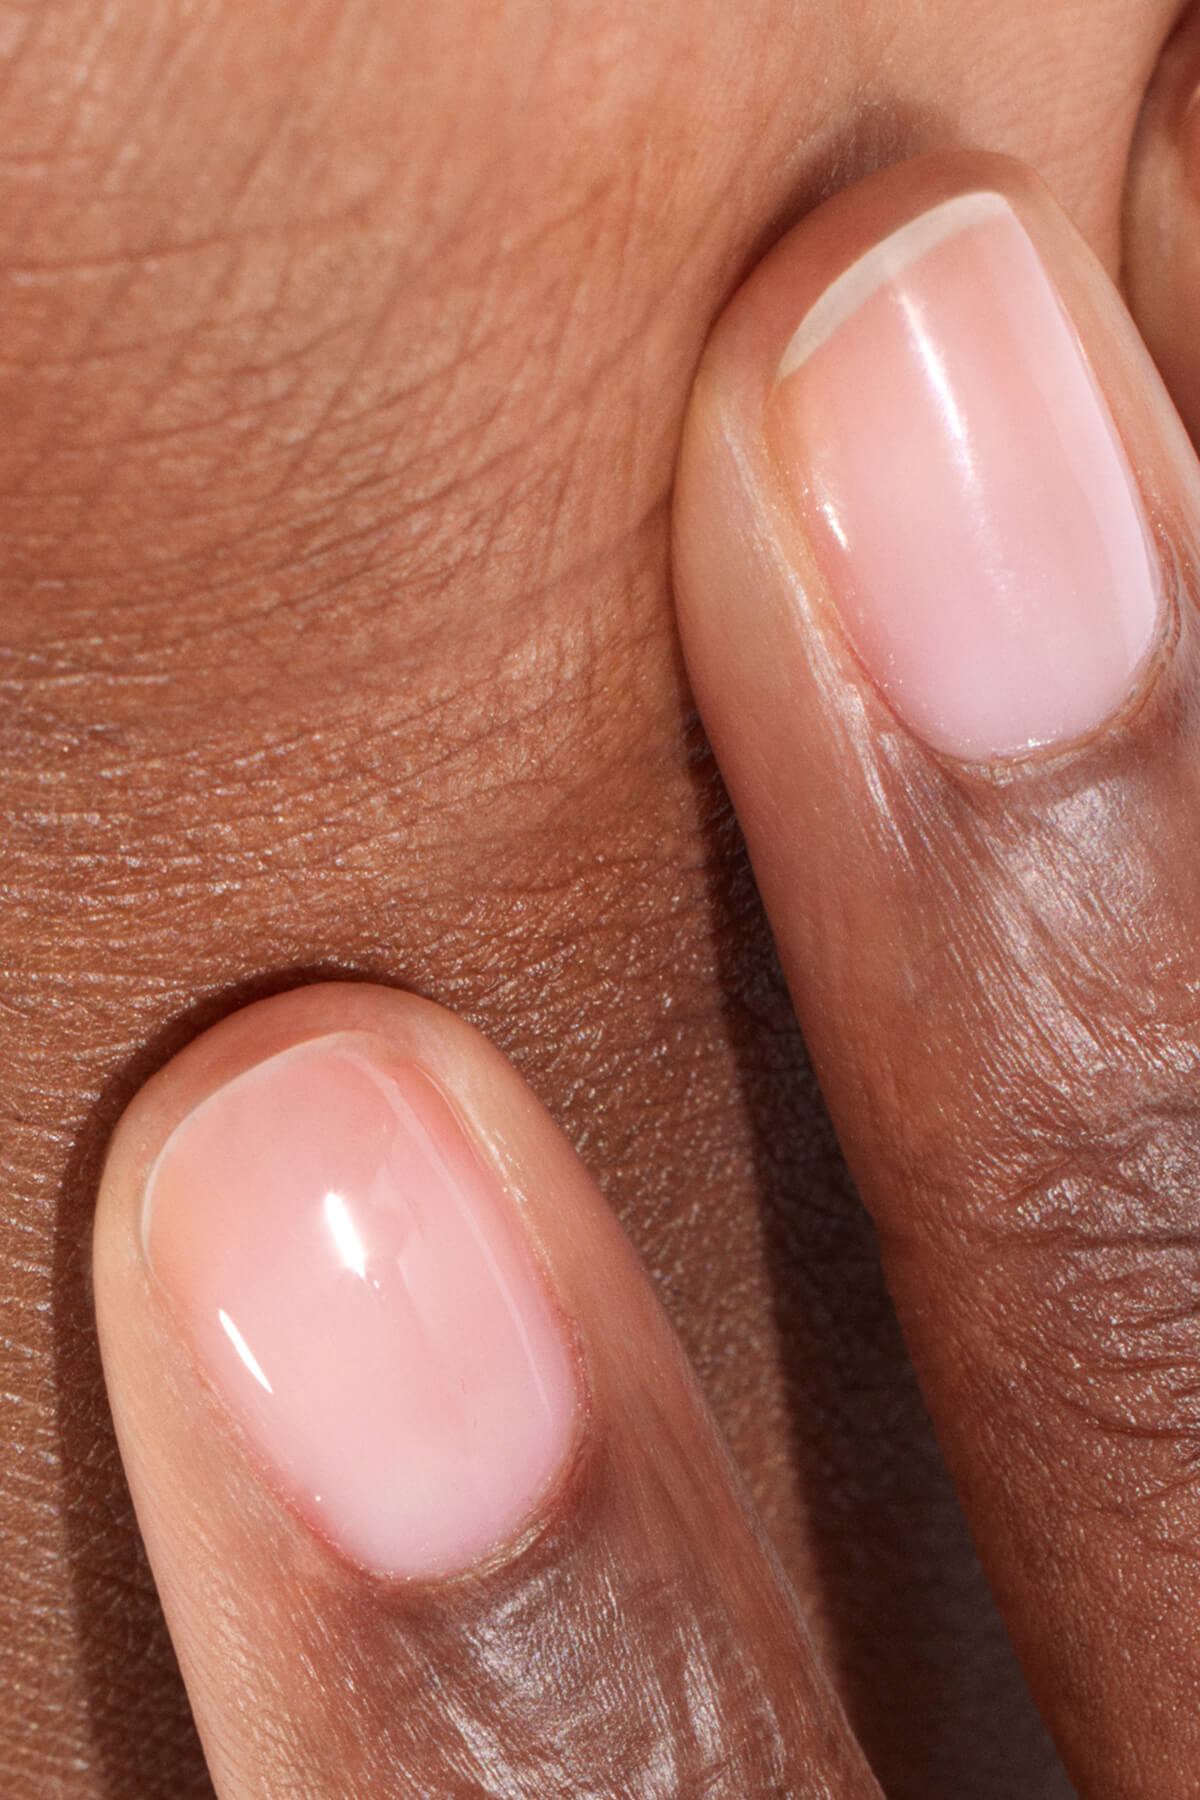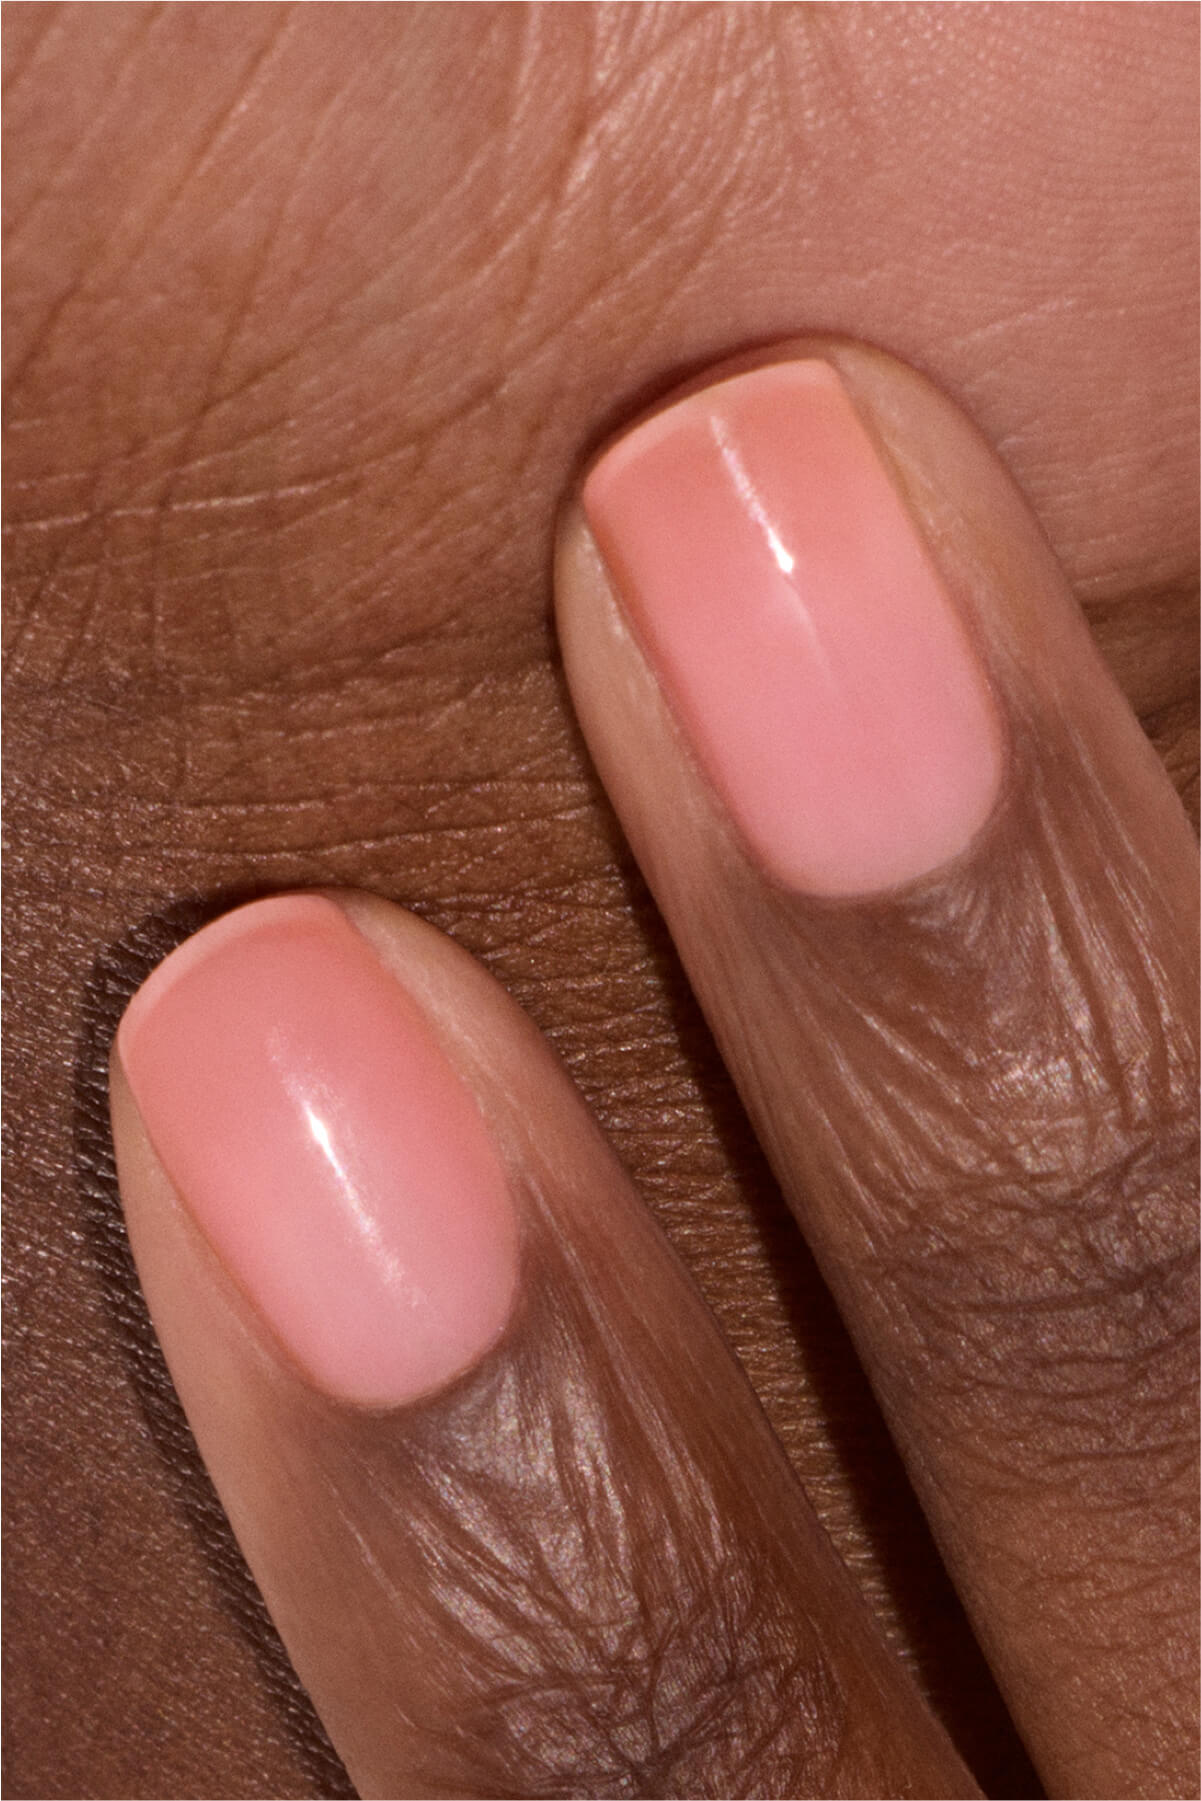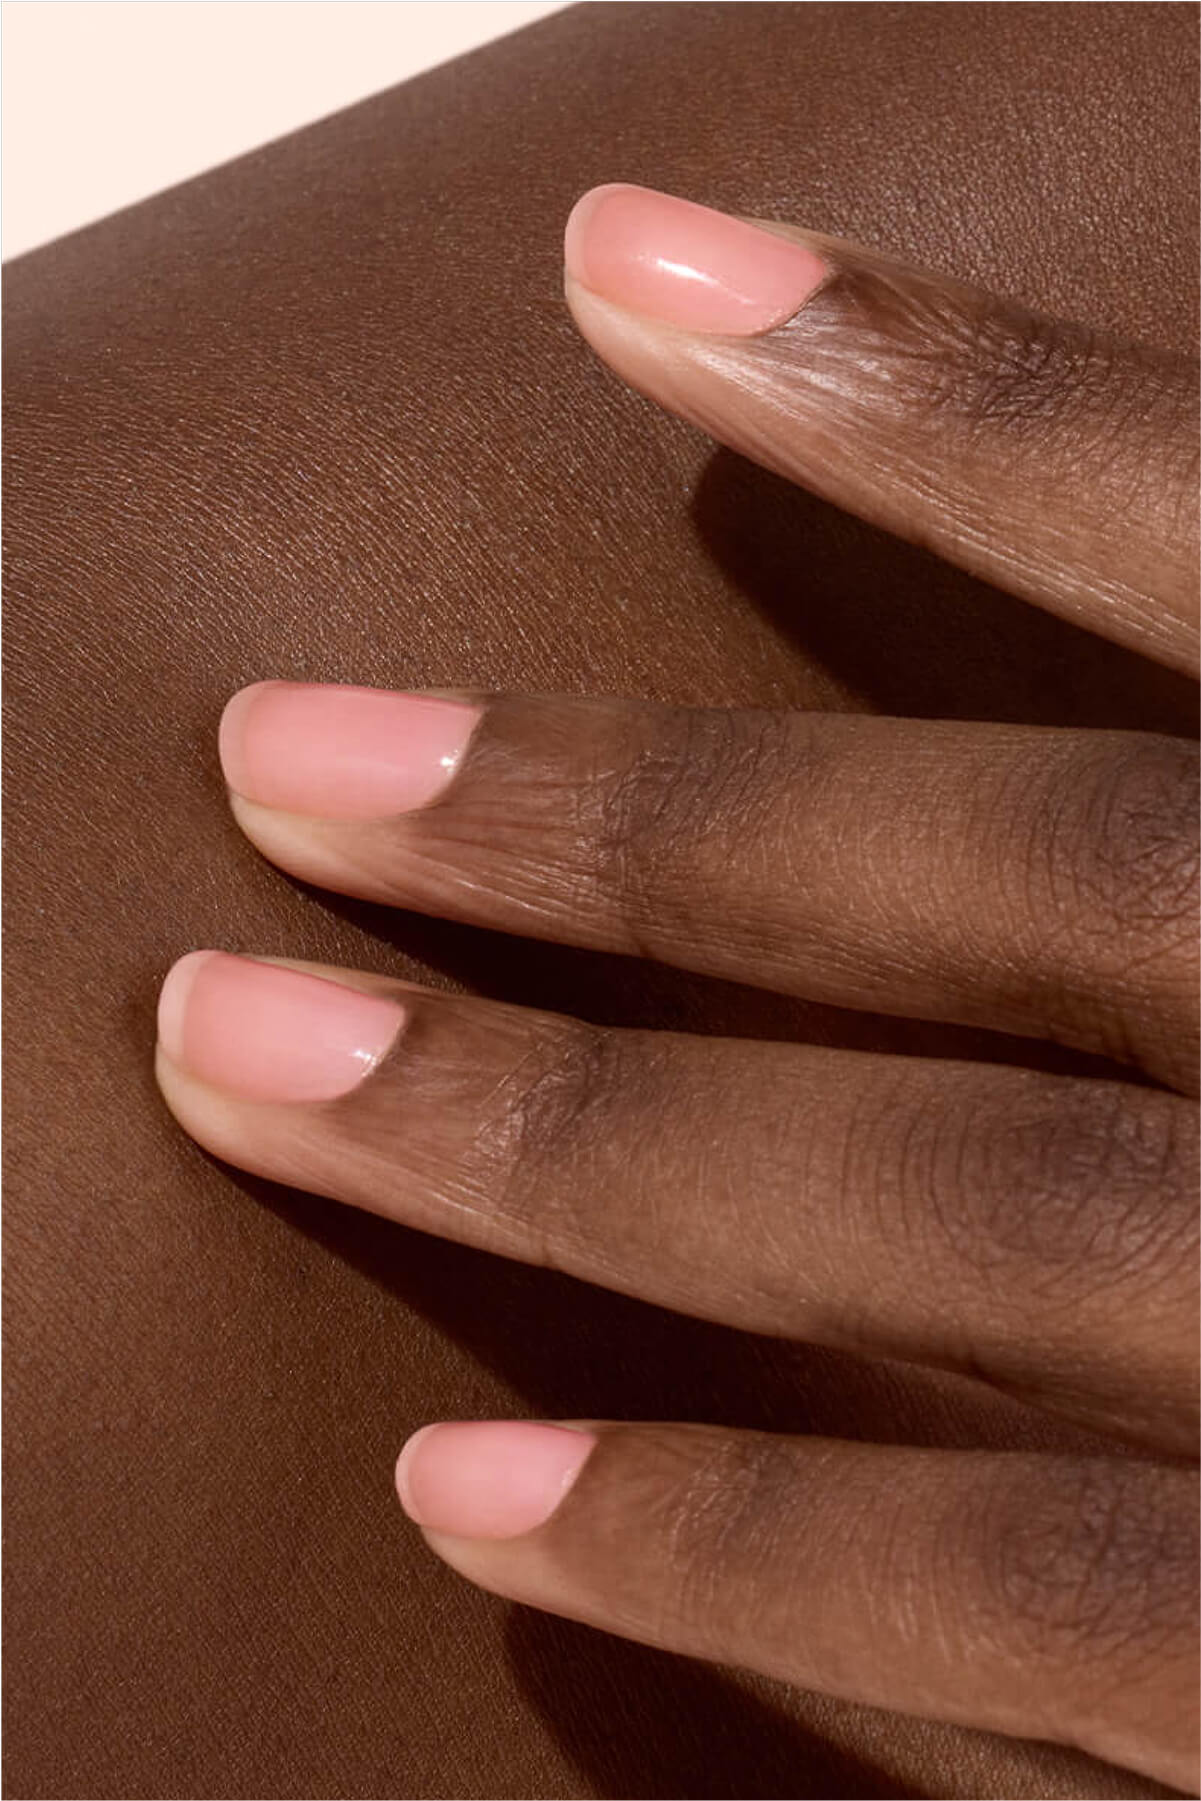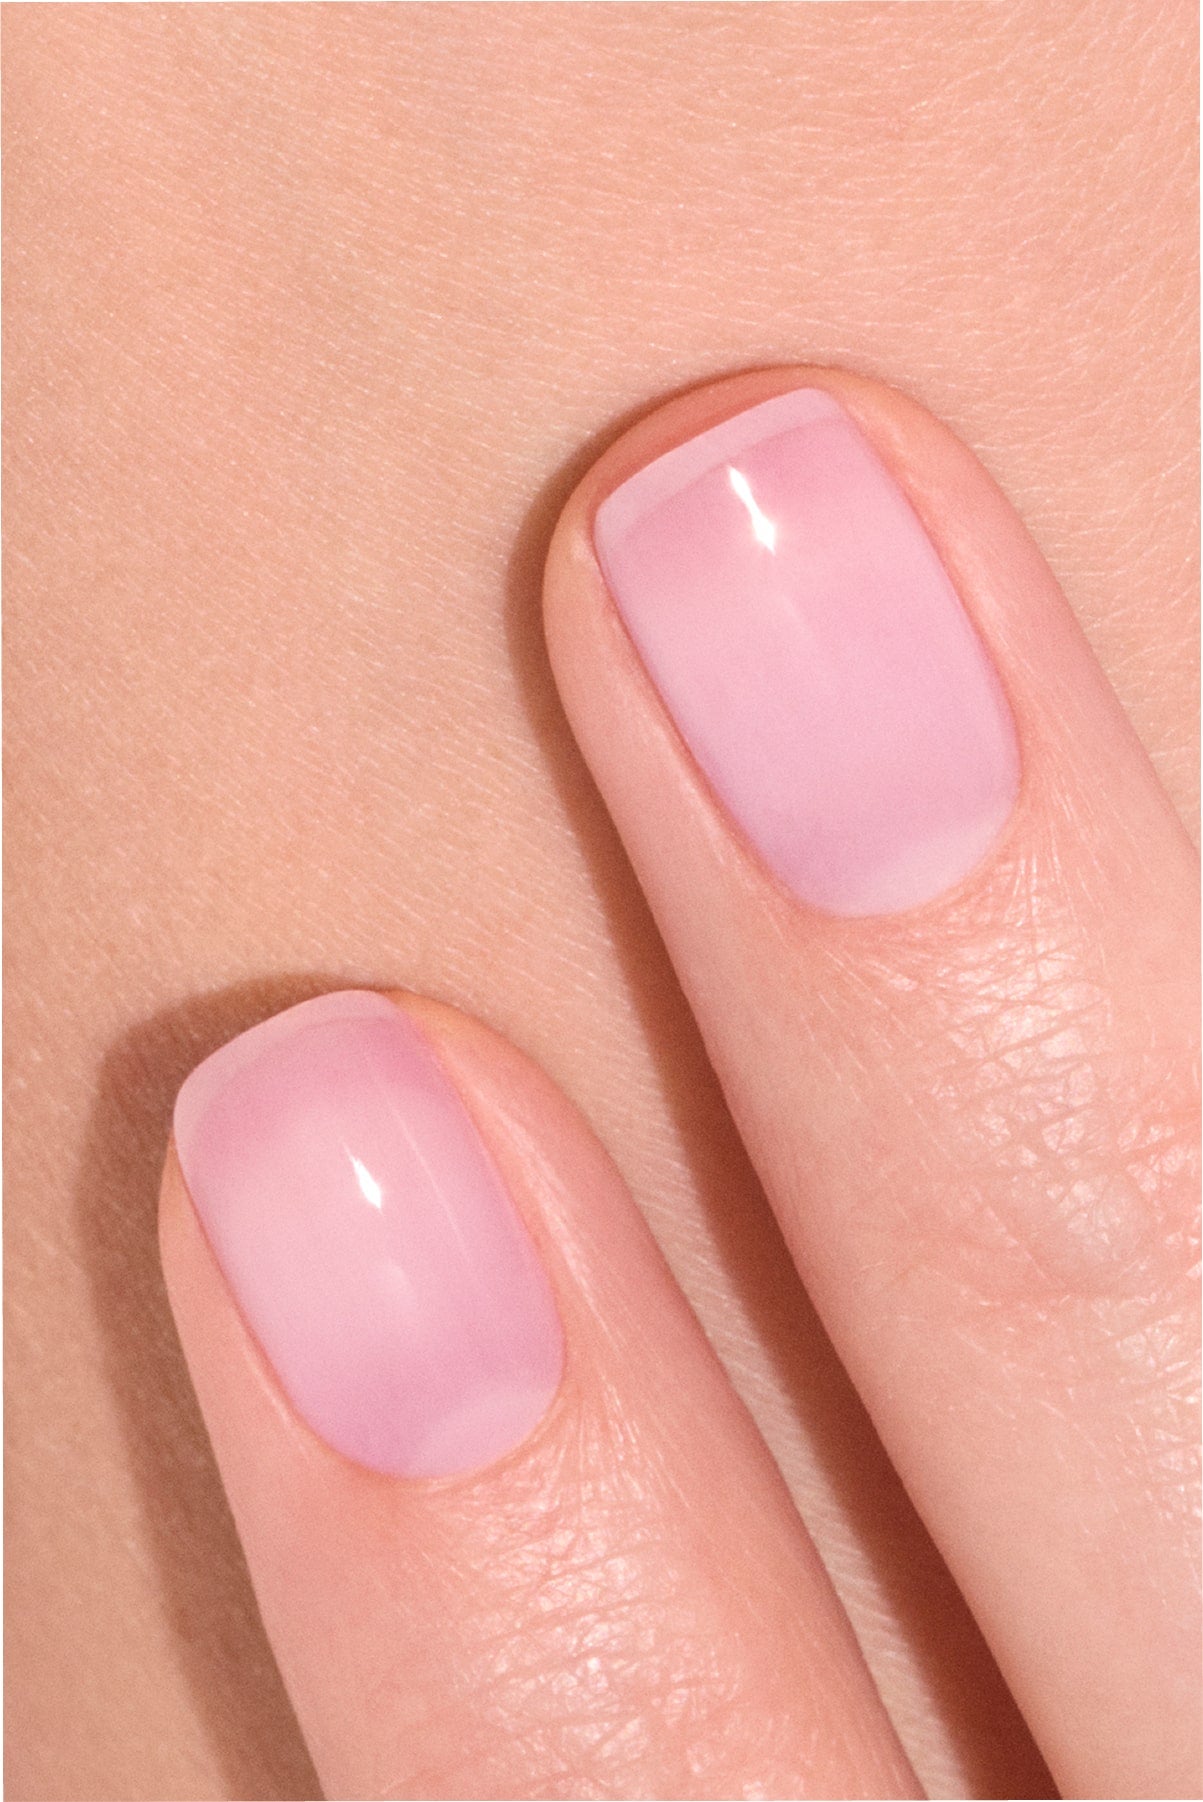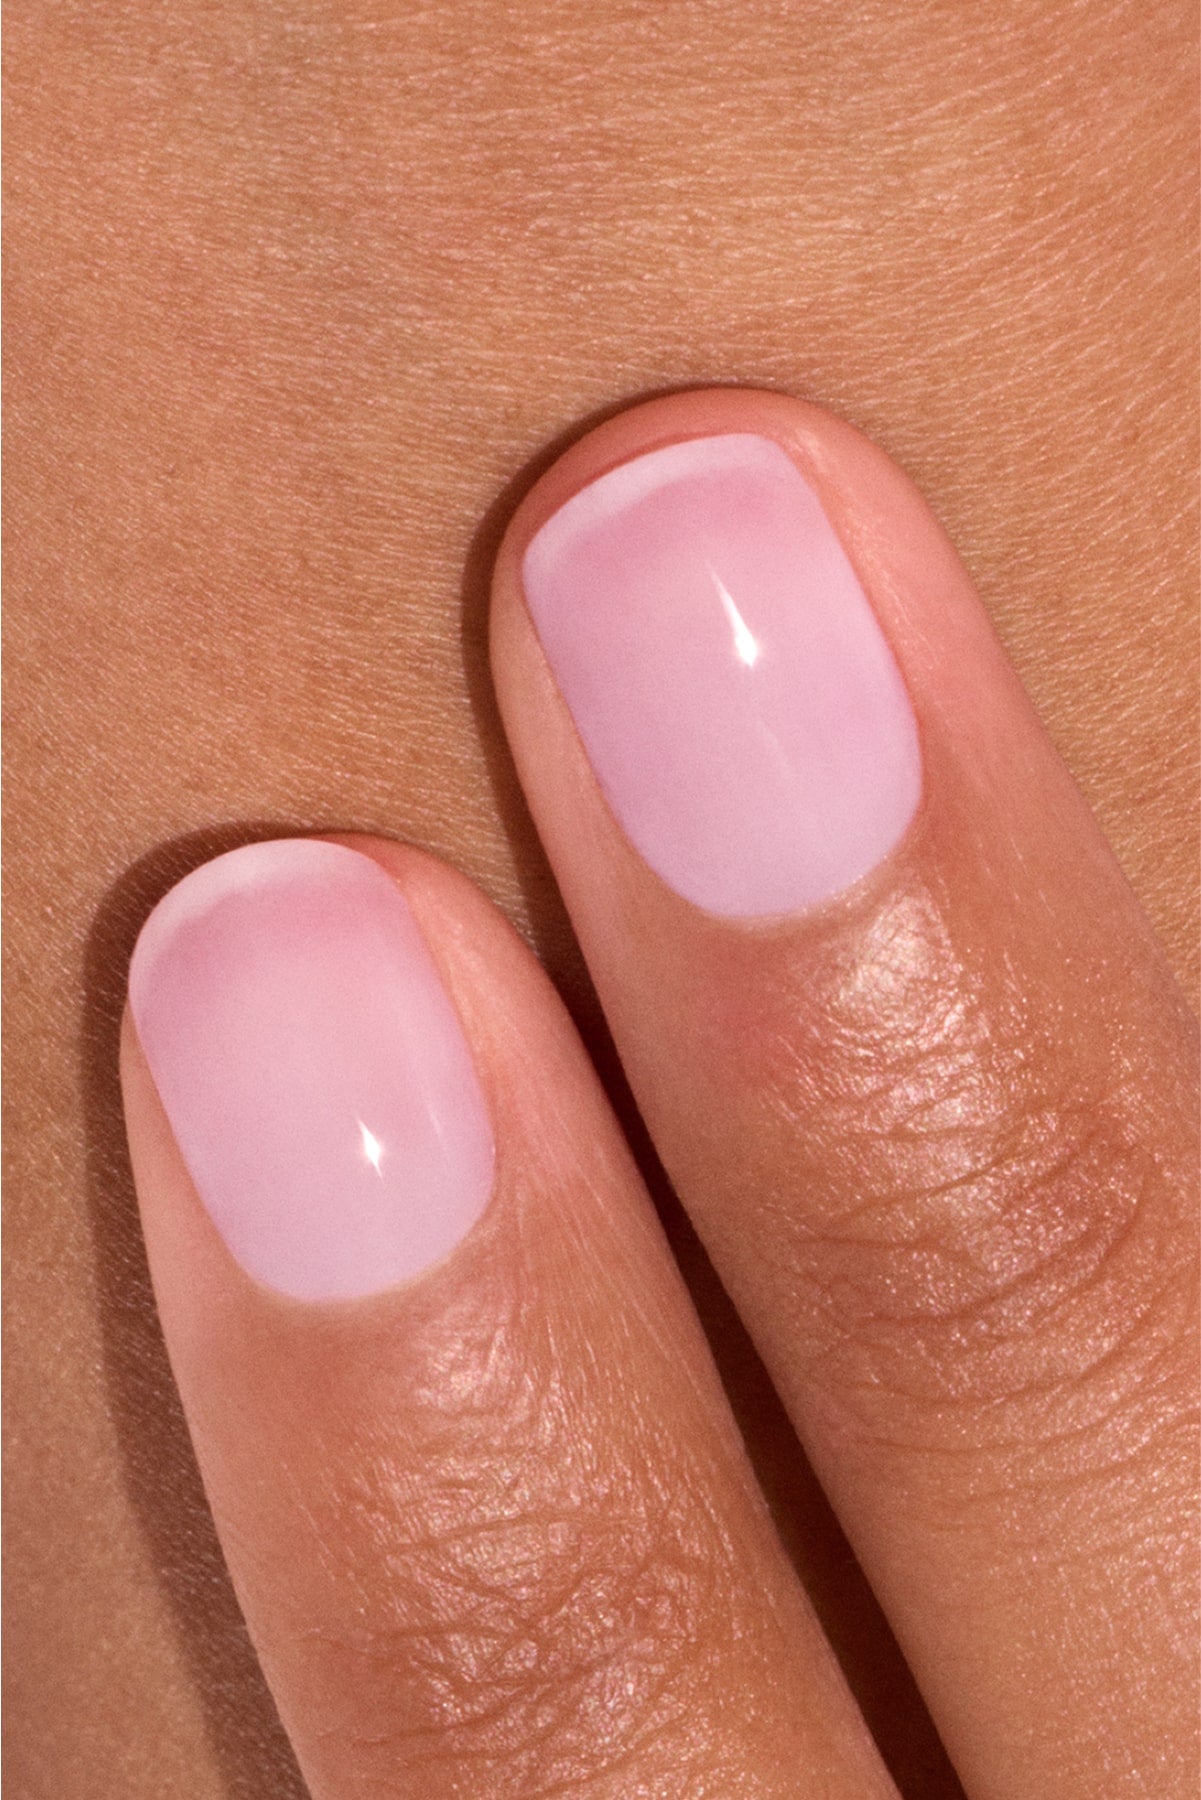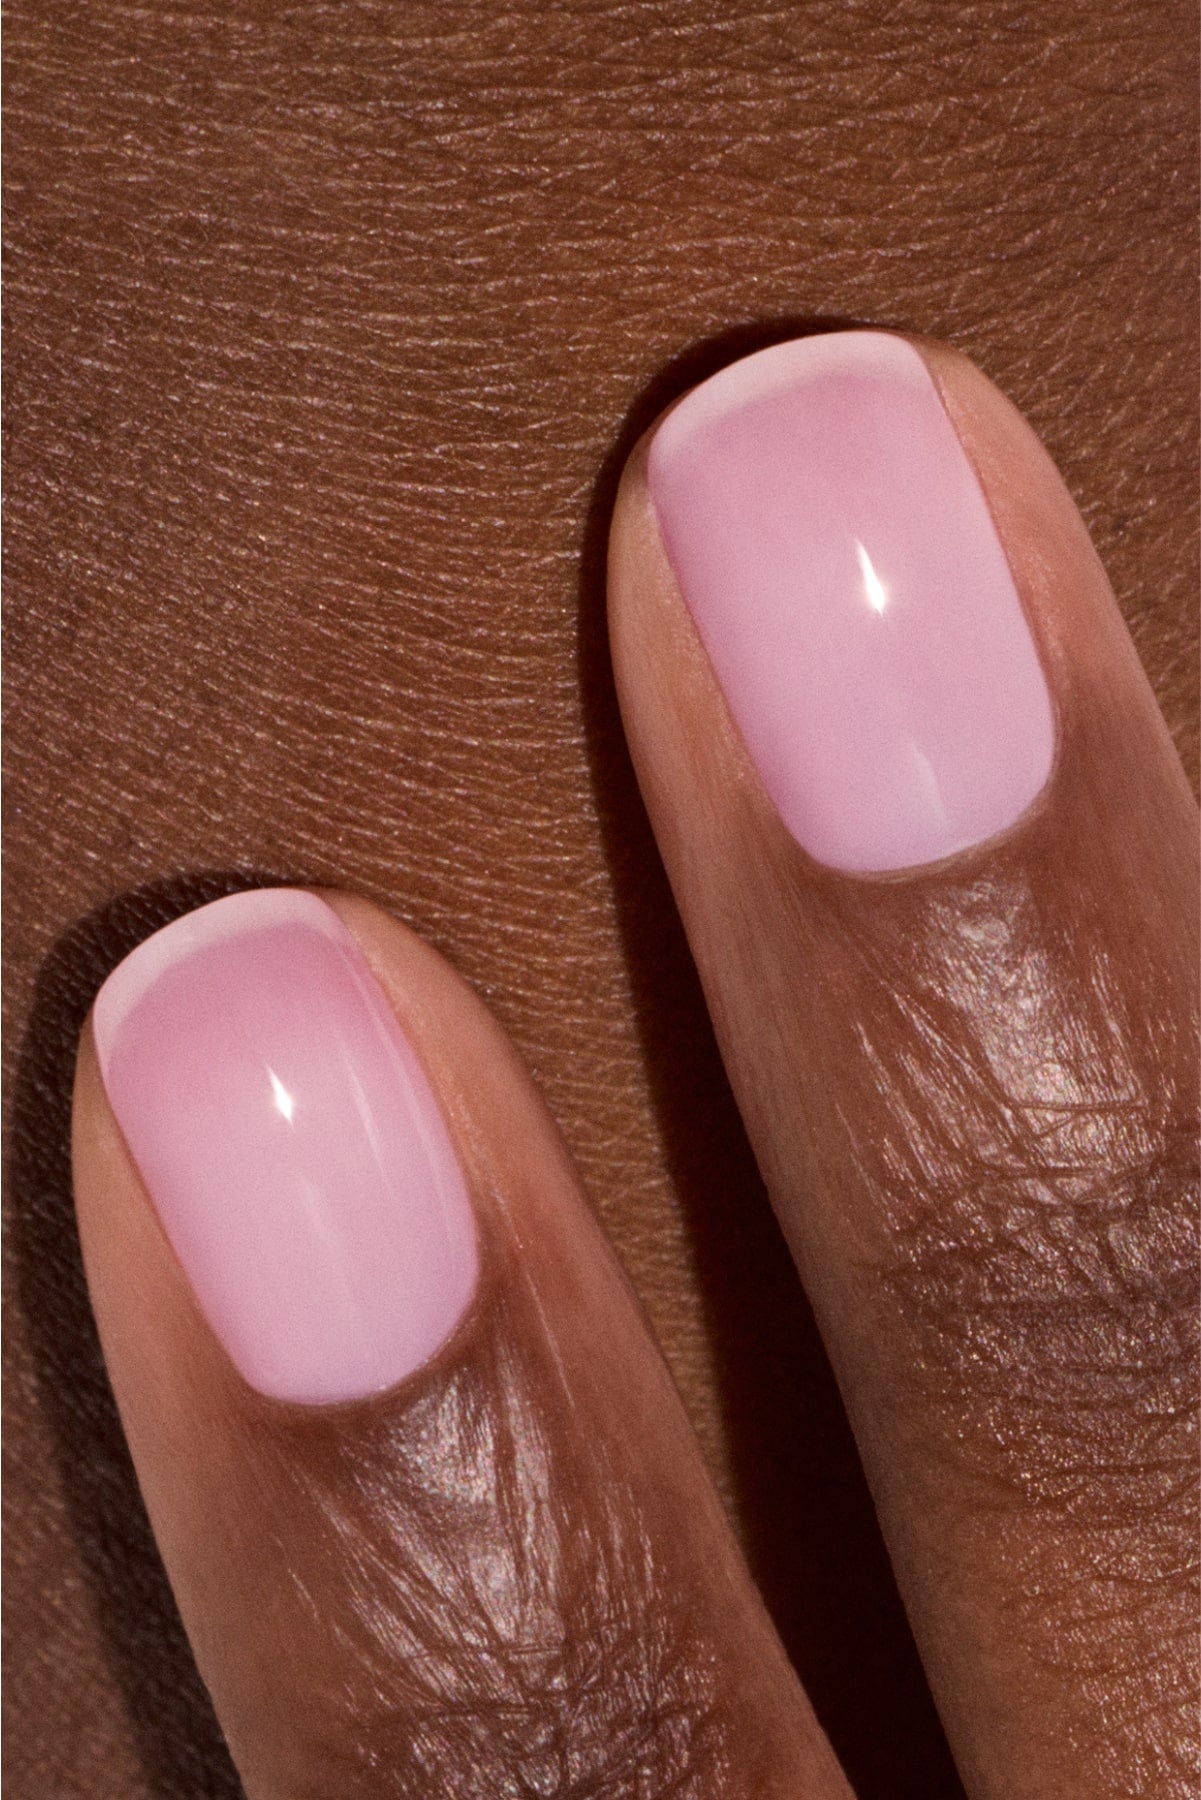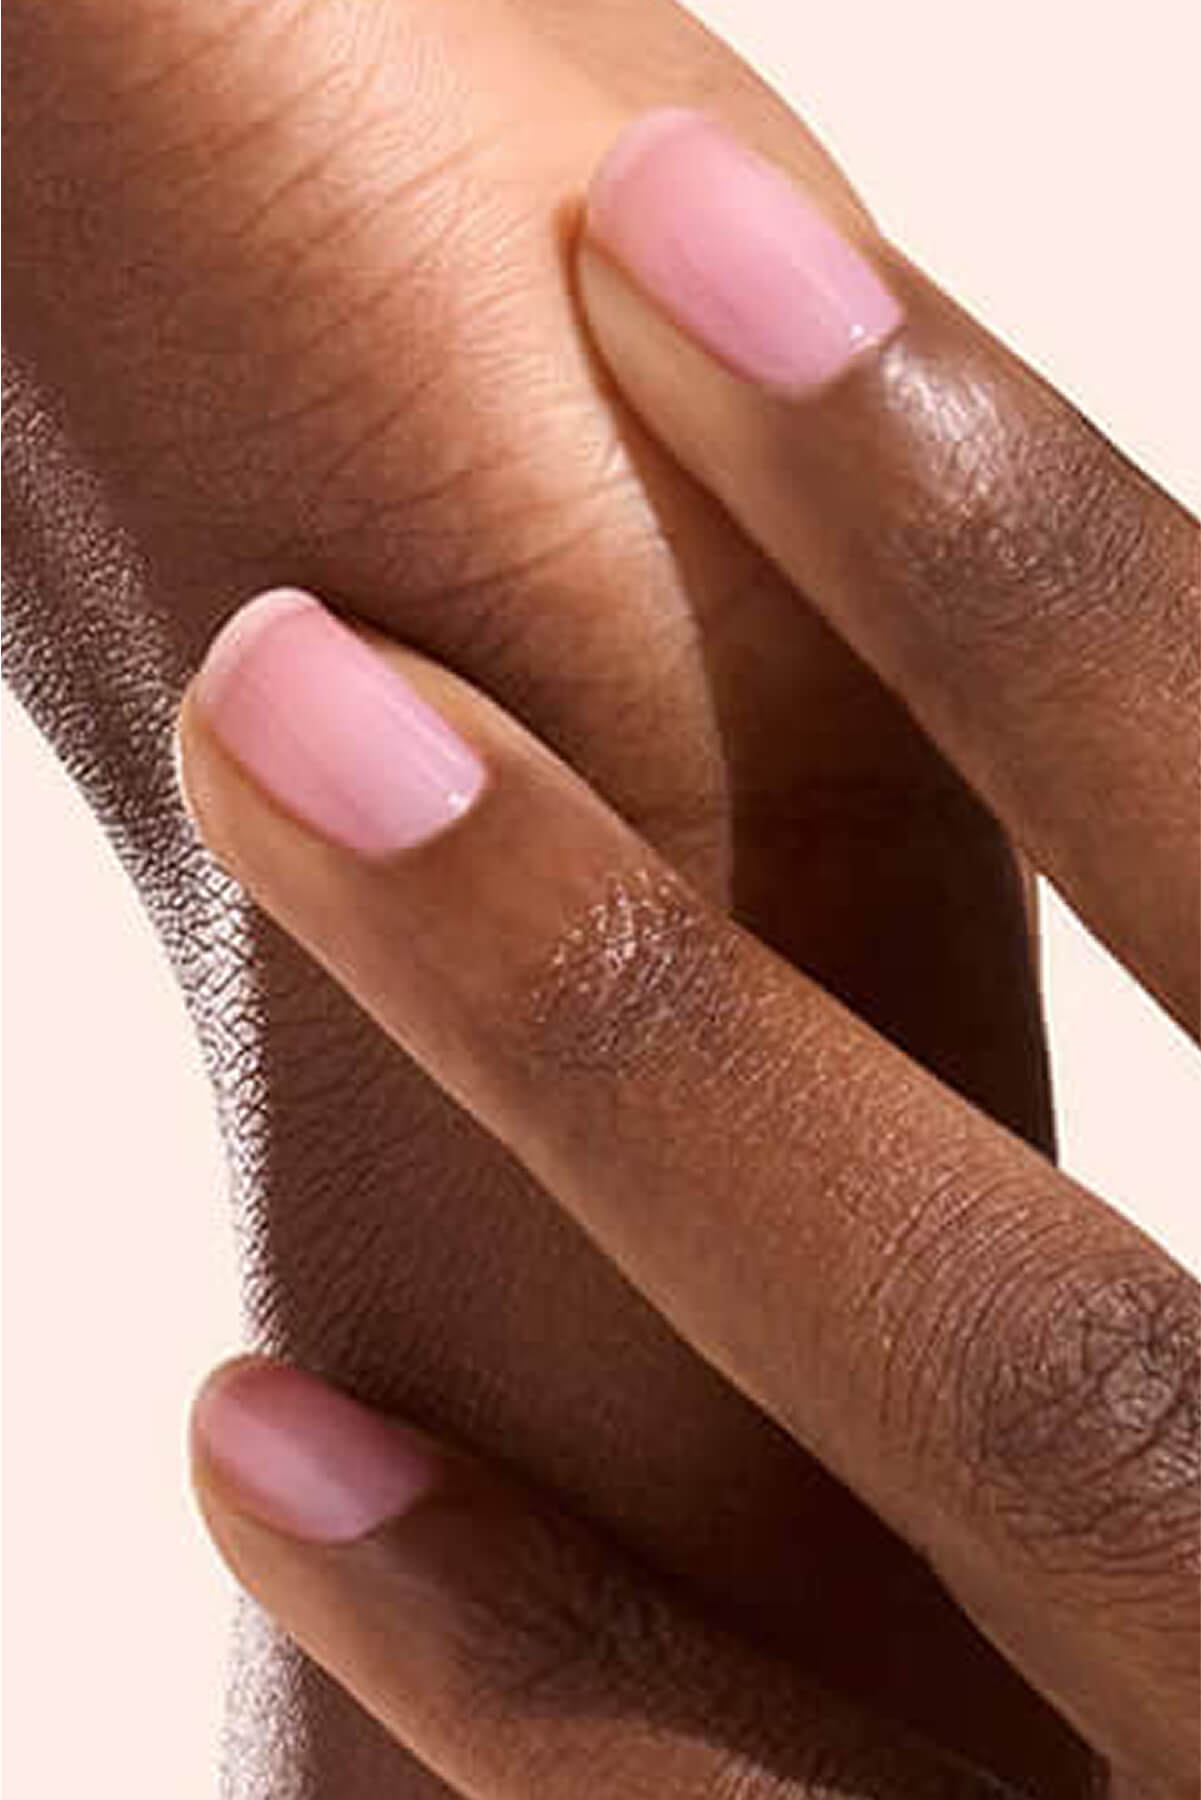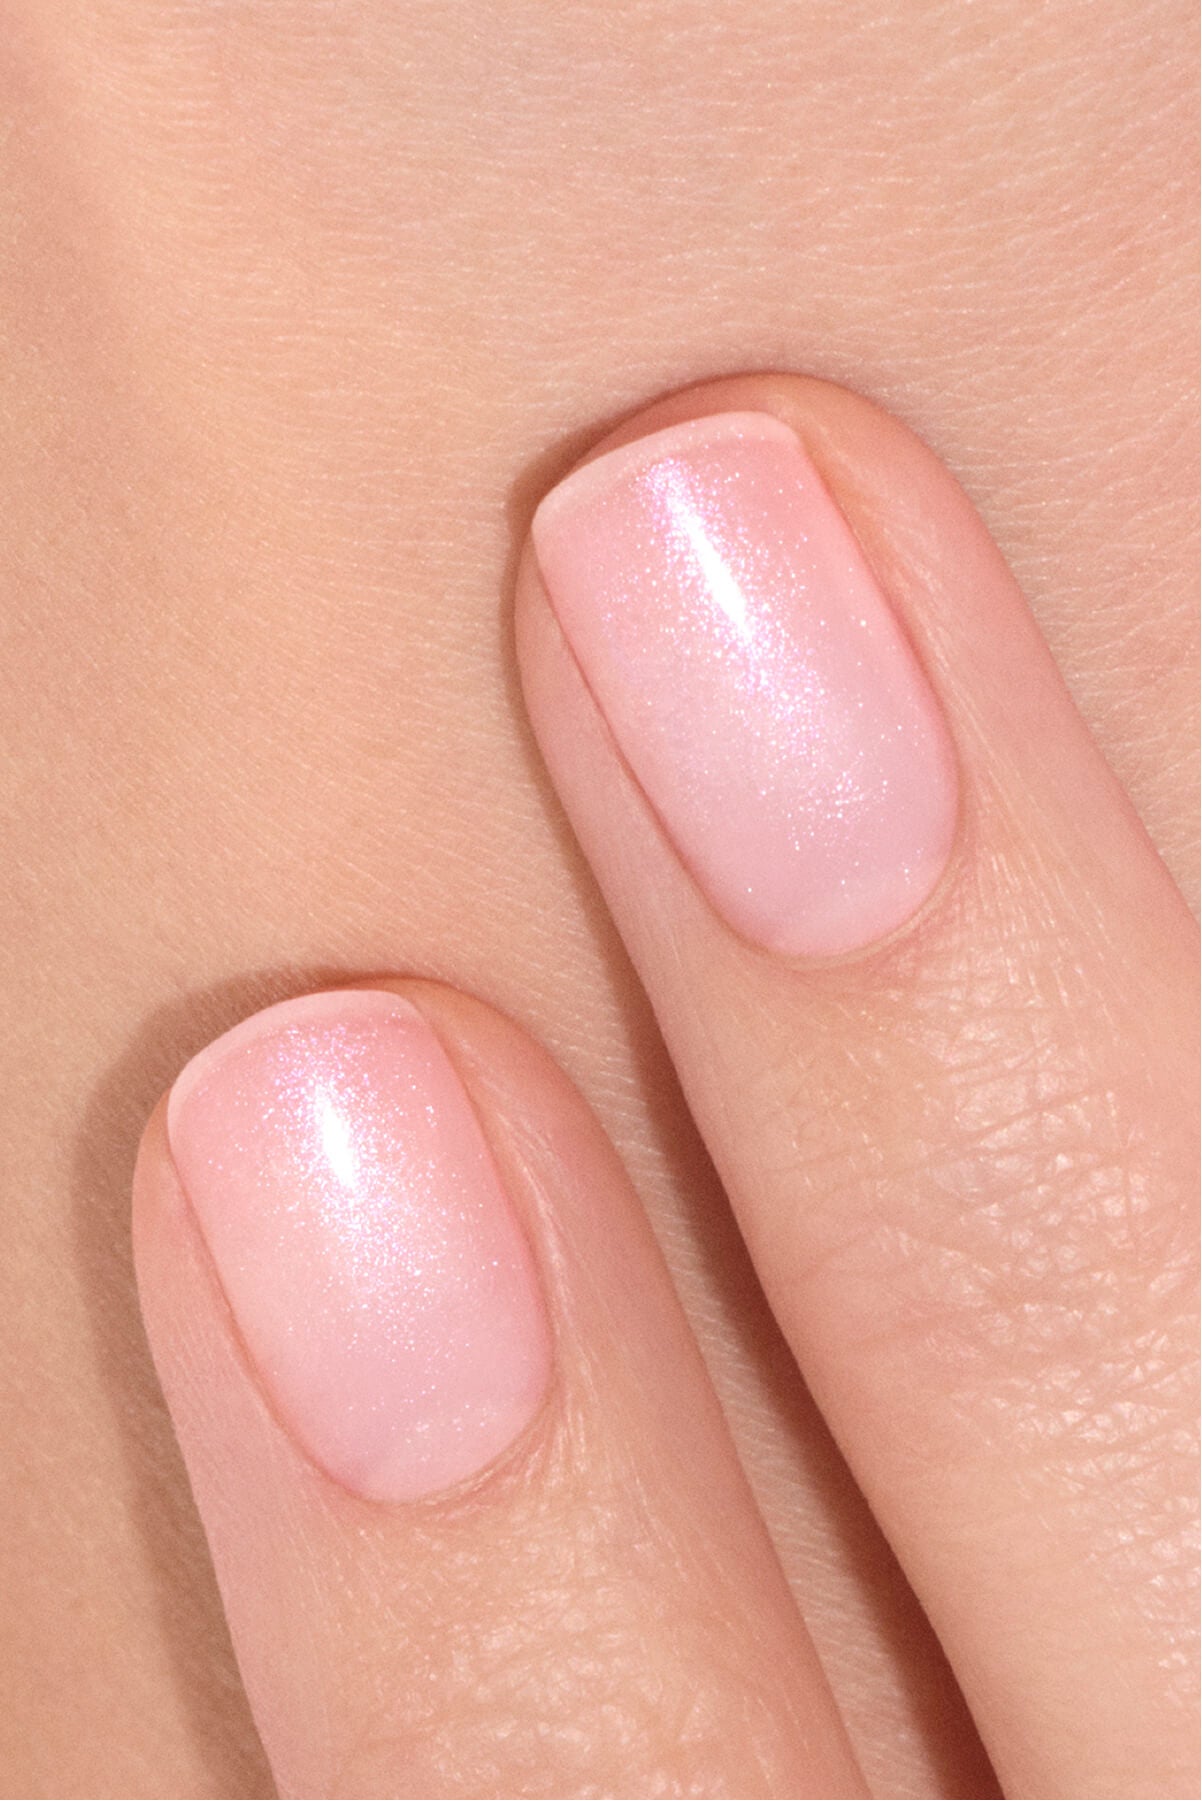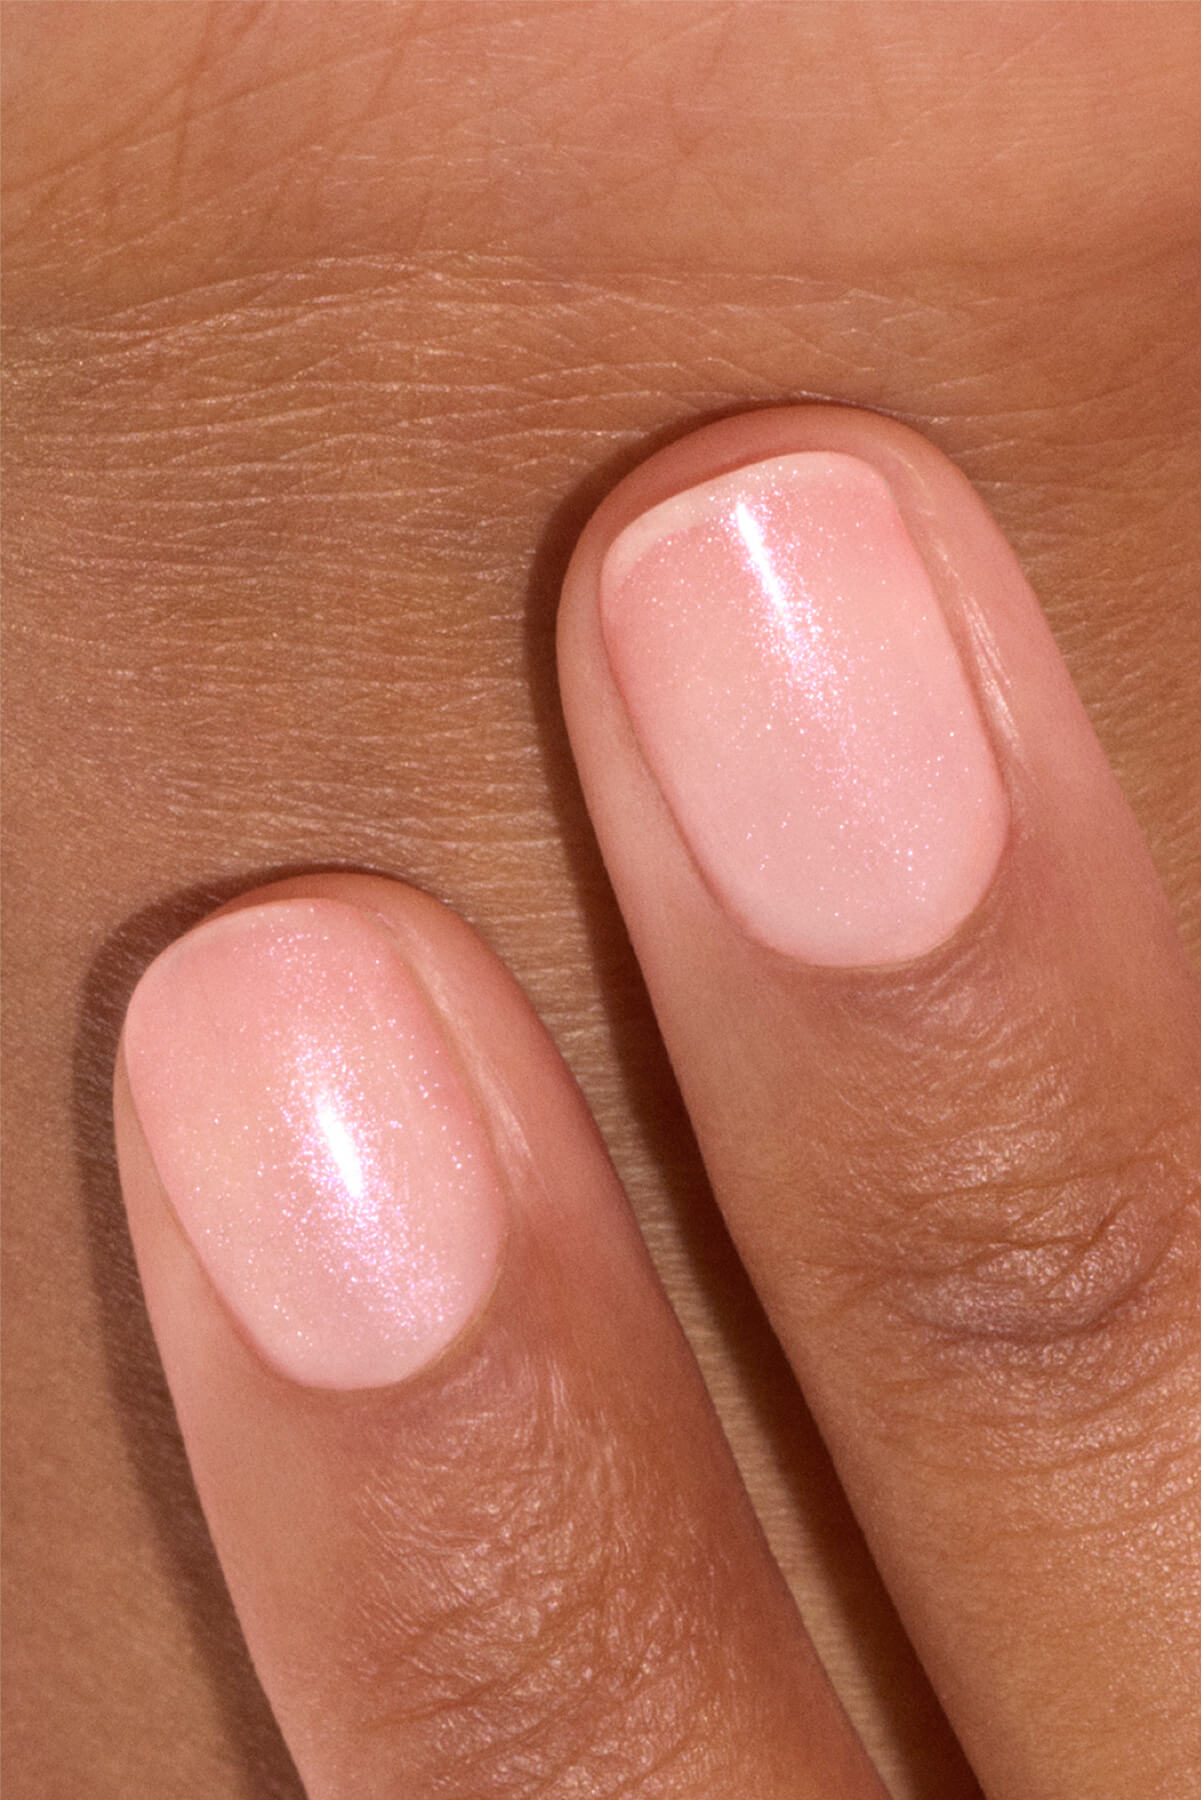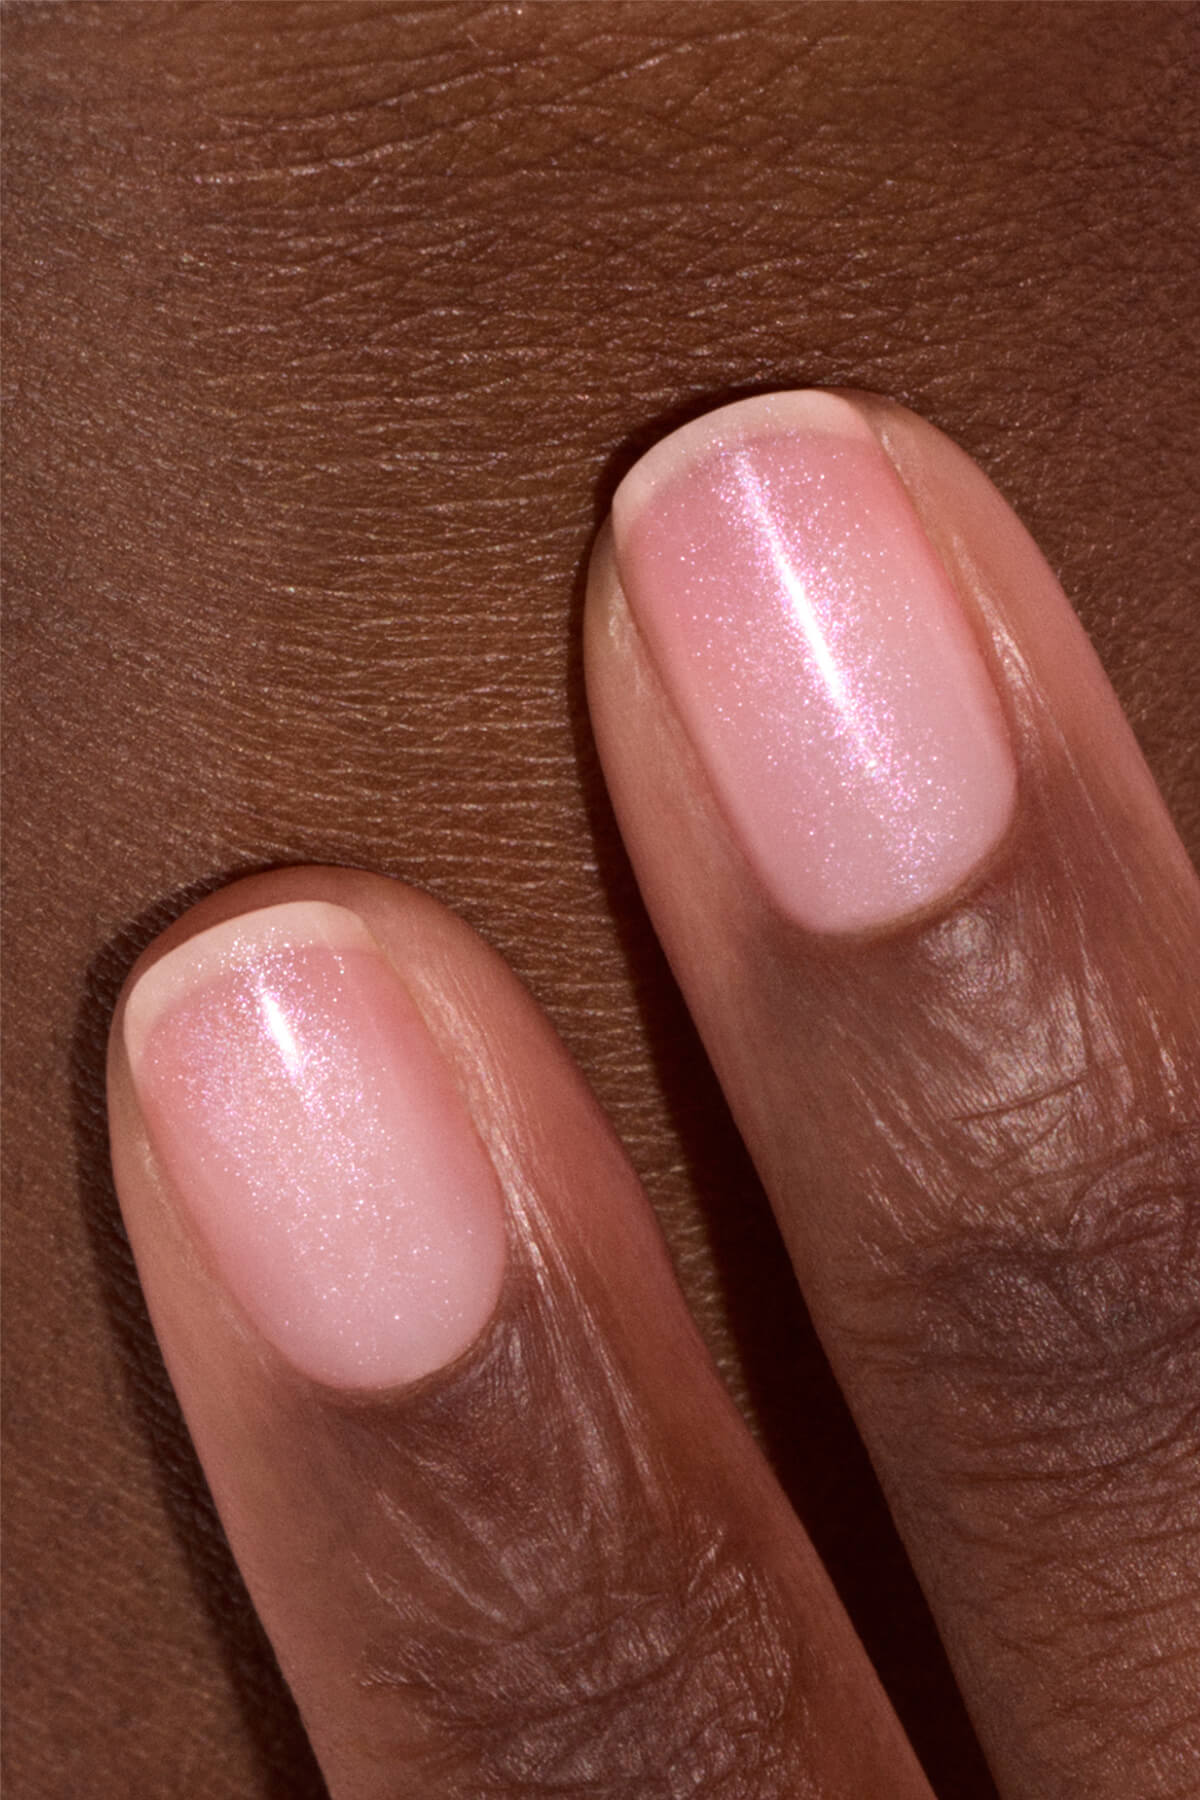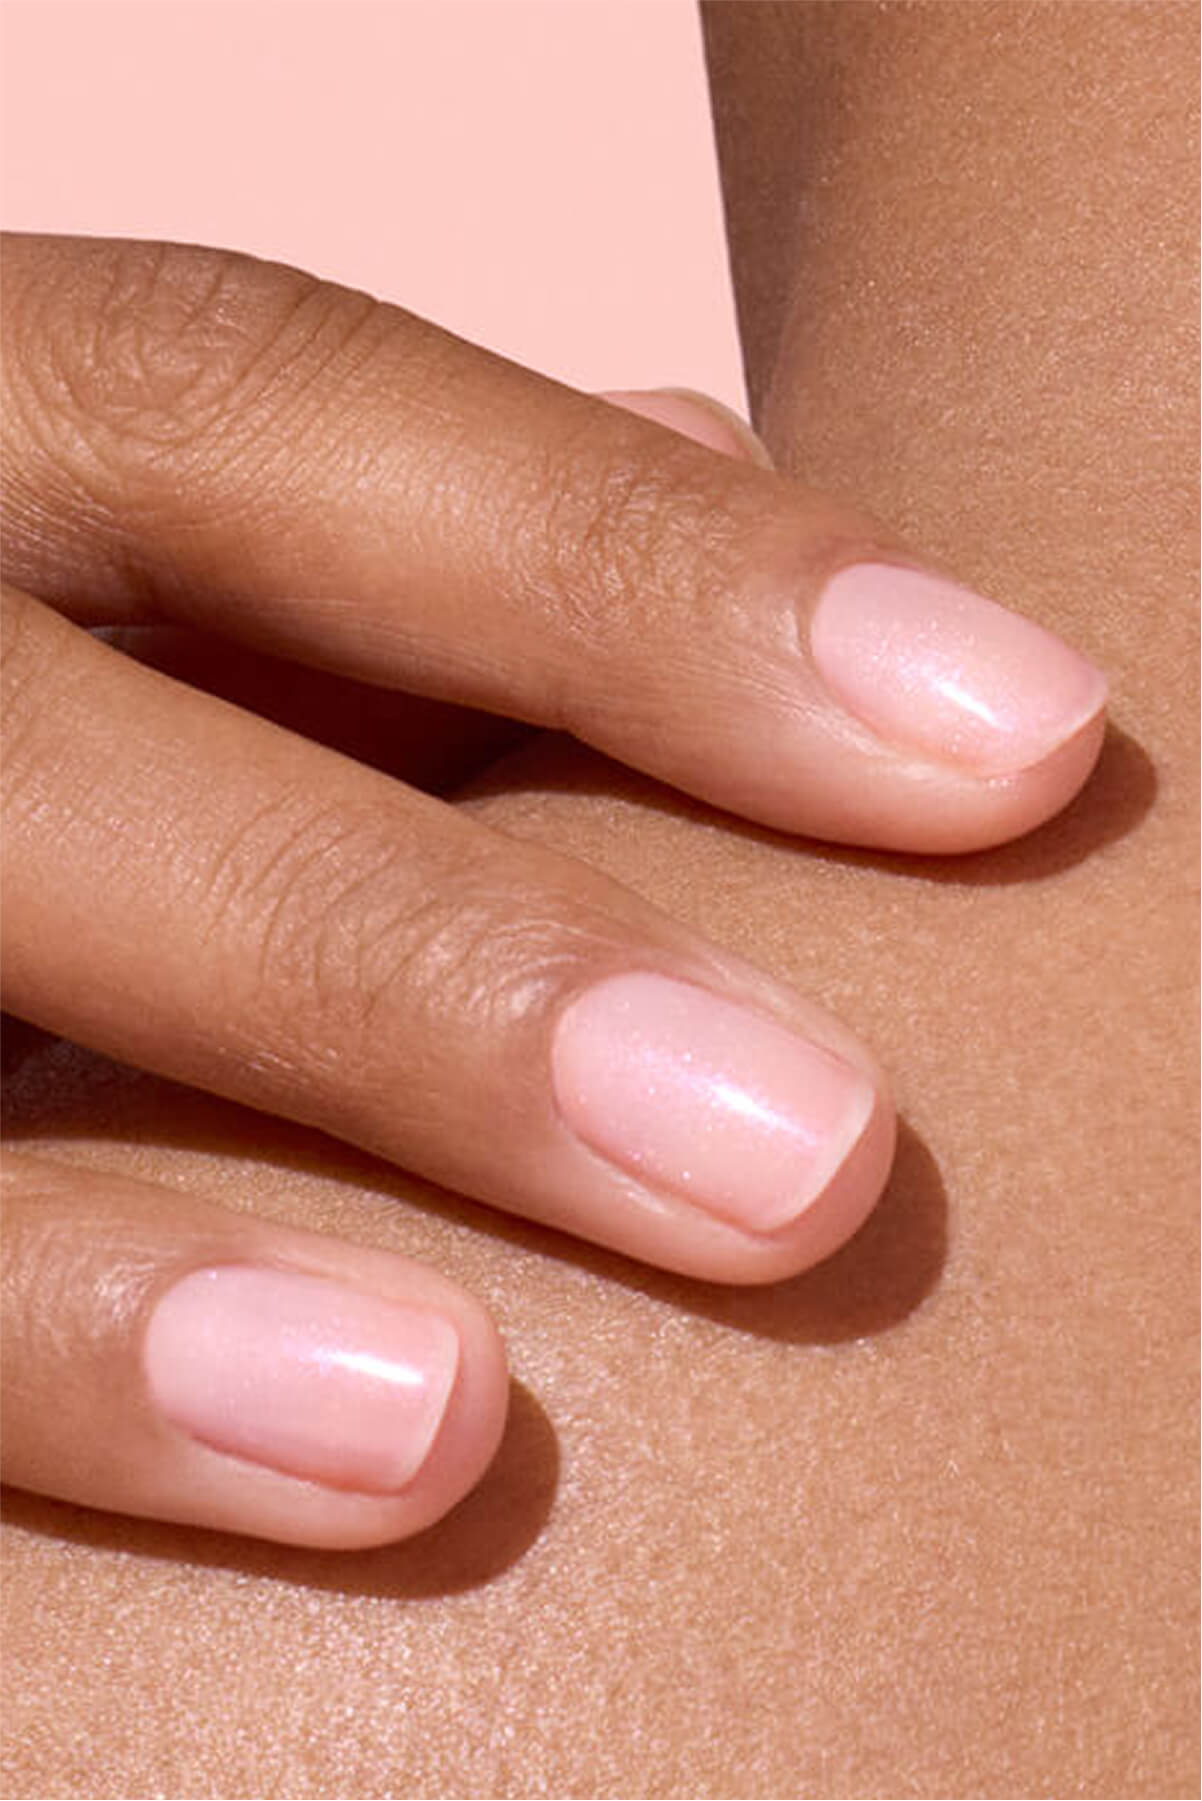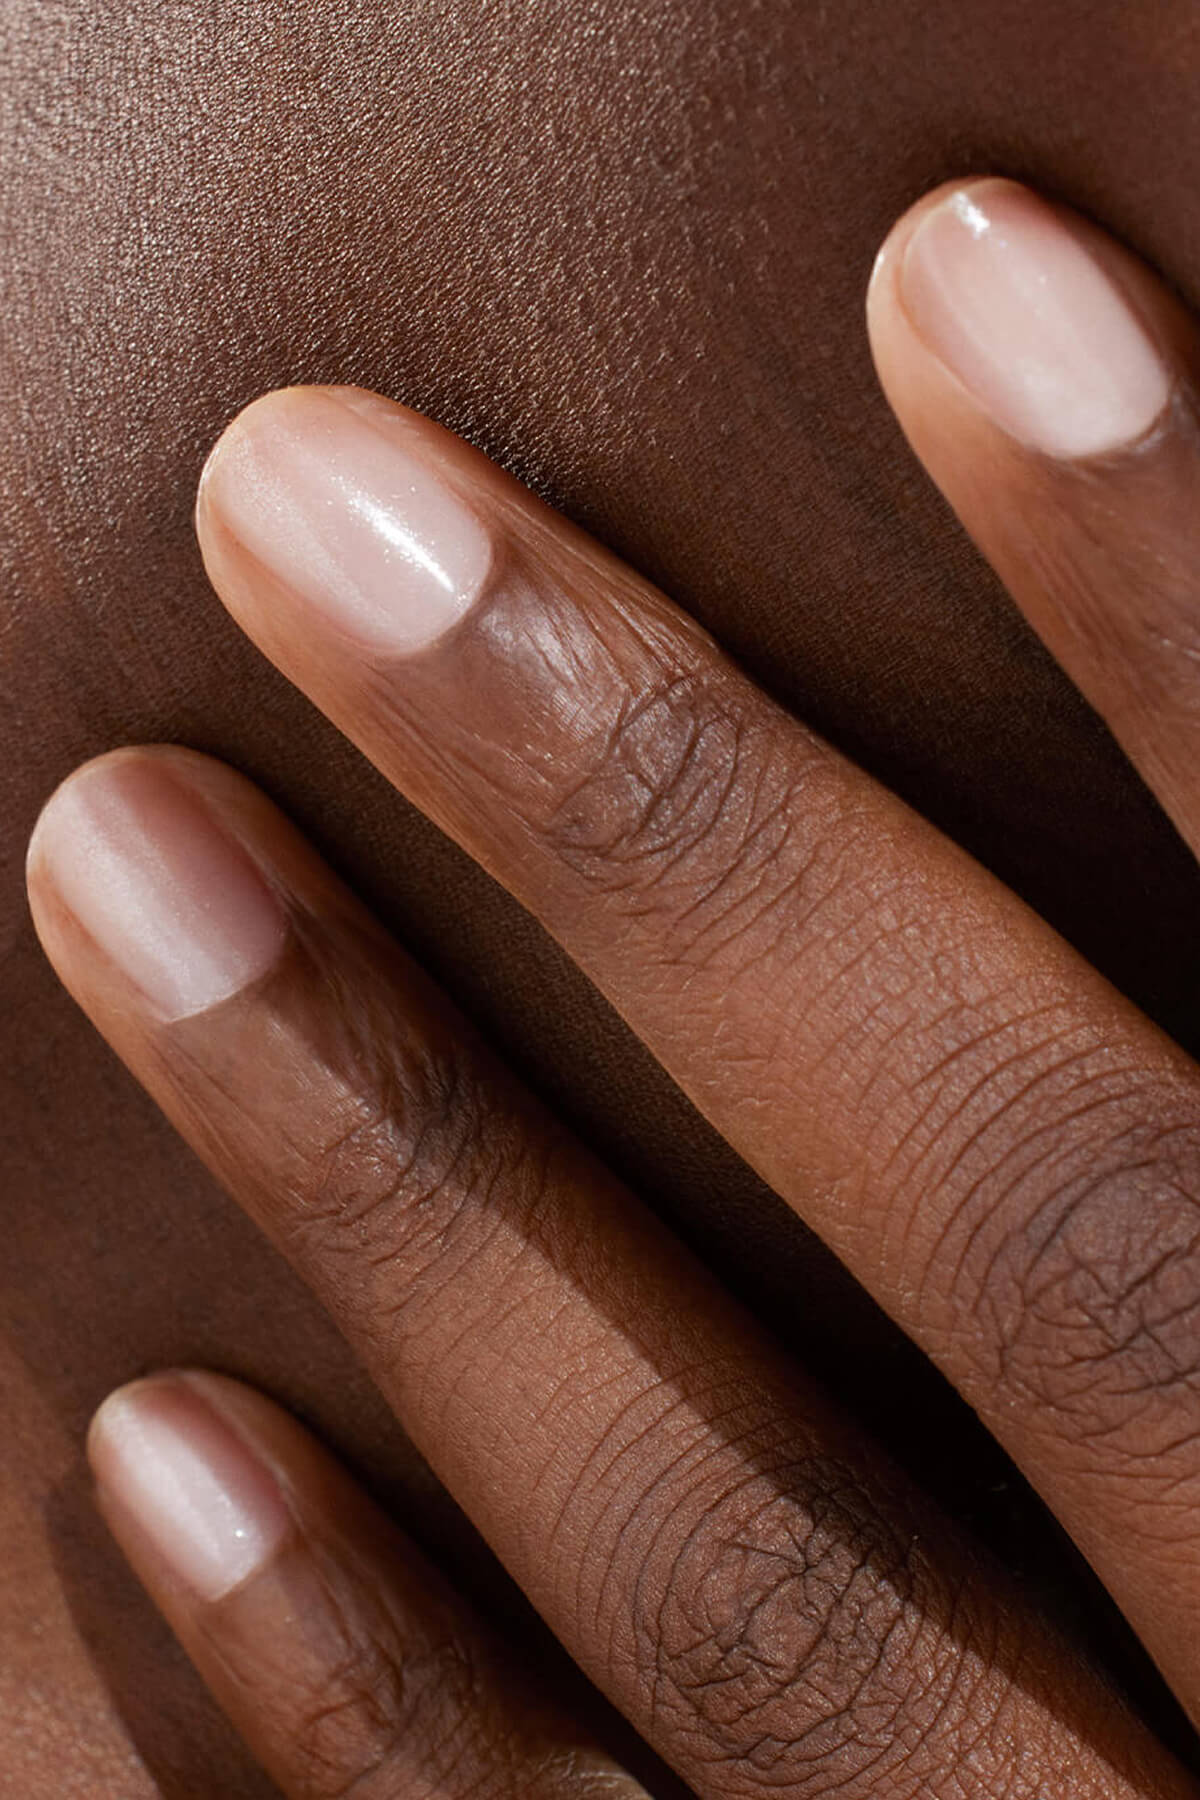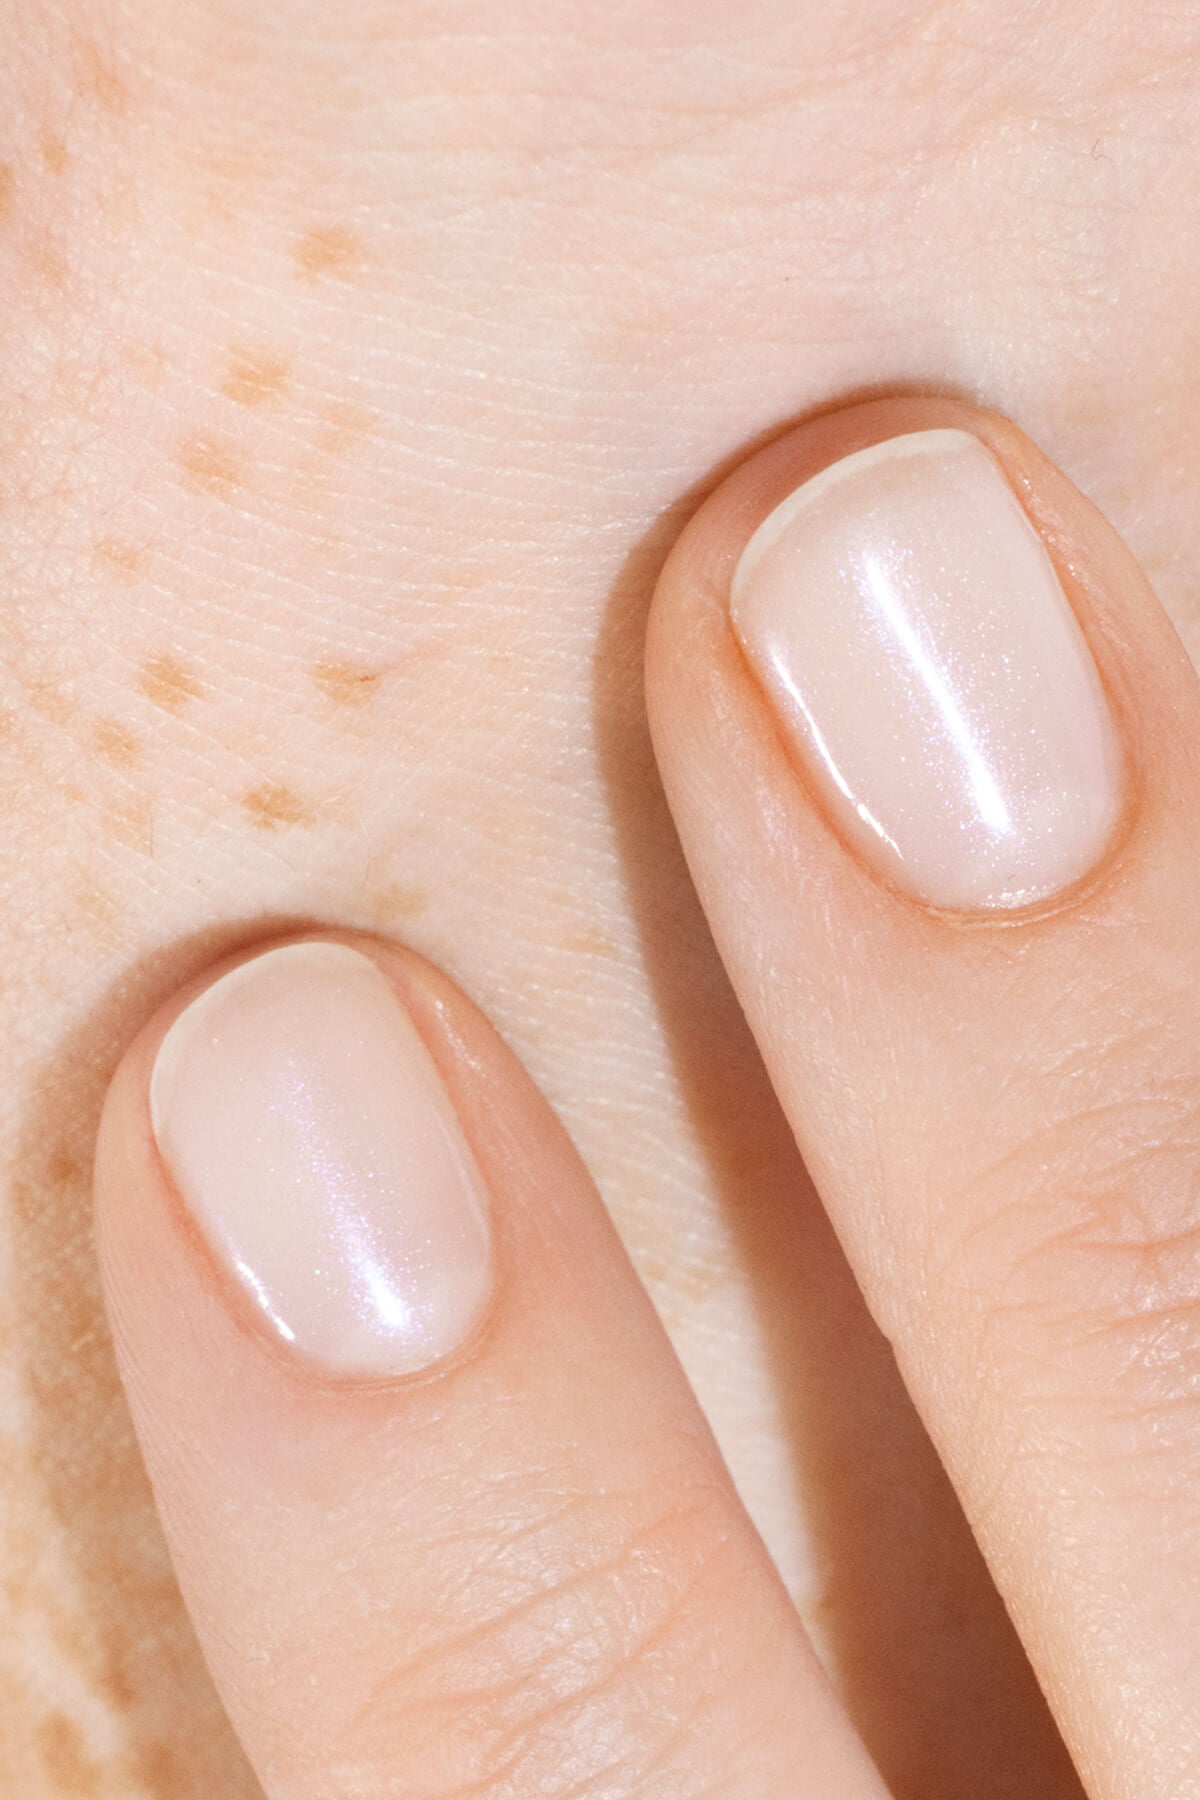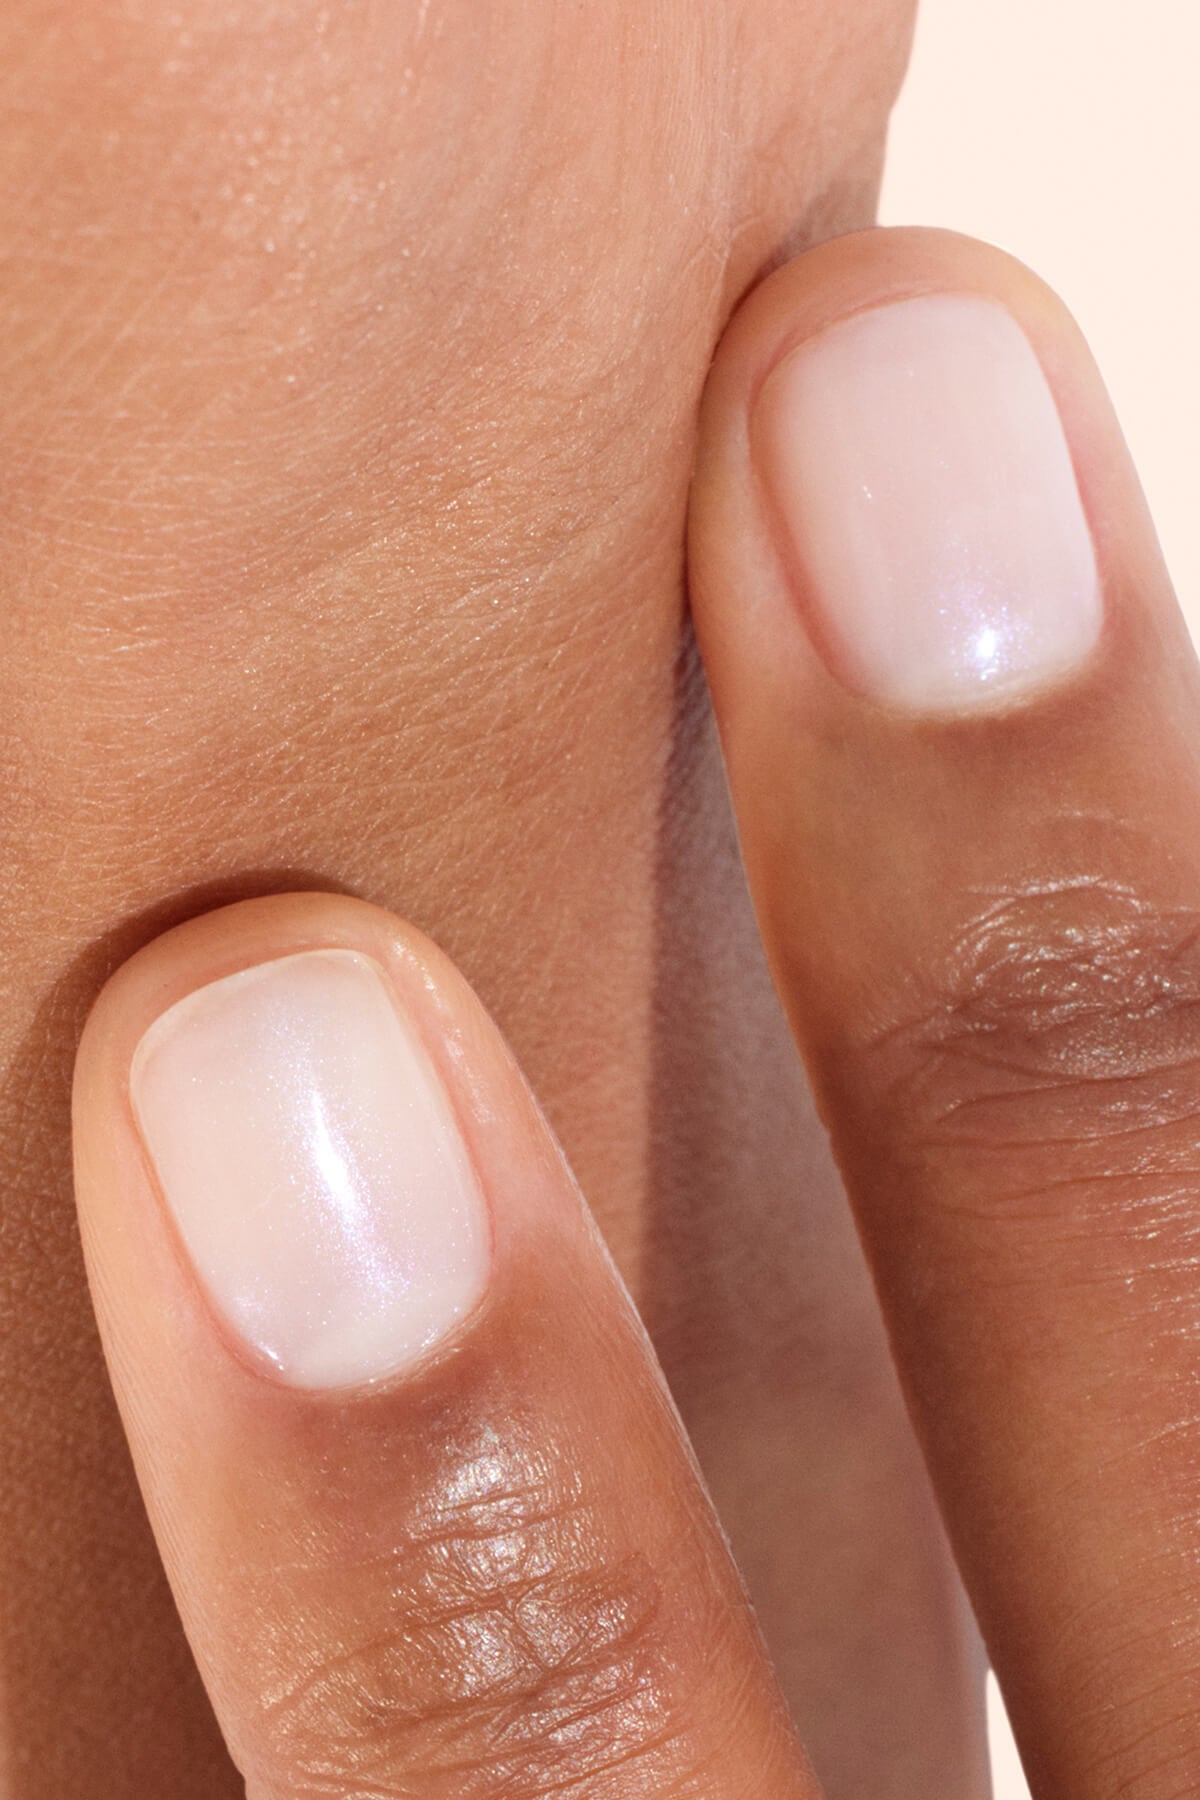


Gel polish has it all: super easy application, salon-worthy gel shine, and long wear time—we love it! But when it’s time to remove gel polish, things get tricky. Using a nail drill or acetone causes damage and leaves your nails suffering! Rest assured: there are gentle, effective methods to remove your gel polish at home without ruining your beautiful nails. Here are our top tips to combine high-performance, glossy, long-lasting manicures with healthy nails.
Key takeaways:
- Removing gel polish is the riskiest step for the nail.
- Aggressive methods (nail drills, acetone) can weaken the plate over time.
- Gentle removal keeps nails healthy and resilient.
- Simple techniques exist for effective removal at home.
- If you want to start again with a full application after removal, the Green Flash™ semi-permanent nail polish kit brings together the essentials for your at-home routine.
Why do you need to be careful when removing gel polish?
It is often when removing semi-permanent polish that nails are at their most fragile. Scraping, excessive filing, prolonged acetone soaks… all removal techniques that can damage the natural nail plate and leave soft, brittle or split nails.
Why can intensive filing or buffing damage your nails?
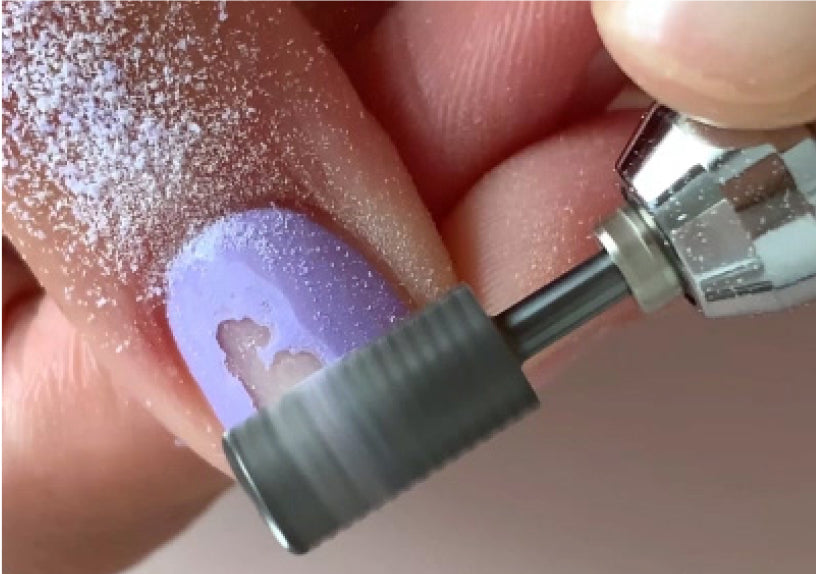
Unlike regular polishes that come off easily, gel polishes require extra care during removal. A common technique involves scraping off the polish layer with a nail file, an electric nail drill, or a buffer block until the color is gone. Widely used in nail salons, it requires real expertise—otherwise, it can quickly damage the nail. The risks include:
- Thin nails with keratin that has been damaged: an essential protein that makes up the nail's structure, keratin gives it strength and flexibility. By damaging these upper layers, you risk weakening your natural nails, which will then struggle to regenerate.
- Ridged nails, soft or brittle nails: these harsh actions can leave visible, lasting marks on the nail surface. Deep down, they disrupt the natural balance of the nail matrix, which can lead to chronic imperfections over time.
- Dull nails: a healthy nail naturally reflects light. When keratin is damaged, the surface becomes dull, rough, and loses its natural shine.
- Lifting nail plate: after repeated damage, the nail can lift slightly from the nail bed. This creates a small gap where moisture and bacteria can settle, increasing the risk of infection and leaving the nail very fragile over time.

Improper nail drill use can cause lasting damage to the nail plate.
Why does pure acetone or harsh removers weaken your nails?
Acetone is THE radical soaking solution that dissolves layers of polish. Just apply a cotton pad soaked in acetone remover for a few minutes to get rid of your polish, even if it means finishing removal by scraping off residue with an orange stick or a nail file. An effective product, yes… but not truly respectful of nail health.
Indeed, an acetone remover melts the polish layer, but it doesn't stop there. It also strips away the natural protective lipid layer of the nail plate, which dries out and weakens your nails. It also dehydrates the cuticles that protect your nails from external stressors. Lastly, acetone can worsen irritation on sensitive skin or skin prone to invisible micro-injuries.
To sum up:
- Intensive filing or buffing damages keratin and weakens the nail.
- Scraping can cause soft, brittle, or splitting nails.
- Acetone dries out the nail and cuticles.
- These methods can cause ridges, loss of shine, and nail plate lifting.
- Harsh removal increases the risk of lasting weakness.
The gentle routine for removing gel polish at home
Before you begin, make sure you have the right tools for damage-free gel polish removal.
The tools you need for a gentle removal
- Prepare about ten squares of lint-free cotton or makeup remover pads sized to your nails. Avoid loose cotton balls, which tend to fray and snag on the polish.
- A gentle acetone-free nail polish remover.
- Removal clips or aluminum foil squares.
- An orange stick, gentler than a metal tool.
- A cuticle oil or moisturizing treatment.
Step 1: prep your tools
Generously soak each cotton pad with a gentle nail polish remover. If you’ve opted for a Green Flash™ manicure, use the Green Flash™ gentle acetone-free nail polish remover, designed for quick and effective removal of Green Flash™ polish without drying out the nail, thanks to its castor oil-enriched formula.

Step 2: soften the polish with a gentle method
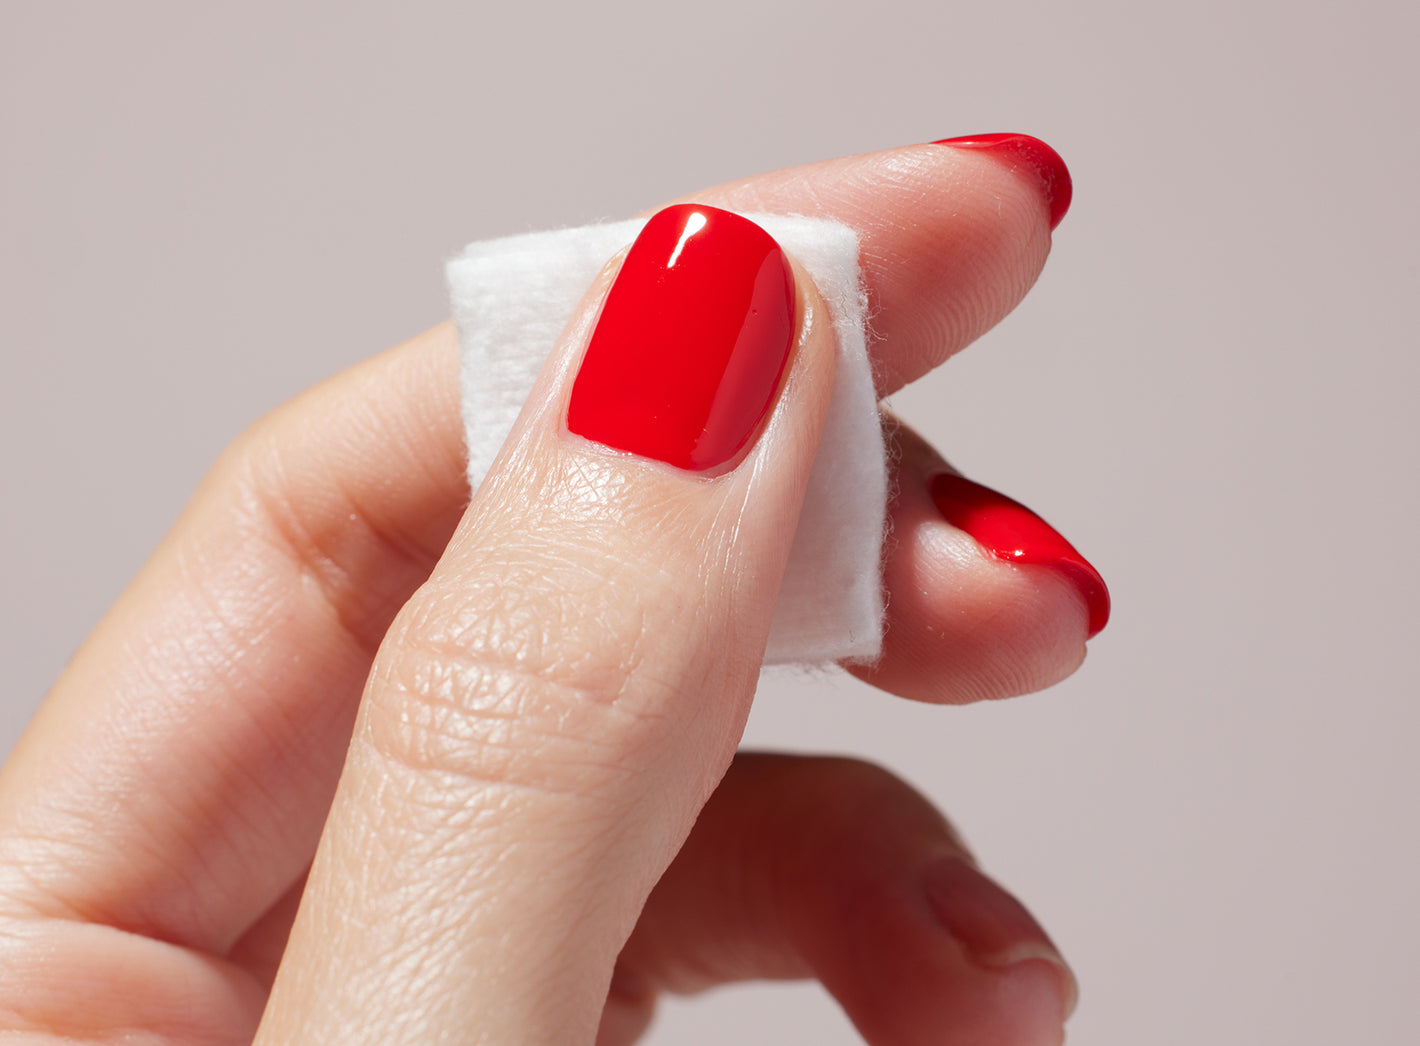
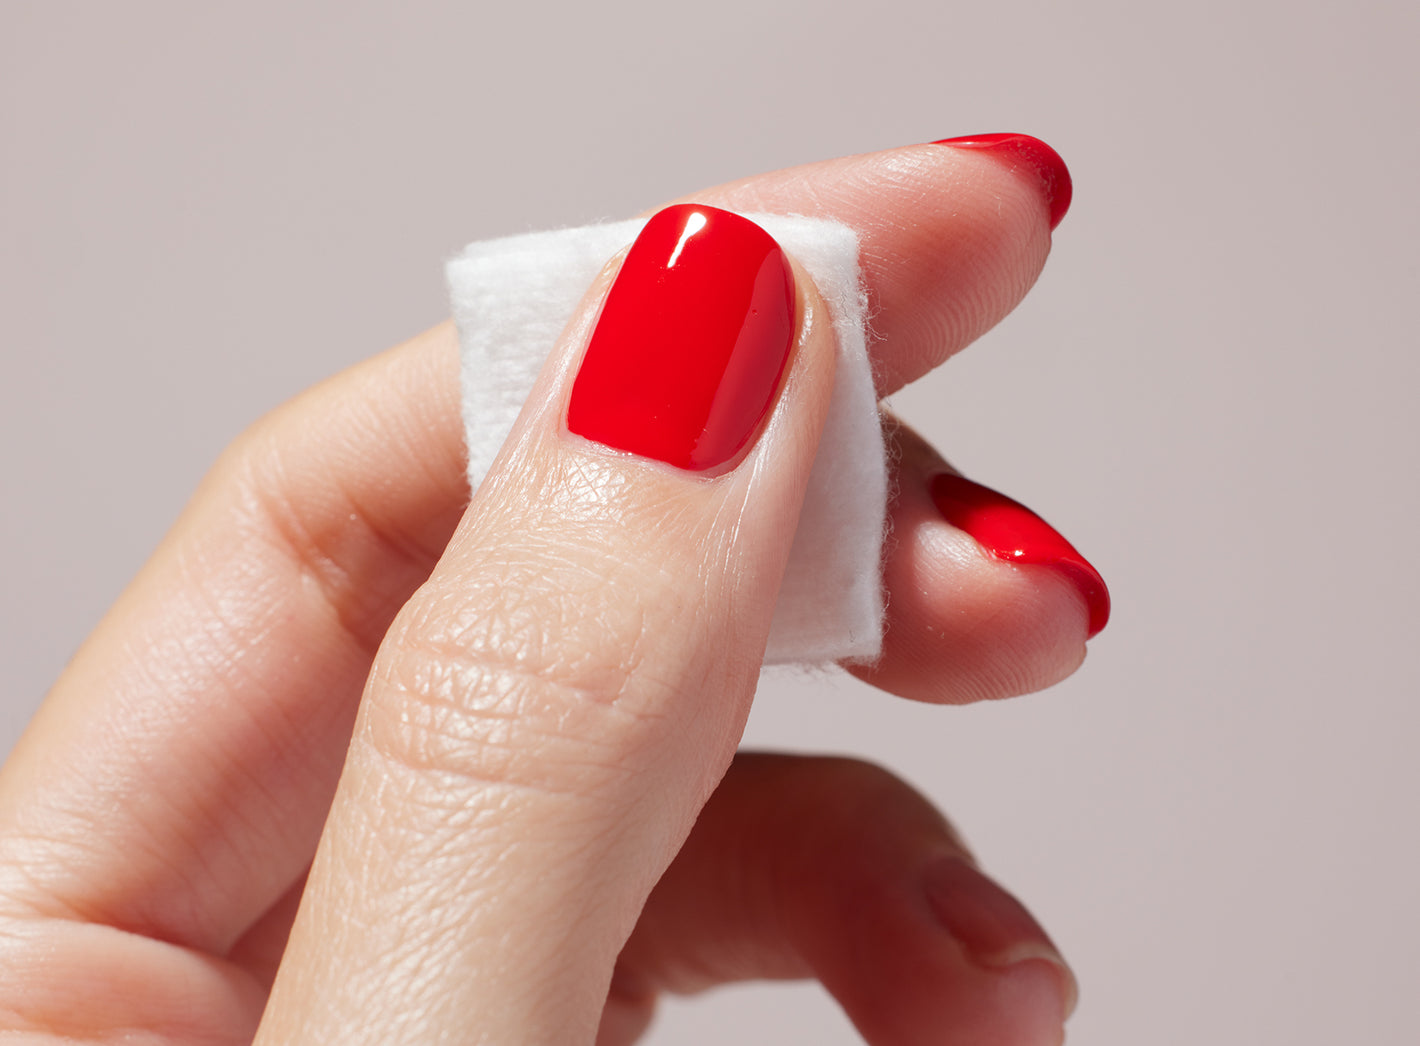
Place a cotton pad directly onto each nail and secure it with a removal clip to keep the remover firmly in contact with the polish. If you don’t have removal clips, wrap aluminum foil around each nail.
⚠️ Important: follow the recommended leave-on time for your chosen routine. With Green Flash™ polish, this time depends on the top coat you used:
- with the Green Flash™ Top Coat, the polish layer peels off in just 1 to 2 minutes.
- with Top Coat Xrem Flash™, allow around 10 minutes for the polish to peel off.

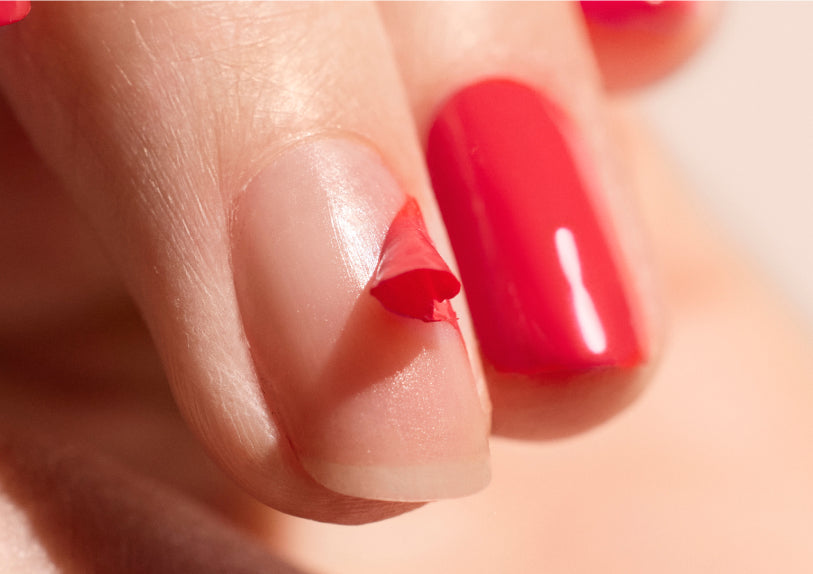
It only takes a few minutes to peel off your Green Flash™ polish.
Step 3: remove the polish gently
Remove the clips, or foil wraps, and cotton pads to reveal the result. The standout benefit of the Green Flash™ routine is its peel-off removal: under the action of the remover, the polish lifts away in a flash without leaving any residue.
If polish remains in some areas (not enough remover or incorrectly applied), gently lift the residue using a orangewood stick, without forcing it. If needed, place a cotton pad soaked in remover back on the nail for a few moments.
Step-by-step Dove Beige Xtrem Flash removal by @nenapleasenails.
Step 4: hydrate and treat nails after removal
Immediately after applying polish, apply a nail and cuticle oil that will nourish and hydrate the nail plate and surrounding area generously. Manucurist's Green Oil is ideal for this. Combining the benefits of 6 botanical oils (including sweet almond oil and coconut oil), it soothes and promotes fibre regeneration.

To sum up:
- Use a gentle, acetone-free remover to respect the nail.
- Soak a cotton pad and leave it on the nail, secured with a clip, to soften the polish.
- No need to scrape or buff, the polish comes off with a peel-off action.
- Hydrate after removal with a cuticle oil.
- Space out manicures and adopt a routine to strengthen nails.
Extra tips to protect your nails
Here are a few good habits to adopt to protect your nails in the long run:
Ideal frequency for gel manicures
For a sustainable, sensible approach to gel manicures, we recommend giving your nails a break for 1 to 2 weeks between applications. This gives you time to pamper them and let them regain their natural balance.
Strengthen nails and cuticles daily
Here are the habits to adopt regularly:
- Hydrate your nails and cuticles with a nail oil or serum such as the Complete Serum. Apply one drop to each nail and take the time to gently massage, including the cuticles, until fully absorbed. You’ll see, it feels so good!
- Boost nail regeneration with a targeted treatment that densifies the nail plate. Enriched with plant keratin and strengthening active ingredients, Keratin Booster activates keratin production and boosts nail growth. Apply it 1 to 3 times a day to bare nails for 5 to 7 days.
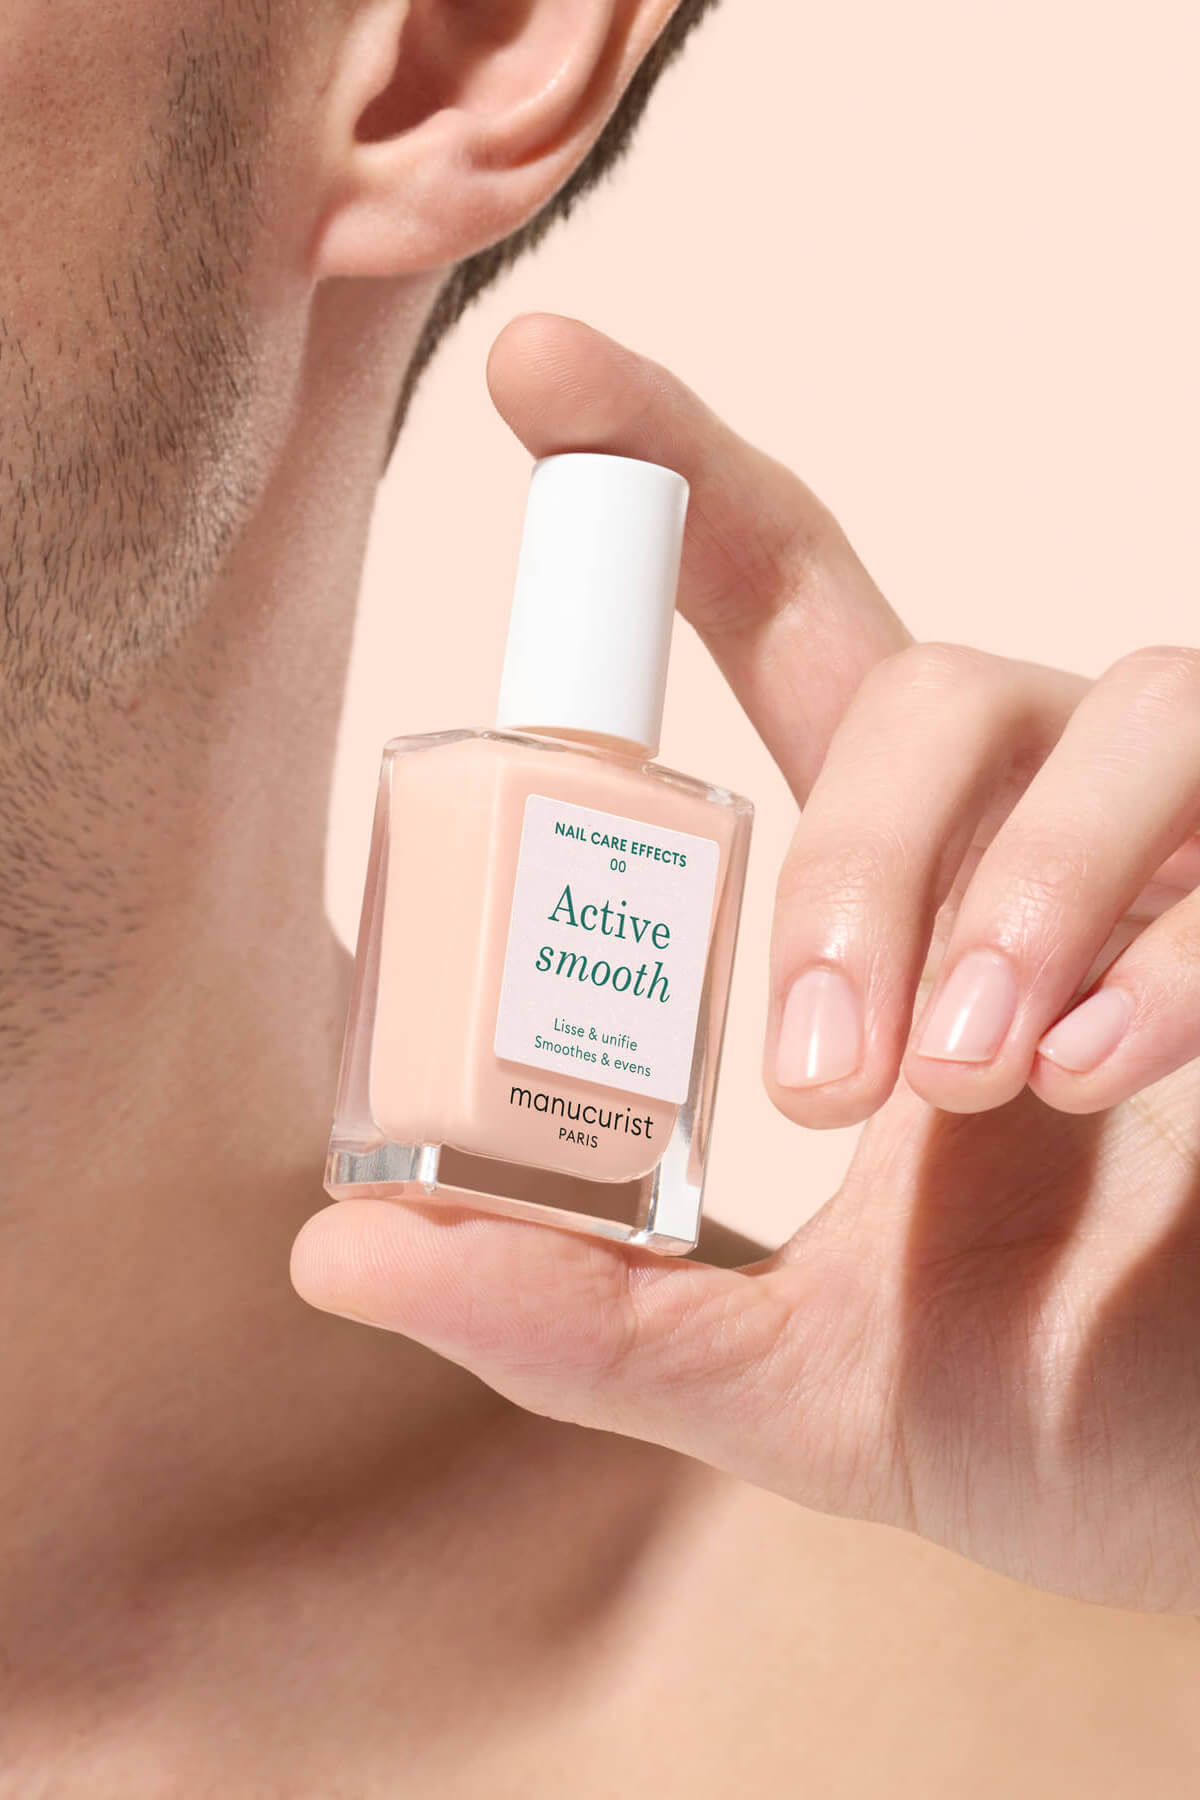
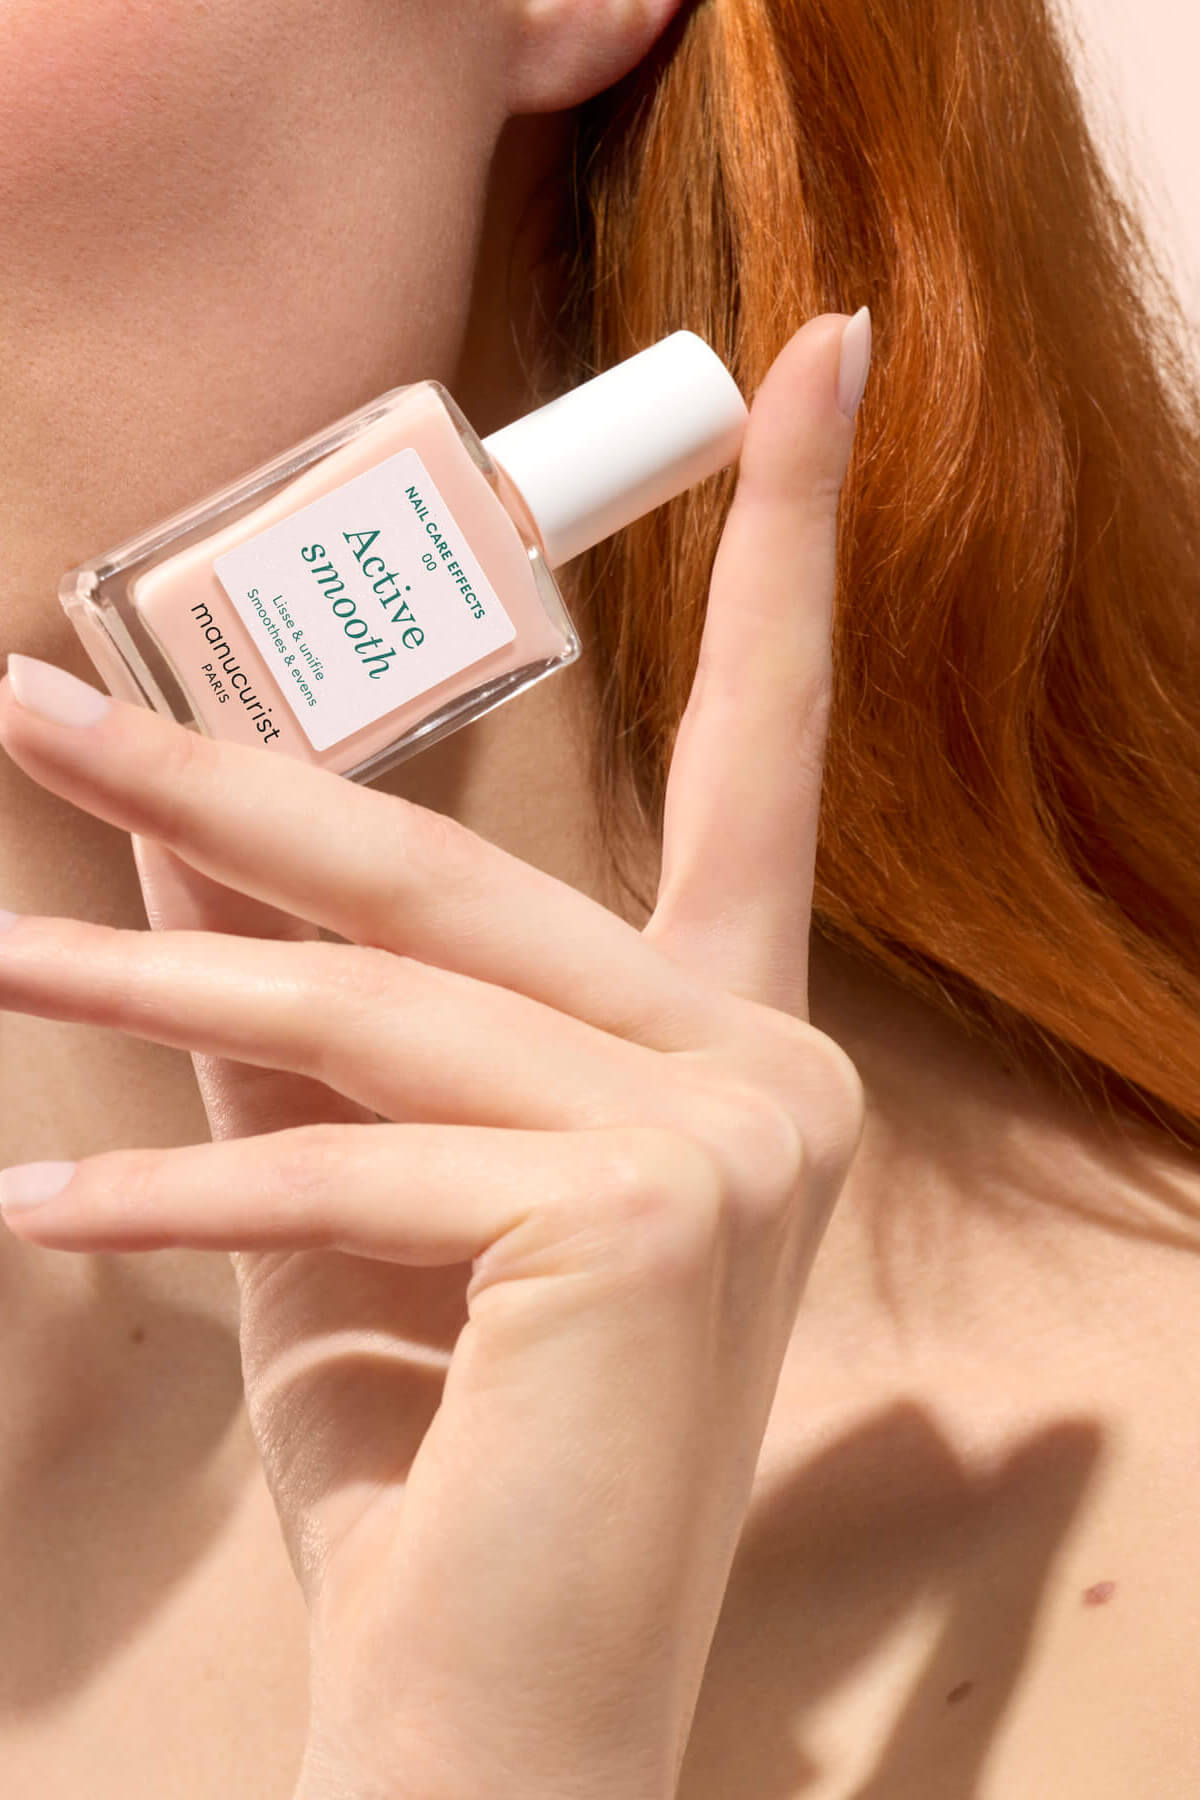
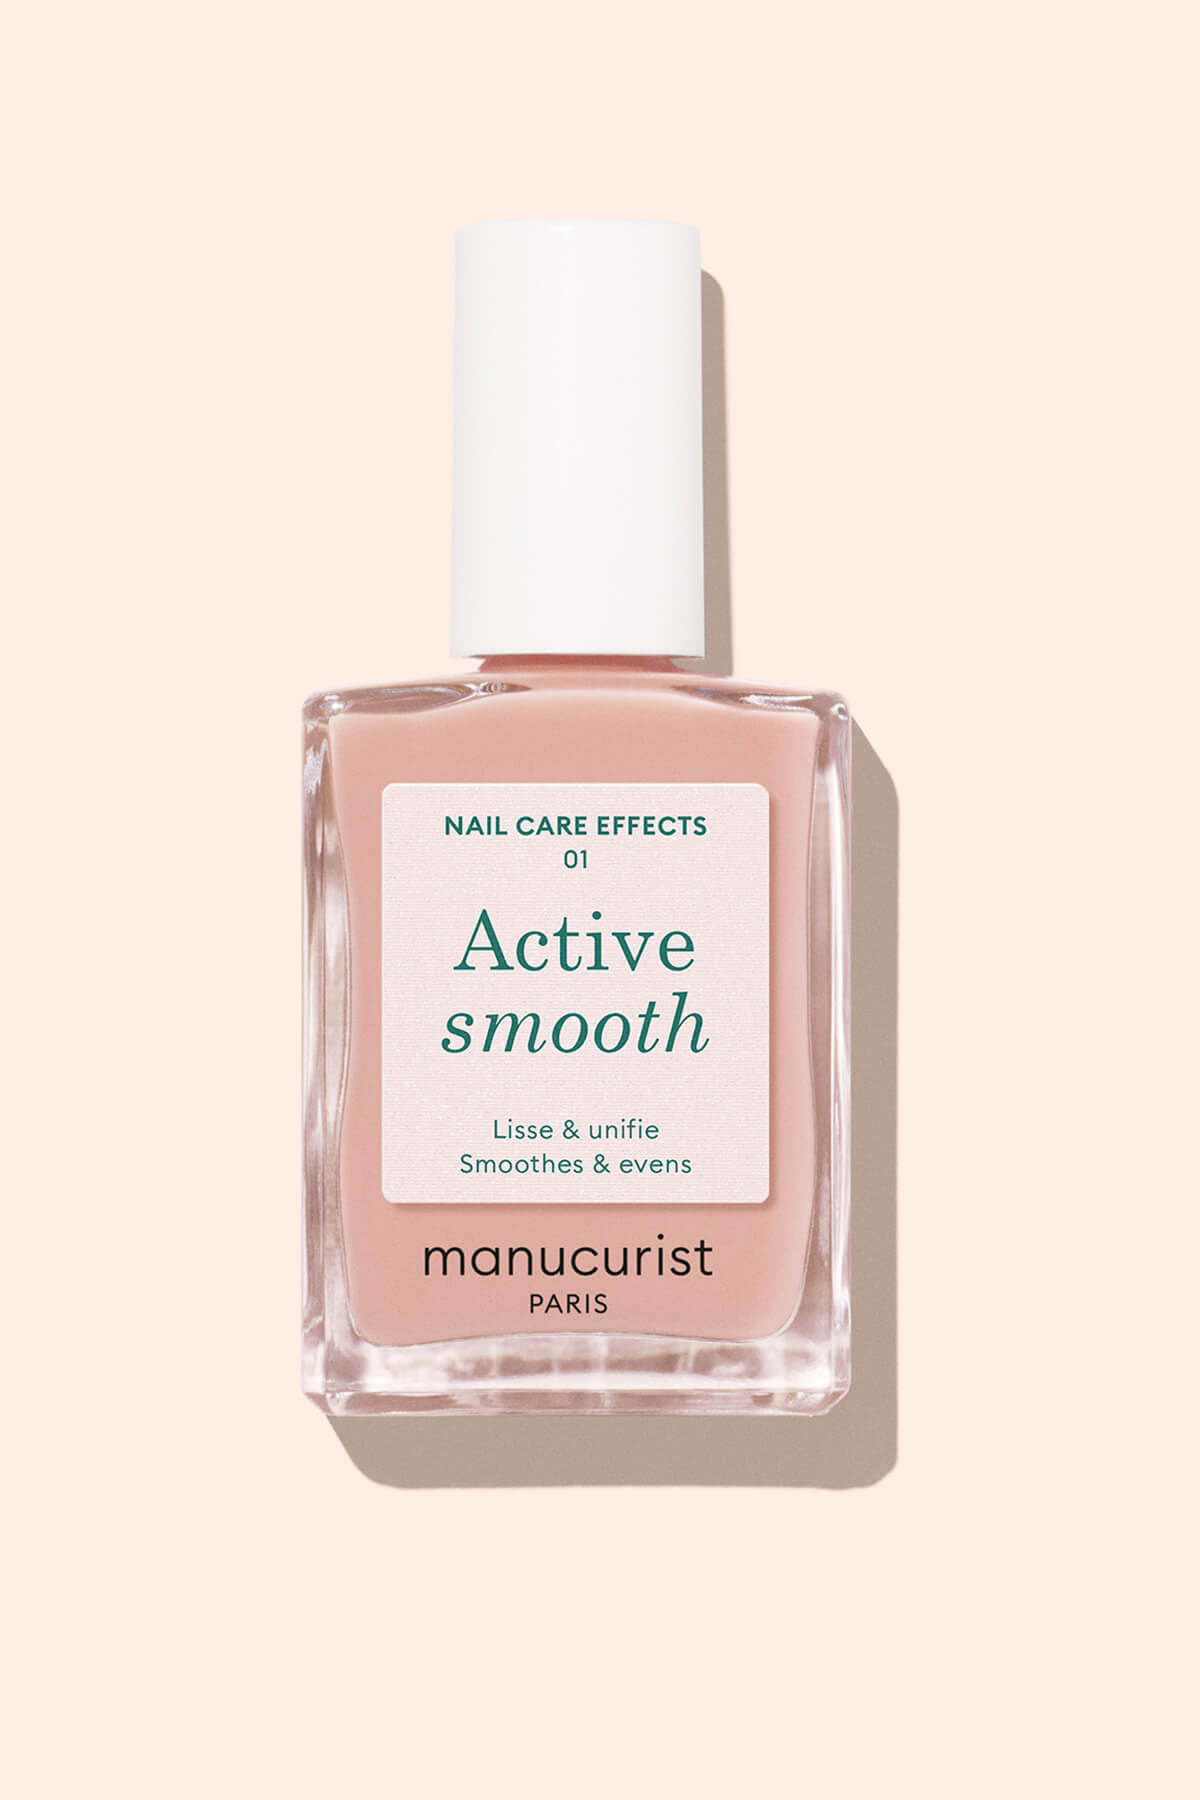
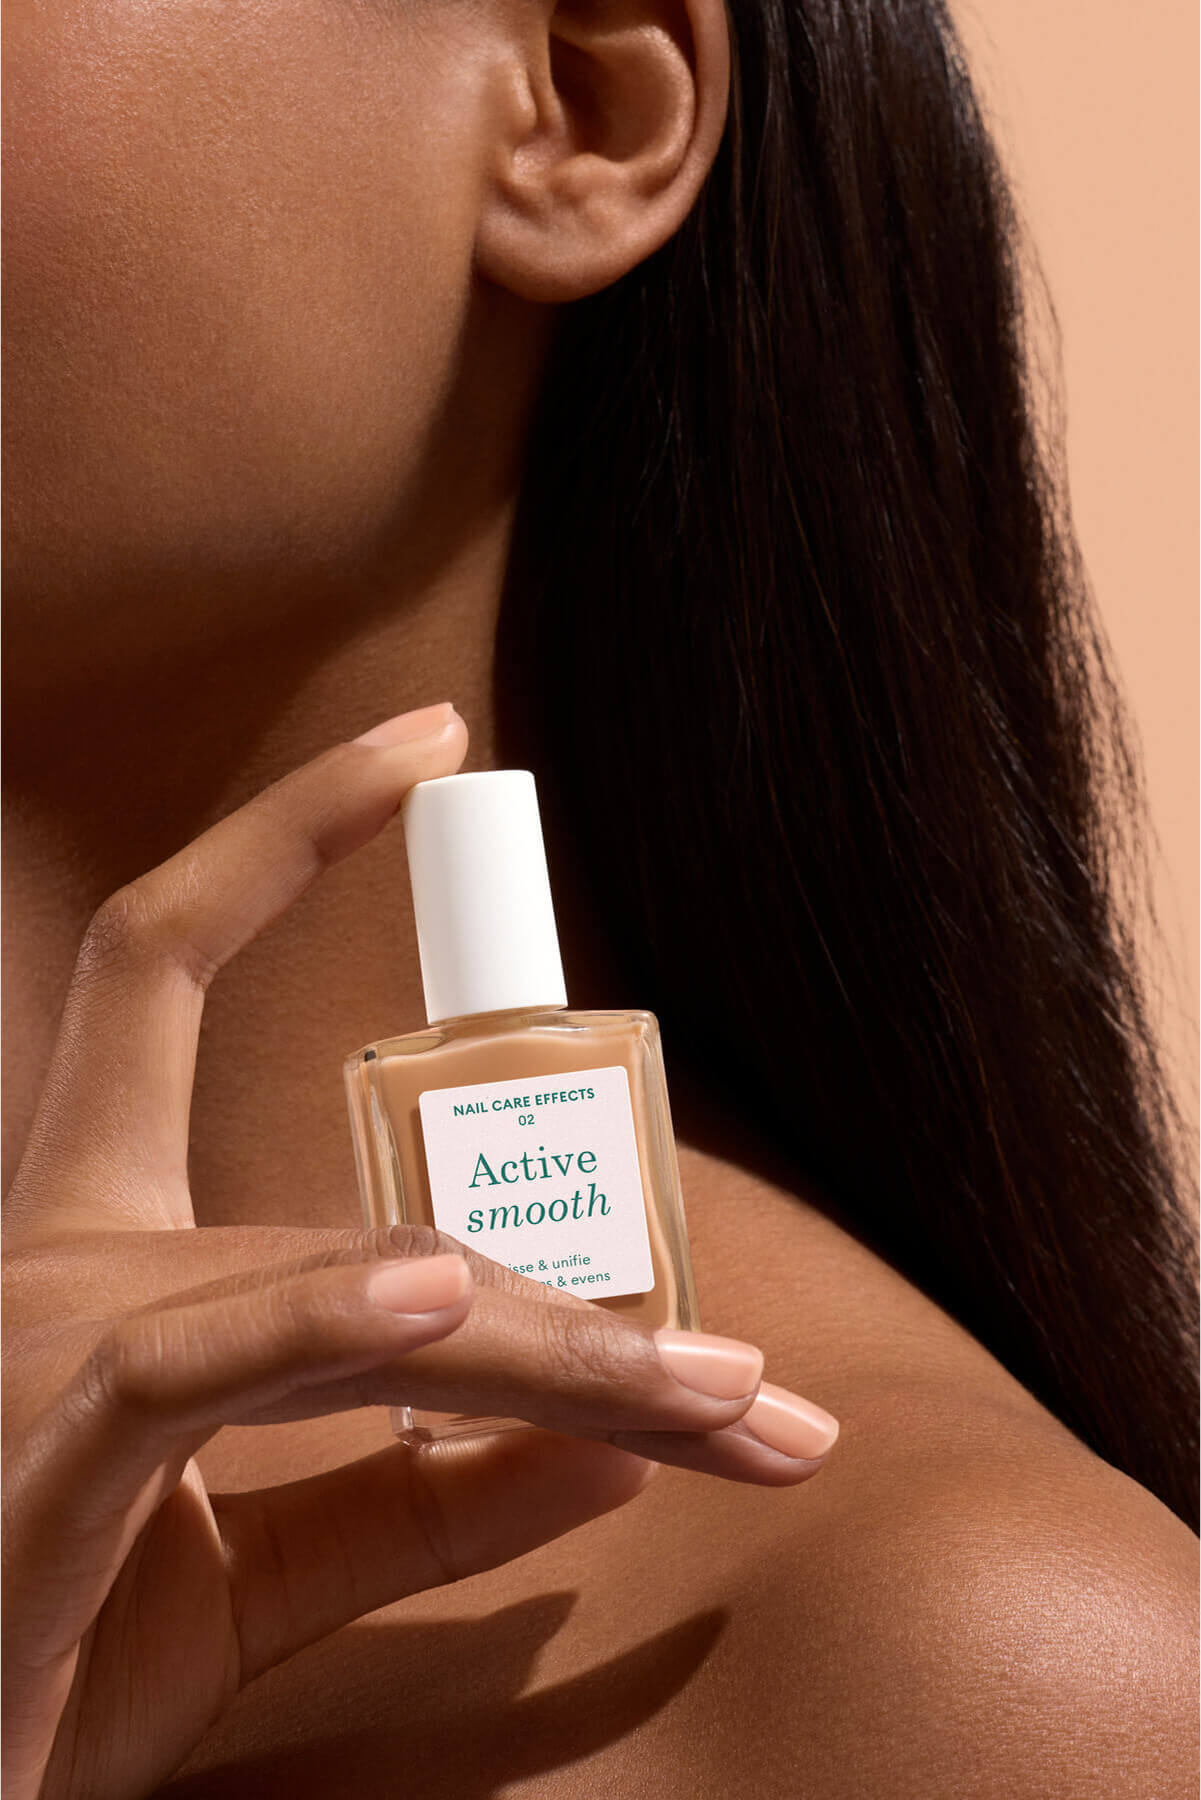
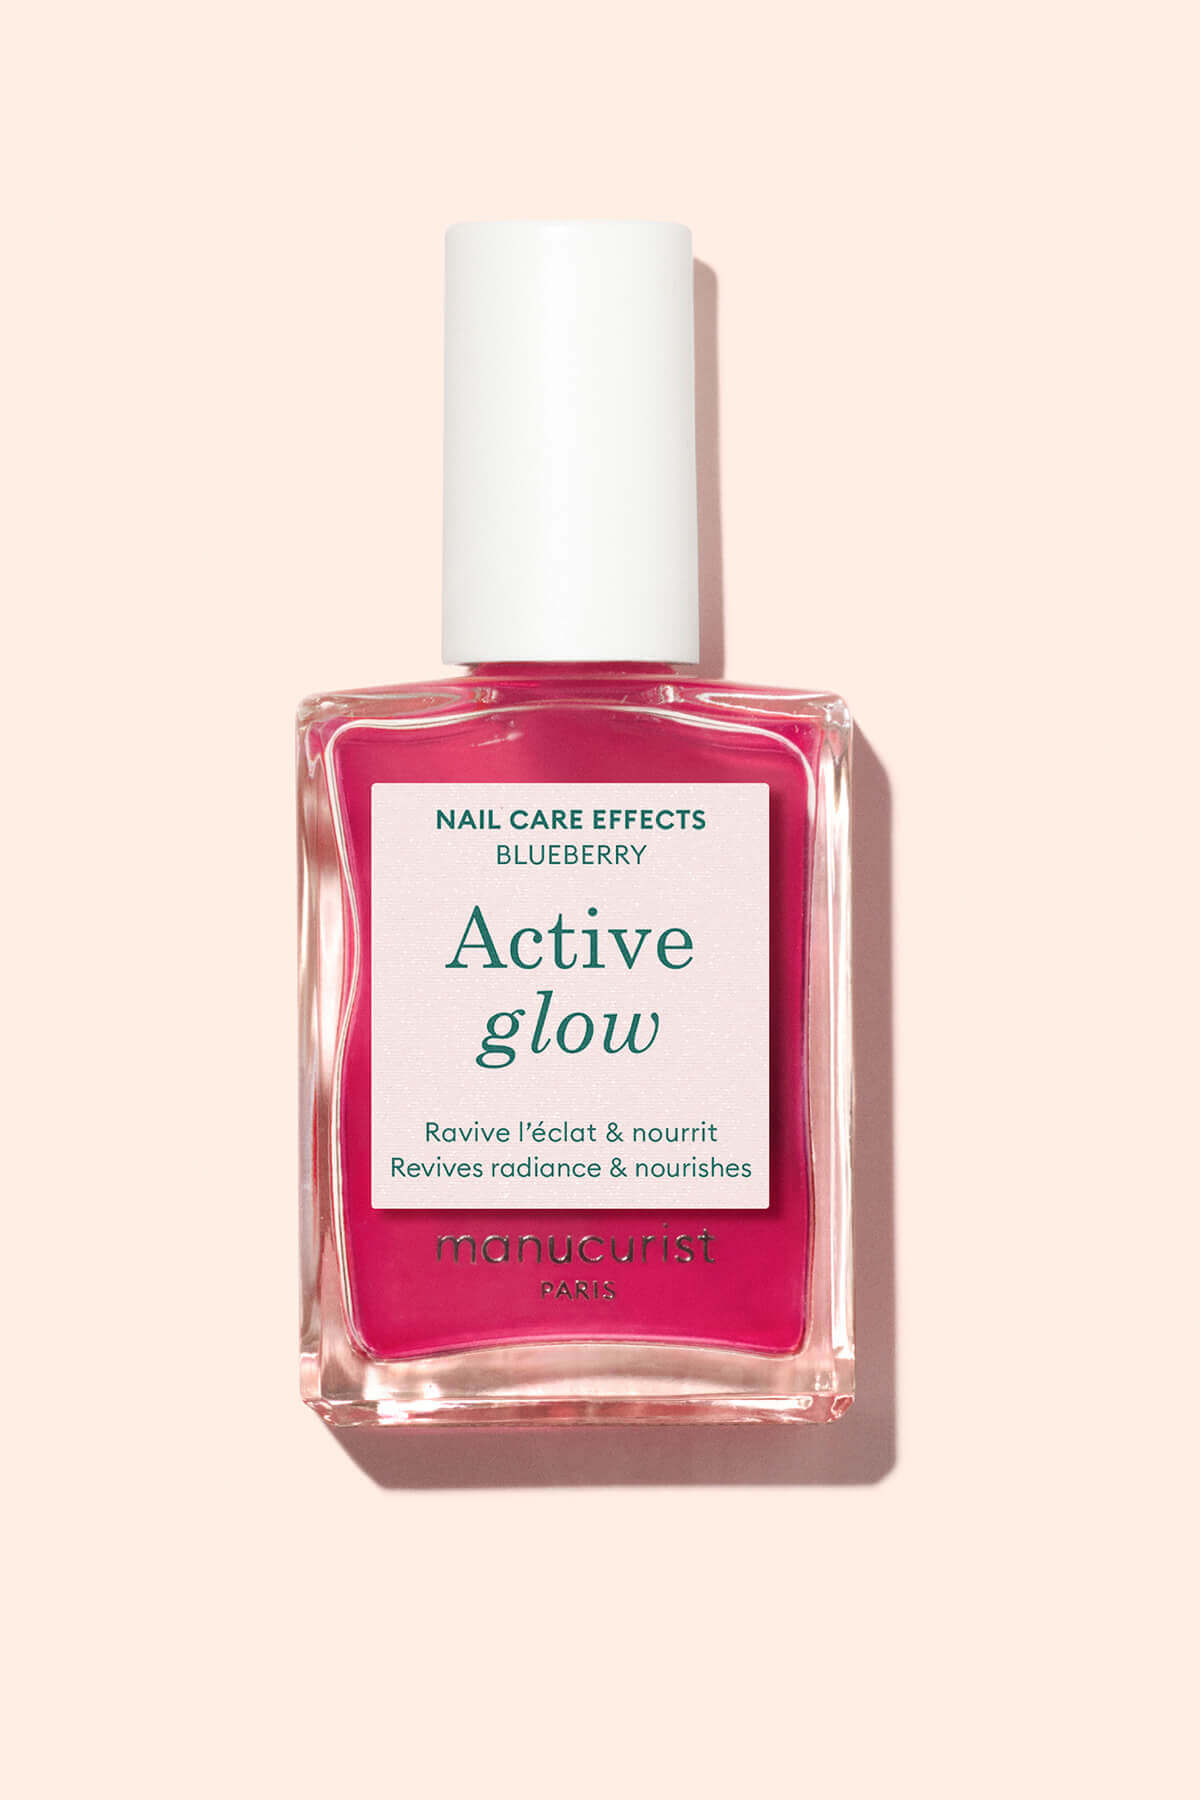
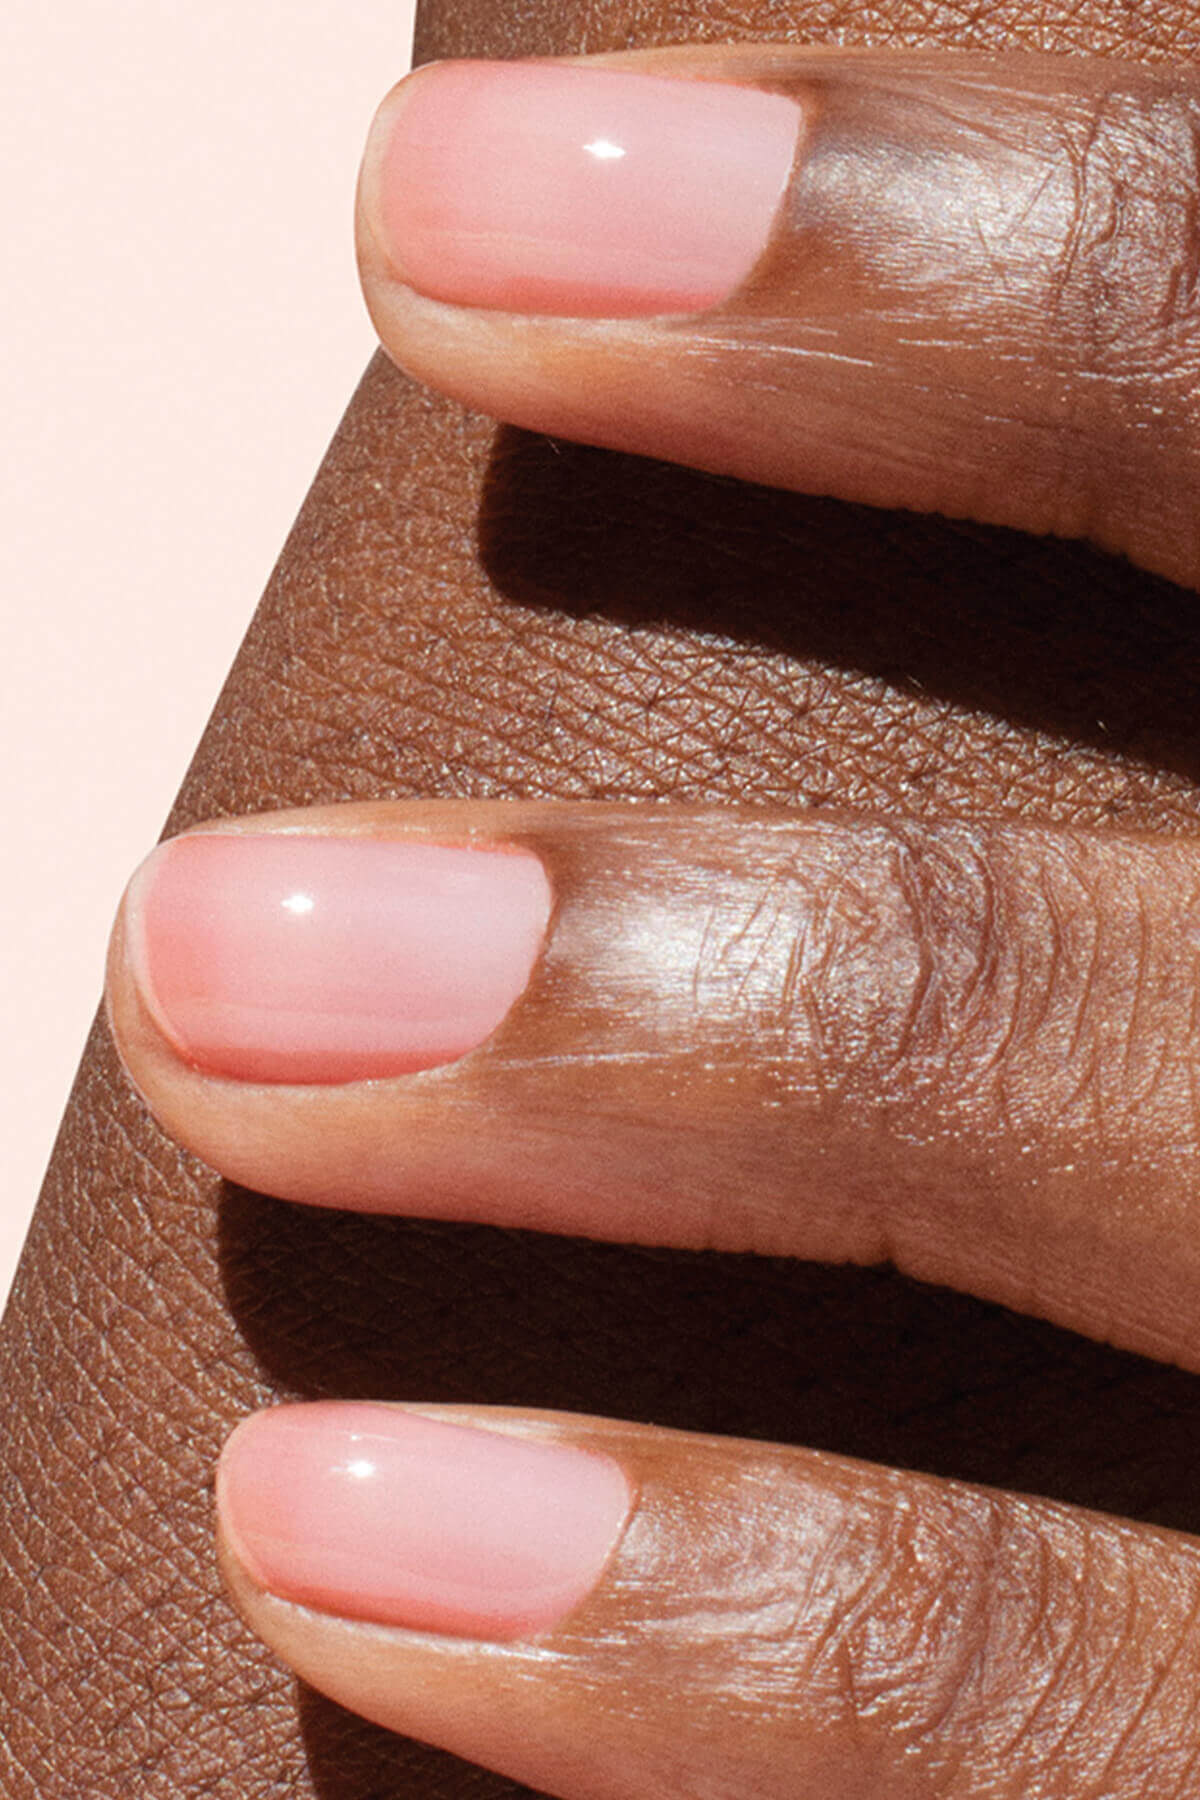
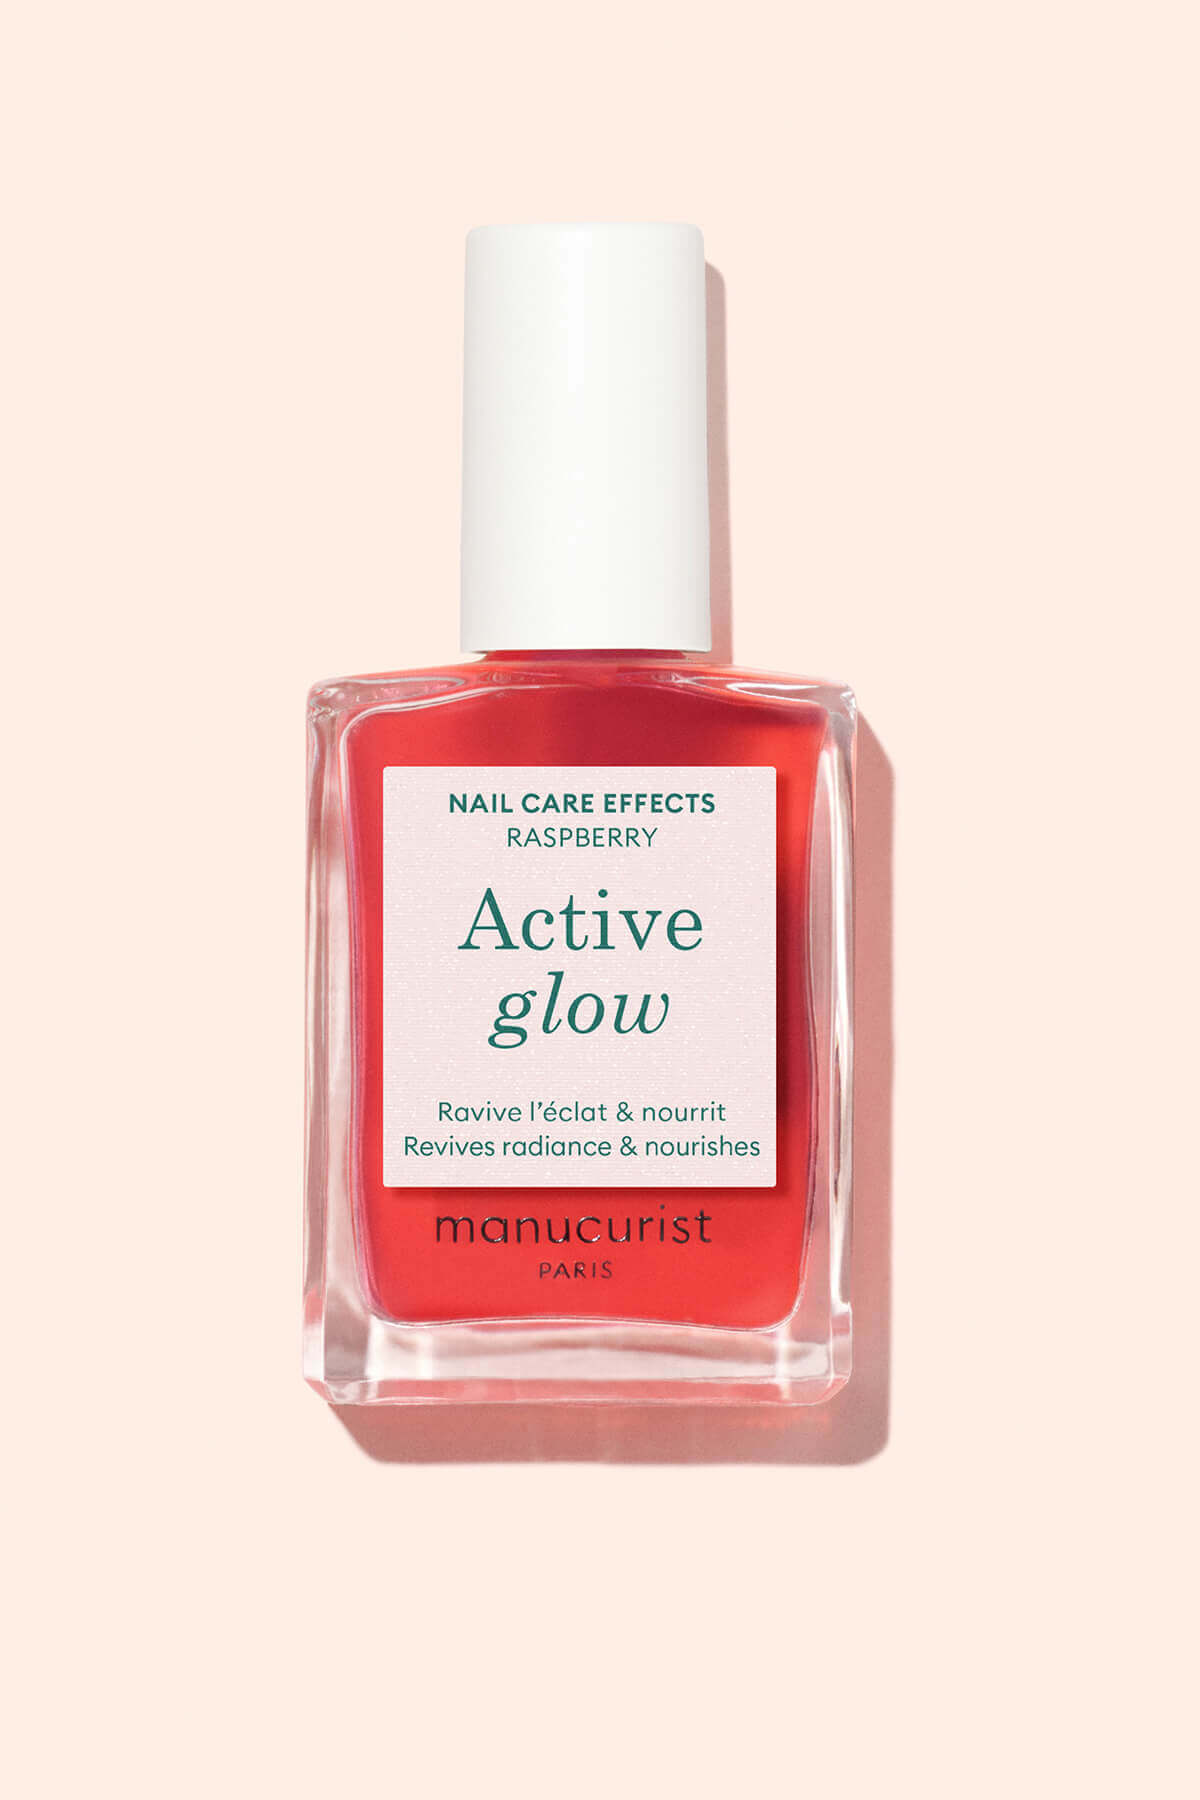
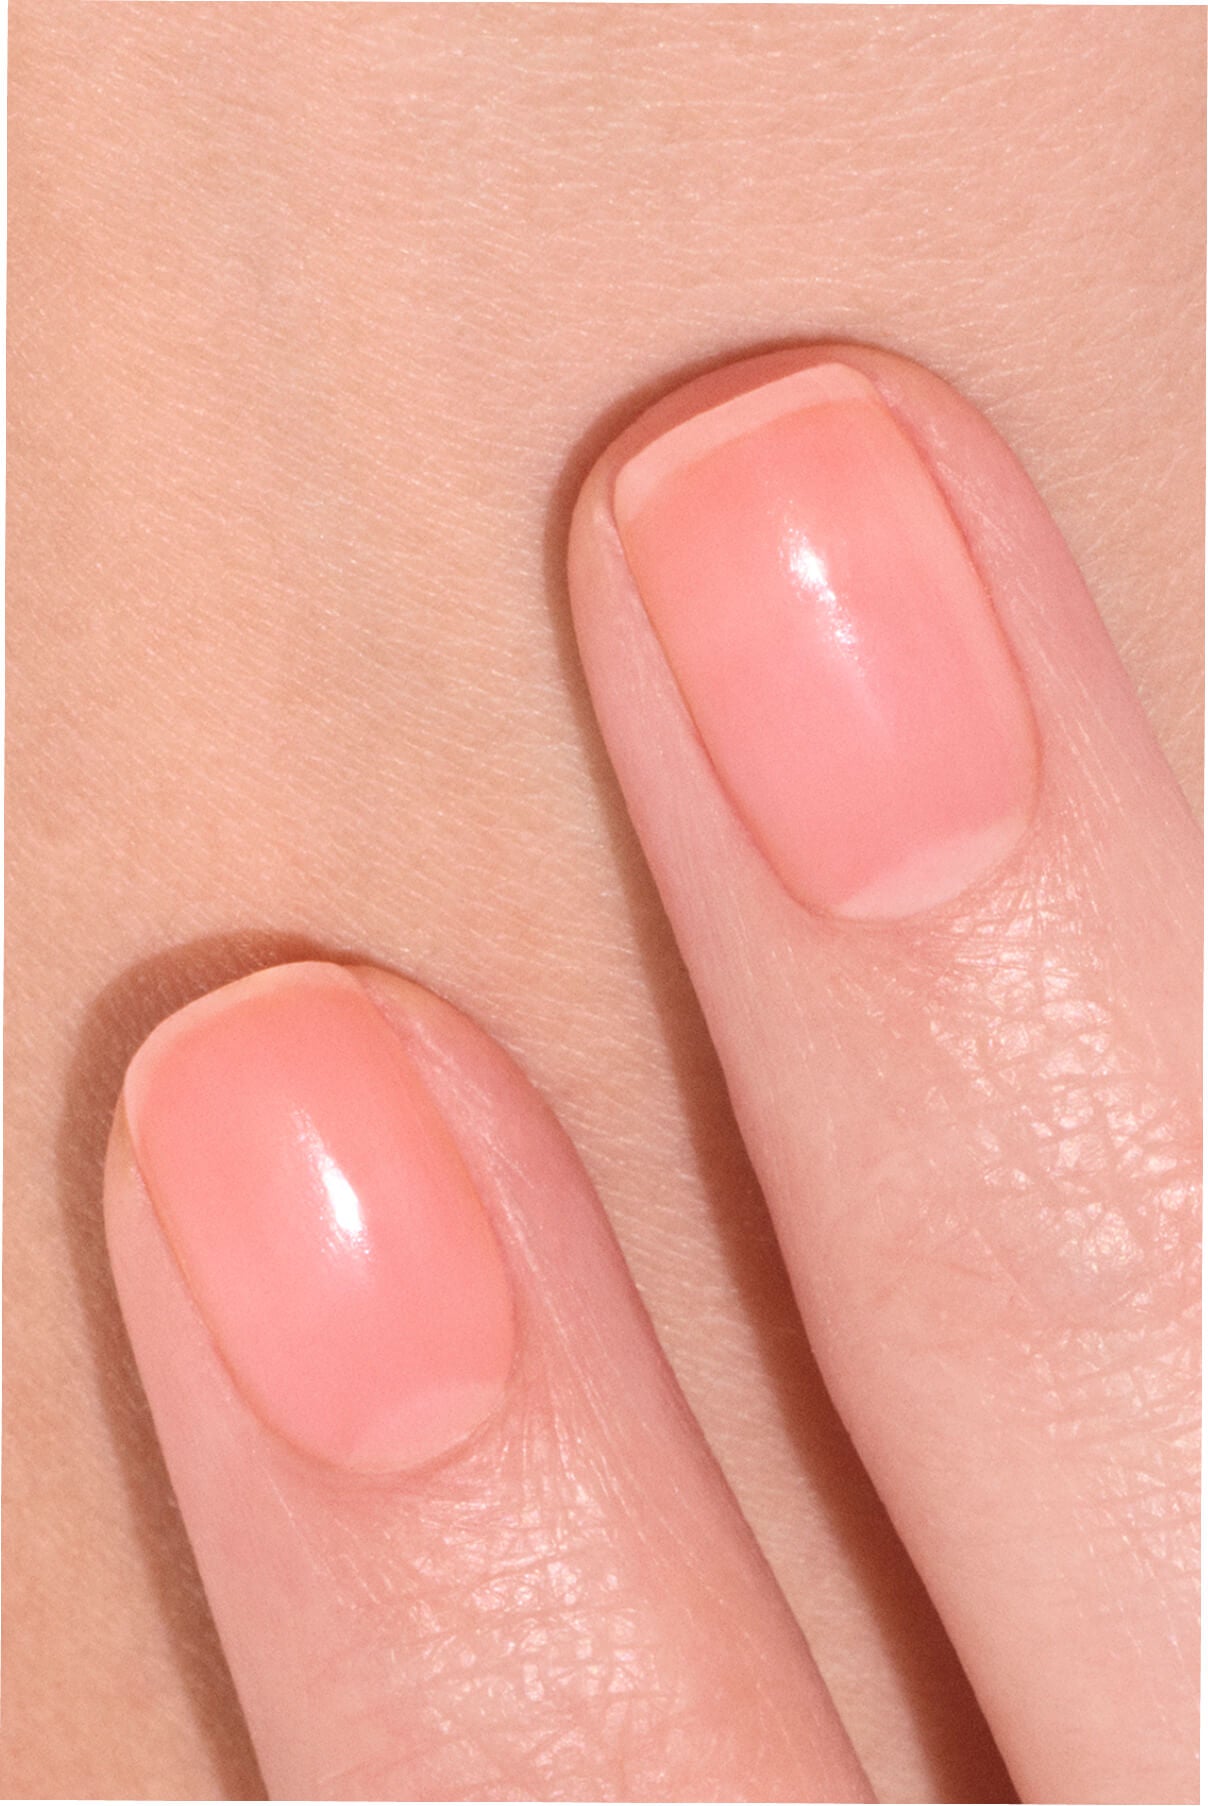
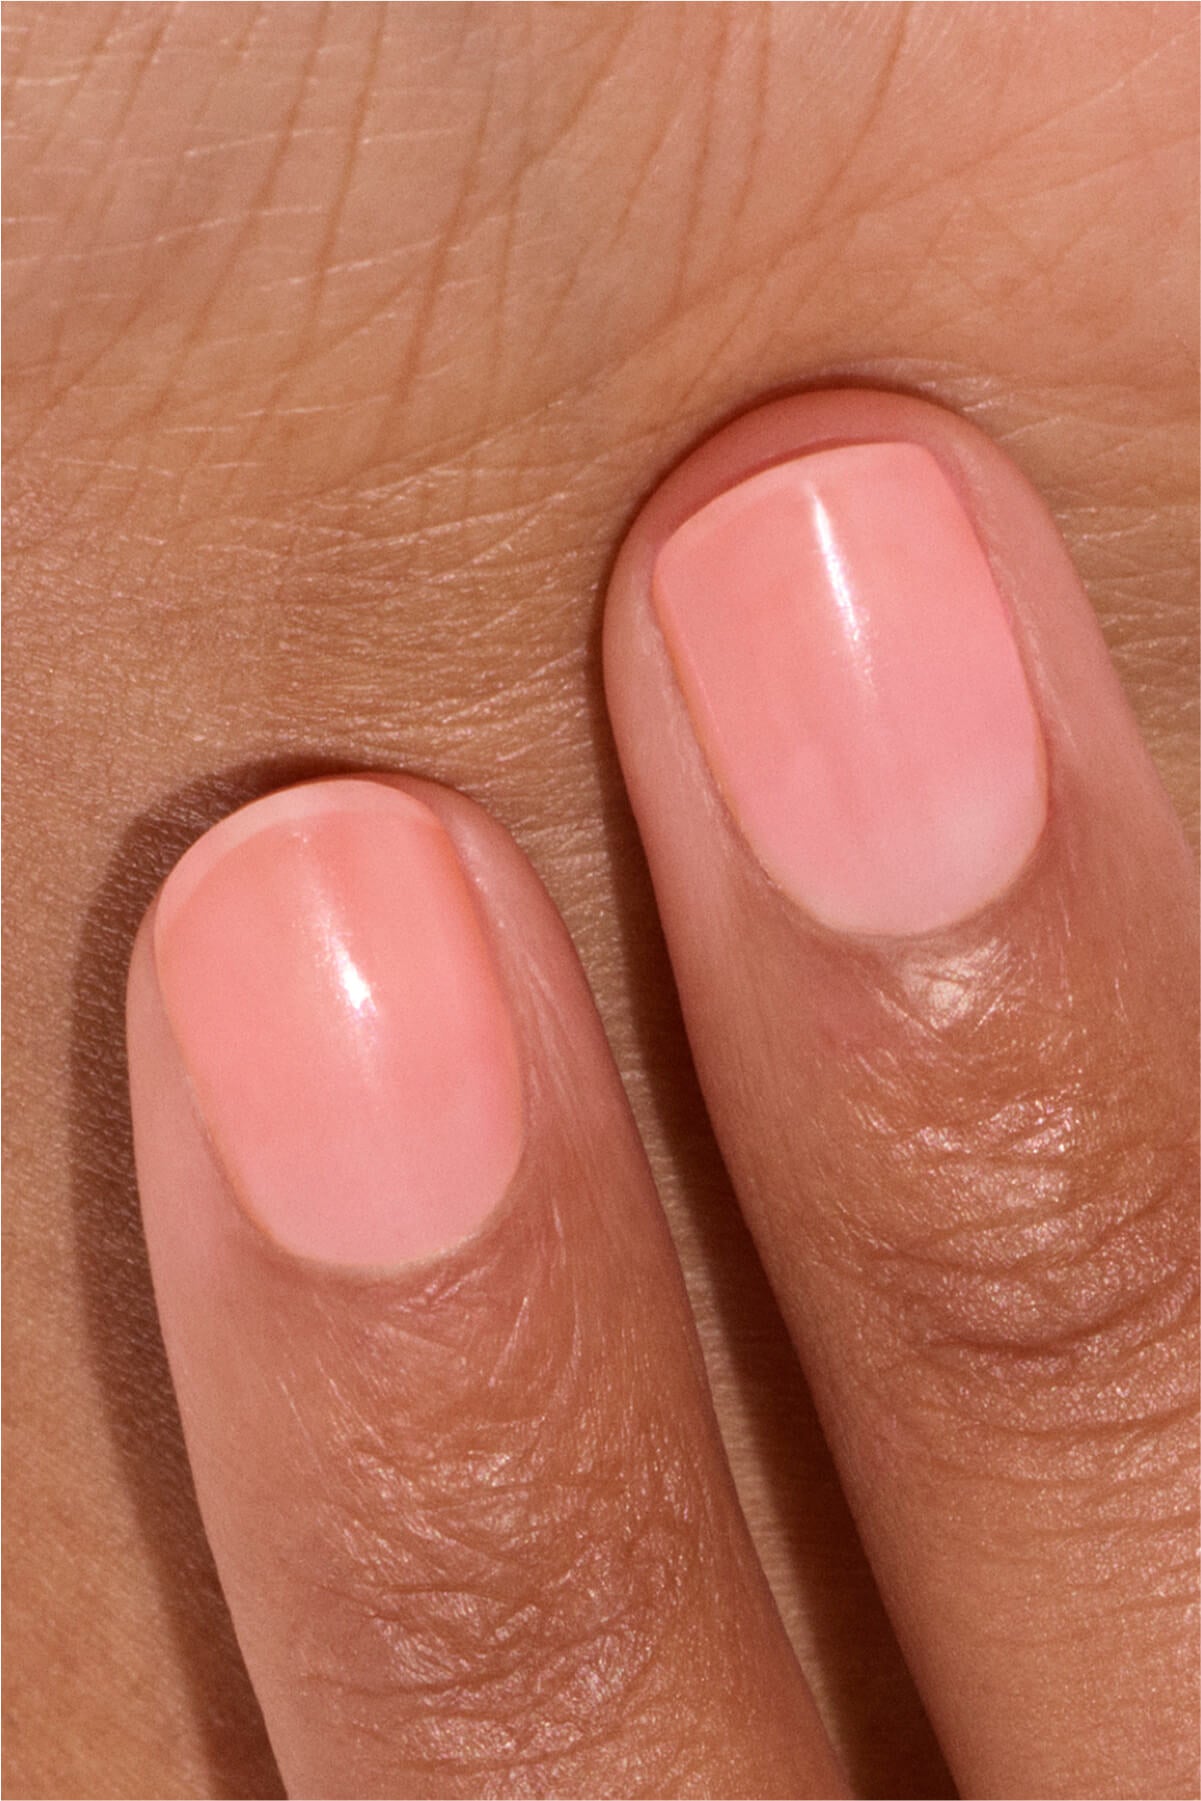
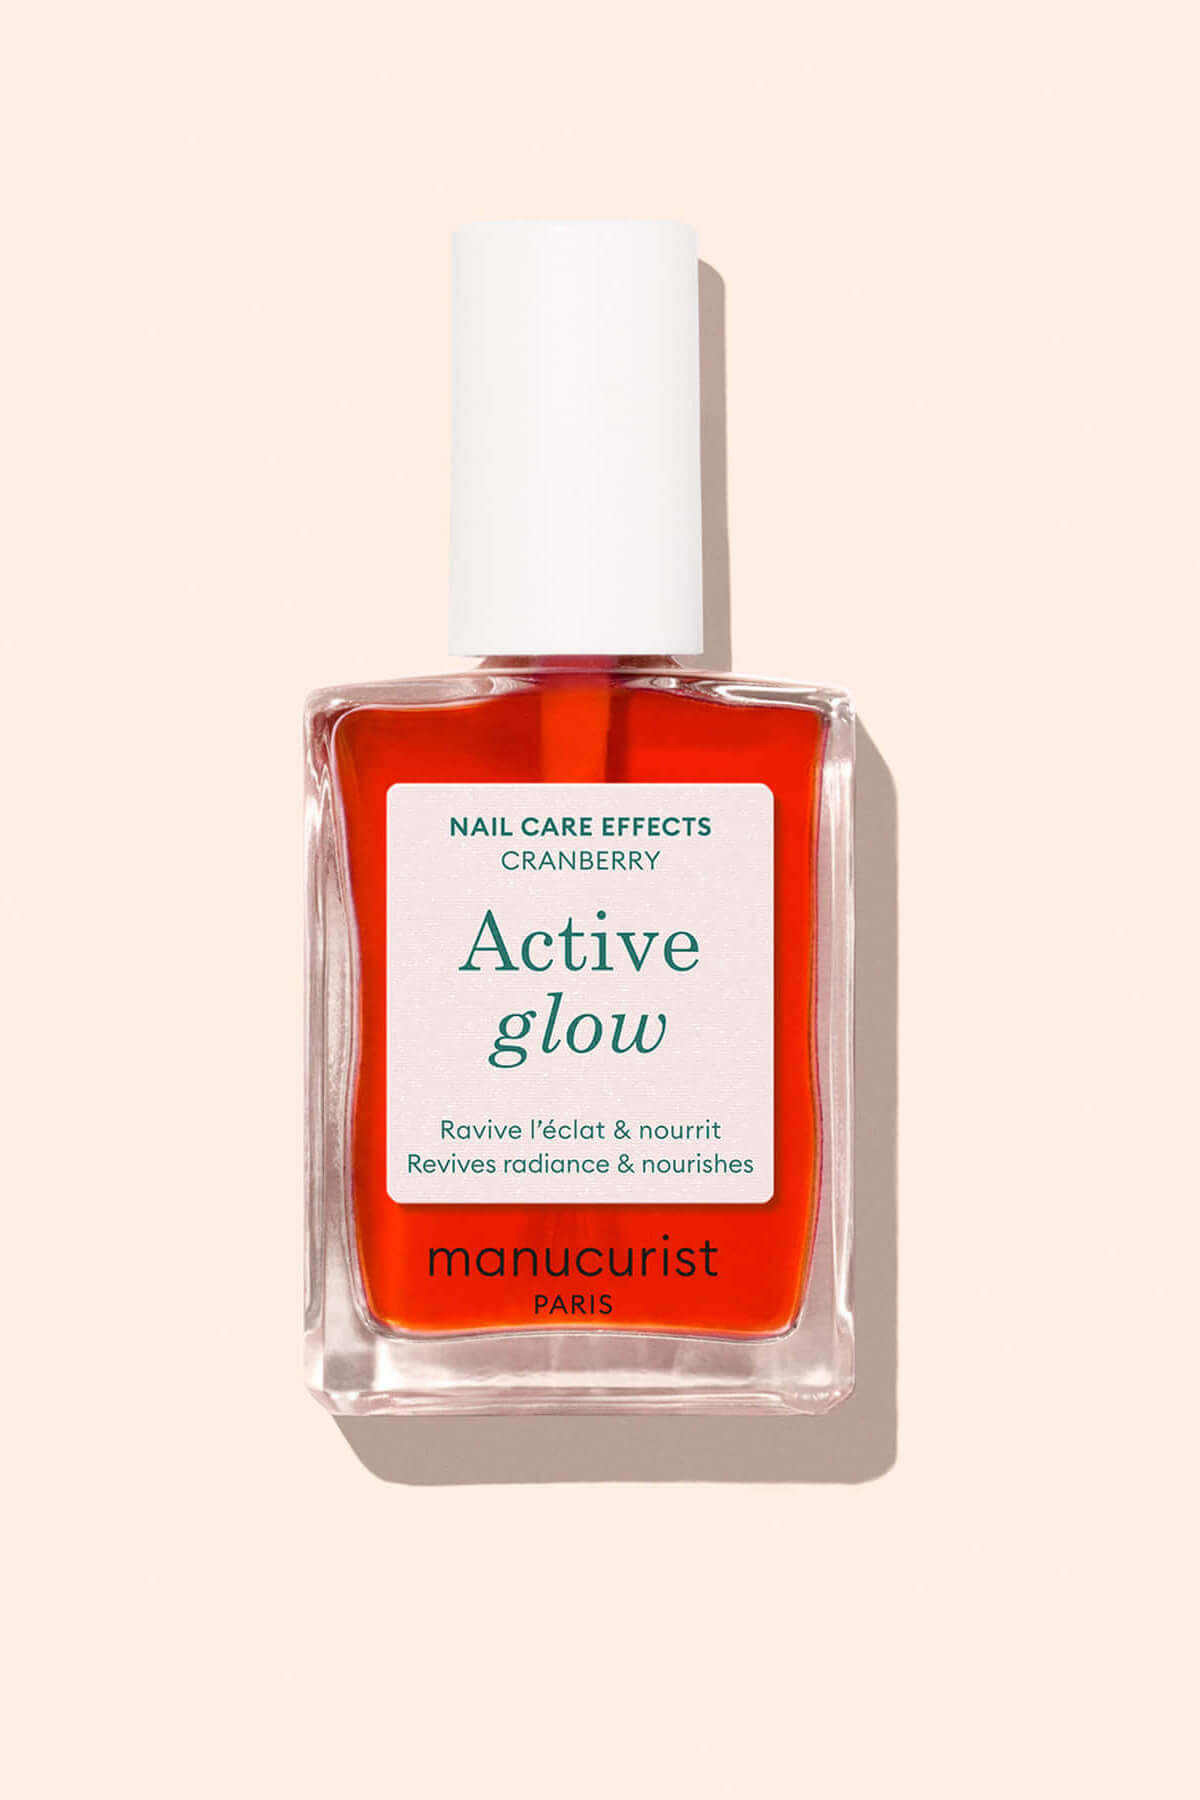
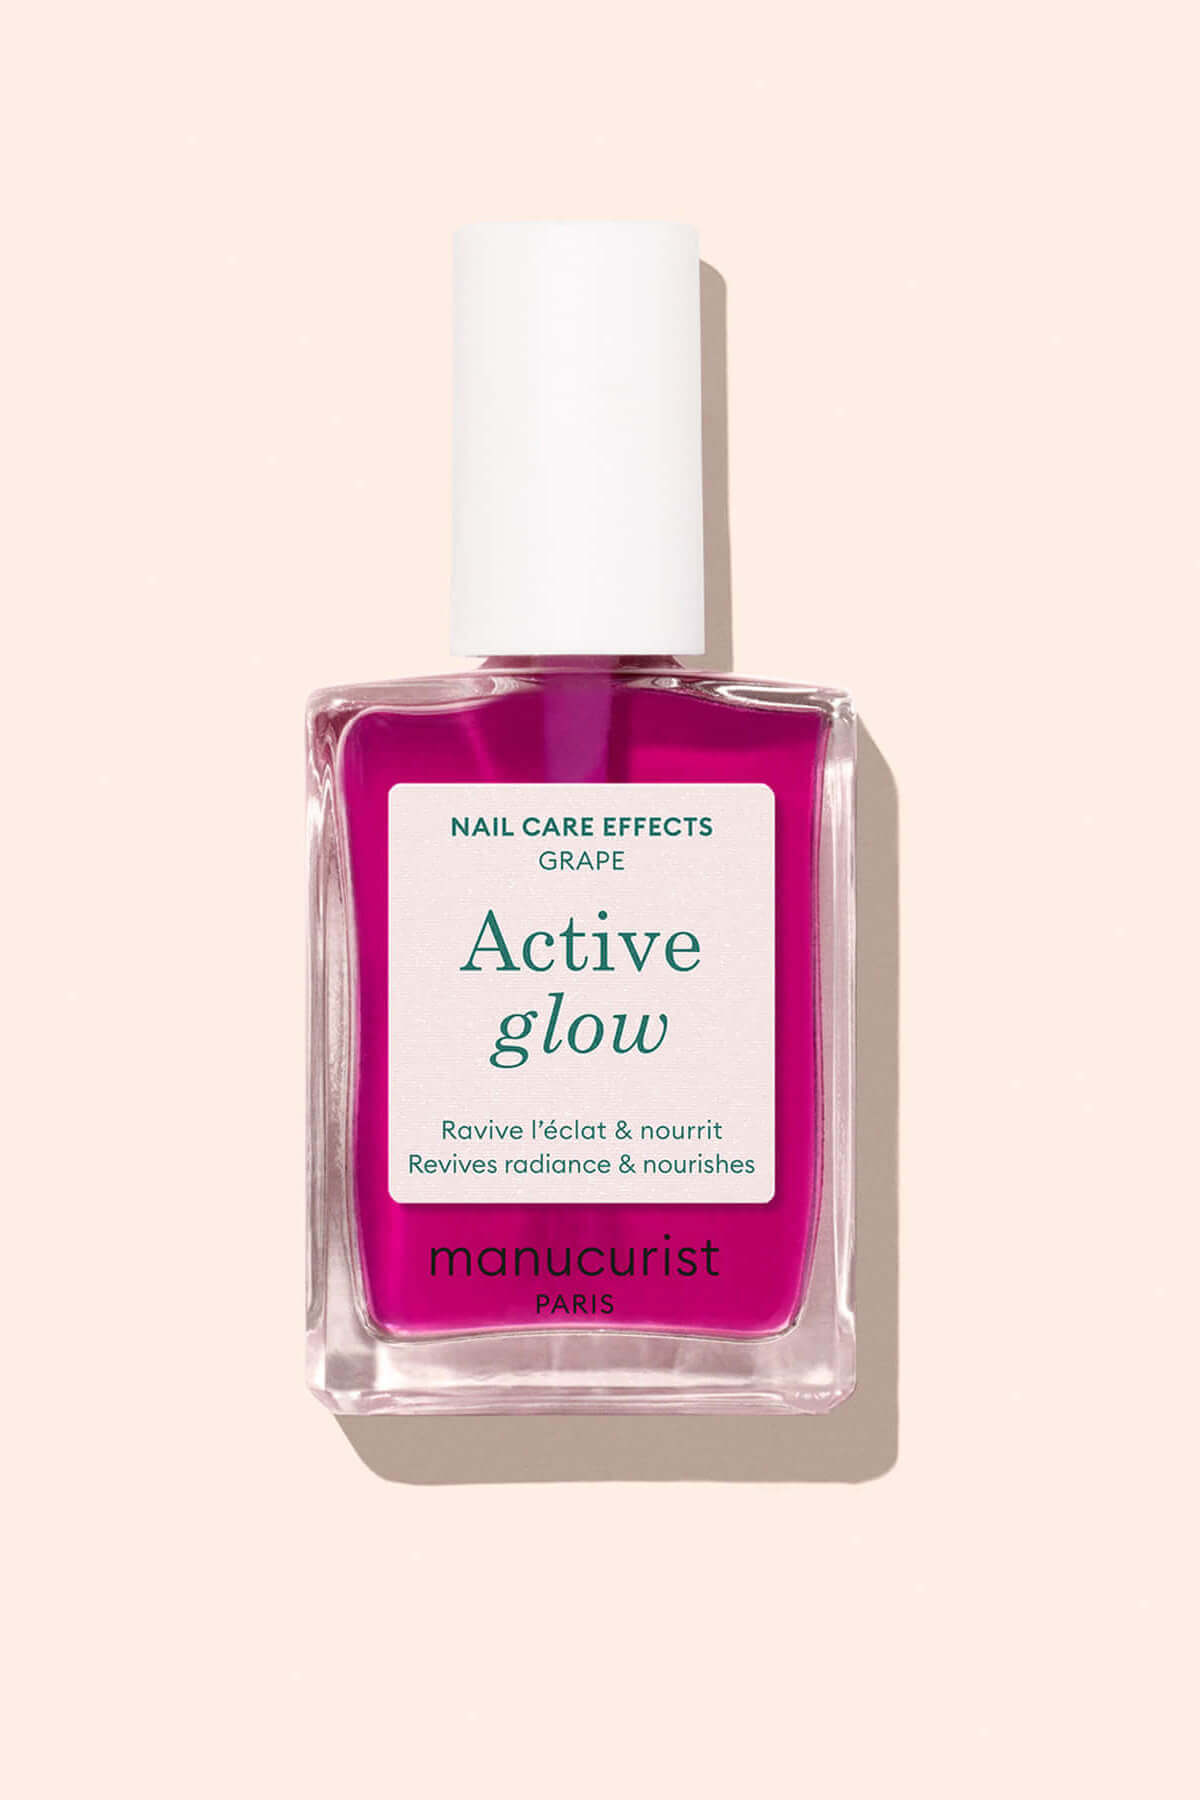
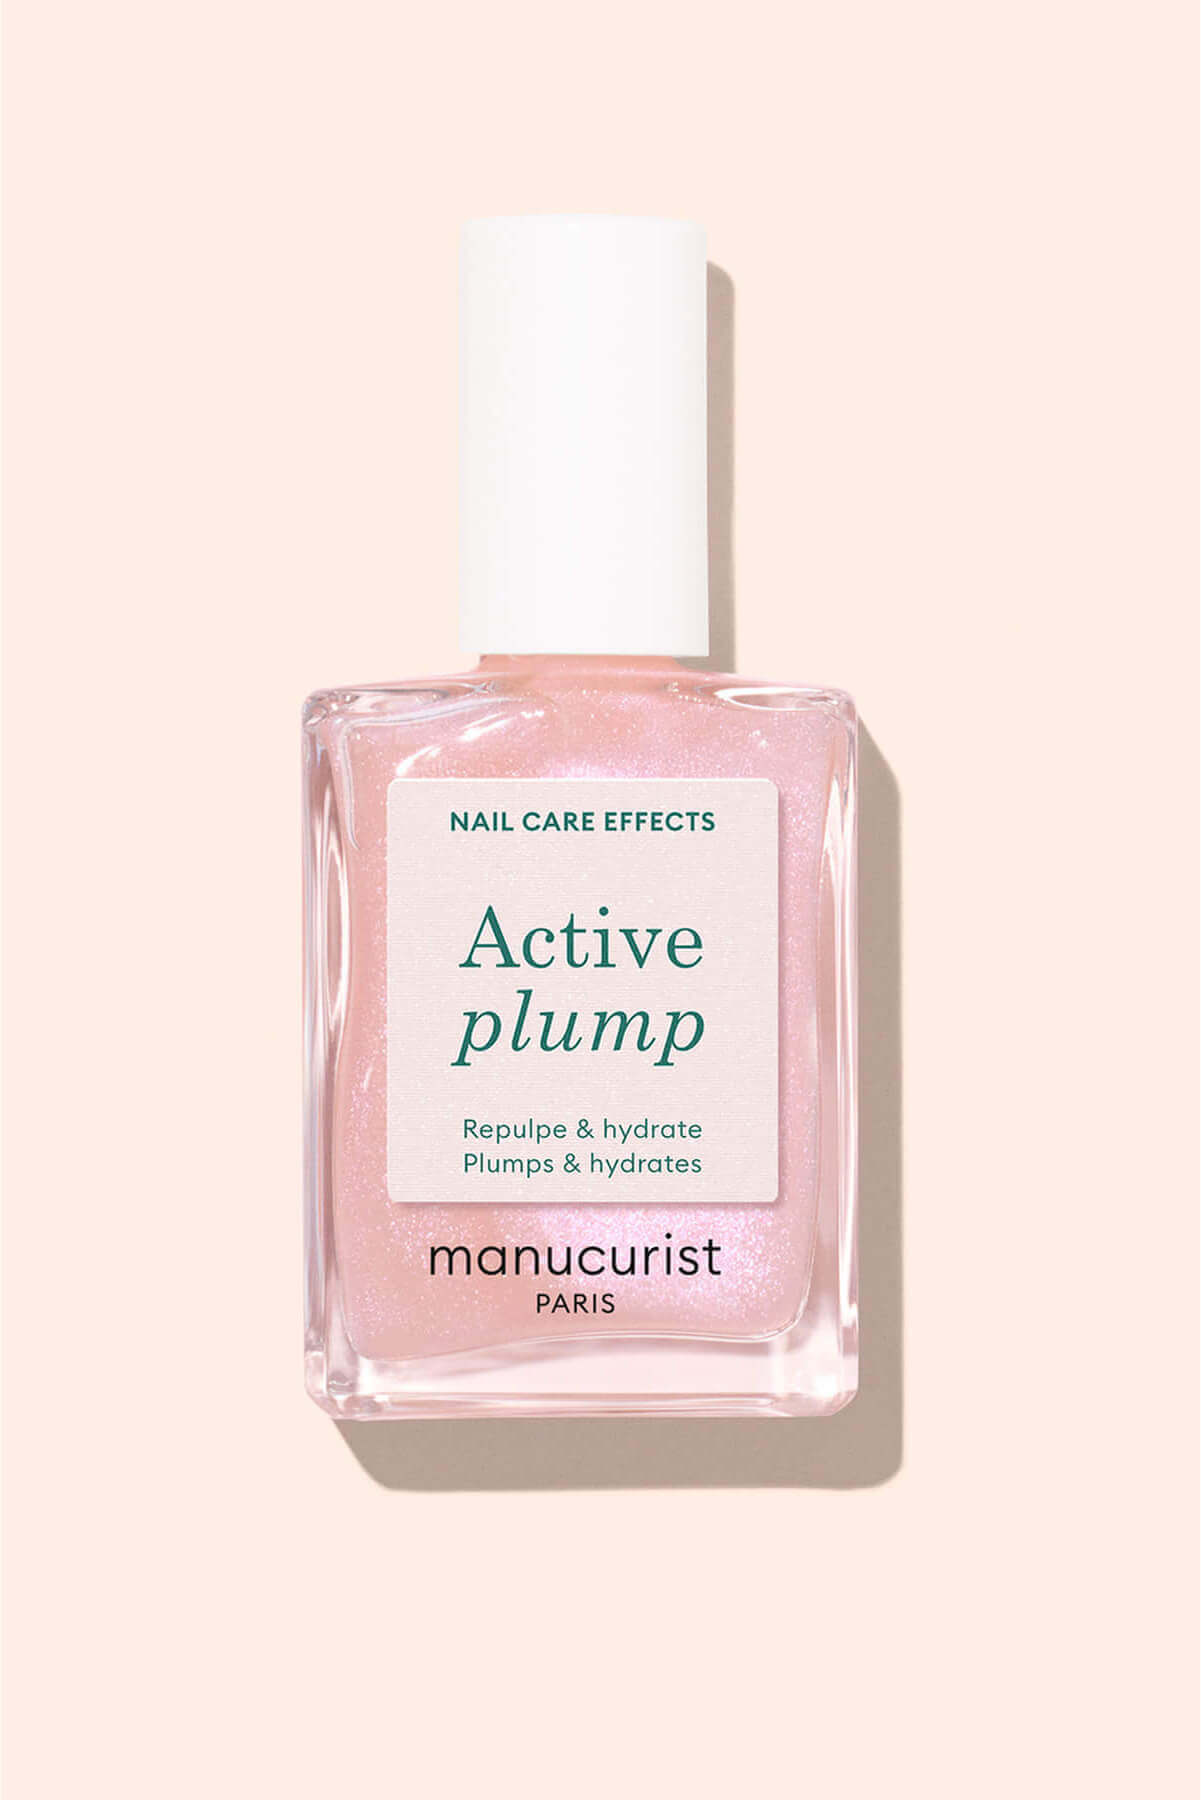
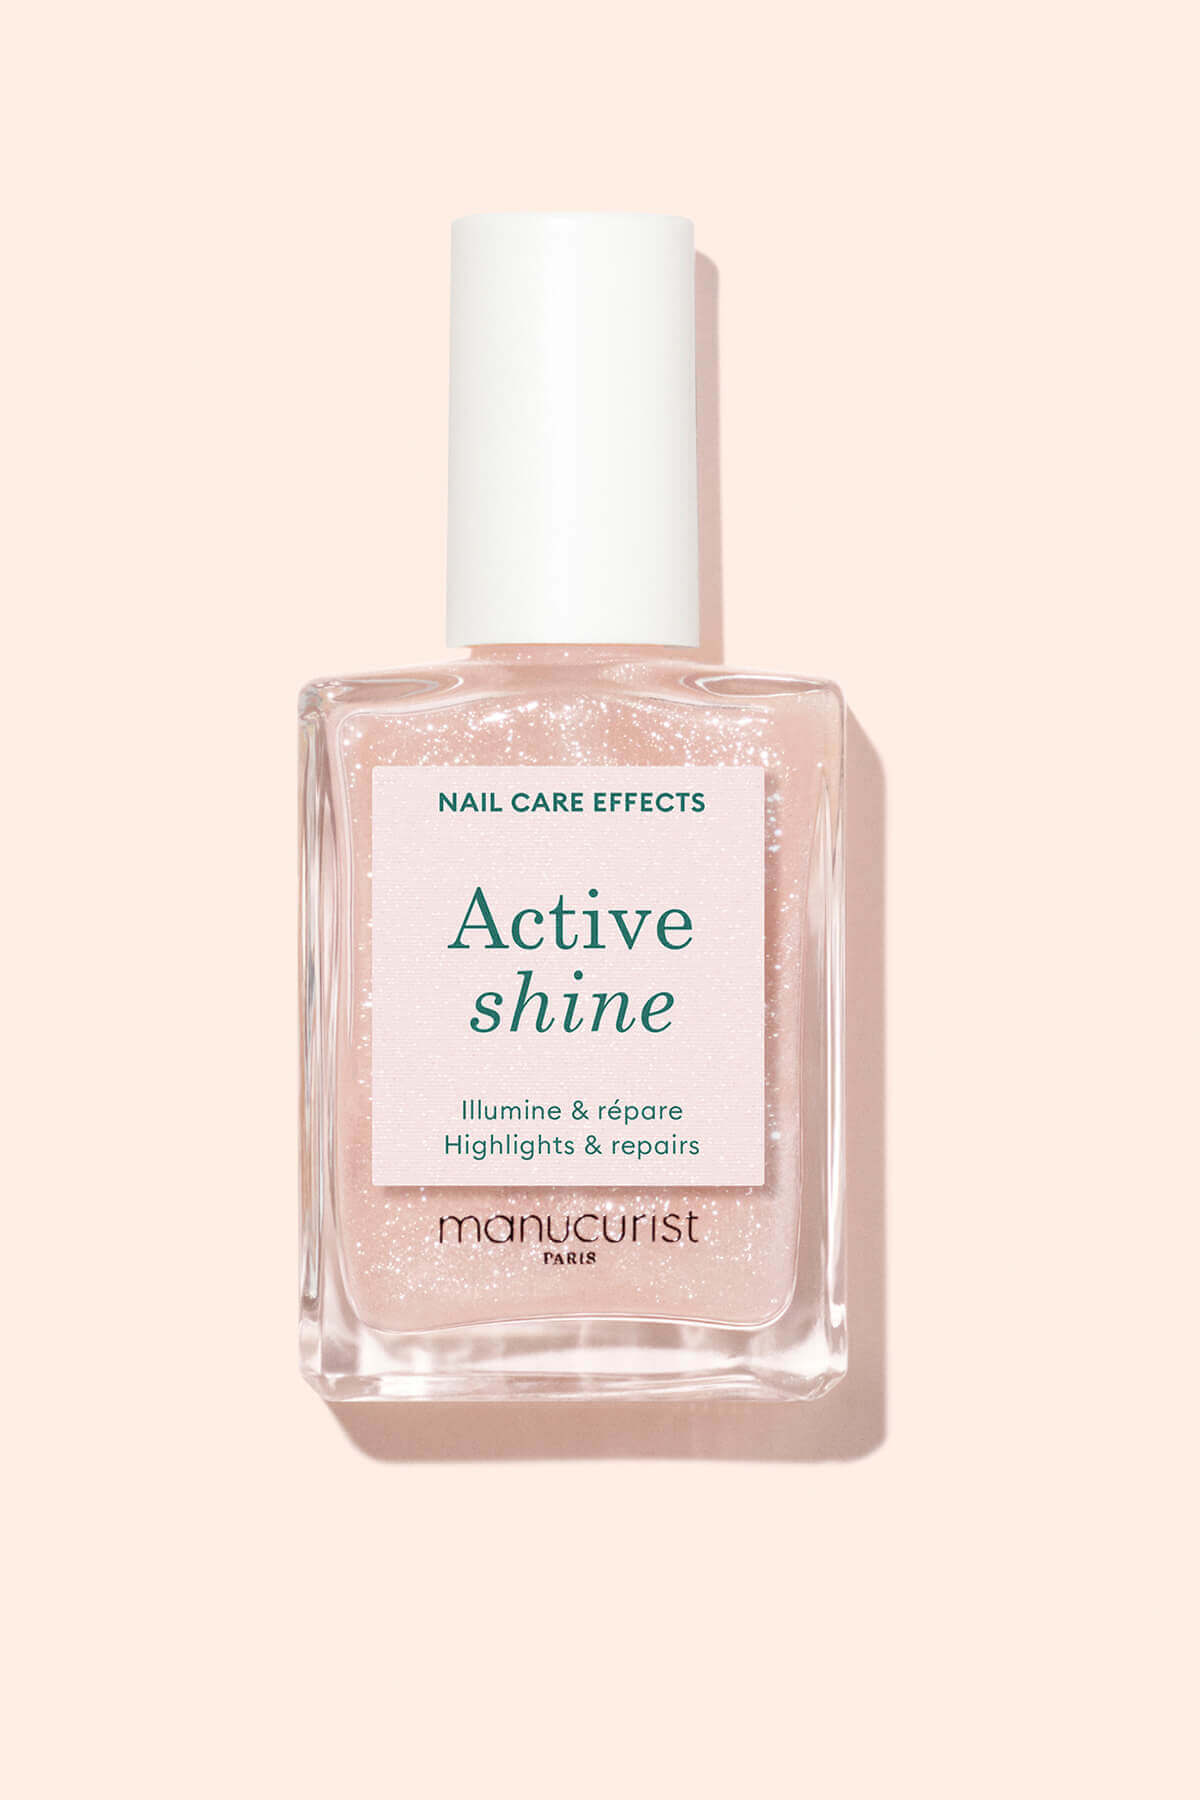
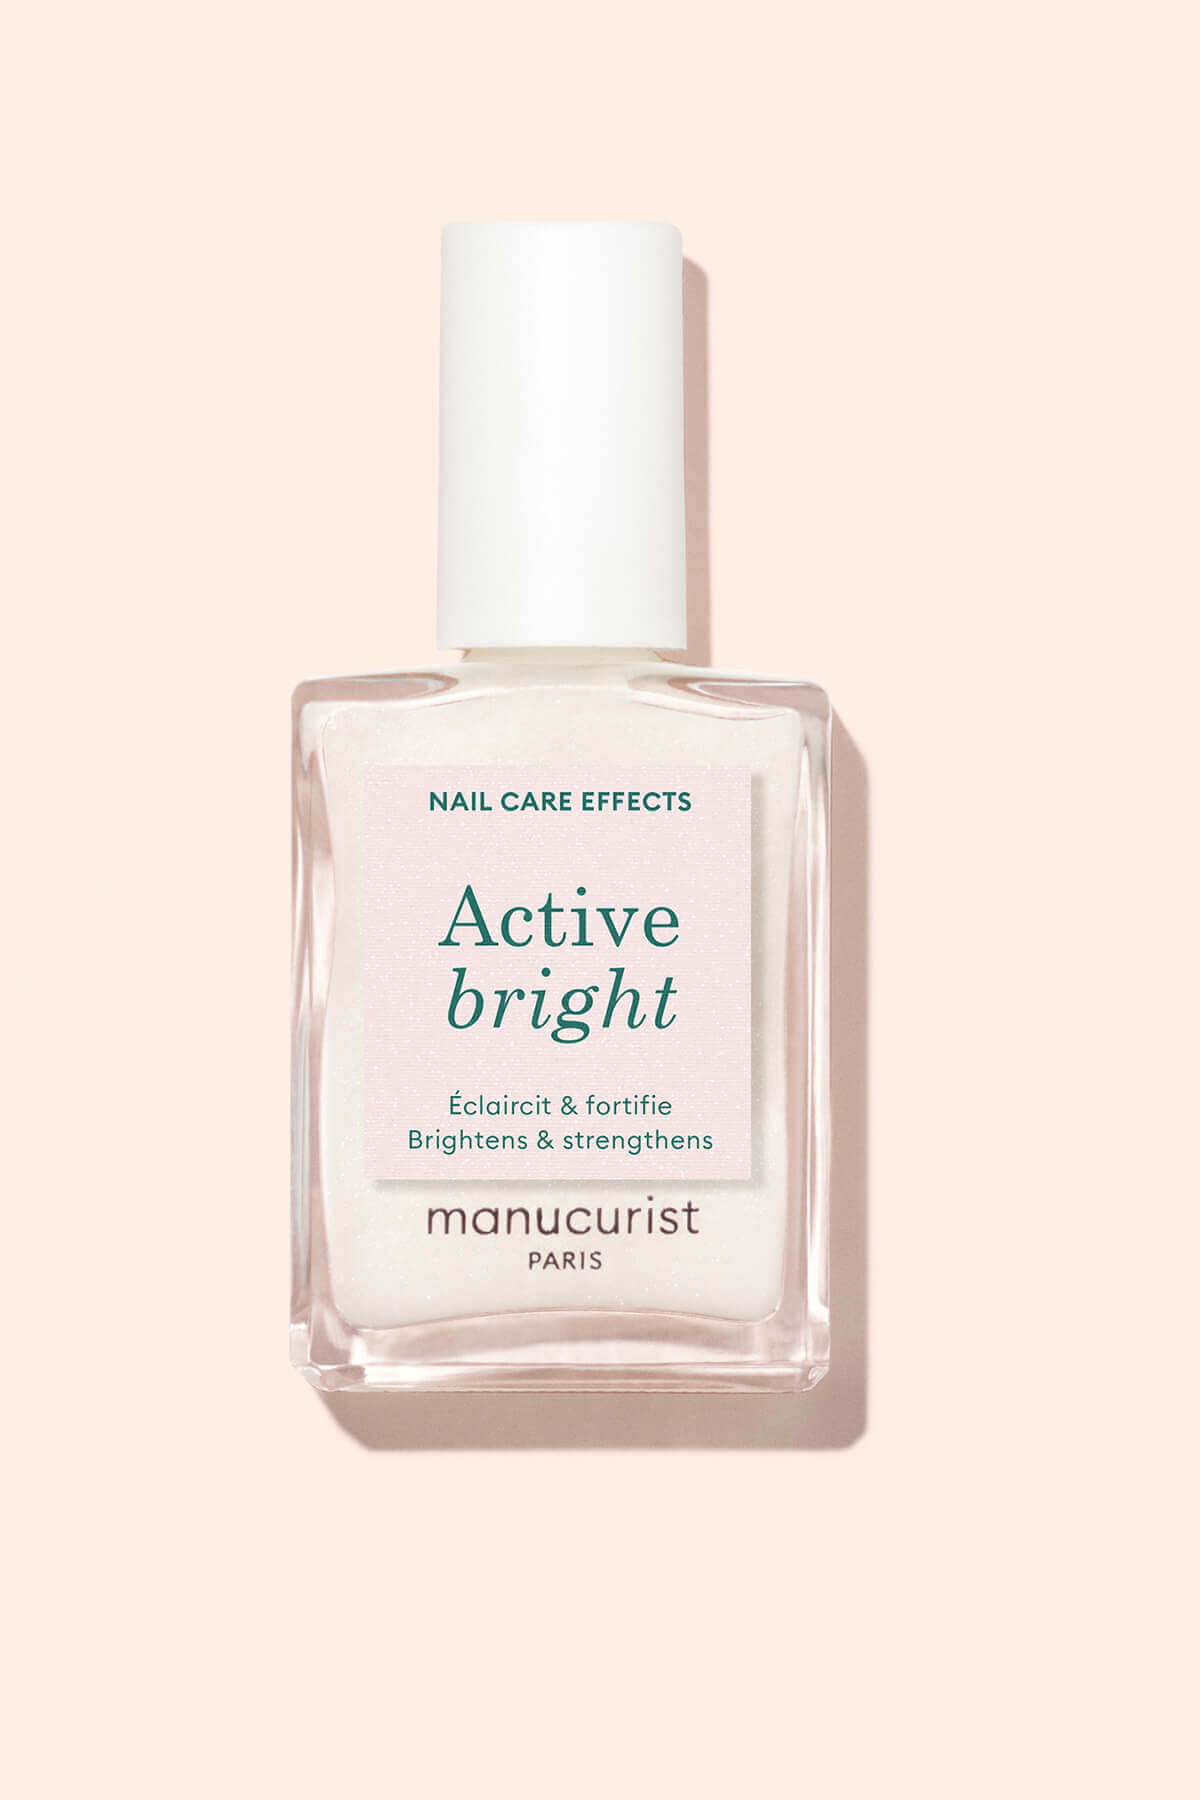
- Combine make-up and nail repair in one step with Active™ care polishes. Glossy, smoothing, strengthening or illuminating effect: find the right Active™ polish to strengthen your nails beautifully, until your next manicure.


Harsh removal can do far more damage to nails than applying gel polish or gel extensions. The only removal technique worth using is one that respects the integrity of the nail. Whether you choose to remove your polish in a salon or at home, the priority is following a safe removal protocol to keep your nails in top shape for your next manicure.