

Is your nail polish chipping as fast as wet paint in the rain? Weakened nails, rushed prep, or seemingly harmless everyday habits can all sabotage a great manicure. Don't panic! Here's your guide to why and how polish chips, plus expert tips for vibrant, chip-resistant colour!
Key takeaways:
- Chipping nail polish is almost always caused by a step missed at one of 3 stages: before, during, or after application.
- Before: soft, brittle, or splitting nails (weakened keratin) prevent polish from adhering.
- During: insufficient prep or incorrect application will compromise wear time.
- After: hot water, cleaning products, and micro-impacts speed up chipping.
The solution: thorough prep + expert application (4-coat routine) + daily protection.
Why is my nail polish chipping?
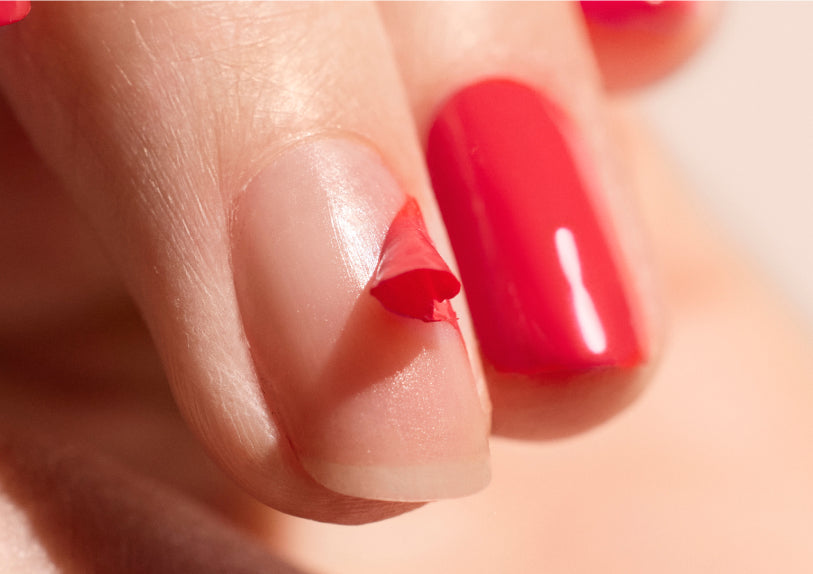
Nail polish chipping after just a few days is often due to a missed step at one of 3 stages: before, during, or after application.
Before application: weakened nails
Soft, brittle, or splitting nails are among the leading causes of prematurely chipping nail polish. The culprit? Keratin, the essential protein that structures the nail, can be weakened by several factors:
- a vitamin or mineral deficiency, particularly in zinc, iron, or vitamin B,
- repeated minor impacts or bitten nails,
- a lack of hydration that promotes micro-cracks—invisible to the naked eye—which prevent nail polish from adhering properly.
👉 Go deeper: check out our dedicated article on nail keratin to better understand its role and how to strengthen it.

Need to boost your keratin proteins to regenerate your nails? Go for the Keratin Booster.
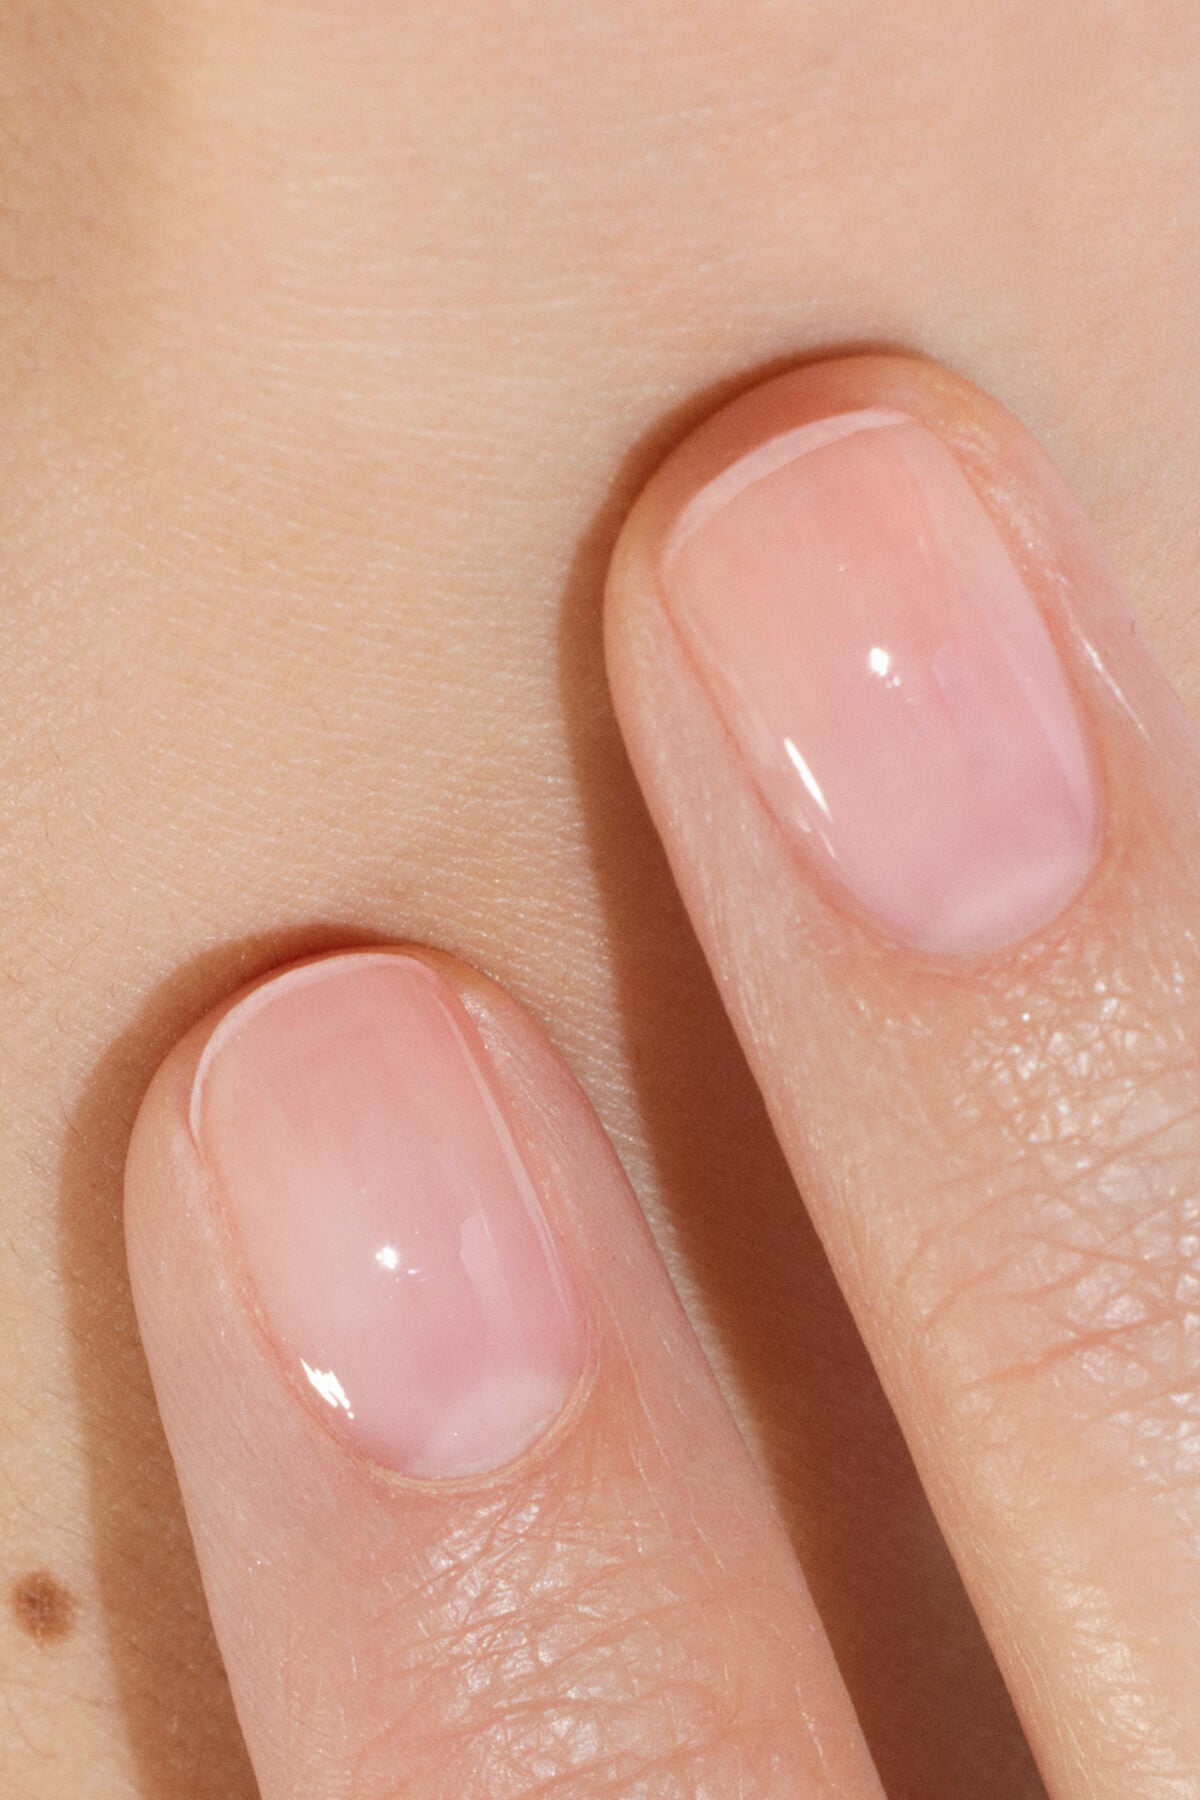
(@look8thenails)
During application: insufficient nail prep or poorly applied polish
Keep in mind that long wear starts before the very first coat! Several factors can get in the way:
- Insufficient prep: cuticles encroaching on the nail plate, or a nail plate that hasn't been degreased or lightly buffed, can prevent colour from adhering.
- Improper polish application: coats applied too thick, insufficient drying or curing time, skipping Base Coat and Top Coat—all easy mistakes to avoid for a picture-perfect manicure.
- Mismatched products: mixing different brands can compromise wear time. Within each range, formulas are designed to work in perfect synergy for optimal performance.

A clean, smooth surface is the key to getting the longest wear from your polish.
After application: habits to avoid
Even a flawless application can chip if your manicure isn't protected. Here is what to avoid at all costs:
- prolonged exposure to hot water (washing up, hot baths, or hot showers) can slightly expand the nail and lift the polish layer,
- cleaning products can damage the surface of the polish,
- micro-impacts (like opening a can or typing on a keyboard) can damage the edges of the nail.

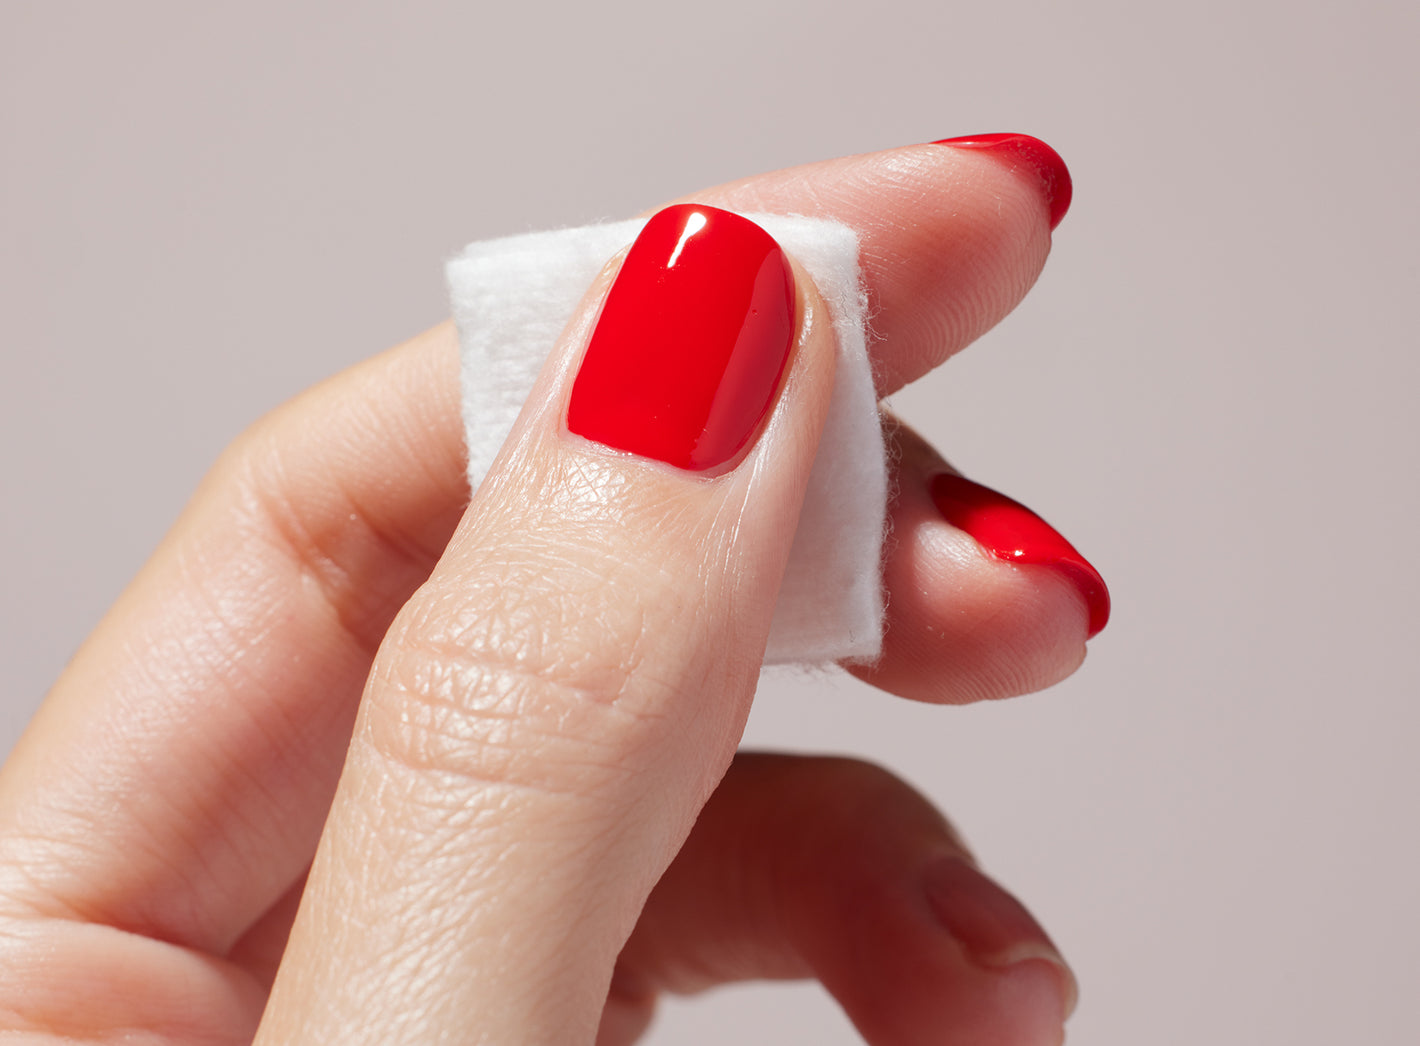
Hot water, cleaning, rough handling: protect your manicure every day. (@Unsplash)
How to keep nail polish from chipping
The good news? A few easy steps are all it takes to keep your pretty manicure looking fresh for longer.
Prepping your nails like a pro
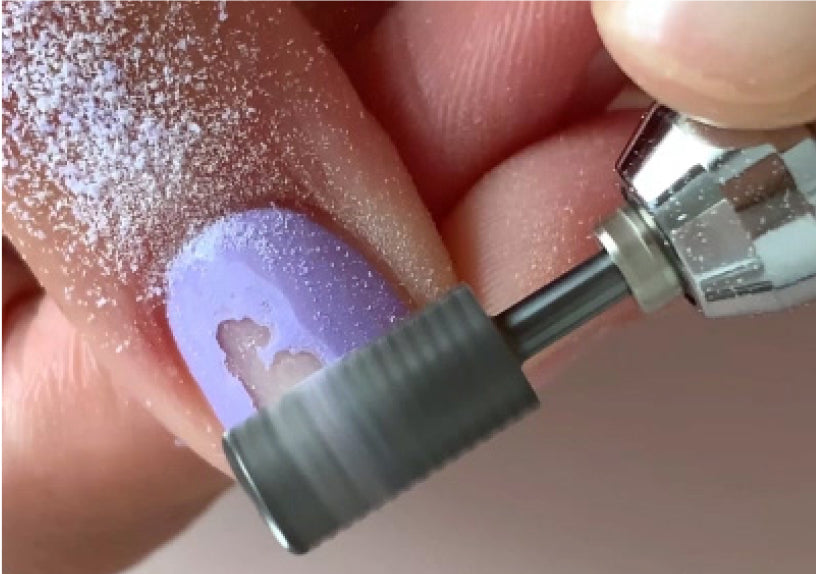
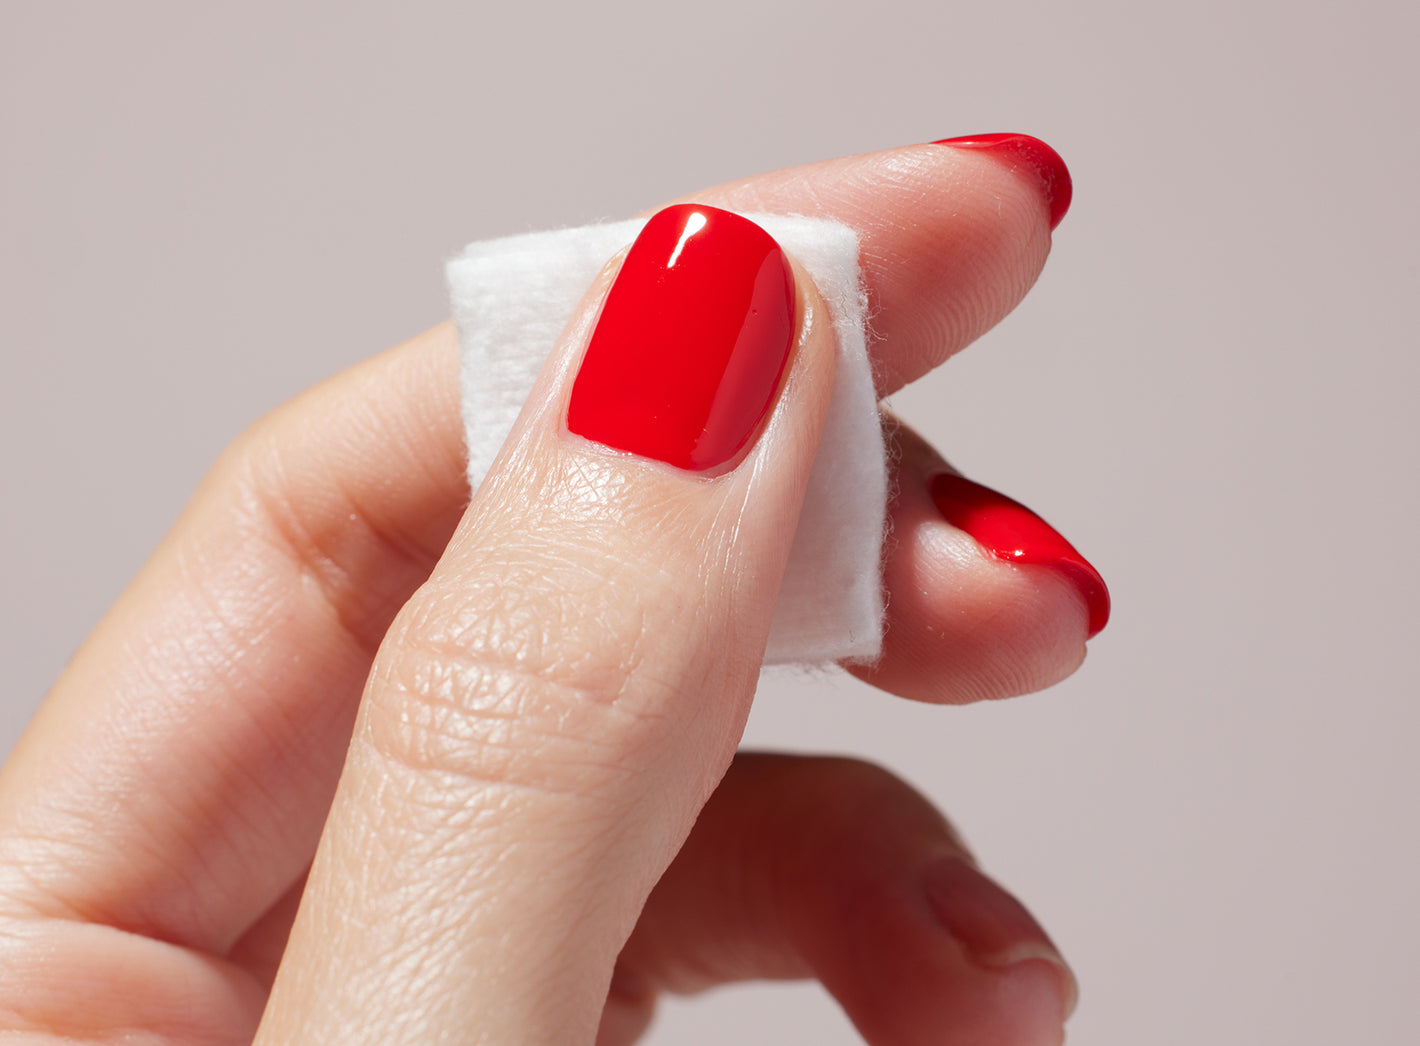
Before reaching for your nail polish, give your nails some TLC. After you file your nails, care for your cuticles: apply a drop of cuticle softener to soften them, then gently push them back. Using a suitable file or buffer, gently buff the surface to smooth it and open the keratin scales for optimal polish adhesion. Finally, don't forget to degrease your nails with a nail cleanser or gentle remover.
👉 Find out more in our dedicated article on nail prep!

Before colour: the right steps for flawless adhesion.
To sum up:
- Before application: nails weakened by deficiencies (zinc, iron, vitamin B), repeated impacts, nail biting, or a lack of moisture causing micro-cracks that hinder adhesion.
- During application: cuticles overlapping the nail plate, nail not degreased or buffed enough, coats too thick, insufficient drying, skipping base or top coat, or mixing brands.
- After application: prolonged exposure to hot water, contact with cleaning products, and micro-impacts.
The right application routines
Whether you're a fan of regular nail polish or gel polish, the golden rule is the same: a 4-coat application.
With regular nail polish
- Apply a layer of Base Coat to smooth the surface and improve polish wear.
- Apply two thin coats of colour, making sure to cap the free edge (a brush stroke along the tip to seal the colour).
- Finish with a thin layer of Top Coat to protect your manicure from chips and add shine.
- Let each coat dry for 1 to 2 minutes in open air, checking that the last coat is no longer tacky before applying the next.

Base Coat, two coats of colour, Top Coat: the perfect formula for a flawless manicure.
With gel polish
- Apply a layer of suitable protective base (Base Coat) and cure under an LED or UV lamp for the specified time.
- Apply the polish in two thin coats, making sure to cap the free edge, and cure each coat under the lamp for the recommended time (1 to 3 minutes depending on lamp power).
- Protect with a layer of Top Coat to seal the colour and add shine, making sure to cure this final layer under a UV or LED lamp.
To get the base, colour, top coat, and lamp all together, you can also start with a Green Flash™ gel polish starter kit.

With gel polish, follow the same routine, curing under a UV or LED lamp after each step.
Daily care for your nails
Nothing extends the life of your manicure like giving your nails regular care to make them stronger.
Make sure to hydrate them daily with a cuticle oil, like Green Oil, which deeply nourishes and hydrates the nail and nail contour.
If your nails are fragile, prone to softness, breakage, or splitting, opt for a tailored care routine by taking our Nail Diagnostic. A 2-week care routine will be recommended to restore strong nails that hold polish longer.
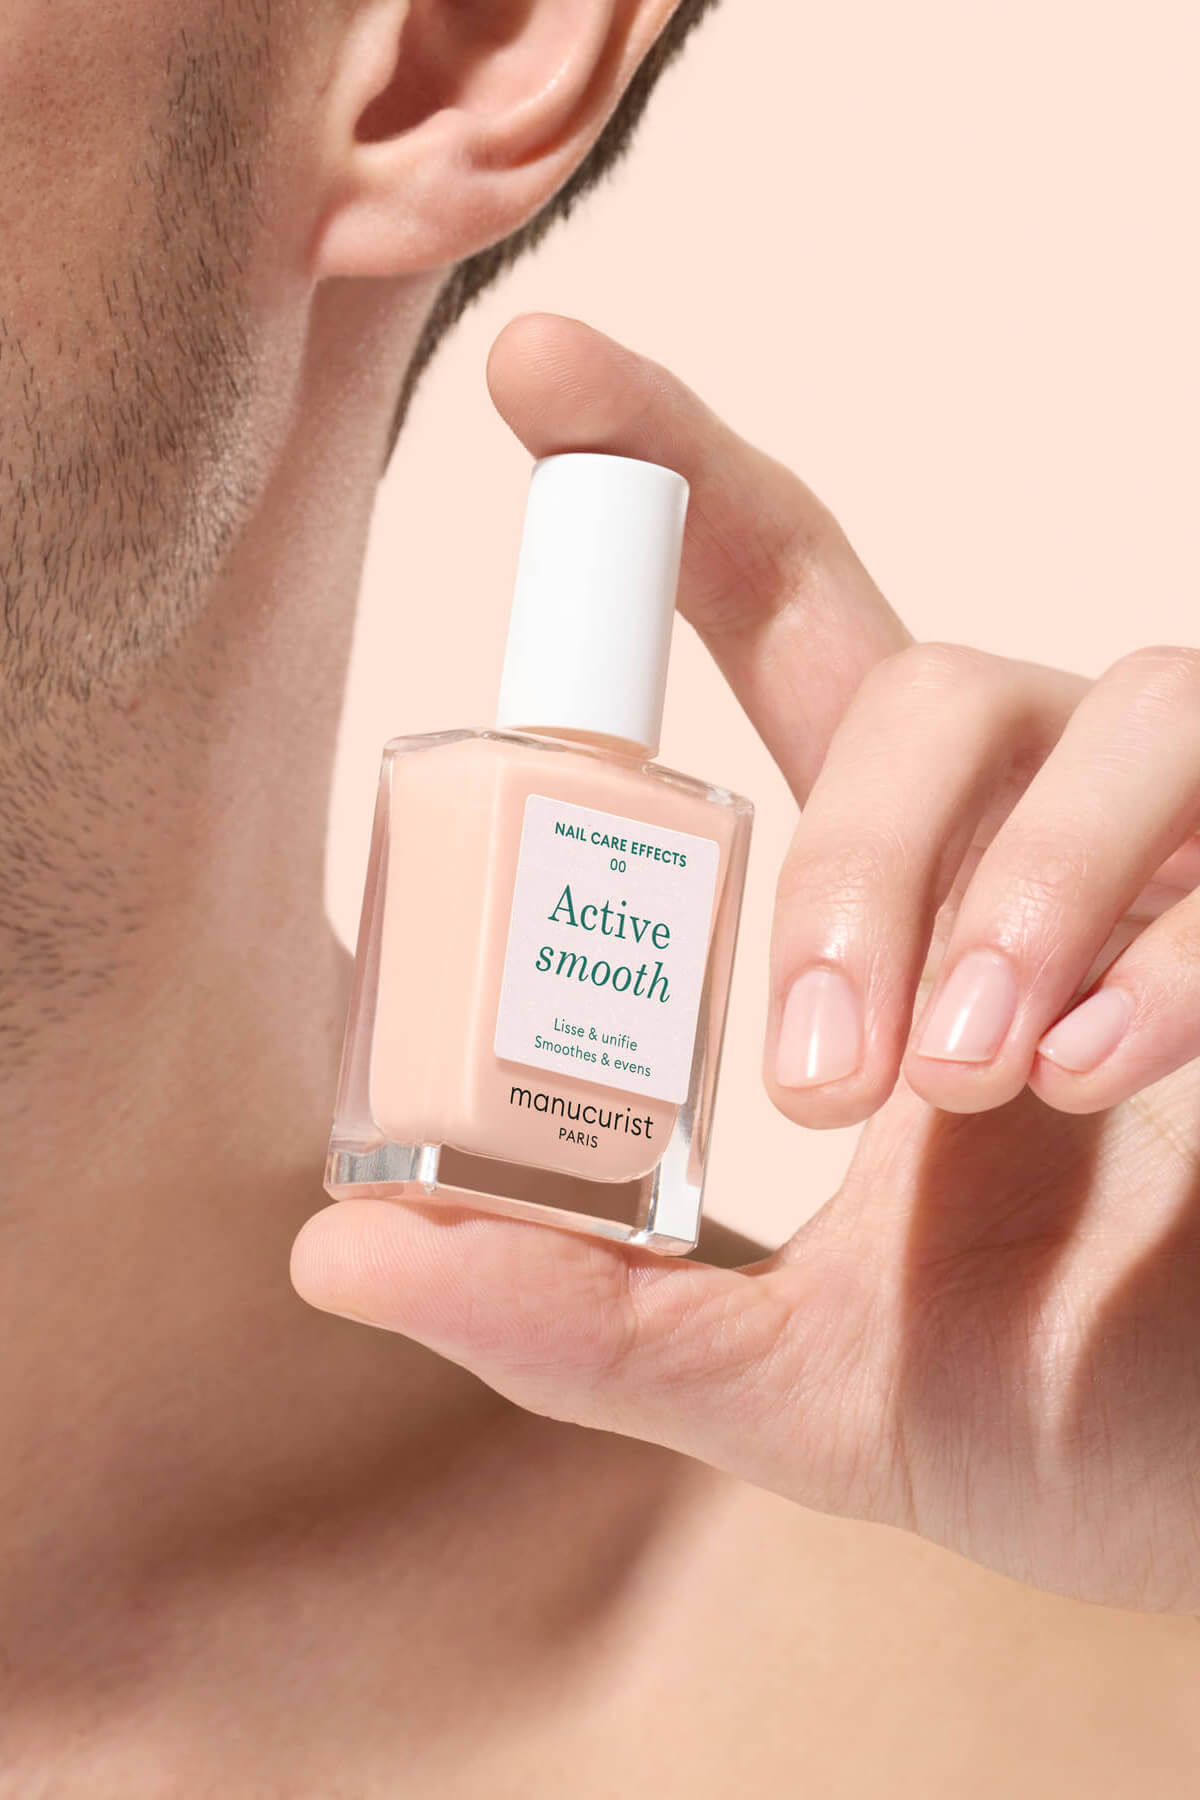
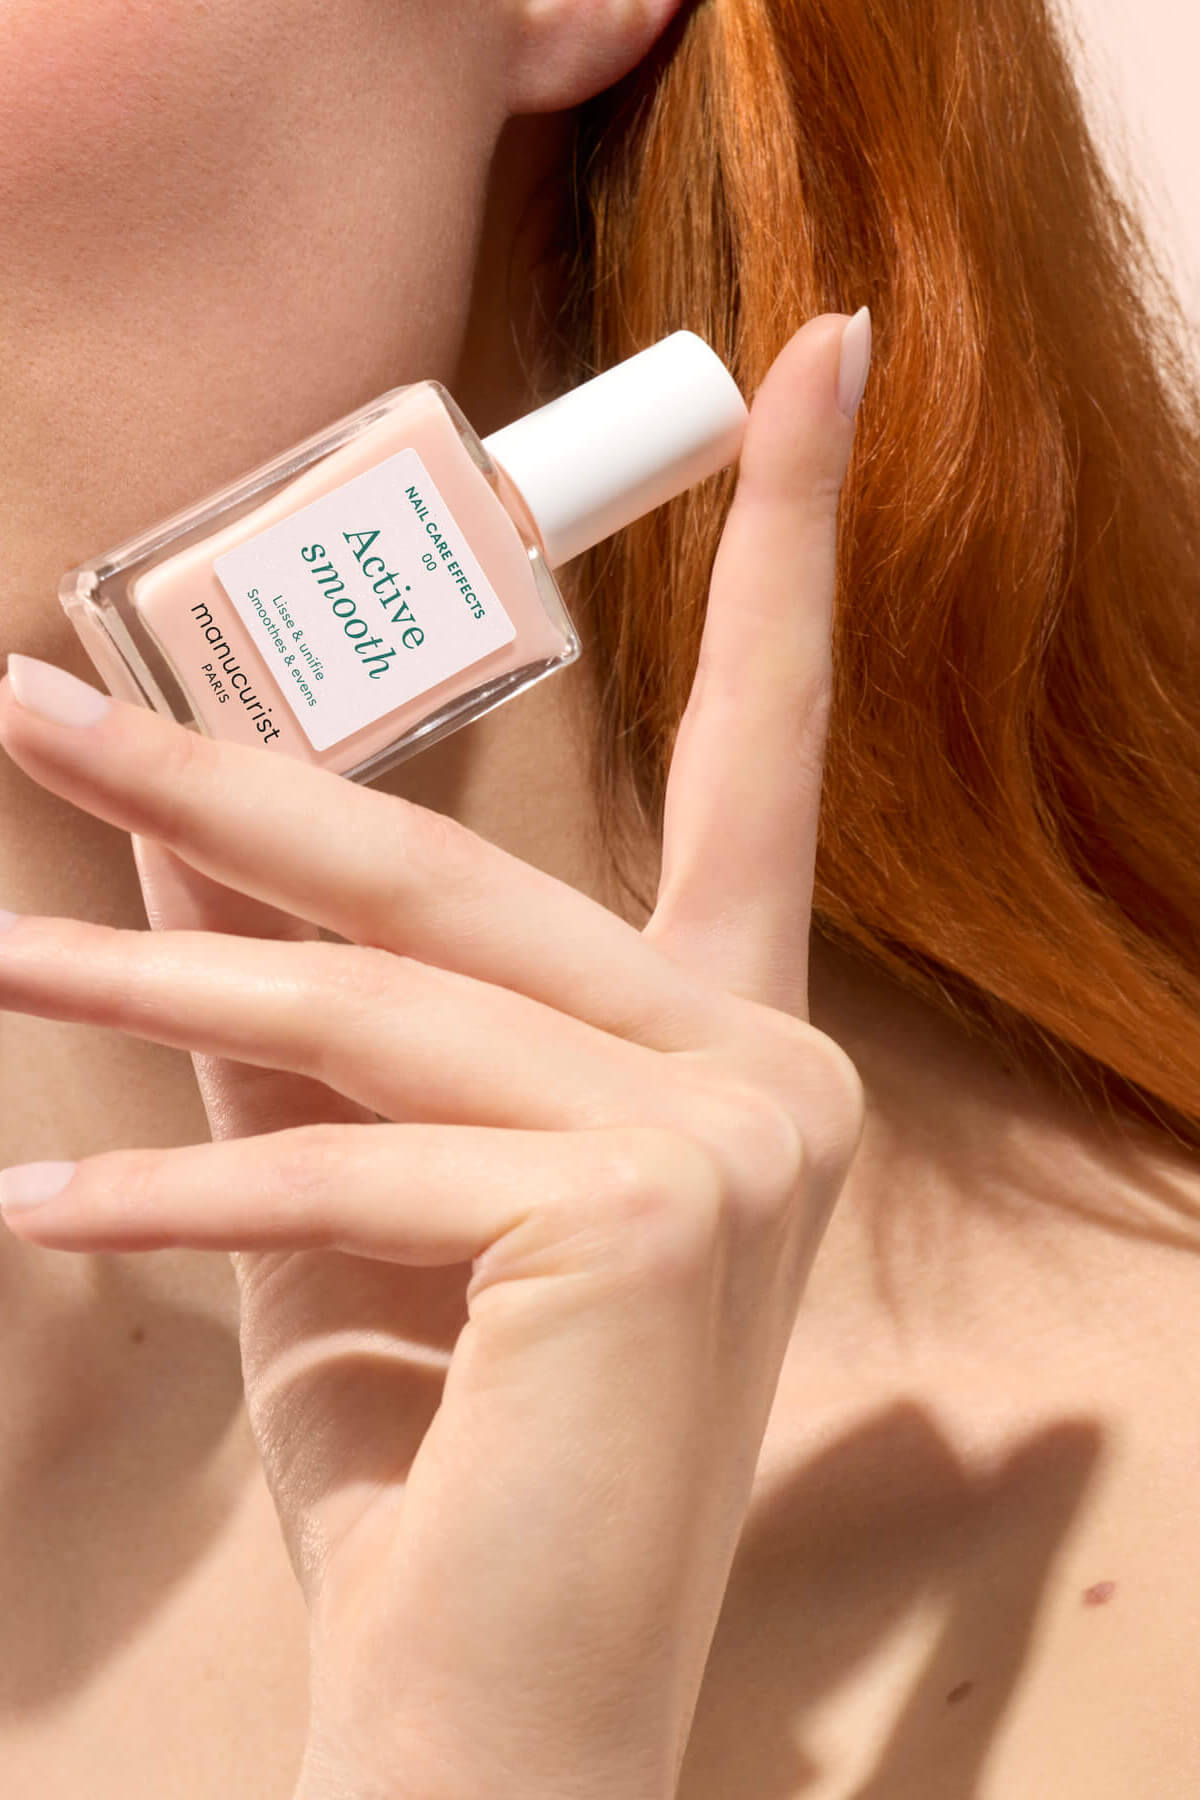
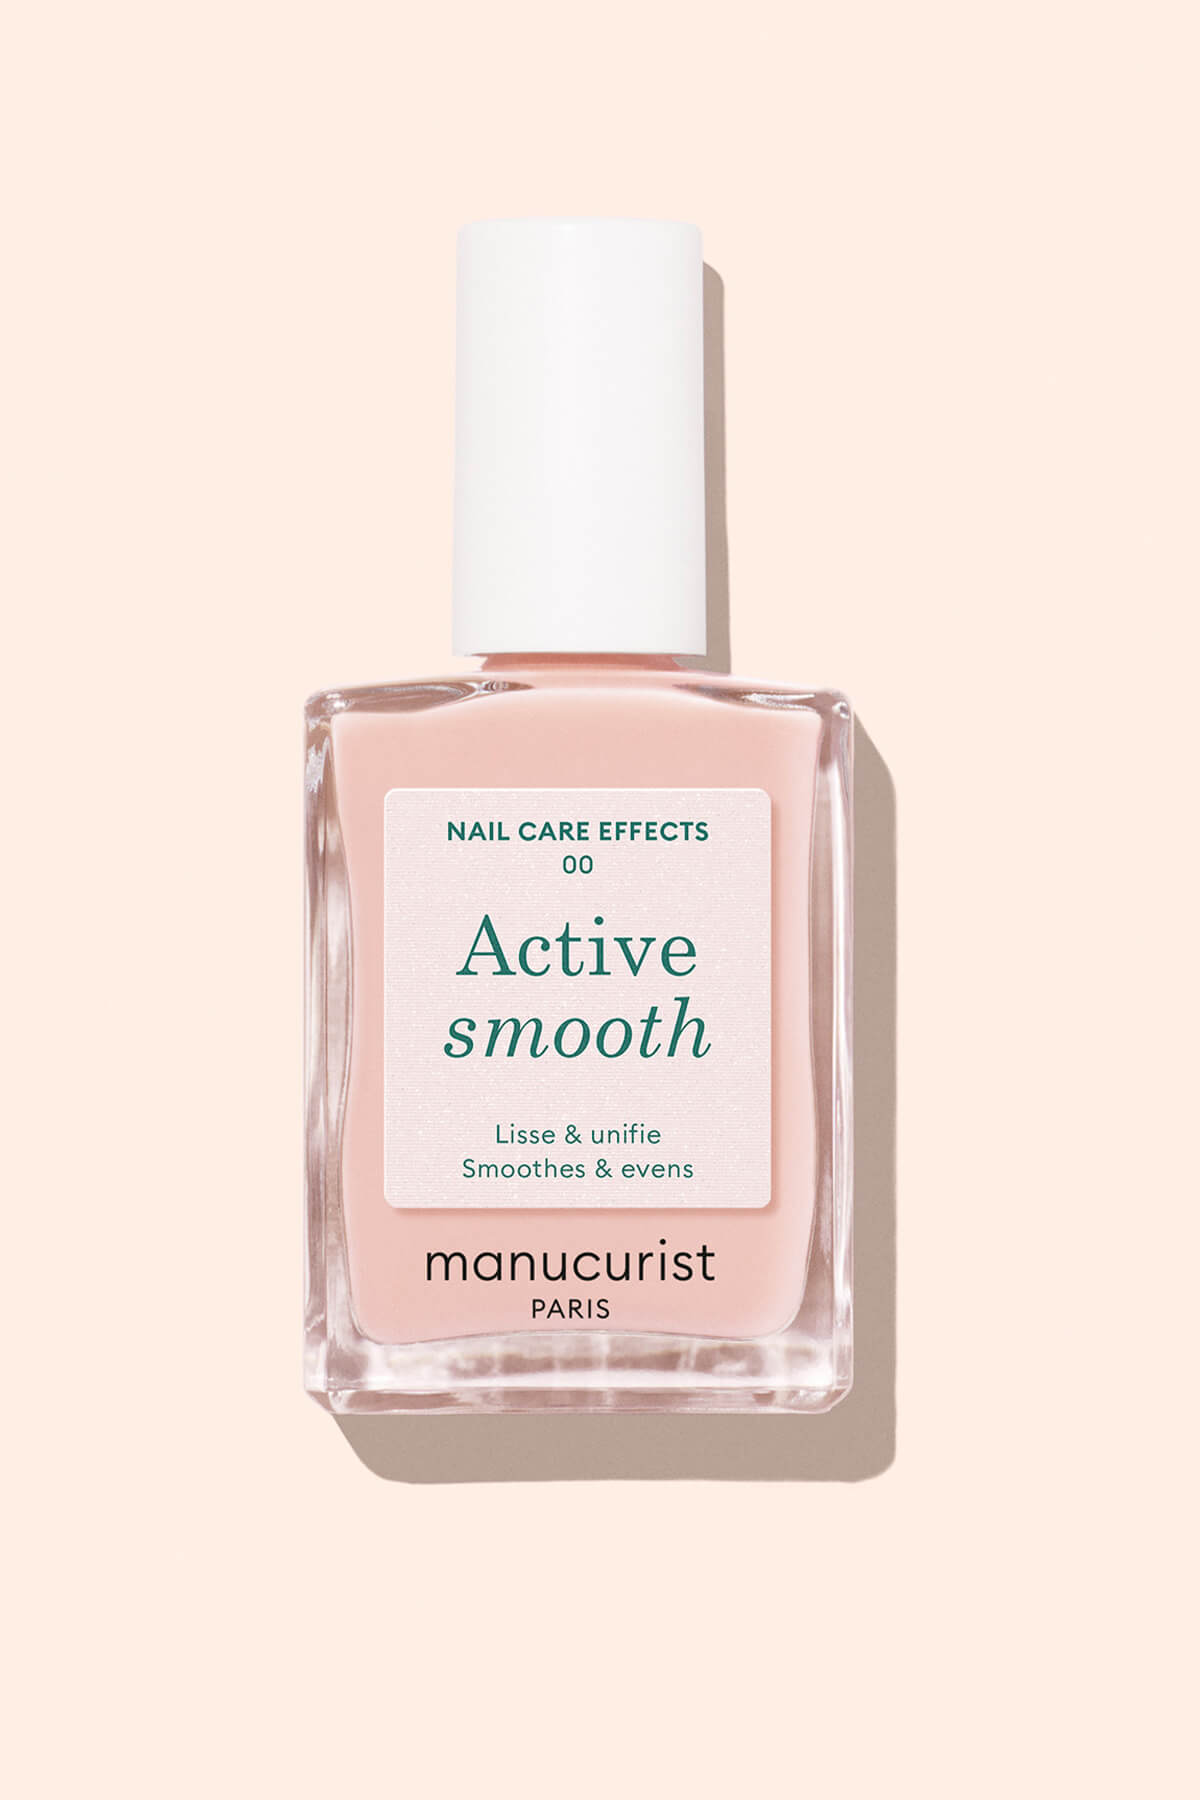
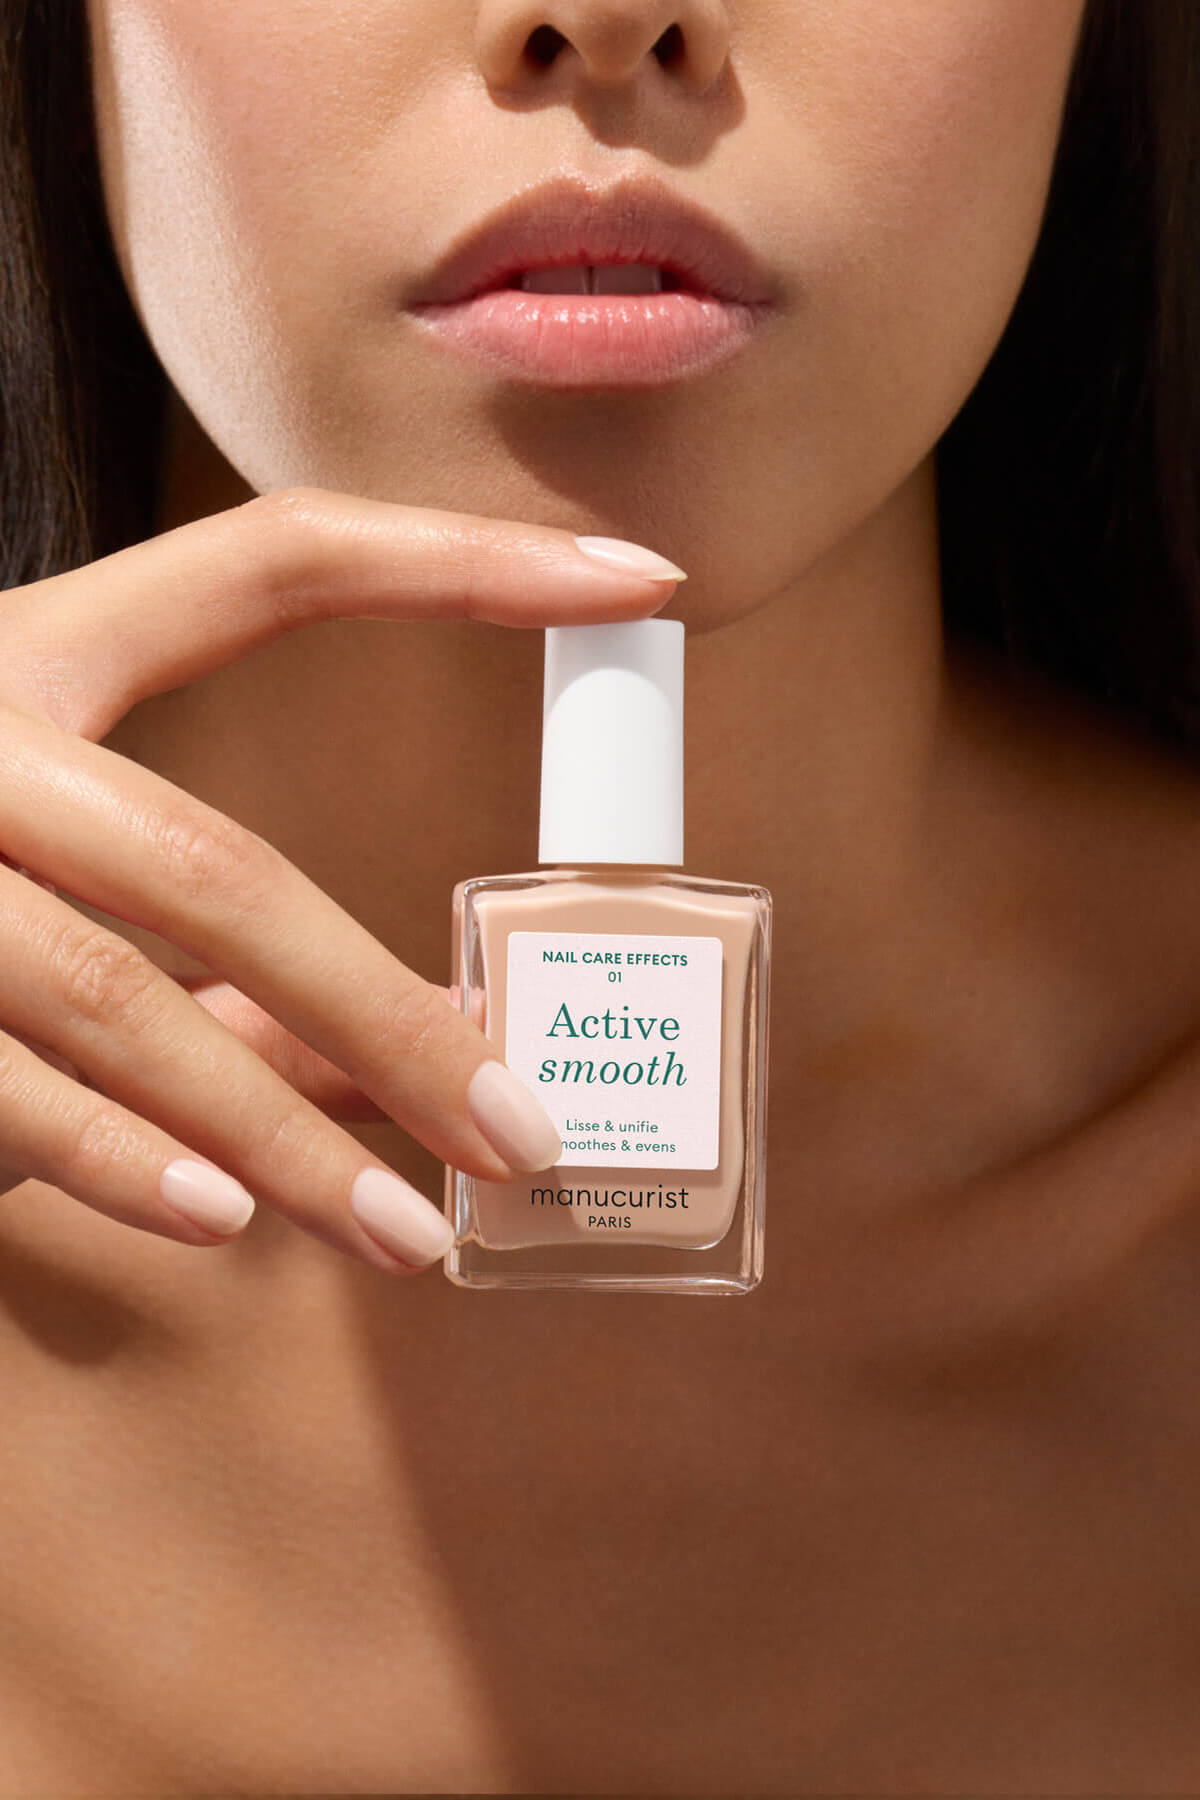
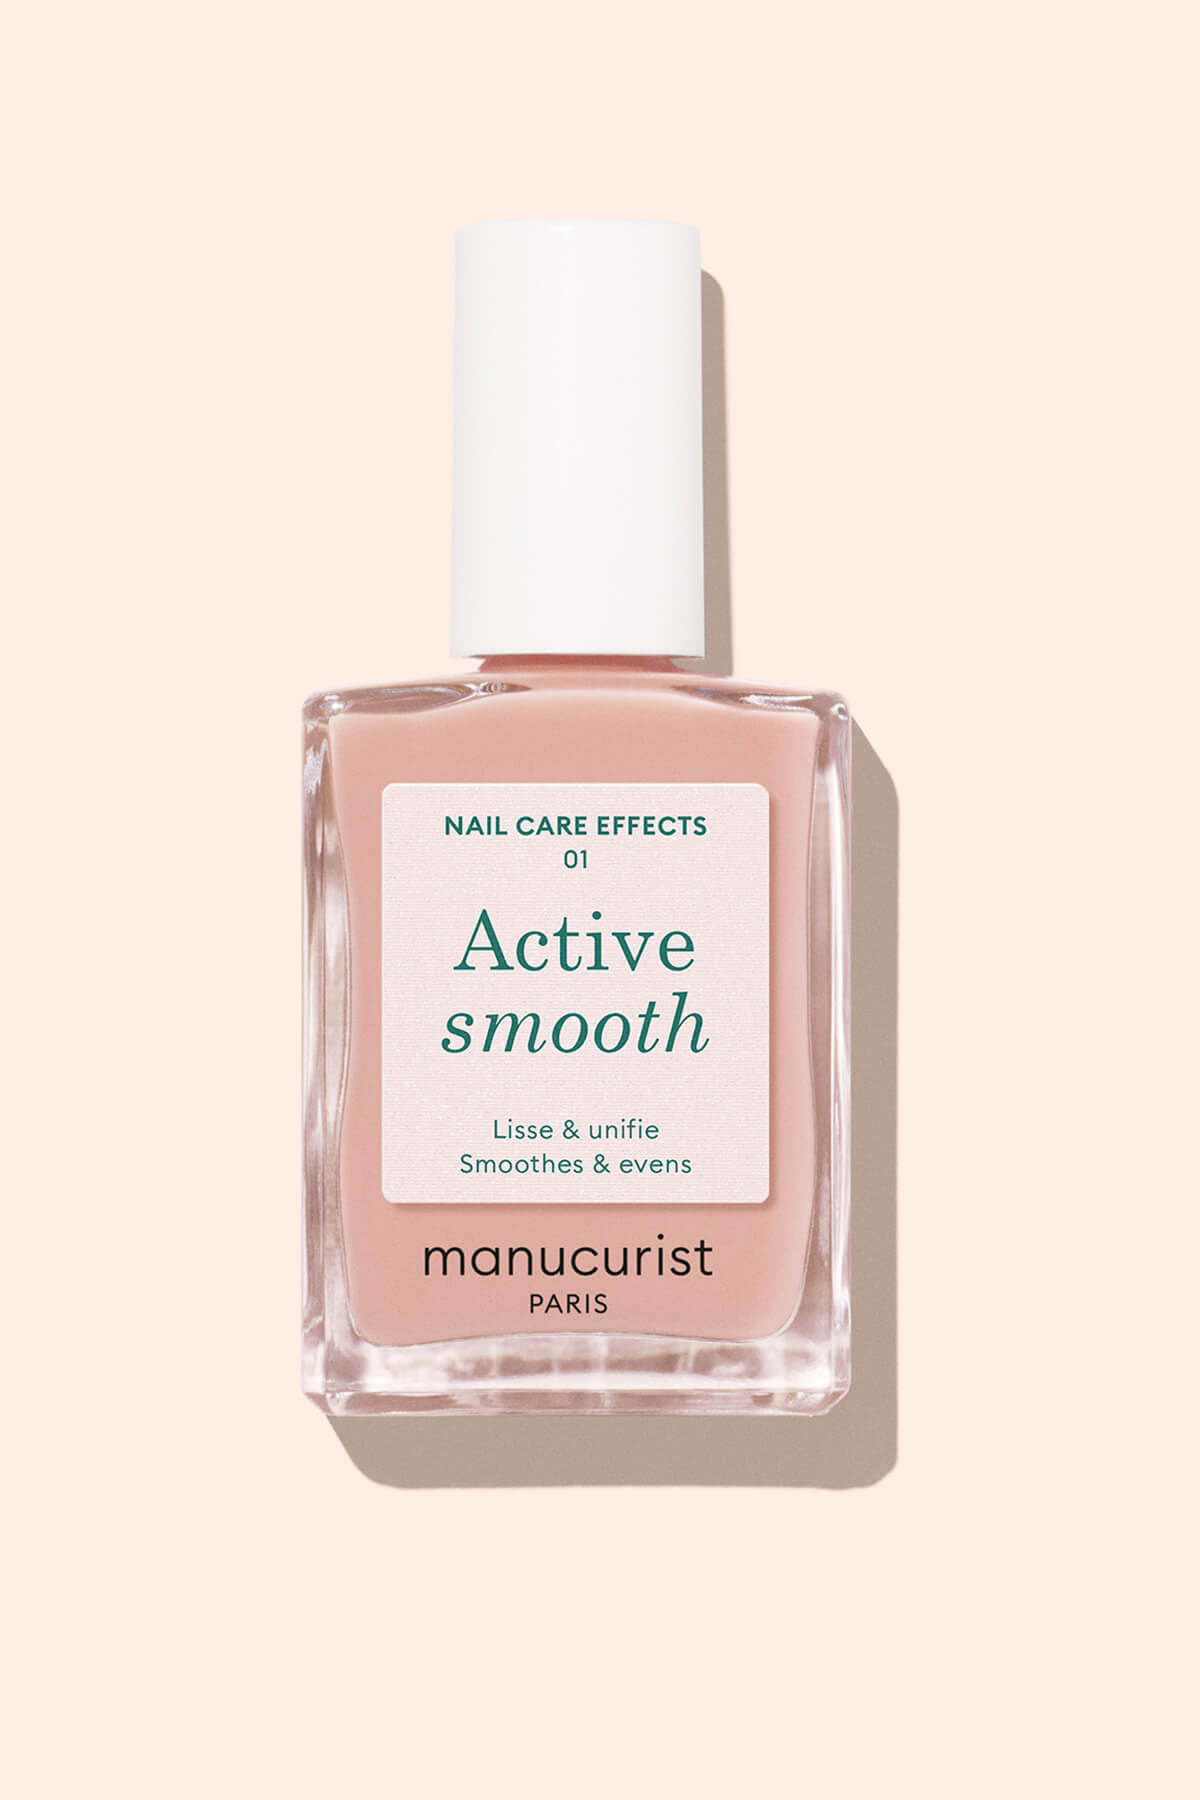
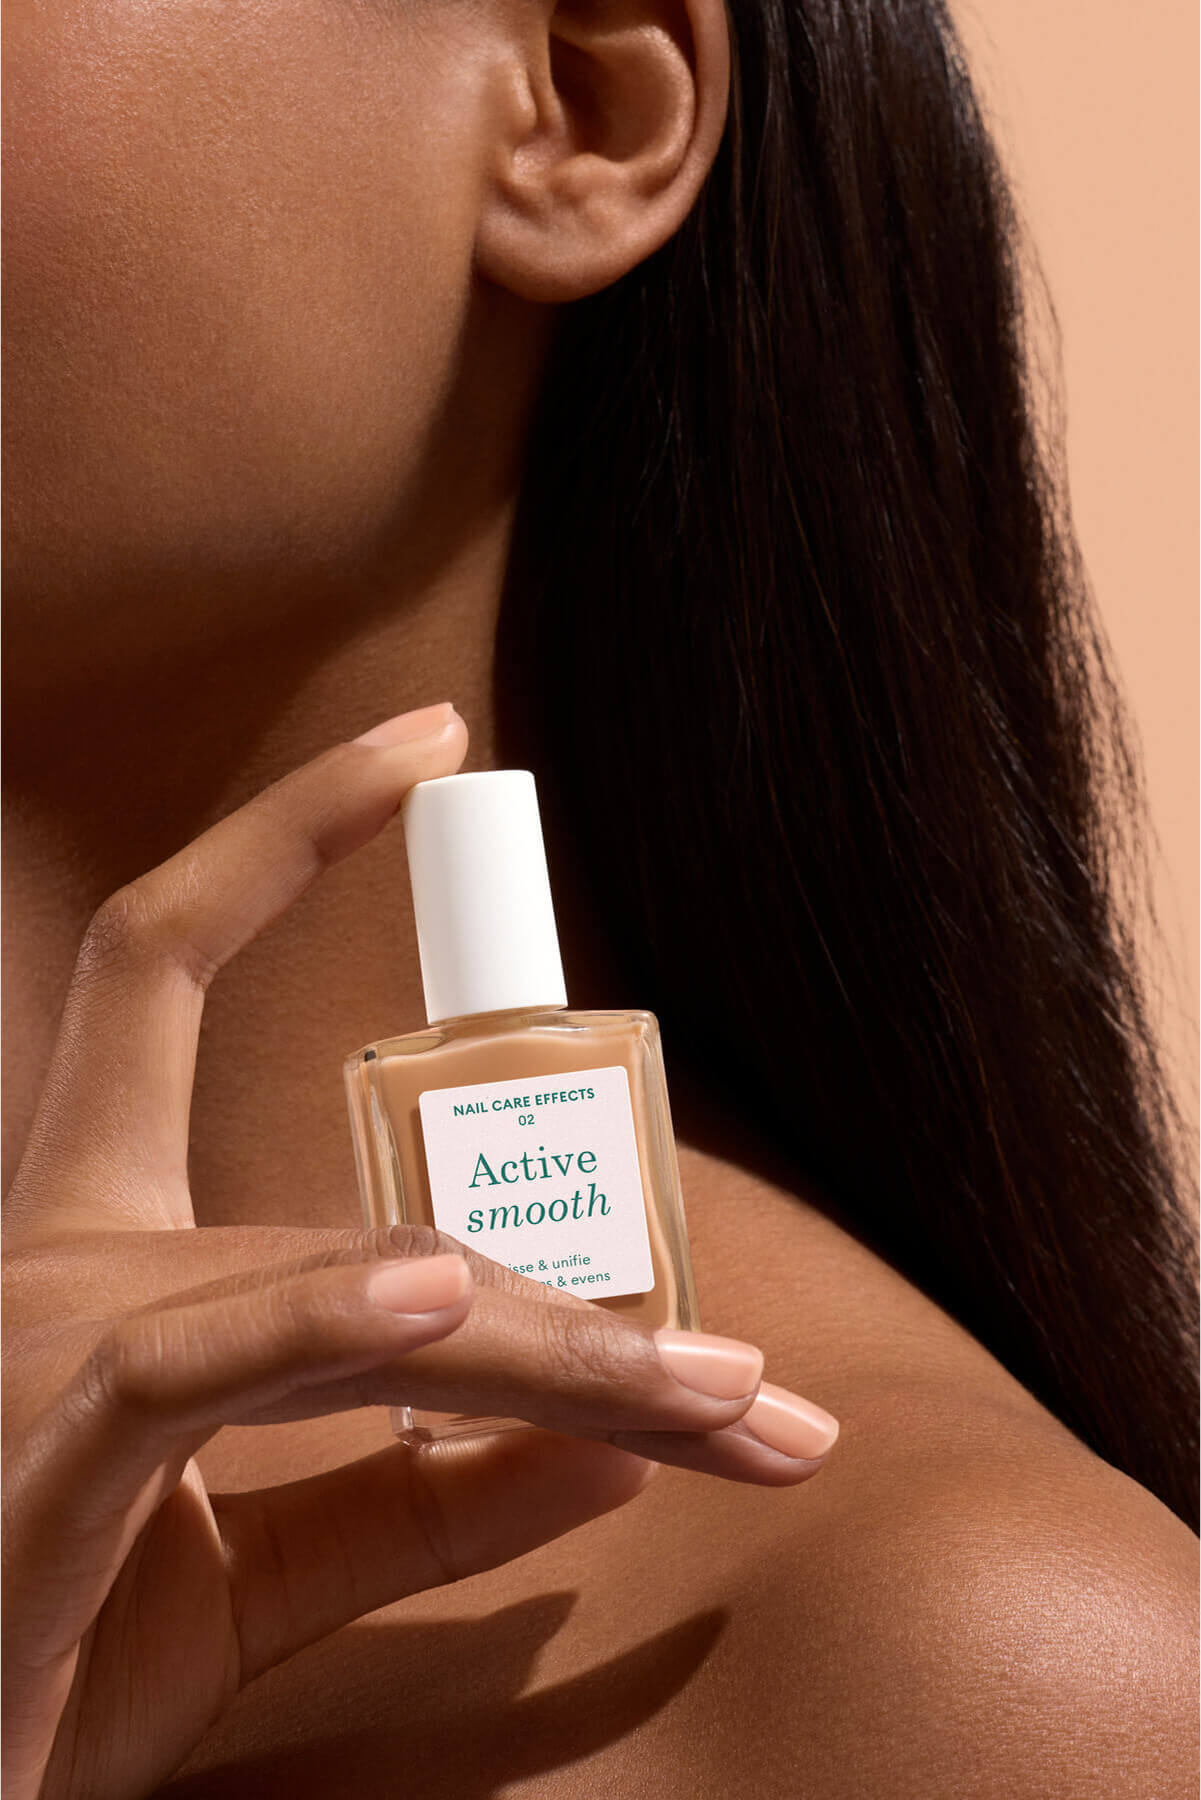
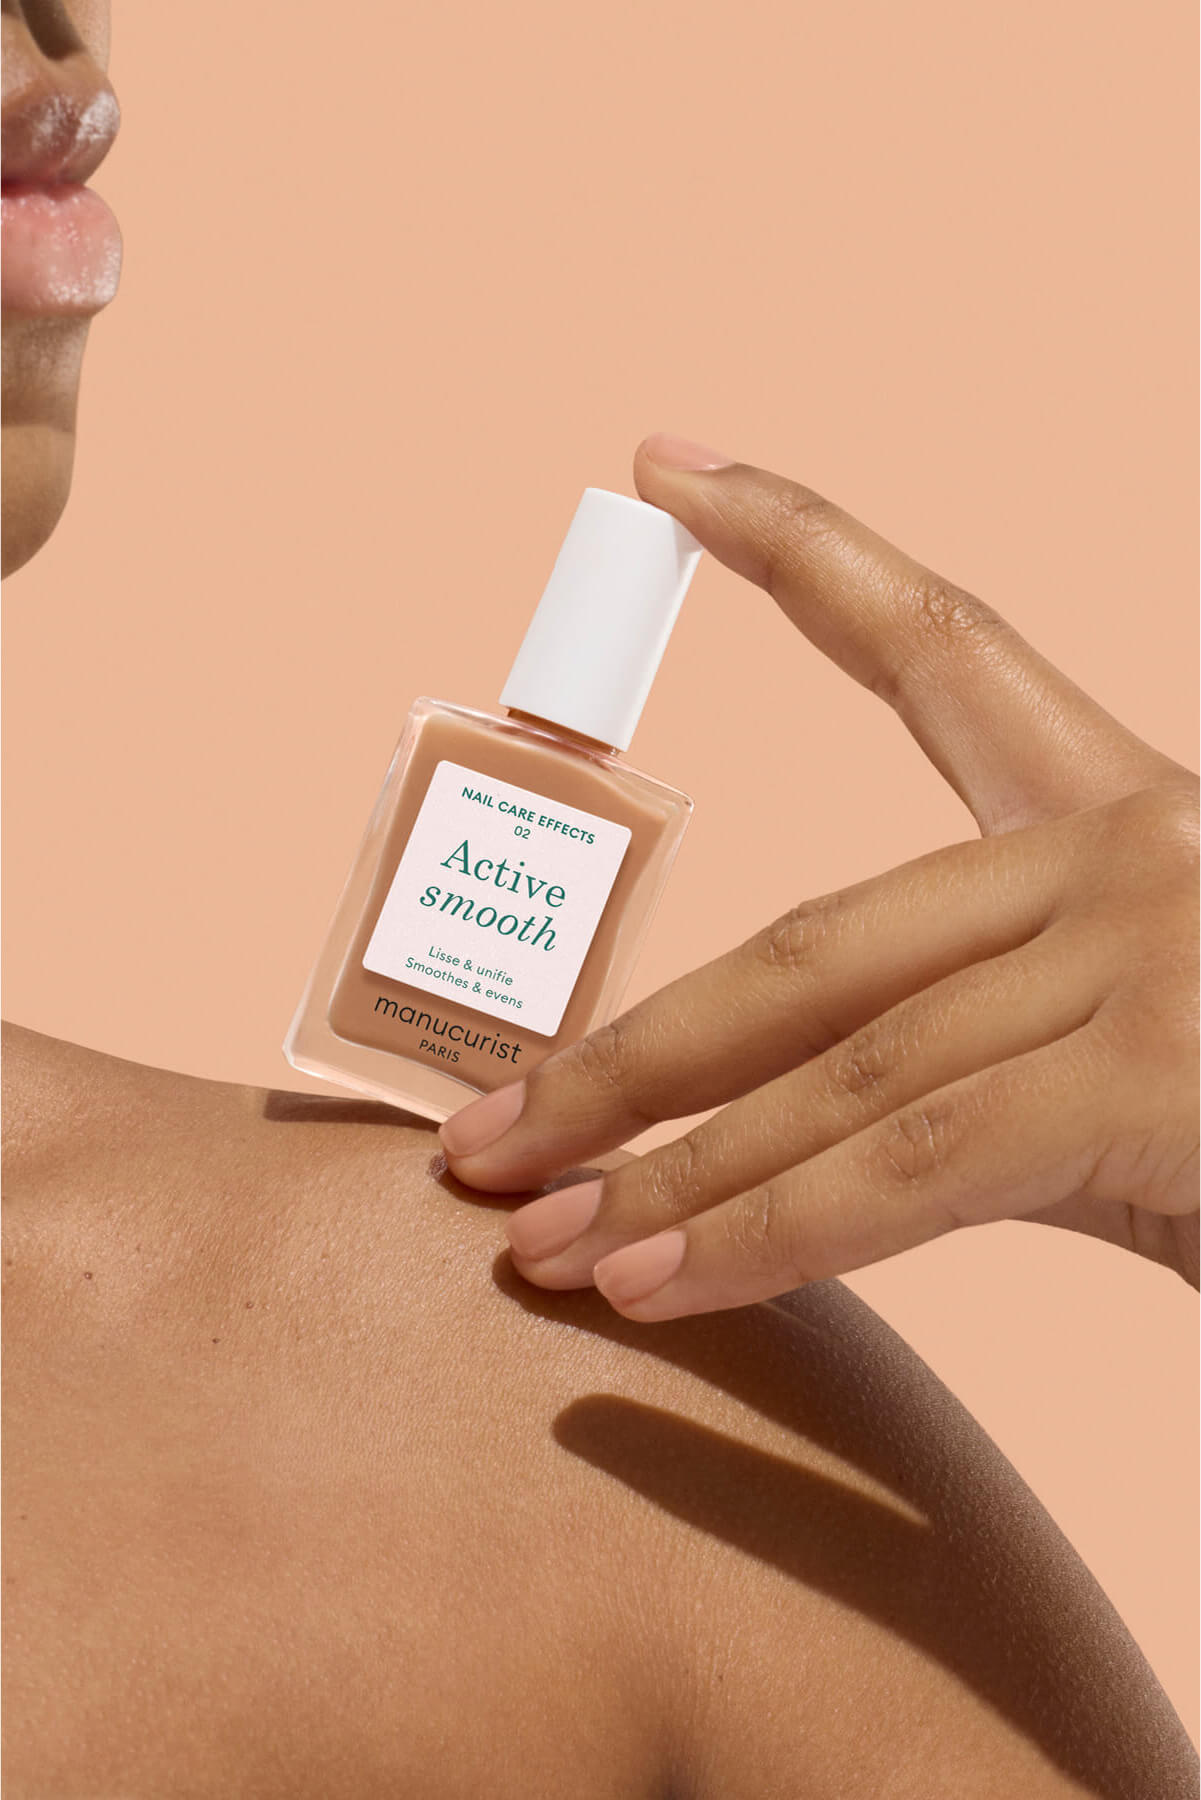
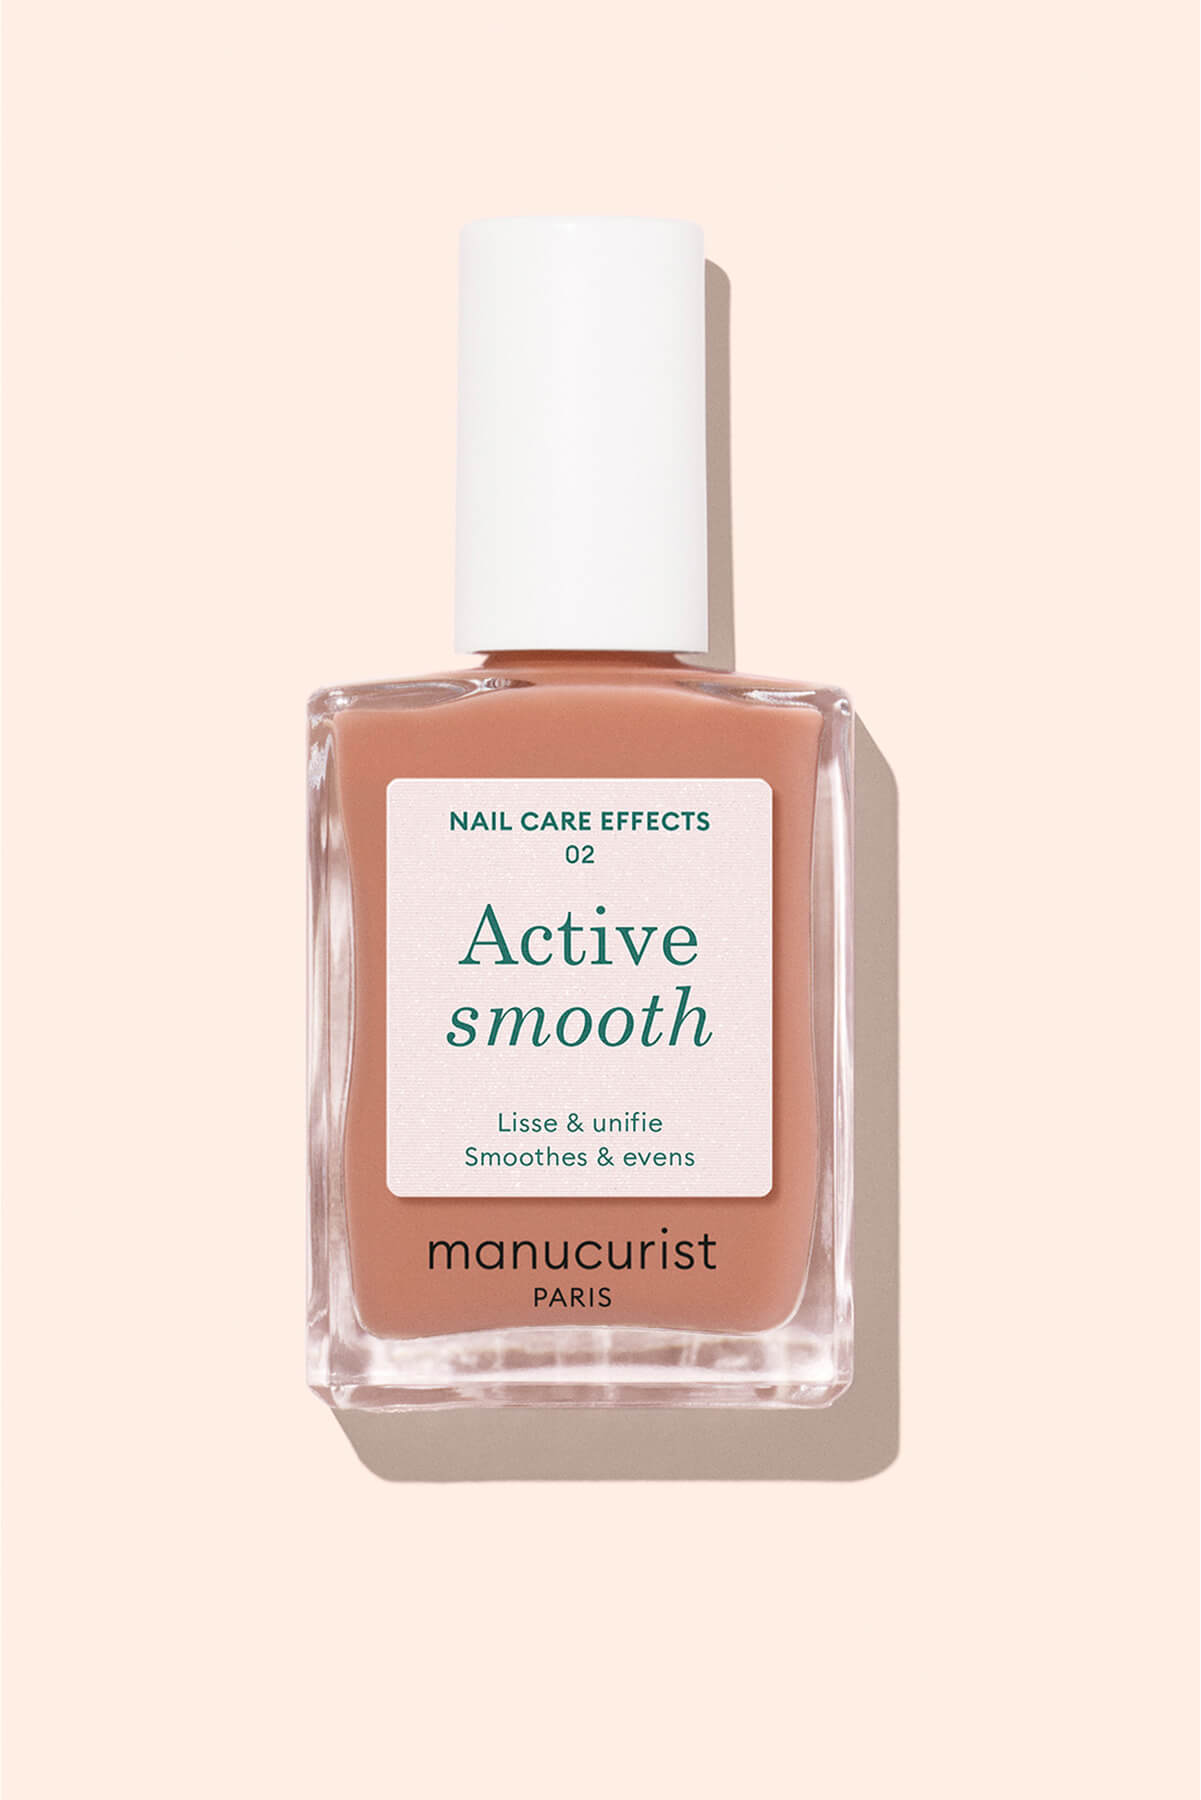
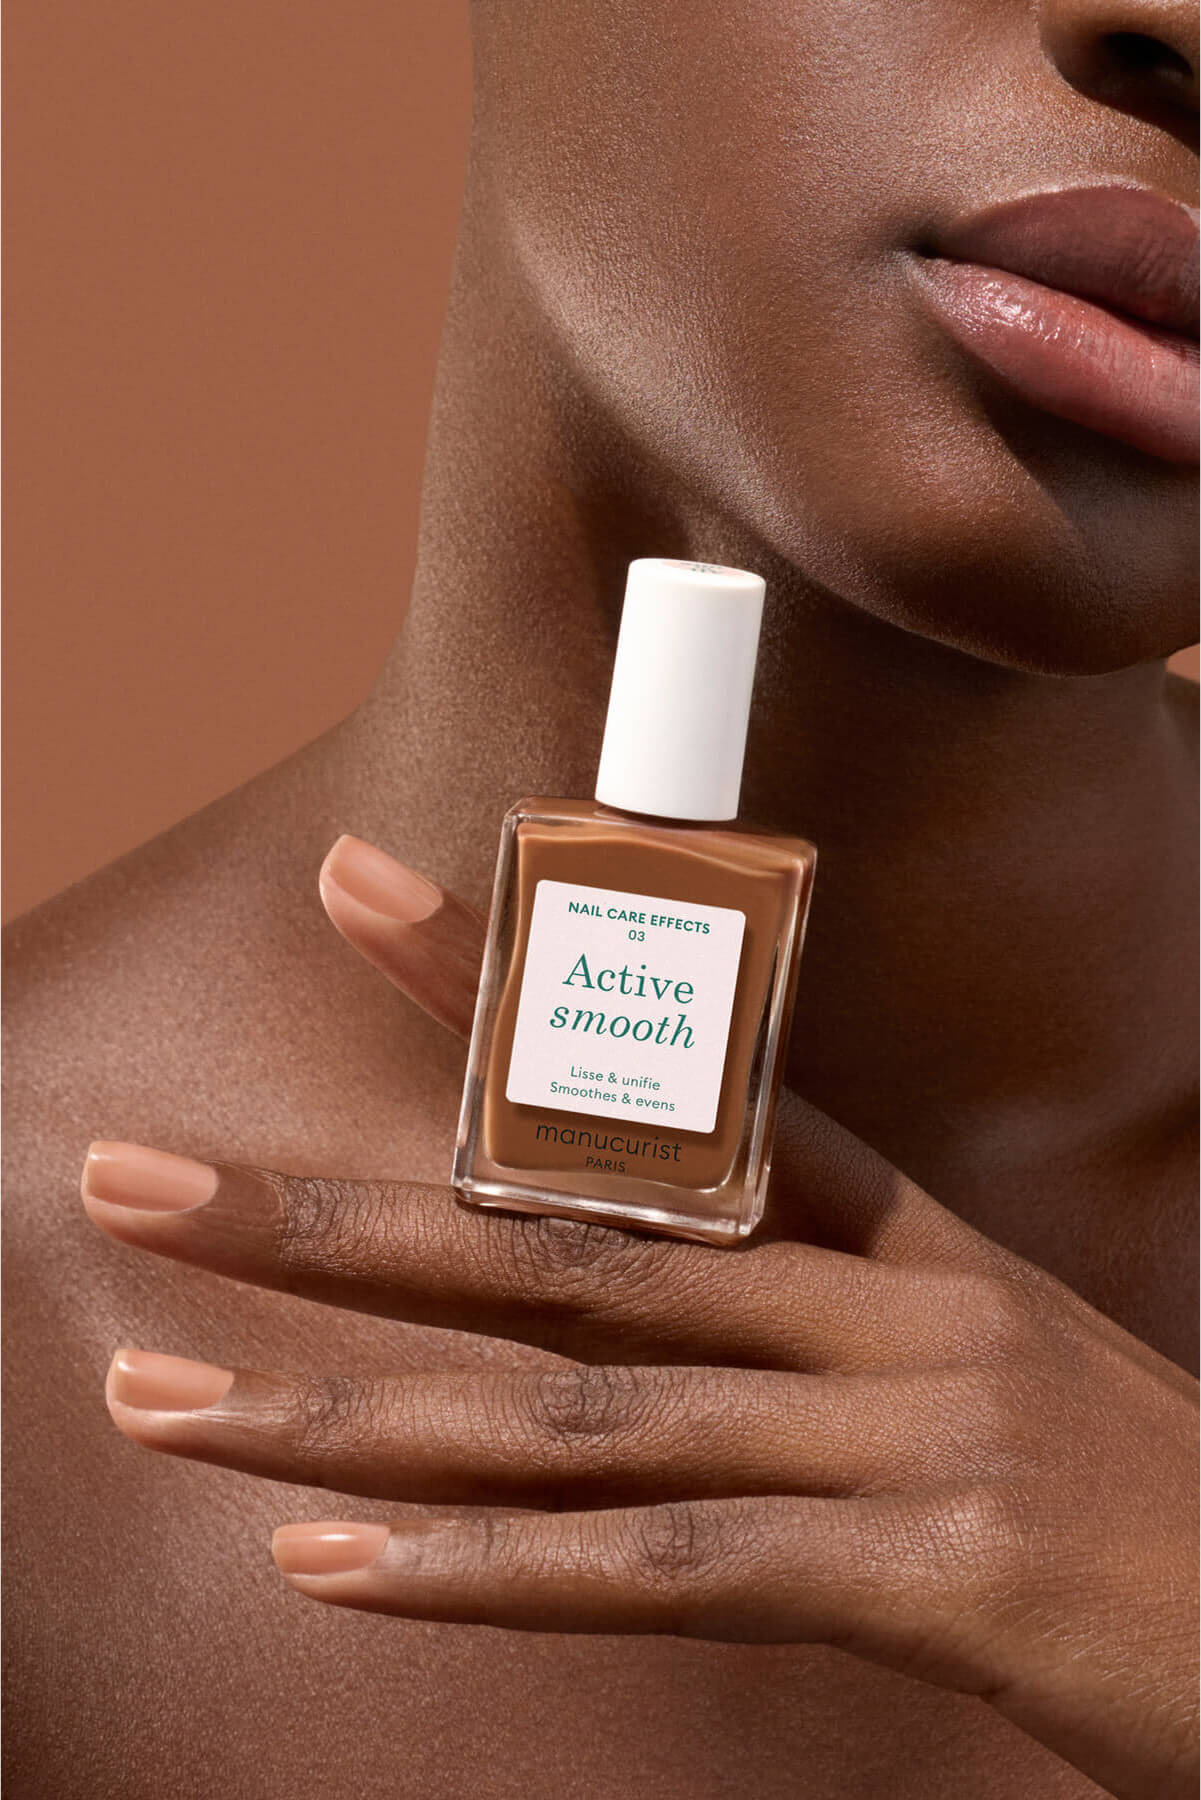
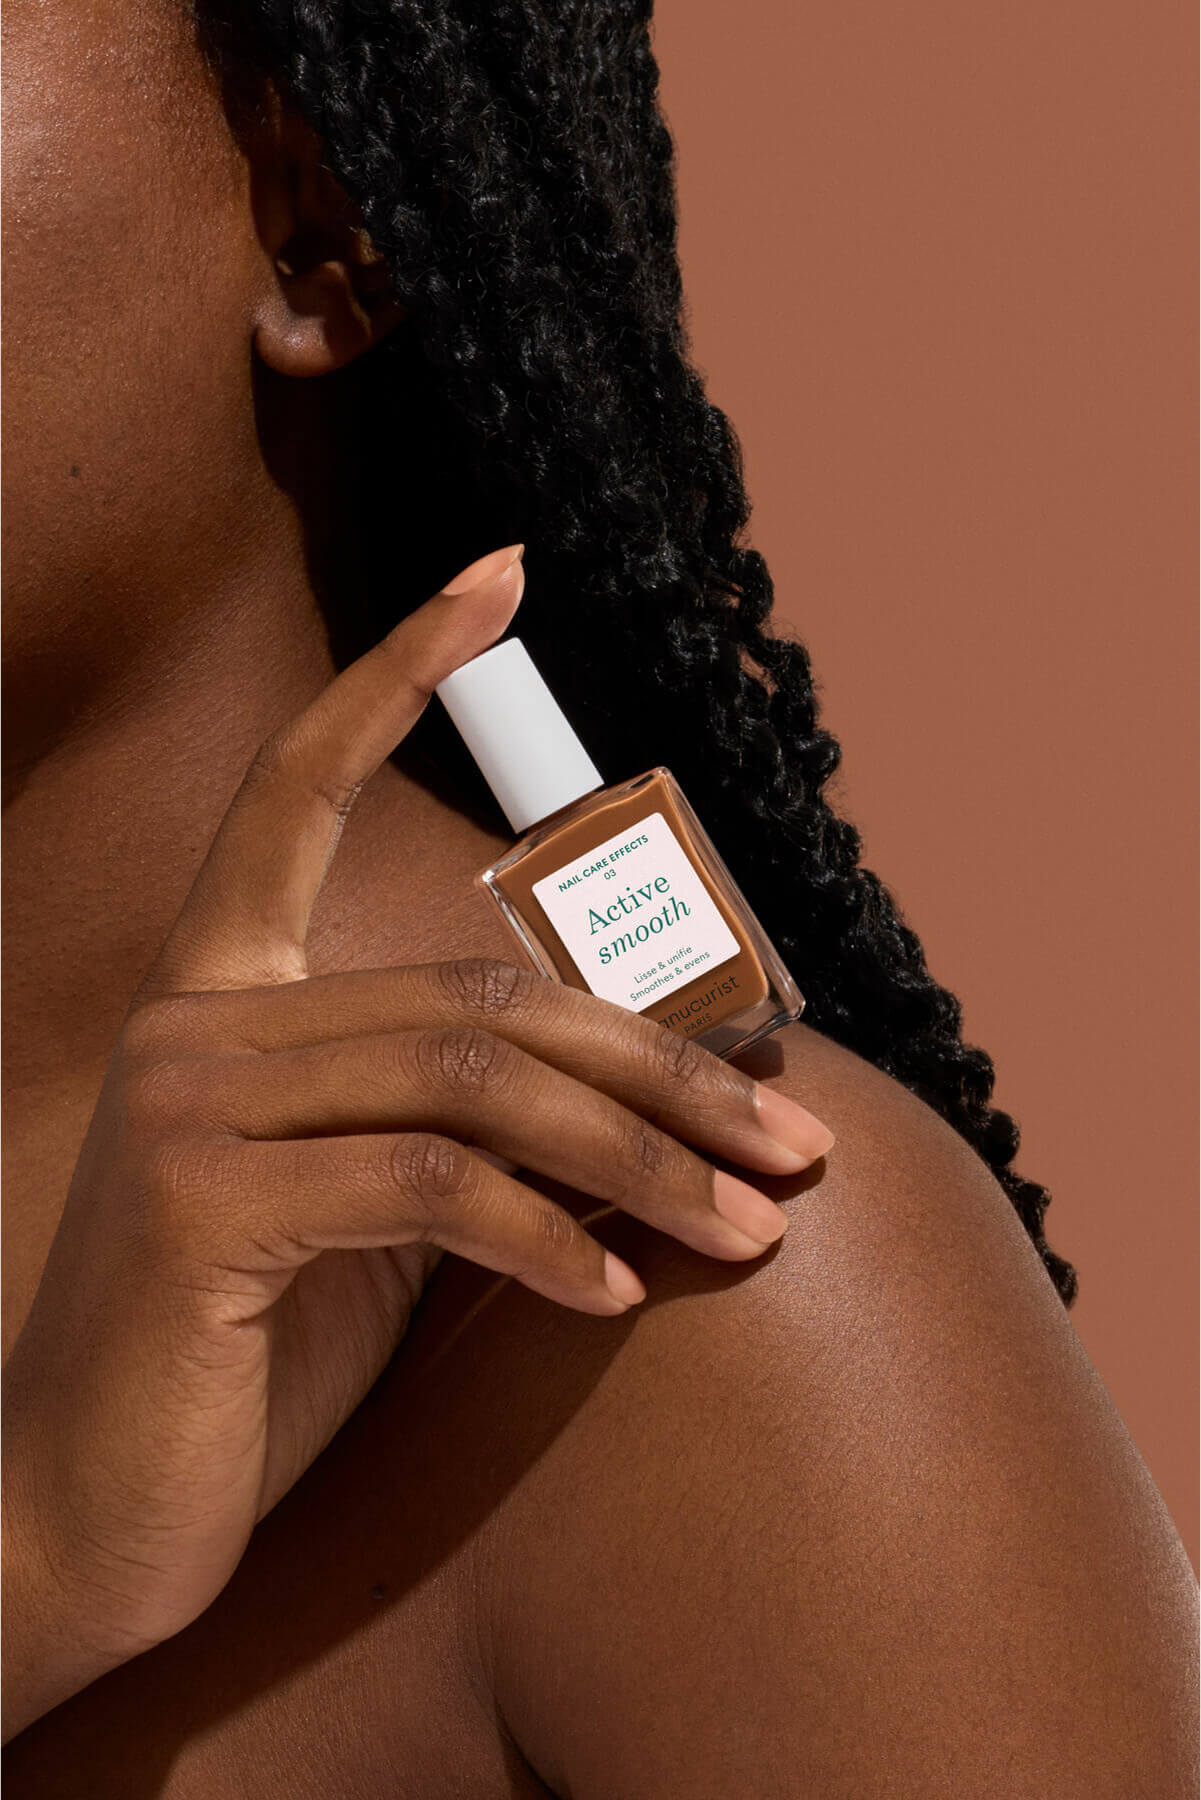
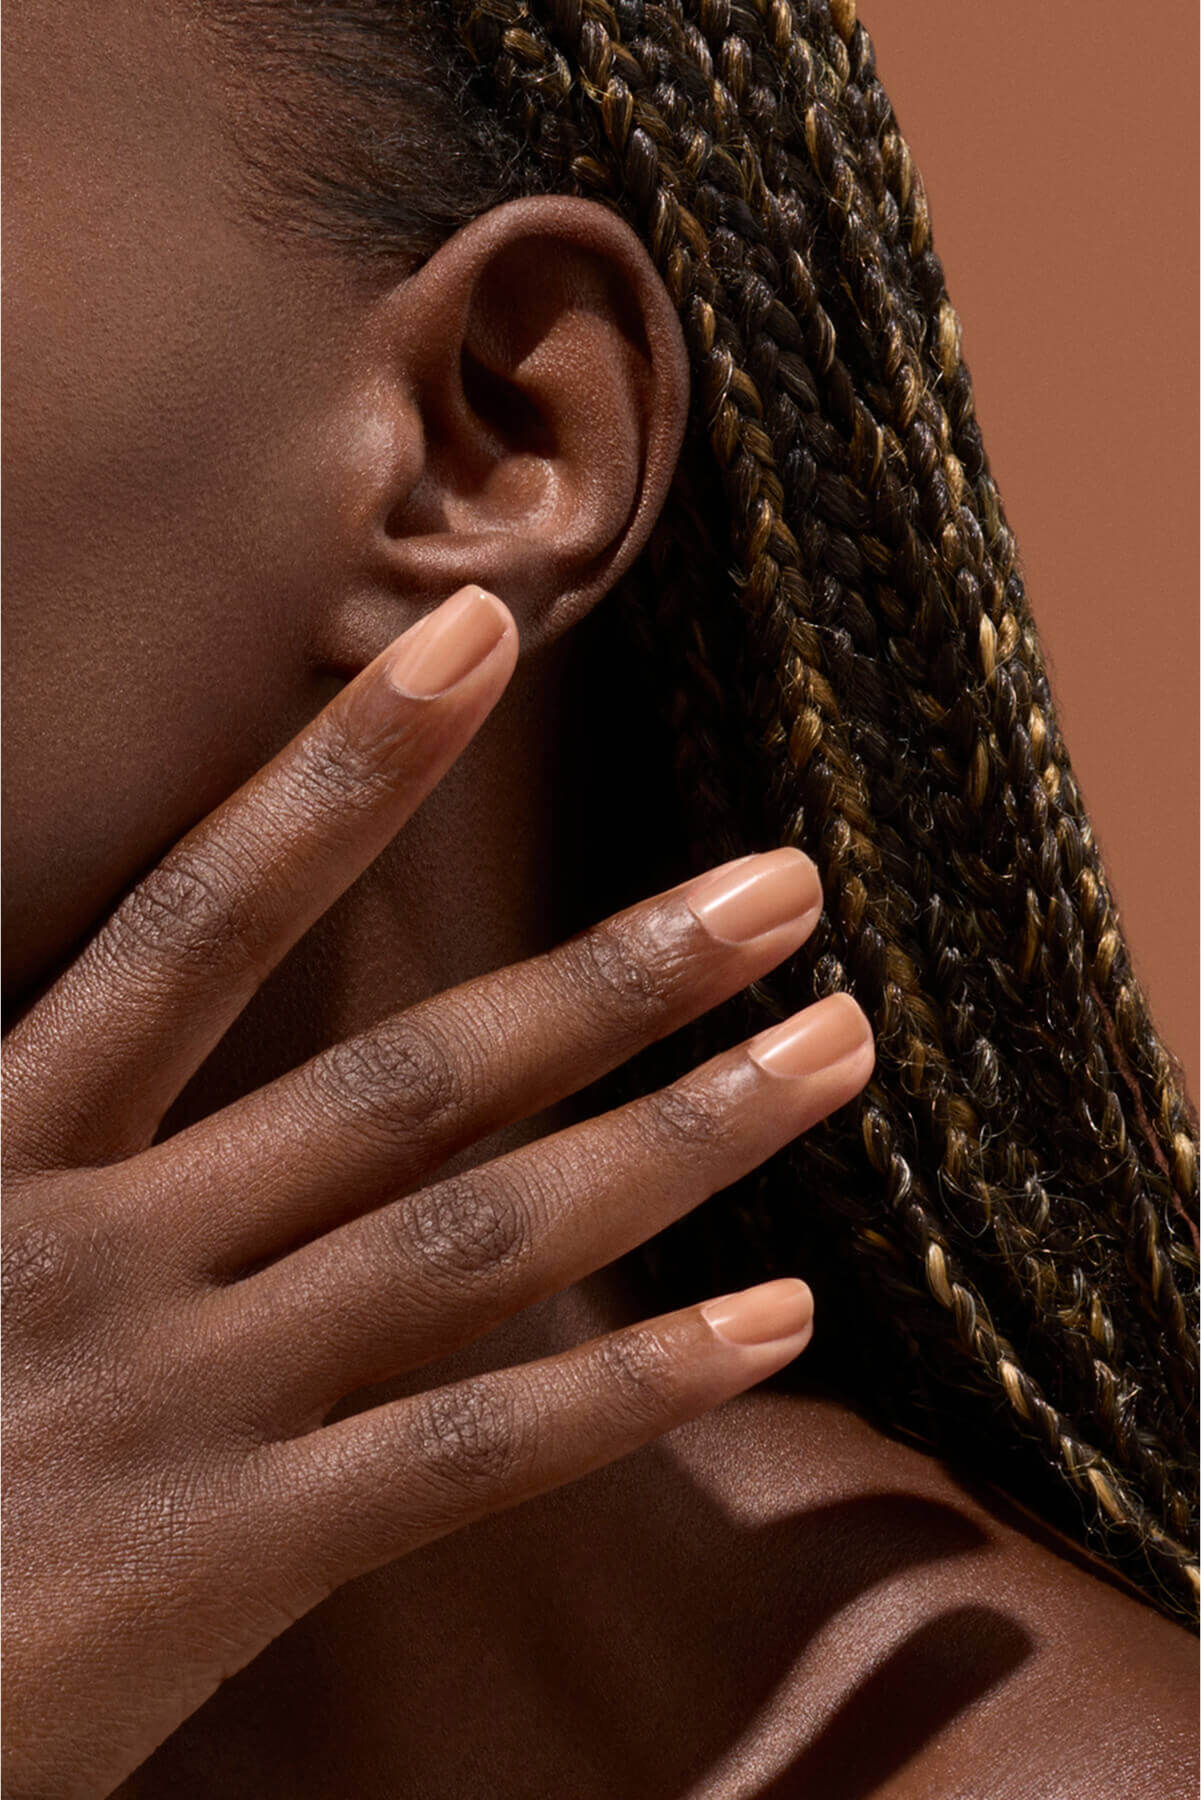
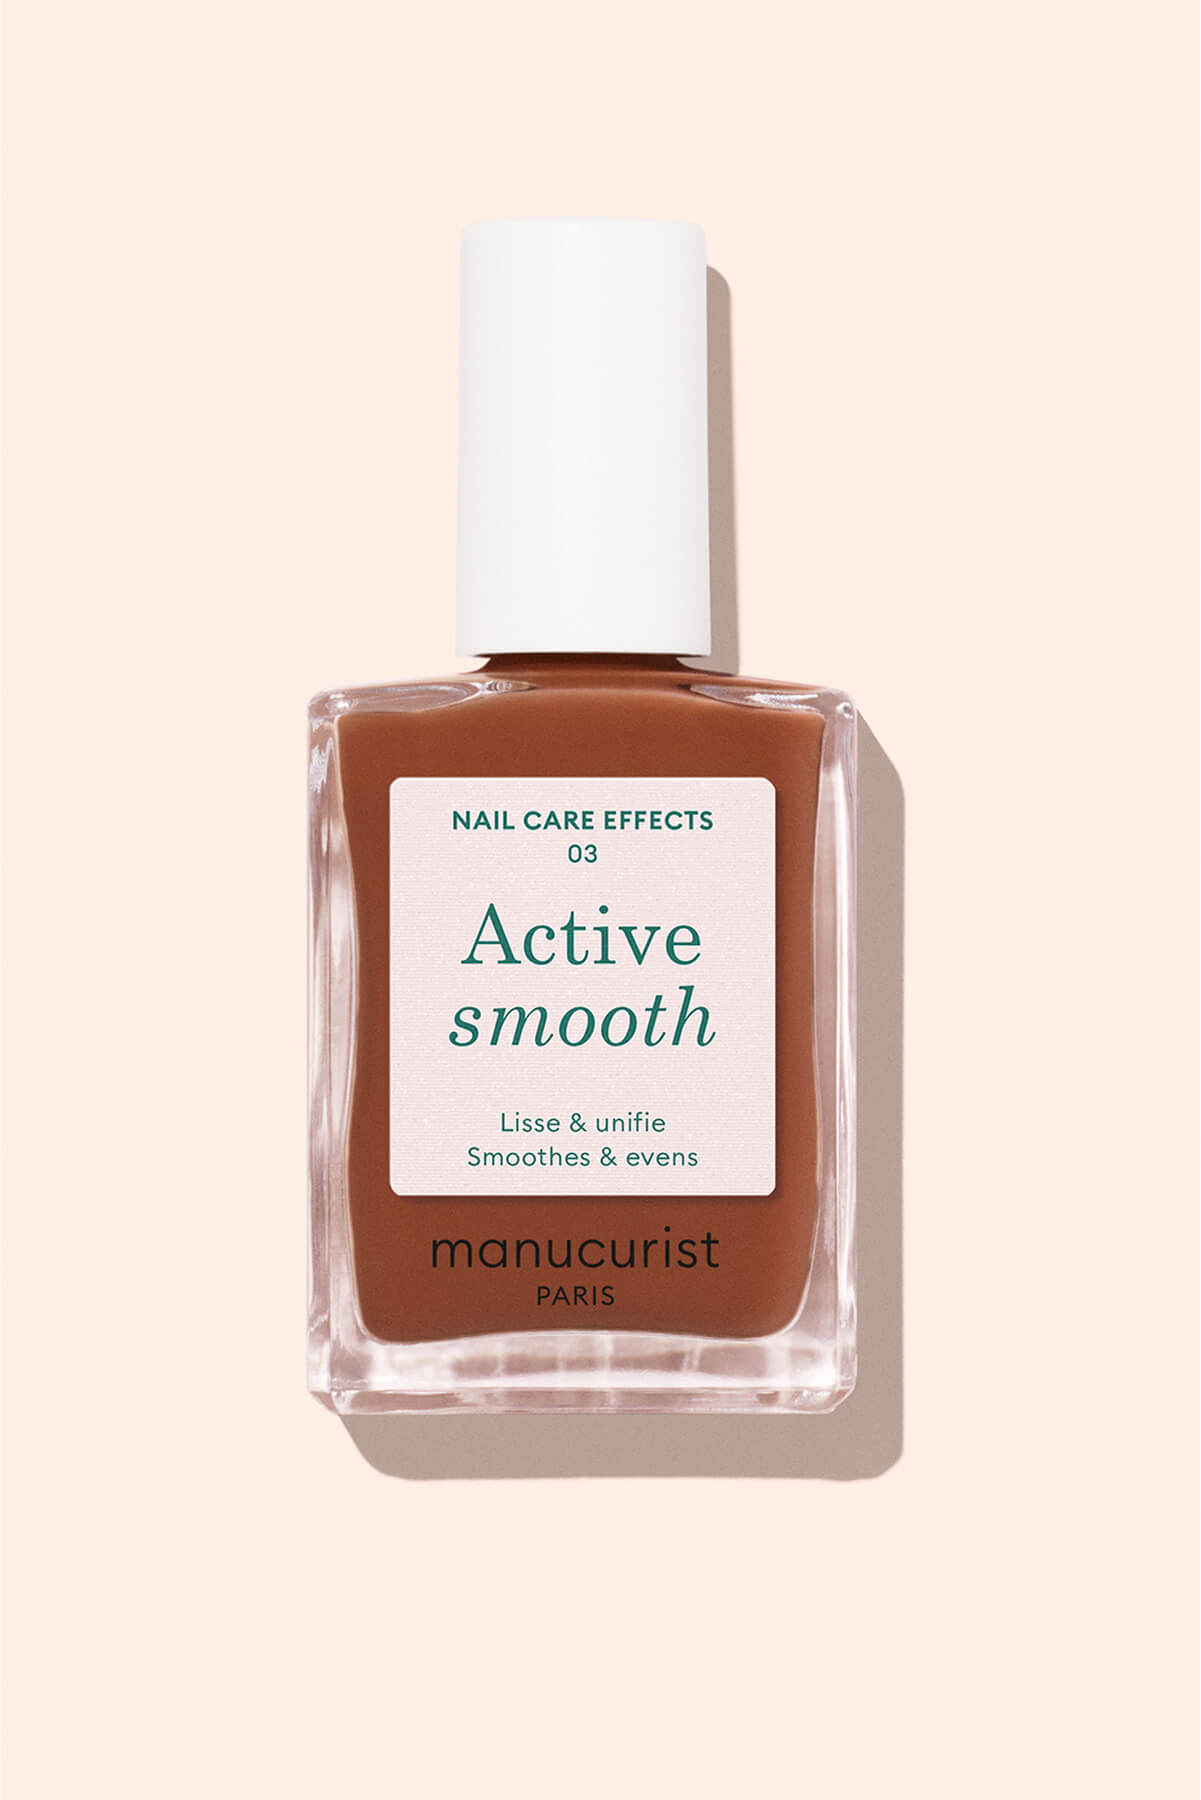
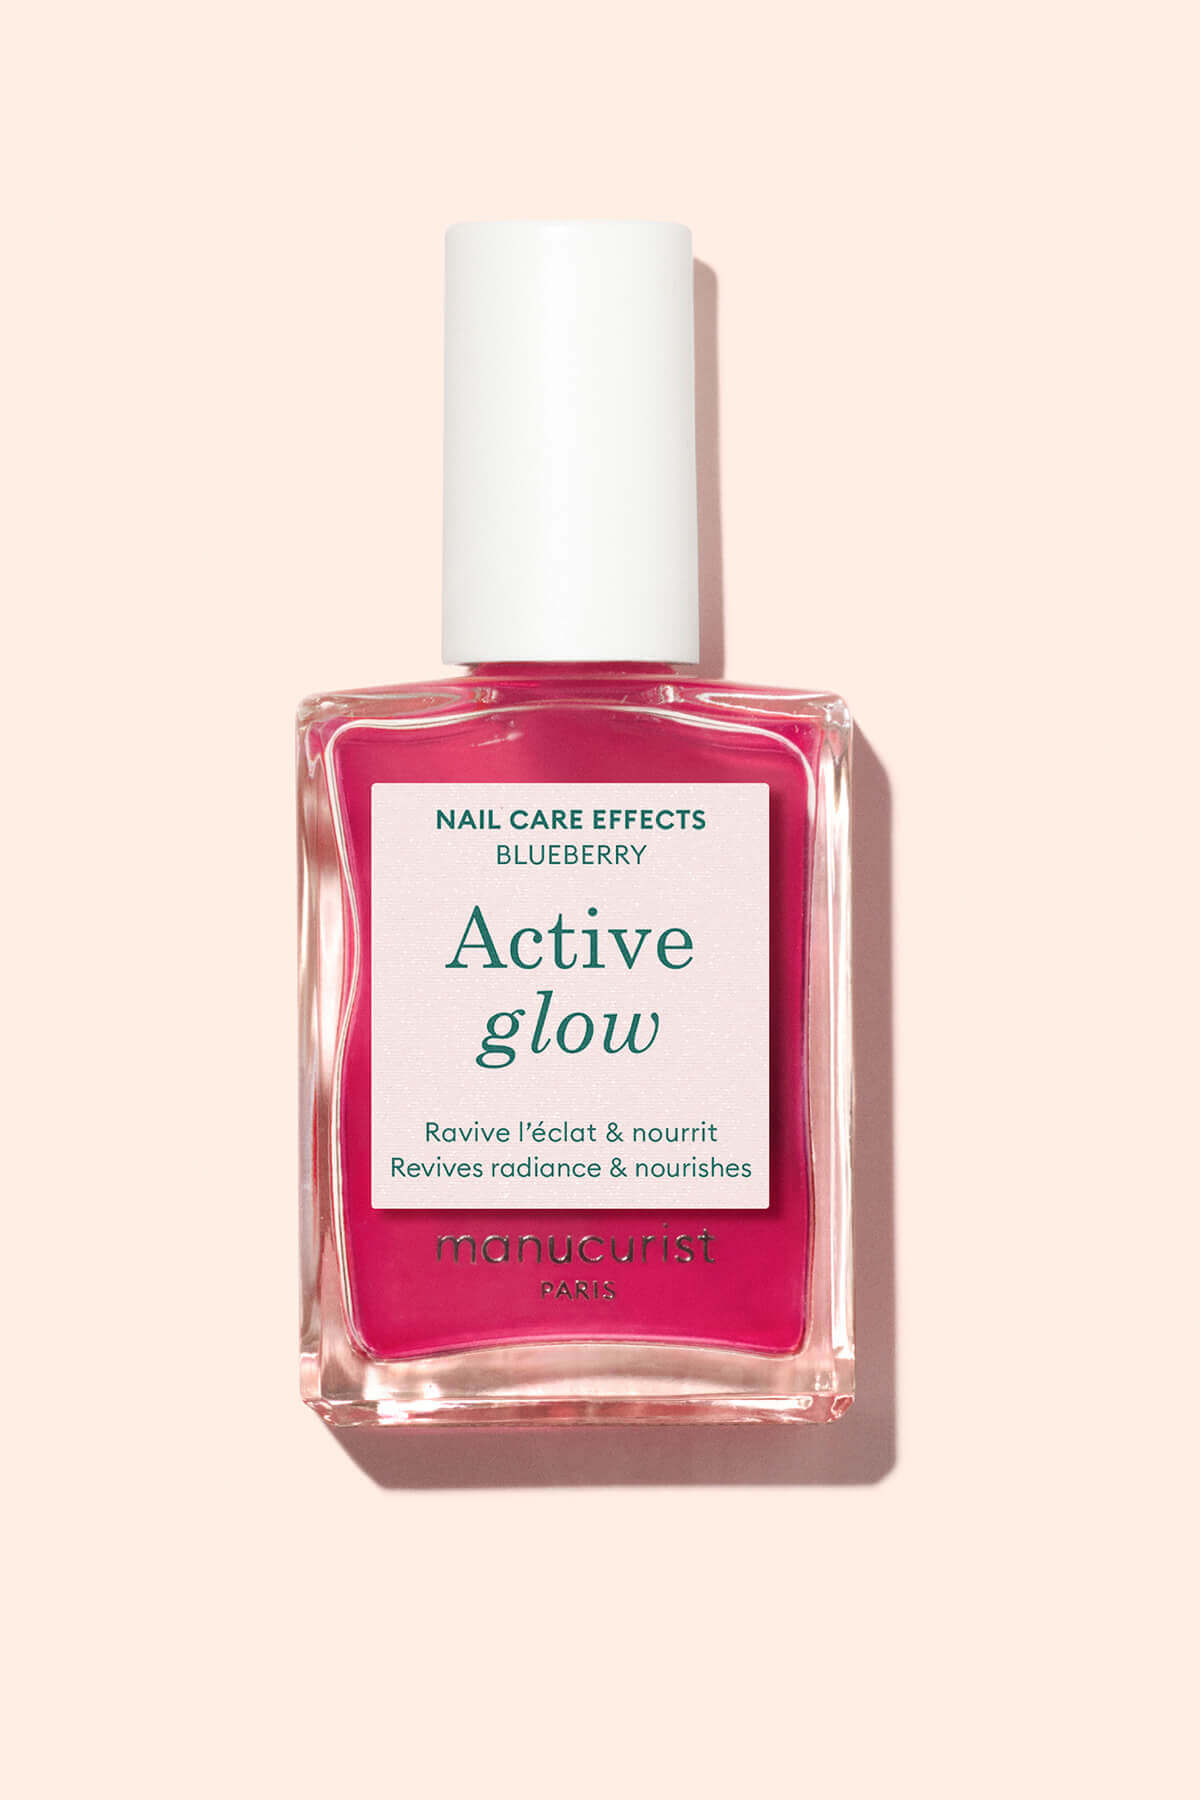
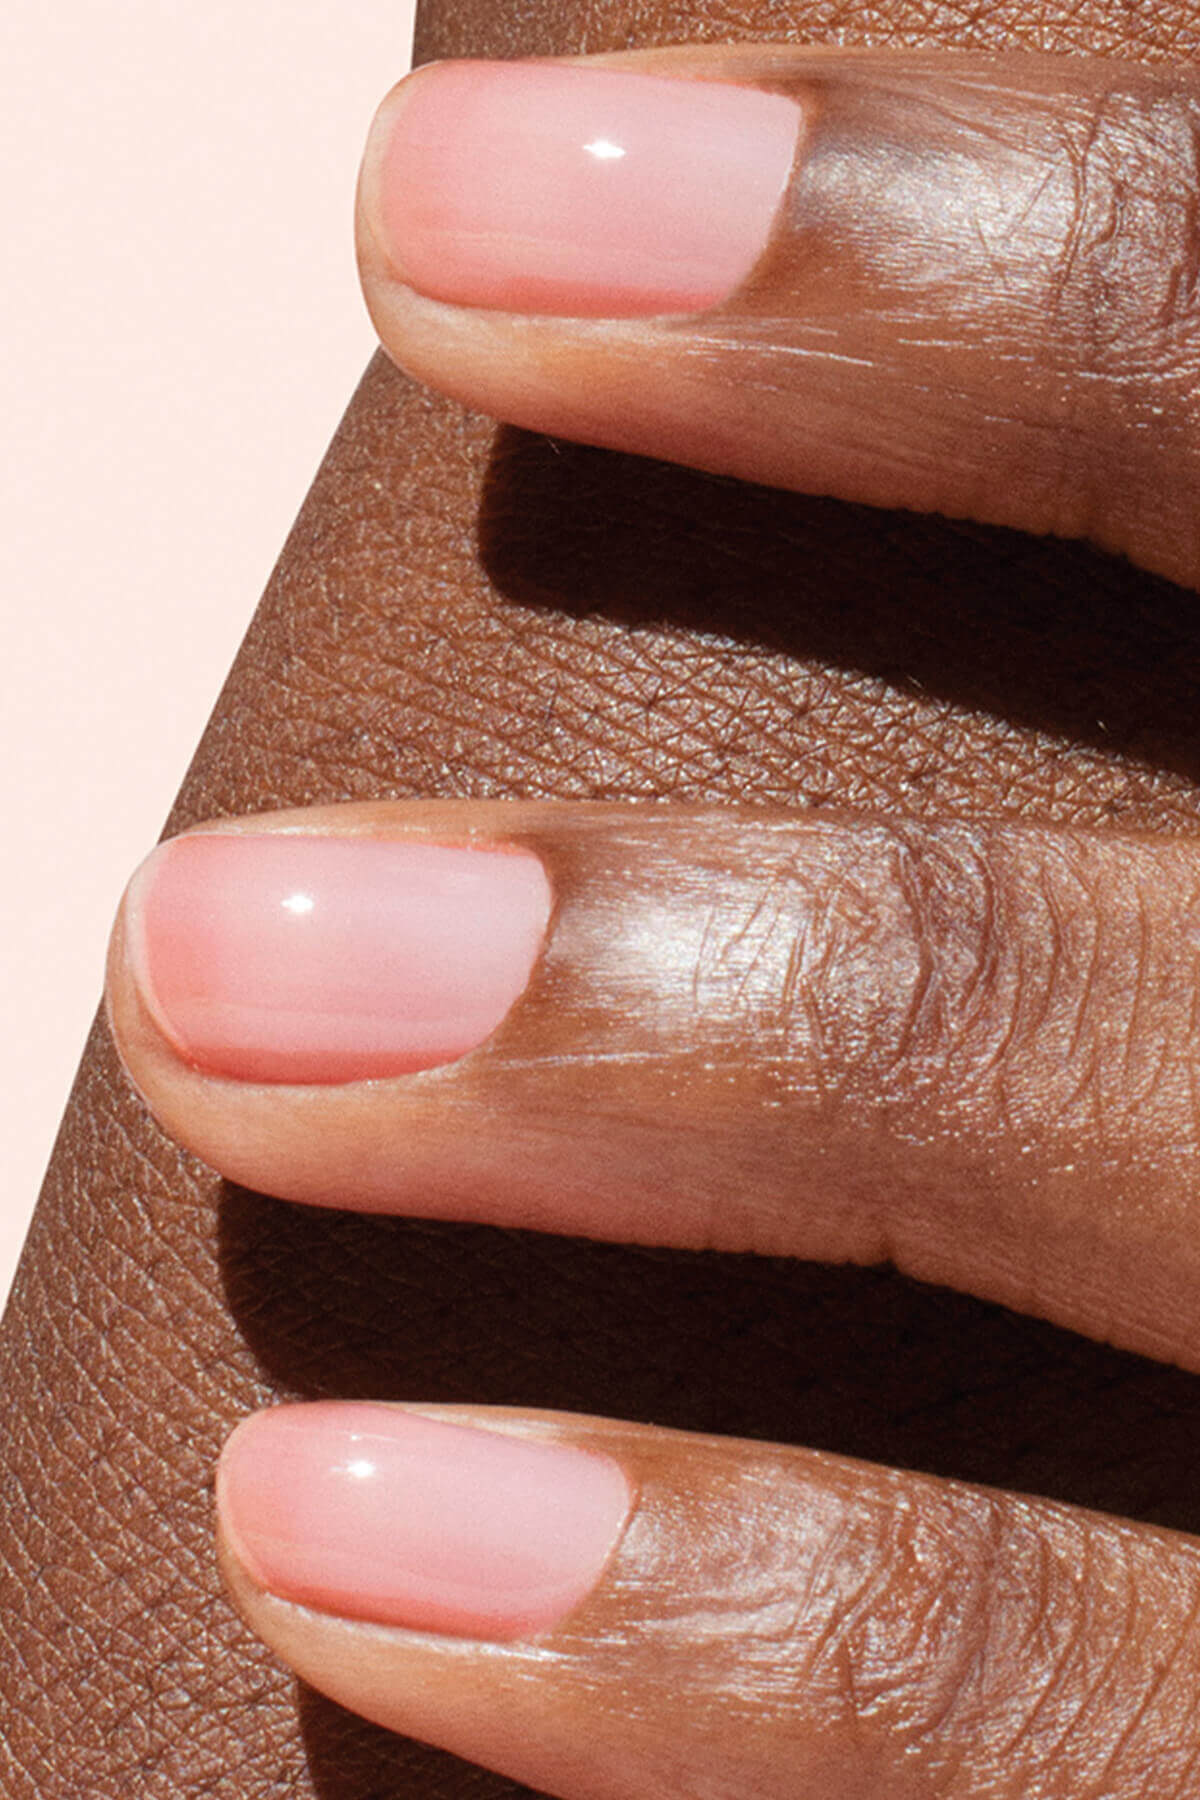
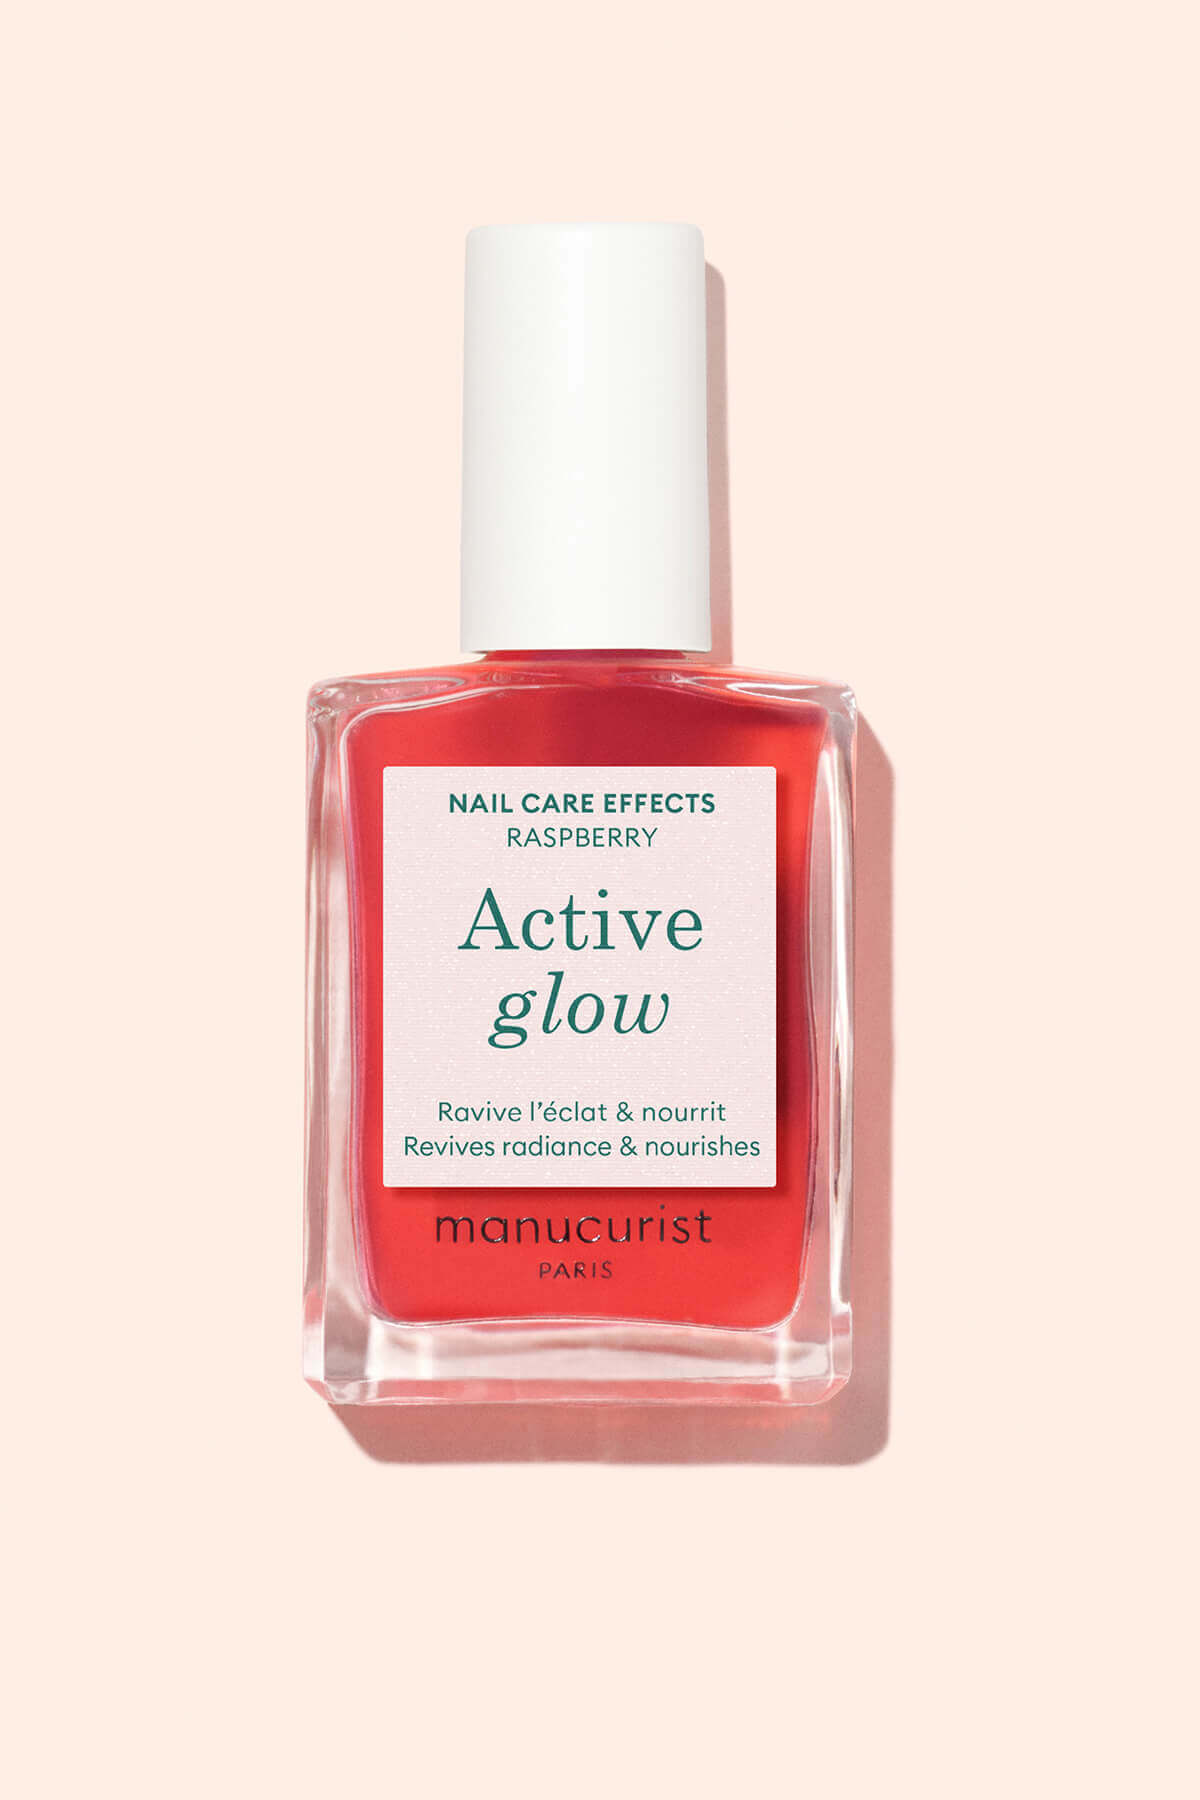
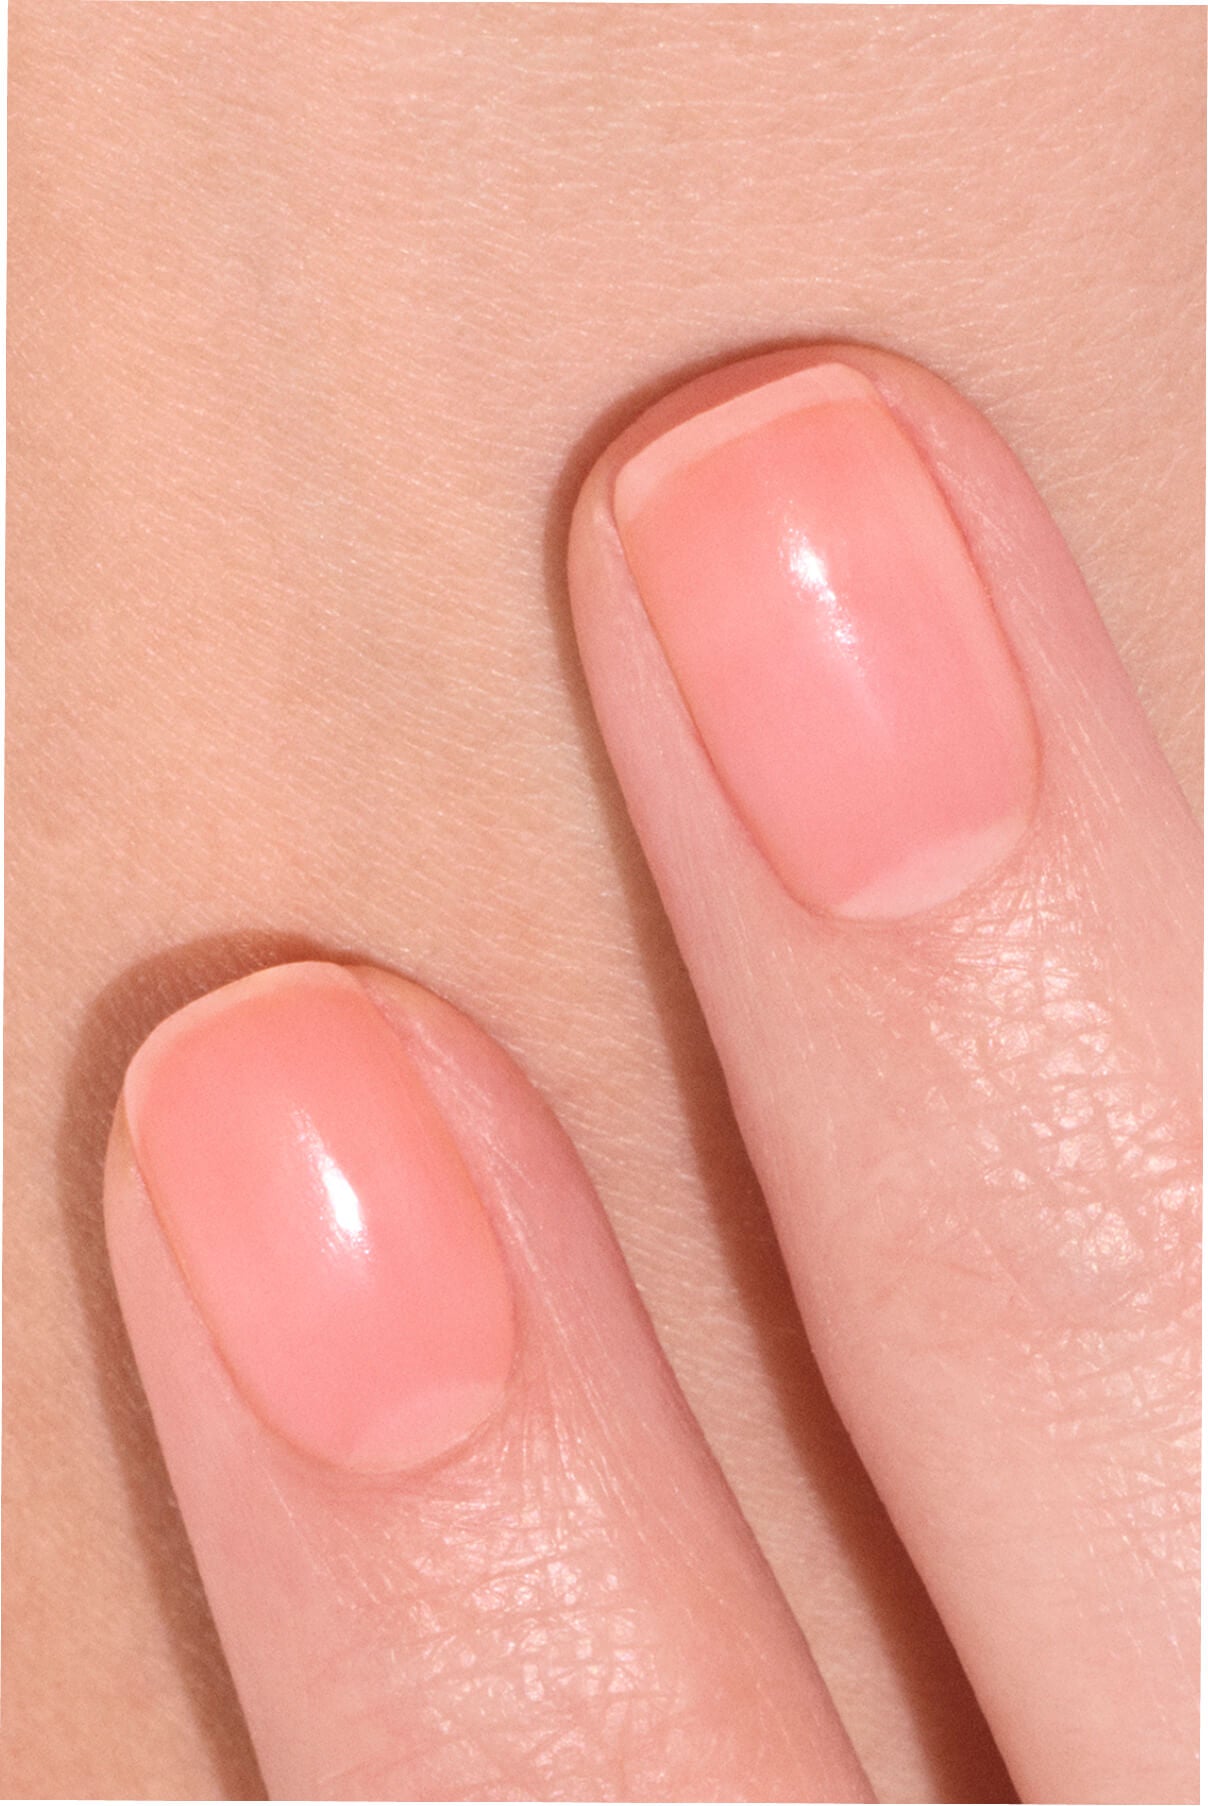
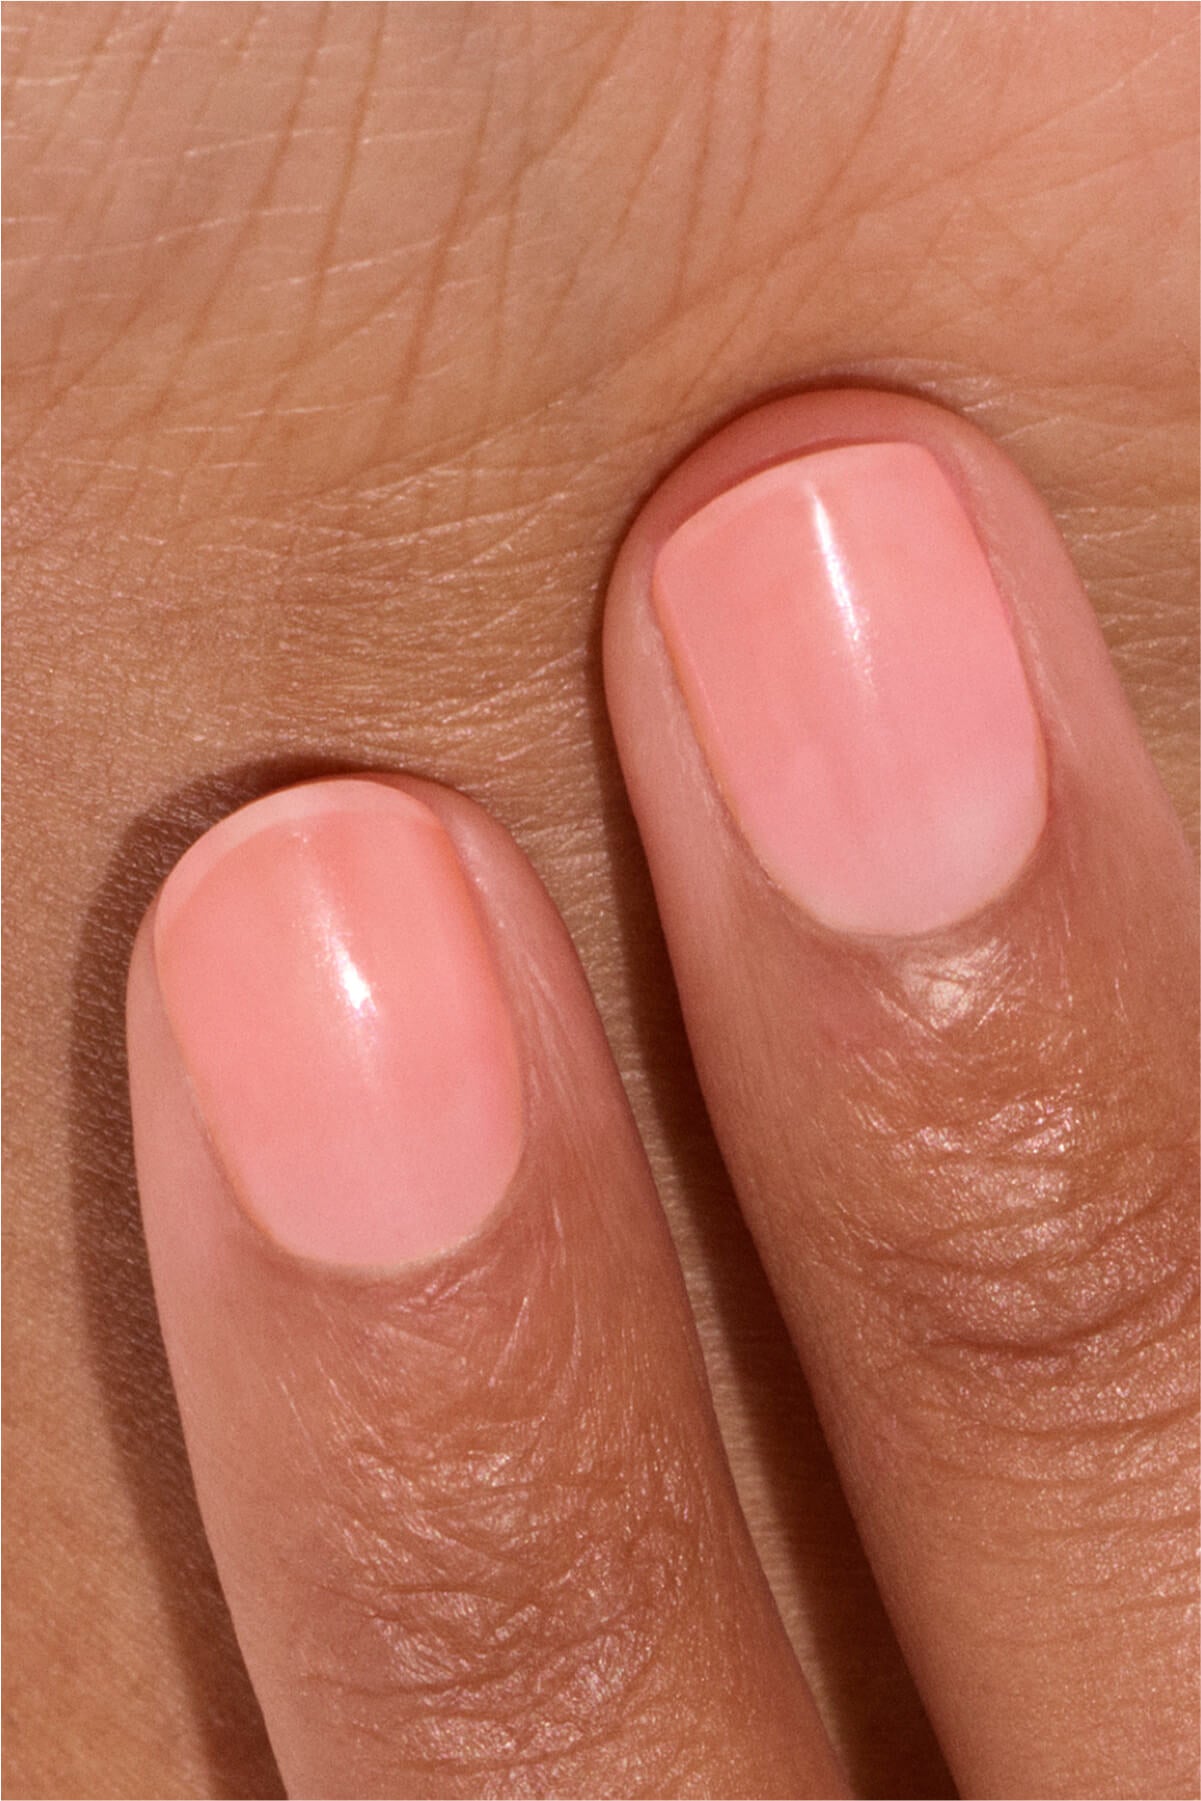
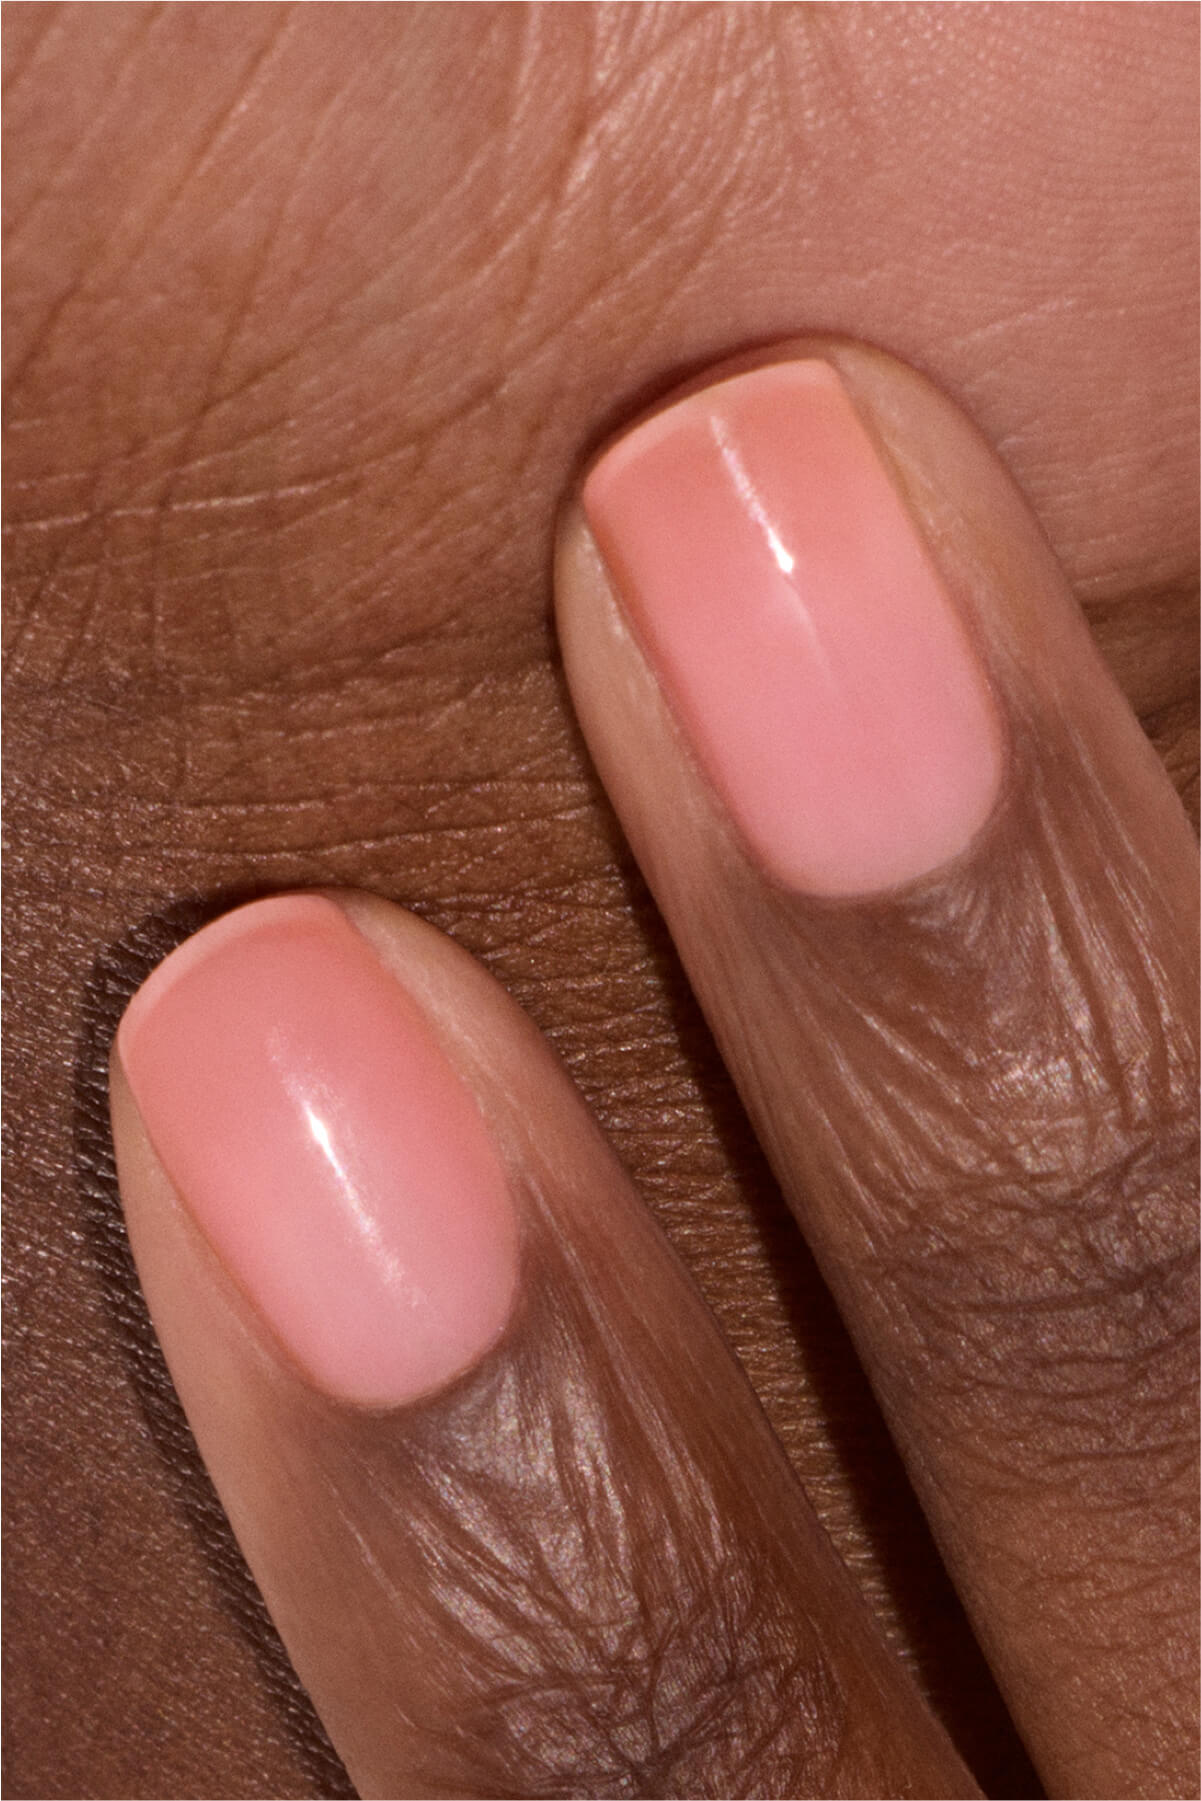
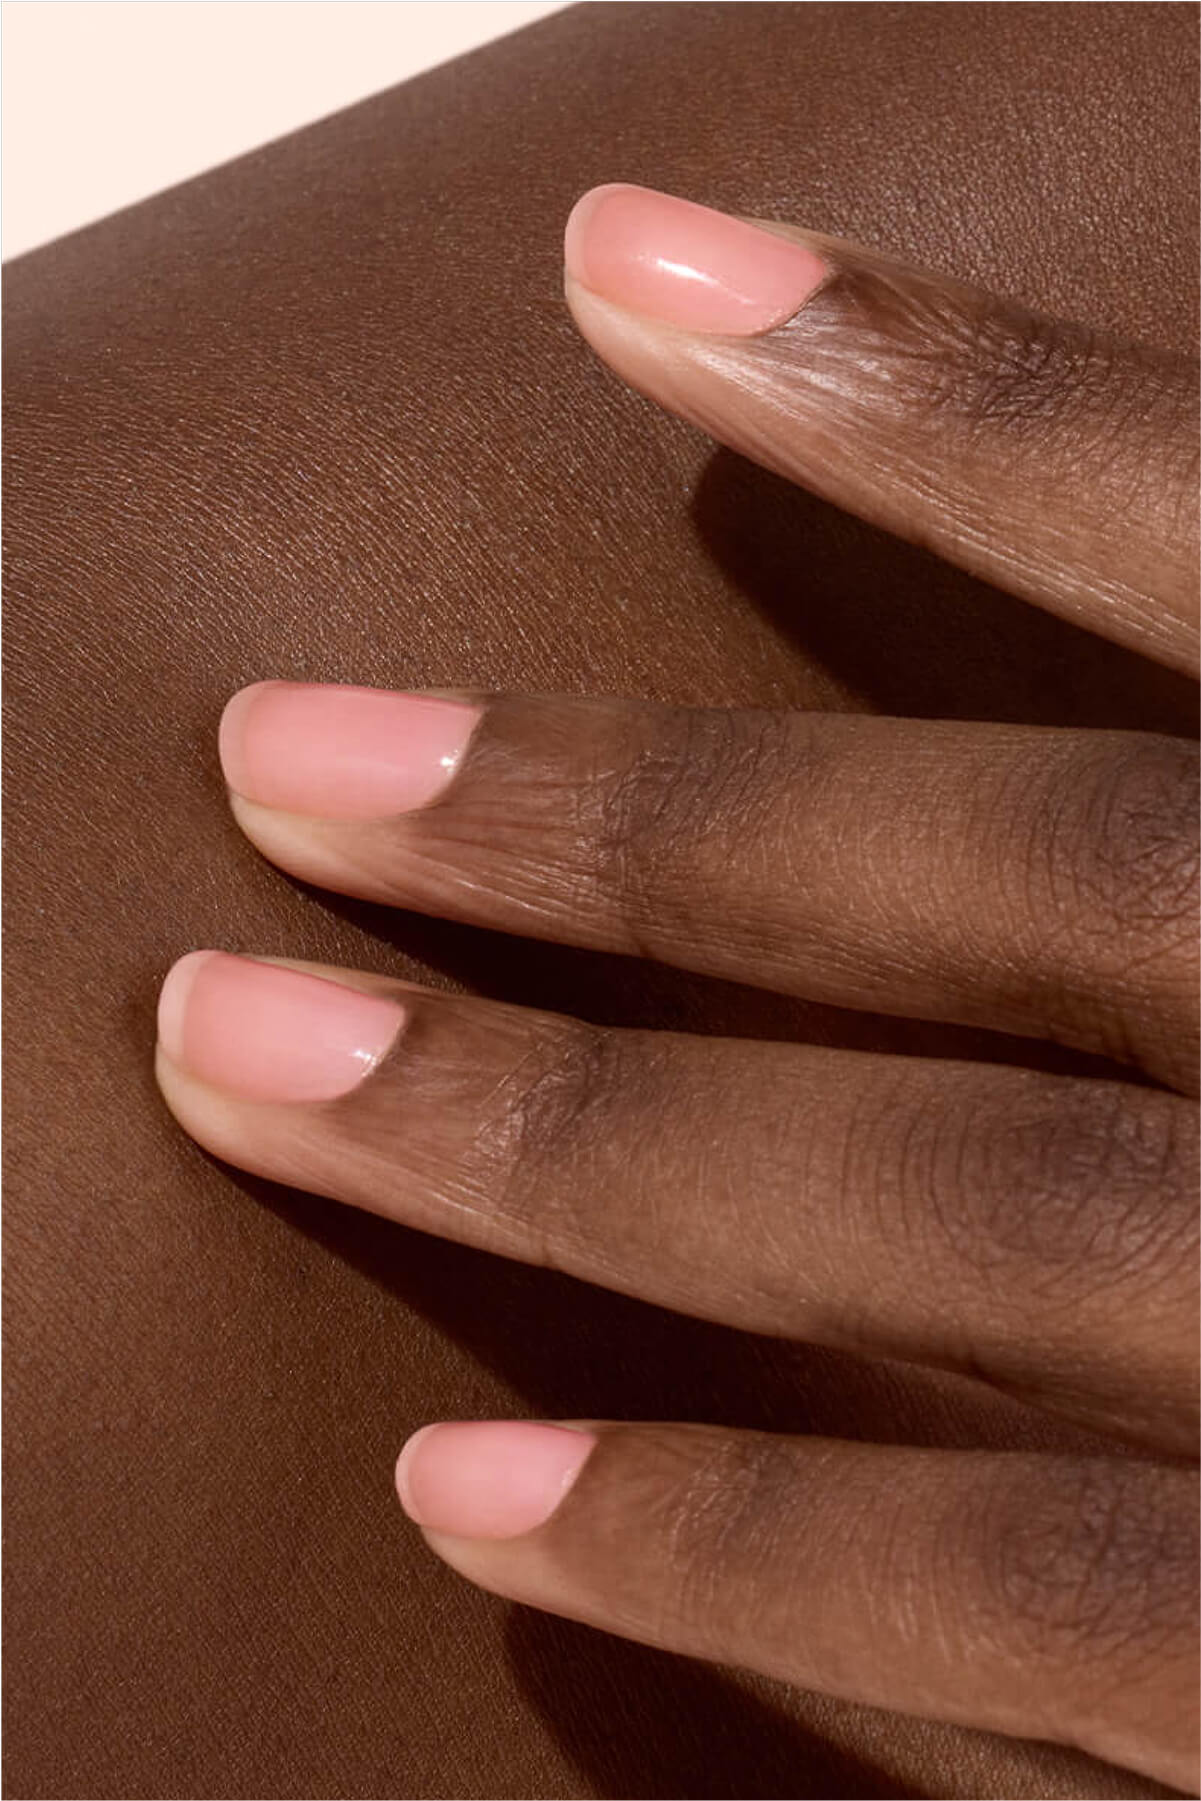
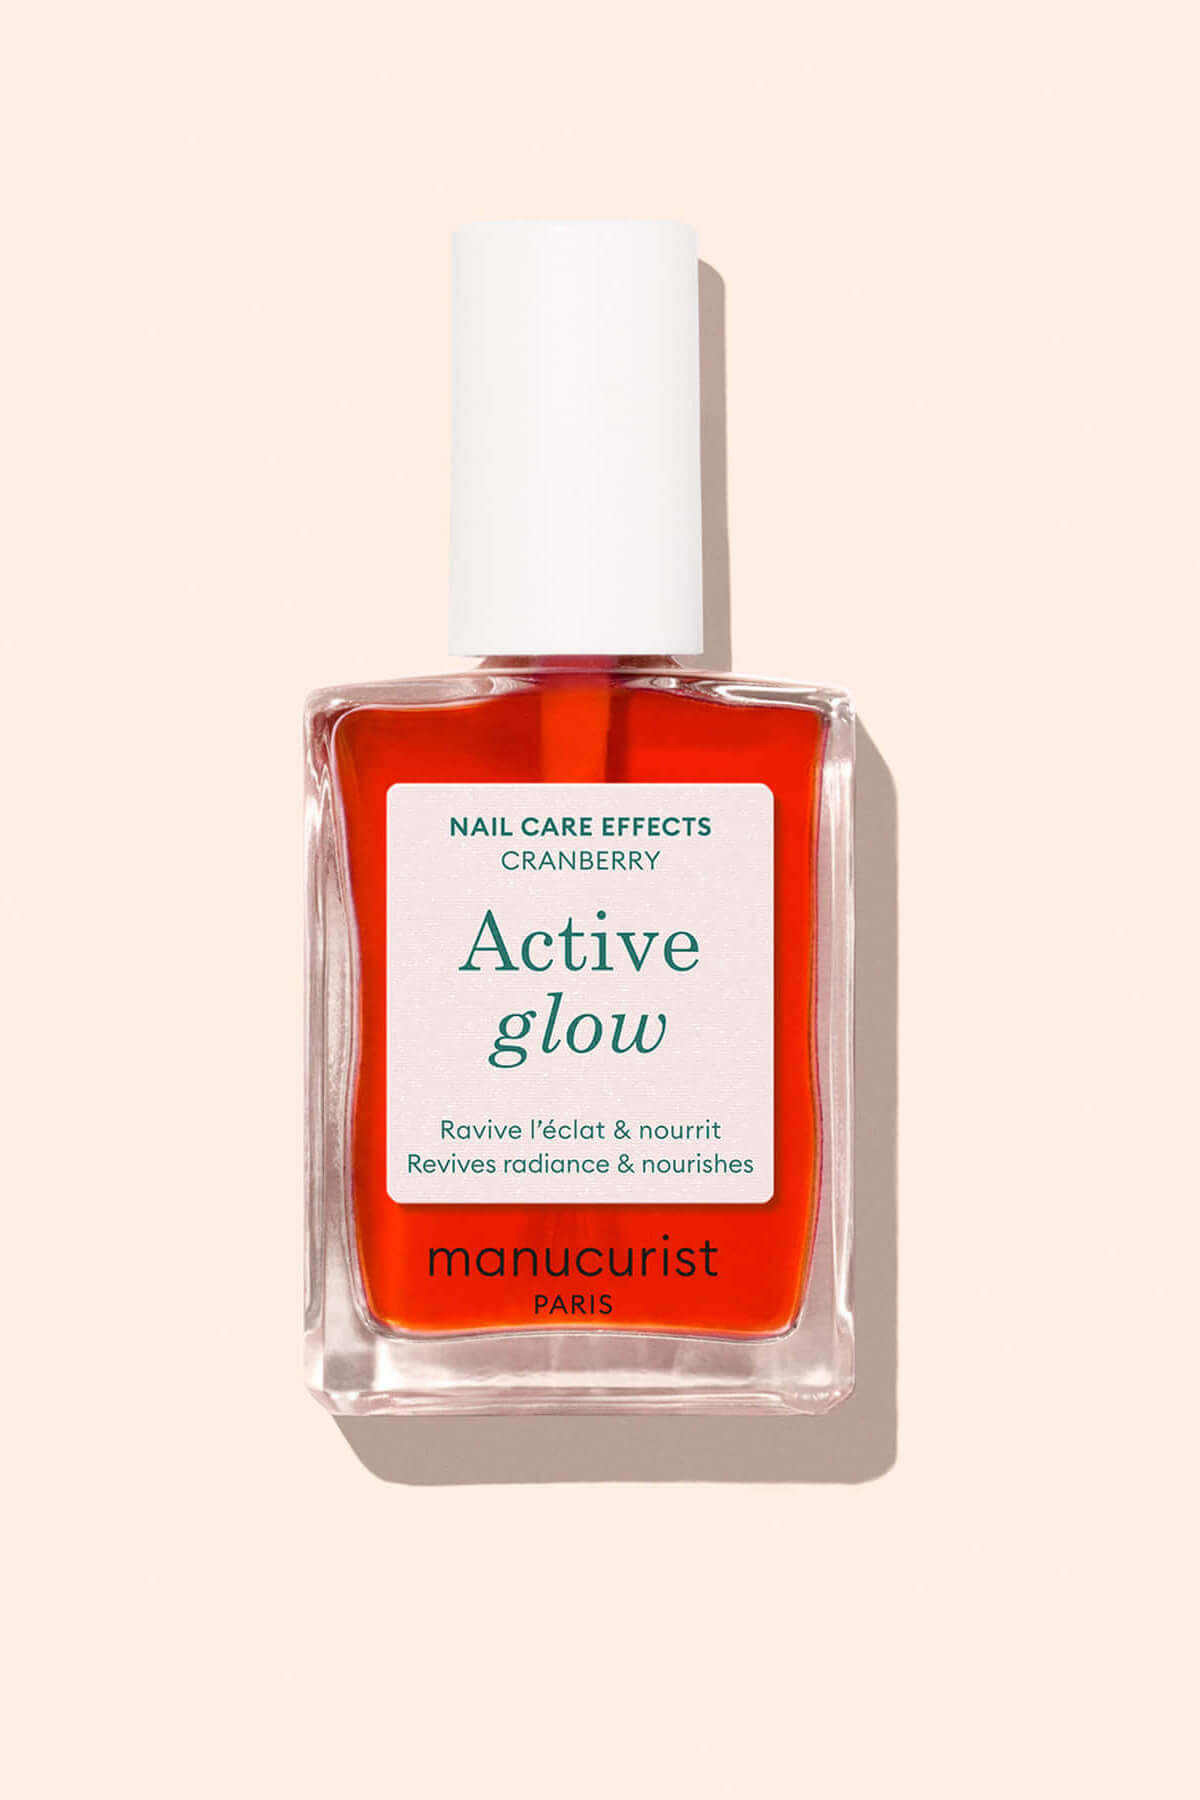
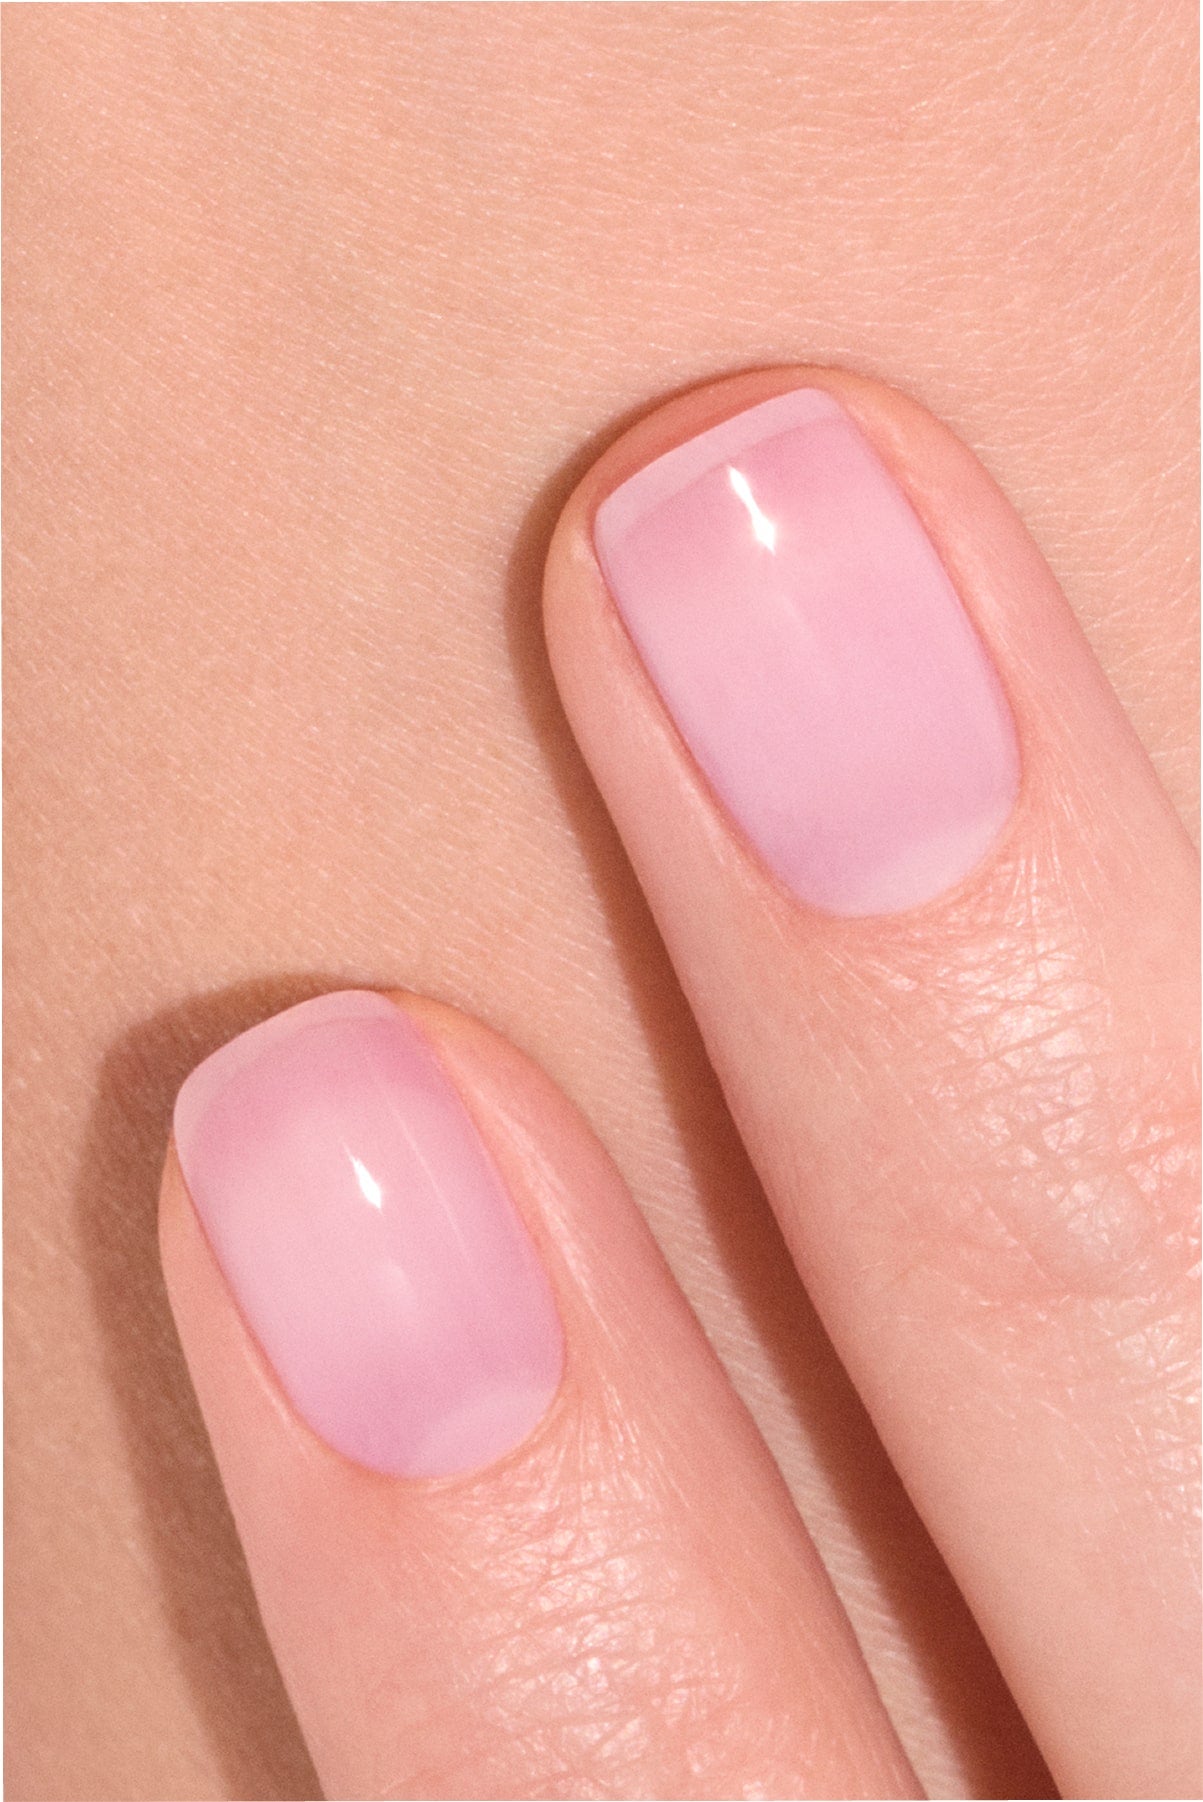
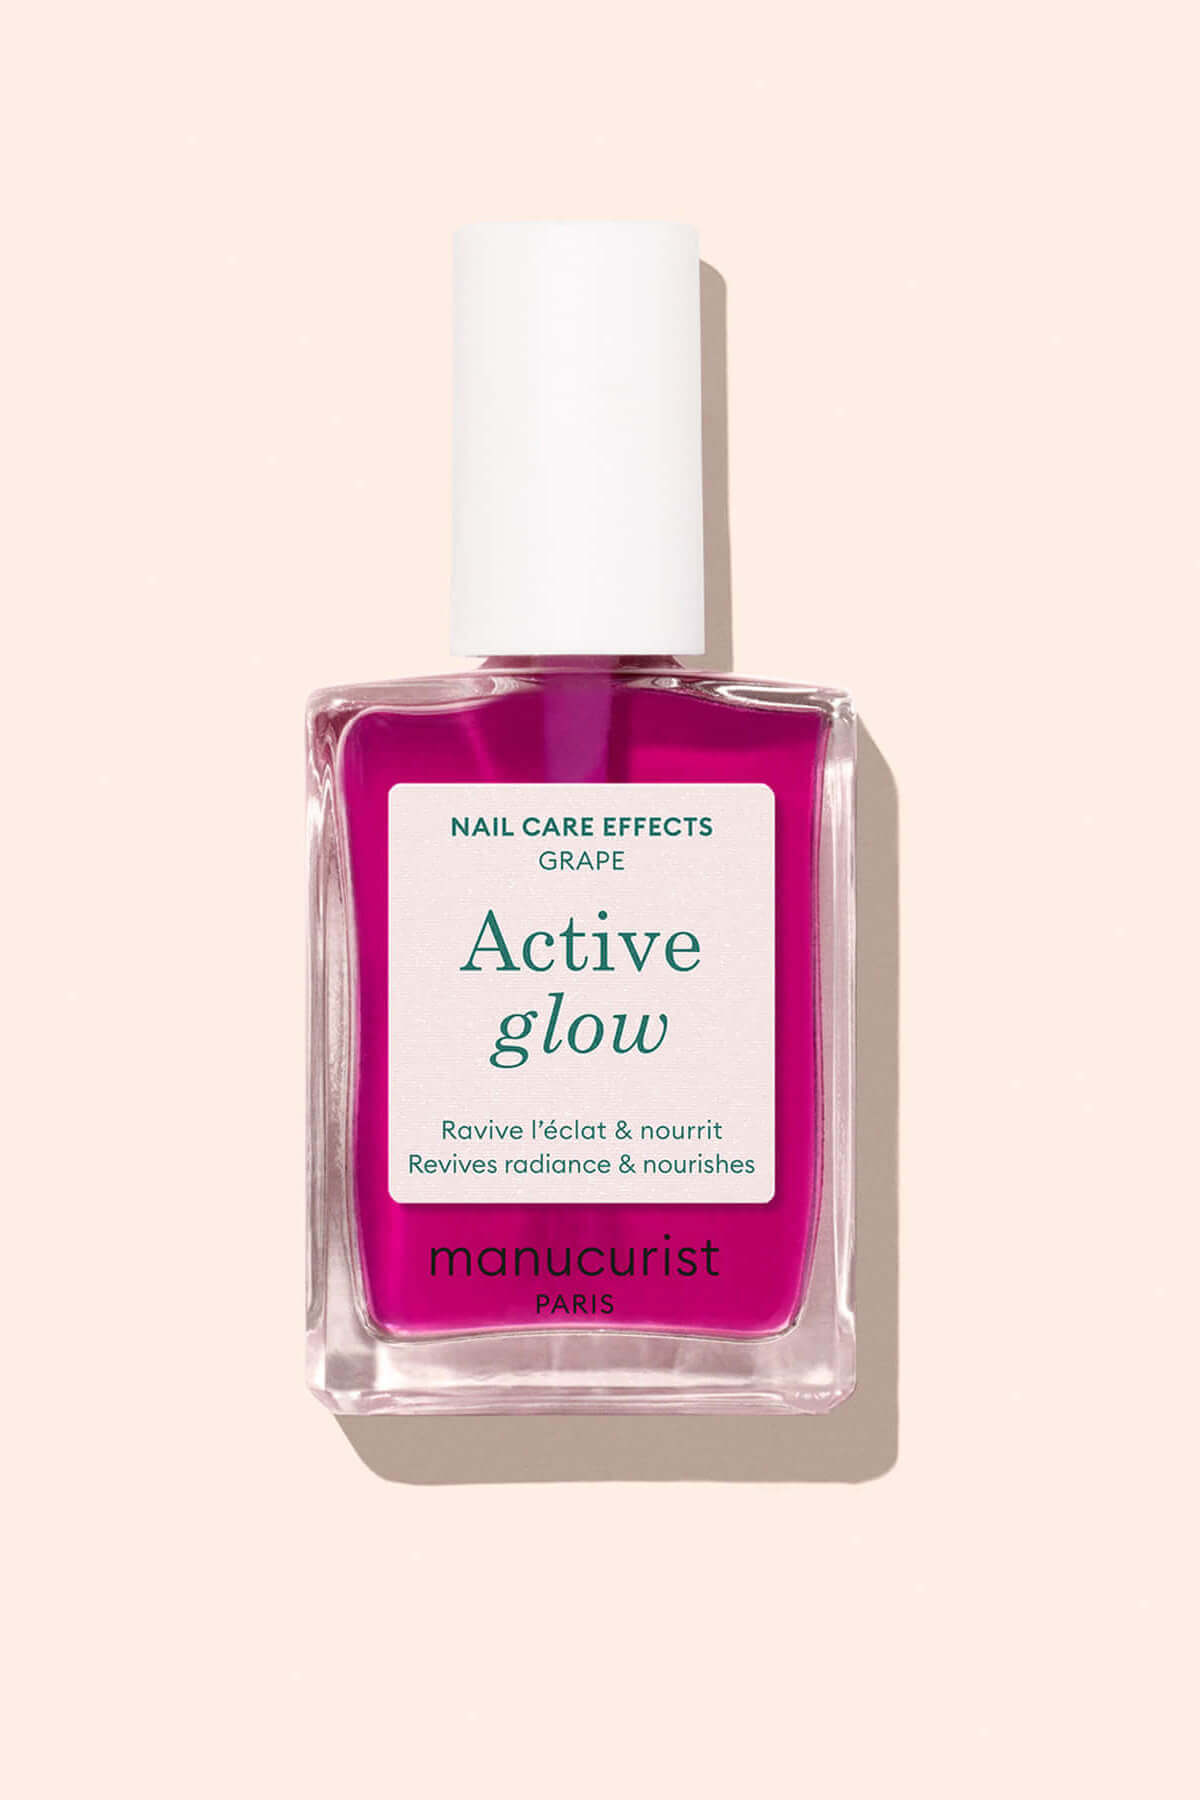
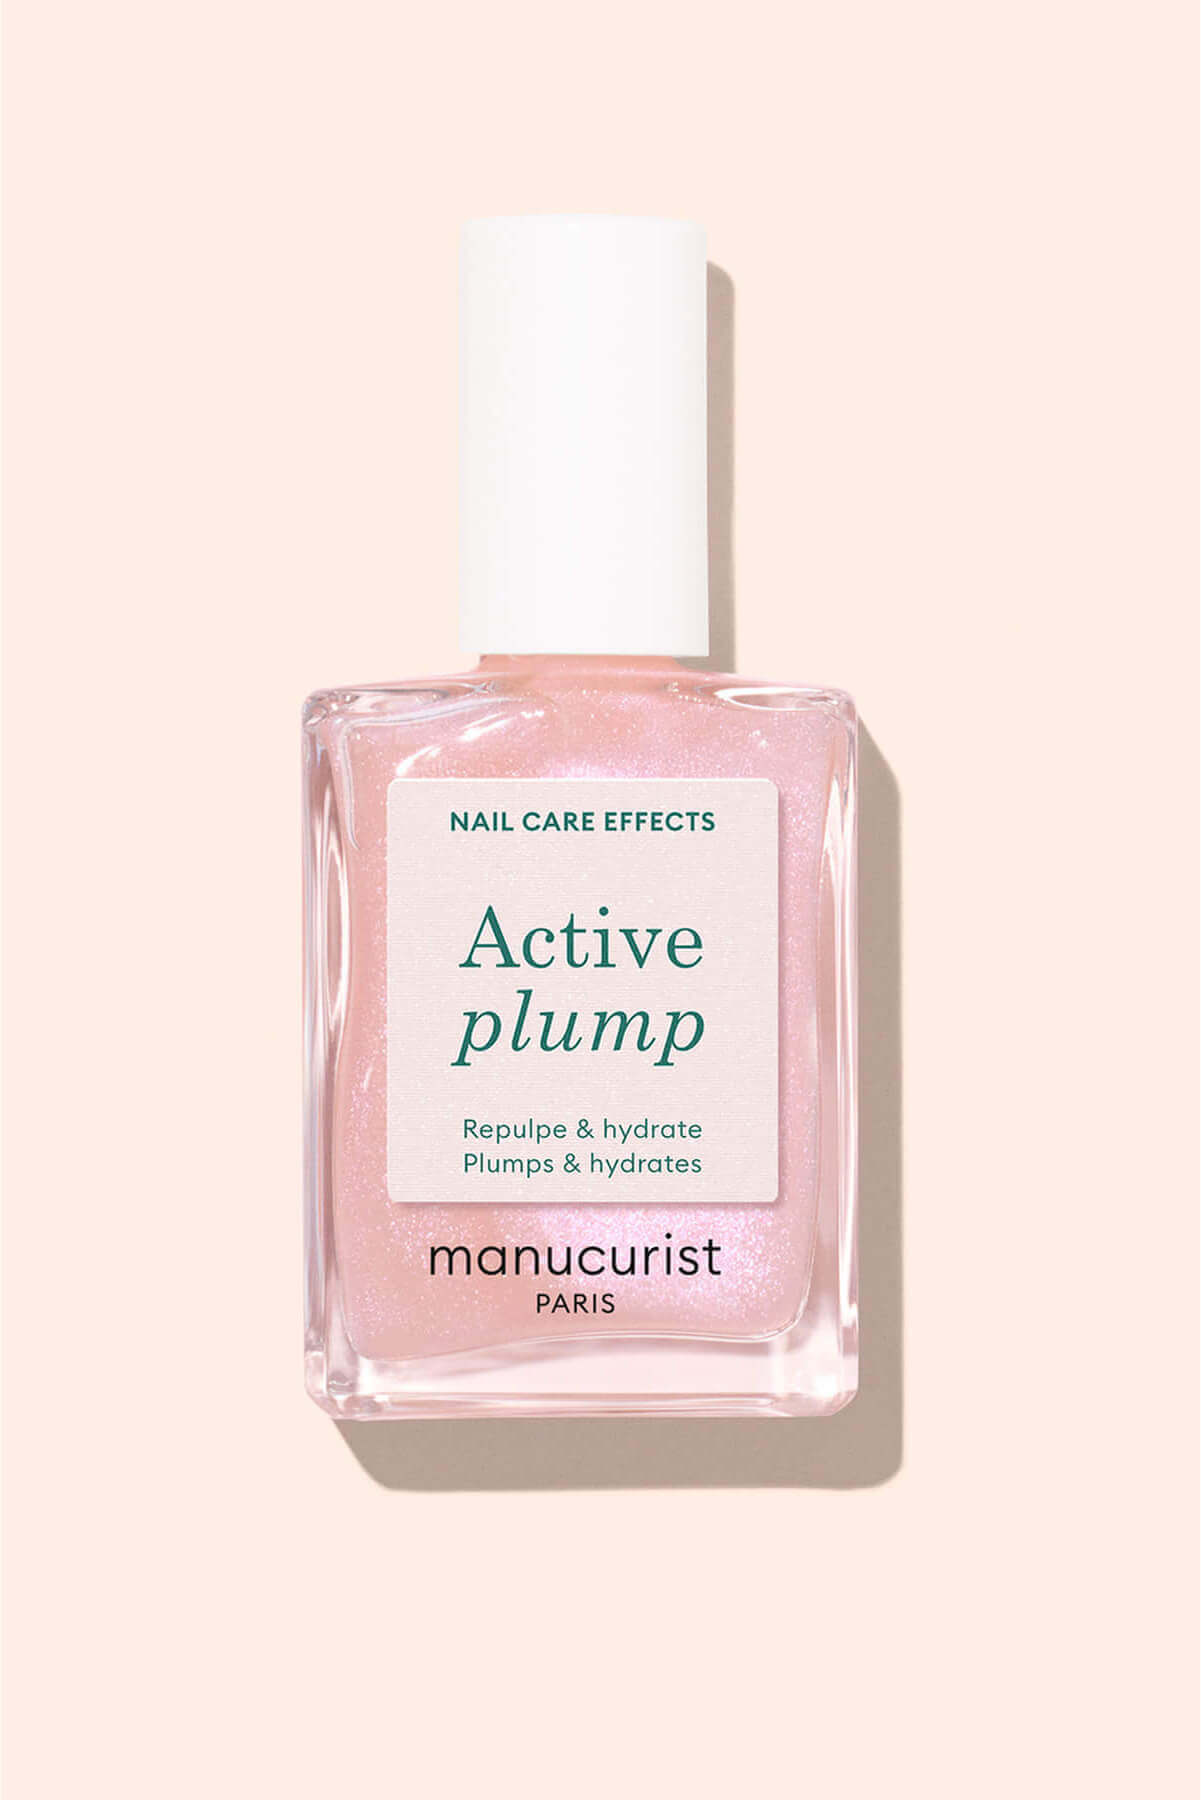
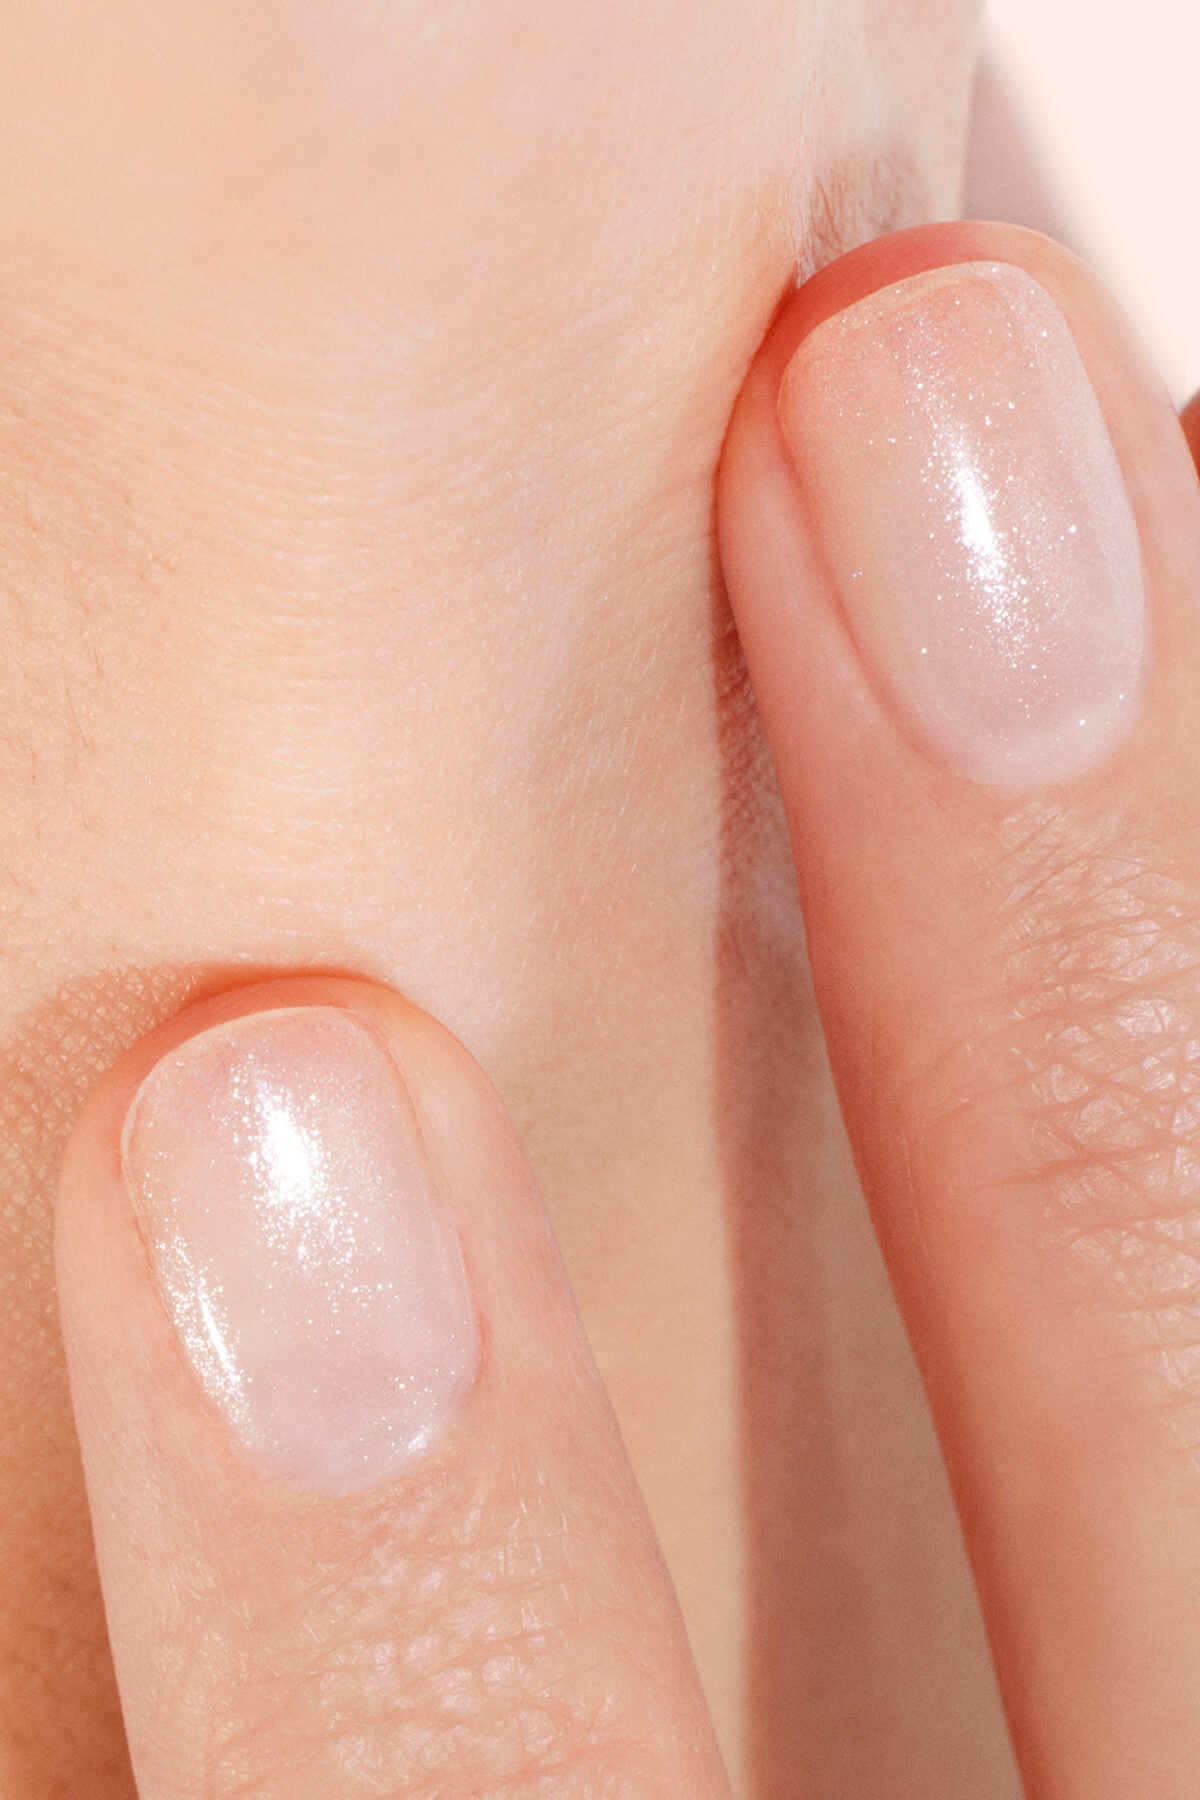
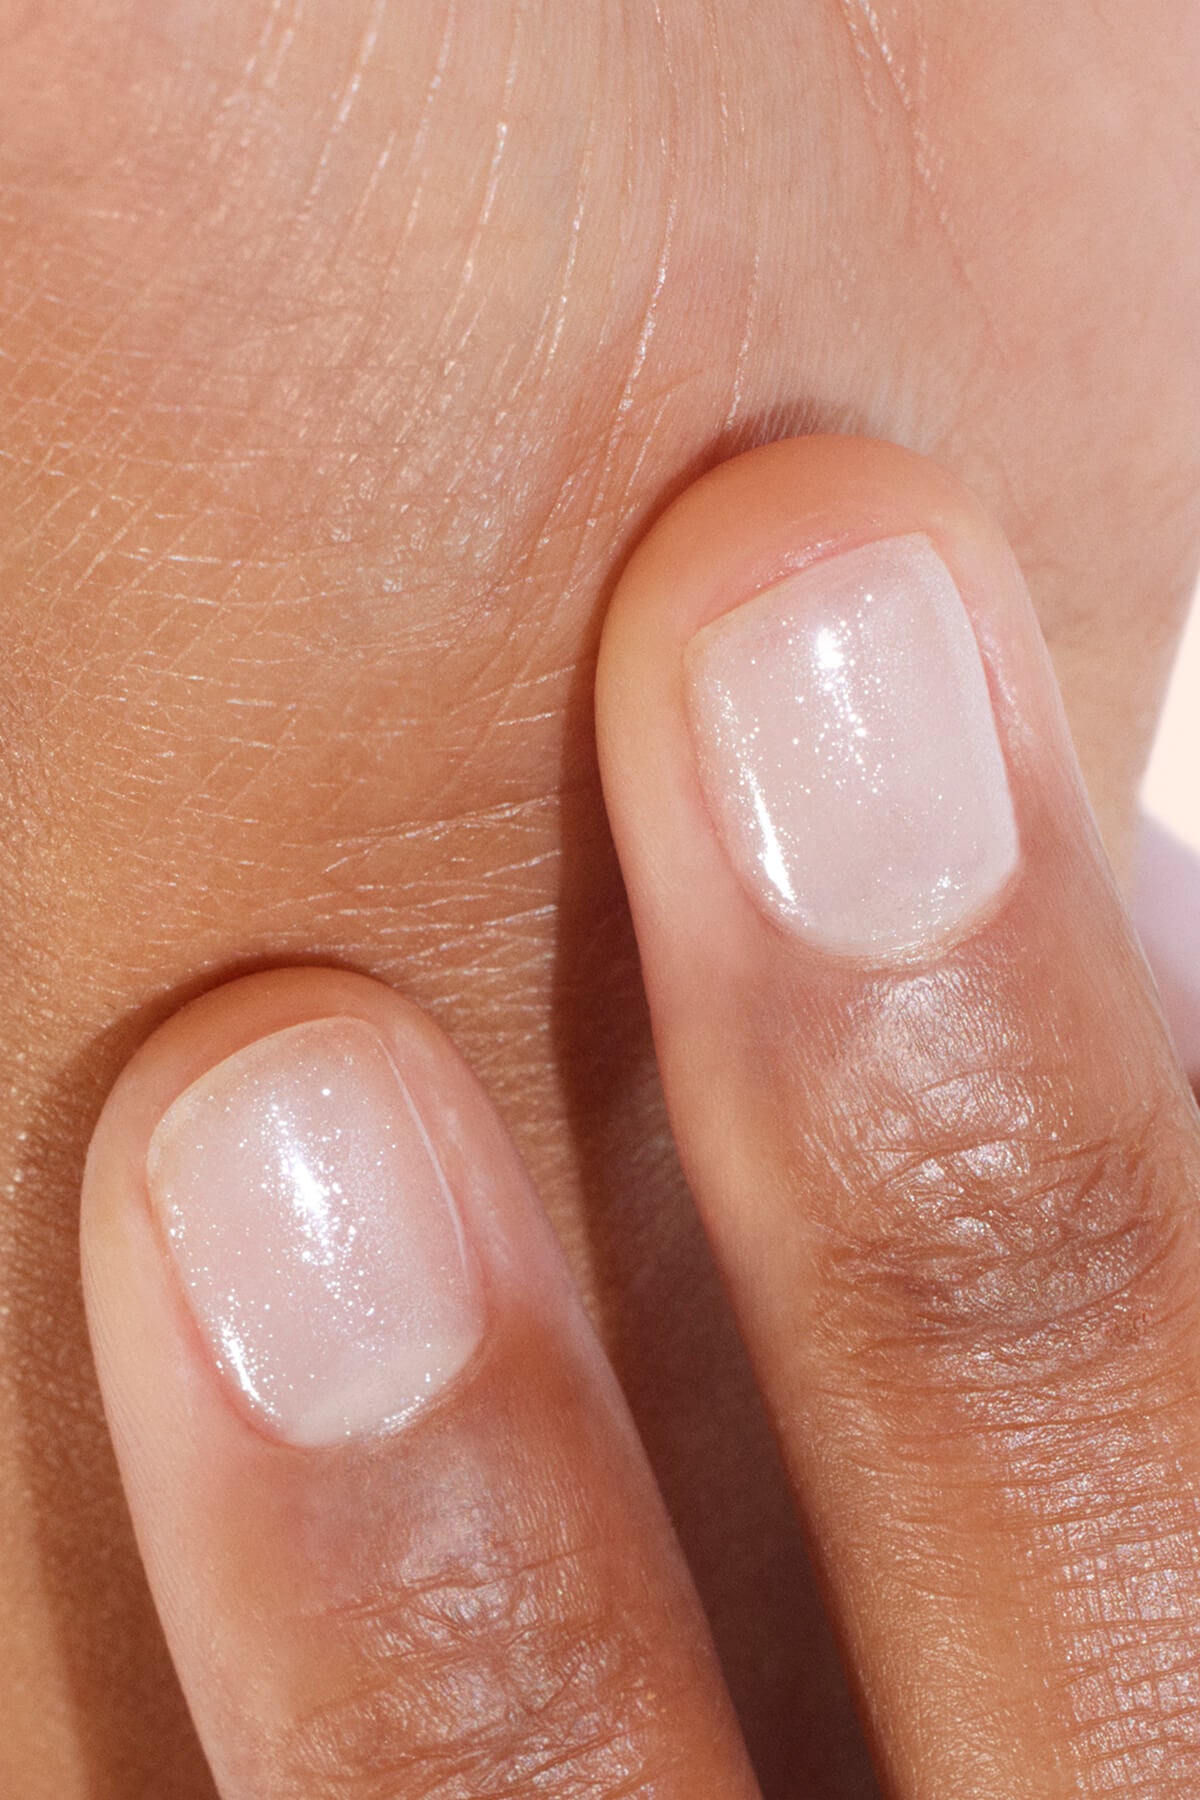
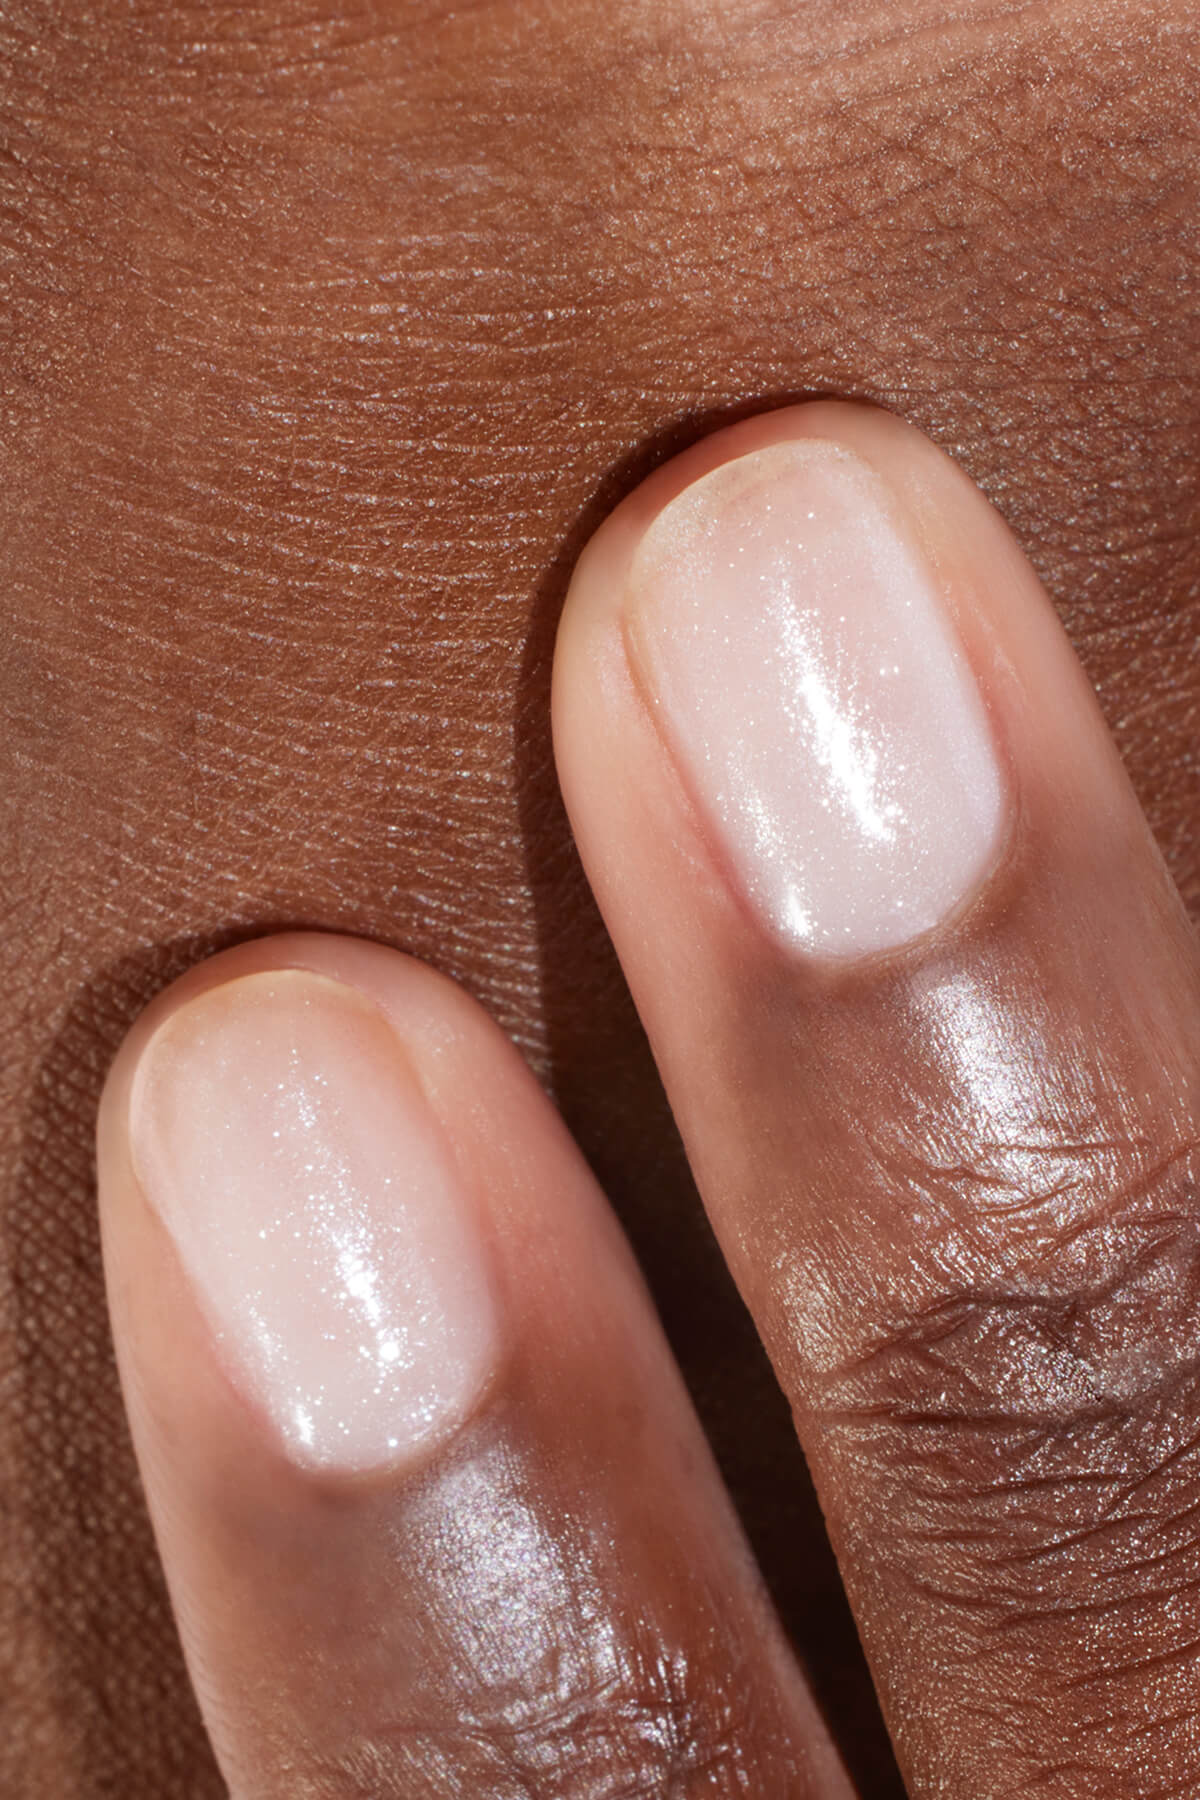
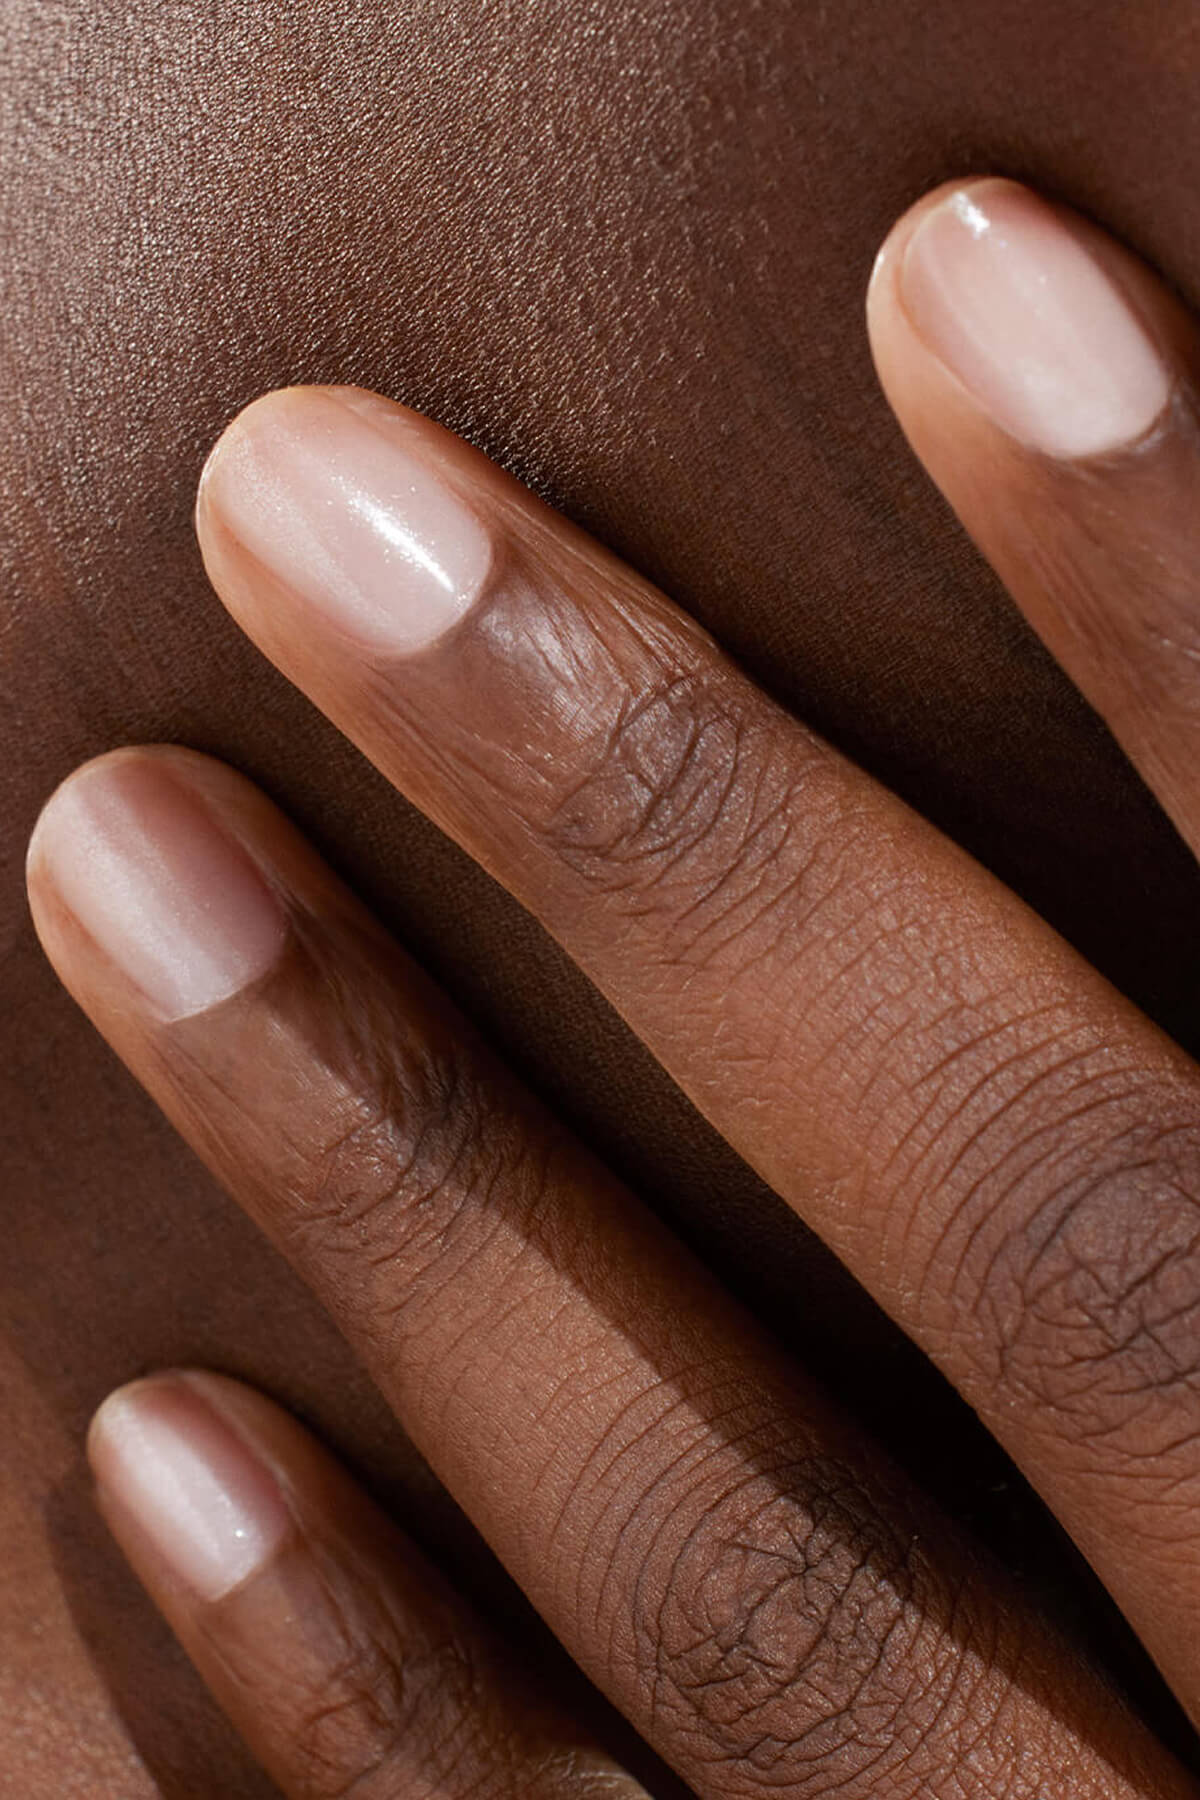
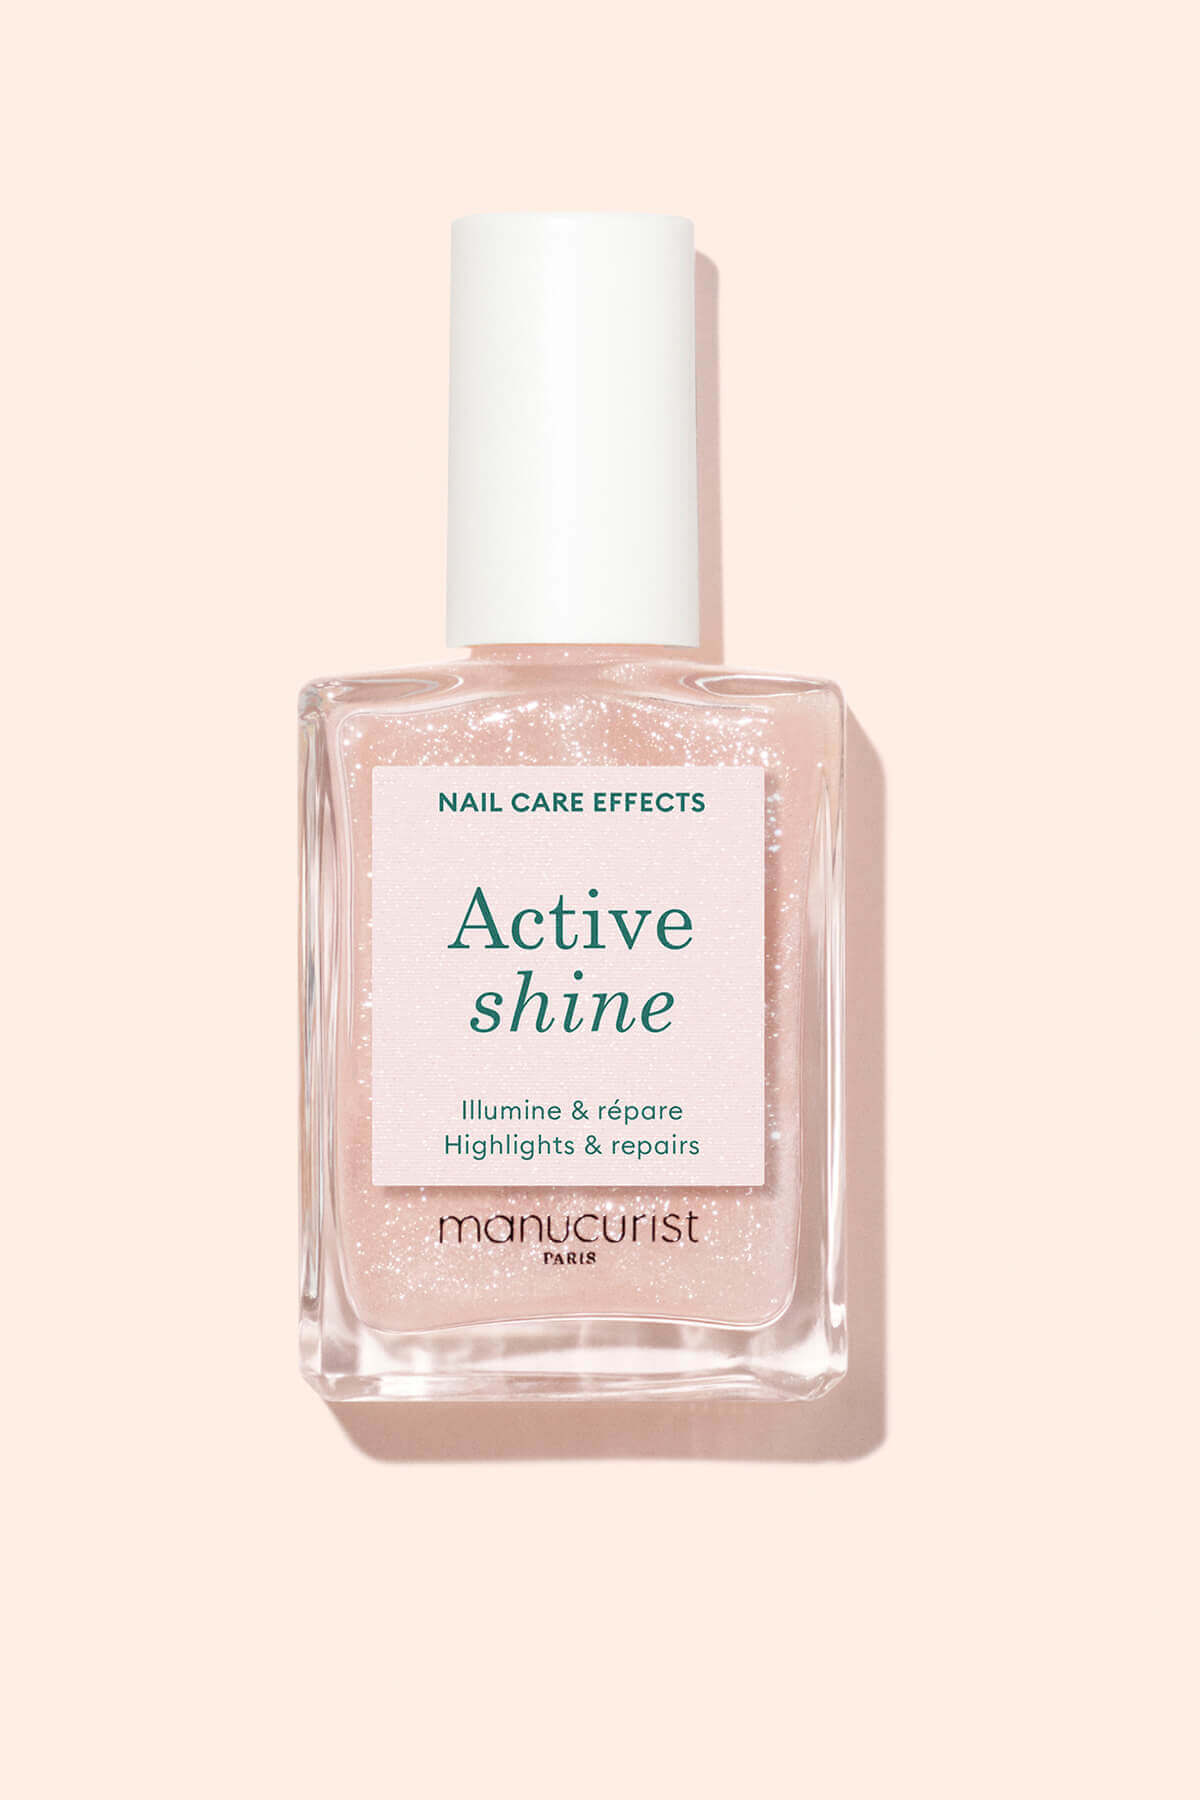
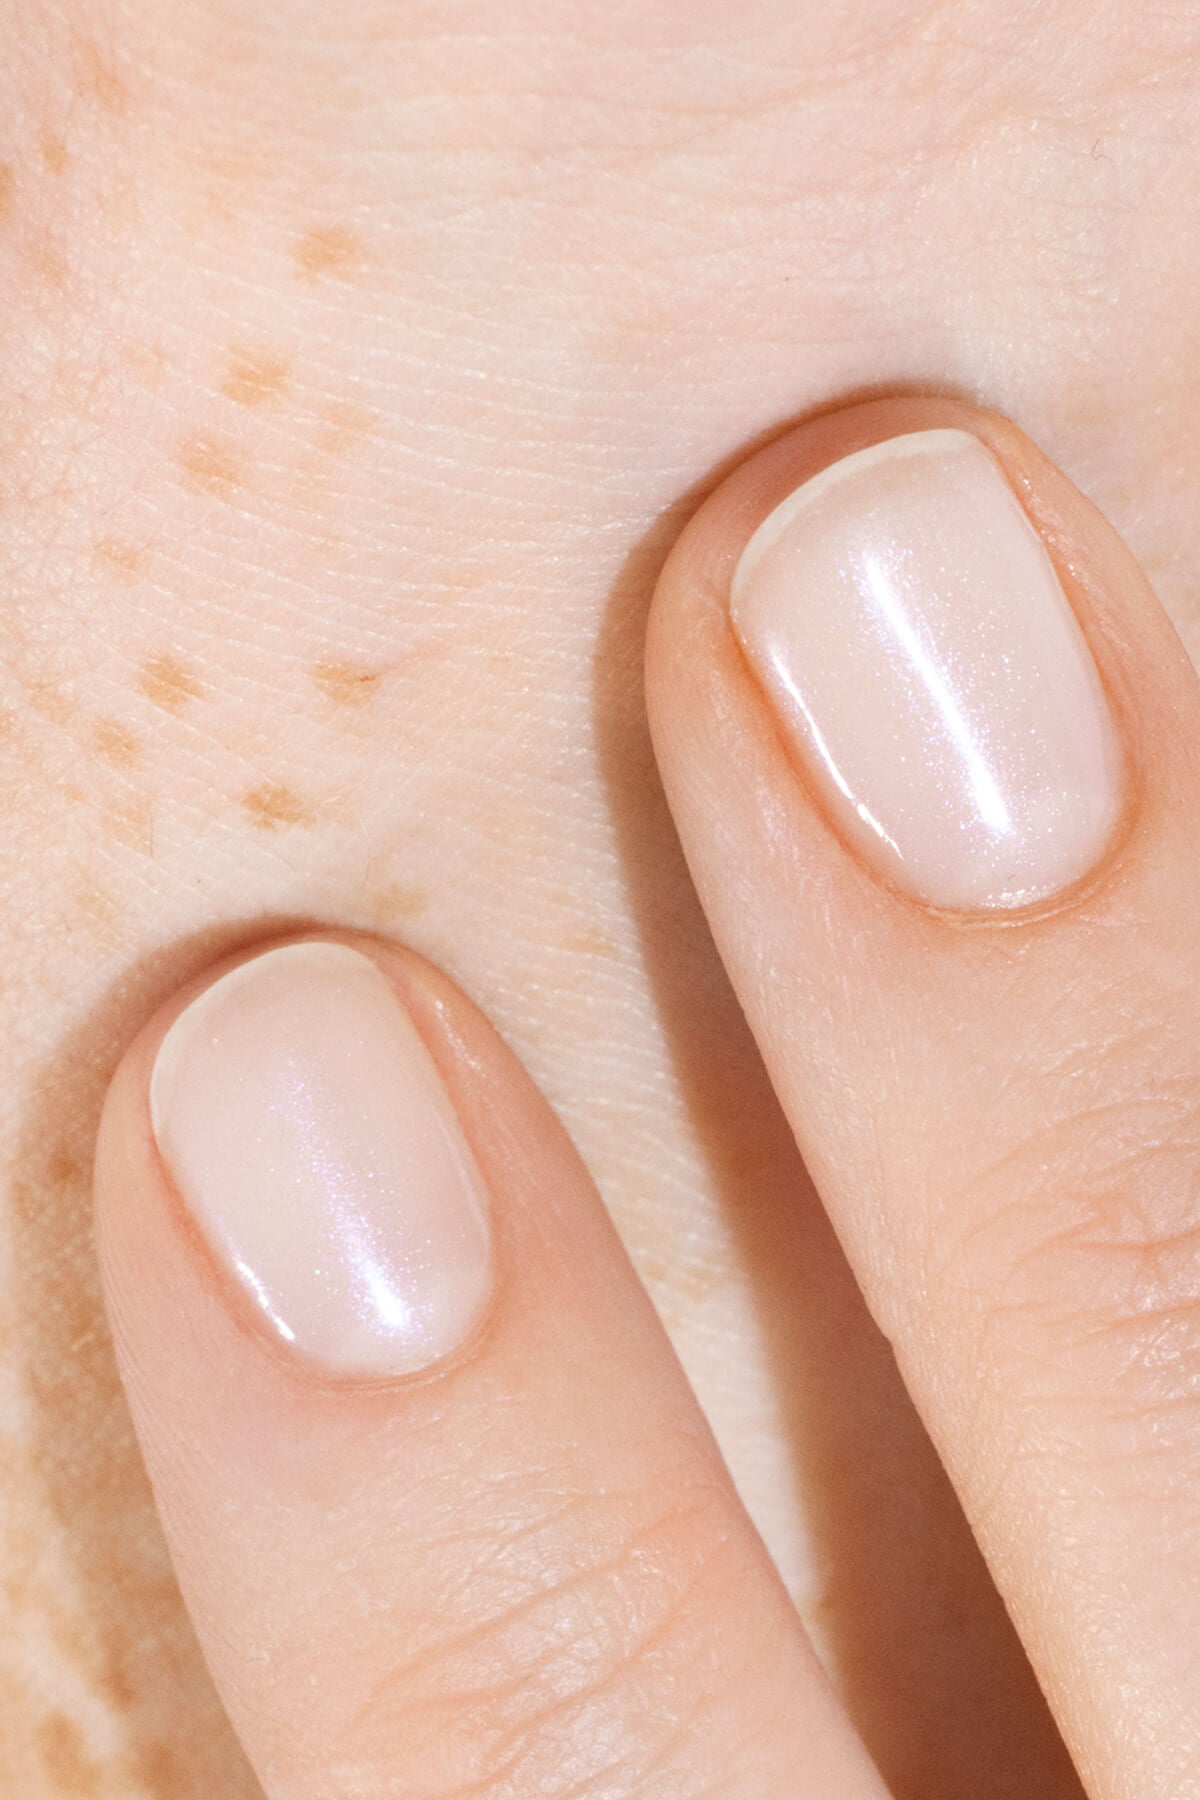
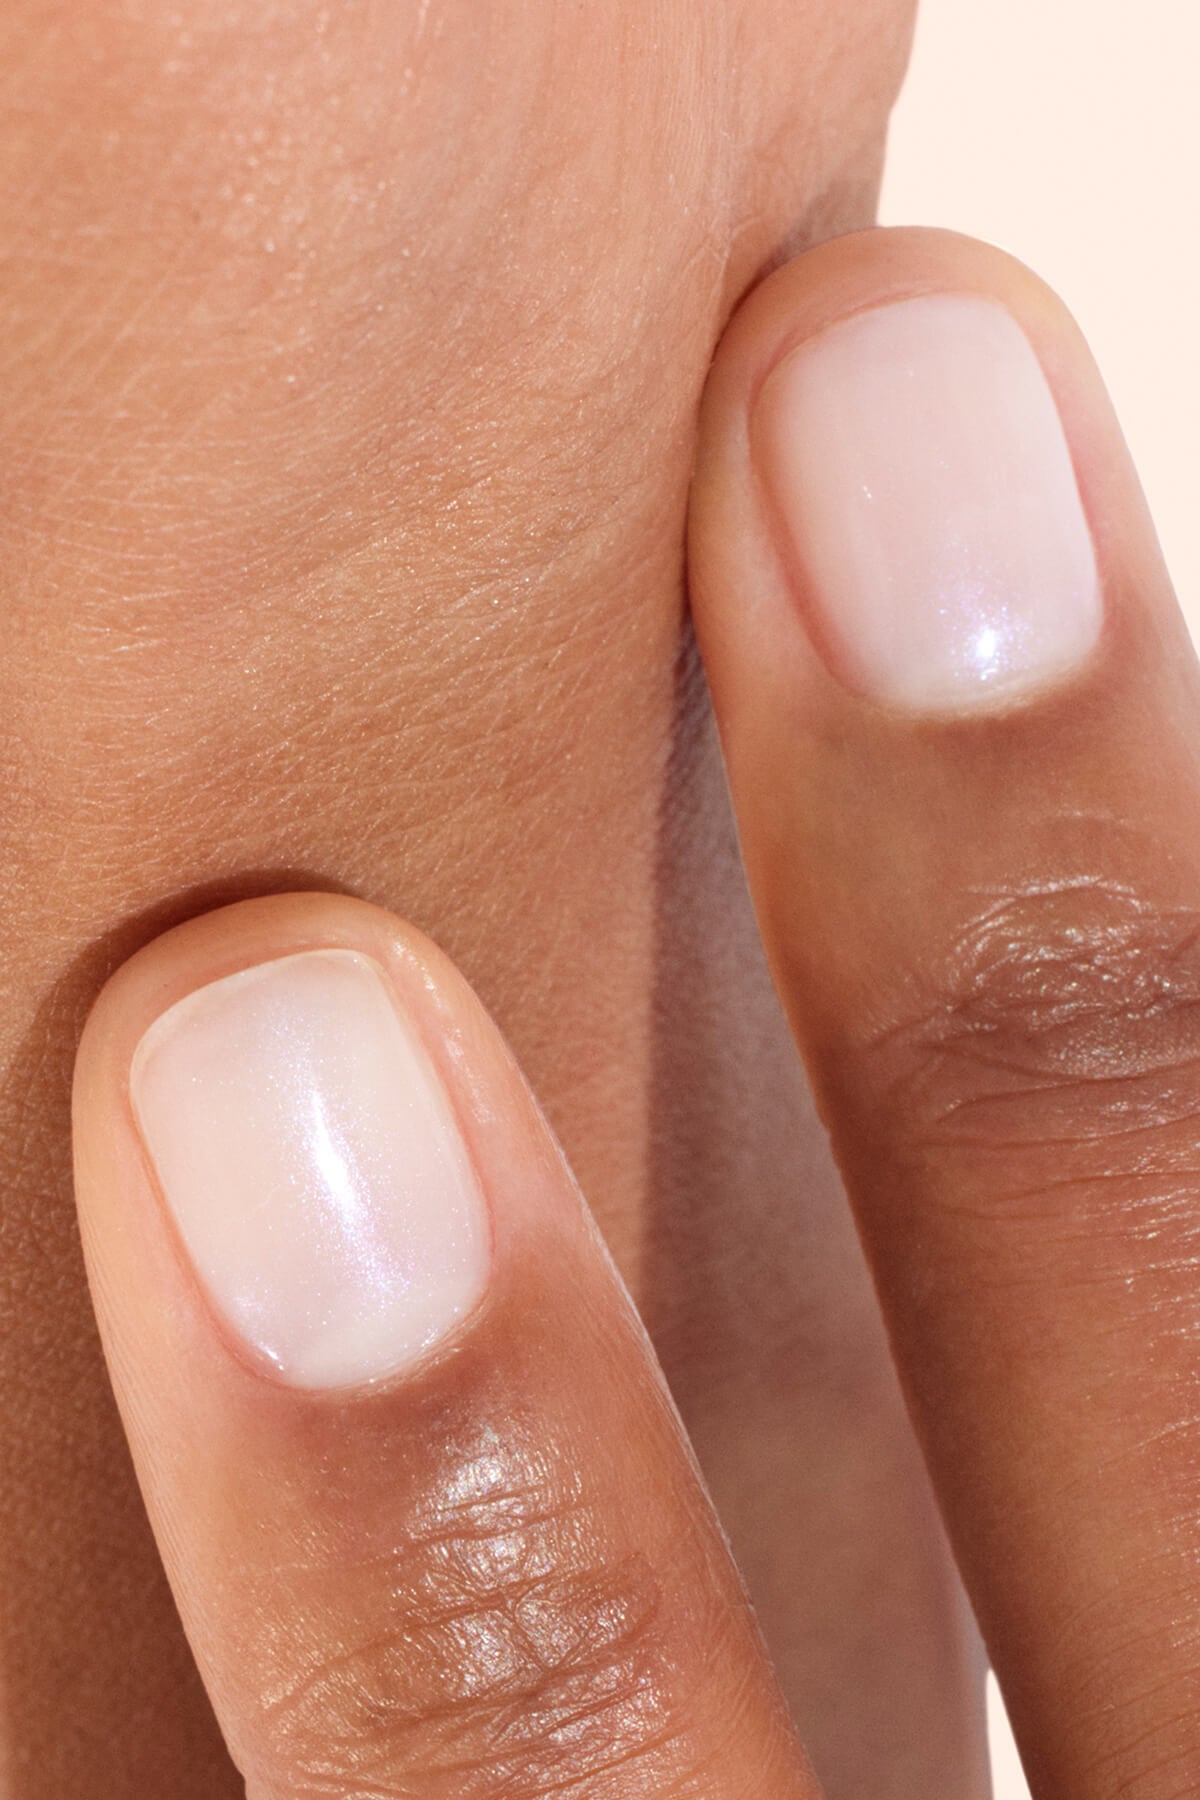
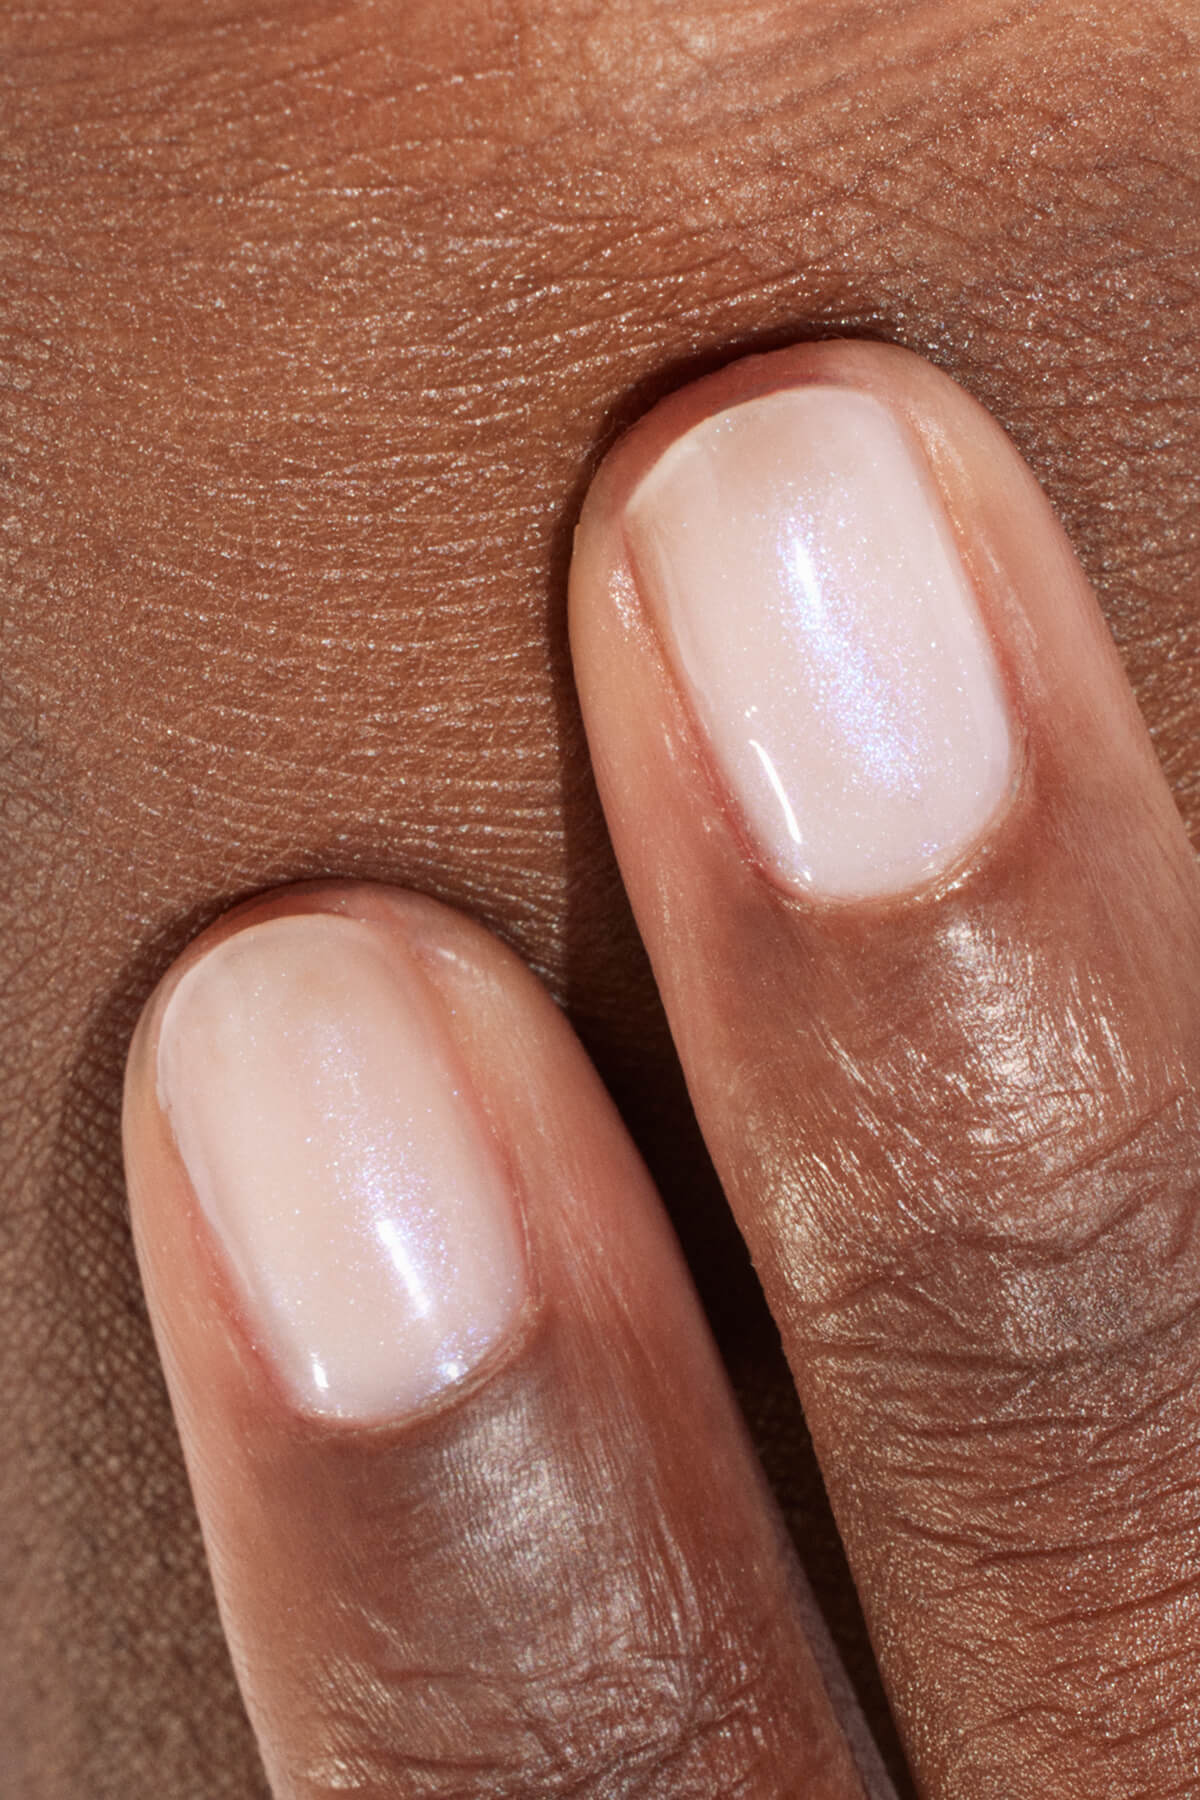
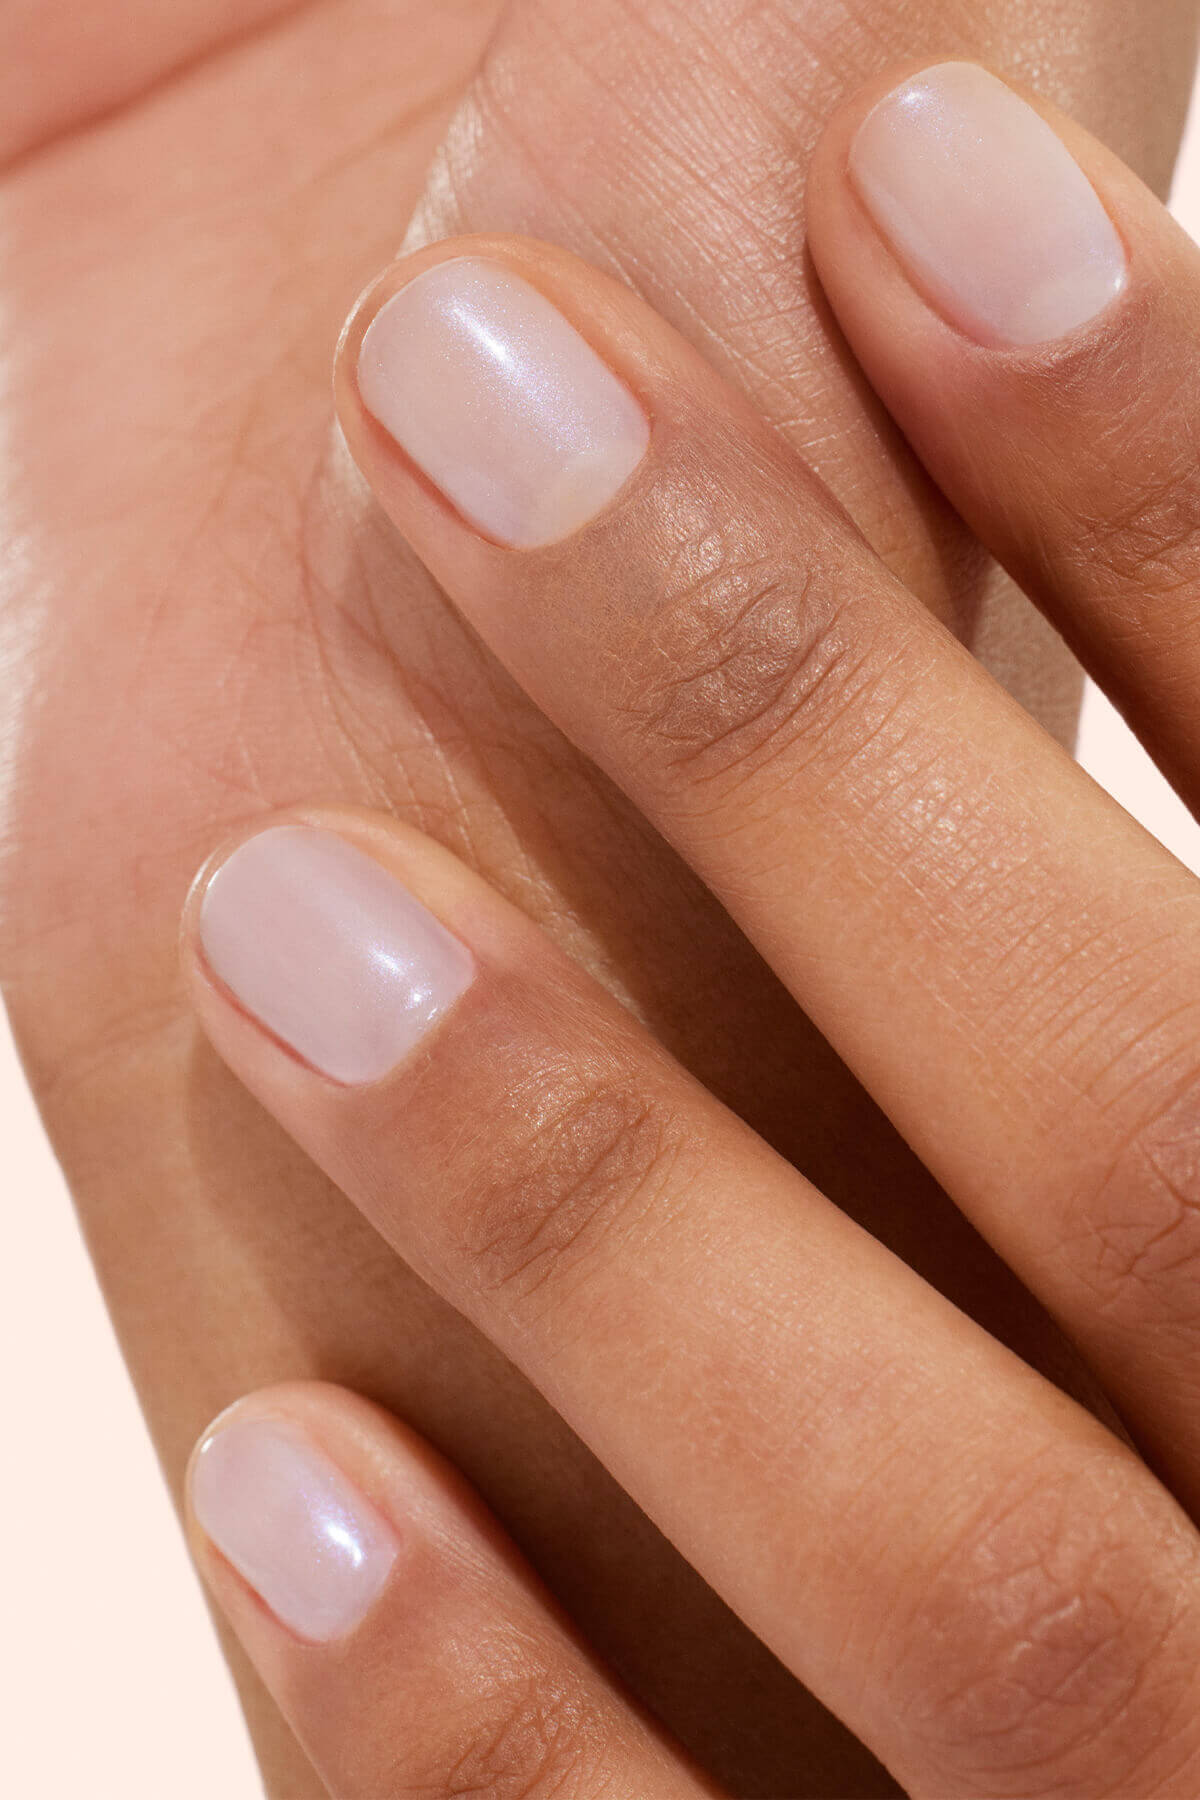
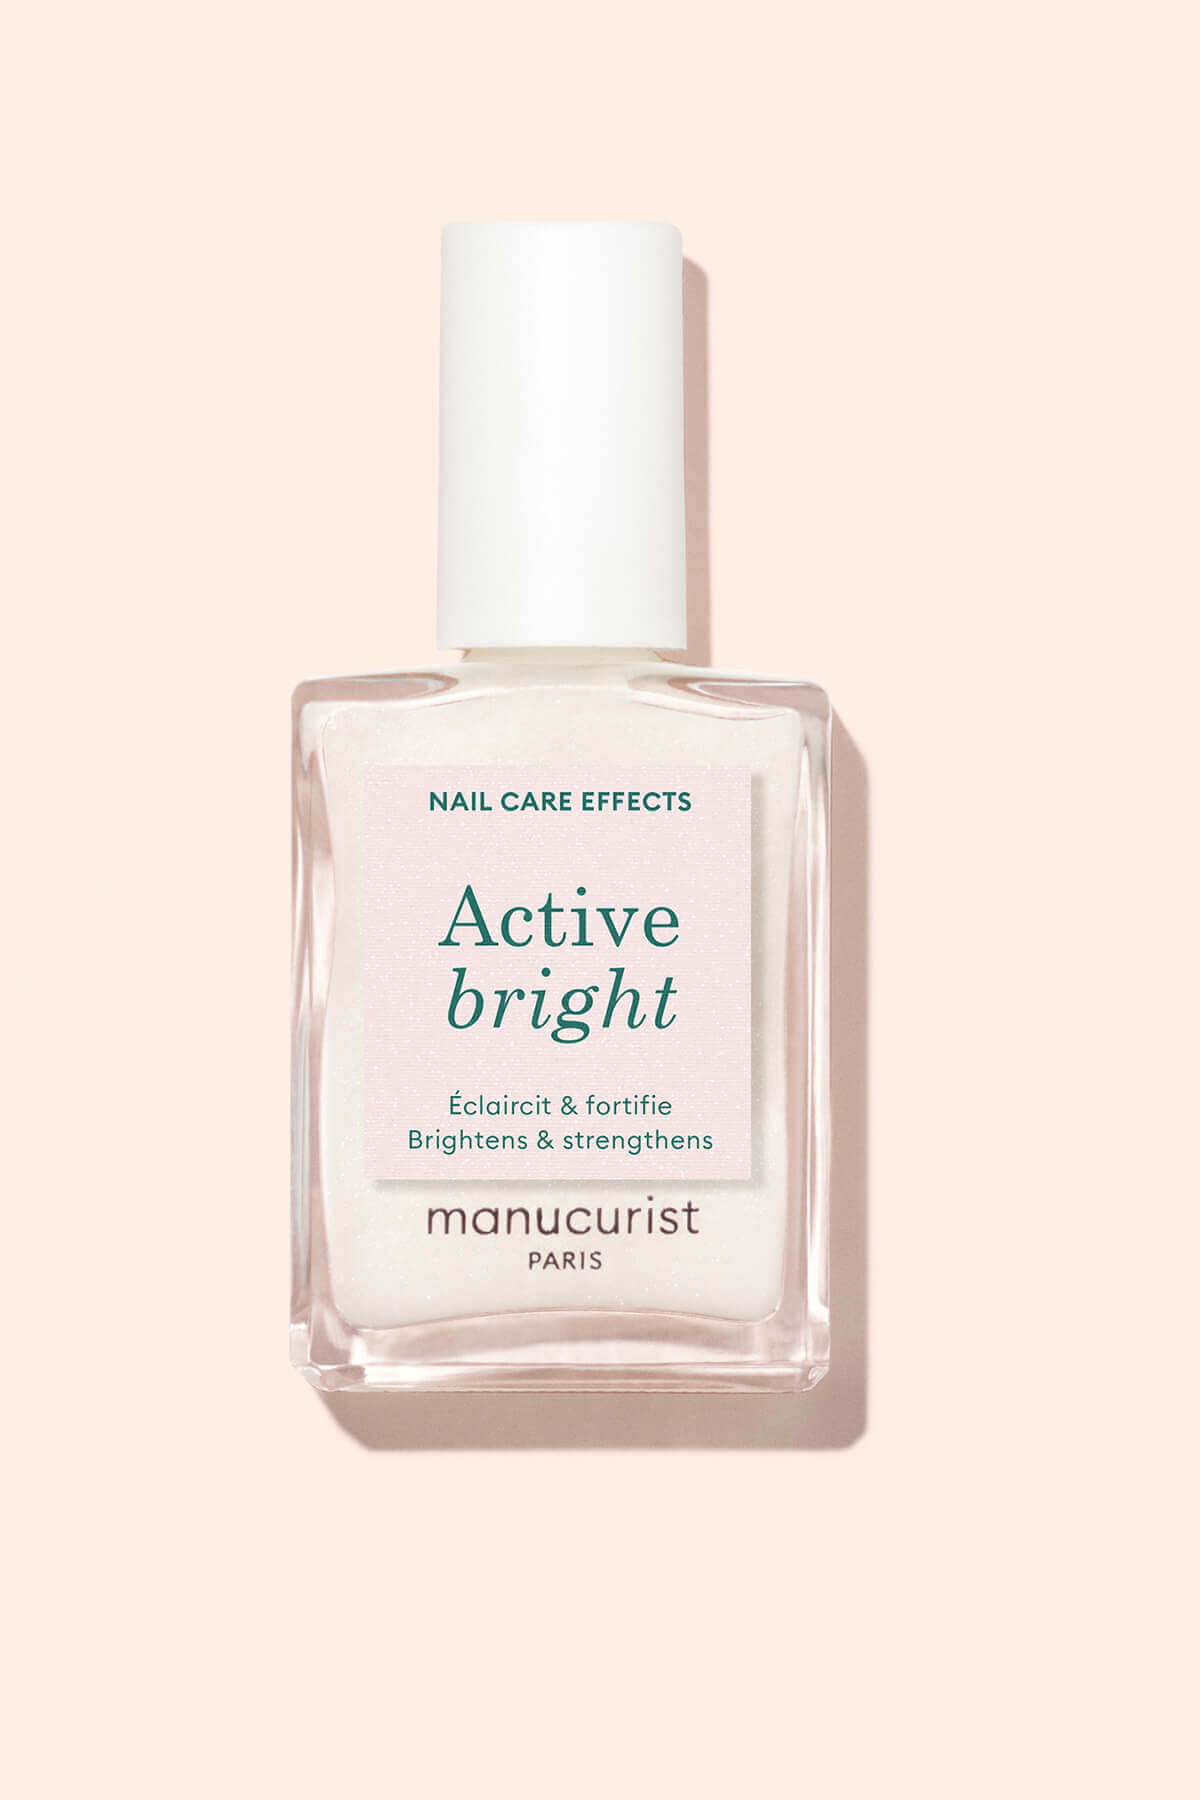
And to nourish and enhance your nails in a single step, turn to our Active™ treatment polishes. Unique formulas—a hybrid between nail care and make-up—that deeply treat natural nails while providing a beautifying finish. These polishes are super easy to apply, require no Base Coat or Top Coat, dry quickly, and each target a specific need. Tested & approved!

Green Oil, Active treatment polish: even without colour, your nails deserve a tailored routine.
Protecting your manicure daily
Finally, to extend wear time and keep your mani looking radiant, here are a few easy, effective daily tips:
- Wear gloves for washing up, household chores, DIY, or gardening.
- Apply a fresh layer of Top Coat (Green™ or Green Flash™) every 2–3 days.
- Avoid prolonged contact with hot water.
👉 Read also: How to make your nail polish last longer

Prep, protect, make it last: the Starter Kit Green™ & Starter Kit Green Flash™ have everything you need.
Chipping nail polish isn't inevitable. By combining thorough prep + expert application + daily protection, you'll get a radiant AND long-lasting manicure. Our plant-based & vegan polishes are designed to work in perfect synergy, from the Base Coat to the Top Coat. The result: a bright & shiny manicure that lasts, without a hitch 🥰
To sum up:
- Prep: file, soften cuticles with cuticle remover then push them back, buff the surface to open keratin scales, and degrease the nail.
- 4-coat application: Base Coat, two thin coats of colour (capping the free edge), then Top Coat — drying 1–2 mins in open air (regular polish) or 1–3 mins under an LED/UV lamp (gel polish).
- Daily care: hydration with Green Oil or Active™ treatment polishes applied without a Base Coat or Top Coat.
- Protection: wear gloves for chores, reapply a layer of Top Coat every 2–3 days, limit contact with hot water.
- Green™ and Green Flash™ plant-based, vegan polishes are designed to work in synergy, from the Base Coat to the Top Coat.