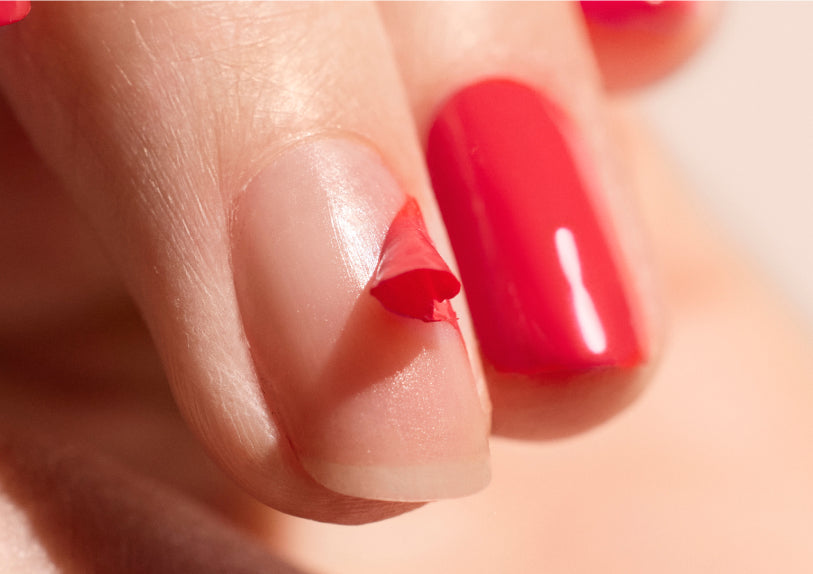
Dull, streaked, or uneven nails? Never again! While the Lime defines the shape of the nail, the buffer is the secret tool to reveal its natural shine. Inspired by professional manicures and Japanese rituals, the art of buffing now invites itself into your bathroom. But then, why buff your nails, and with which tools? We've put together a complete guide to learn a bit more about this somewhat magical technique that ensures a long-lasting and radiant manicure, with or without polish.
Why is it so good to buff your nails?
Filing or buffing: what's the difference?
Filing and buffing, aren't they the same? Not really. Certainly, they are two essential steps in the preparation of nails before polish application, but the technical gestures are quite different.
- Filing: it’s shaping the nail with a nail file, whether square, round, almond, or other, by filing the free edge of the nail.
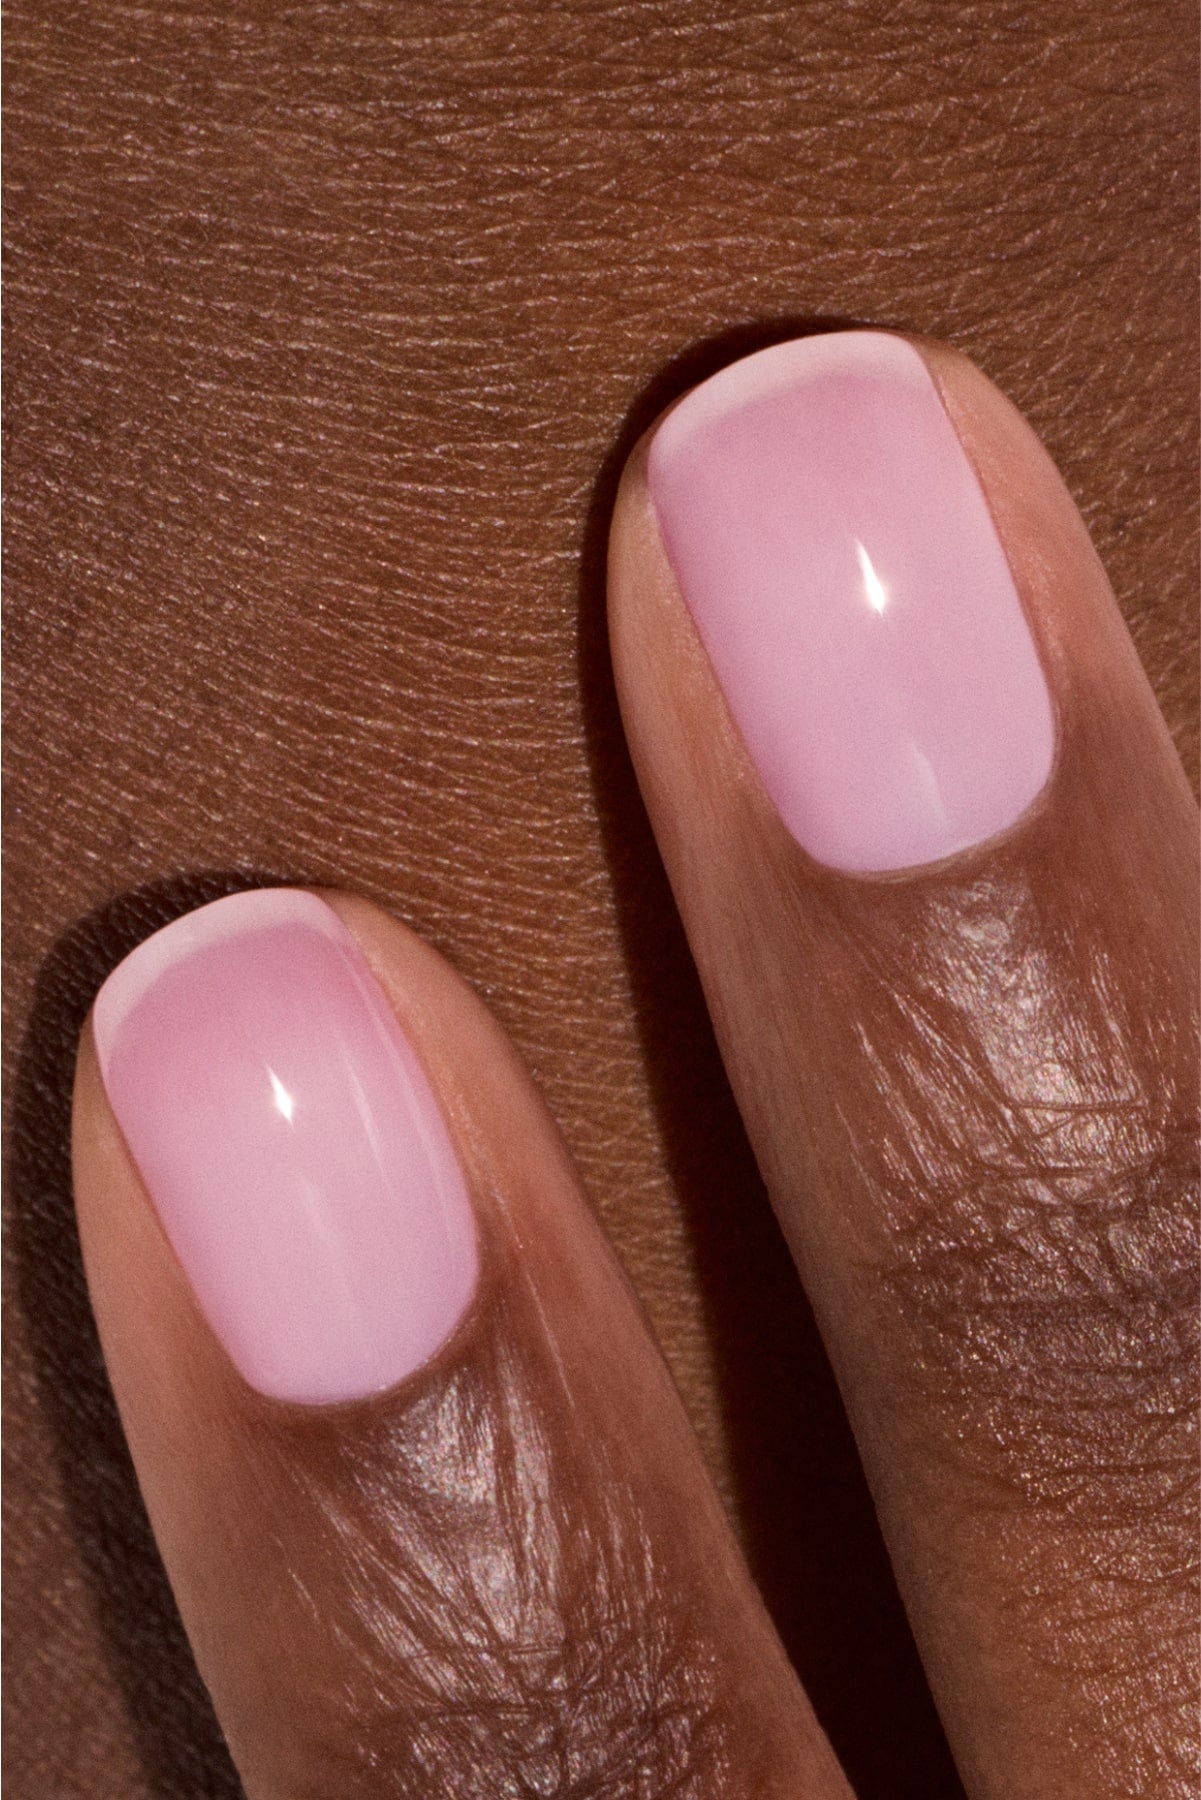
- Buffing: it’s working the surface of the nails to make it smooth and even. Combined with an exfoliating treatment, it gives bare nails a natural shine without adding anything.

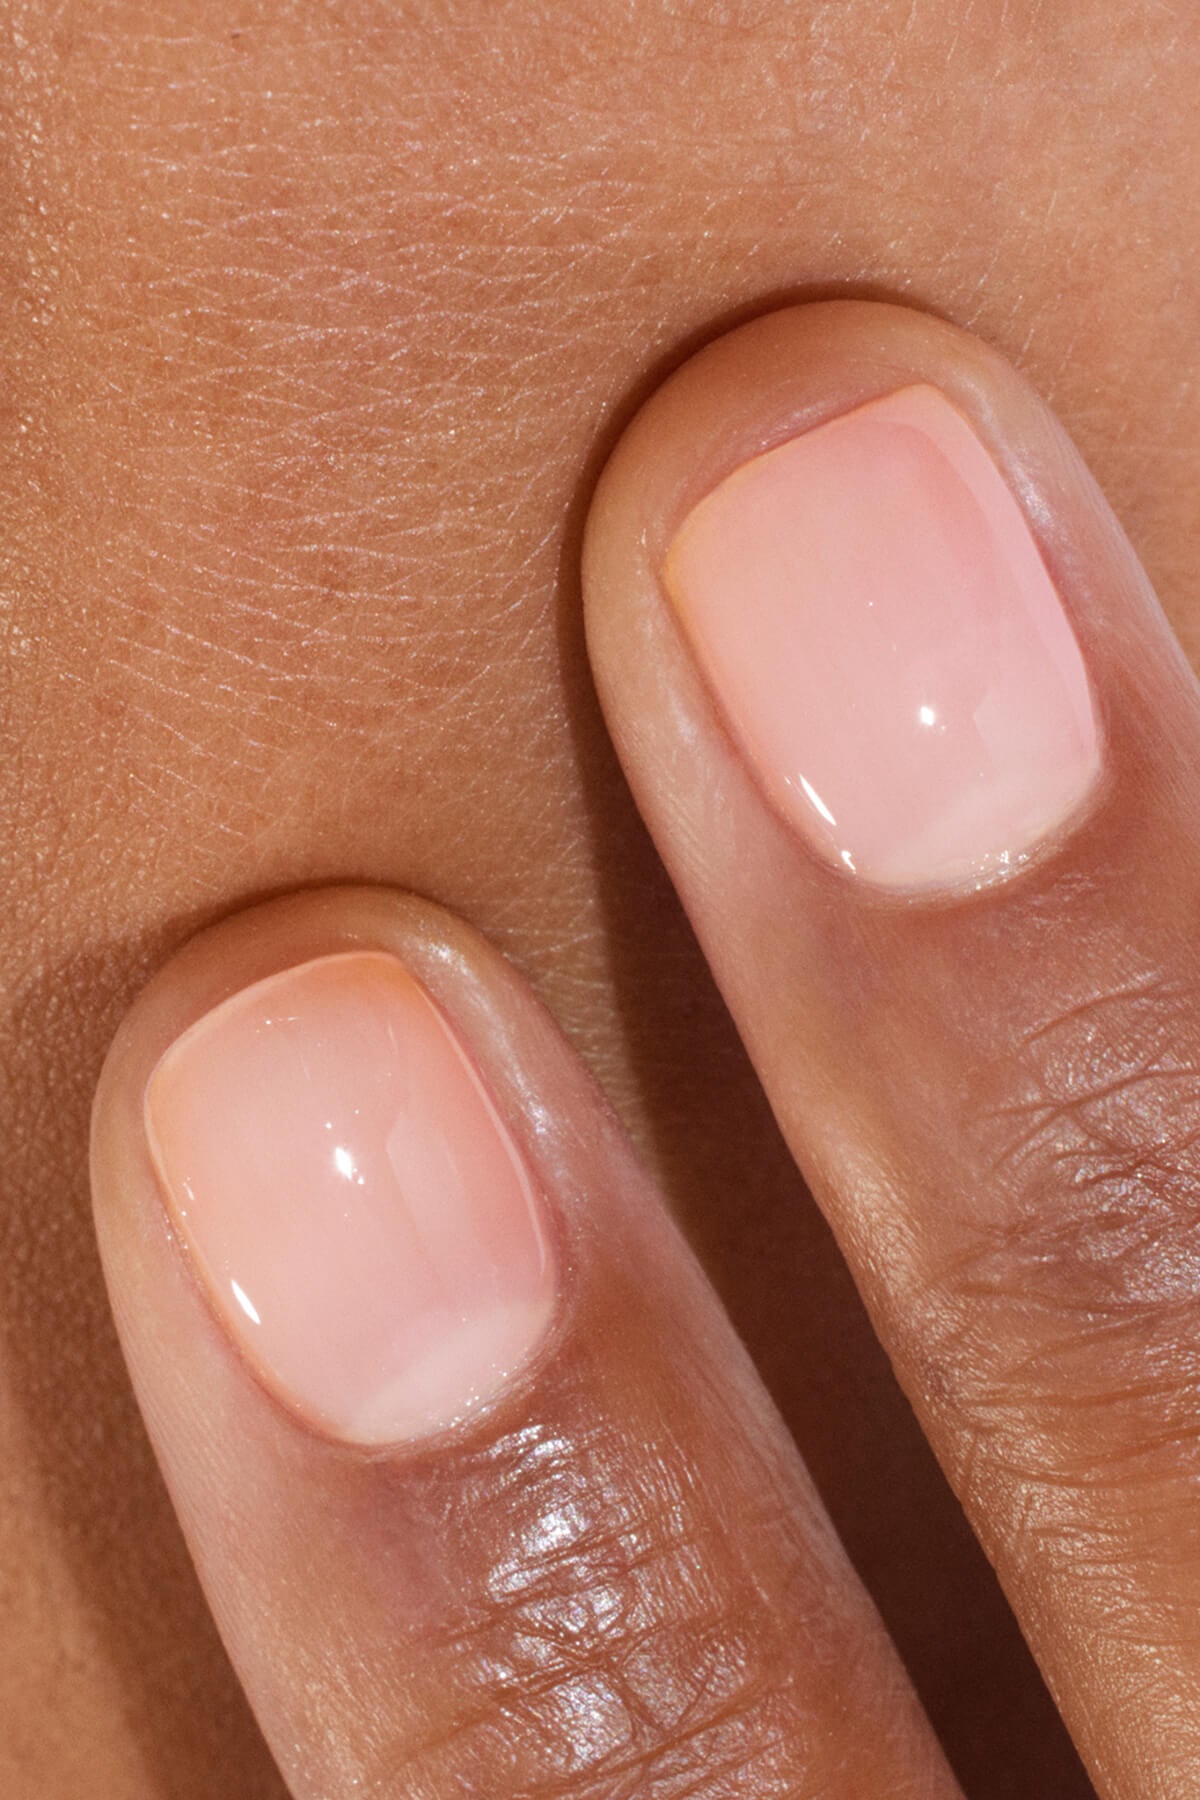
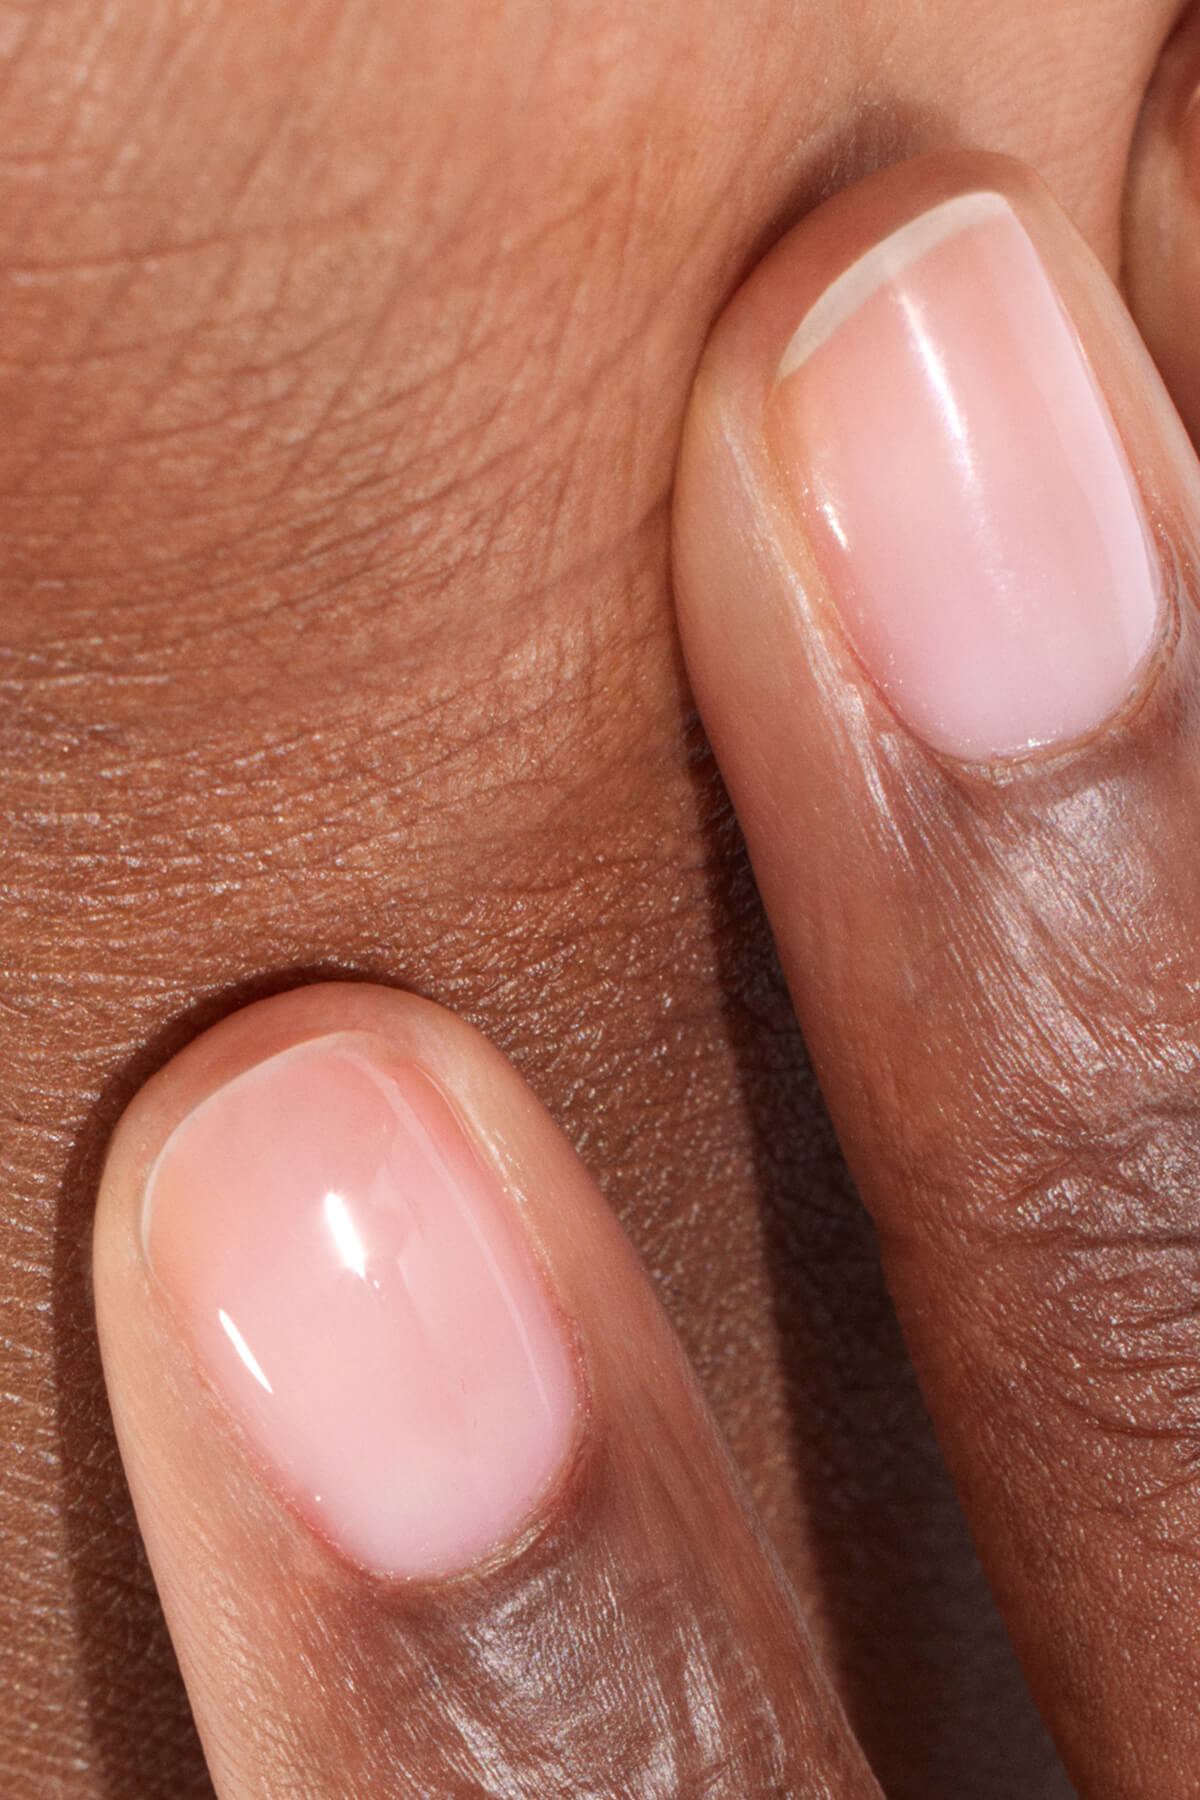
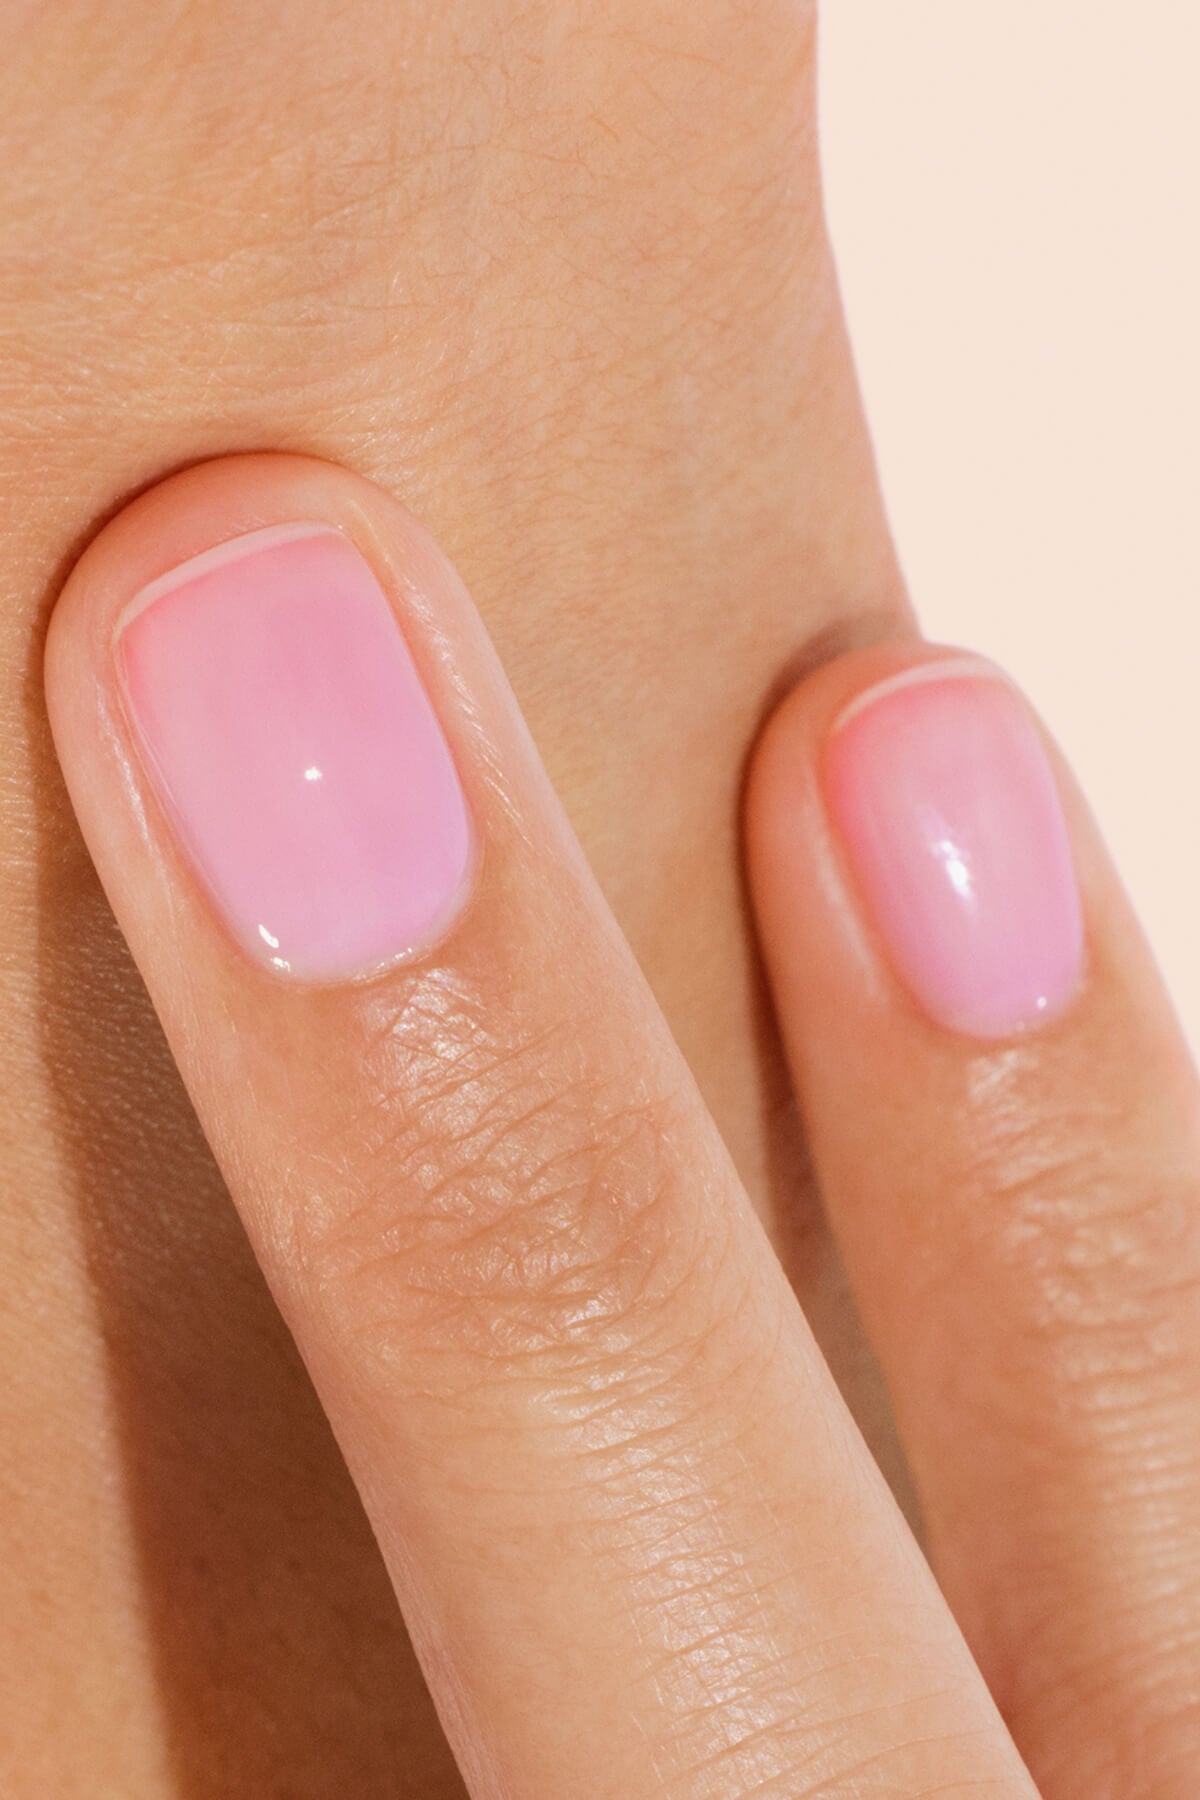
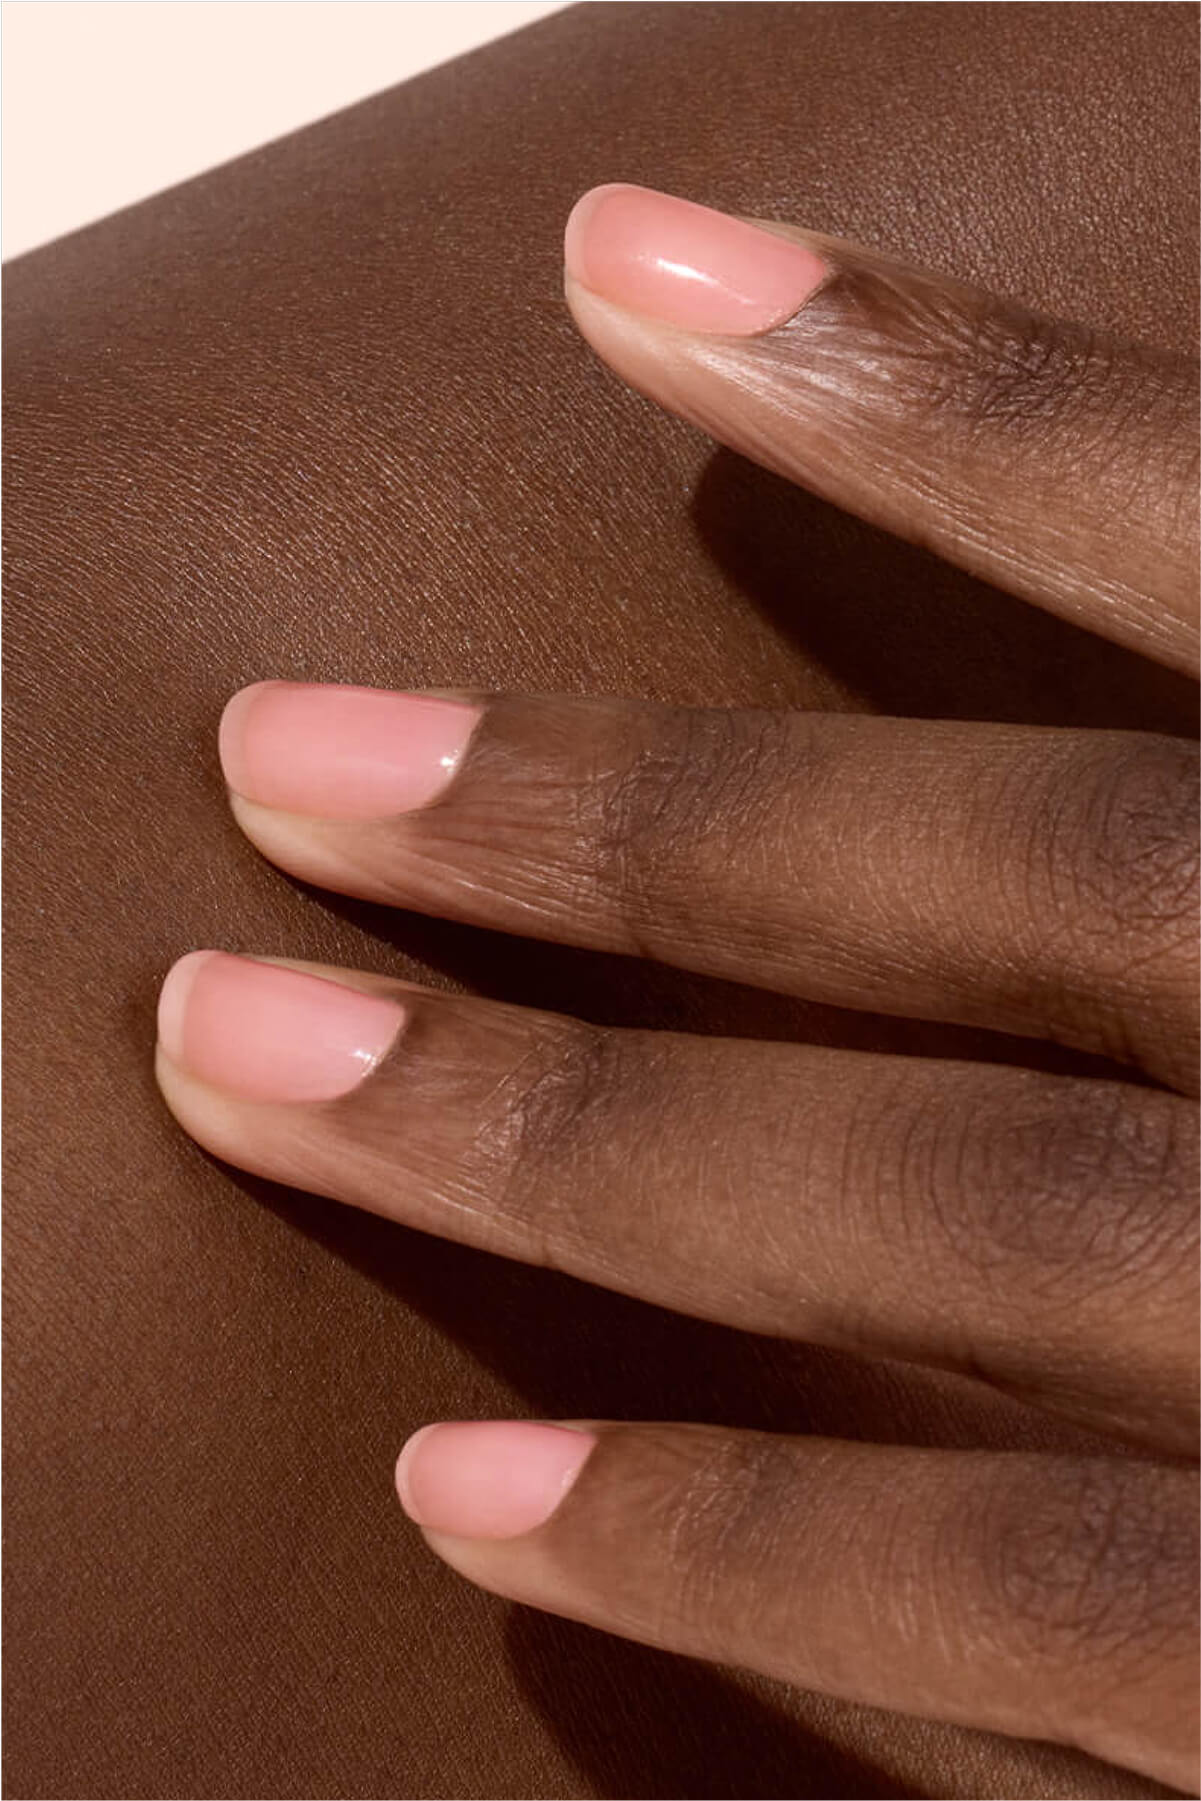
Nail buffing: a gentle gesture to reveal natural radiance.
An essential gesture for neat nails and a long-lasting manicure
Buffing nails has many benefits, sometimes unknown, that improve the performance of your home manicure routine. It allows you to:
- Smooth out ridges and erase small irregularities.
- Stimulate micro-blood circulation around the nail matrix.
- Create a homogeneous surface that facilitates polish application.
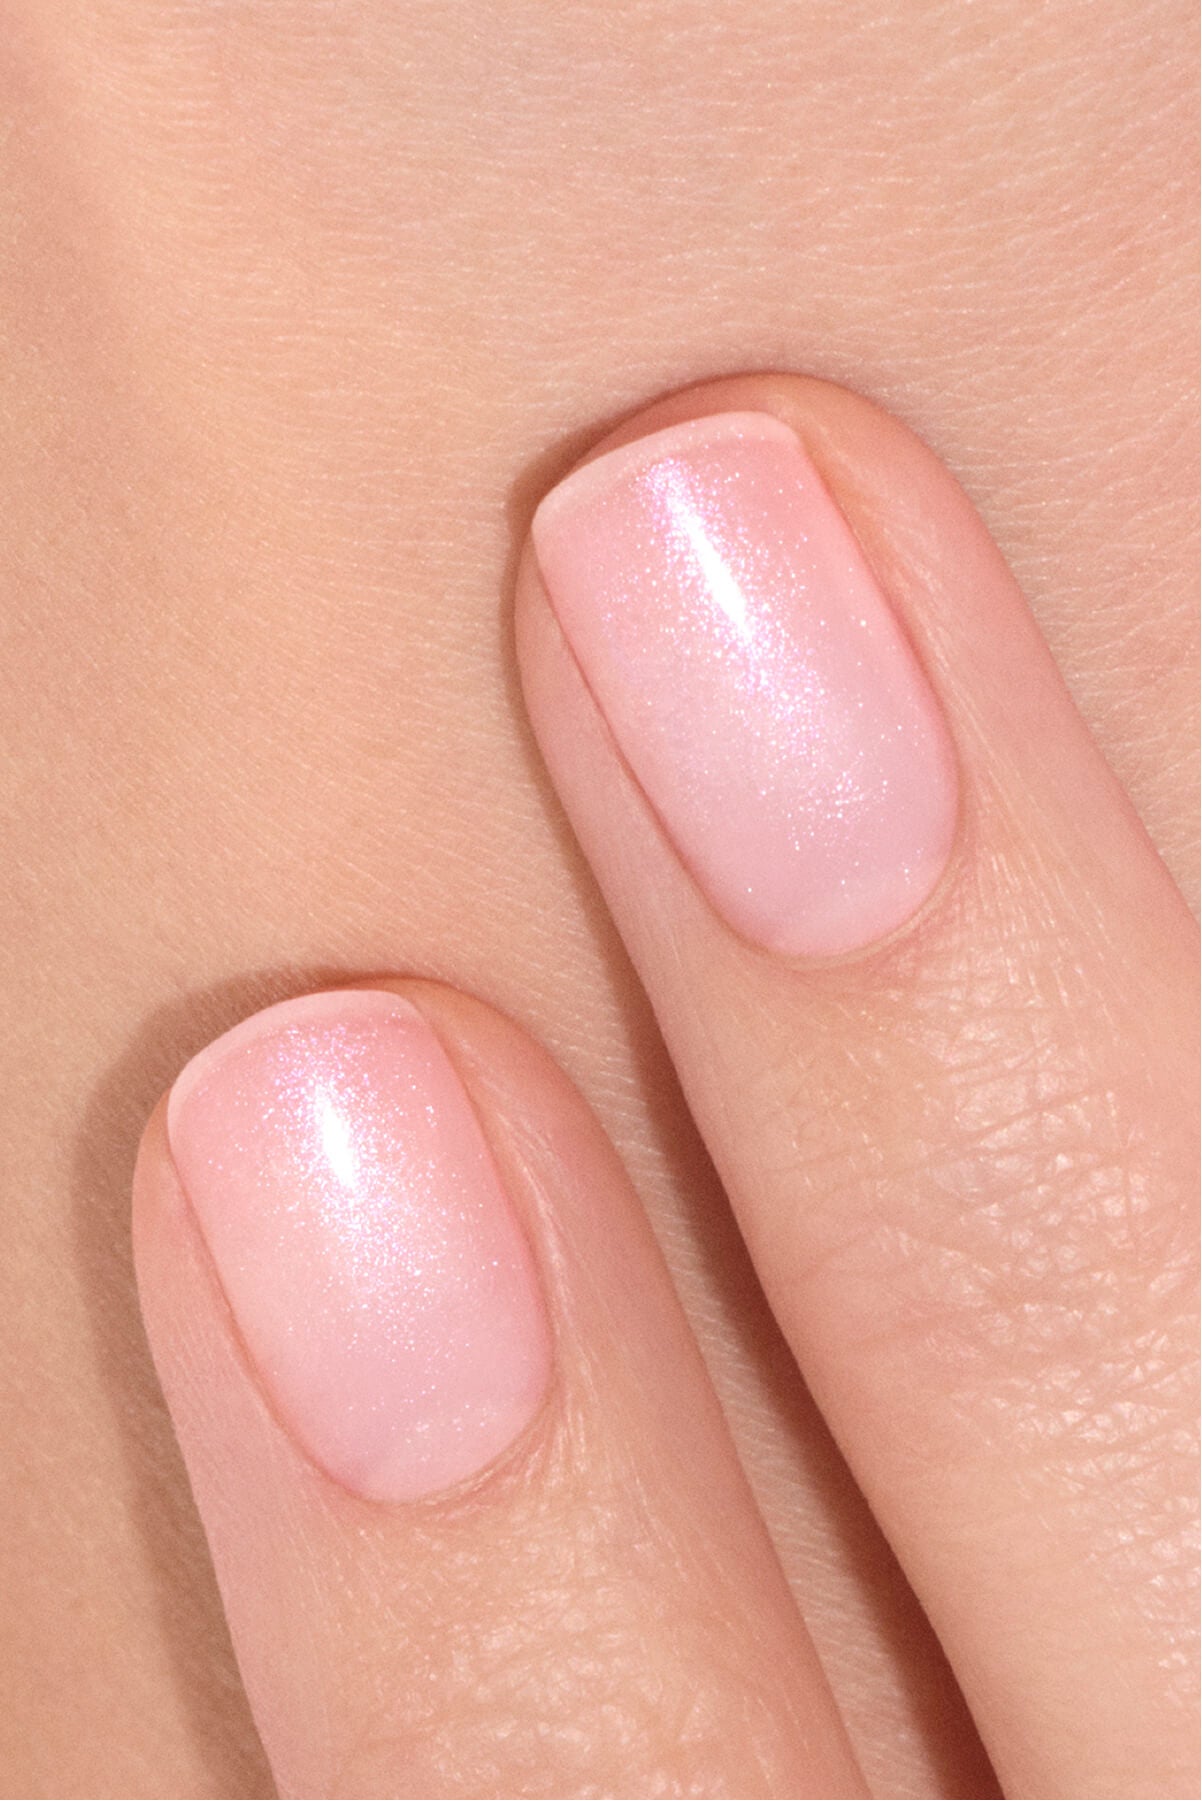
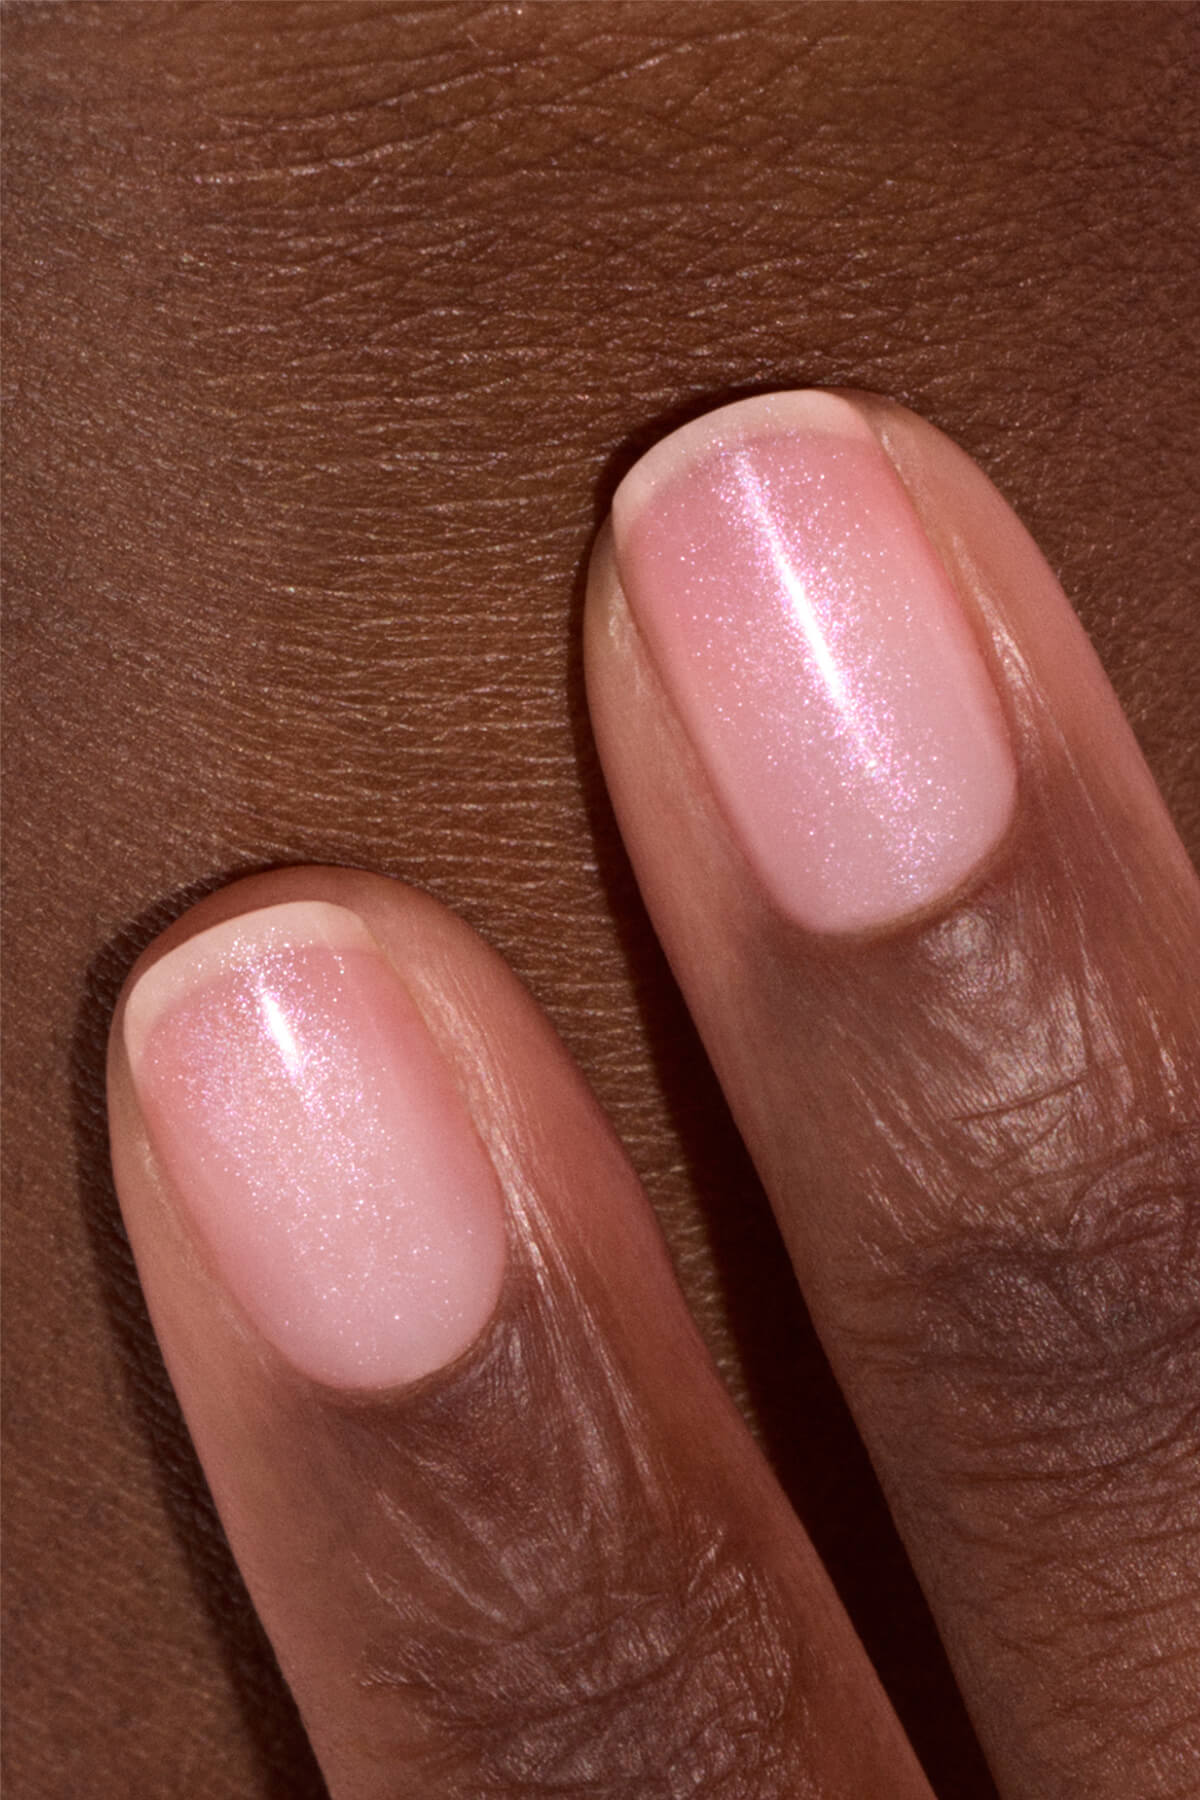
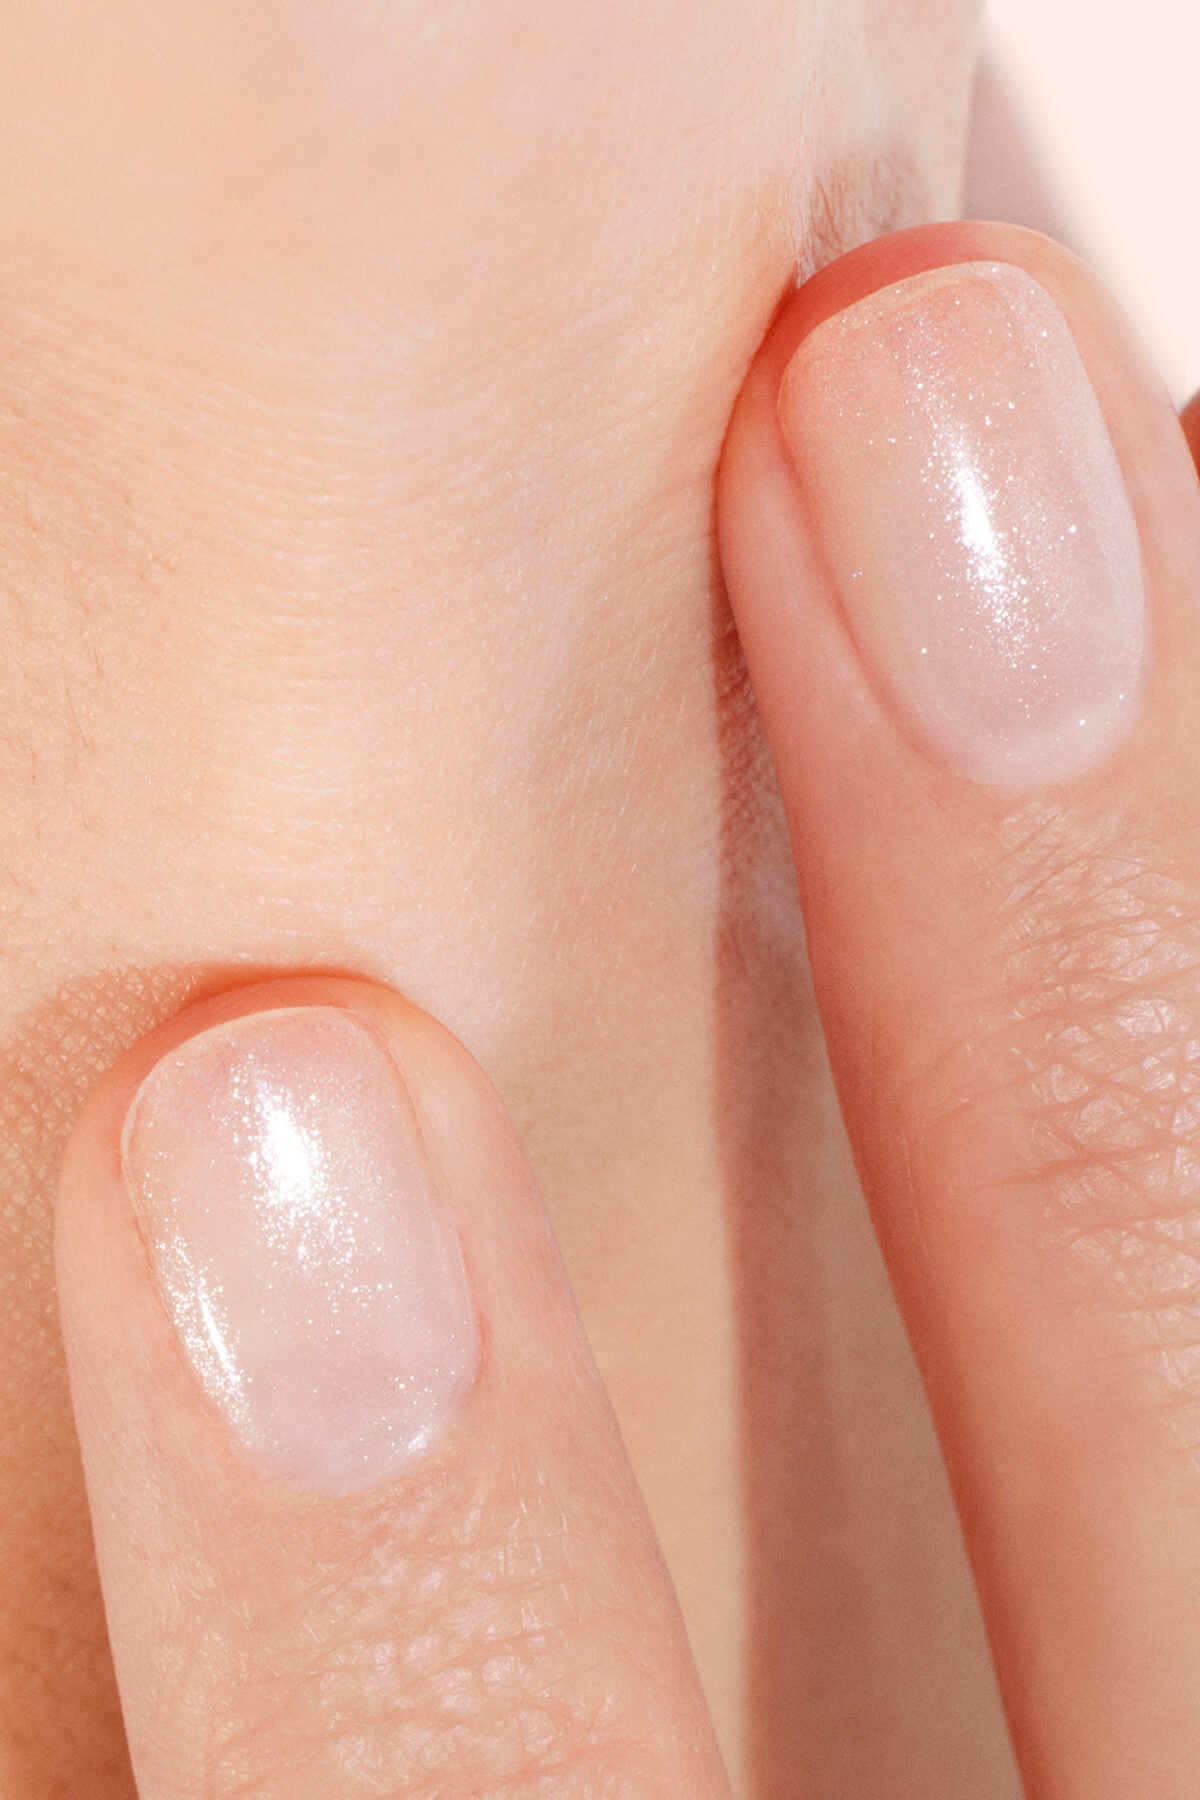
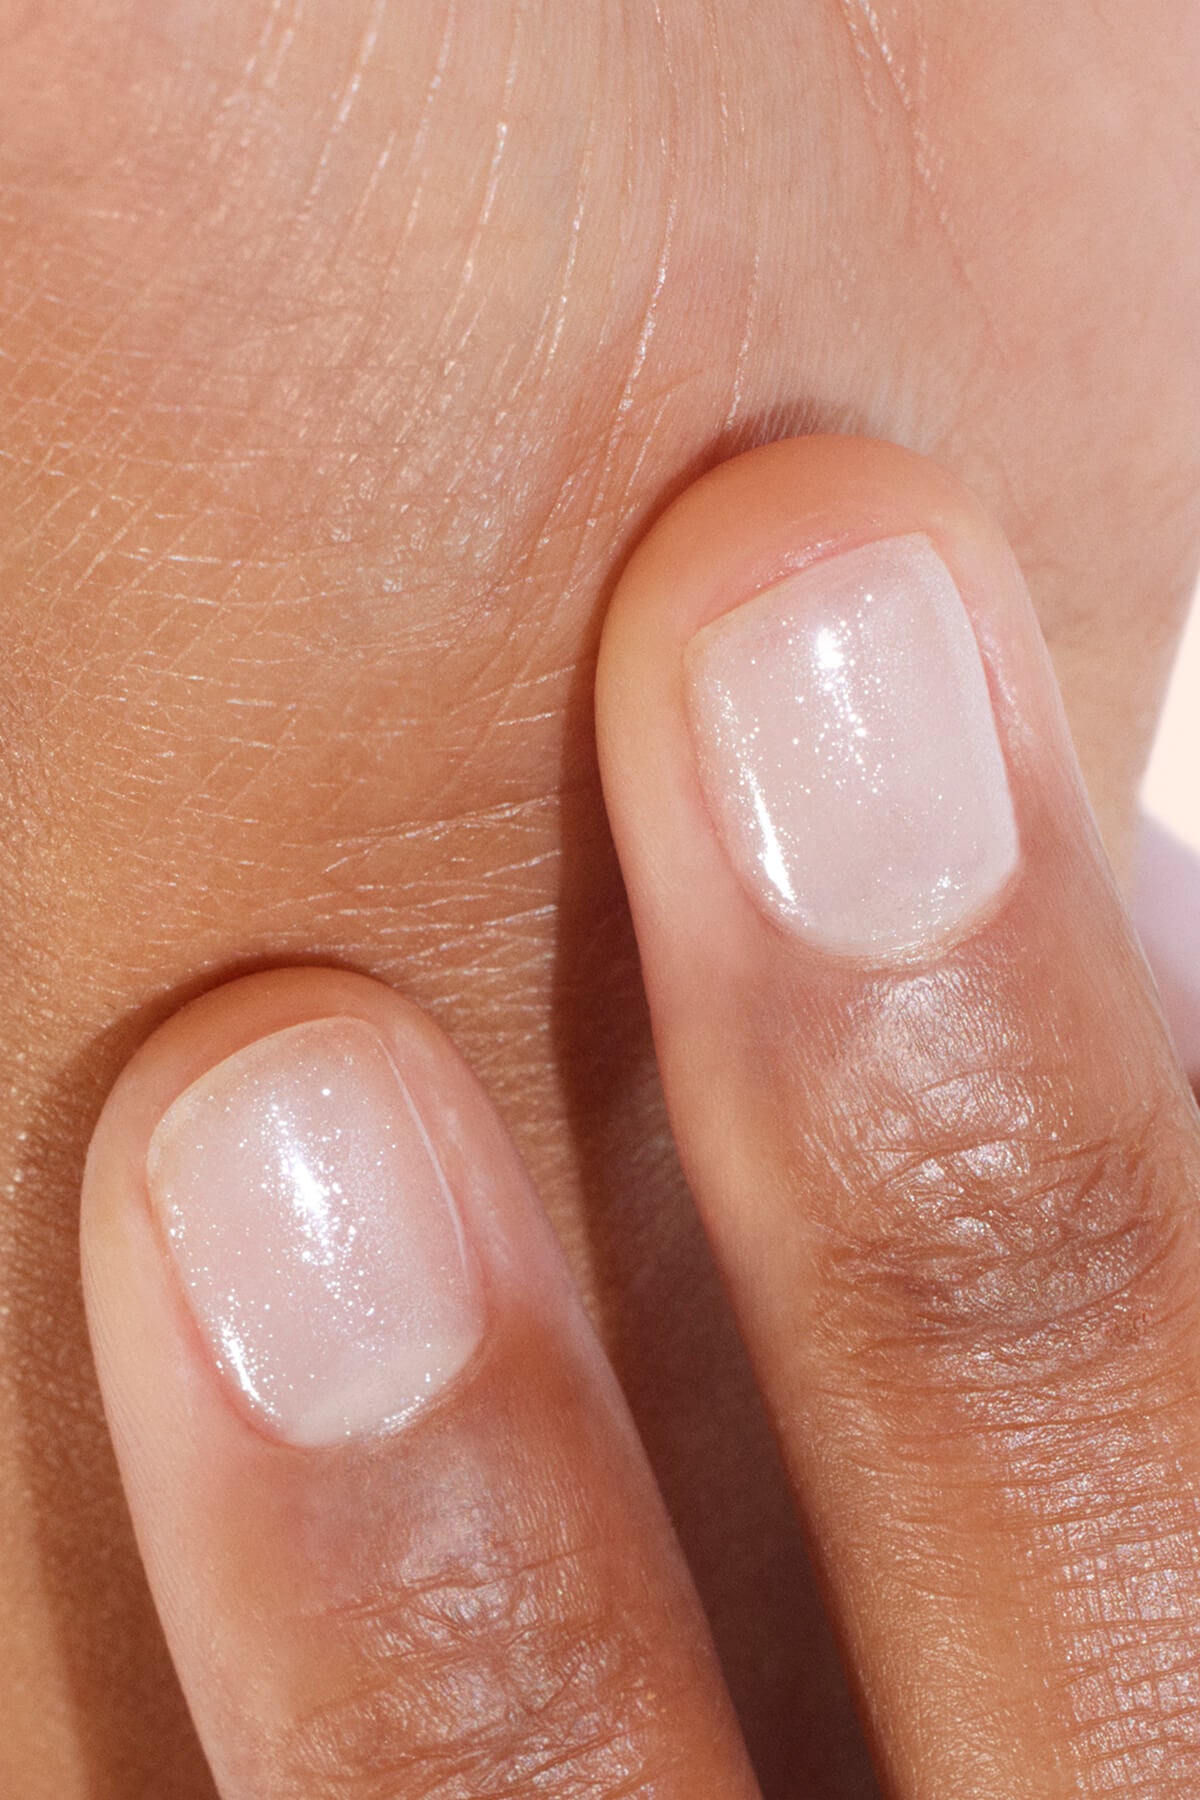
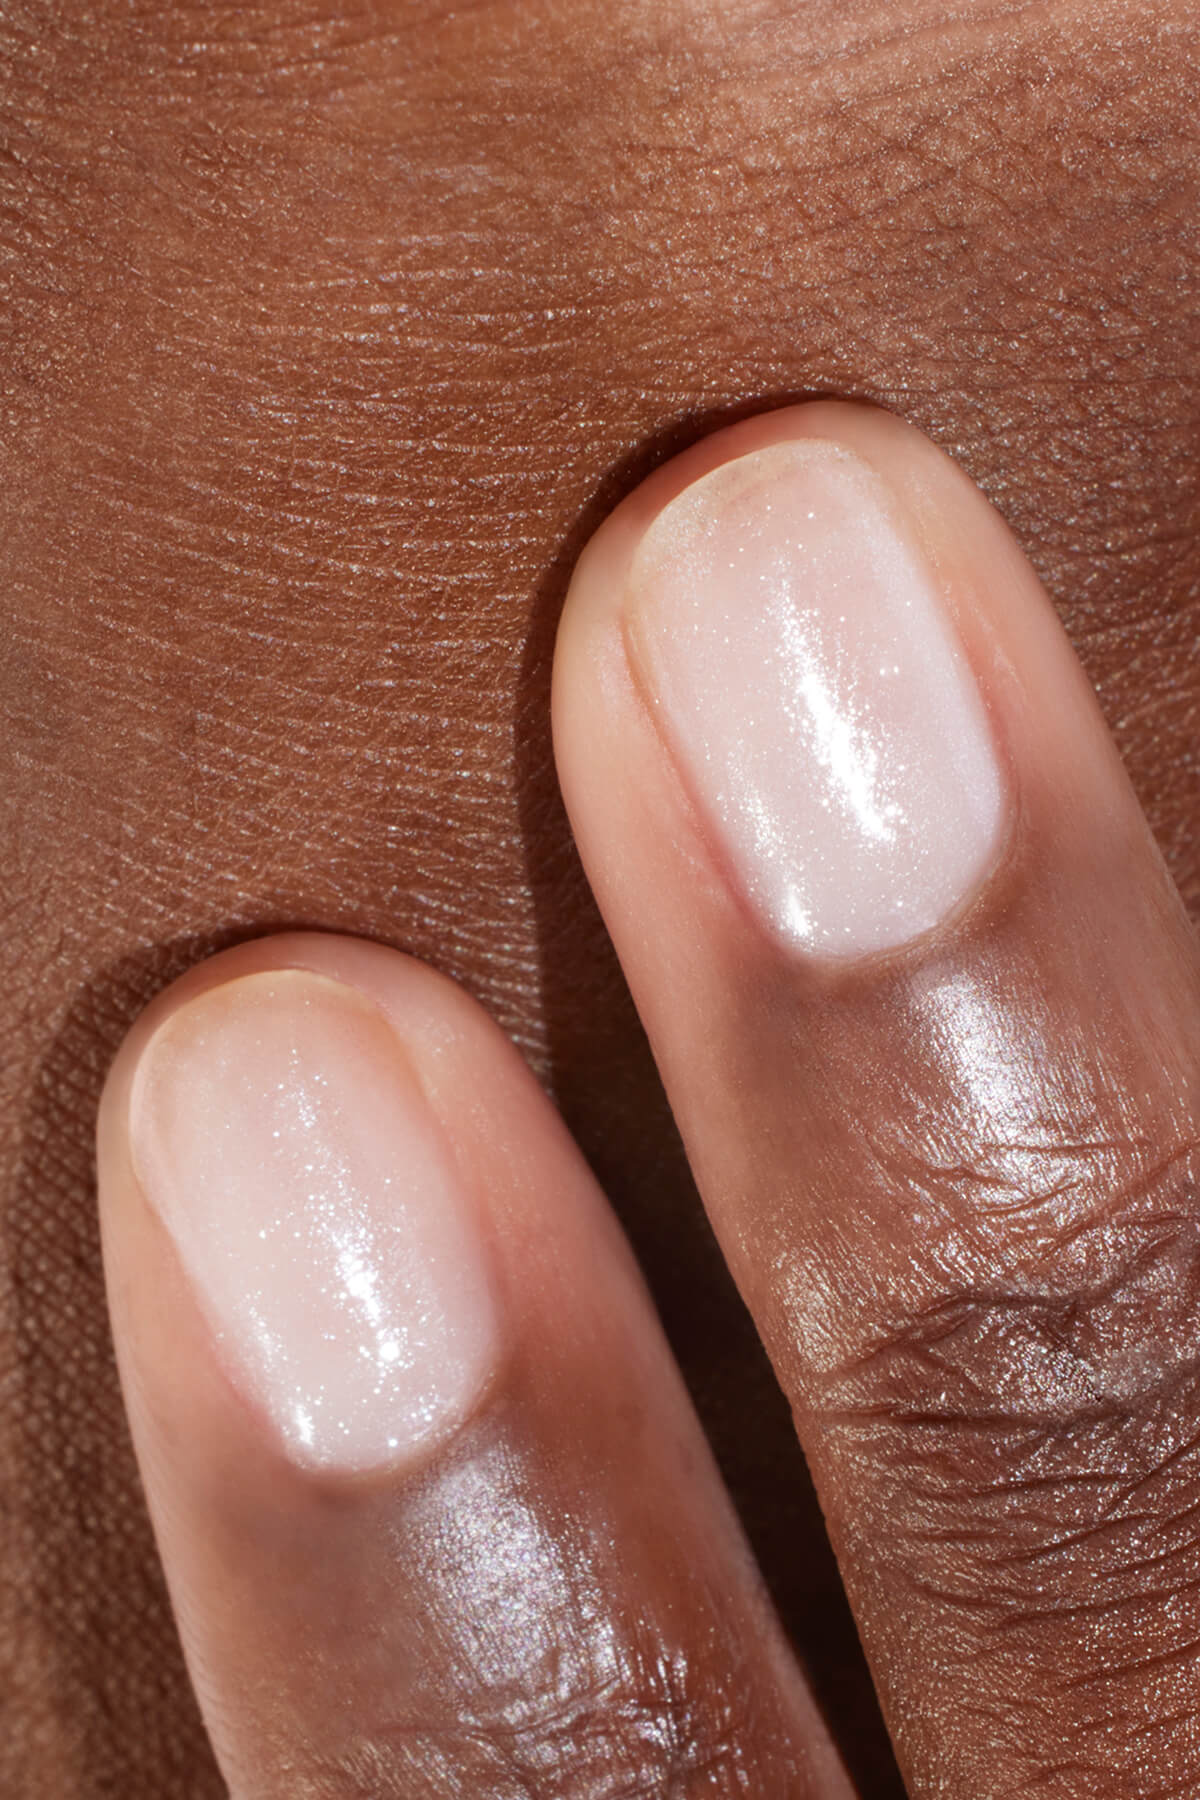
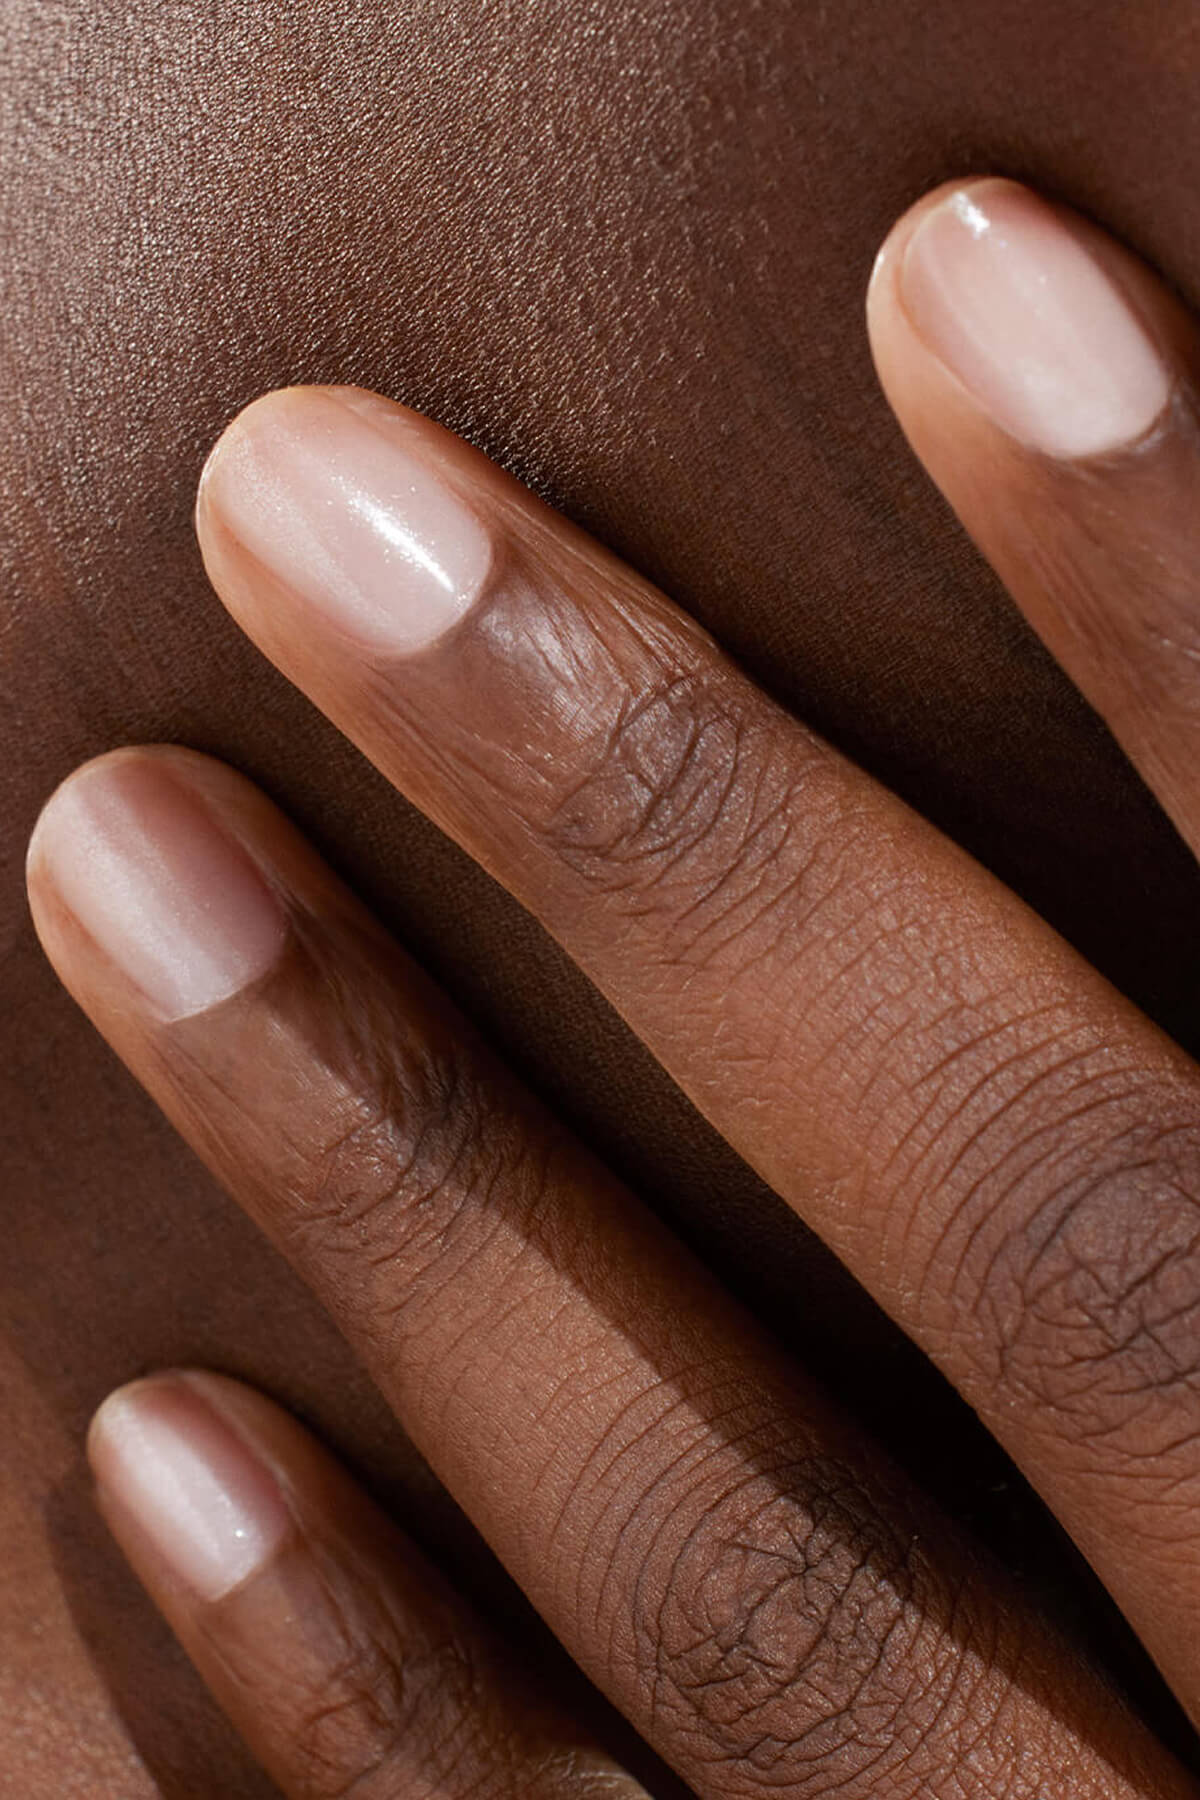
- Achieve a “glossy” effect on natural nails, without polish.
💡 Fun fact: with the “bare nails” trend that highlights bare and shiny nails, buffing has managed to dethrone clear polish!

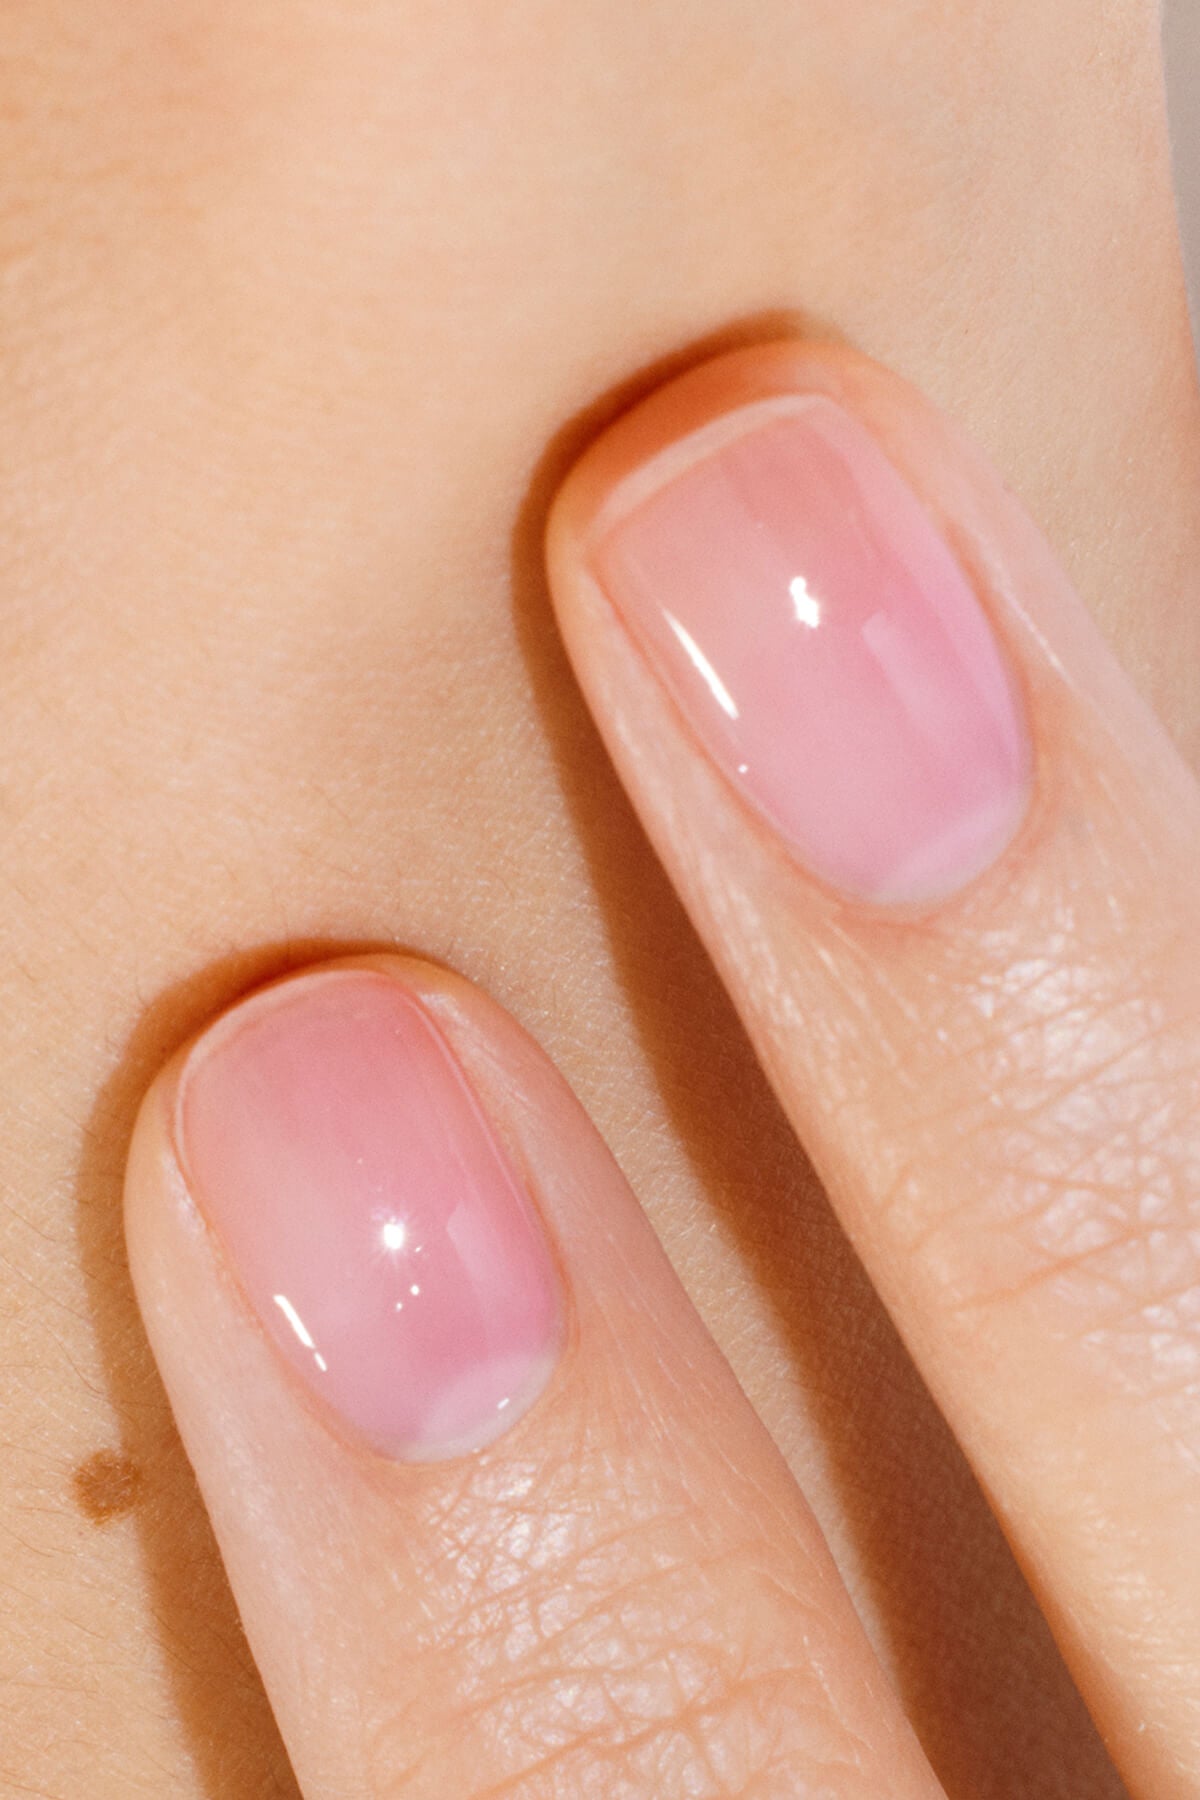
Smoothed, shiny nails, naturally enhanced.
When and how to buff your nails: the right gestures to adopt
Buffing your nails is quite simple, but there are still some little tips to know to do it in the best way. There are several types of buffers, but be careful, they have very specific functions.
Prepare your nails before polish application
As we’ve seen, buffing is one of the essential steps in nail preparation before polish application. It comes after filing the nails and cuticle care, when the nail edge is neat and clean. To buff your nails well, you have a choice between 2 tools:
The preparatory Lime
The preparatory Lime stands out by its thickness and sponge texture that allows you to gently de-buff the surface. This professional lime has two different grits: a soft grit (280) on the logo side for buffing hand nails and a strong grit (220) on the opposite side for toenails. Thanks to it, you eliminate small irregularities and gently open the keratin scales, which will allow the polish to adhere better and last longer.
👉 How to use it? Pass the preparatory Lime with light movements, always in the direction of nail growth without pressing too hard: it’s only about slightly mattifying the plate.
Preparatory Lime: the pro ally for a smooth surface ready for manicure.
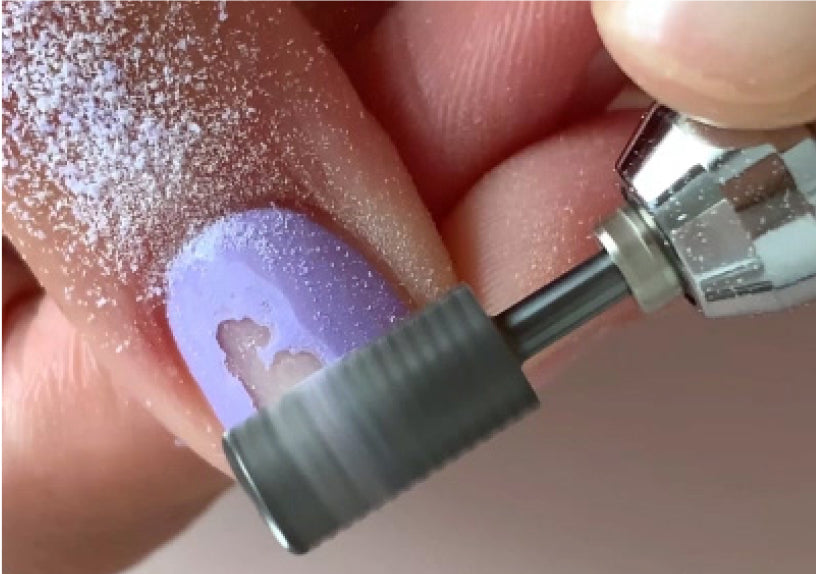
The glass buffer
A brand new glass buffer has arrived at Manucurist. An ultra-gentle and lightweight instrument, easy to handle to smooth, buff, and shine the nail plate. Washable and infinitely reusable, it is much more durable than a disposable buffer and its glass is 100% recyclable. With its fine grit, you restore a neat and even appearance to nails without risking damaging the keratin layers.
👉 How to use it? Pass the glass buffer over the entire nail surface, without pressing. A few passes are enough to regain a uniform look. This gesture should be done only every two weeks to avoid weakening the nail.
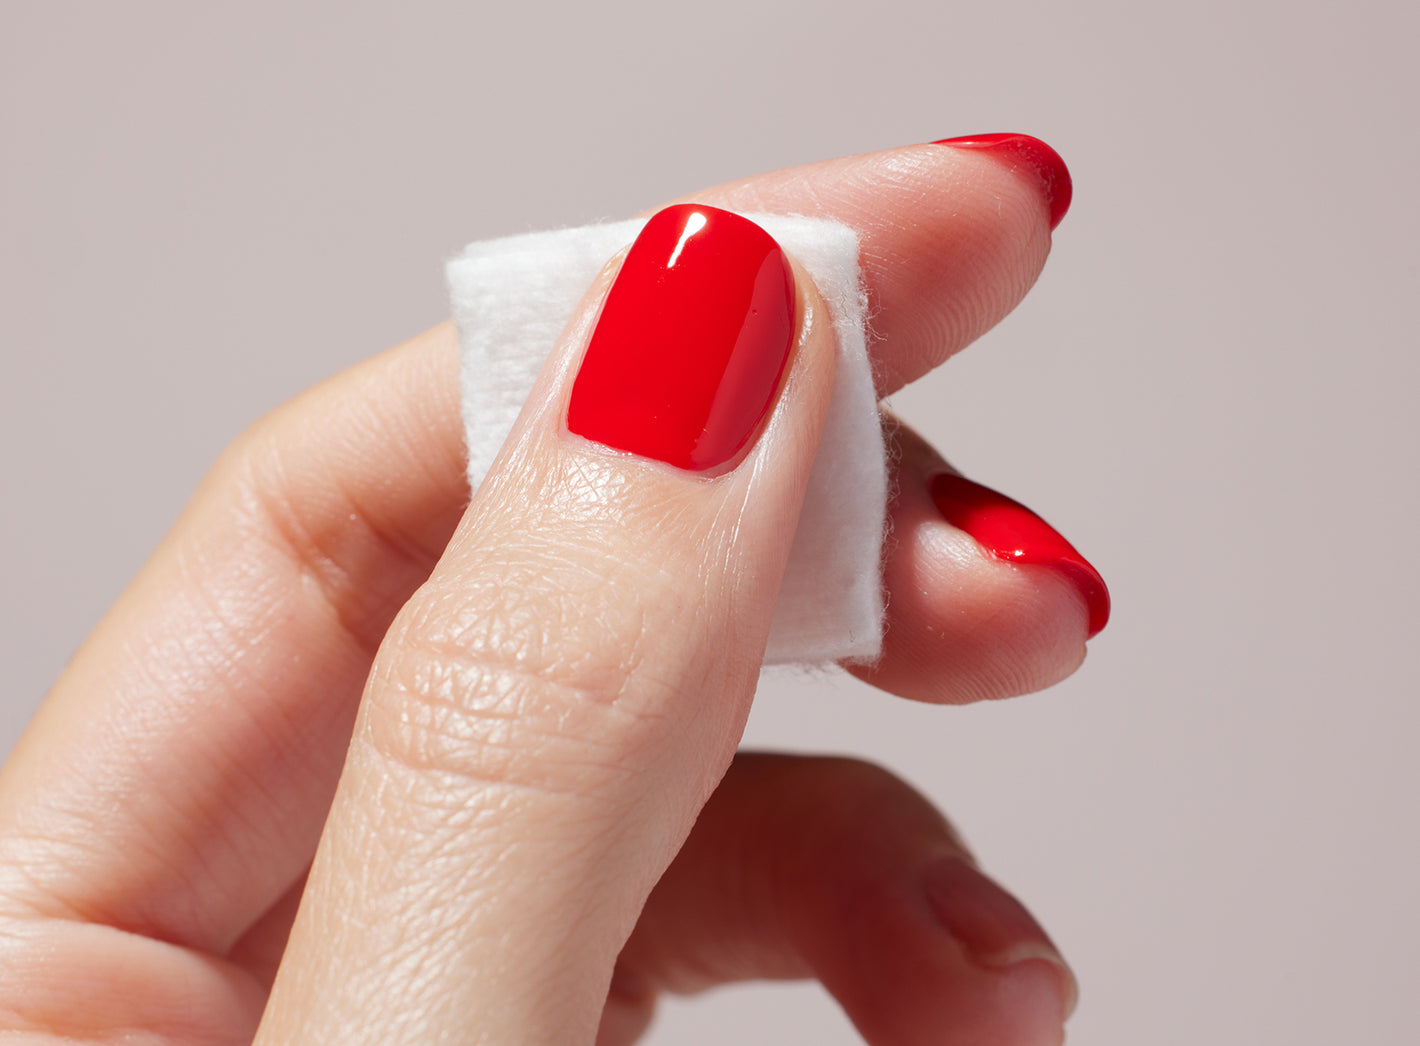
After using the buffer or preparatory Lime, finish your preparation routine by removing residues from your nails with a dust brush. Then degrease them with a bit of Dégraissant Green™ or Gentle Remover. All that’s left is to choose your color from the Green™ polishes or Green Flash™.
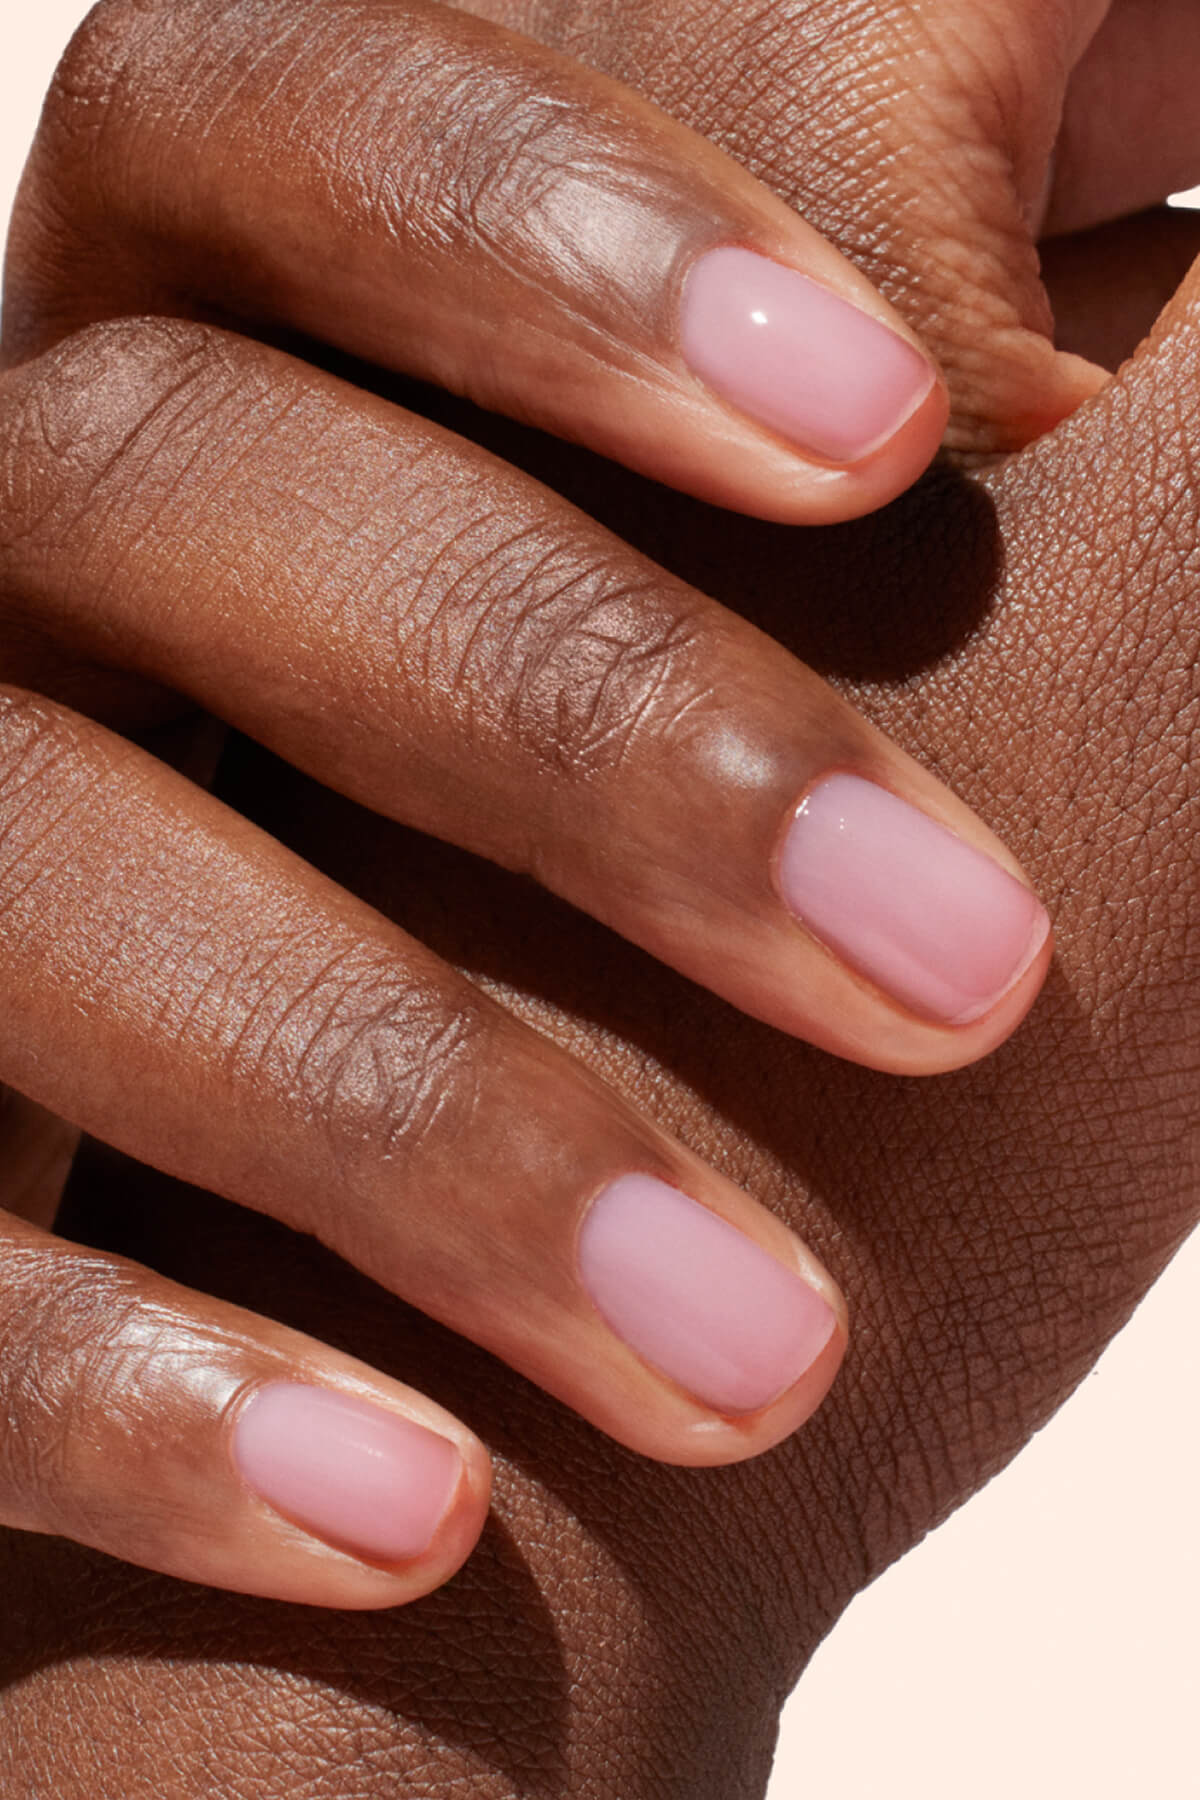
A light, gentle, precise tool: your new favorite beauty gesture!
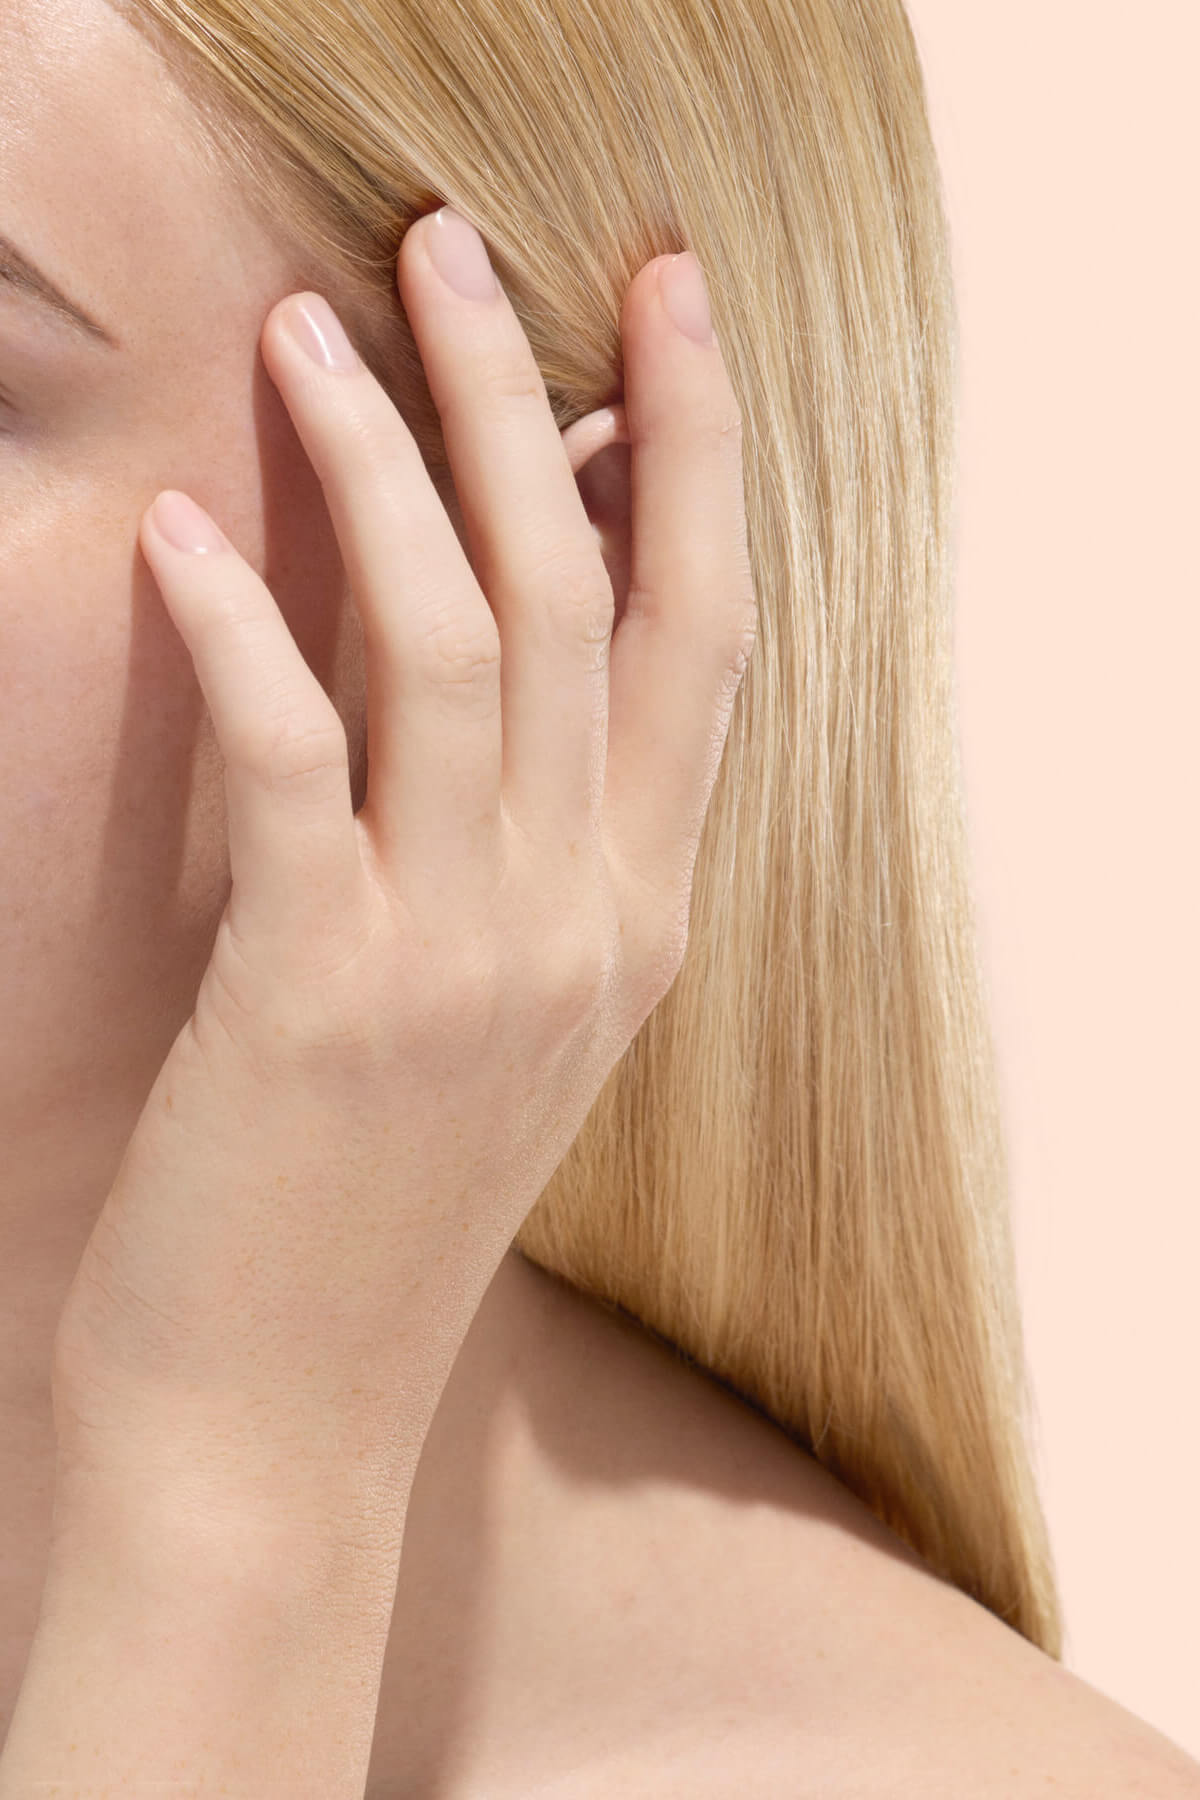
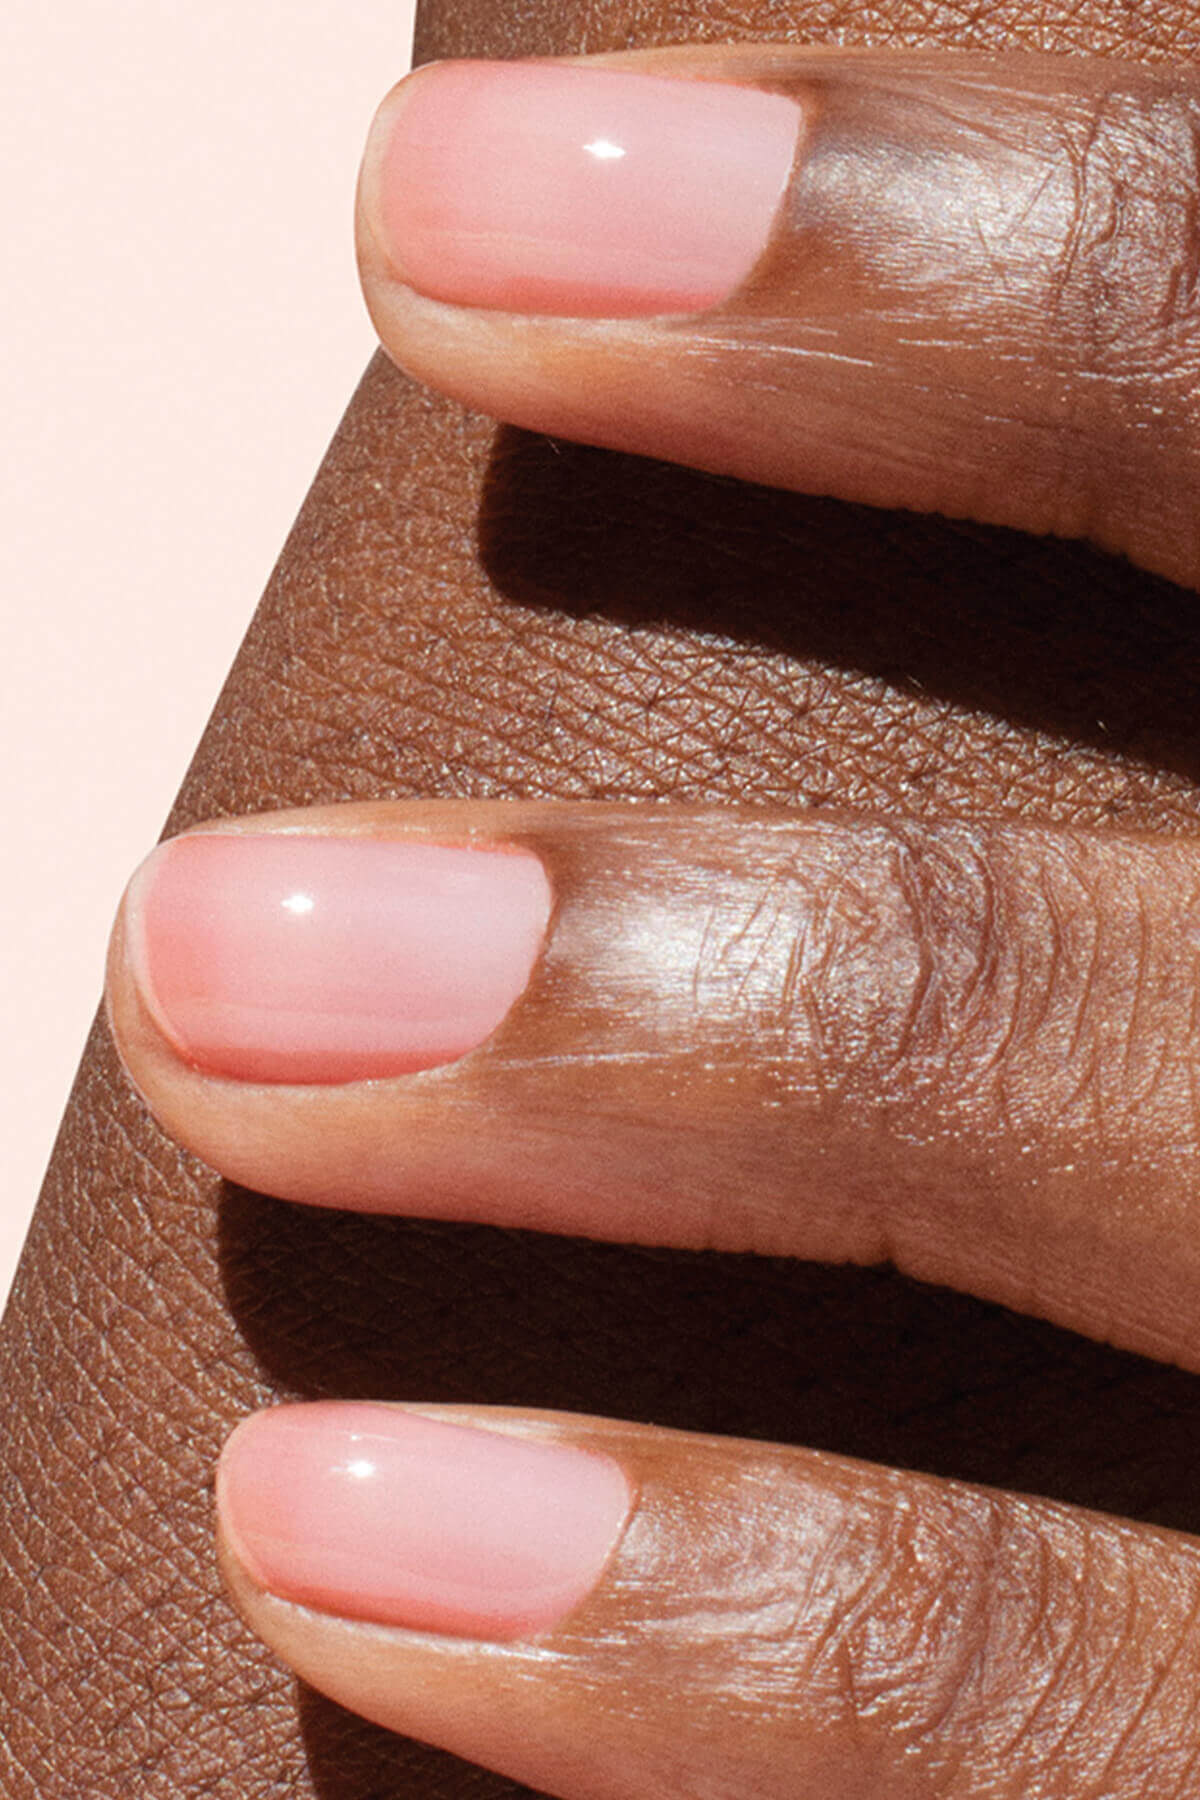
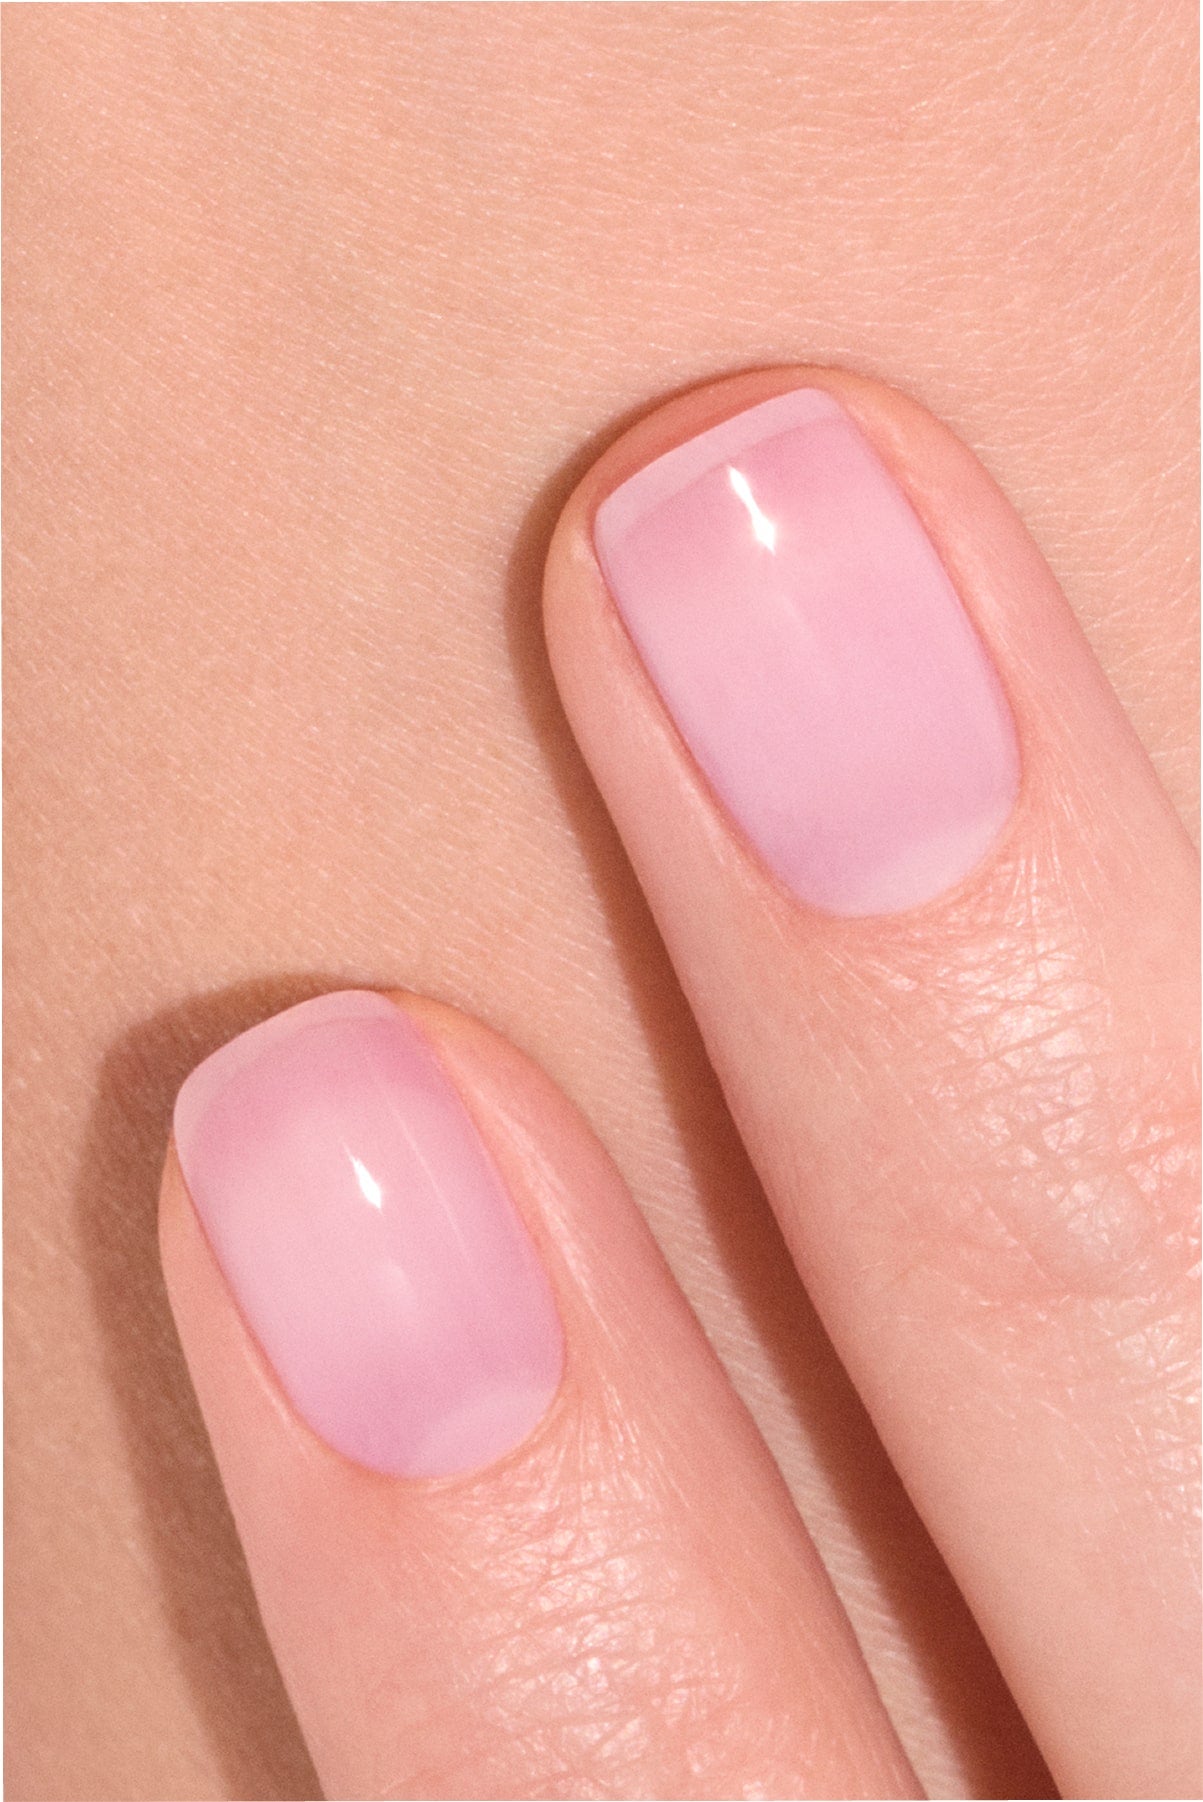
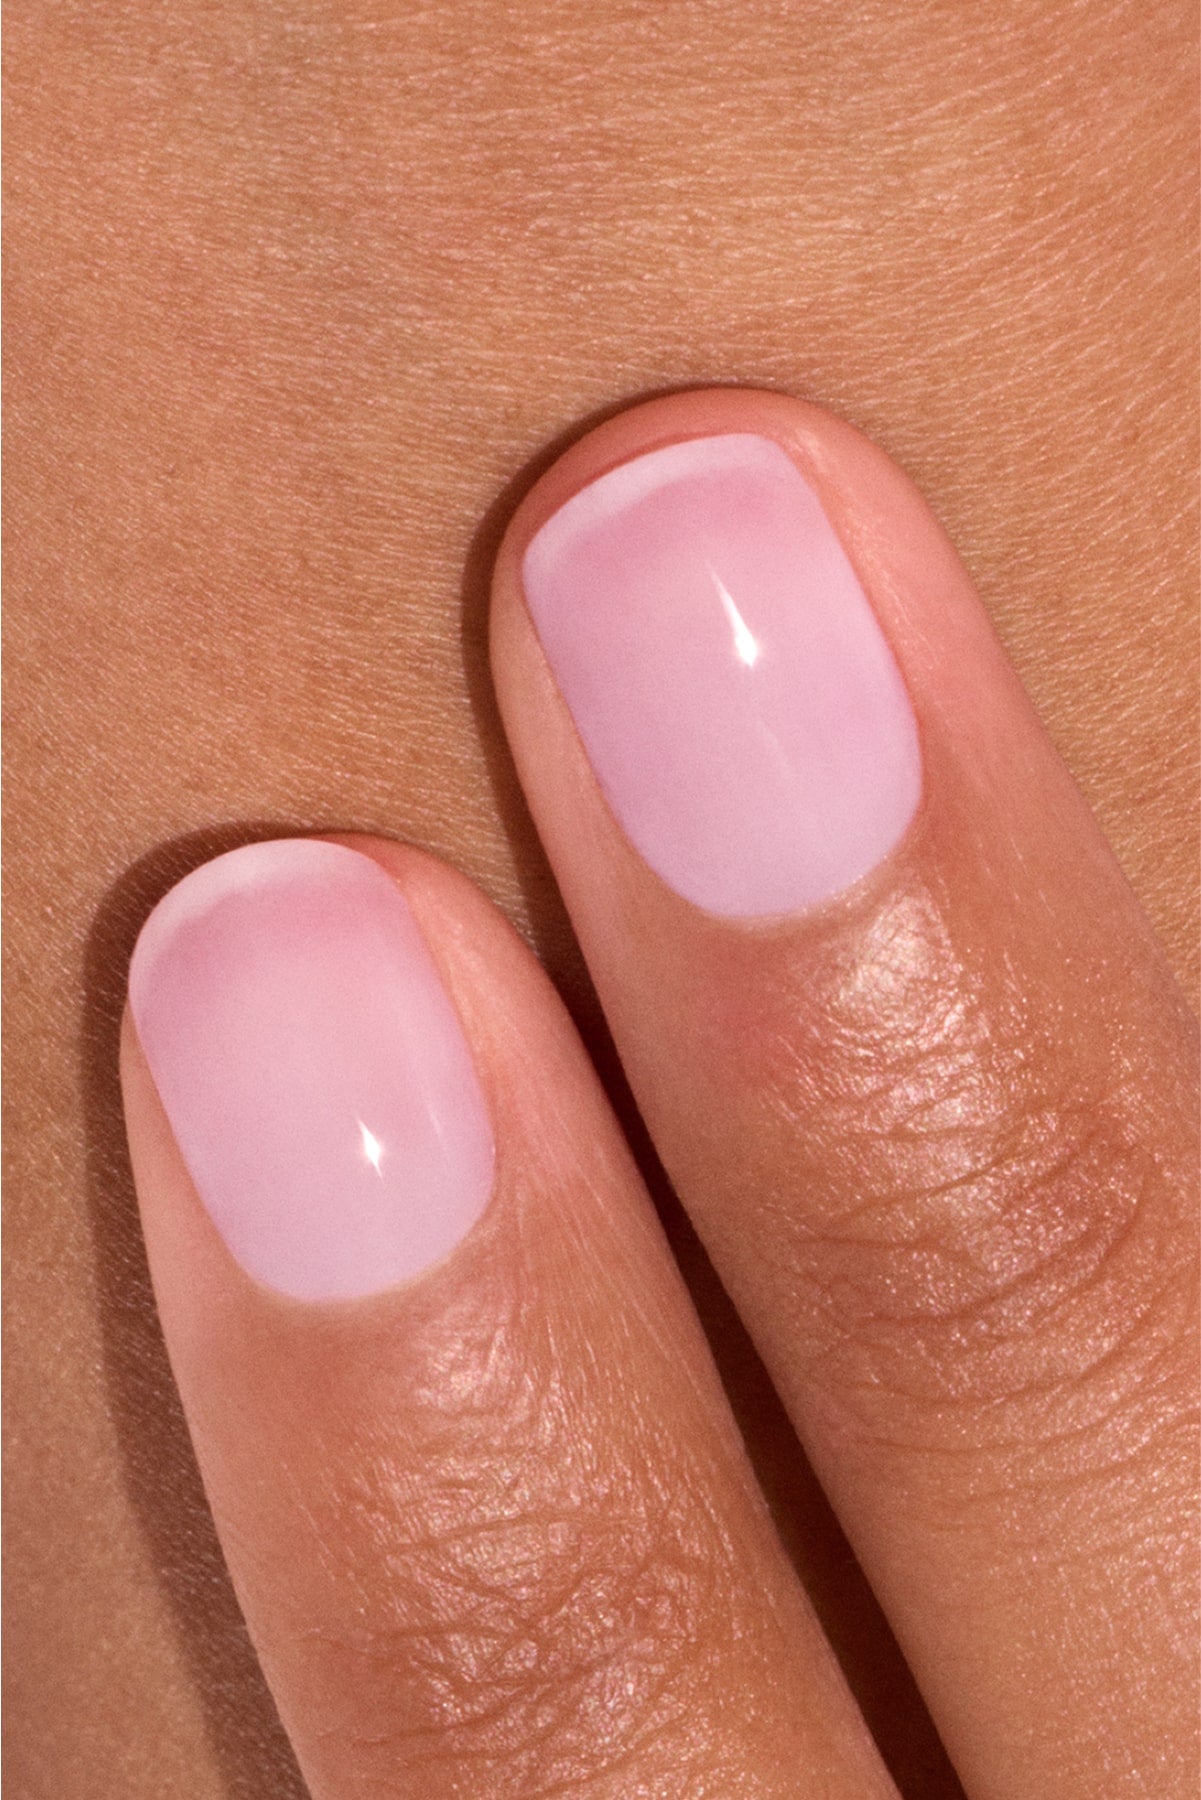
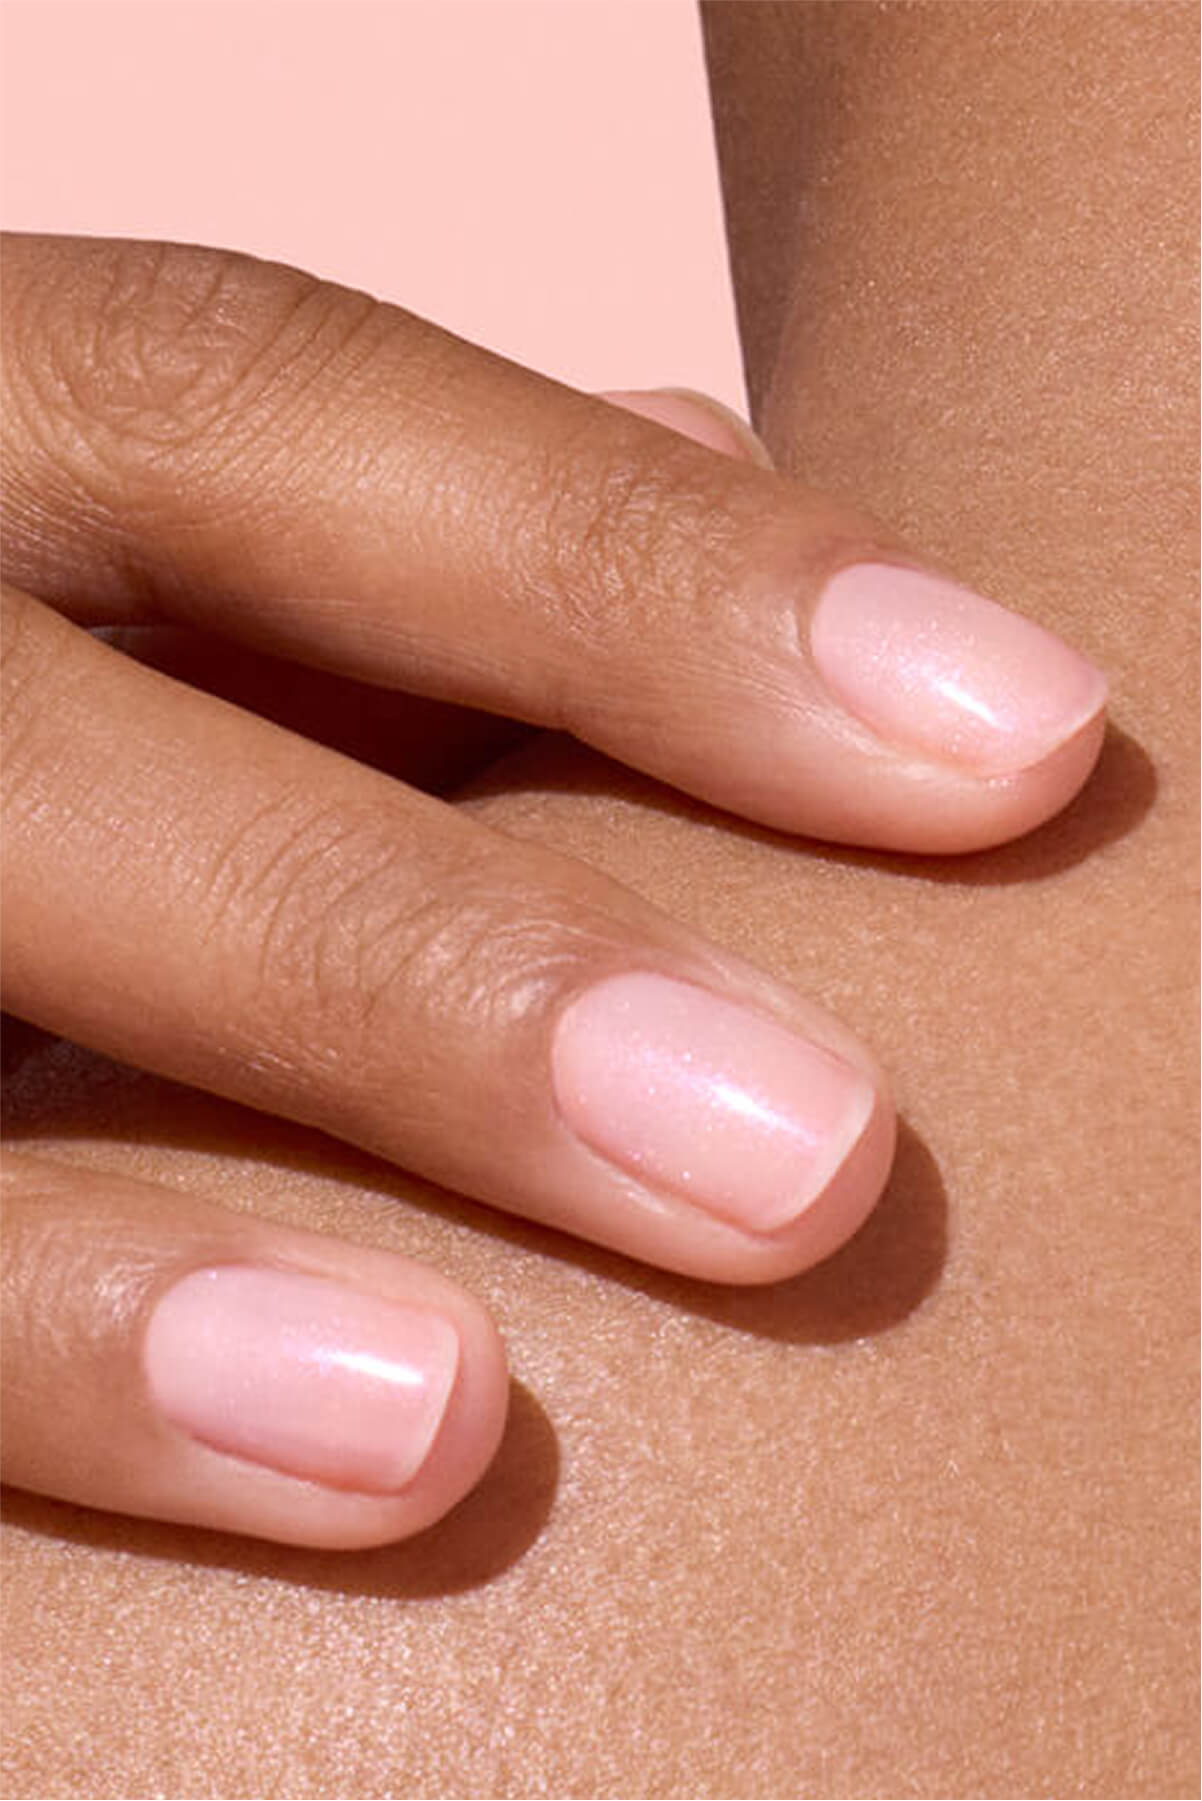
Get a Clean nails manicure without polish
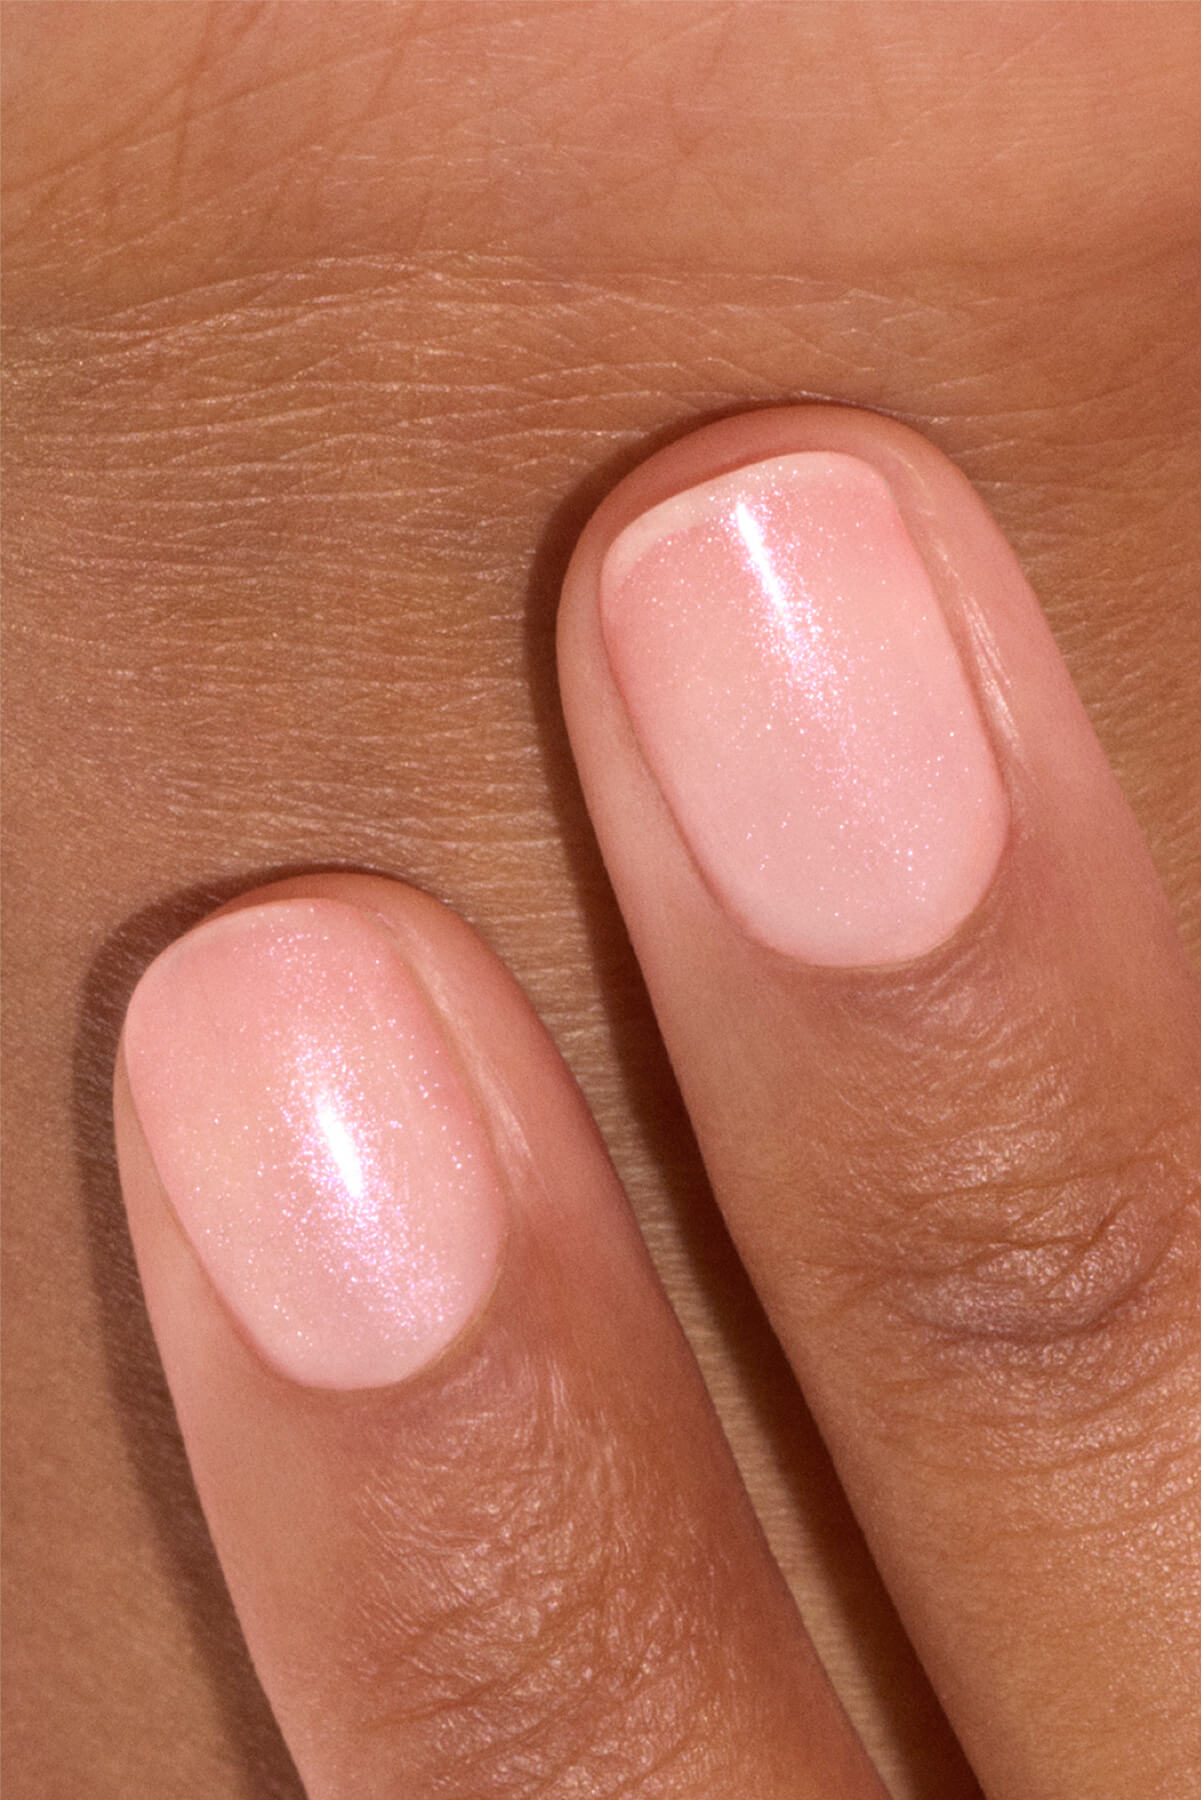
Getting naturally radiant nails, in the style of Clean nails, without a drop of polish, base coat, or top coat, is possible! Thanks to a new innovation by Manucurist: the Glossy Booster, a care & tool duo inspired by Japanese manicure that combines gentle exfoliation and expert buffing for neat and shiny natural nails. It combines:
- A Glycolic Peeling: a treatment that gently exfoliates, removes dead cells, and smooths the nail surface.
- A mini 3-sided buffer: designed to buff, smooth, then polish the nail for a spectacular glossy effect.
👉 How to use it? Start your nail preparation as usual, filing your nails and caring for your cuticles. Then apply the Glycolic Peeling on bare nails, massaging with circular movements until the gel is fully absorbed. Then use the 3-sided buffer in 3 steps:
- Pass the pale pink side which will lift the nail scales.
- Pass the white side to smooth and erase imperfections, always in the same direction, without pressing too hard.
- Polish the nail with the bright pink side which will close the scales and create a mirror effect. To polish well, make light and brisk gestures.
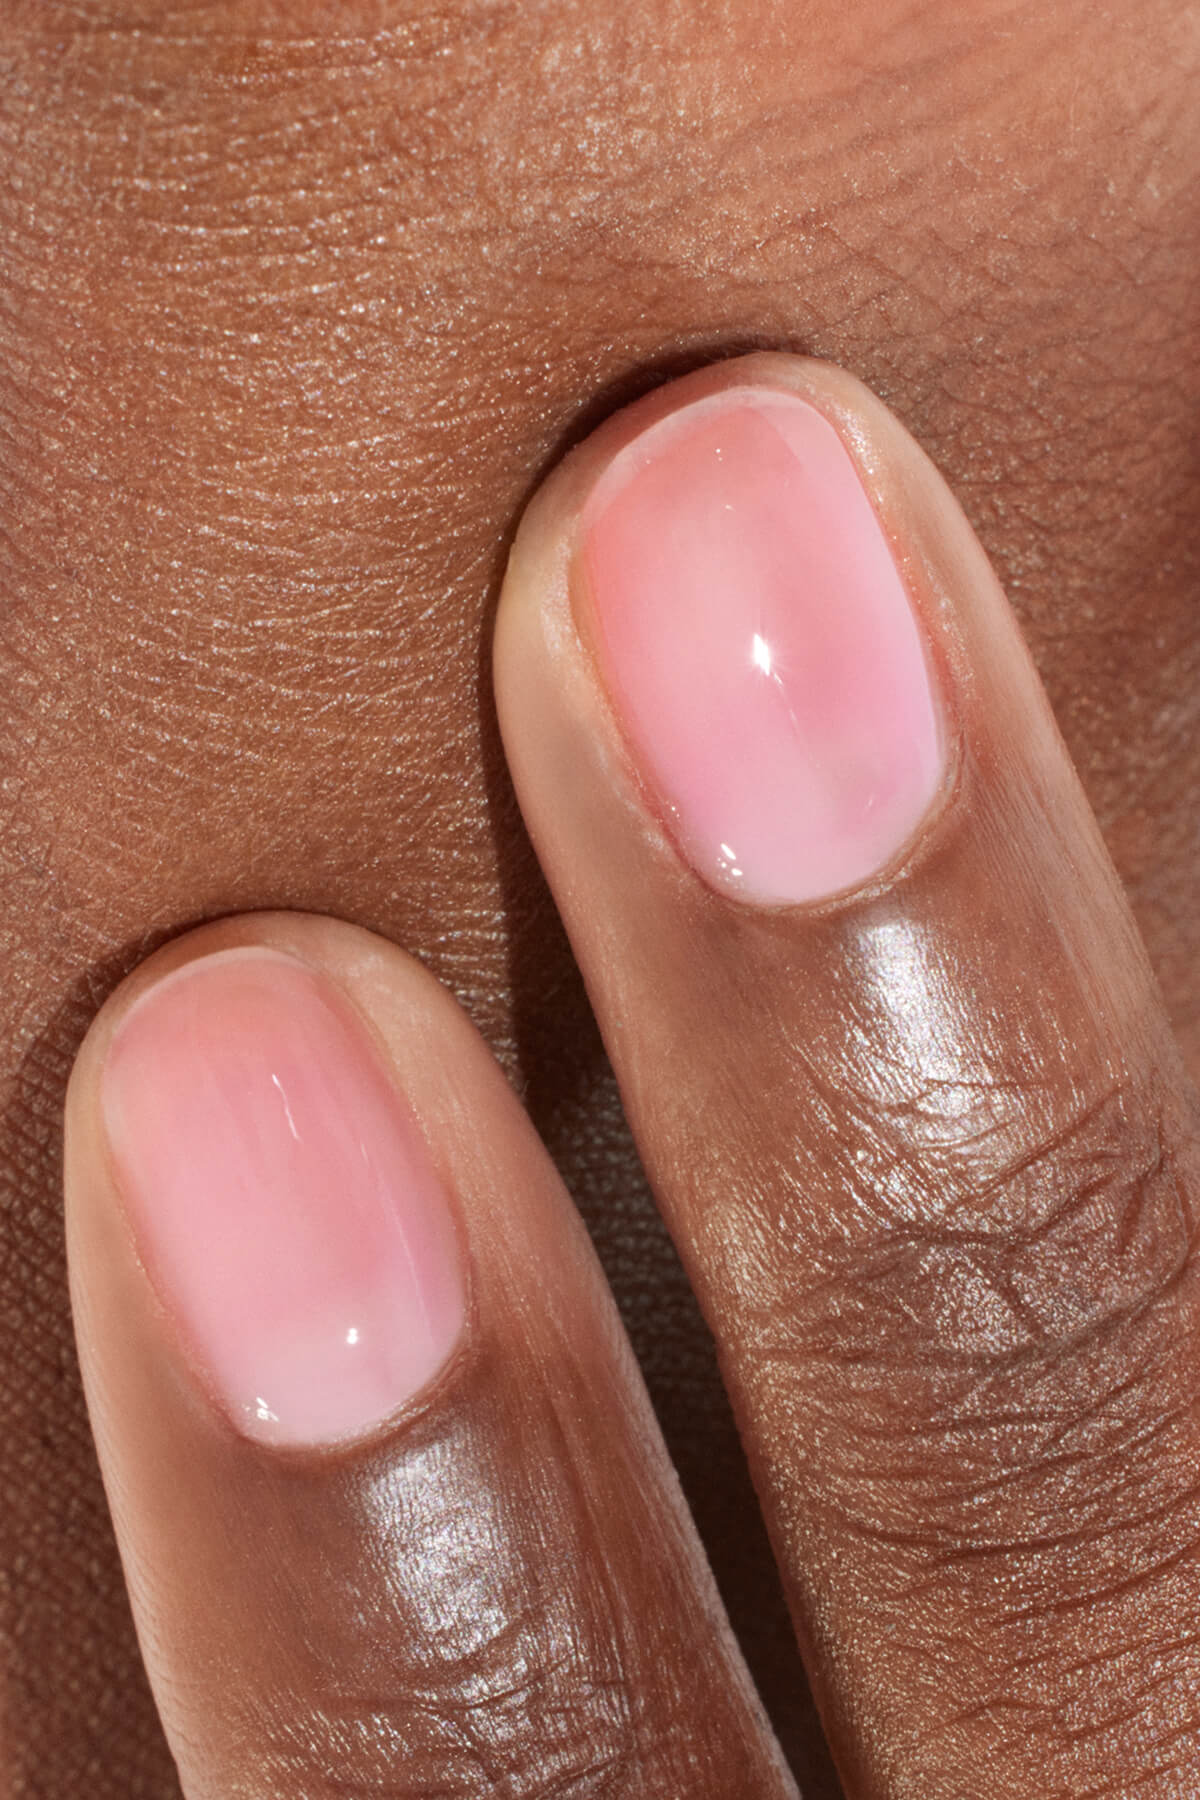
The Glossy Booster, for shiny nails without a drop of polish.
💡 Tip: For a lasting result, use an oil to hydrate the nail such as Green Oil, applied with a daily massage.
❌ Errors to avoid when buffing your nails
- Buffing too often: this can thin the nail plate.
- Using the right grit: make sure to use the fine grit side of the buffer for hand nails, the strong grit is more suitable for toenails. If you have fragile nails, opt for a lime with a very fine grit.
- Forgetting to hydrate: a buffed but dry nail cracks more easily. Hydrate and nourish it with a treatment based on sweet almond oil or coconut oil.
Finally, if you apply polish after buffing, remember to degrease the plate well with an acetone-free remover: it prepares the nail without damaging it, unlike traditional solvents.
Buffing your nails, more than just an aesthetic gesture, is a true ritual of preparation and care. Supported by suitable tools and treatments, it guarantees a long-lasting result for your home manicure, with or without polish!