We guide you Step by Step to succeed in your manicure at home as well as in institute.
If the application of semi permanent polish You seem long and tedious to you or that you do not see any other alternative than the Institute for a beautiful manicure that lasts a long time, know that another option is possible.
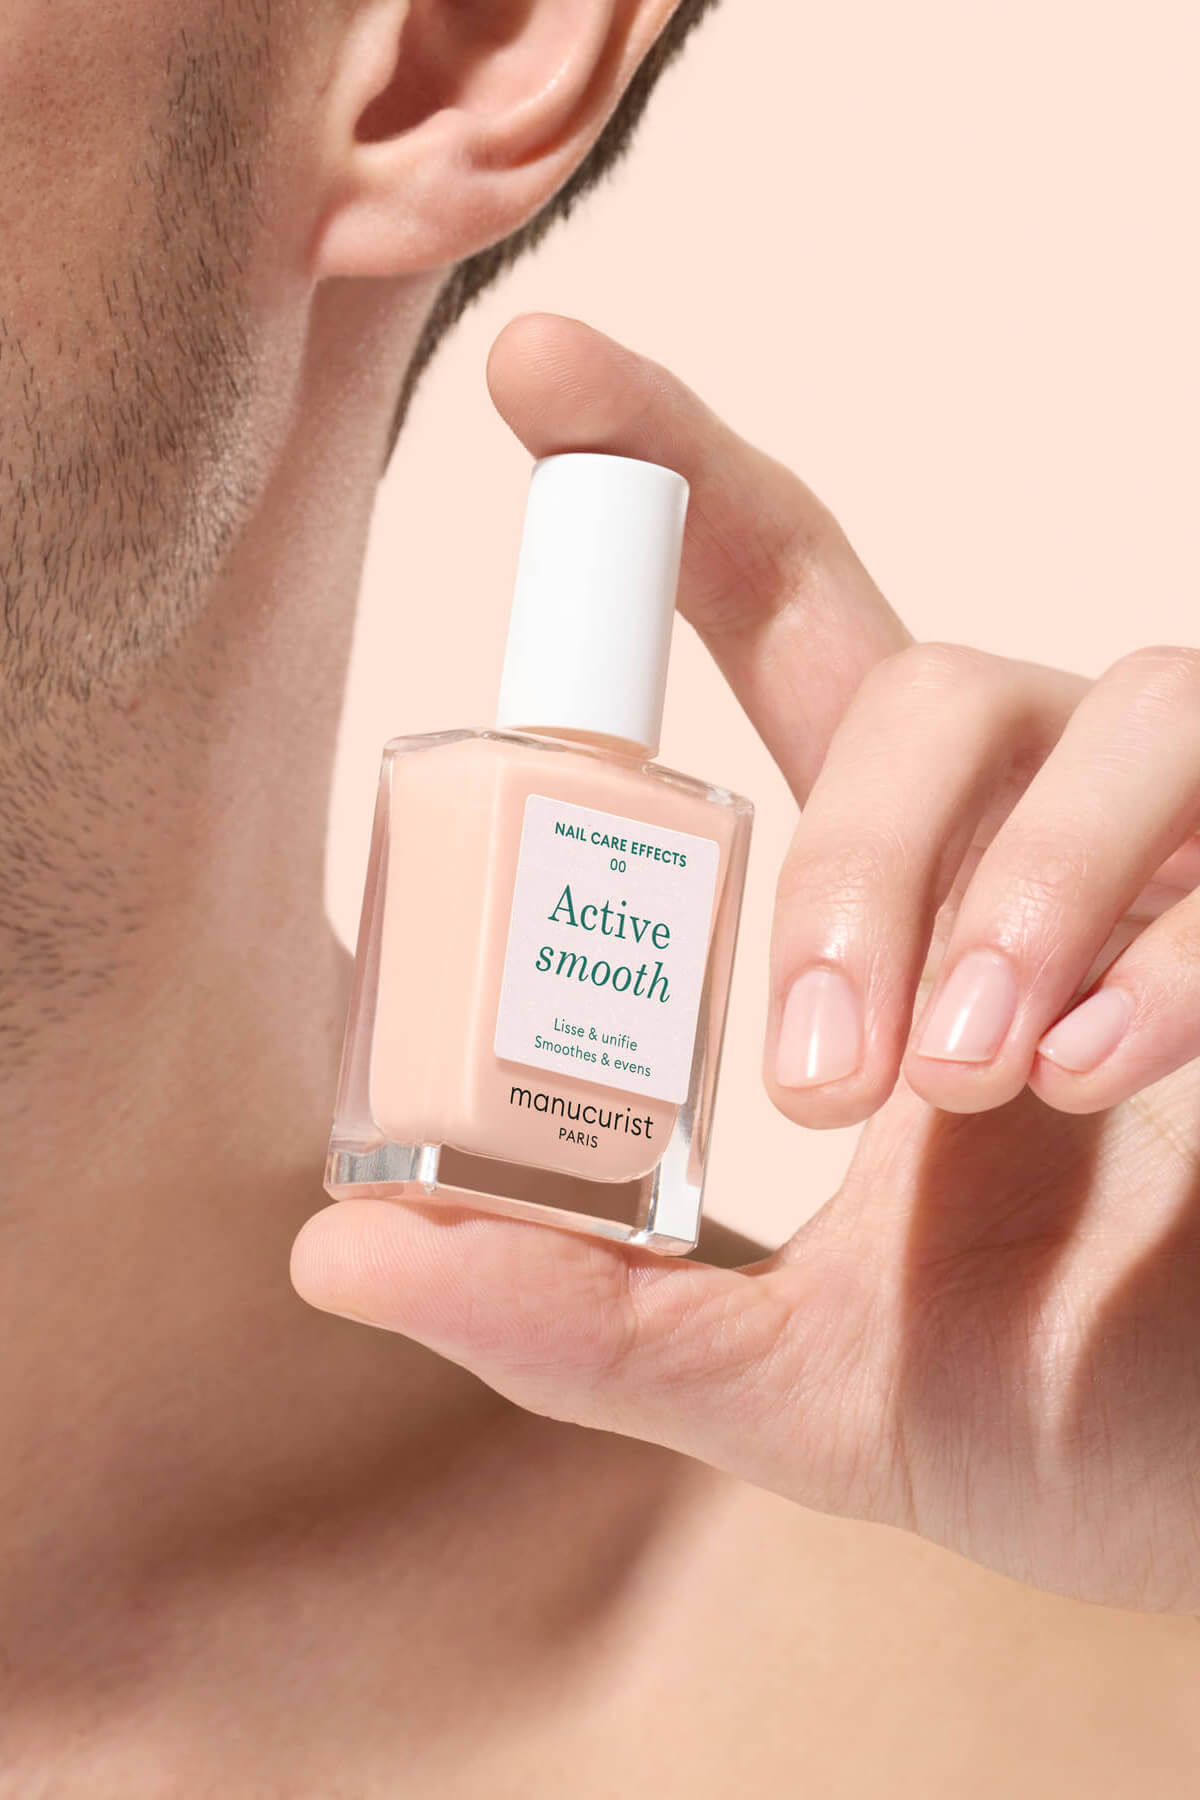
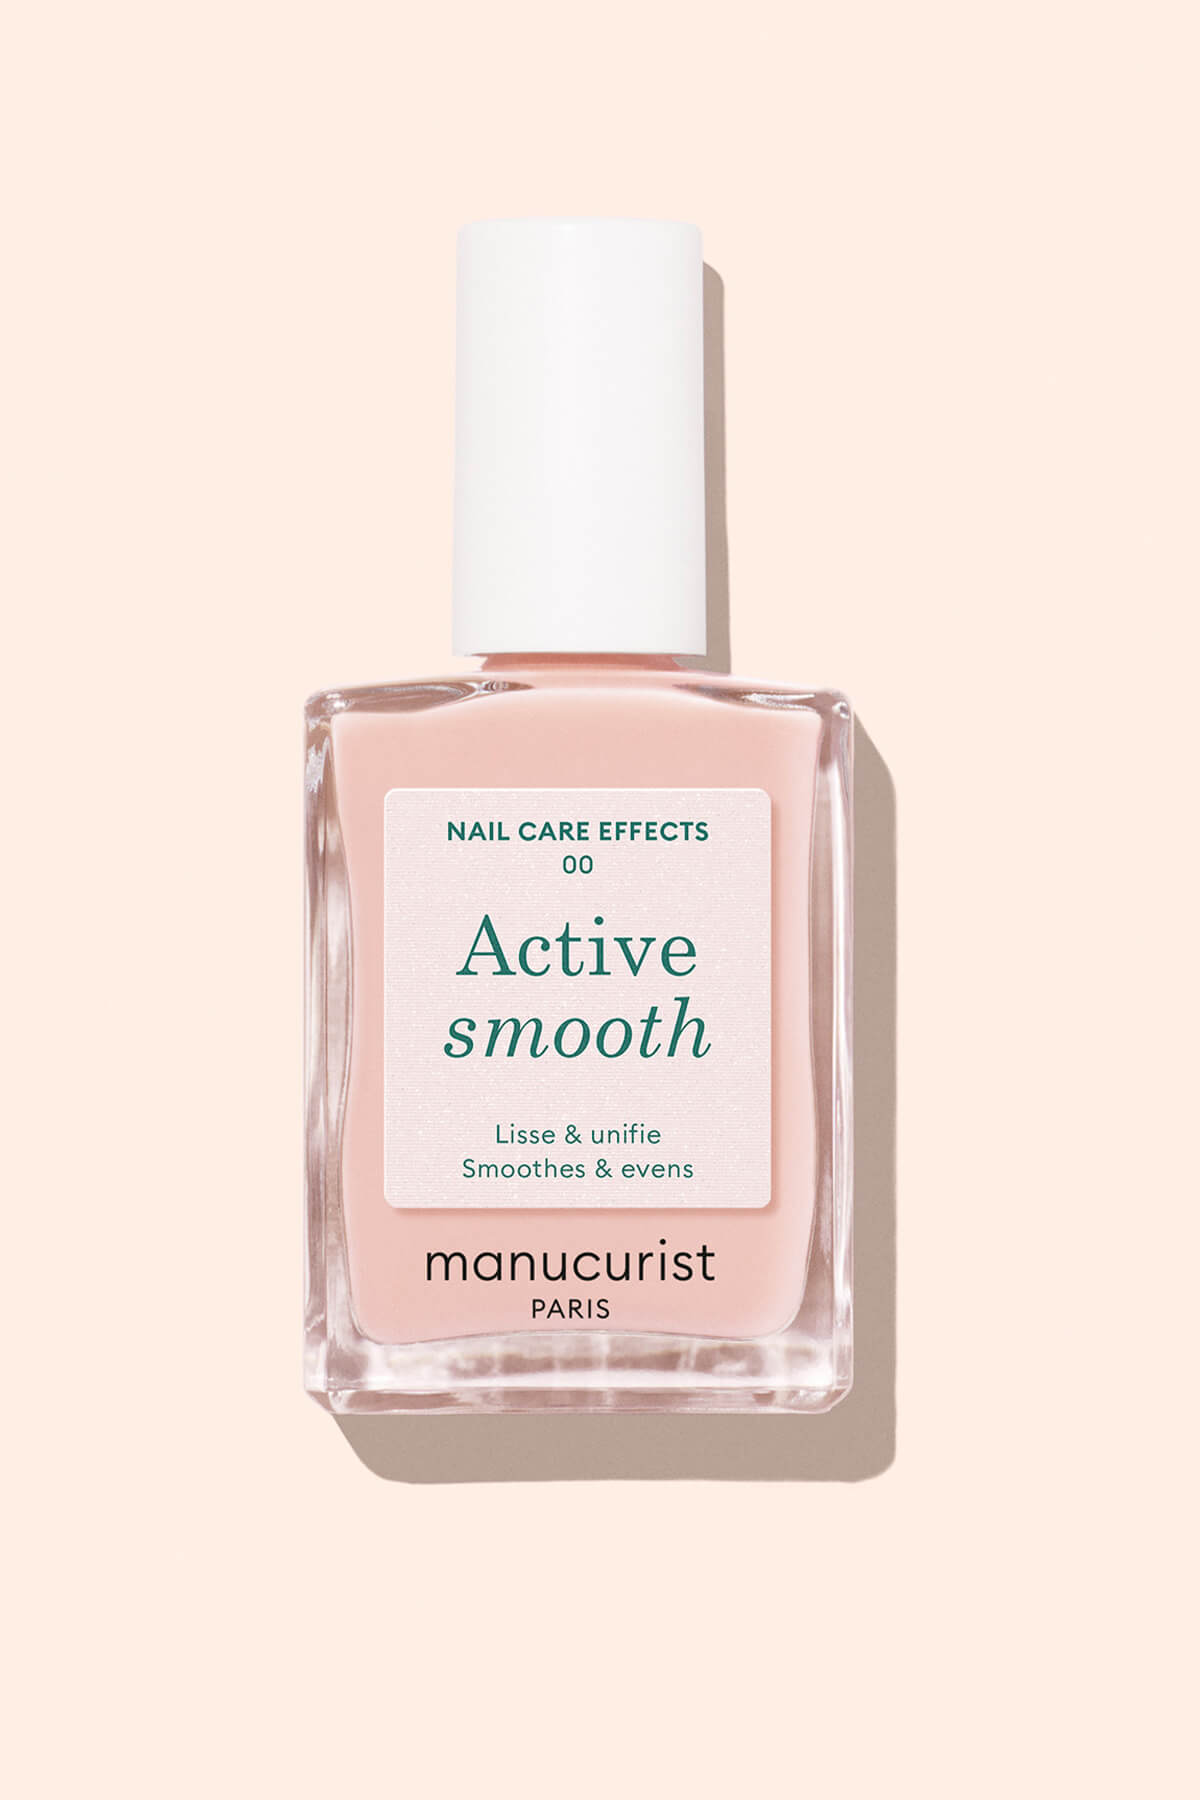
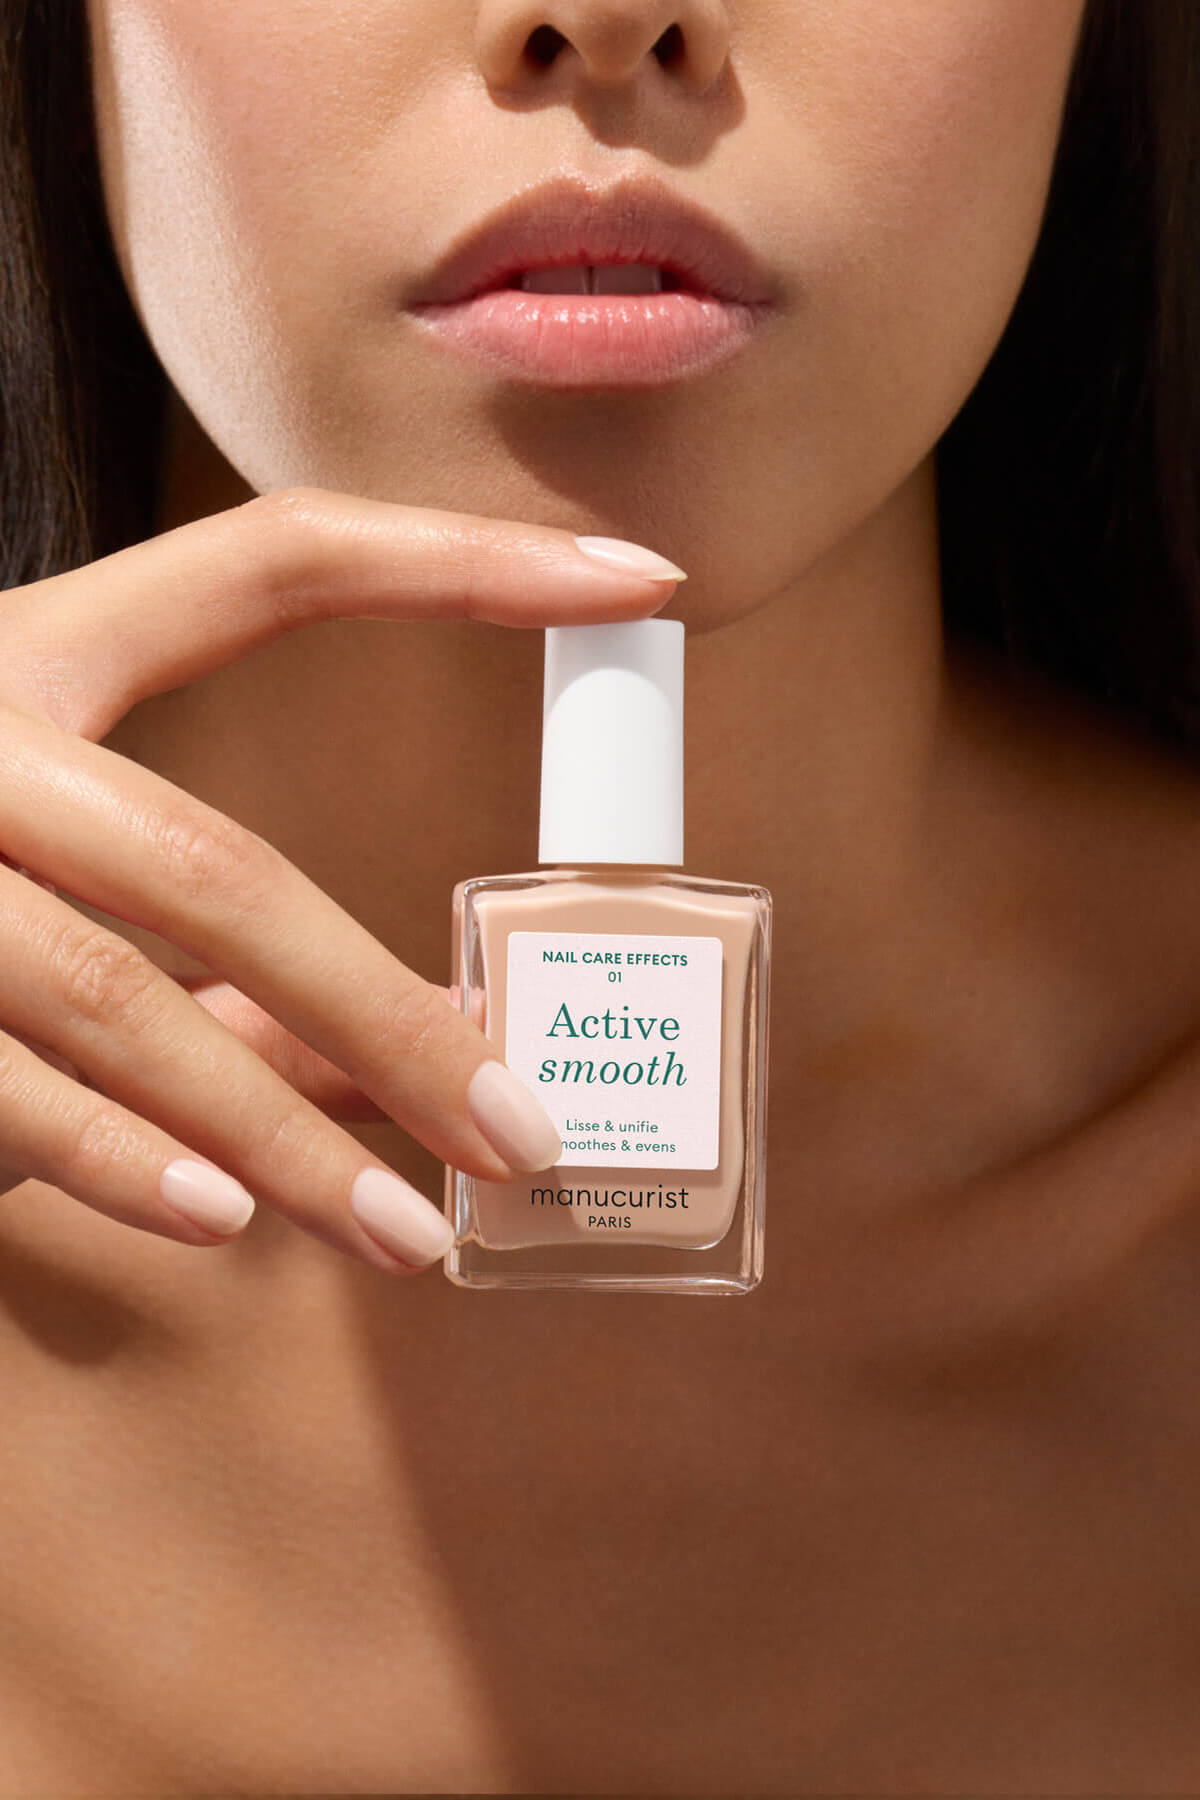
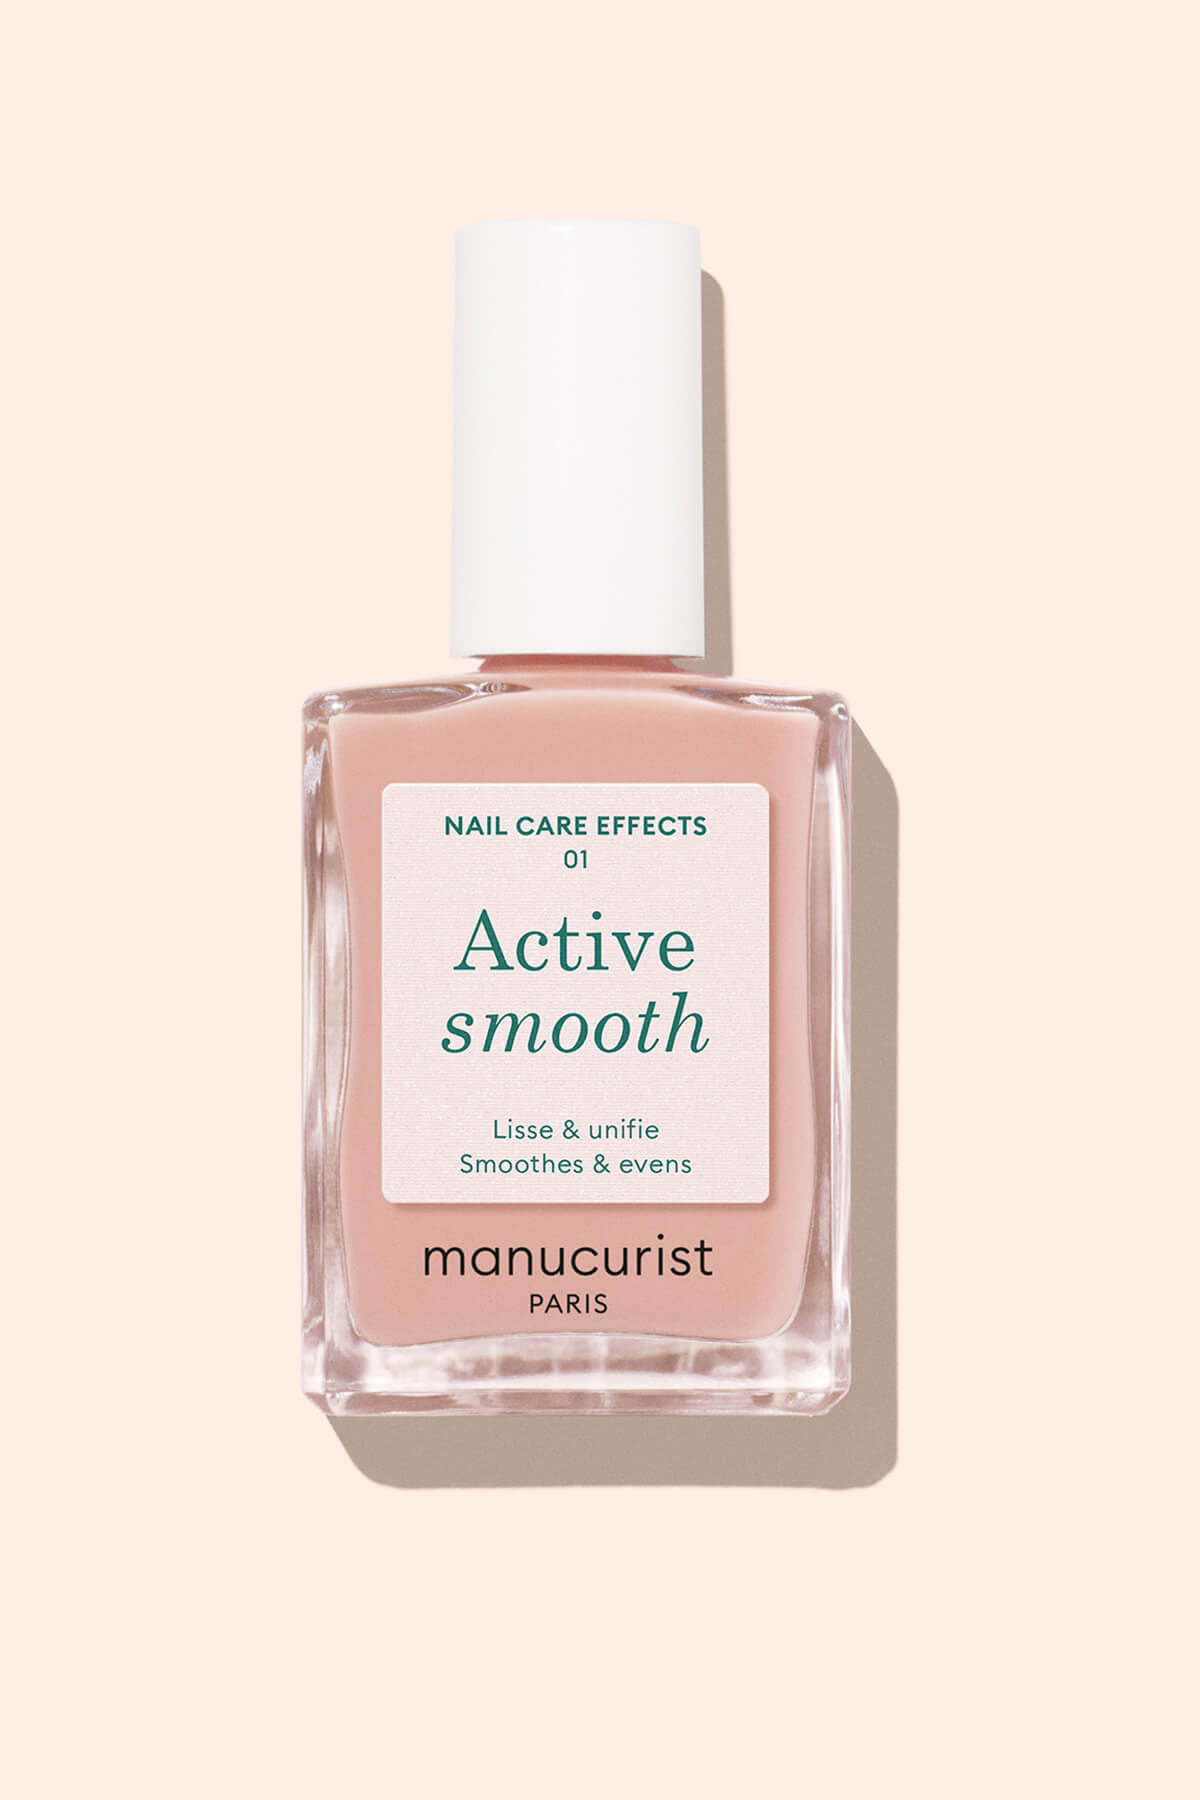
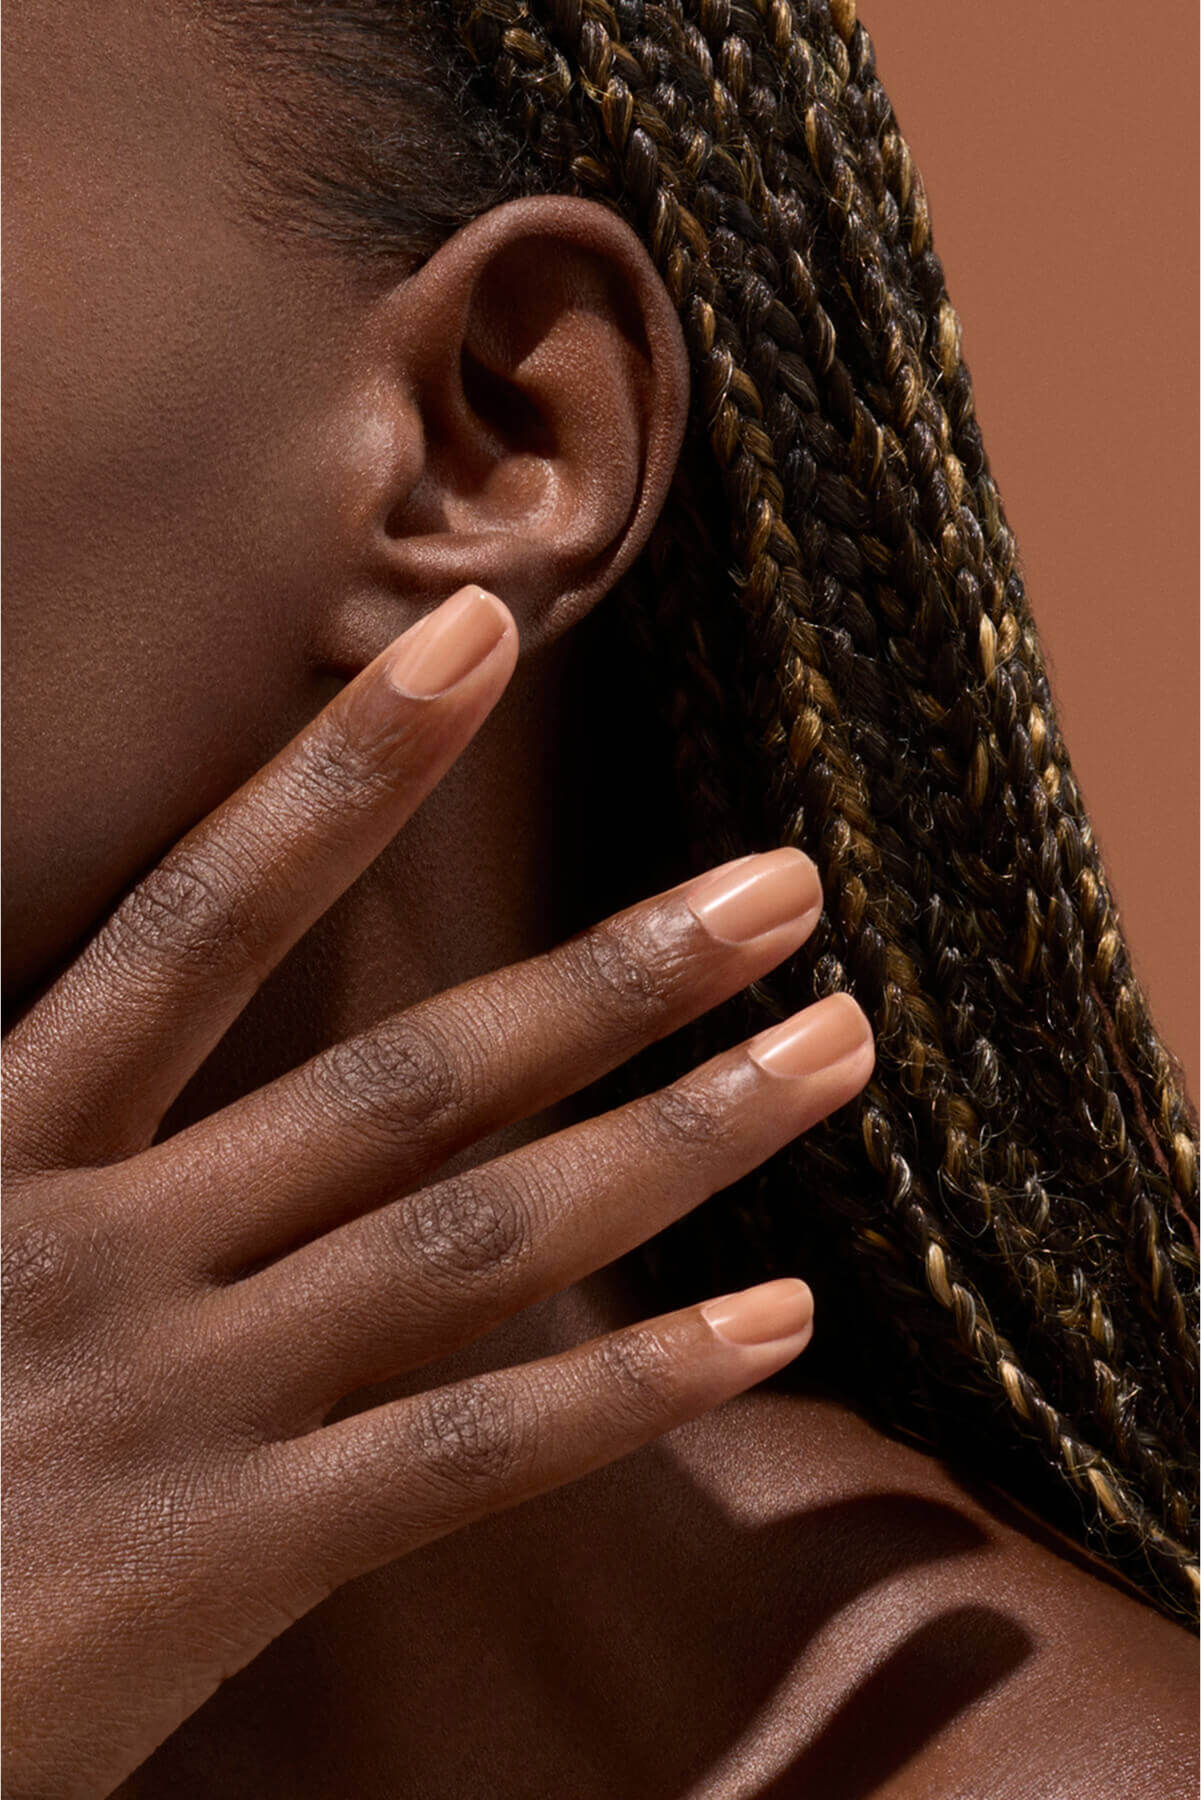
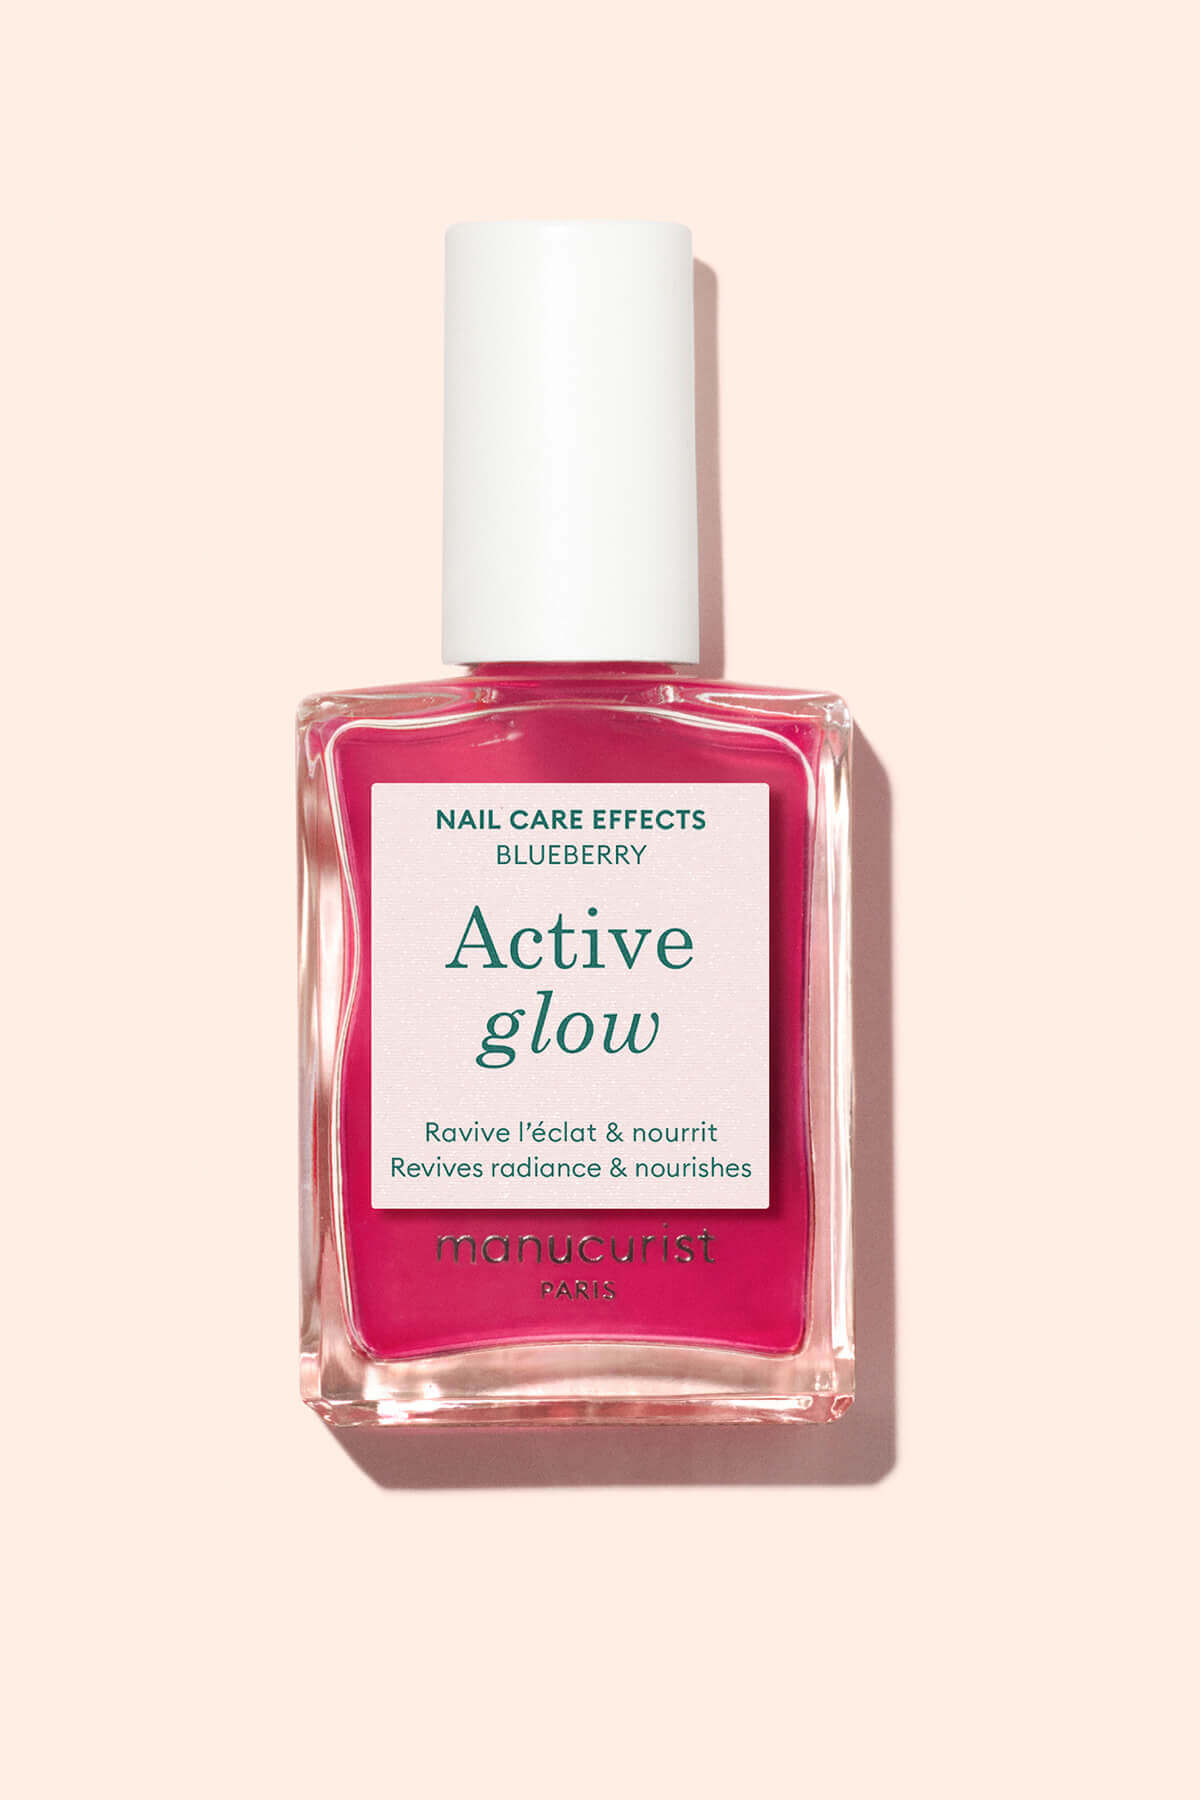
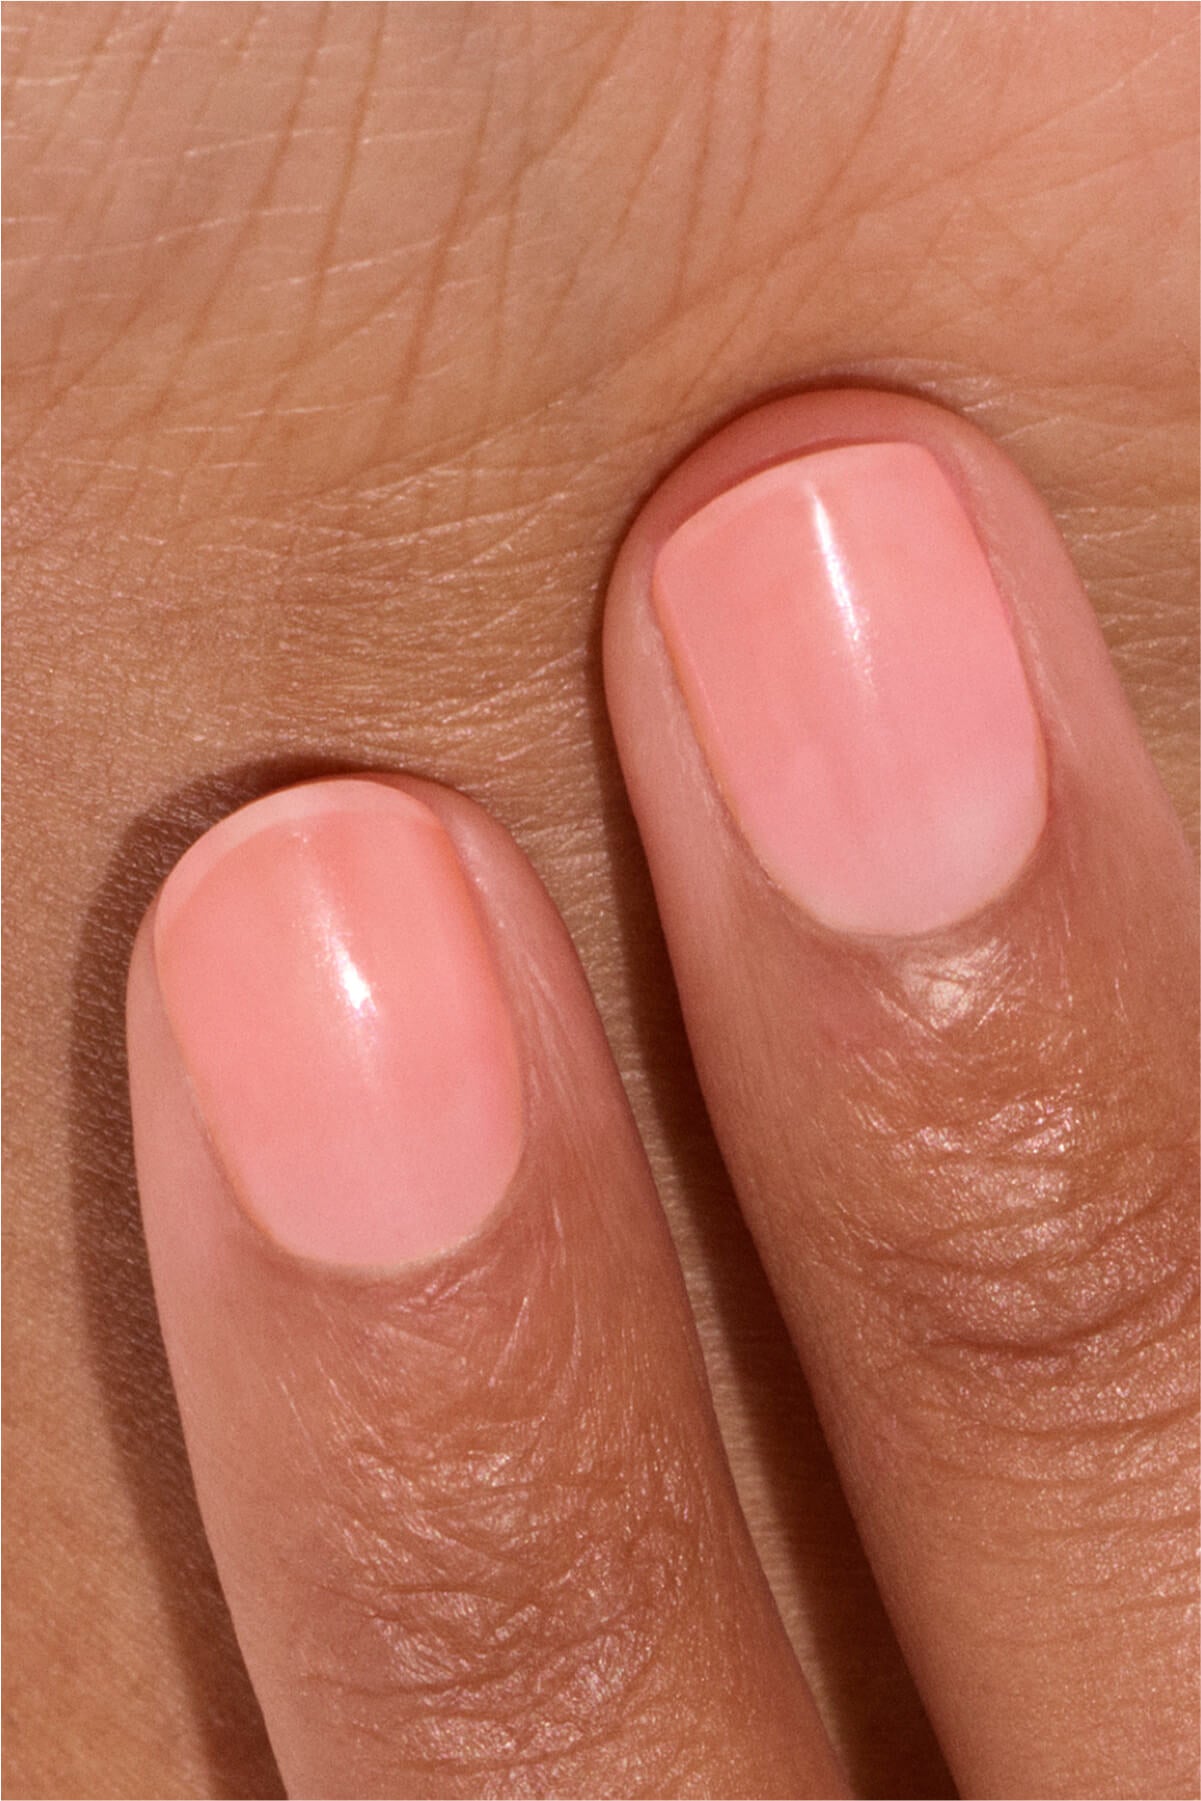
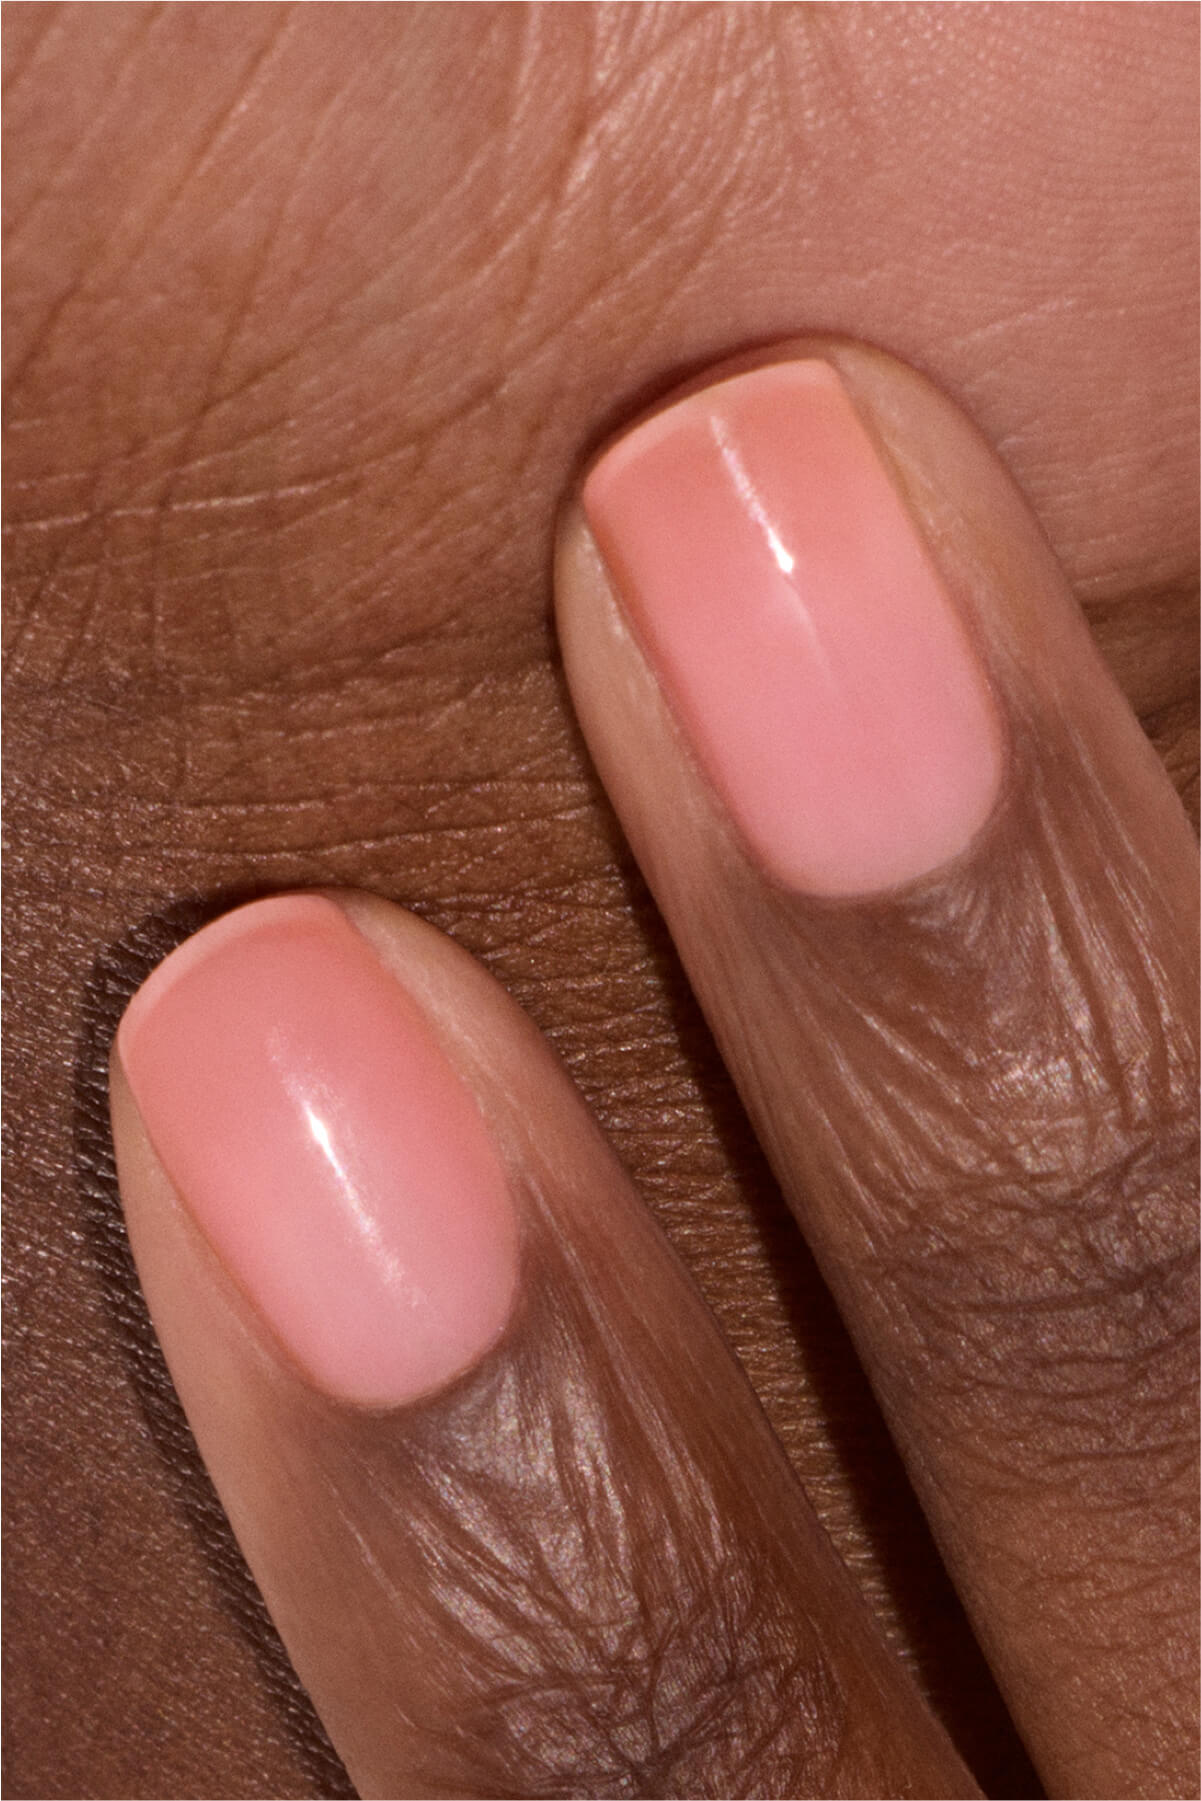
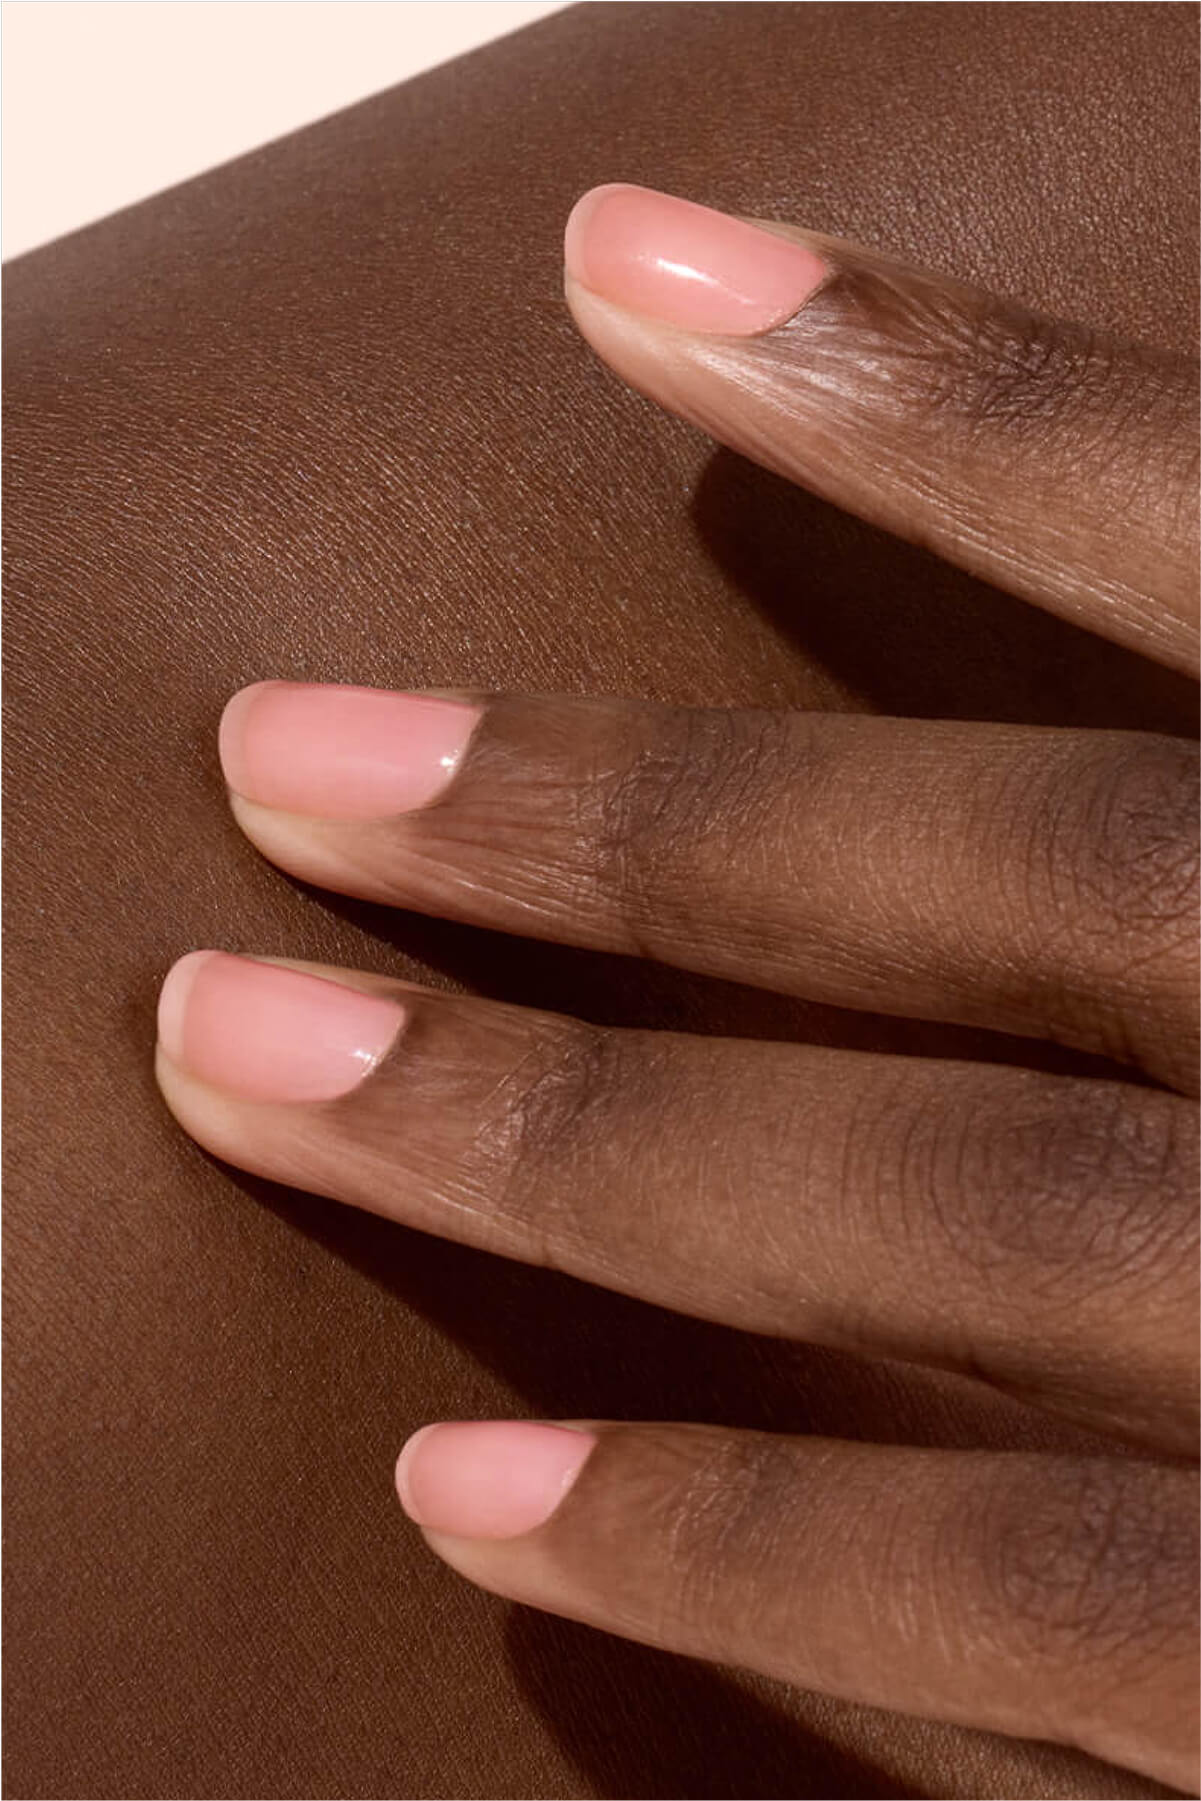
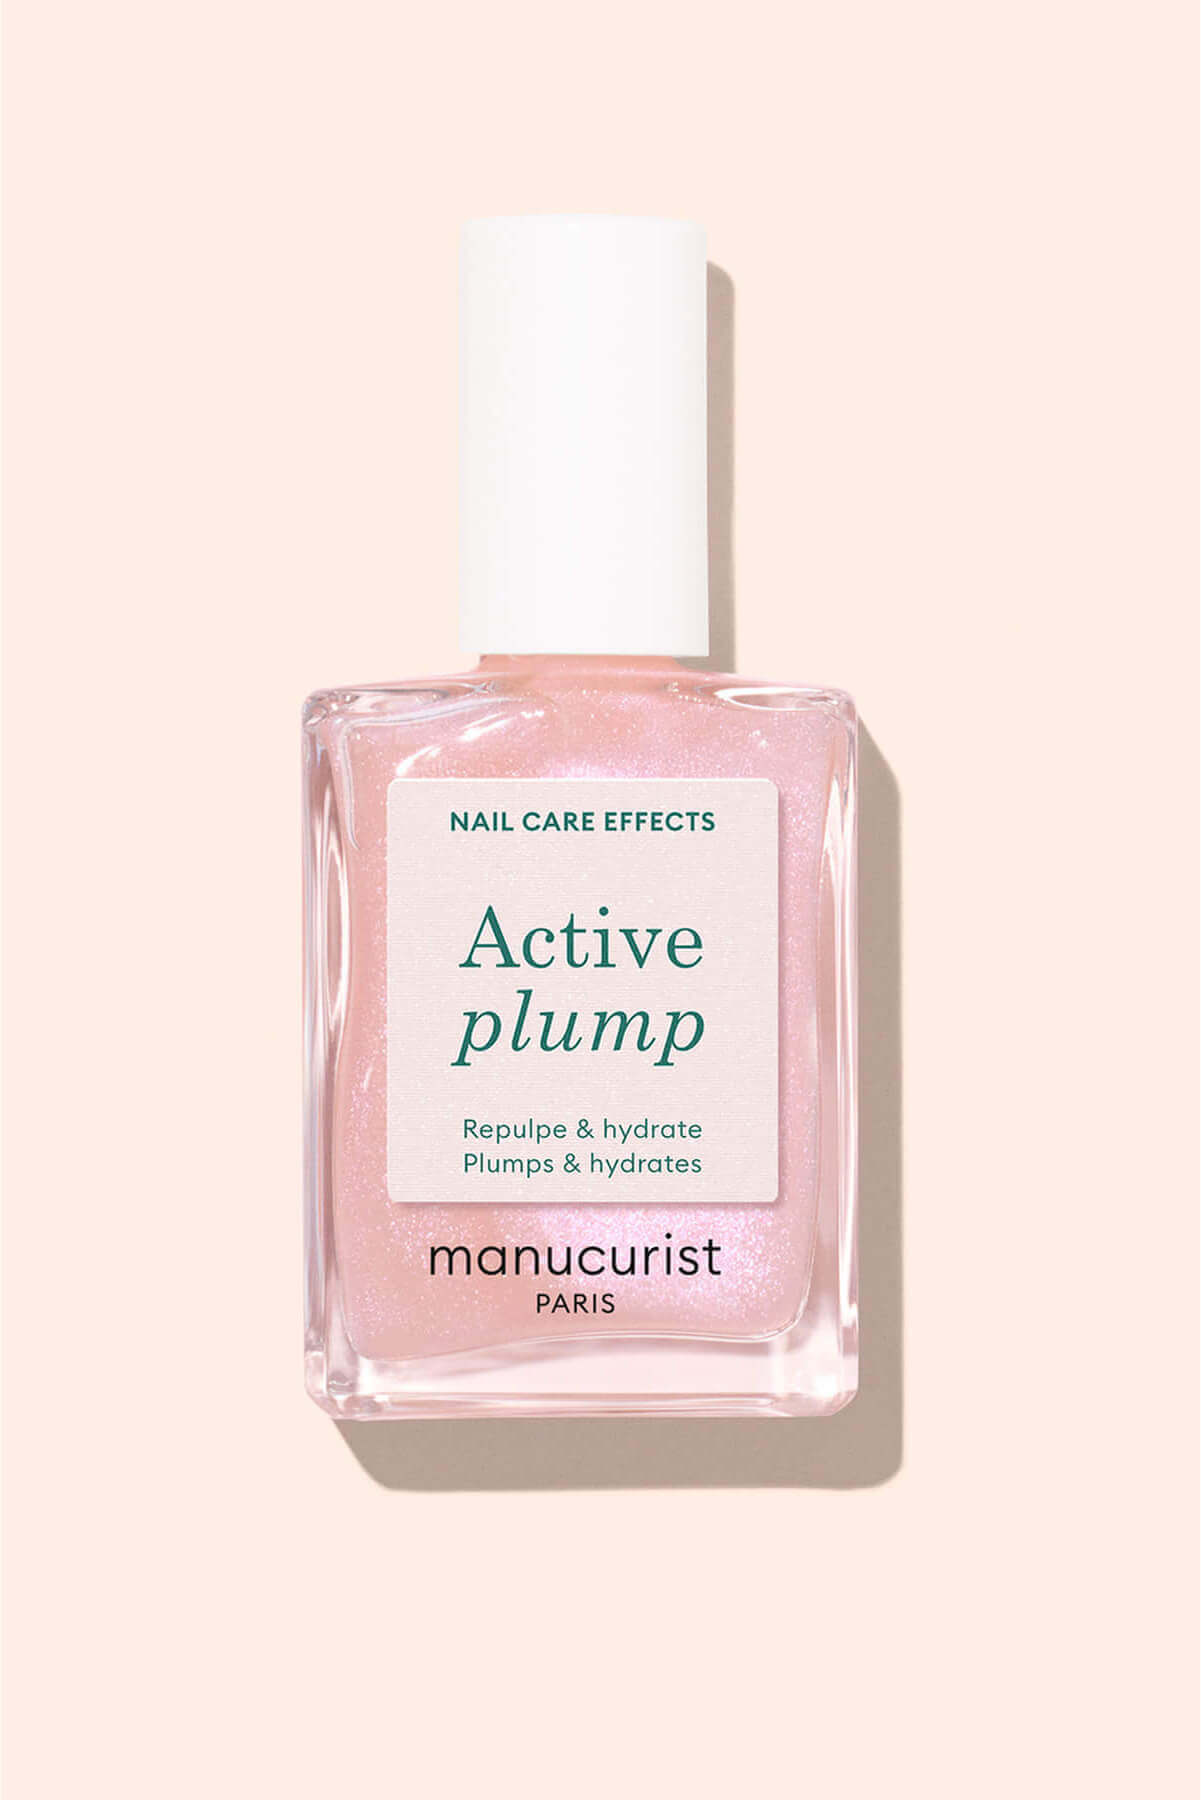
At Manucurist, we understand the varnish differently, by proposing a new green, clean solution and practical to do at home : The semi-permanent varnish Green Flash.
To support you in the use of this innovation, which has already changed the daily life of thousands of women, we have created A 3 -step routine Super Easy with all the necessary products, to be found in our Semi-permanent kits Green Flash, essential to embark on the adventure.

We are convinced that the application of a varnish, whether classic or semi-permanent, may be a fun moment, while obtaining a result worthy of a real pro. The most difficult ultimately is to take the first step ... and choose your color!
Getting Ready
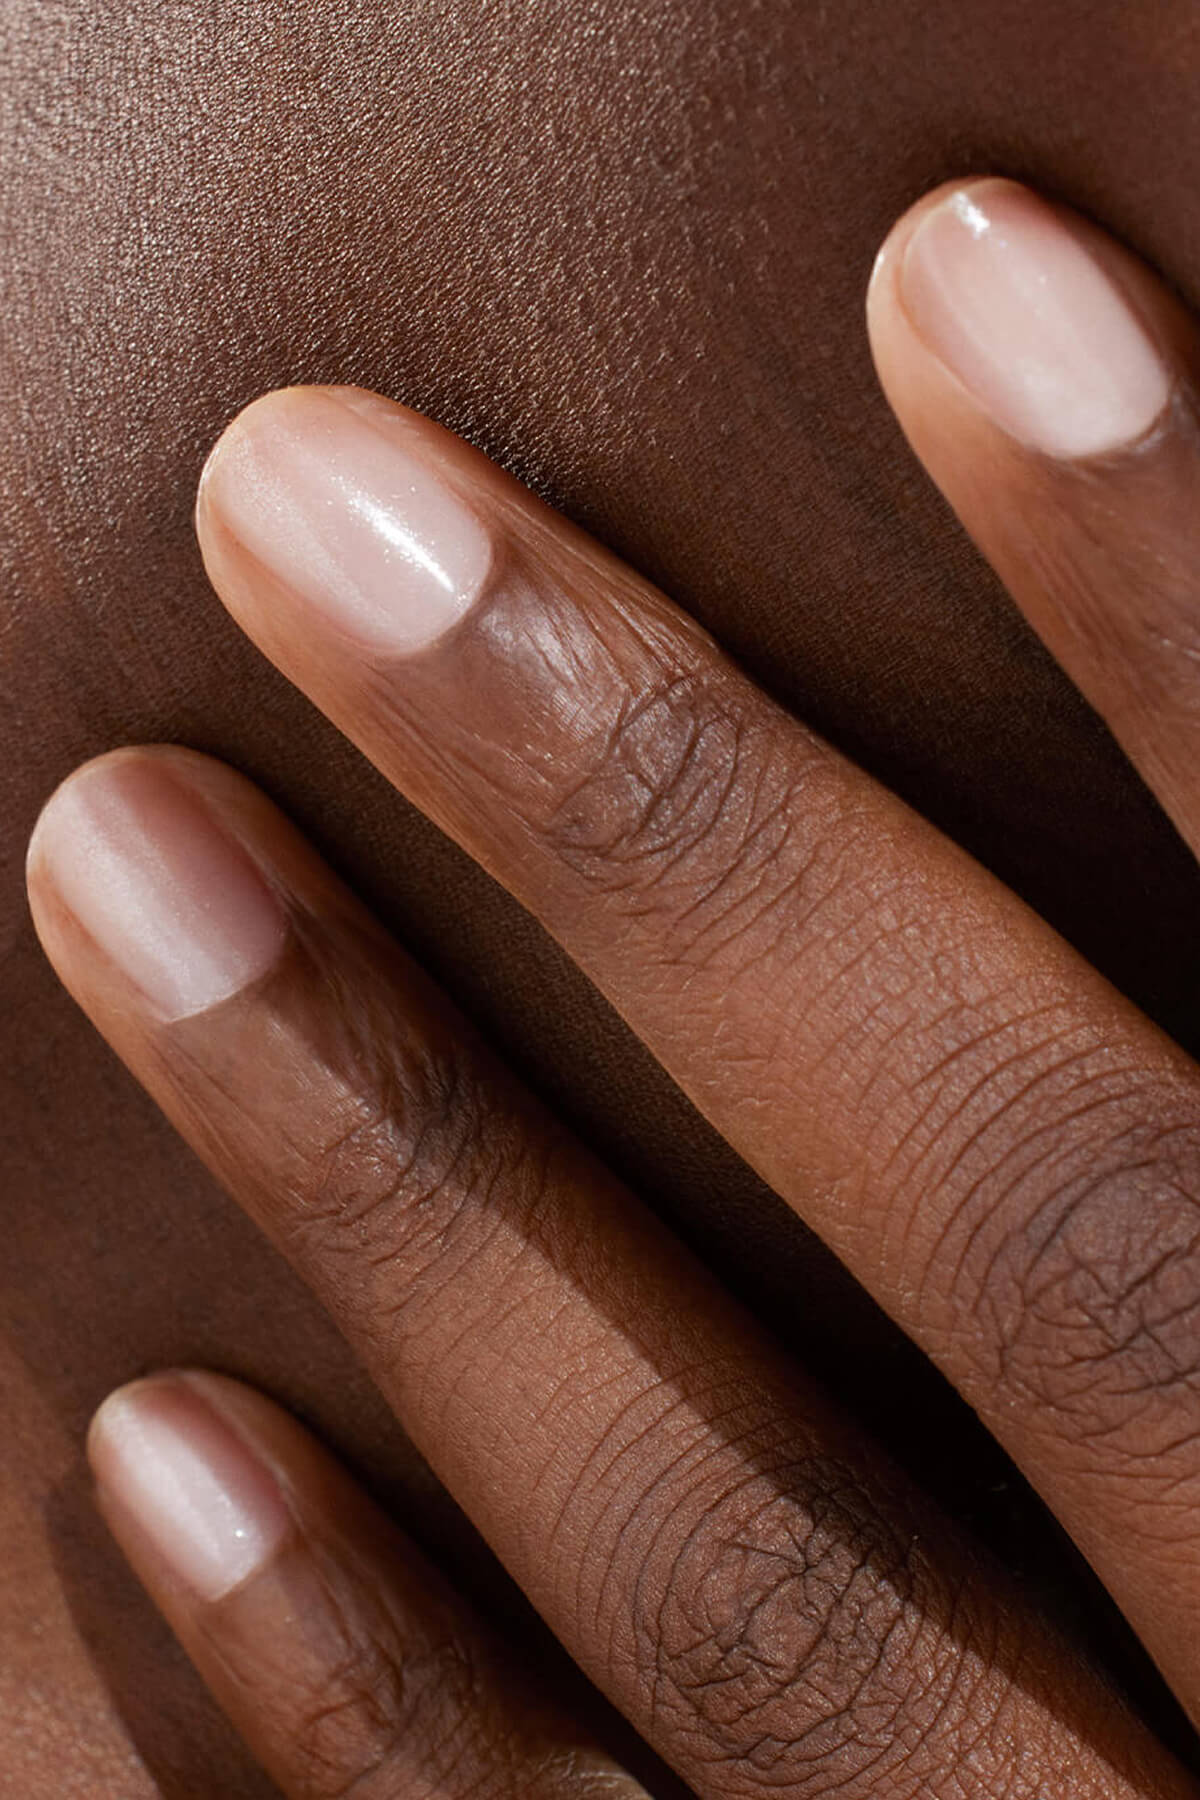
Before you start your Green Flash manicure, we strongly recommend that you go through The nail preparation step. If you haven't read the article on this yet, you can find it here.
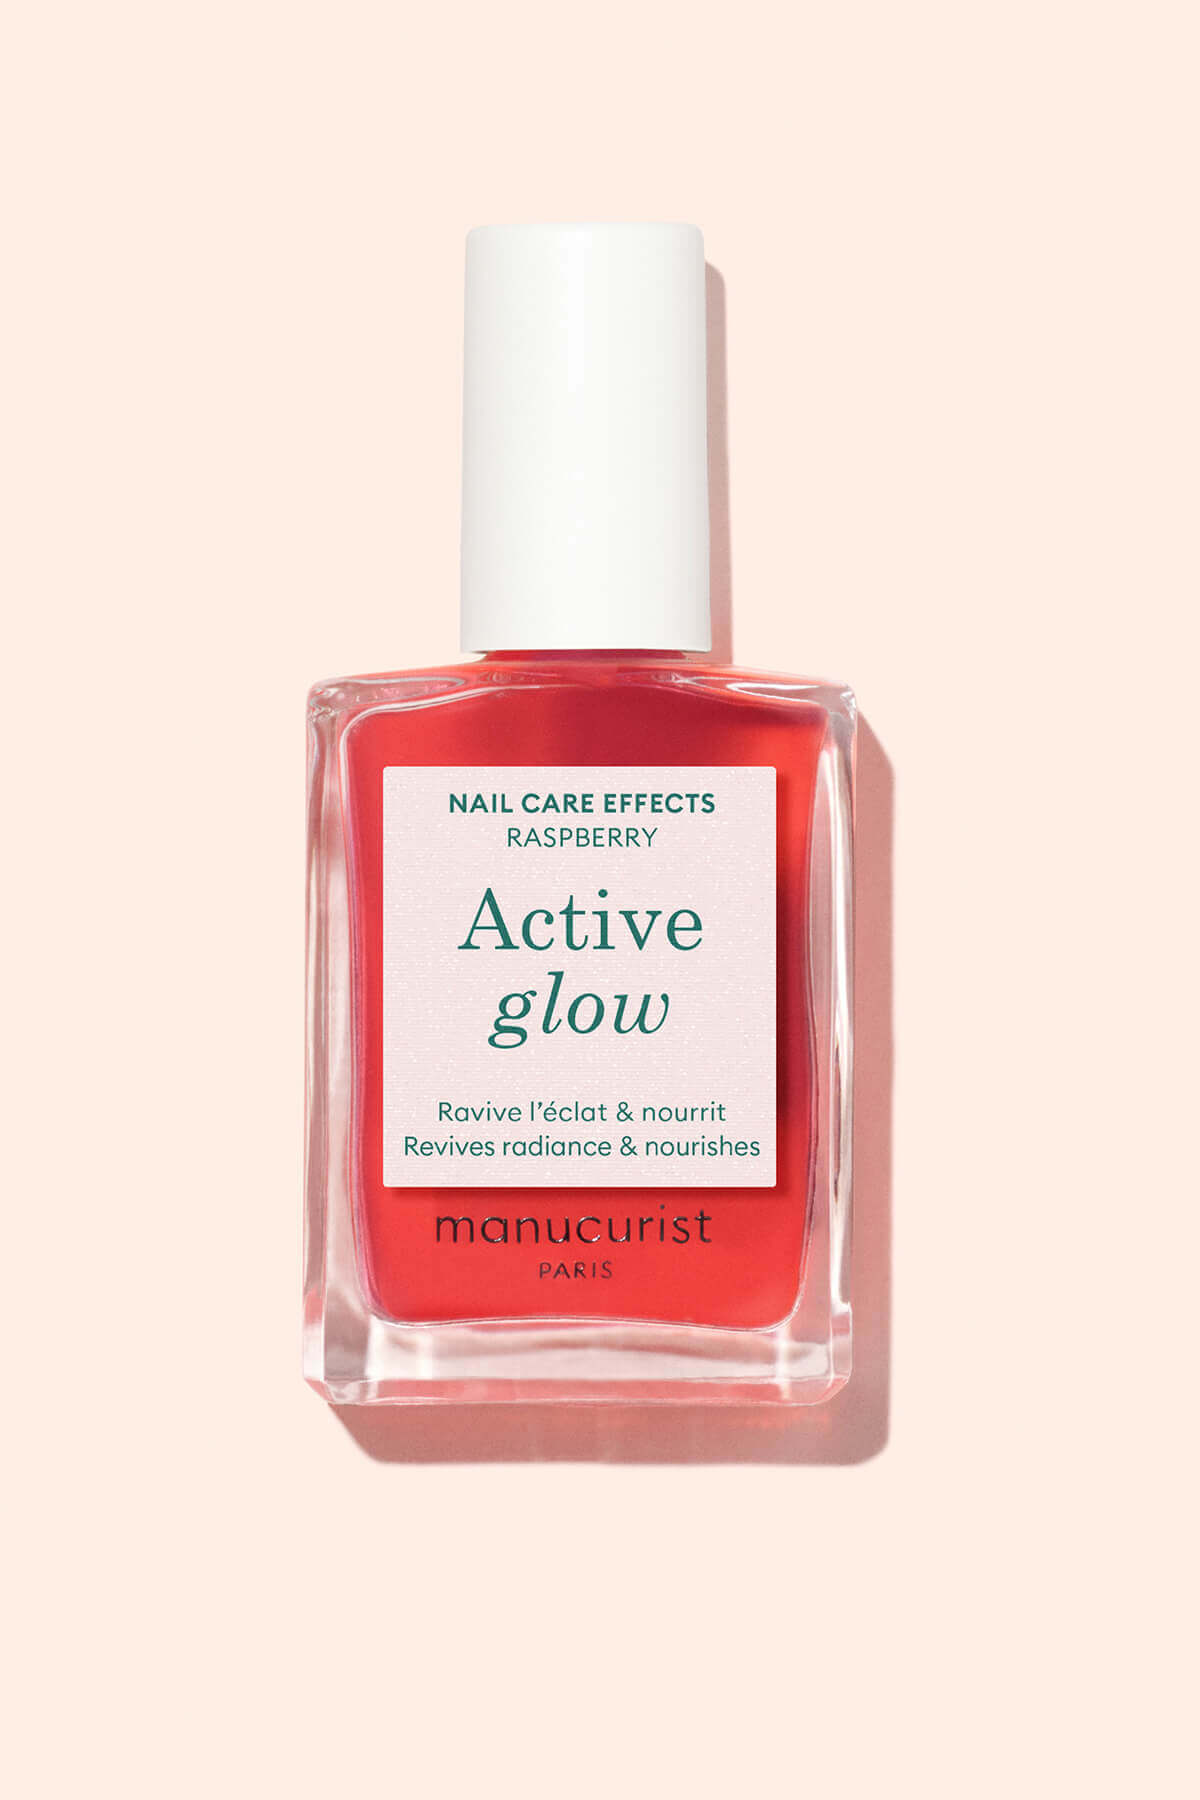
To realize A Green Flash Like A Pro, you need :
- L'Green Flash dissolving water
- The Green Flash base
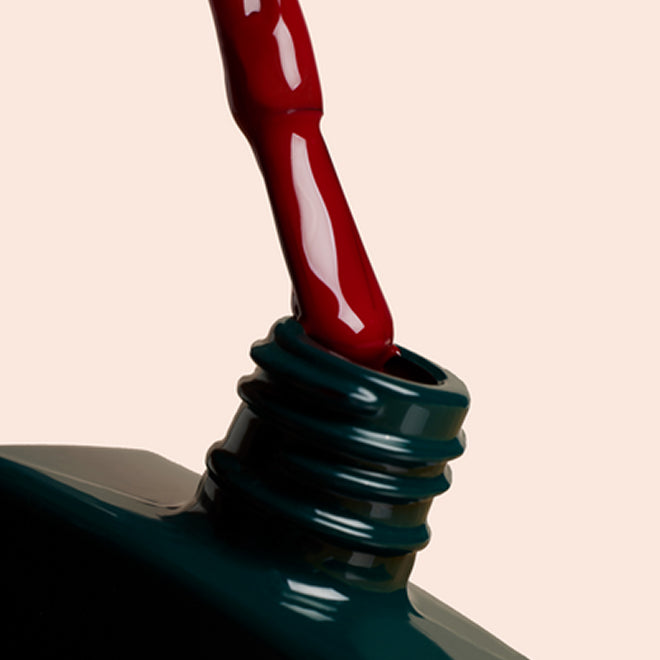
- A Green Flash color (or many !)
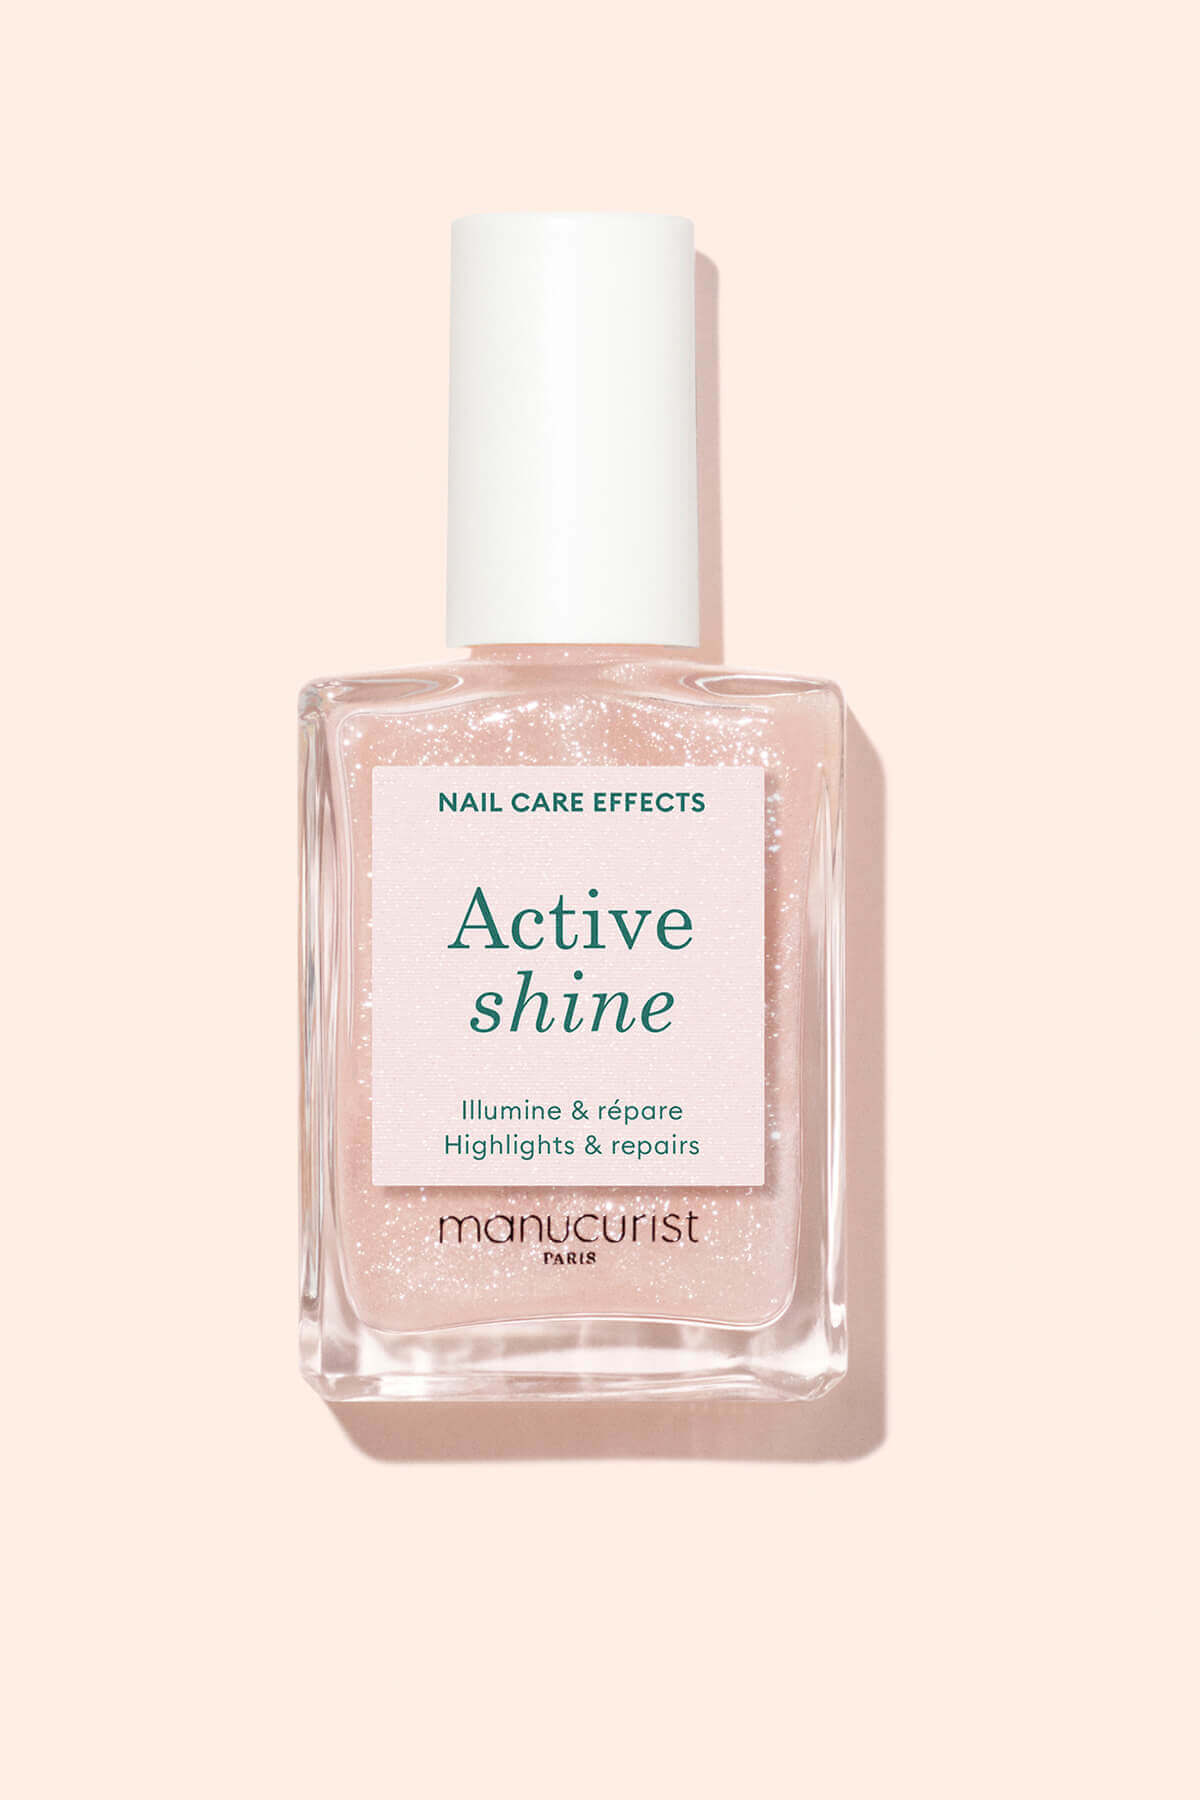
- the Top Coat Green Flash
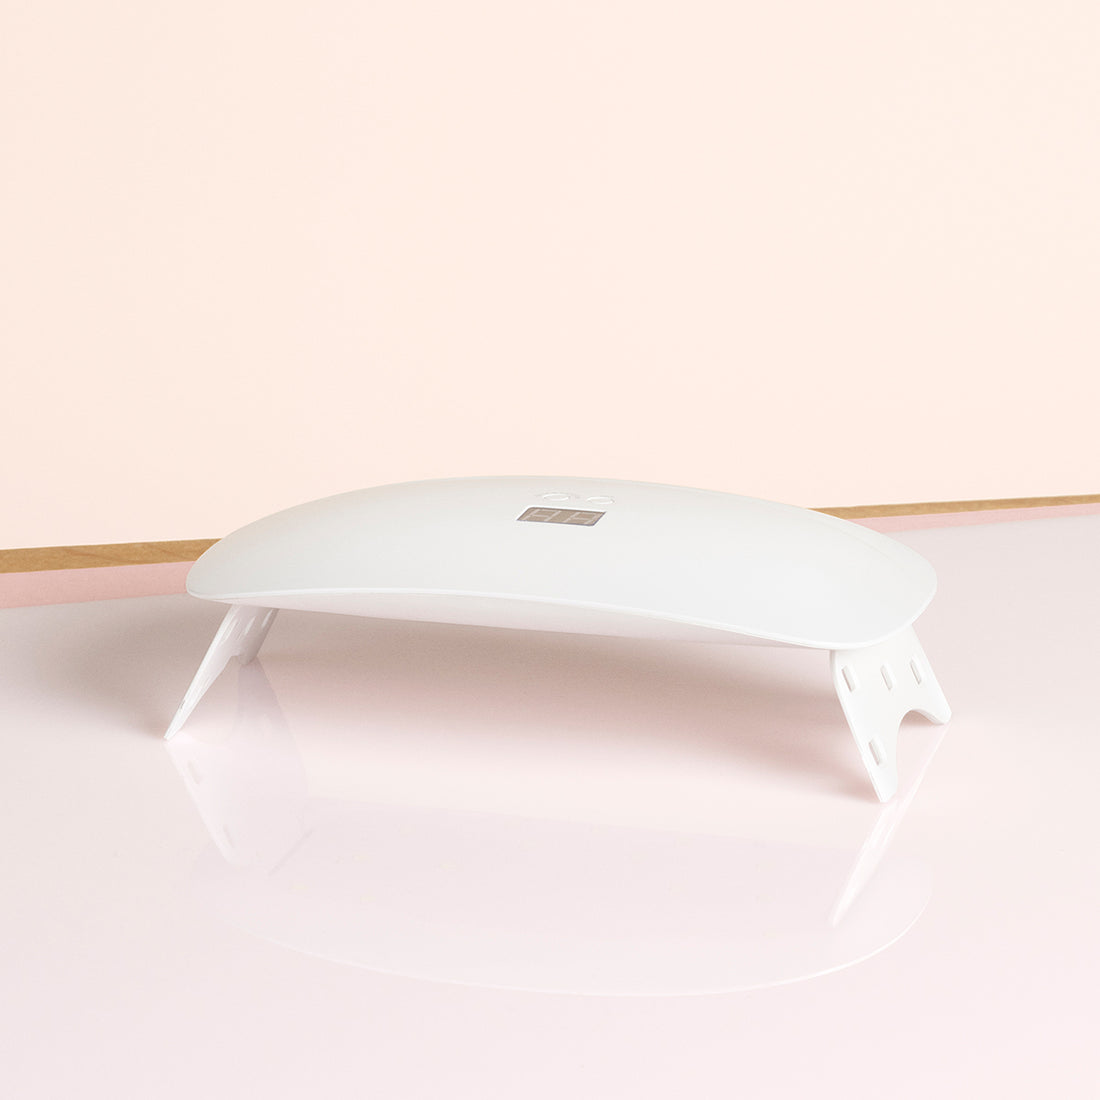
- A Green Flash lamp (pro or nomad)
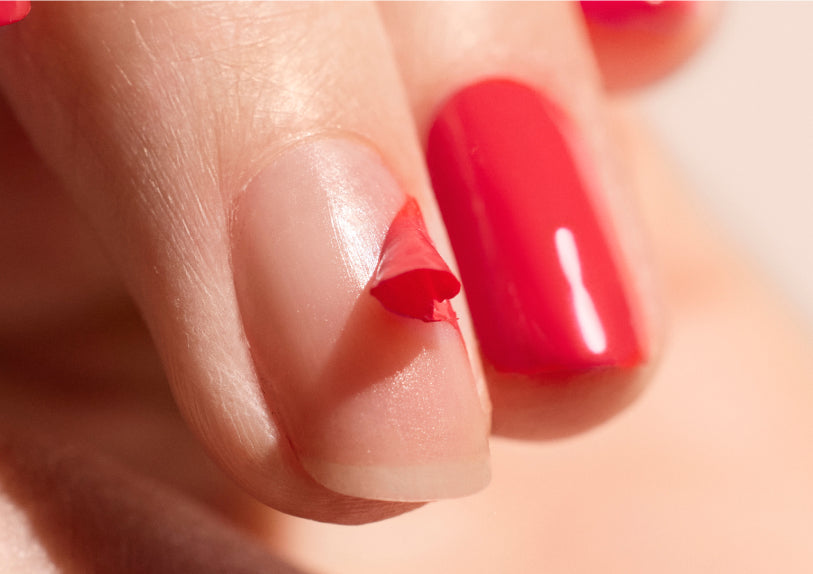
Once the preparation step is complete, Degrease your nails Using our dissolving for semi-permanentwithout acetone. This allows you to remove all the fatty substances on your nails and help better adhesion from the base, therefore color.
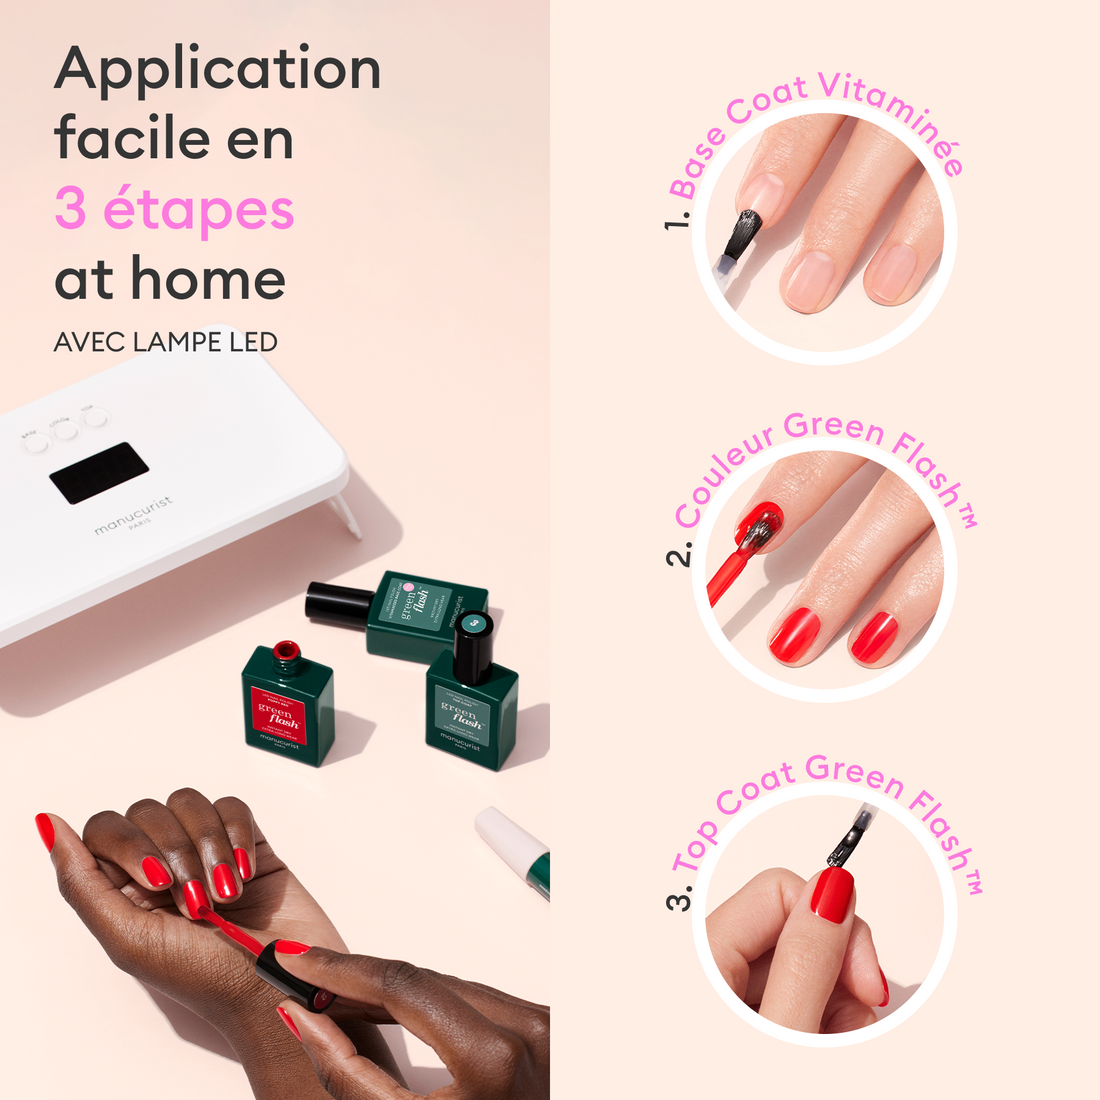
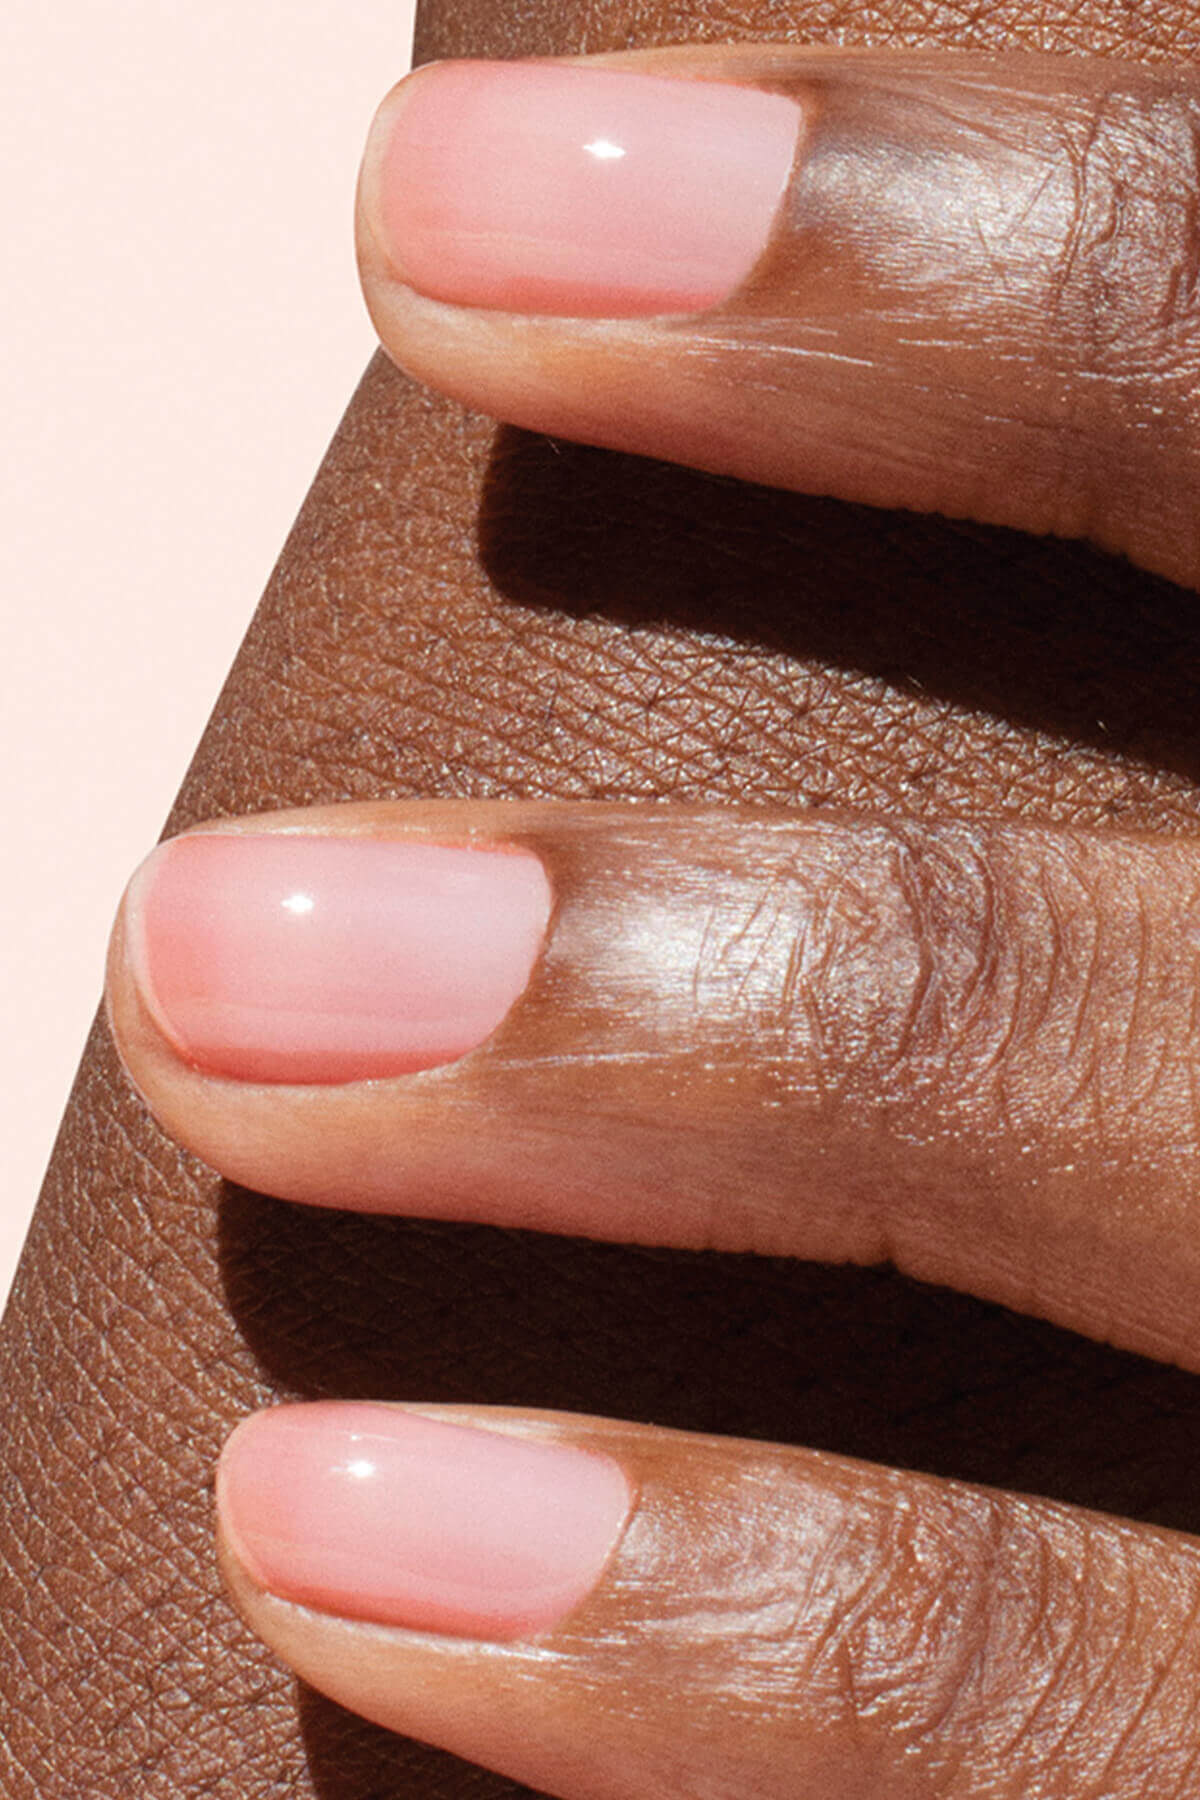
Your manicure at home in 3 steps
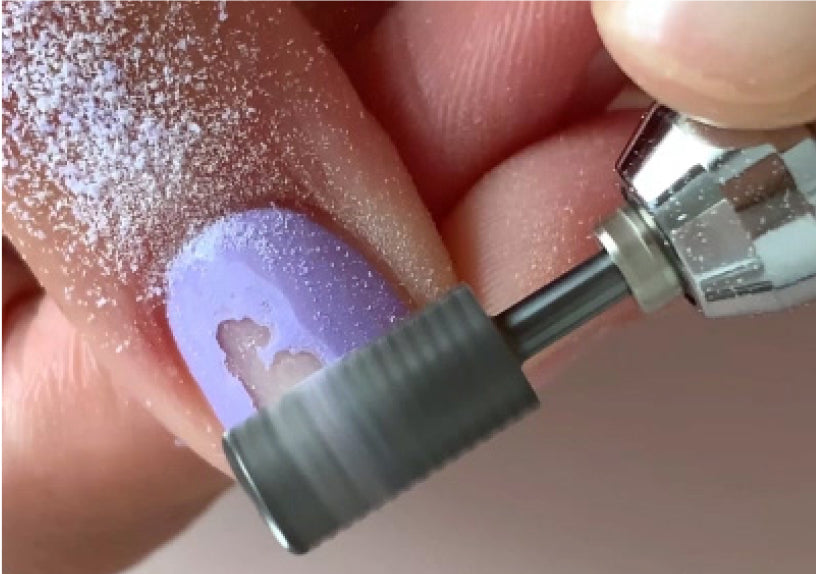
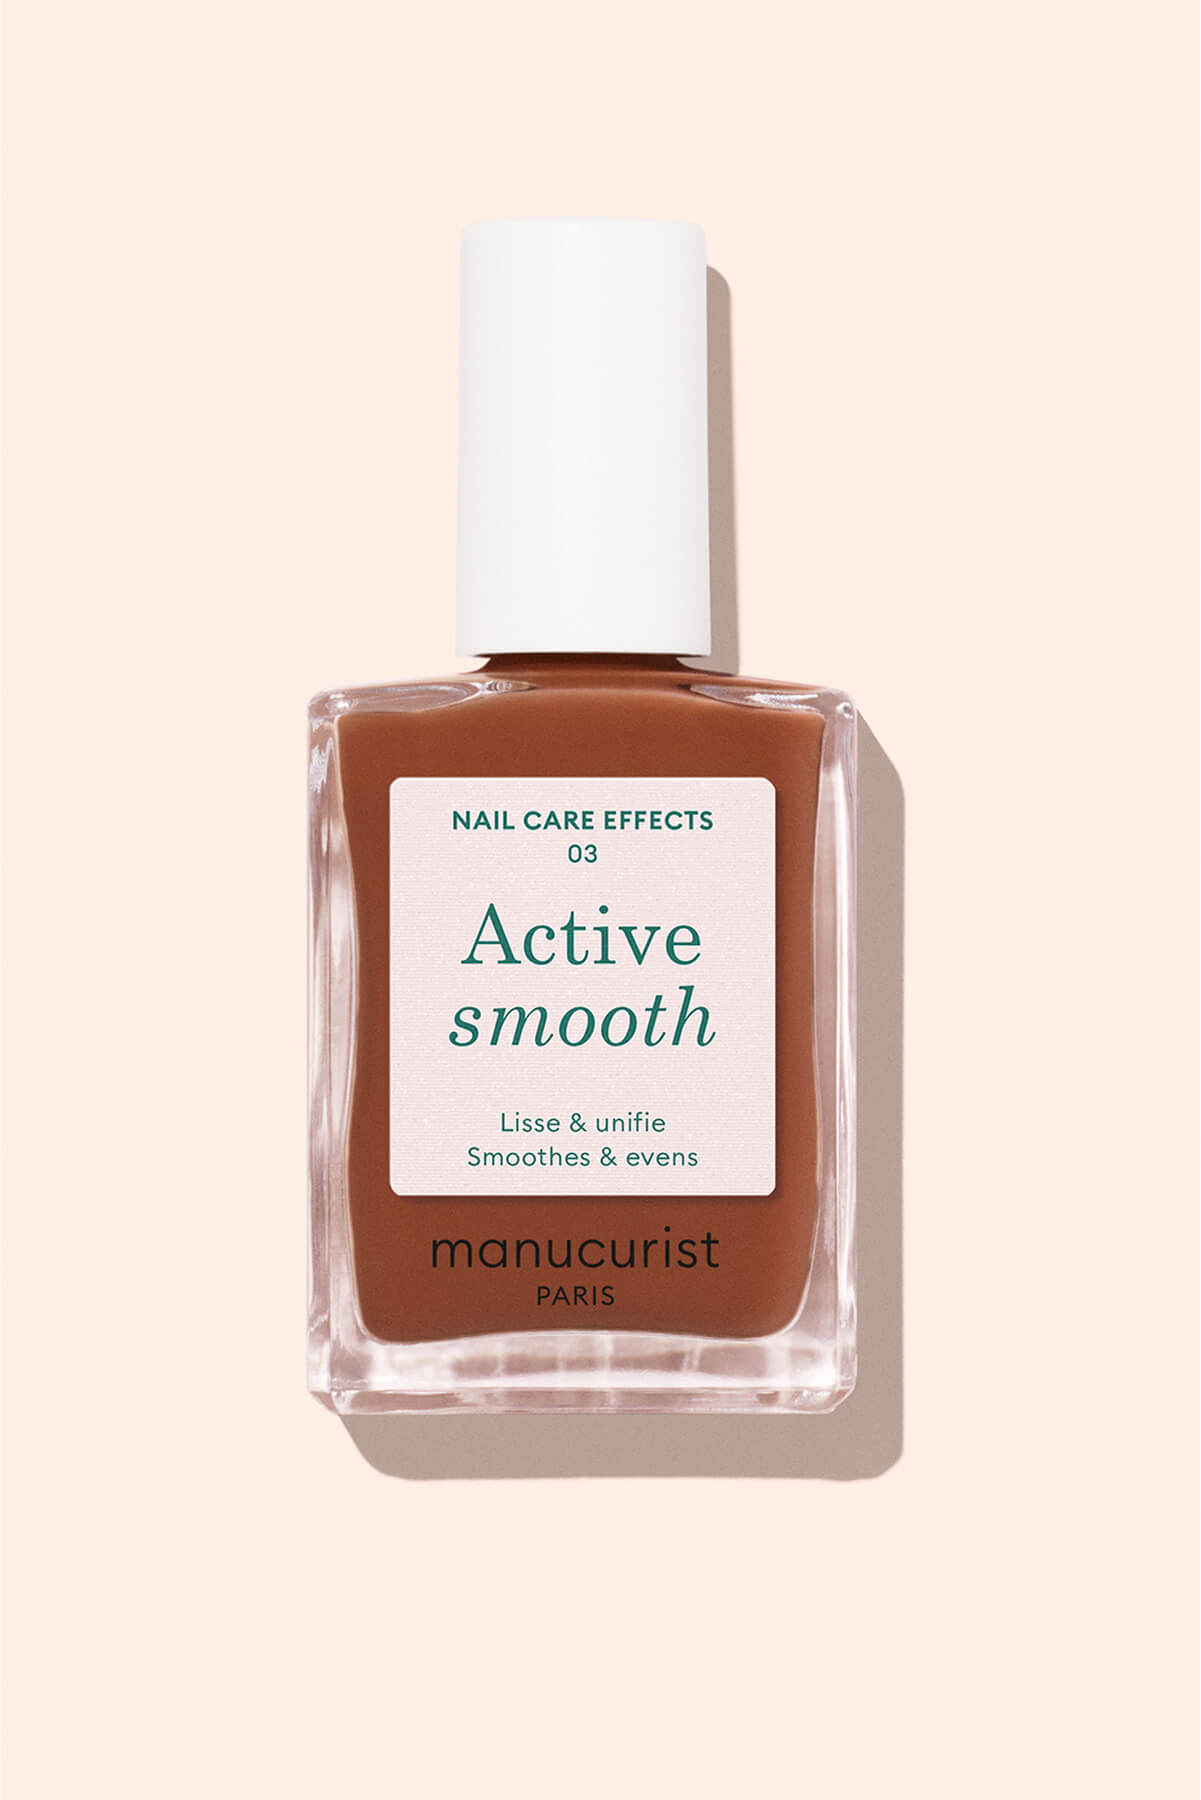
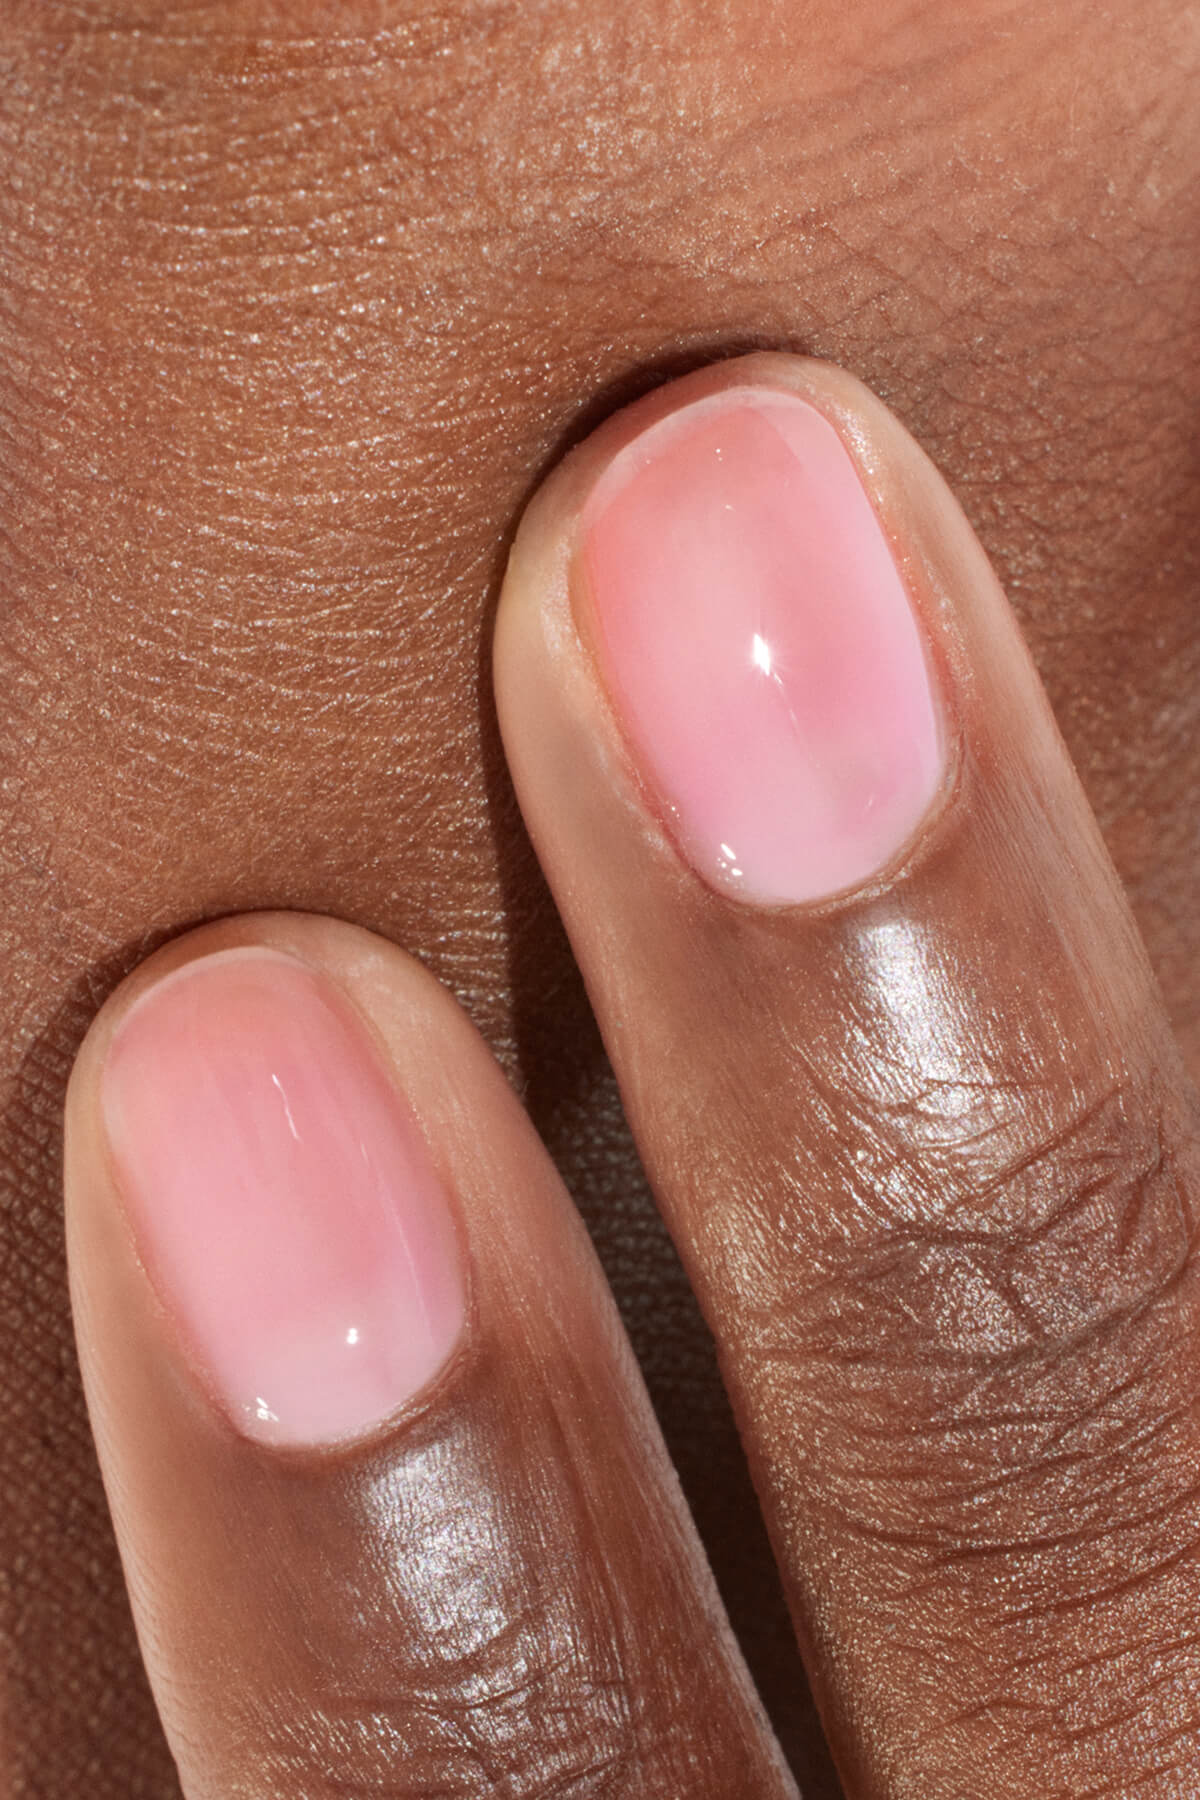
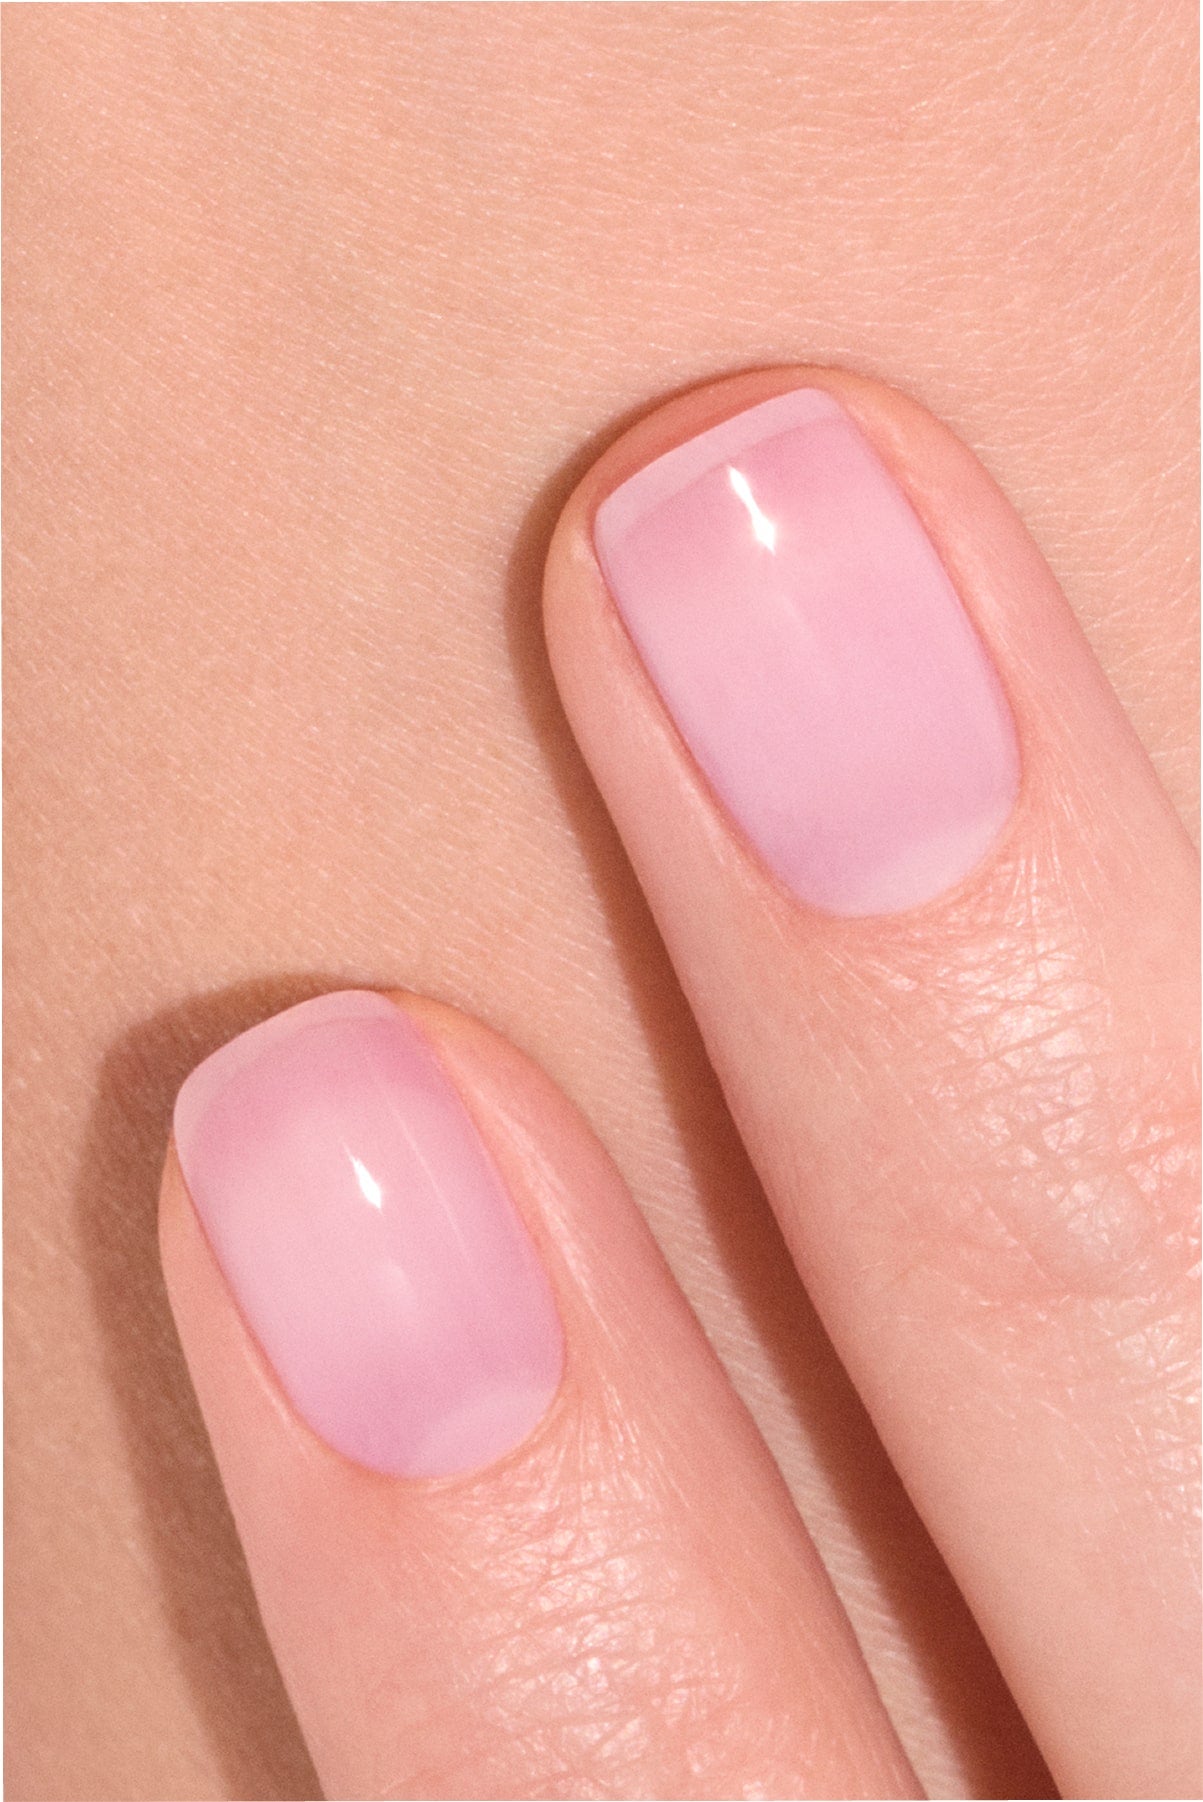
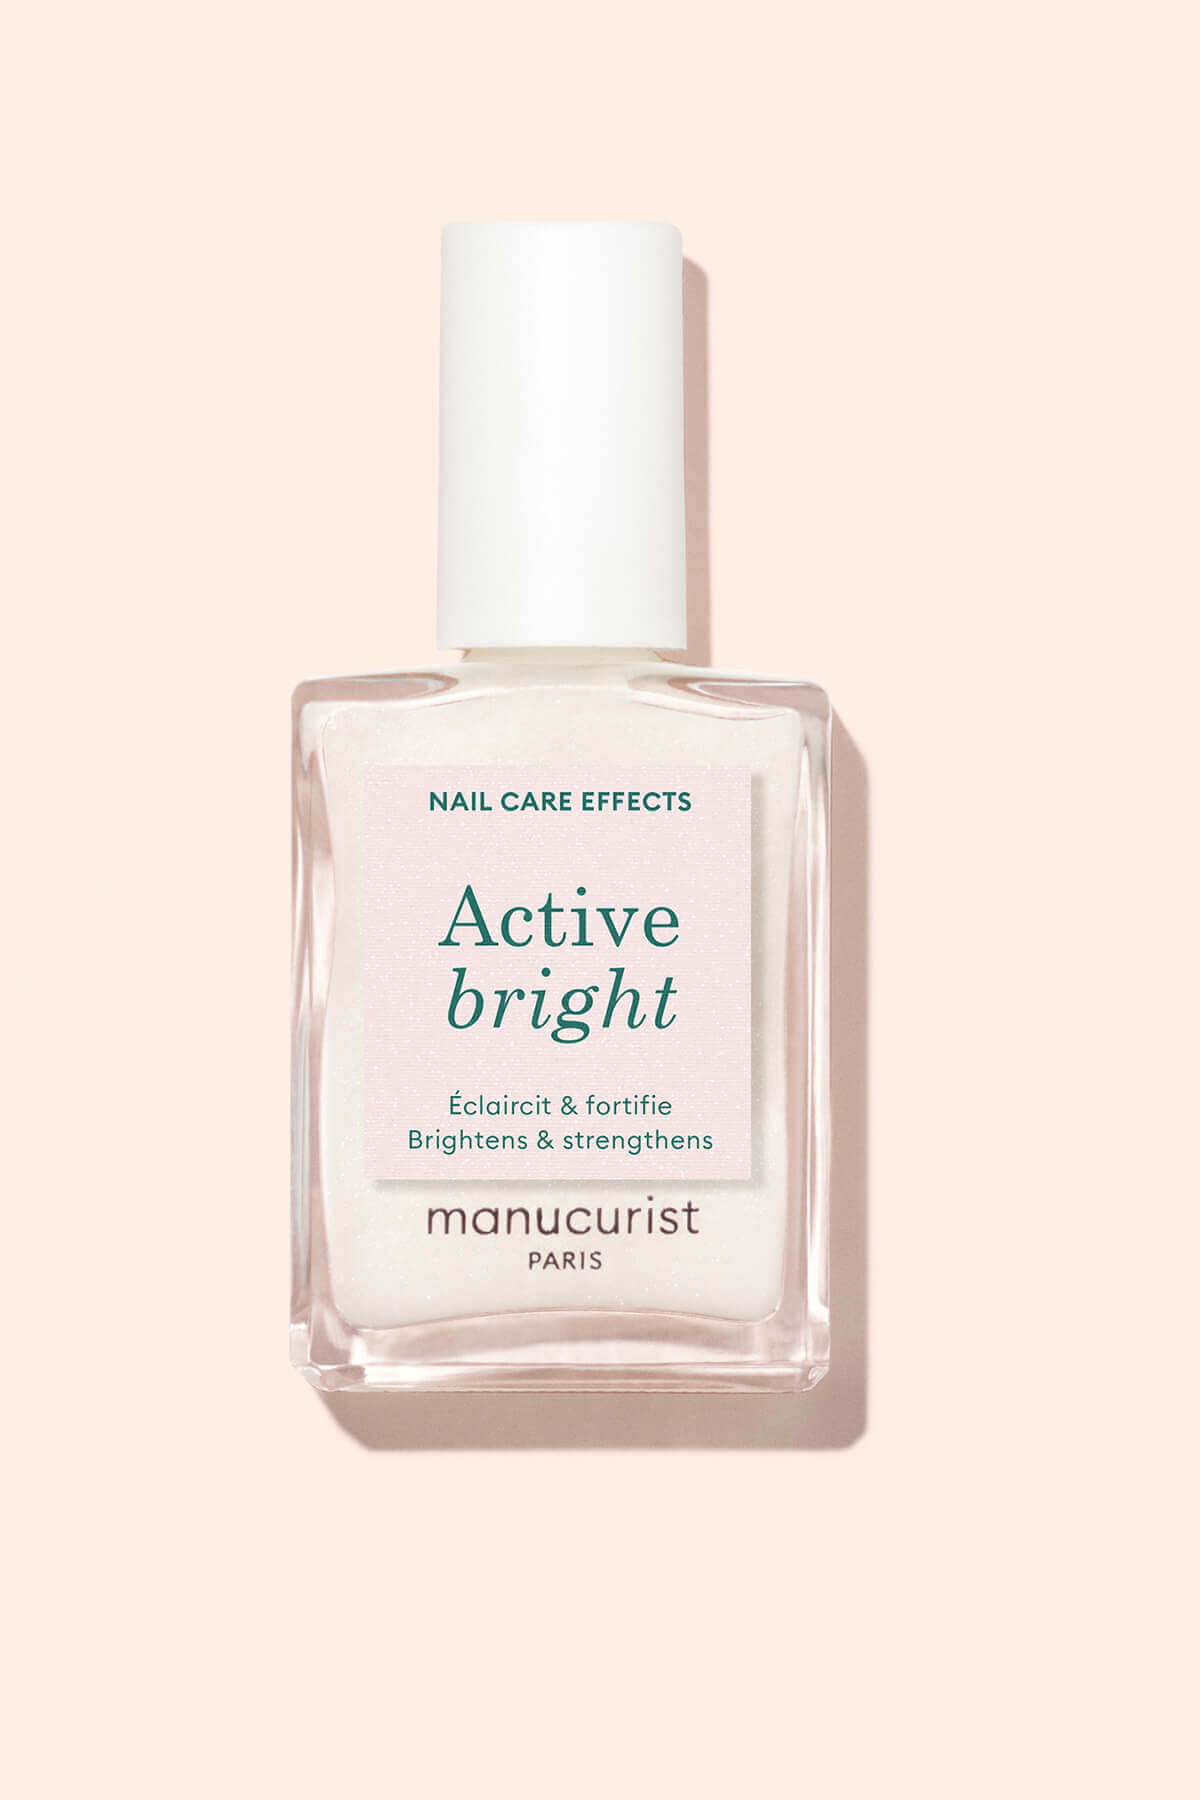
Step 1: The Green Flash base
When you embark on a semi-permanent varnish installation, the watchword is: P-R-O-T-E-I-O-N. In the same way as you apply a moisturizer before applying your foundation, it is essential to Protect your nails before applying varnish.
To do so, apply the Base Coat Green Flash By bordering the nail and Catalyst under the Green Flash LED lamp The time indicated on the protocol. The Green Flash base protects the nail while making it stronger. Its formula composed of ultra-adherent natural resin guarantees you optimal color outfit.
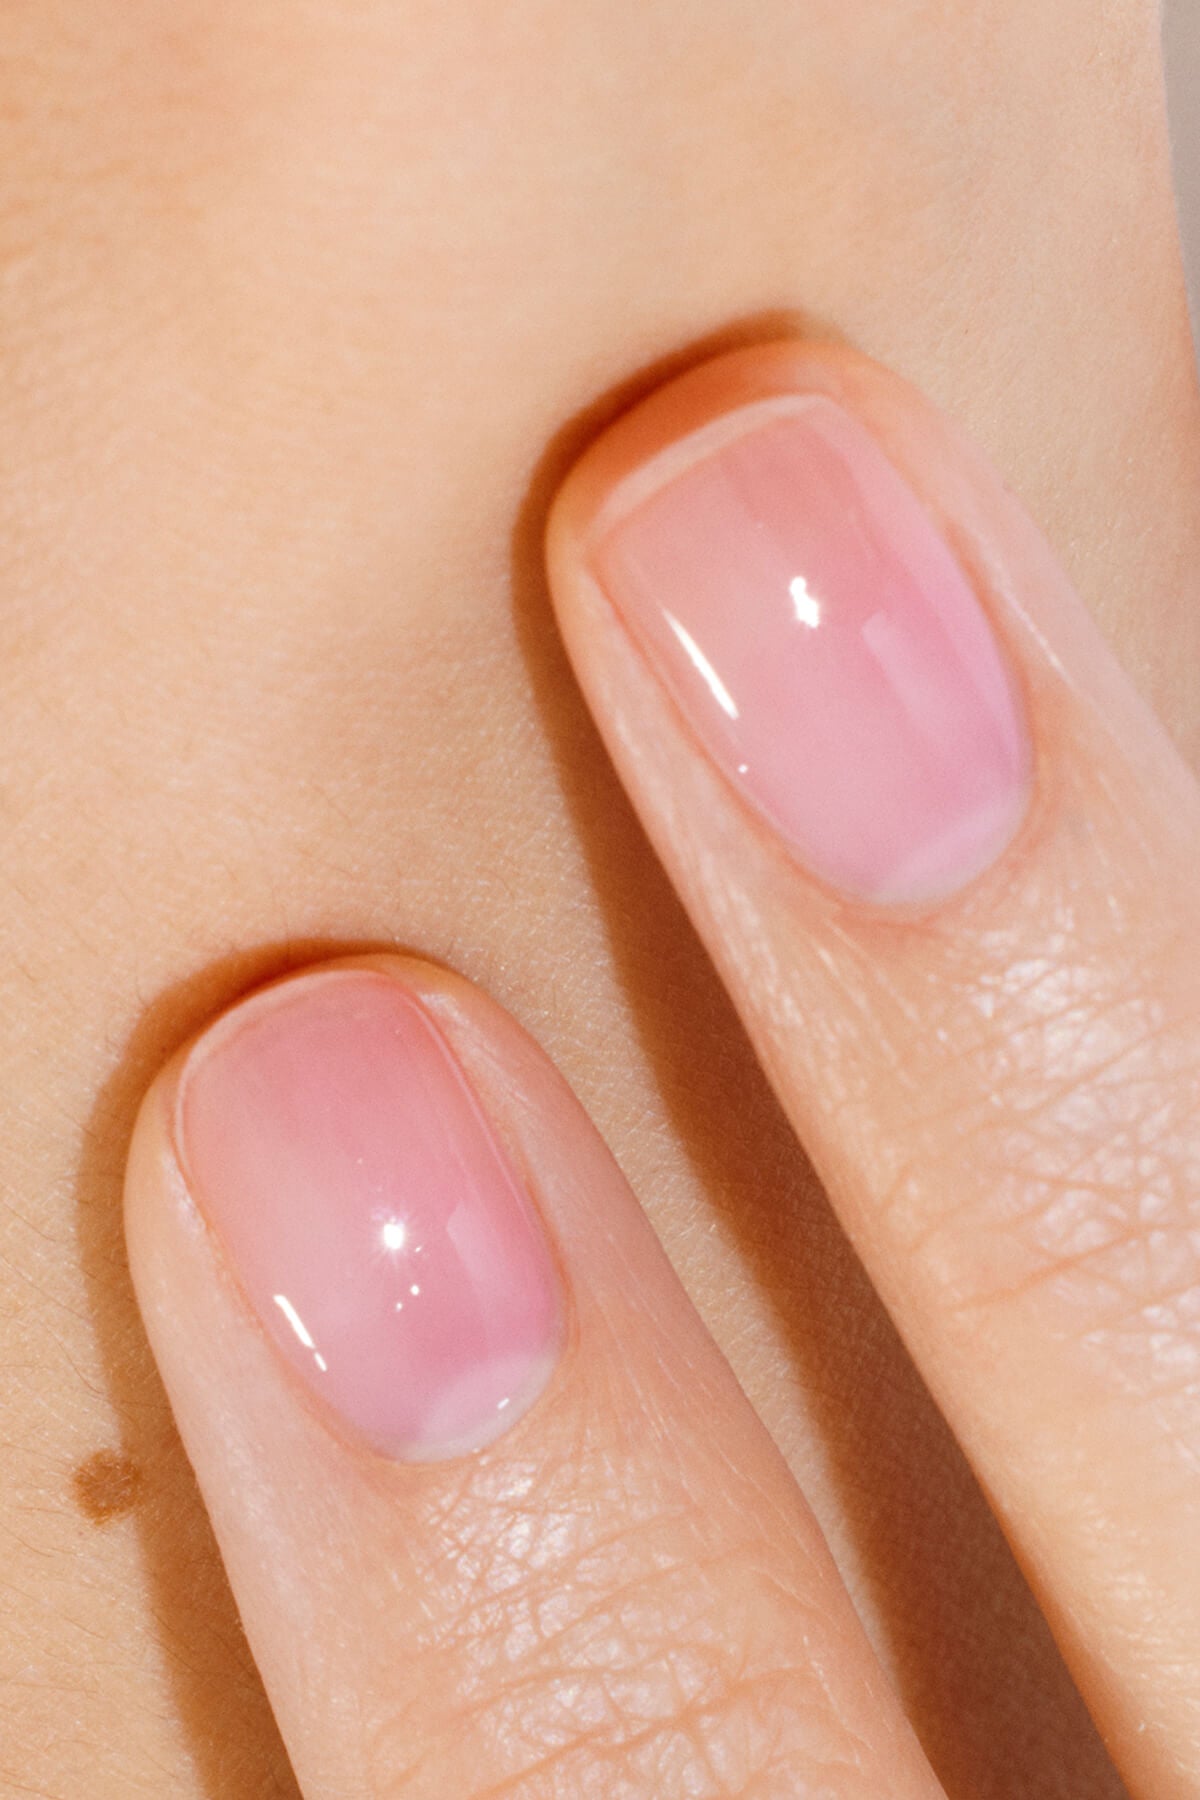
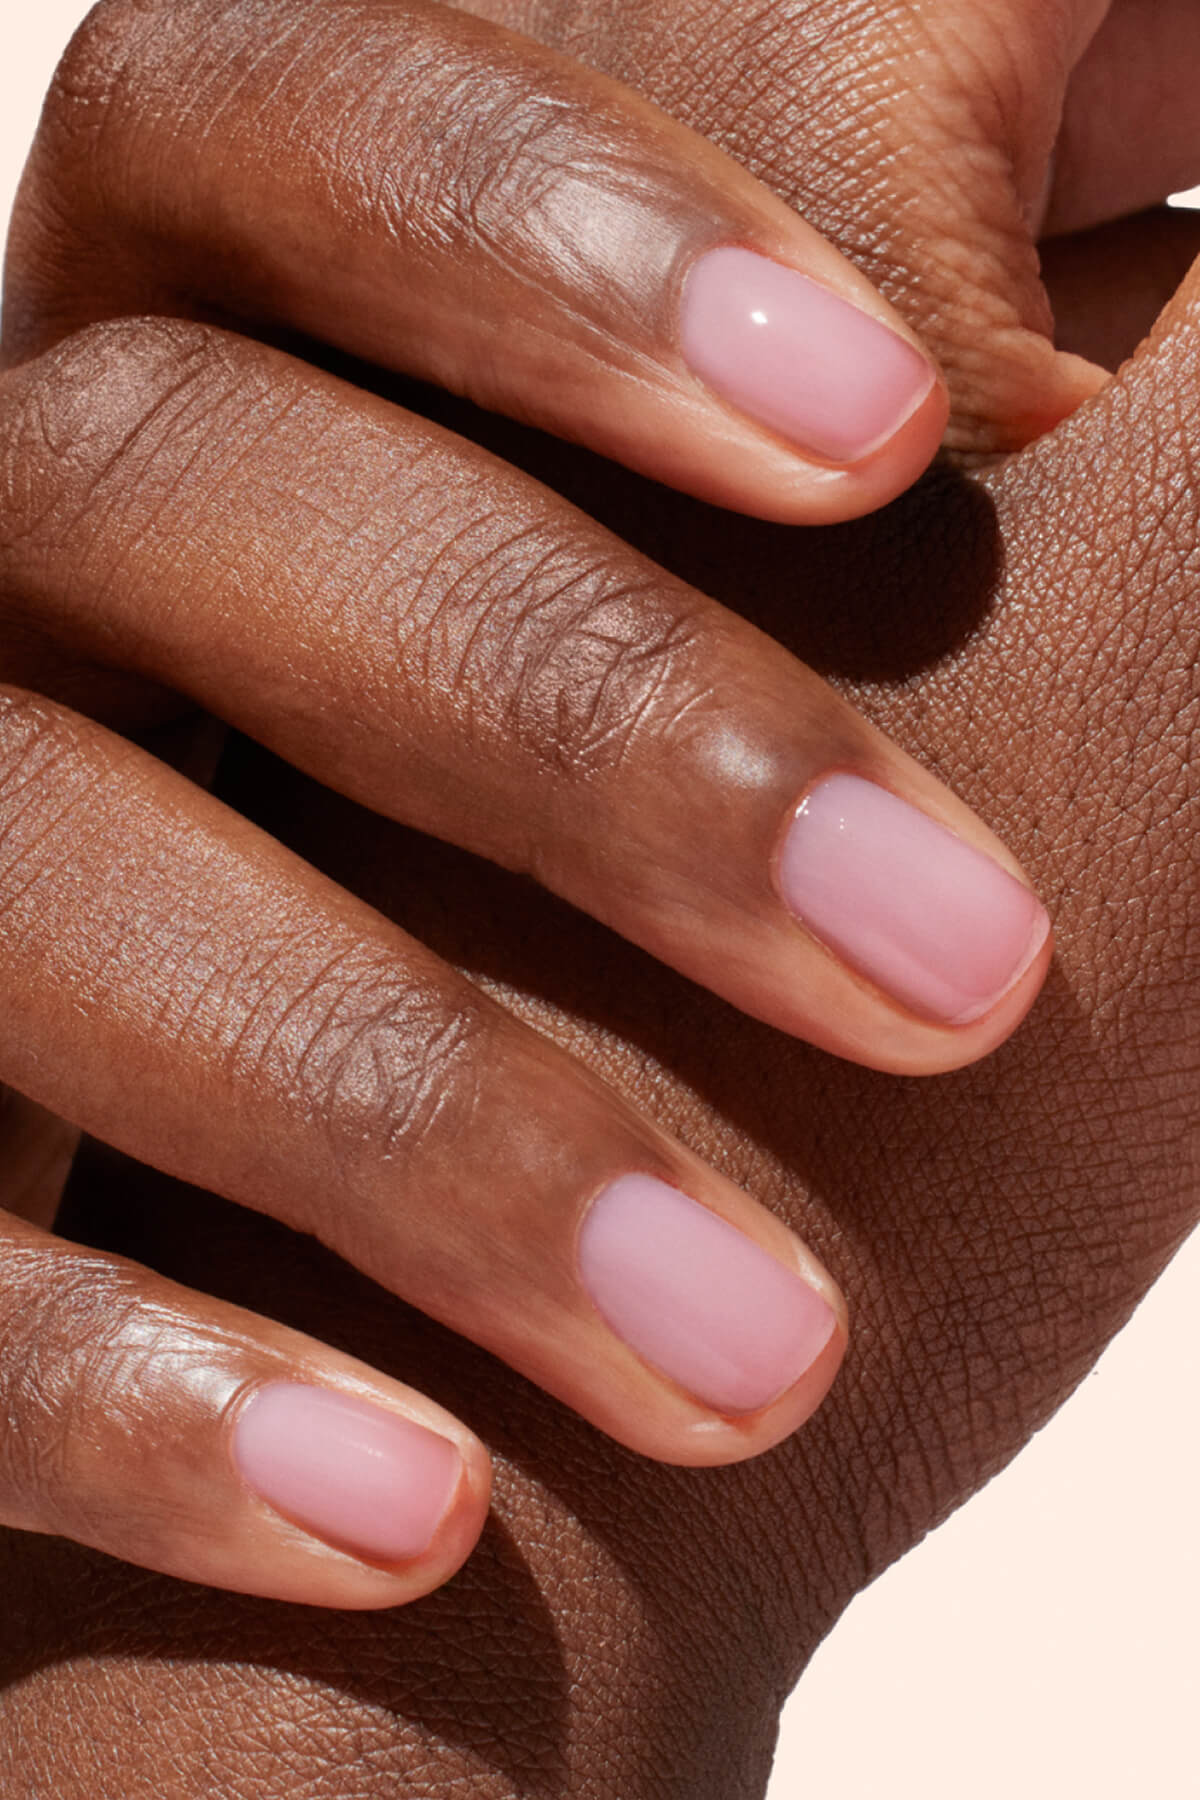
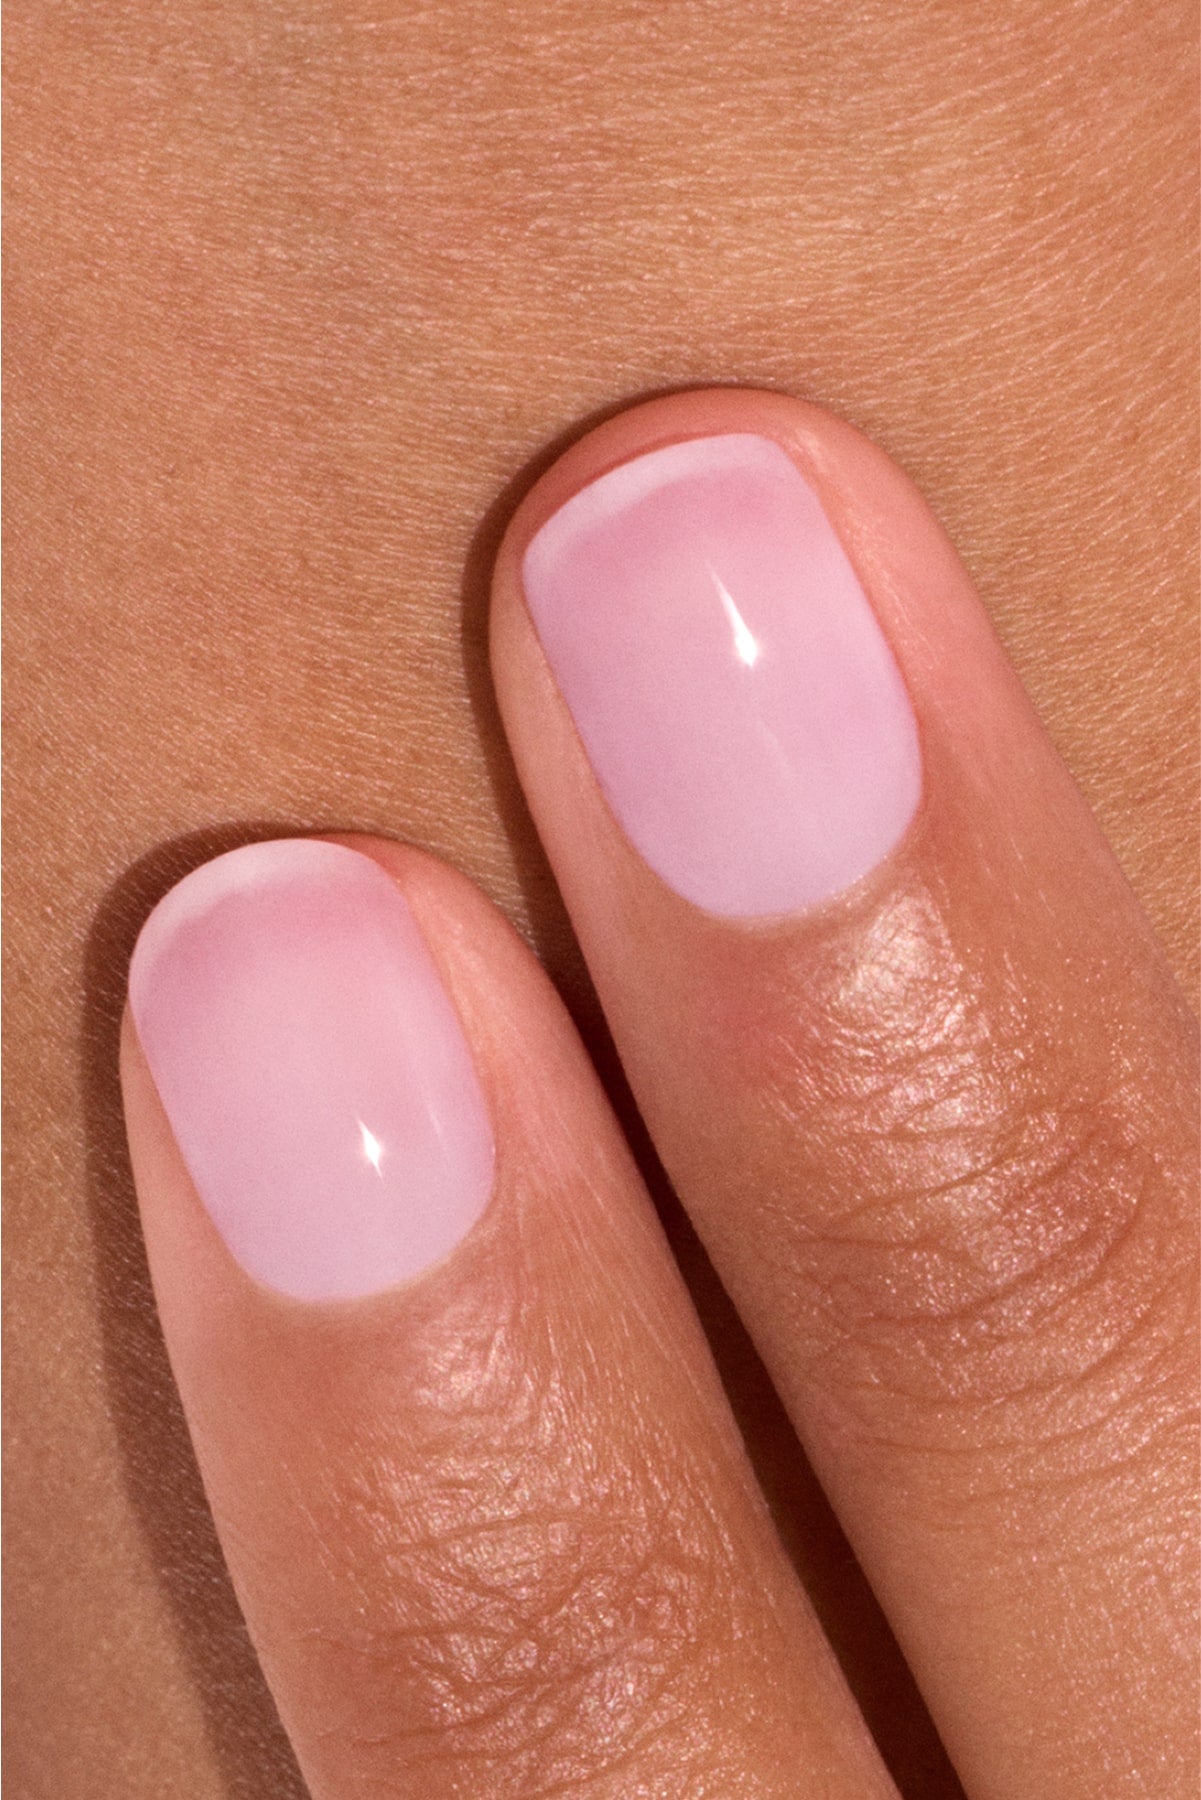
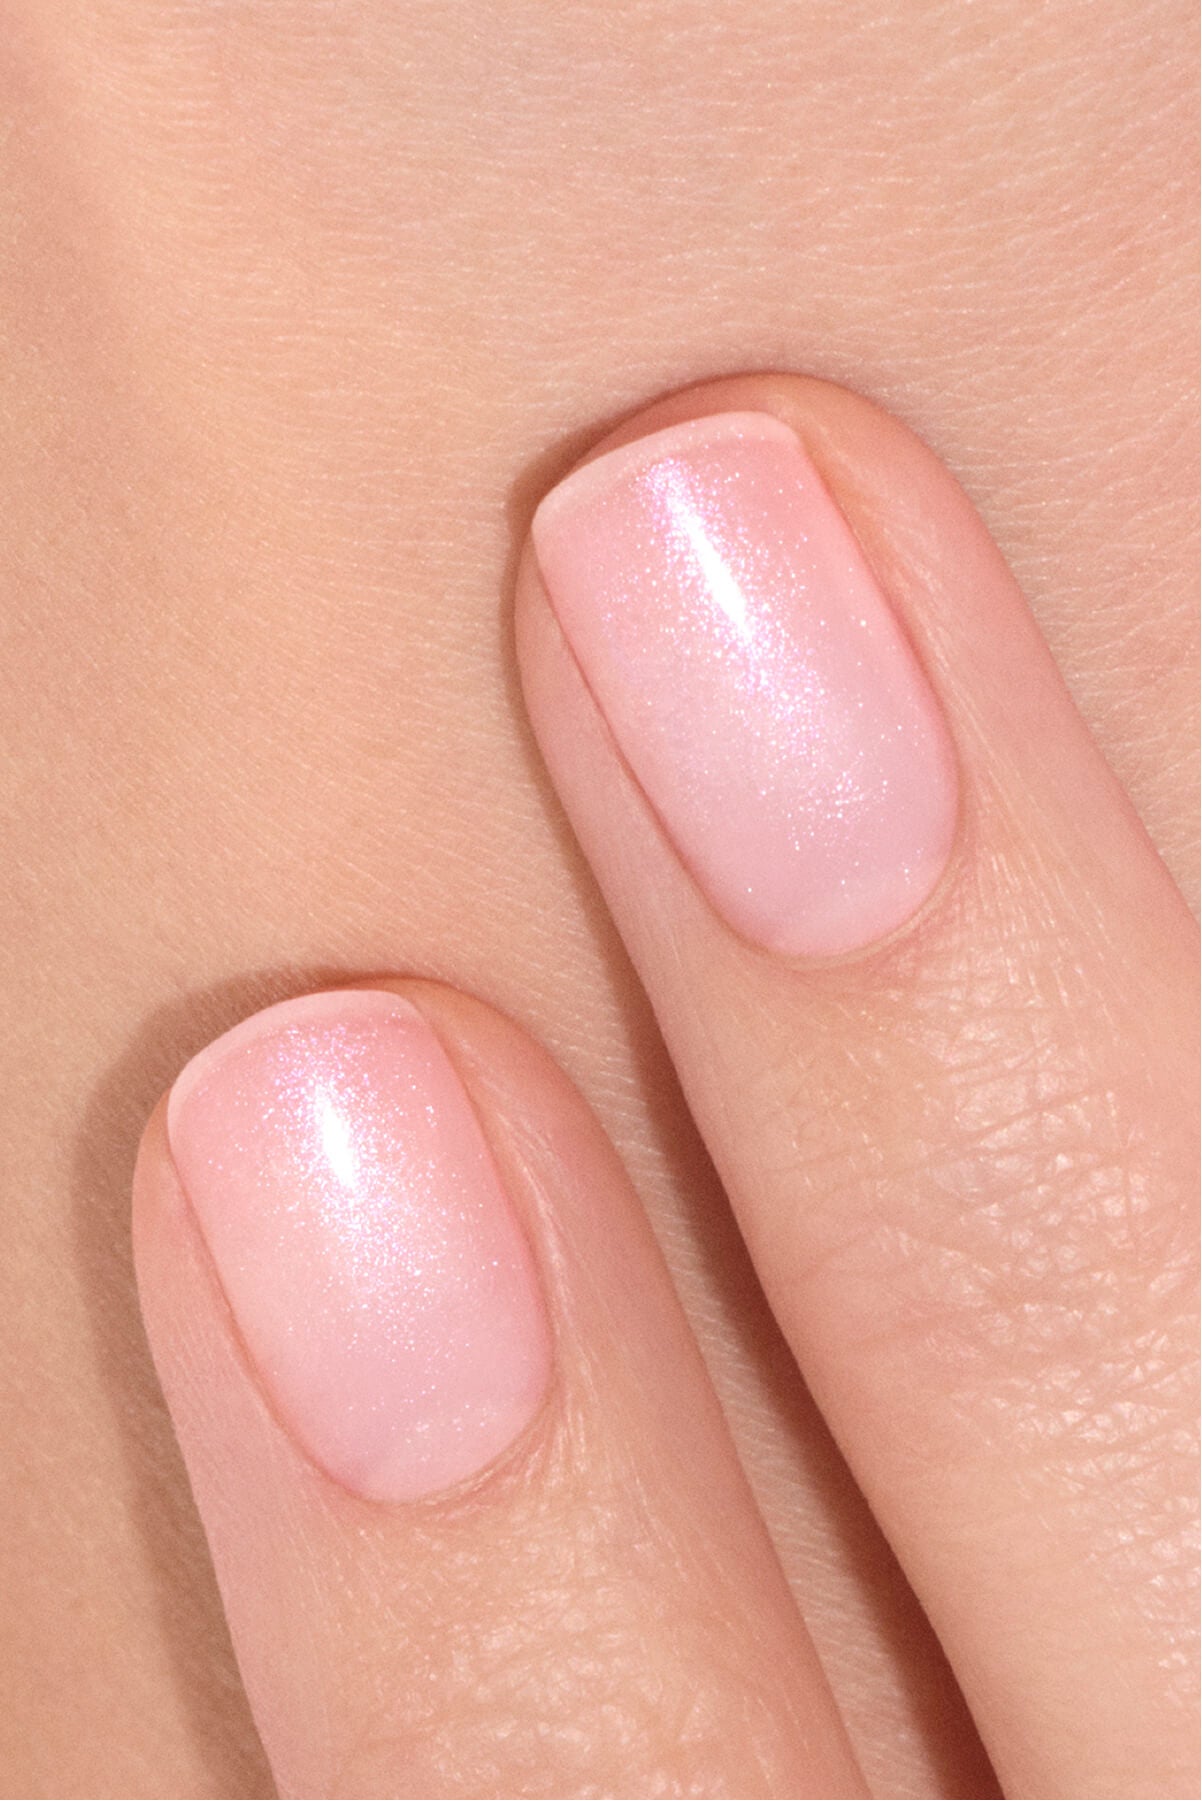
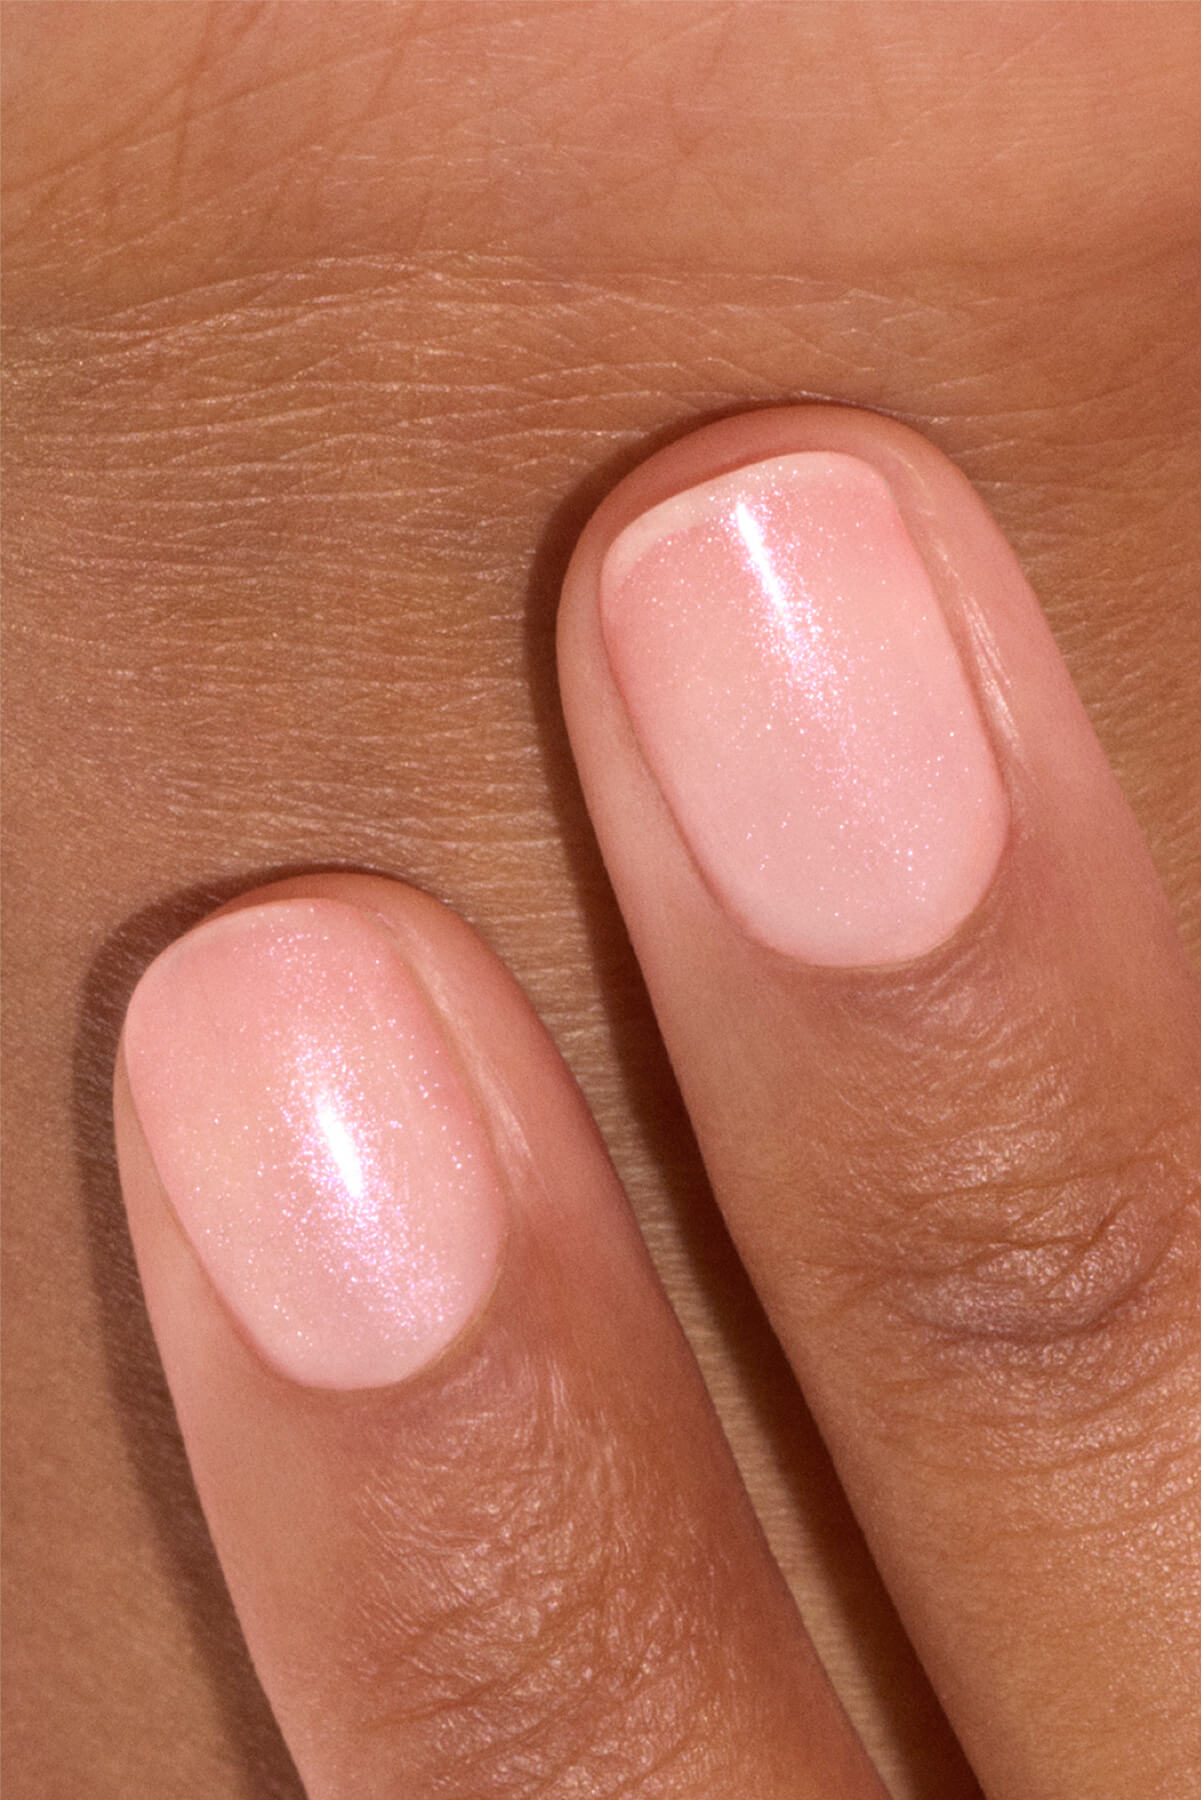
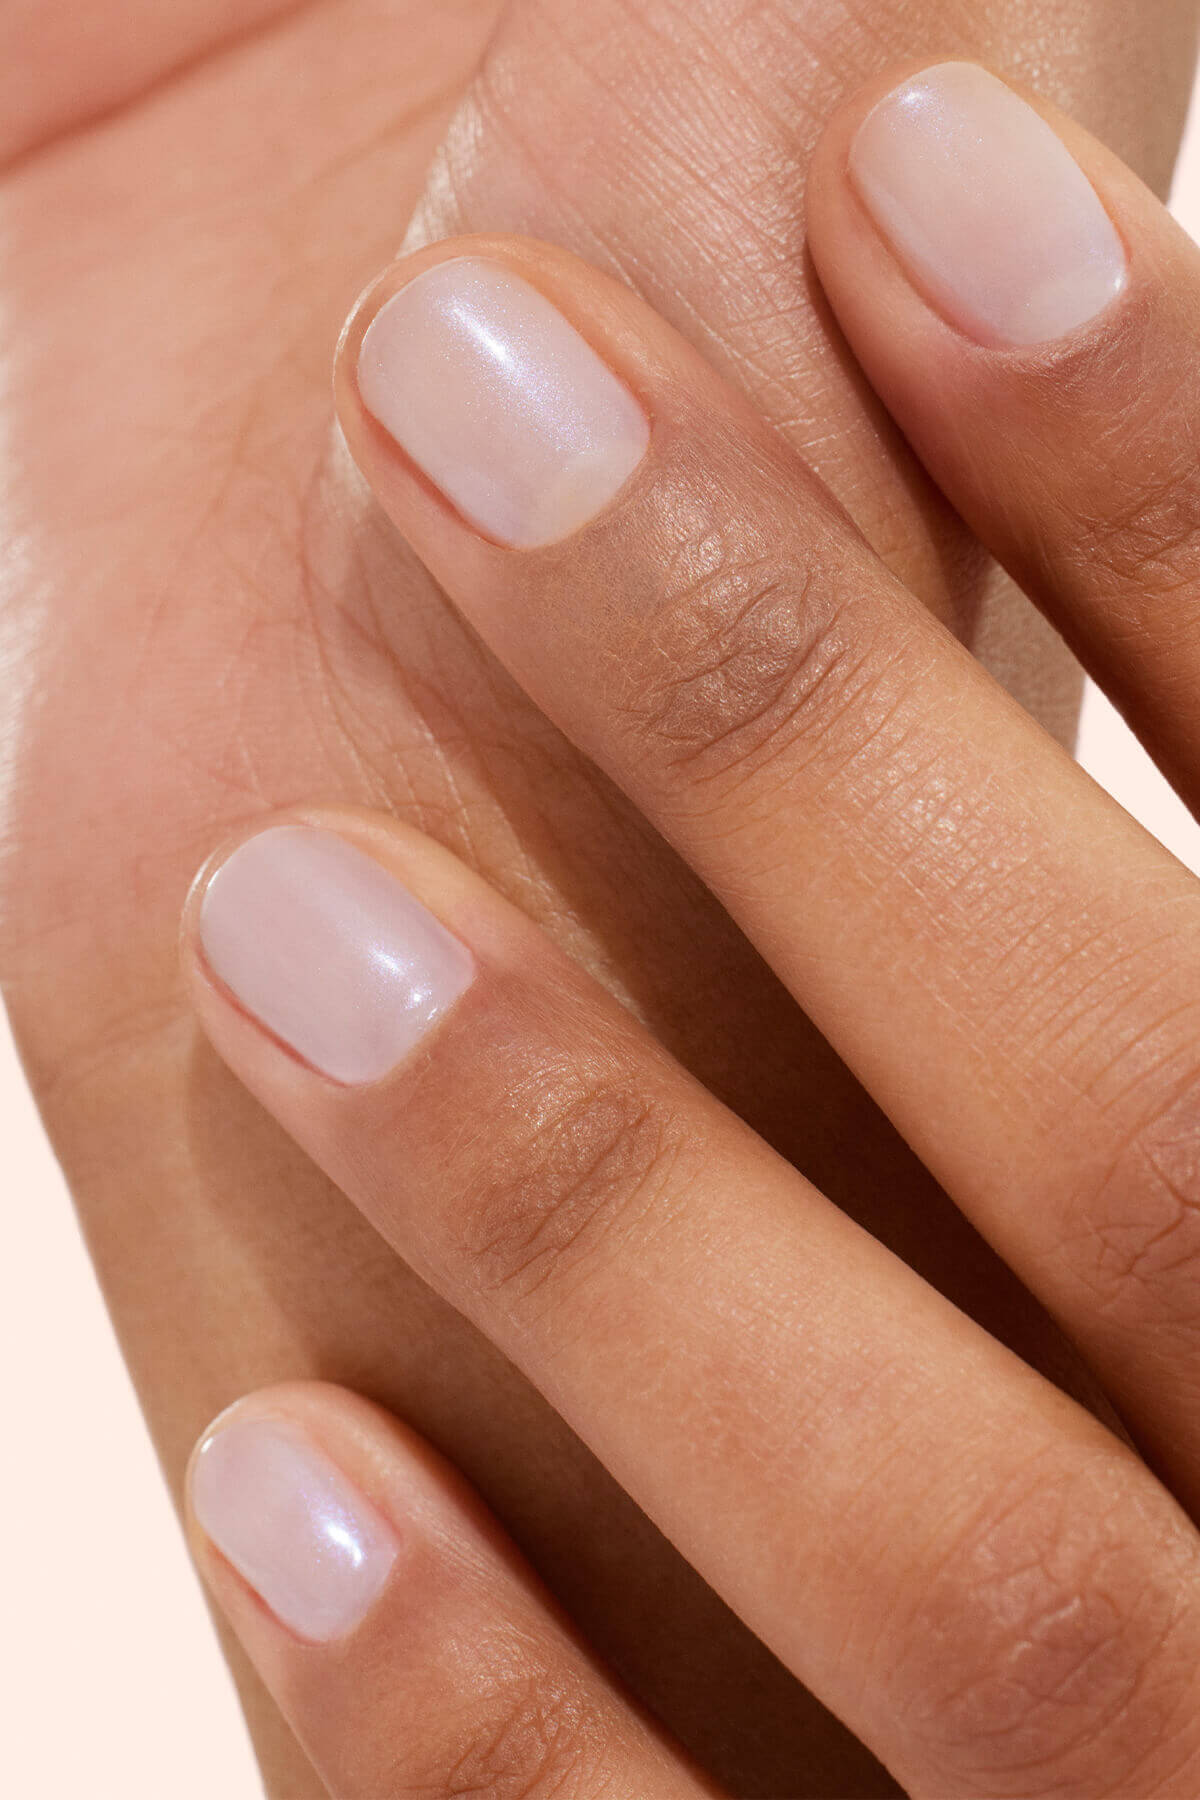
Step 2: The color
Apply your Green Flash color favorite By bordering the nail ridge and Catalyst under the lamp By following the time indicated in the protocol. Repeat the step to get 2 fine colored layers.
Team tips: The first layer does not need to be "pretty". It is used to join the 2nd layer which is visible. The finer the layers, the more successful the result. To do it, Write the brush on one side, and leave from the other only a small drop of material at the end of the brush. Then apply each layer in 2 to 3 brush strokes.


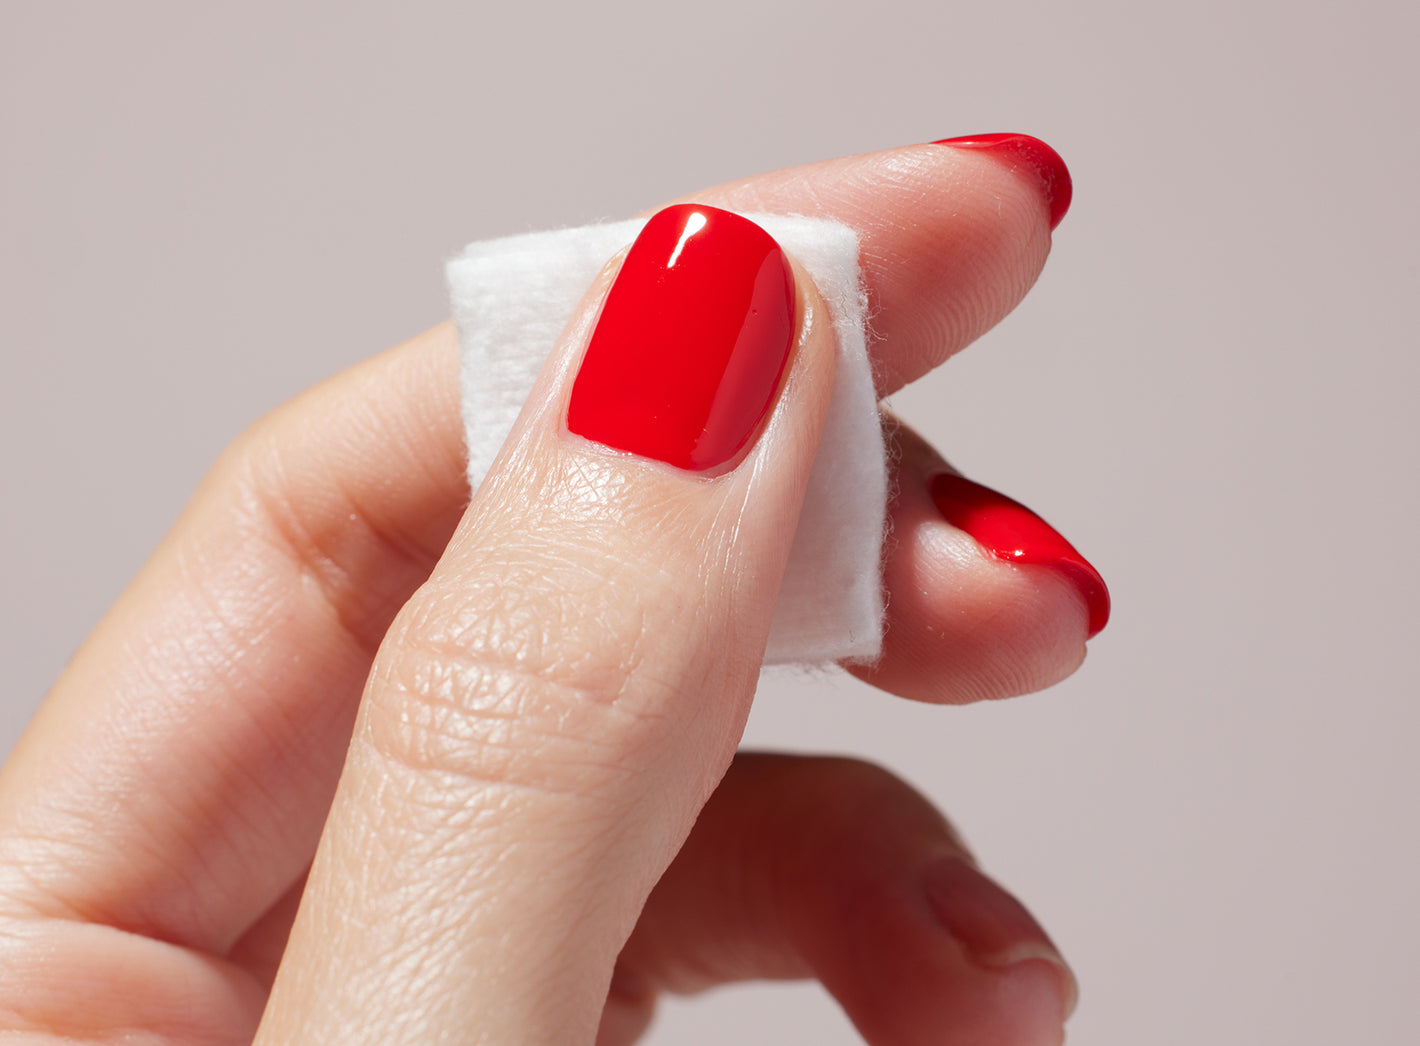
In case of overflow, before flashing, Remove the varnish overruns on the skin. To do this, soak a paintbrush or a box of boxwood with dissolving Green Flash water and scrub lightly.
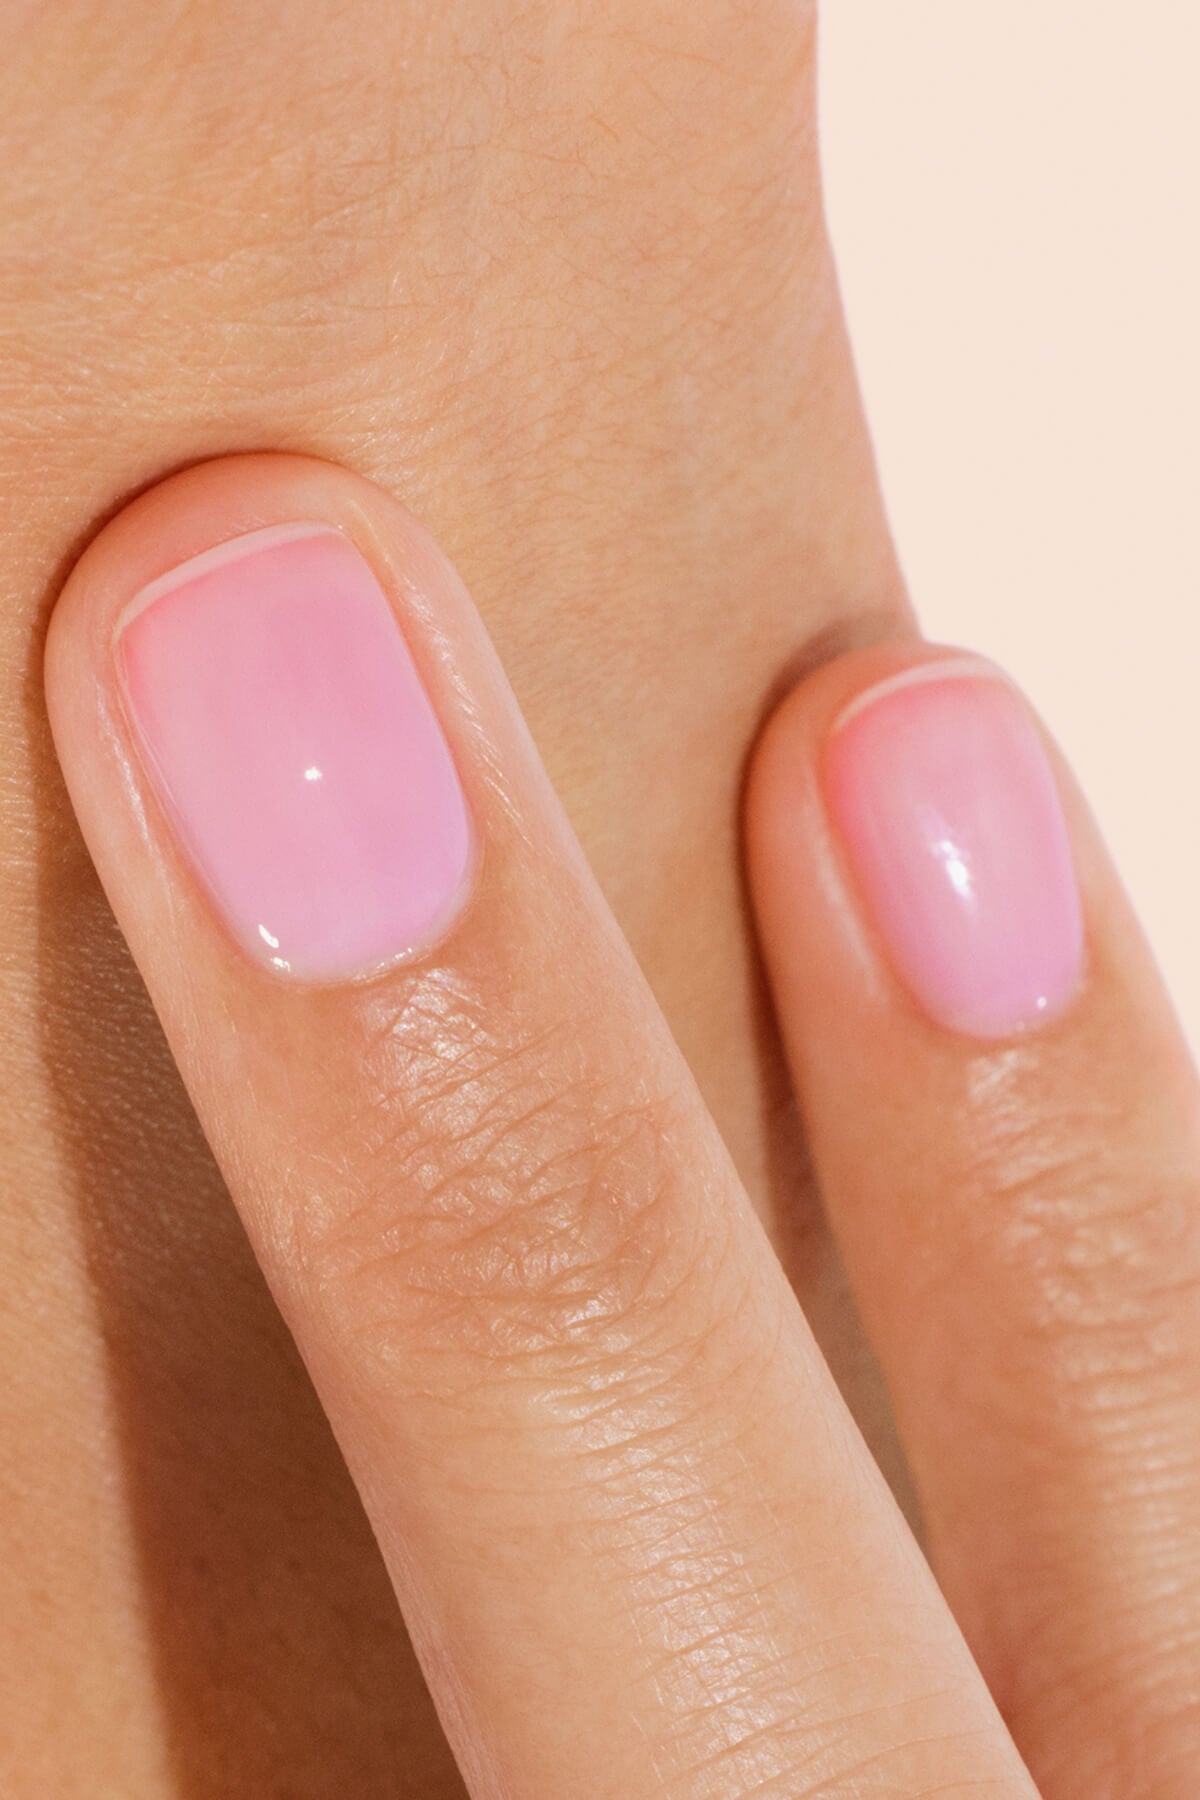
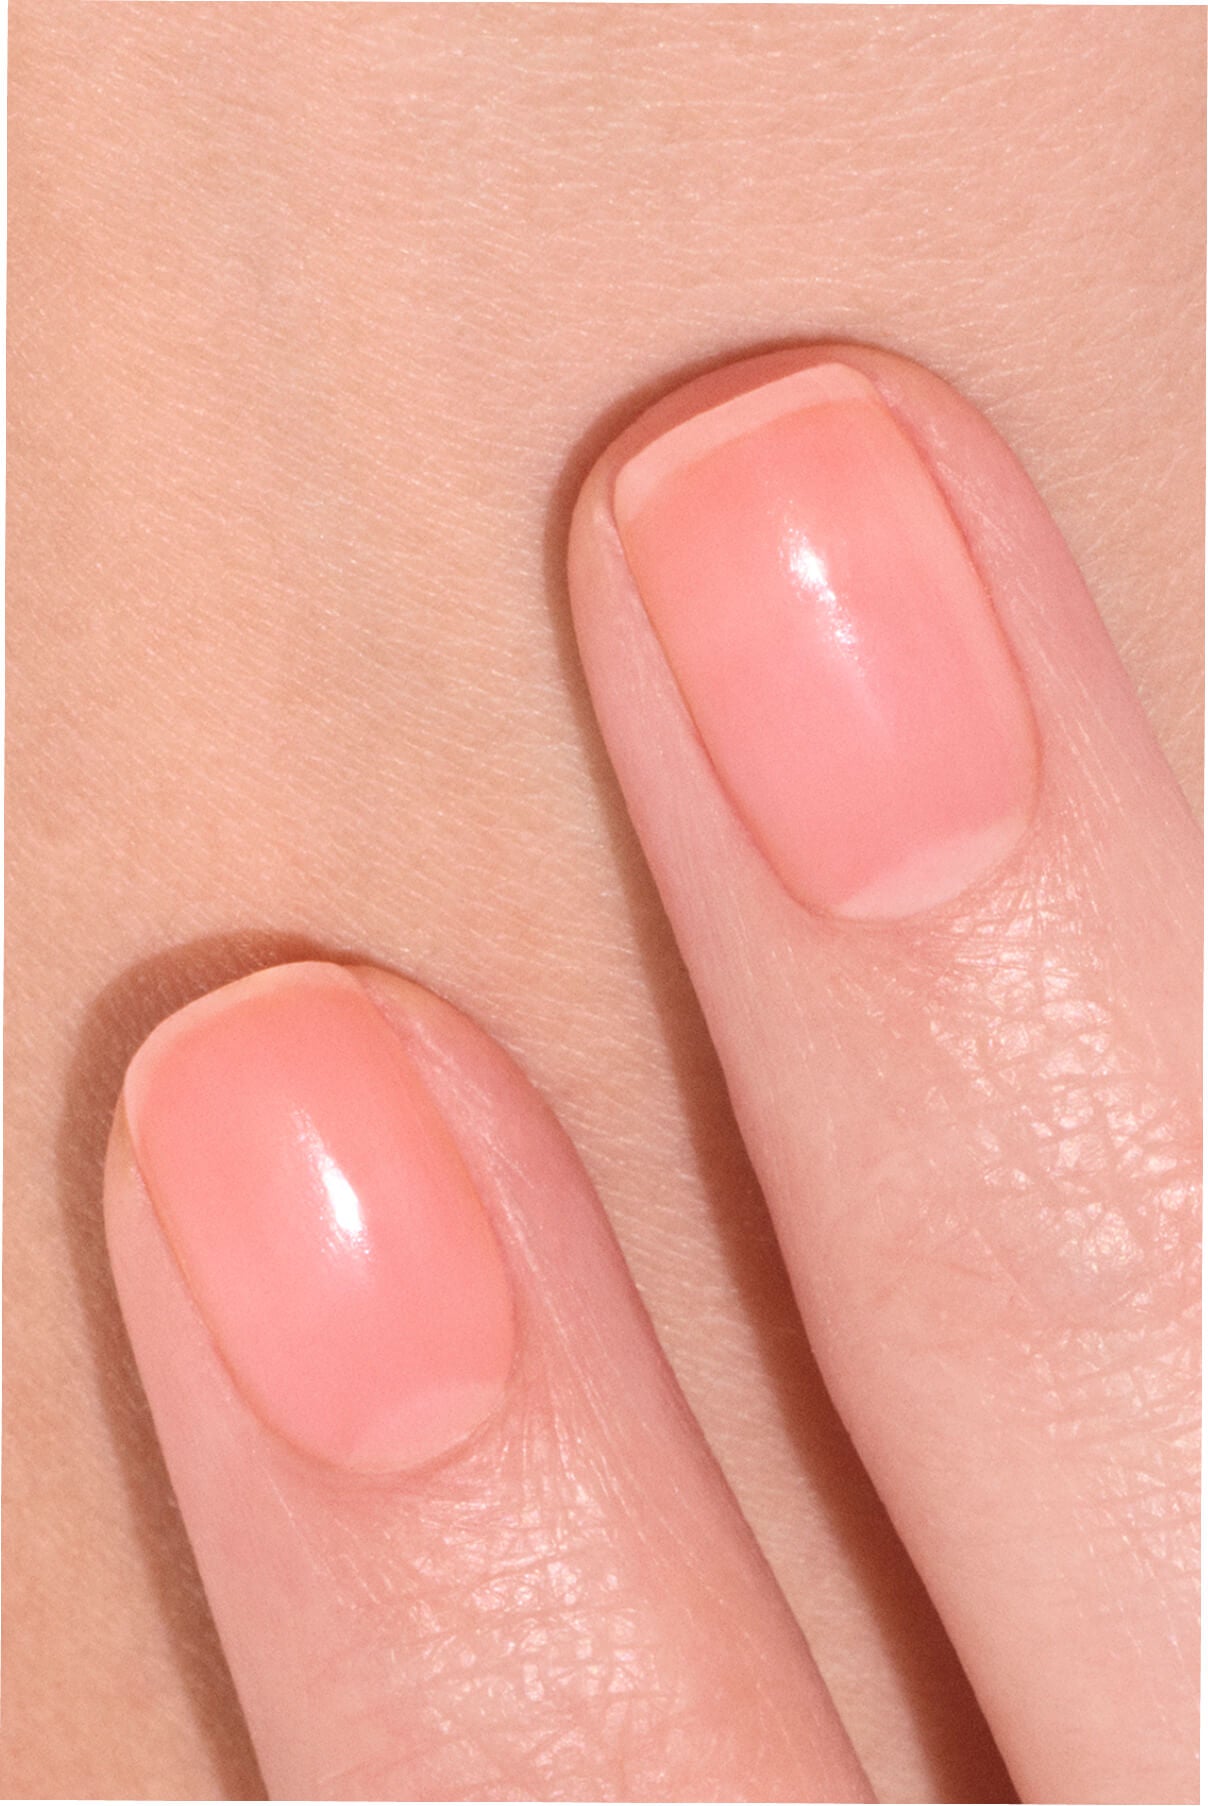
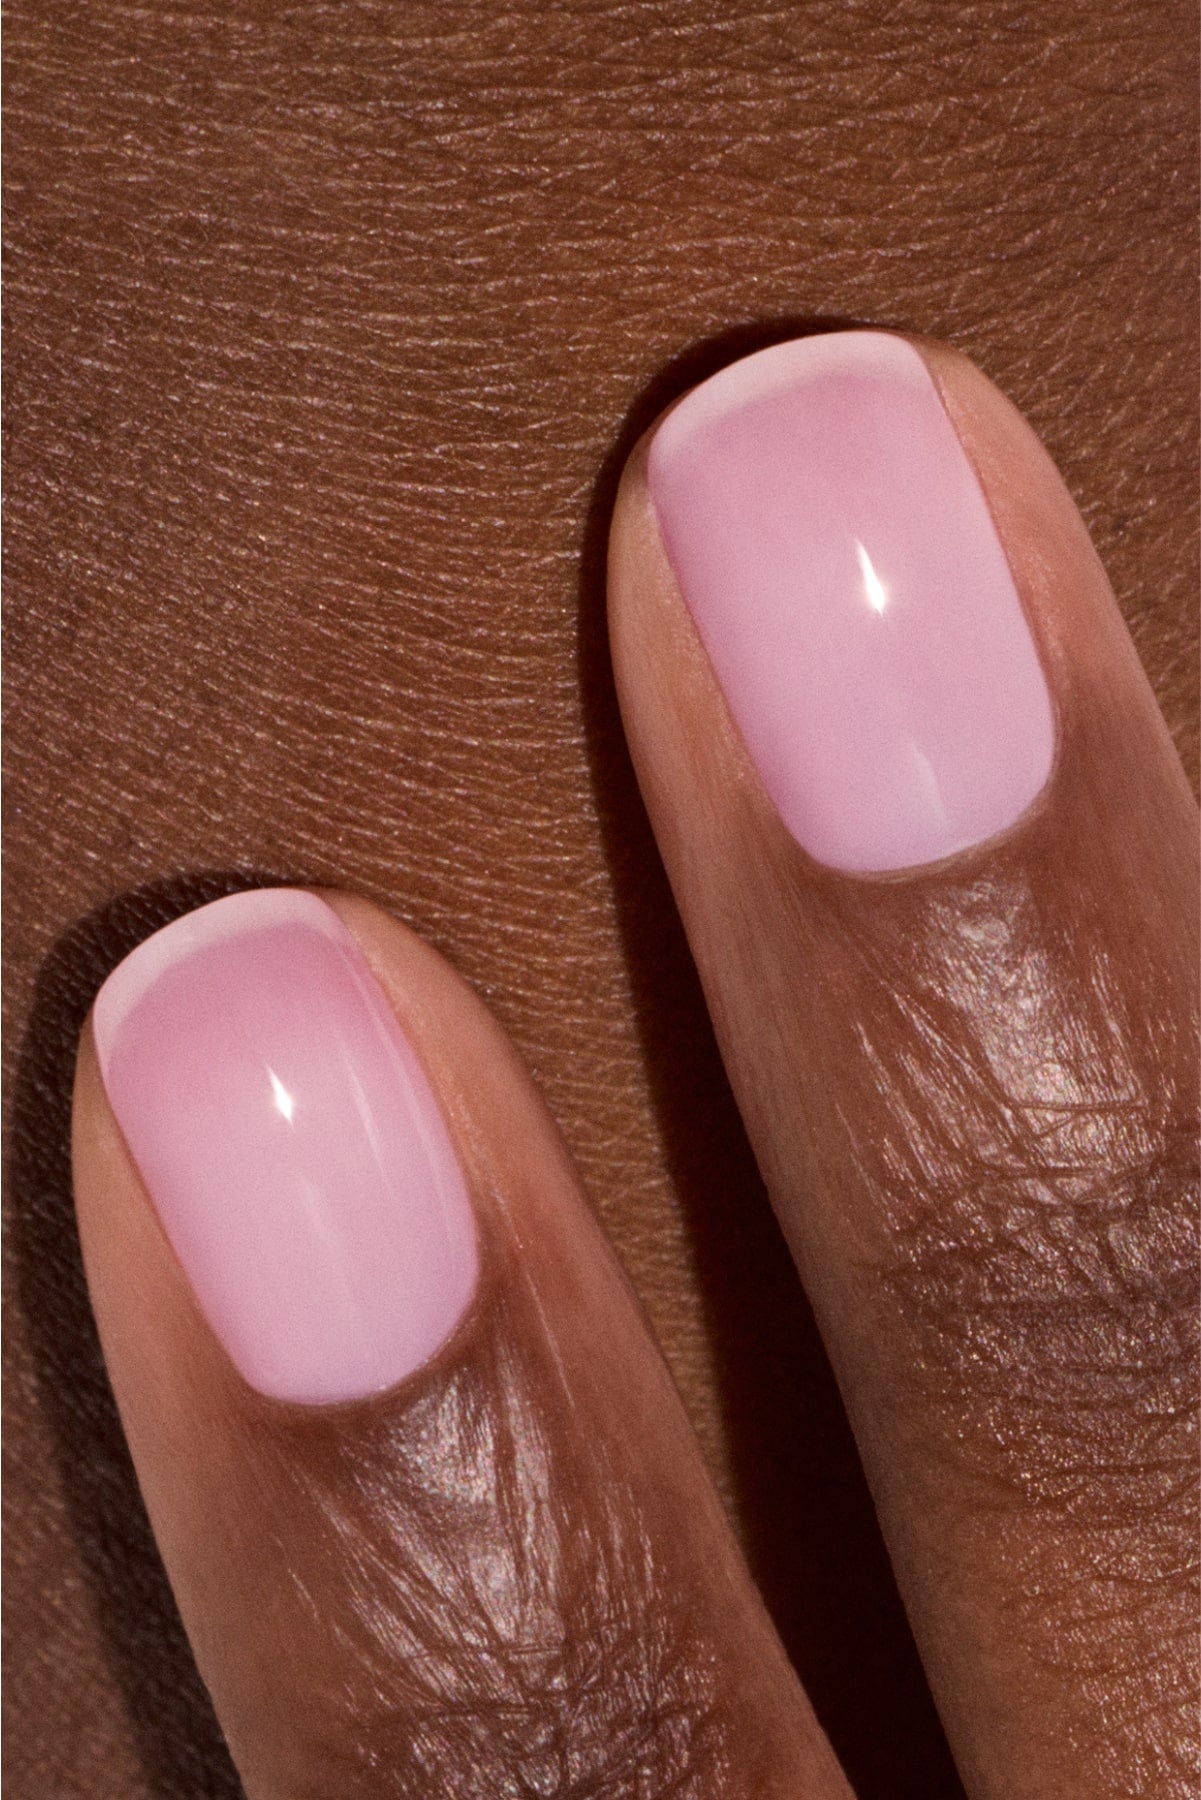
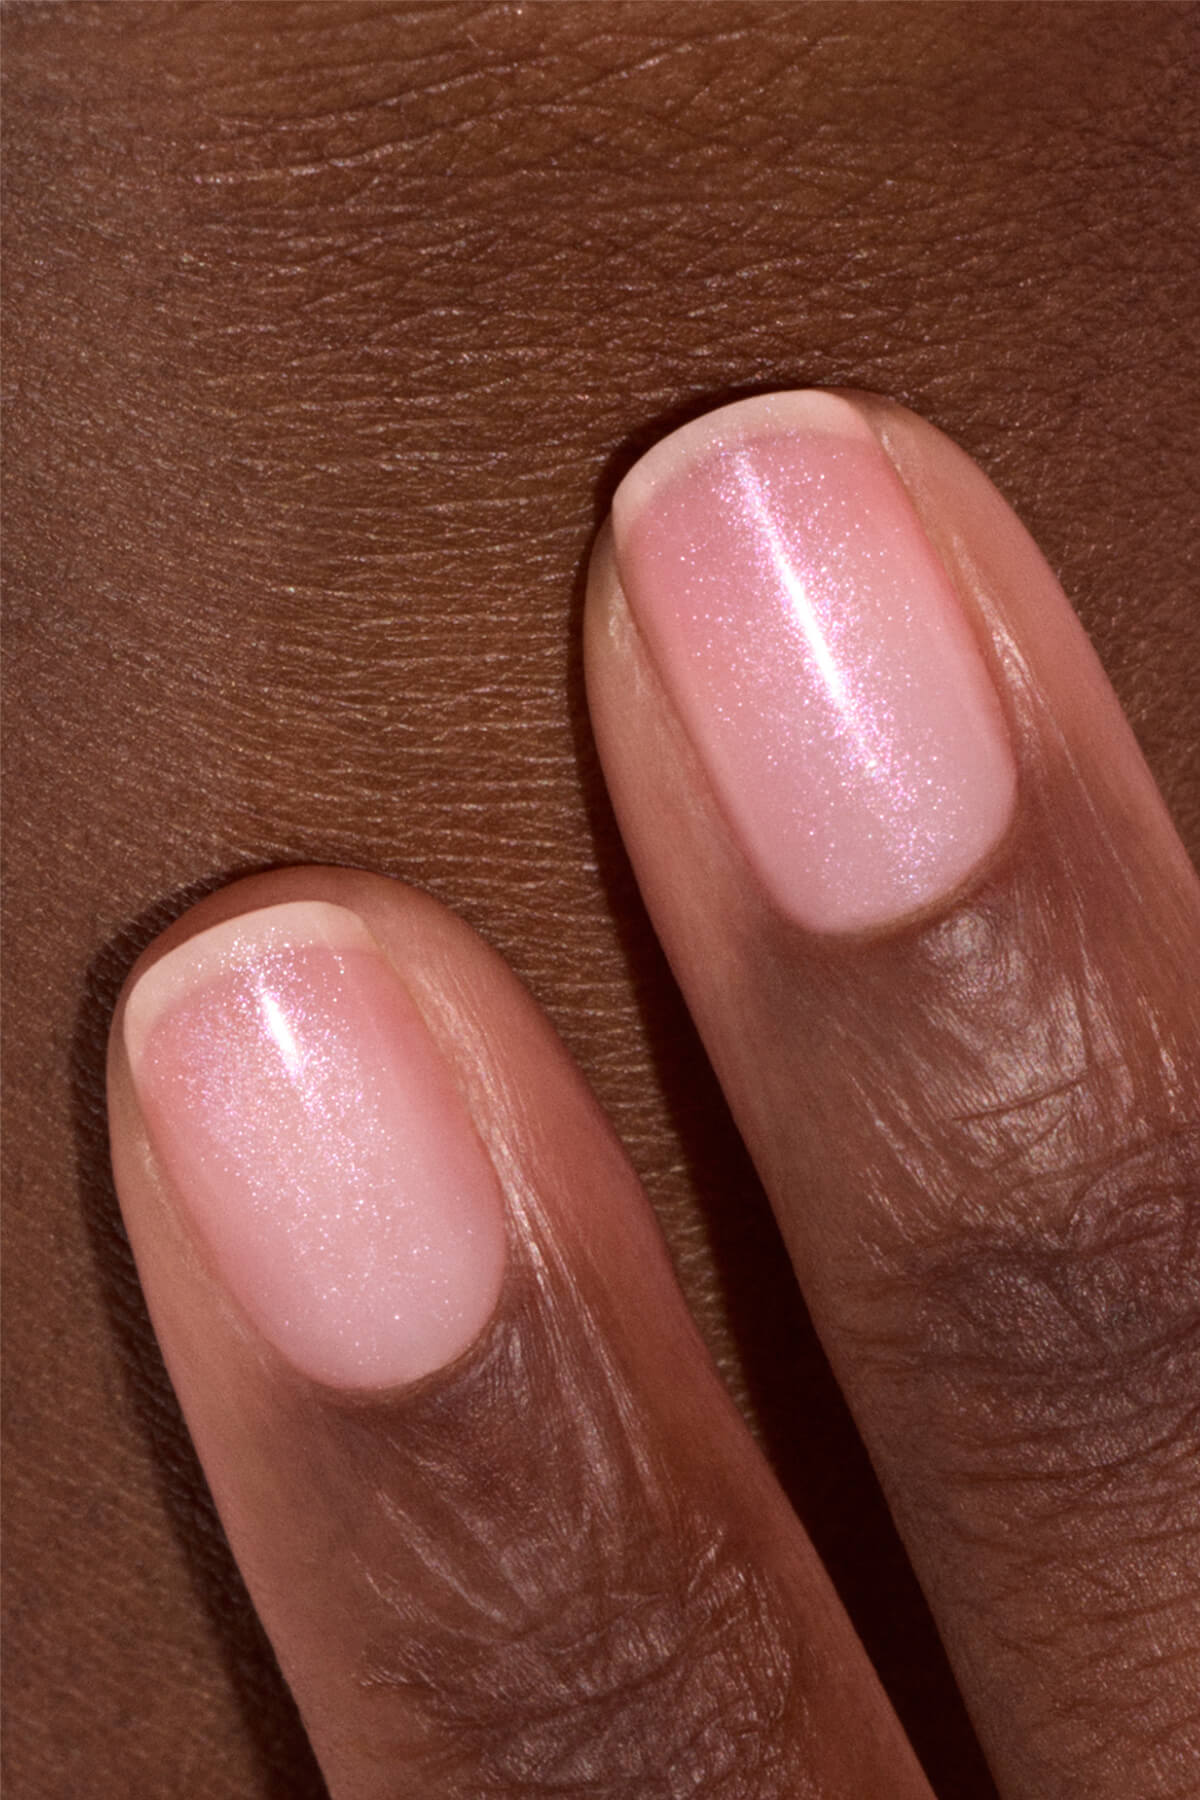
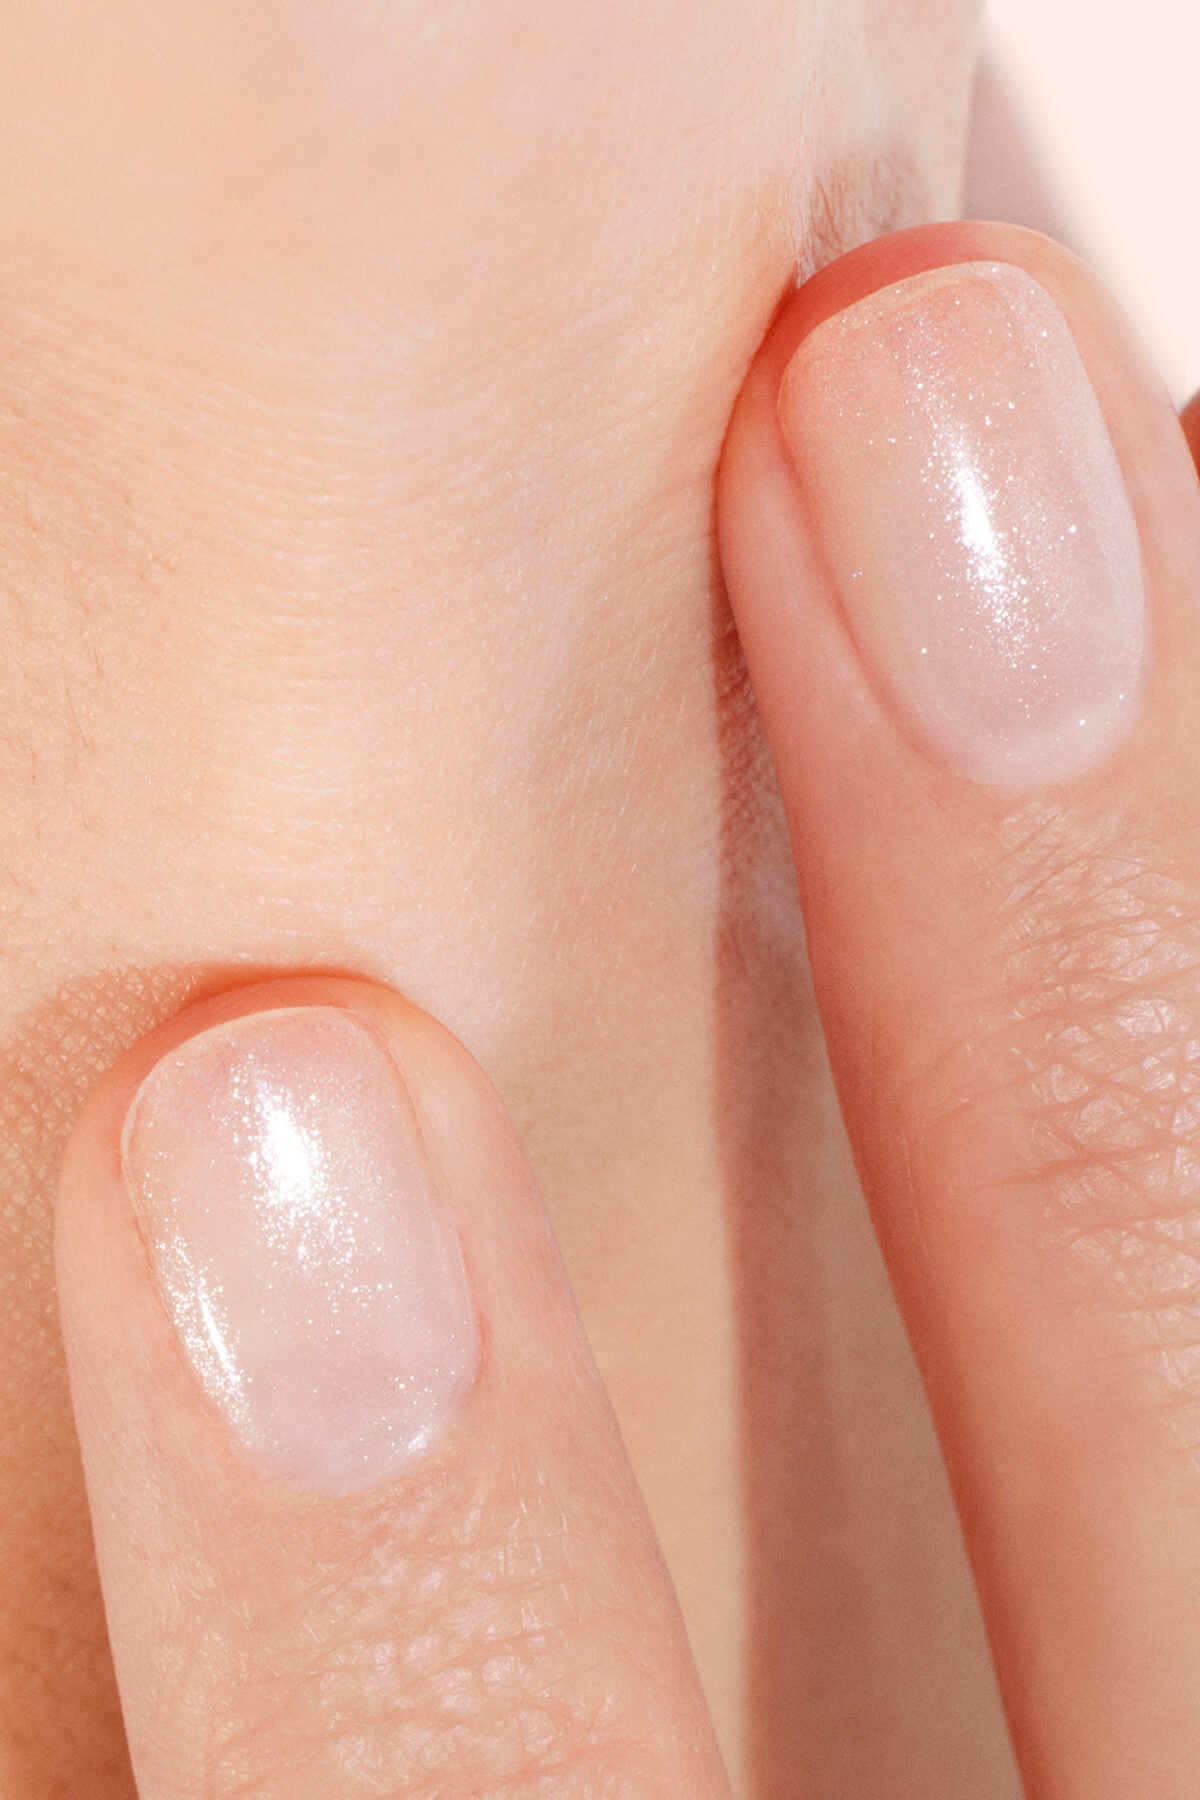
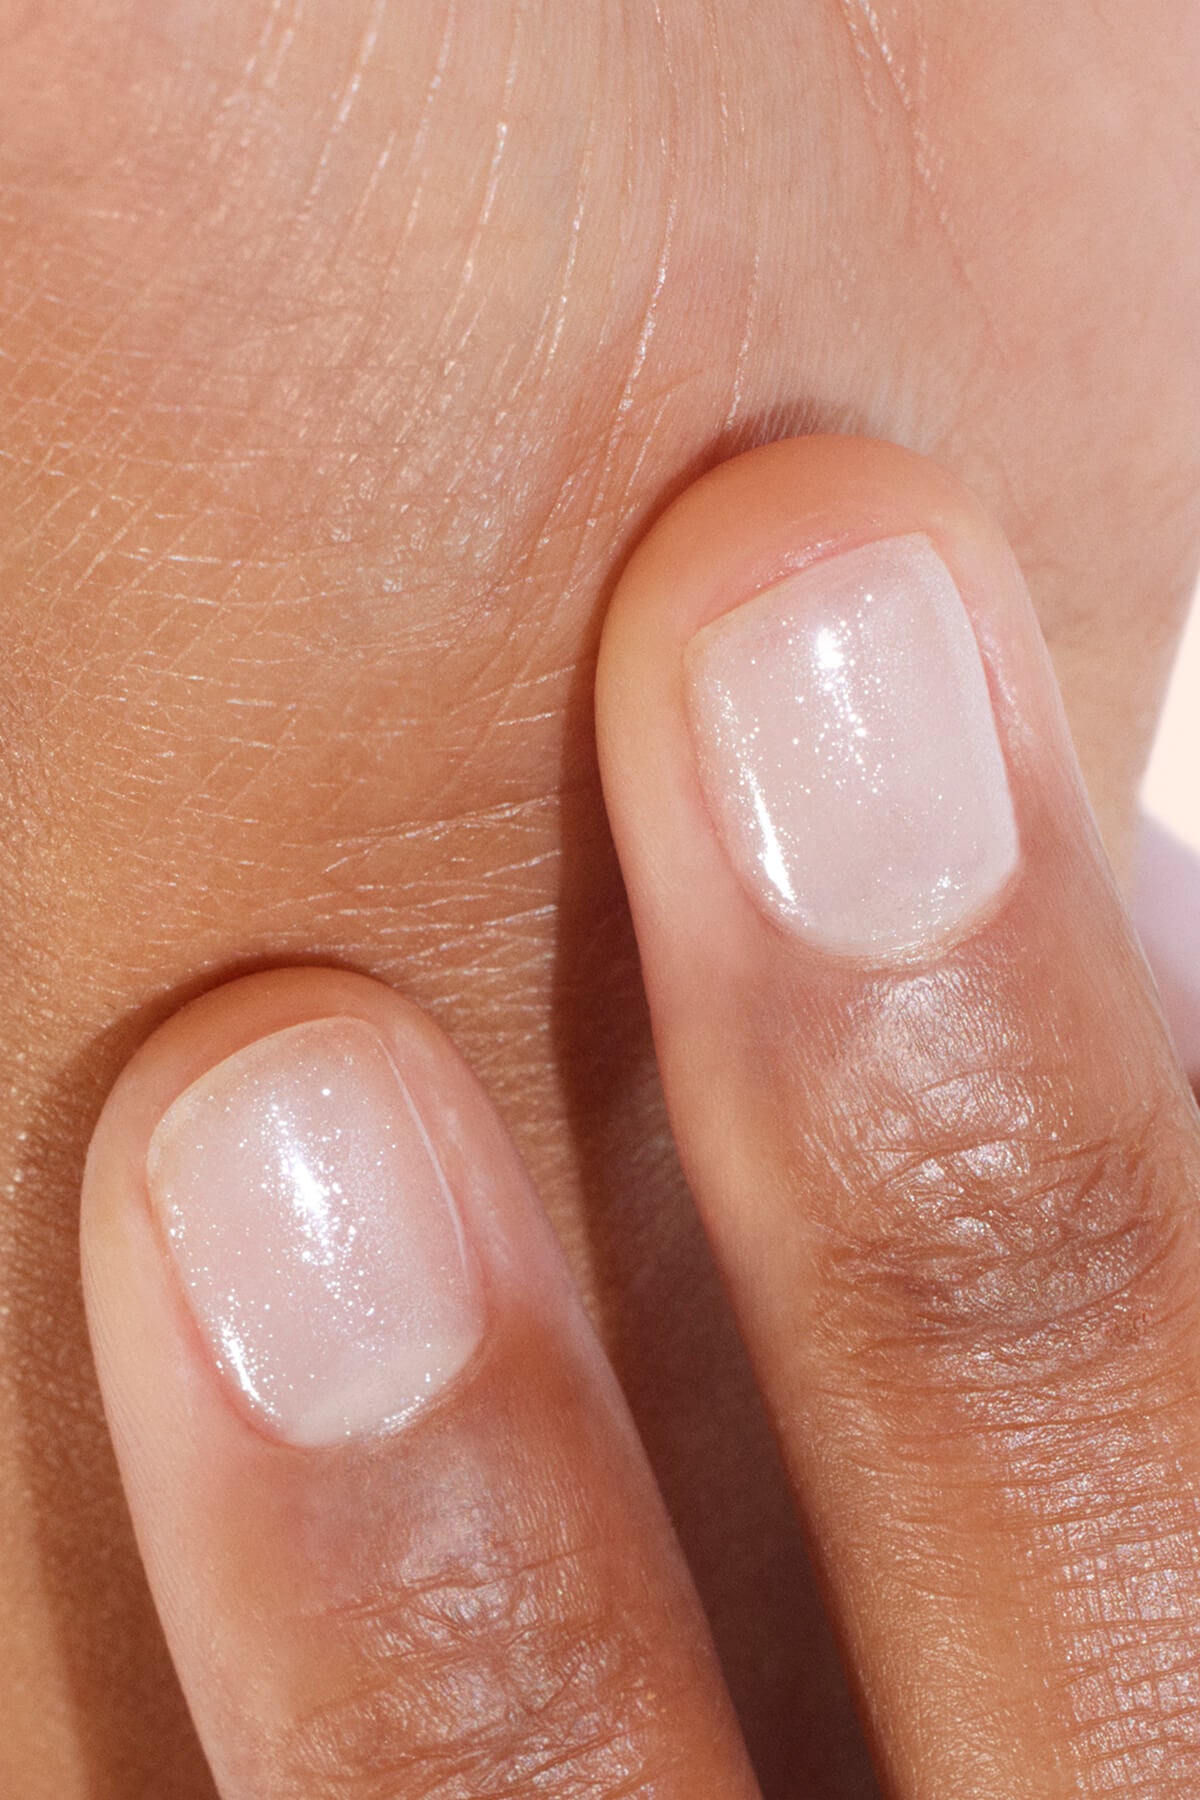
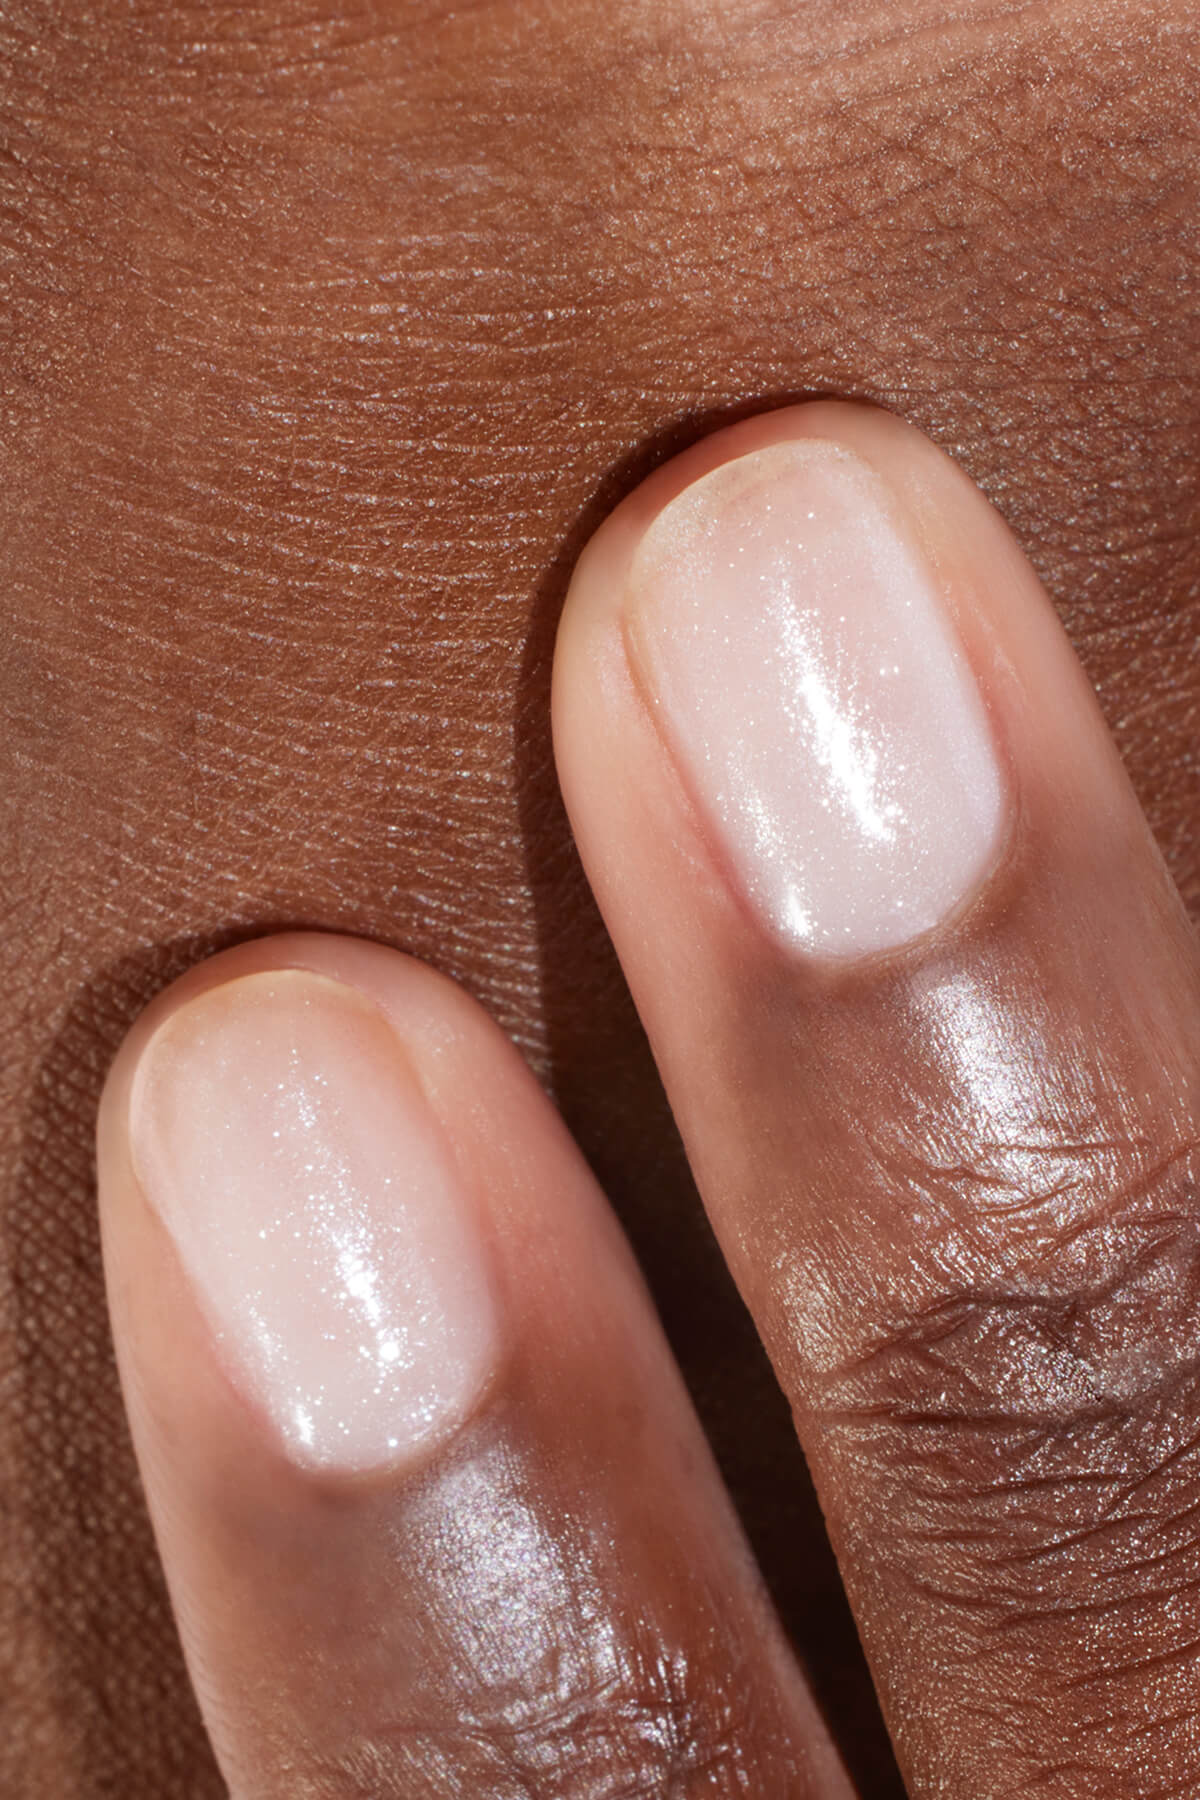
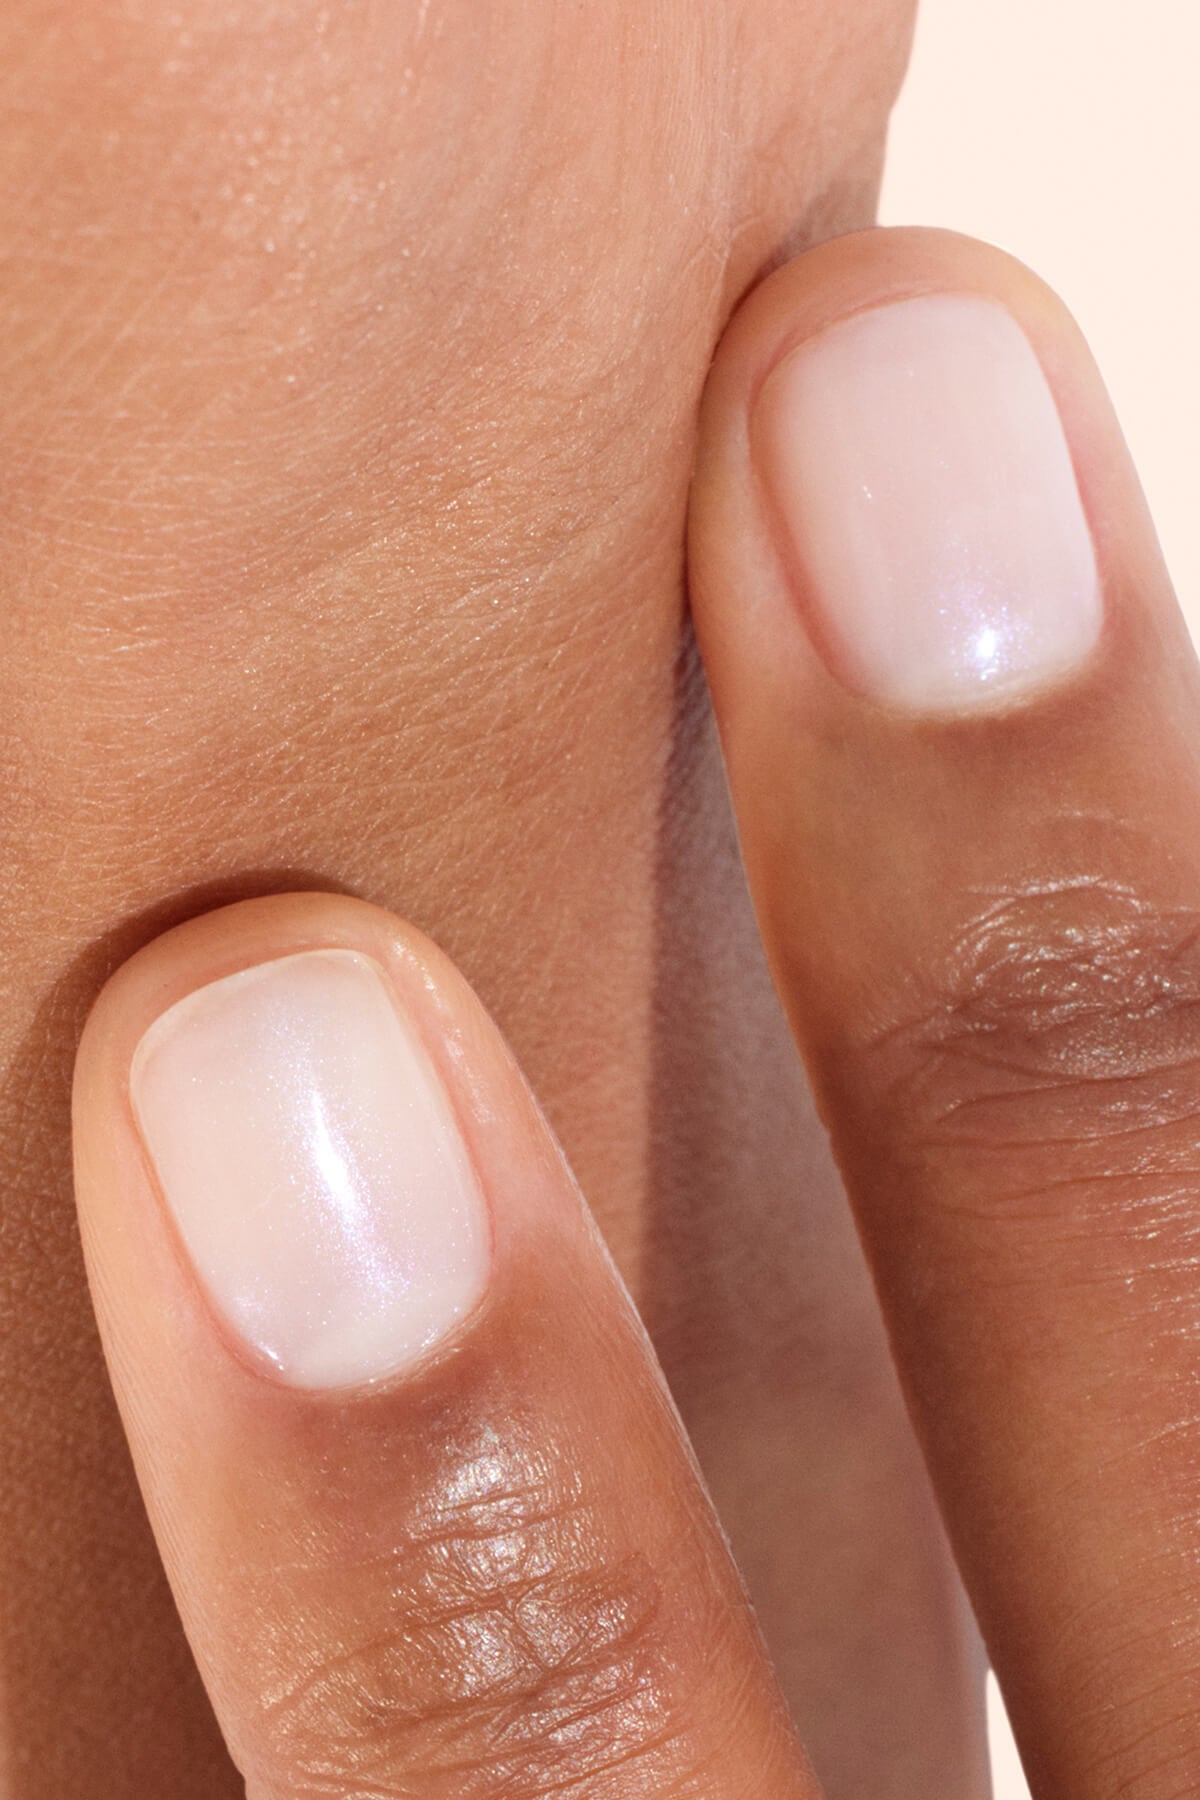
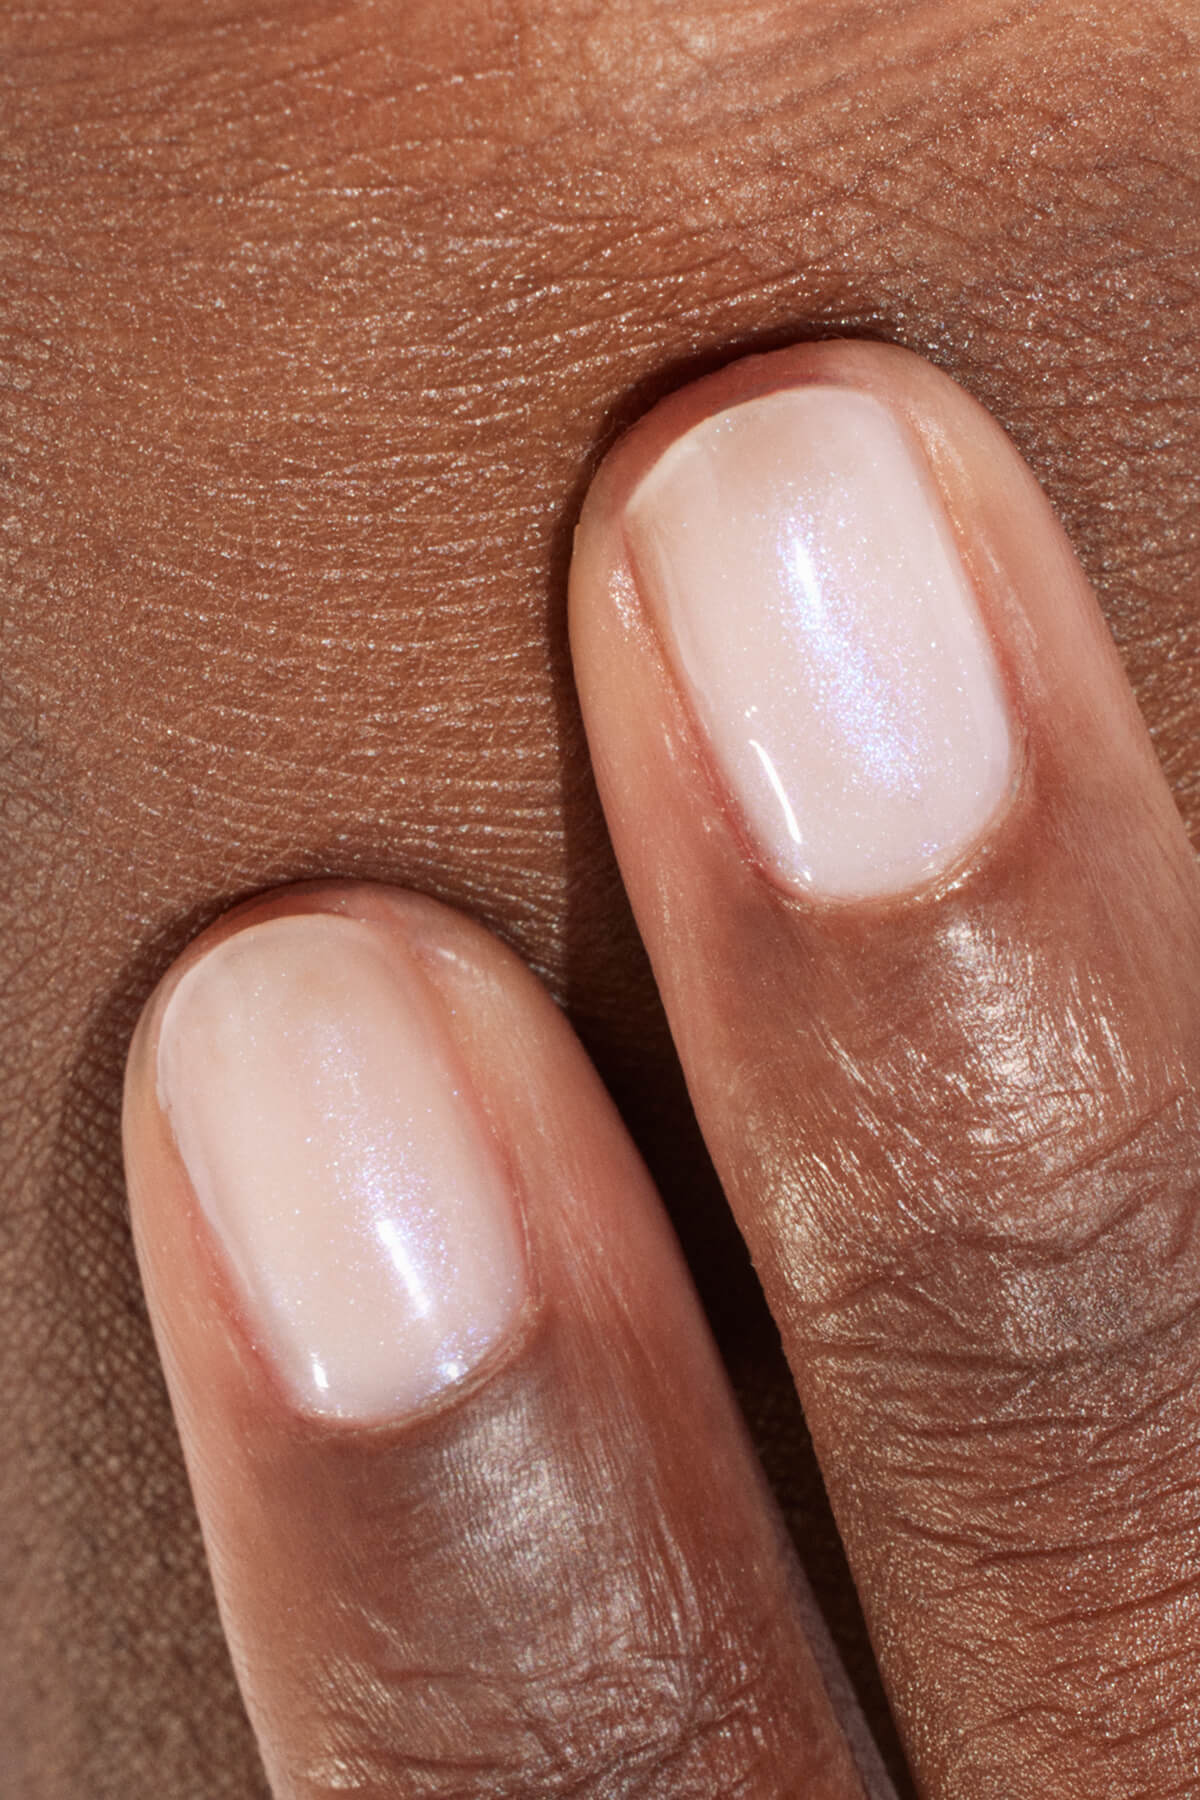
Step 3: The top coat green flash
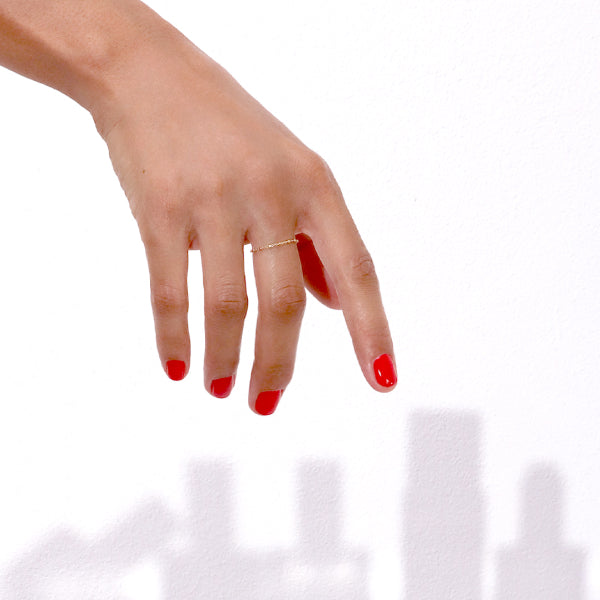
Transparent, the Top Coat Green Flash makes the color shine and protect. It guarantees a gel effect manicure, a shiny rendering as fine as a classic varnish and an outfit up to 10 days!
Apply it By bordering the nail and Catalyst under the Green Flash lamp The time indicated on the protocol.
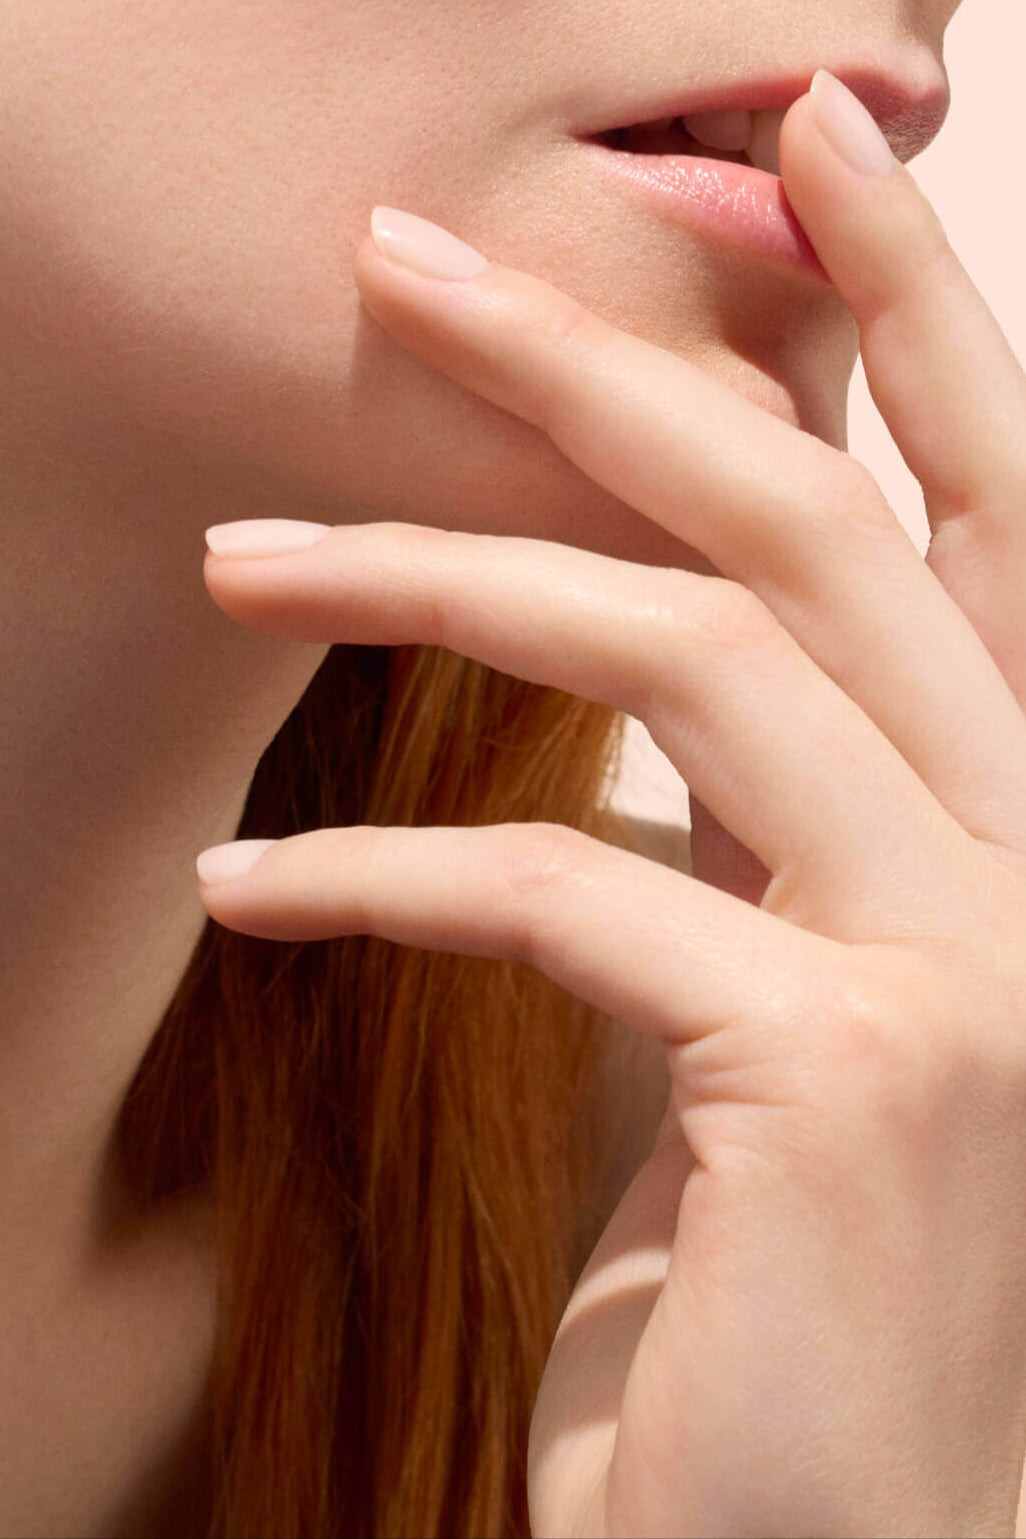
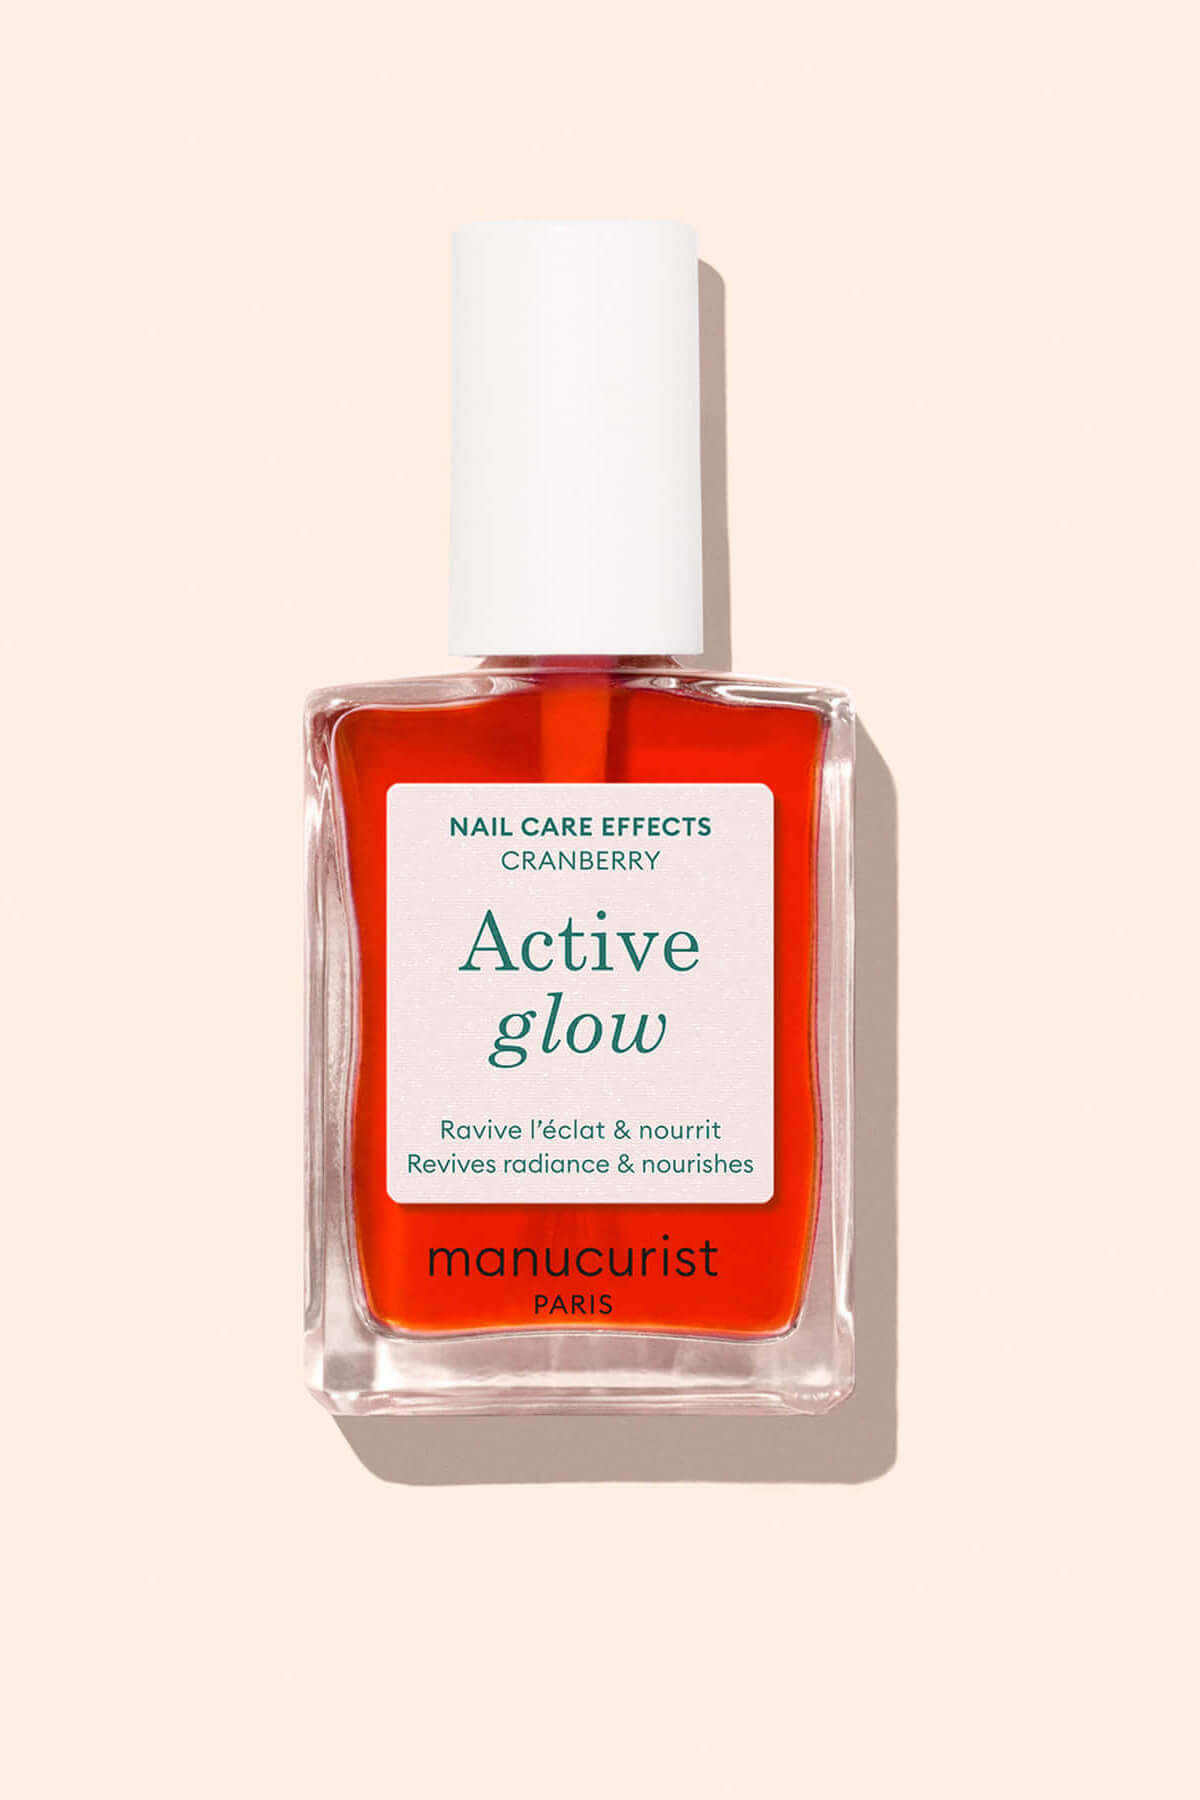
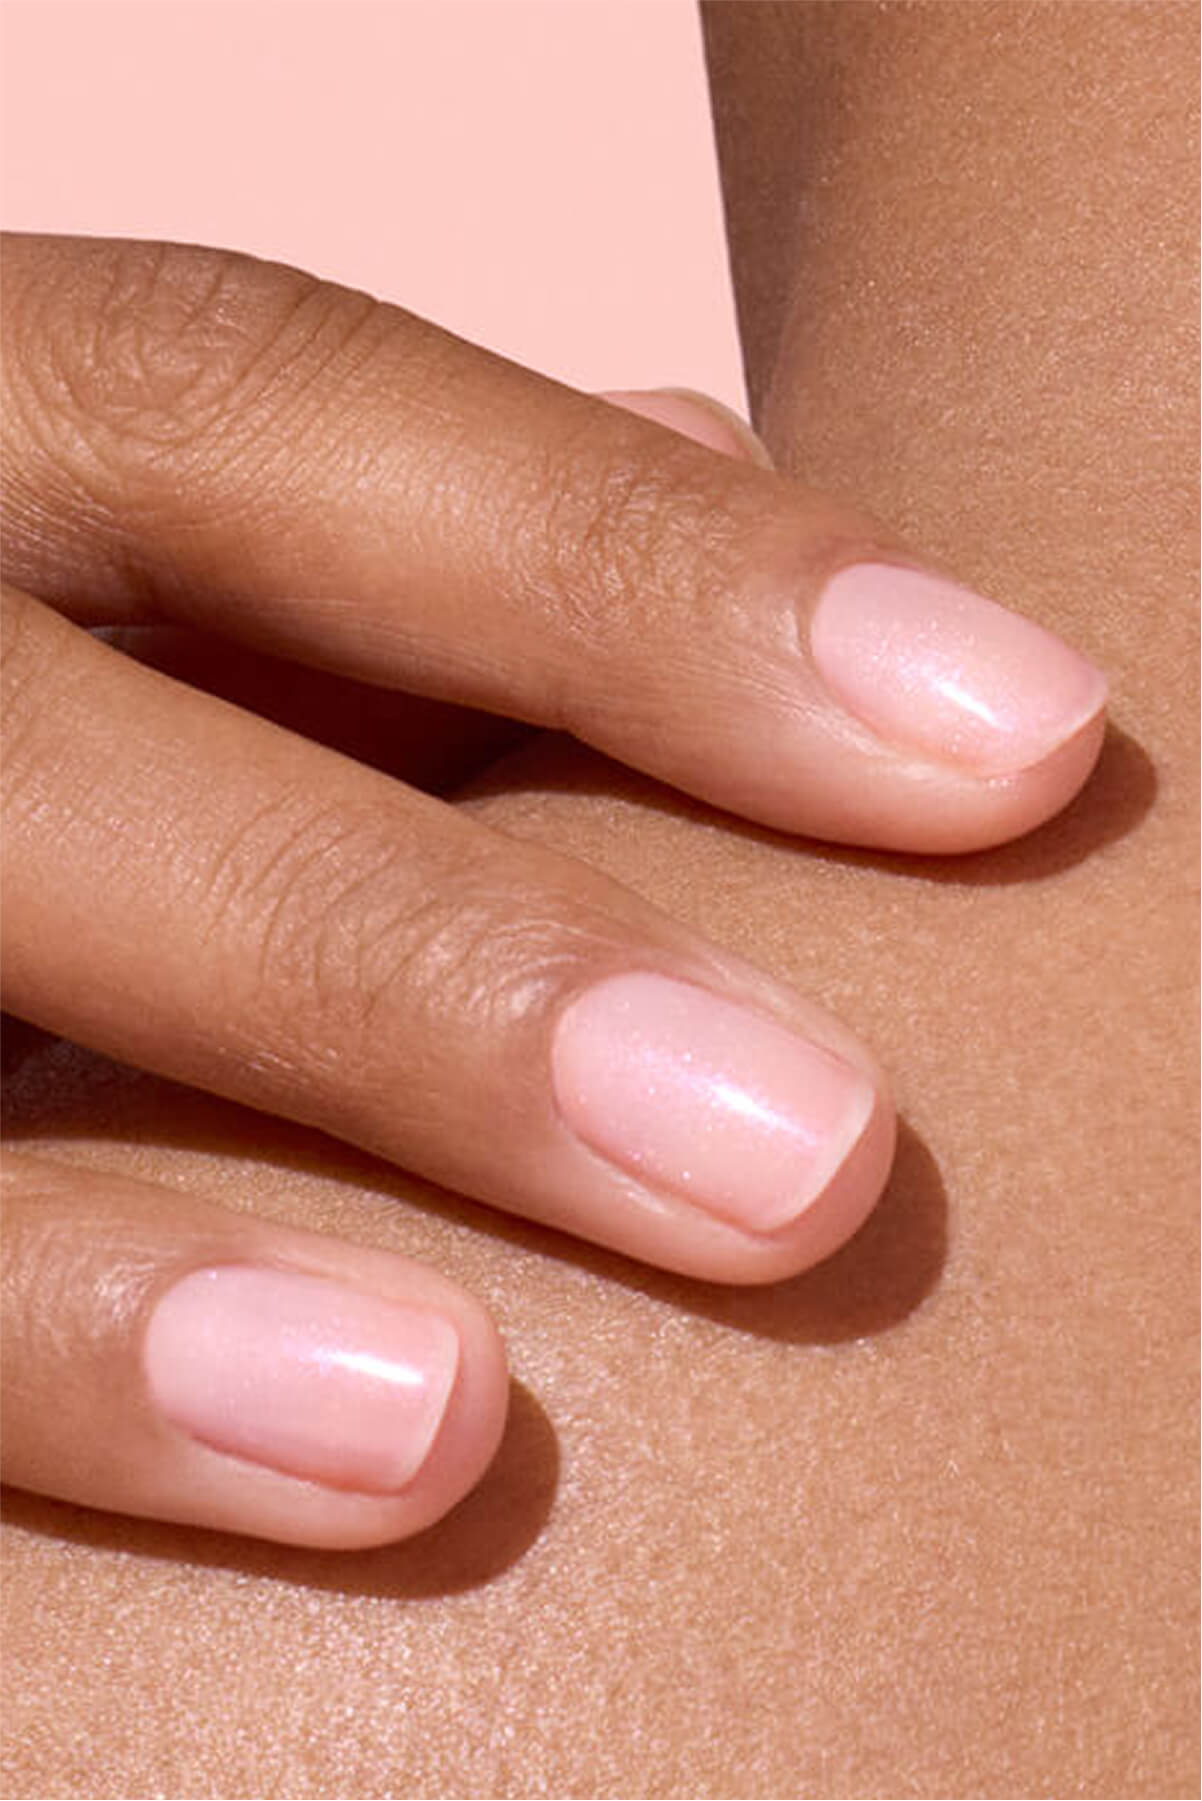
You can finish the manicure with the application of theGreen oil. Take a few drops and Apply on the nail outline by massaging slightly to facilitate absorption.
And There you go ! 💅 Share us your best achievements on our Instagram page @manucurist.
To find this step in video, as well as other tips for your nail beauty routine, it is here 👈