

Manicure accessory
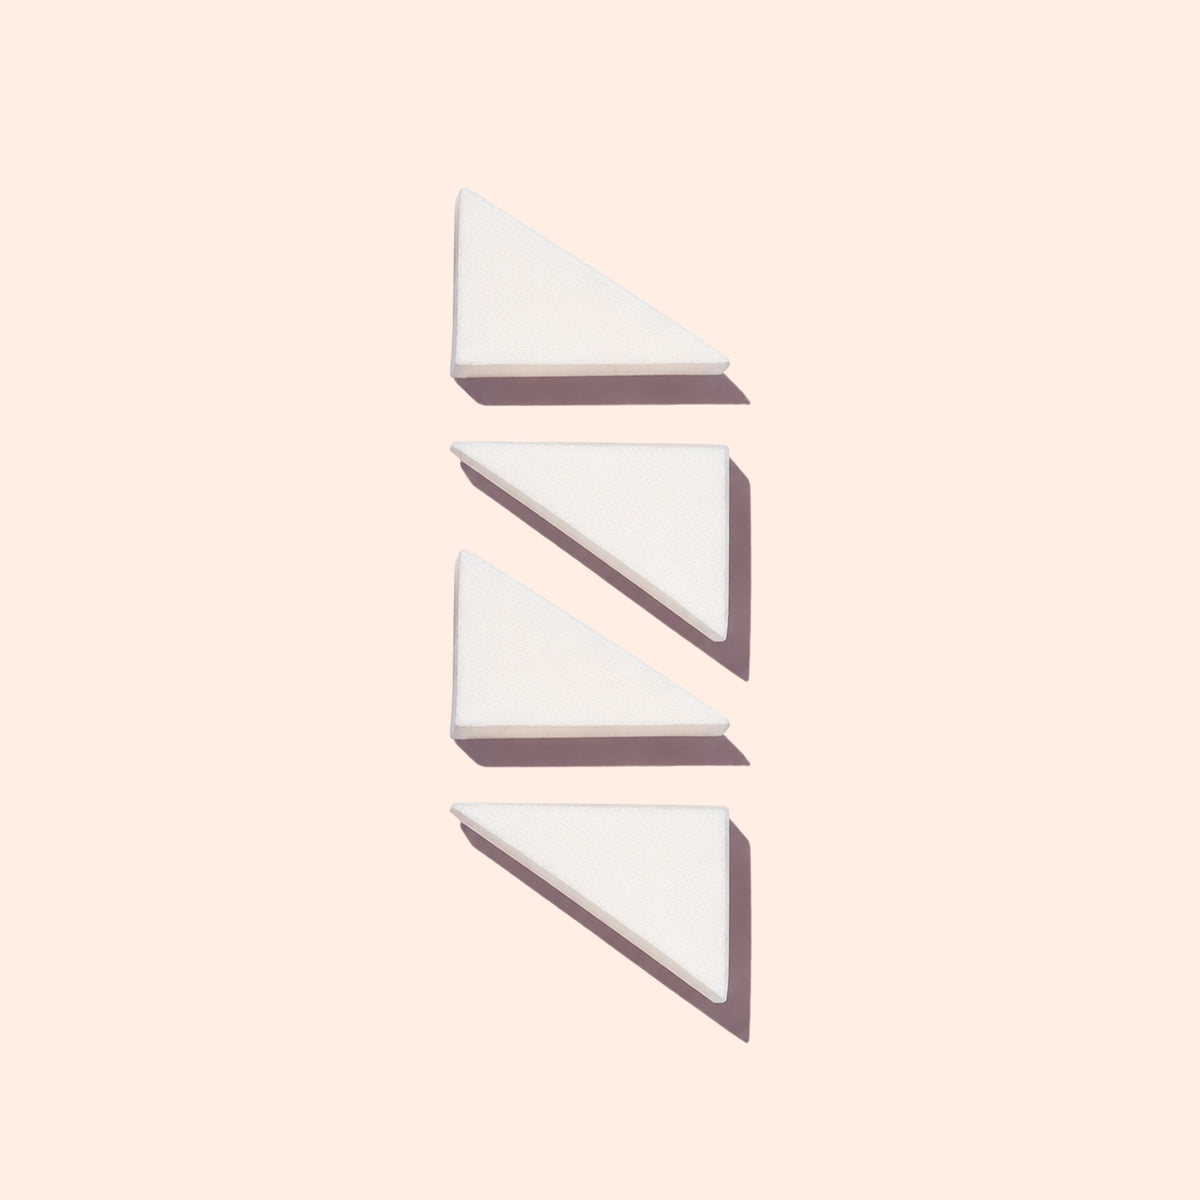
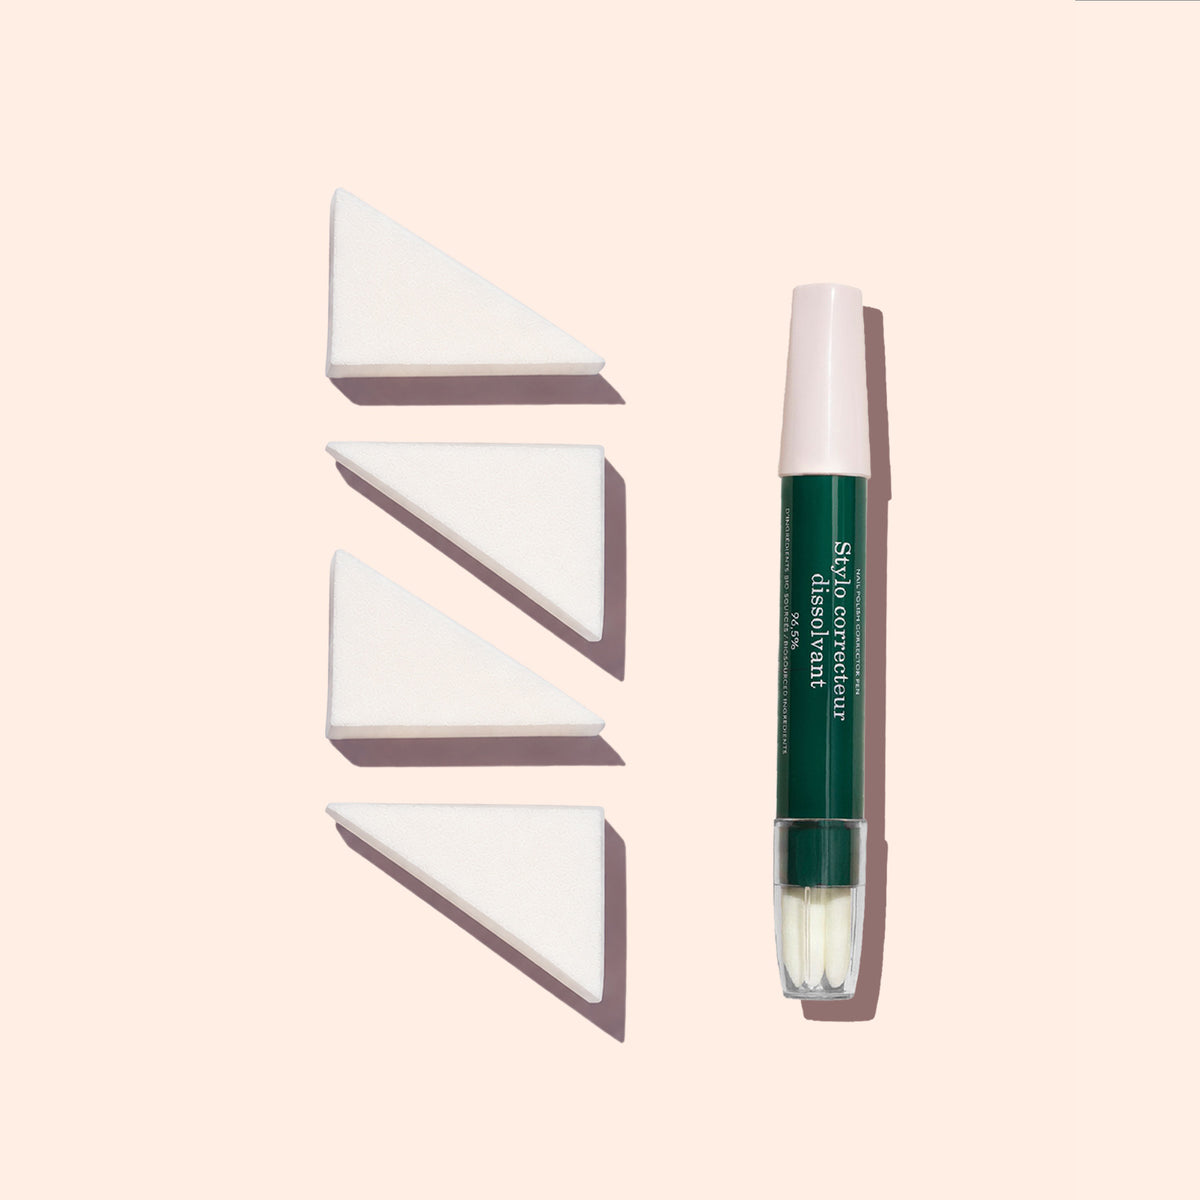
Nail Art Sponges - x4

Regular price
2 €
Regular price
Sale price
2 €
37 reviews

Skip to product information
1 of 10

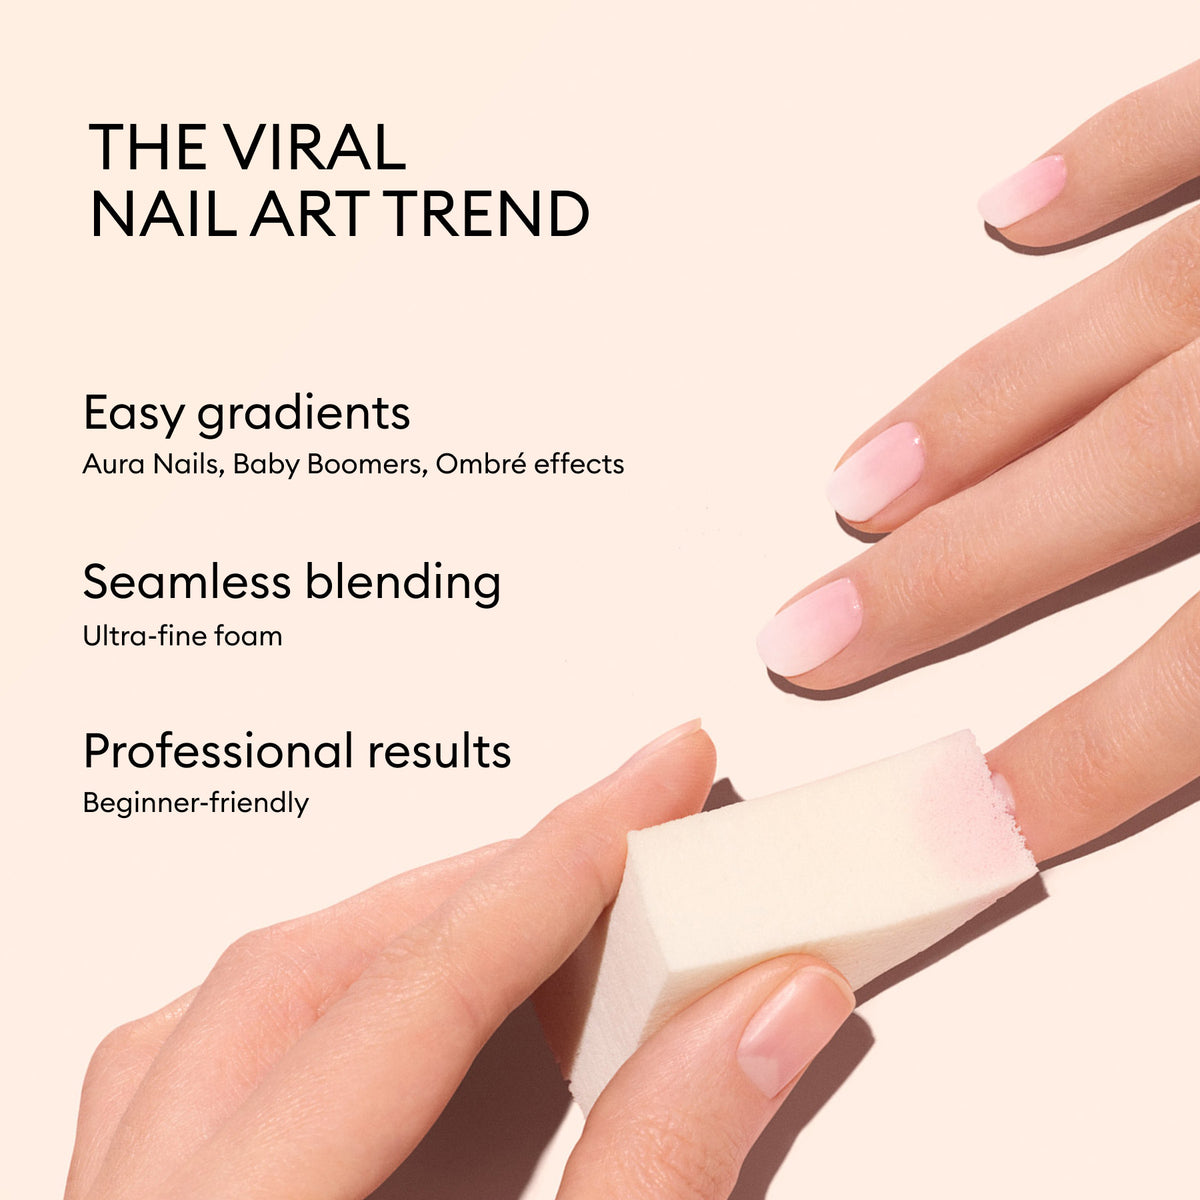
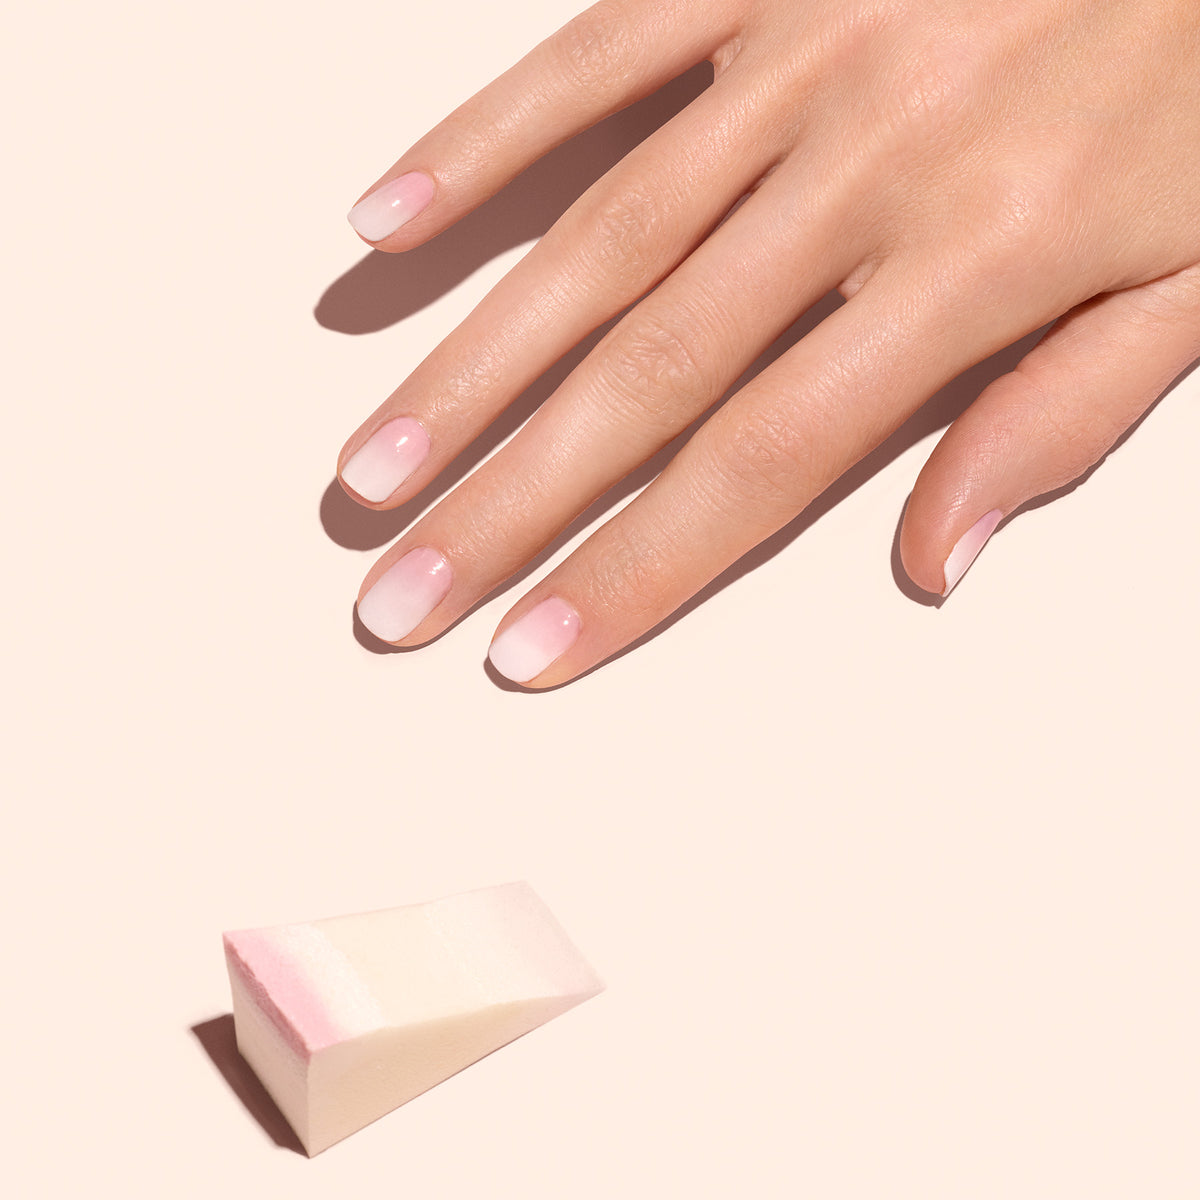
Essential for creating flawless Aura Nails or Baby Boomer effects, the Nail Art Sponges let you blend colors seamlessly together for a perfect gradient with no harsh lines.

Thanks to their ultra-fine foam, they deliver seamless blending in just seconds, for salon-worthy Nail Art.

I choose my option:

Free delivery on orders over 39€

Pay in 3 interest-free instalments (orders over 80€)

Your expert A question about this product?

Description

The essential tool for perfect Aura Nails, Baby Boomers and gradients — within everyone's reach!

  • Ultra-fine foam for smooth, even gradients
  • Professional results at home
  • Ergonomic shape for easy handling
  • Reusable and washable
  • Compatible with Green™ shades
  • Set of 4 sponges

How do you use Nail Art Sponges?

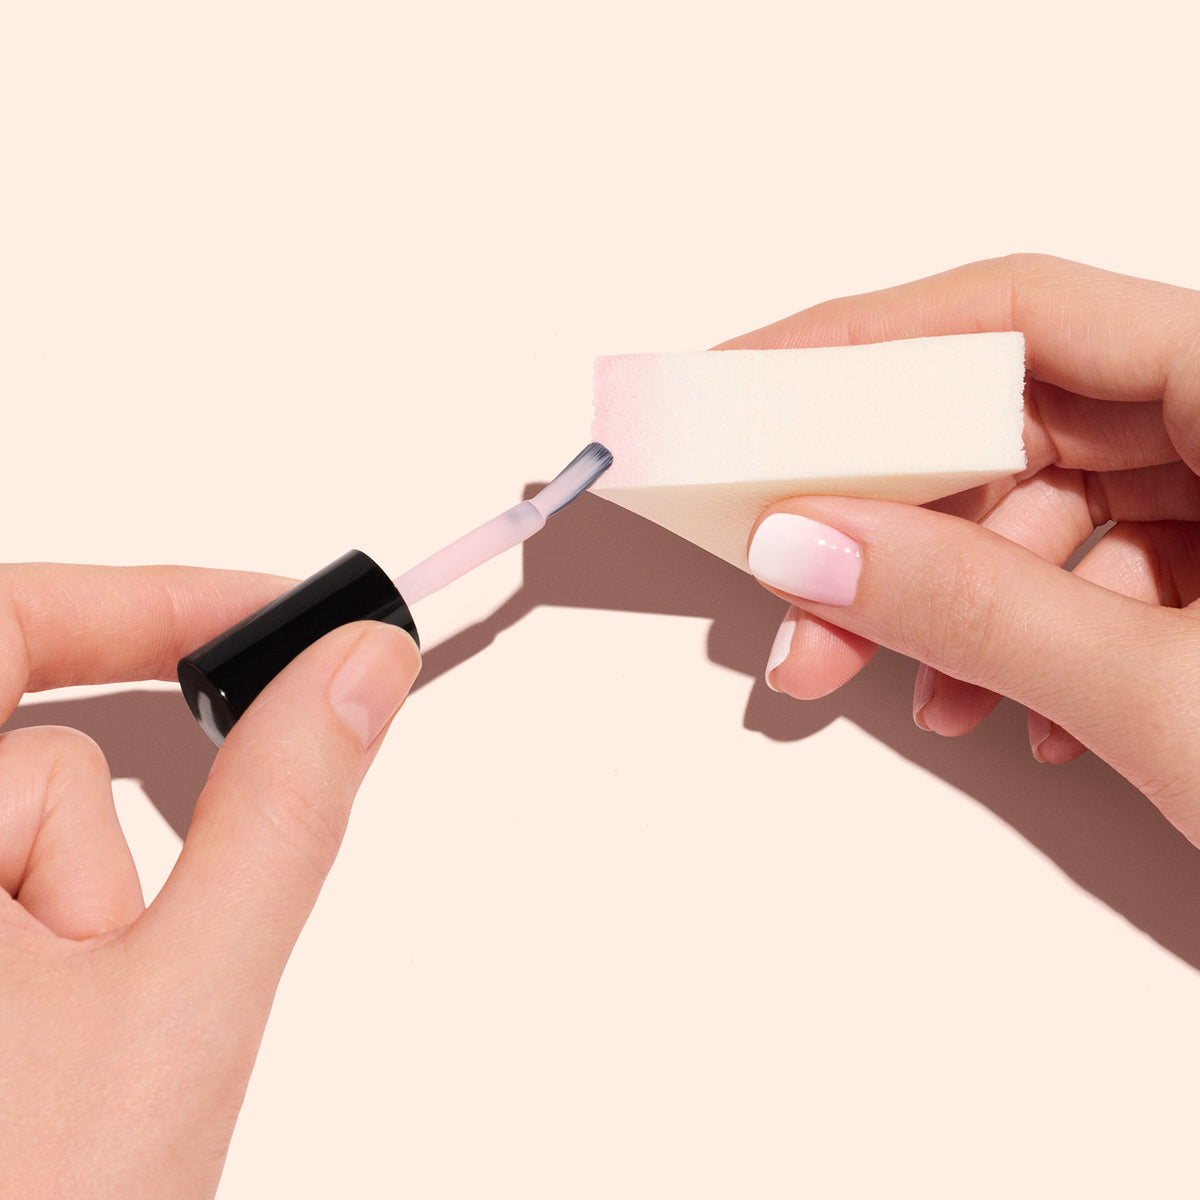
Apply a layer of Base Coat, followed by a coat of your chosen colour across the entire nail surface—this will serve as the base for your gradient.

Lightly dampen your sponge.
On one side, apply your colours according to the desired effect:

  • Aura Nails Effect : using your chosen base colour, outline an oval roughly the size of your nail. Fill the centre with the core colour of your choice.
  • Gradient : apply your chosen colours one above the other in the desired order, over an area equivalent to the size of your nail.
  • Ombré Effect : arrange the colours side by side however you like, over an area equivalent to the size of your nail.

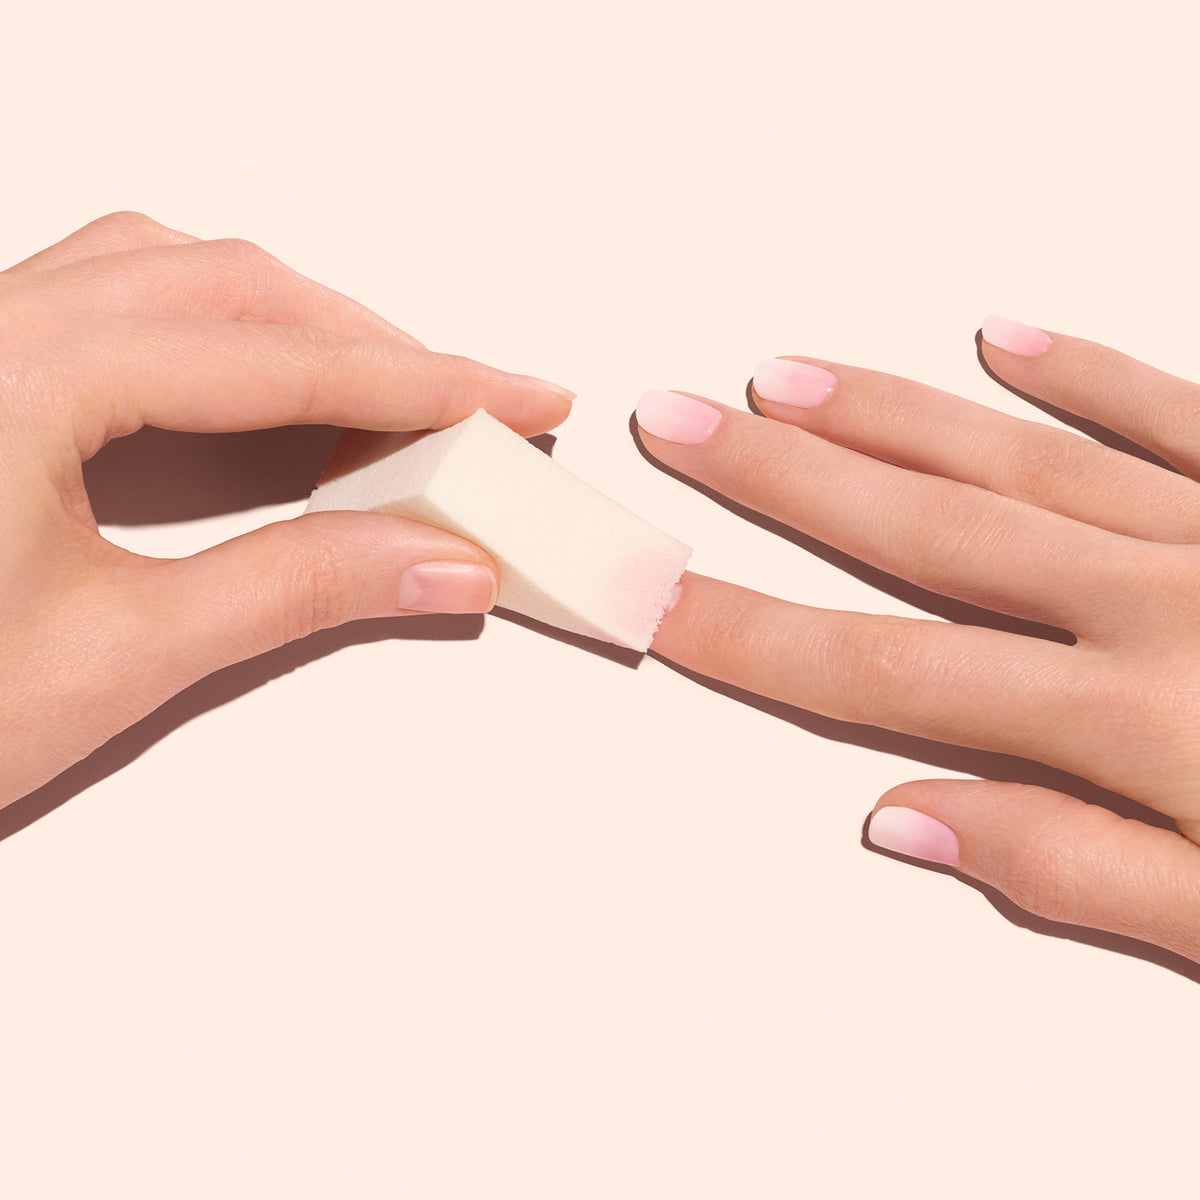
Gently dab the sponge onto the nail until you get the desired effect. You don't need to reapply polish to the sponge between nails; you can create the Nail Art on several nails in a row. Reapply polish when the colours become less intense.

Clean up the edges of your nails with the Nail Polish Remover Corrector Pen. Finish with a layer of Top Coat to seal and enhance your Nail Art.

To clean your sponge, don't let the polish dry: rub it immediately with a cotton pad soaked in nail polish remover, rinse with water and leave to air-dry.

Pro tip ✨

Dab the sponge in small successive touches rather than pressing hard: the colours blend naturally for a softer, more even effect.

Nail Art Sponges - x4

The essential accessory for ombré Nail Art!

Quick and easy ombré nail art

Seamless blending

Professional results at home

FAQs

The questions our customers and community ask most often!

What are Nail Art Sponges for?

Nail Art Sponges make it easy to create colour blends for Aura Nails, Baby Boomers and gradients. Their ultra-fine foam helps blend colours for an even finish with no harsh lines.

How do I use Nail Art Sponges?

Apply a coat of Base Coat, then a coat of colour over the entire nail surface. Lightly dampen your sponge, place your colours on one side, then gently dab onto the nail until you achieve the desired result. Clean up the edges with the Corrector Remover Pen and finish with a coat of Top Coat. For a Green Flash™ manicure, cure each coat under a lamp.

Are Nail Art Sponges suitable for beginners?

Yes, their ergonomic shape makes them easy to hold. There is no need to apply the polish precisely to the sponge: the gradient effect builds up as you dab, giving you time to adjust and achieve the desired result, even if you do not get it right the first time.

Are Nail Art Sponges reusable?

Yes! Each sponge has several usable sides. If you want to use the same side more than once, you can clean the sponge with a cotton pad soaked in nail polish remover, then rinse it with water and let it air dry. You can also reapply polish to a side that has already been used, but the result will be less optimal. Replace your sponge when all sides have been used and cleaning is no longer enough to achieve a good blend.

Which nail polishes can Nail Art Sponges be used with?

The Nail Art Sponges work with all Manucurist shades in the Green™ and Green Flash™ ranges.
But to create a Babyboomer or Aura Nails effect, only the Green™ range is suitable.


Our customers are talking about us!

We collect reviews 28 days after purchase, and publish only reviews from verified buyers.

Overall rating: 4.5526314 / 5 from 38 reviews.

AI Generated Review Summary

Summary topics

Review topics: ["result","sponge","effect","gradient","use","space"].

Review highlights

Reviews

it's a process!

"To do such nail art as Manicurist videos show is not that easy, but I did not give up after initial fails and although the aura effect is still unachievable to me, I did this and it looks decent. What helps me is soaking the sponge with water first and then reapply the polishes because the effect gets paler with each application. At least when I do it ;) I do not want to press too hard not to overdo it. I will continue my adventure with the sponges!"

— Aleksandra (4/5)

Gaat prima!

"Dit is mijn eerste poging. Het gaat echt goed als je de beschrijving volgt. Ik ben heel blij met het gemak en dit eerste resultaat! Kleuren: Snow en Hortencia."

— Brigit (5/5)

Bluffant !

"Pas évident à faire au début, mais déjà un résultat wahou ! Alors imaginez une fois entraînée, trop contente !"

— Sonia (5/5)

Avec les bonnes astuces (tapoter

"Avec les bonnes astuces (tapoter sur du film avant de poser sur l’ongle) ça donne un bel effet assez simplement"

— Laurie F. (5/5)

Le résultat est là

"Éponges de bonne qualité assez souples. . . Très bon produit. . ."

— Solene D. (5/5)

Super pour faire des dégradés

"Super pour faire des dégradés en toute facilité à la maison."

— Nolwenn B. (5/5)

J’aime l’effet que ça fait

"J’aime l’effet que ça fait sur l’ongle mais pas simple à utiliser d’une main"

— Julie A. (4/5)

De quoi sublimer sa manucure

"De quoi sublimer sa manucure ."

— Jennfer M. (5/5)

Their products never disappoint. I

"Their products never disappoint. I use them for a long time now, and I am very pleased."

— Alexandra N. (5/5)

Vraiment fan ! Ces éponges

"Vraiment fan ! Ces éponges permettent de faire des nail art super originaux très facilement, même si on n’est pas une pro !!! Merci aussi aux tutos Manucurist 👌🏼🙌🏼"

— Alexia L. (5/5)

Q&A